One of the first things we noticed about our old typewriter after we had hauled it in from the curb was that the carriage did not advance with typing or hitting the space bar. My husband noted a suspicious strip of fabric strapping hanging from under the right carriage:
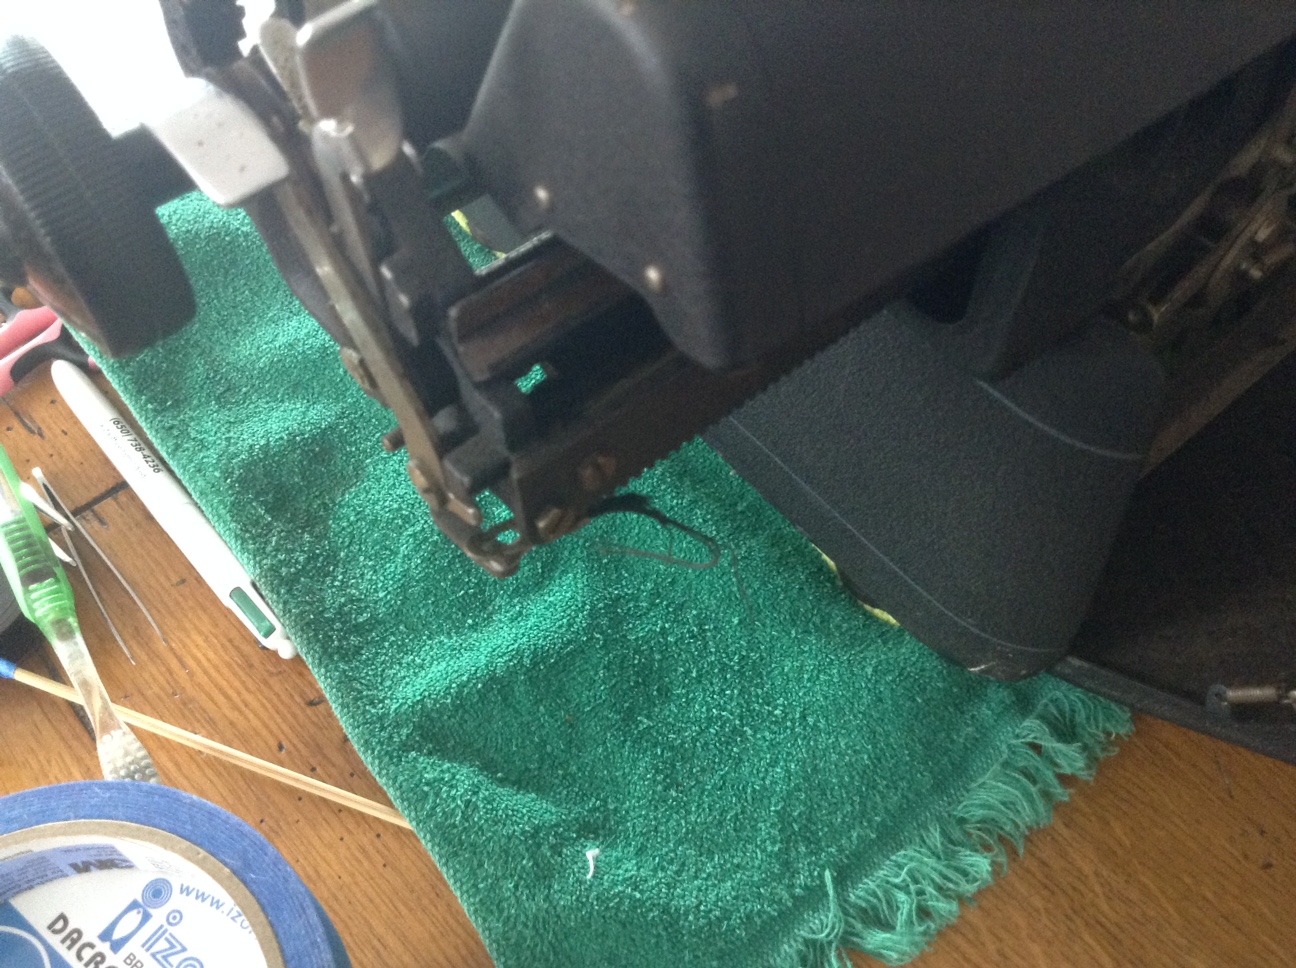
The suspicious stray threads hanging from under the carriage – that doesn’t look good.
On further investigation we found the other piece of the fabric strap still attached to the mainspring drum on the left side of the carriage.
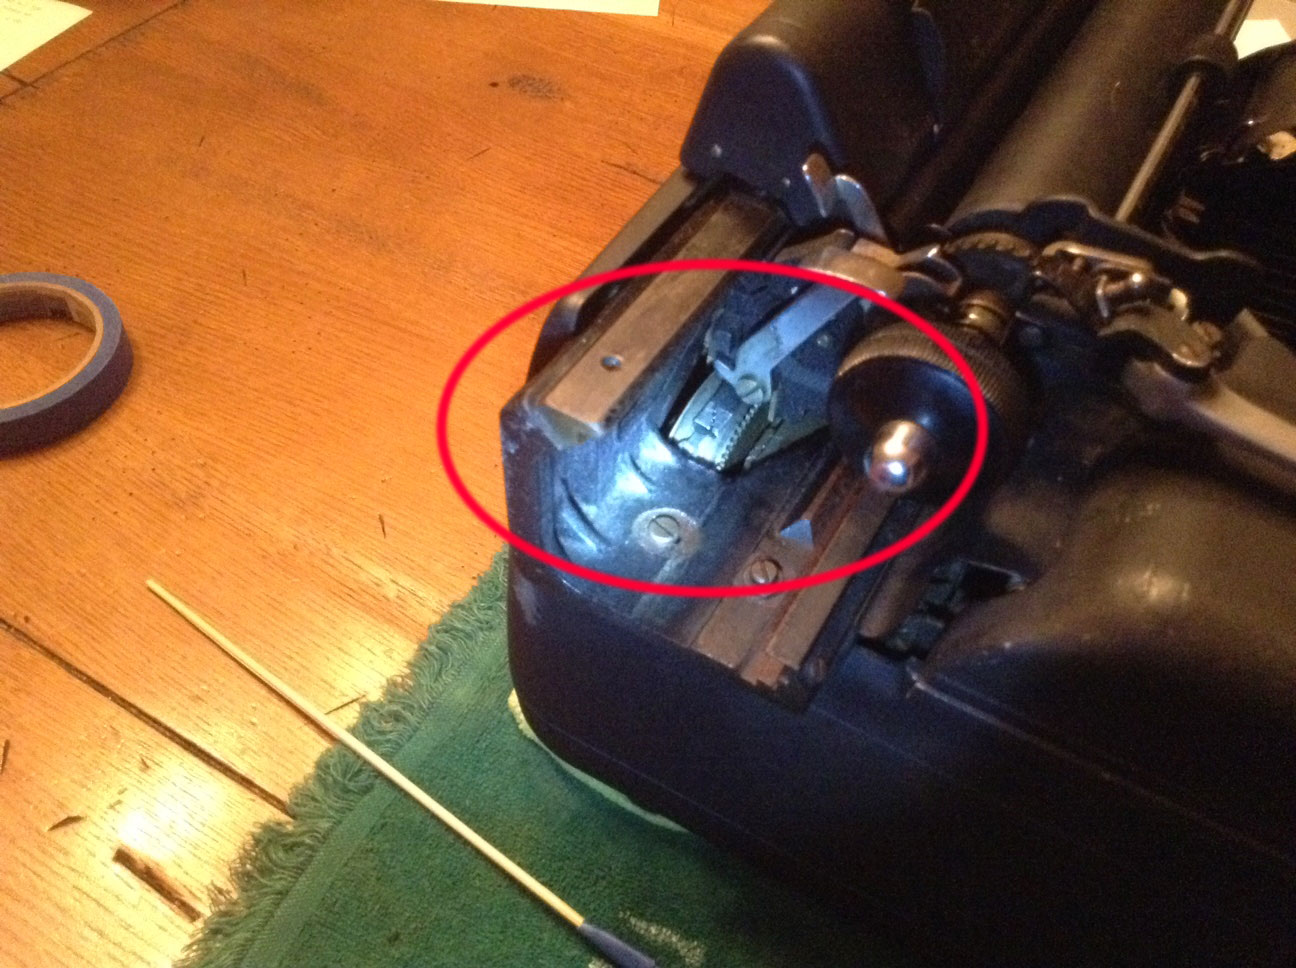
From the left of the typewriter, you can see the old drawband on the mainspring drum
A quick internet search confirmed our fears: the drawband that pulls the carriage along while typing was broken. I did find some great information on replacing the drawband:
http://typewriter.boardhost.com/viewtopic.php?id=107
http://oztypewriter.blogspot.com/2013/11/reattaching-drawband-to-mainspring-on.html
Though the above links describe drawband repair on non-Remington typewriters, the general concept is the same: replace the drawband with something strong and attach it to a wound-up mainspring so that the carriage will be pulled along as you type.
Here’s a video of a gentleman replacing the drawband in an Oliver – I found it very helpful though my Remington Rand set-up was very different:
Replacing My Typewriter Drawband
I removed the old broken drawband from the mainspring drum and laid it out. It was pretty cool looking, like a super tightly woven shoelace. Looks like it should have lasted a million years.
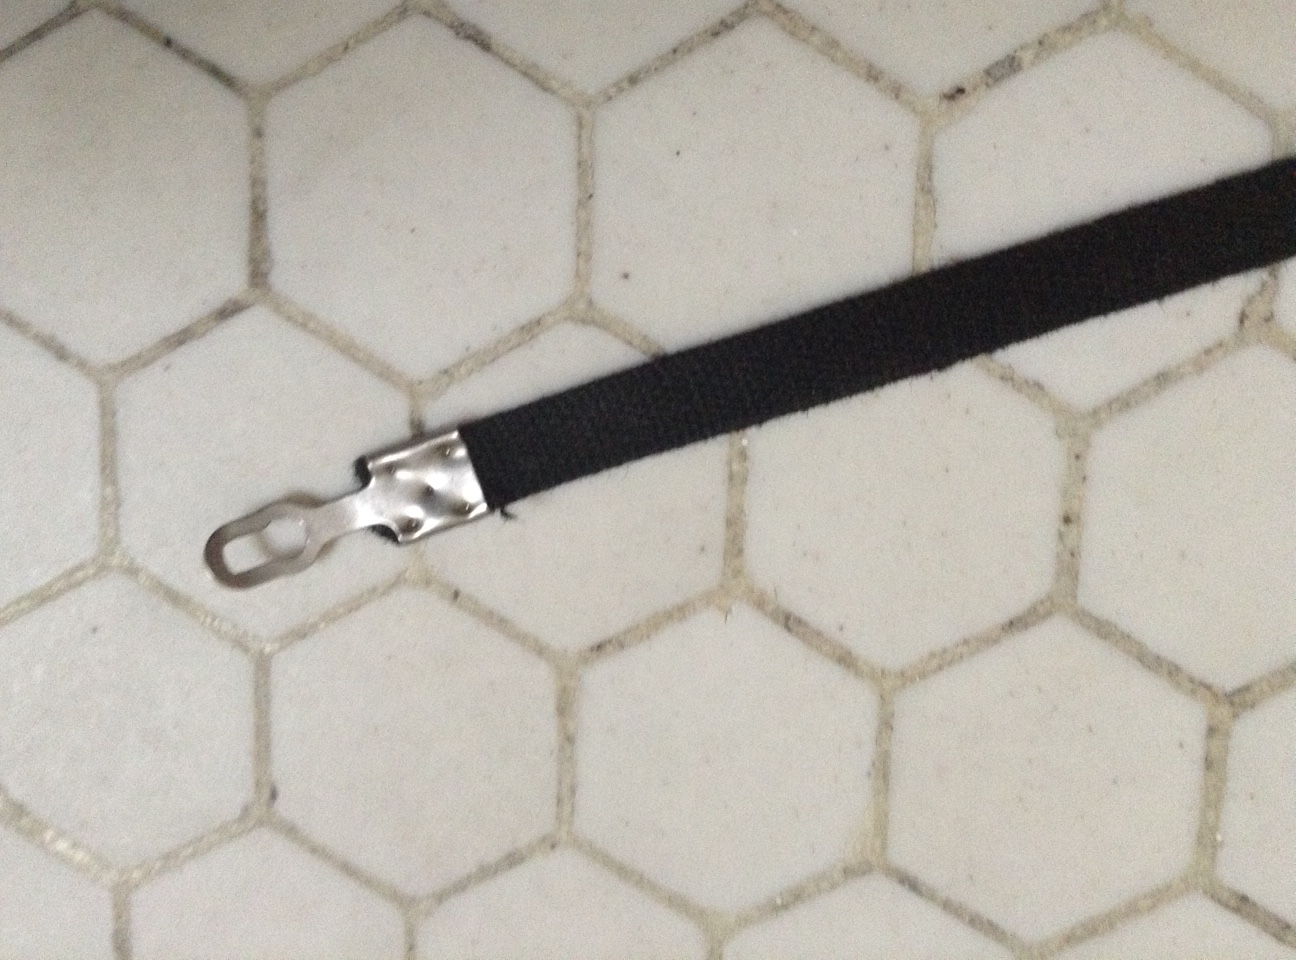
The drawband end that connected to the mainspring
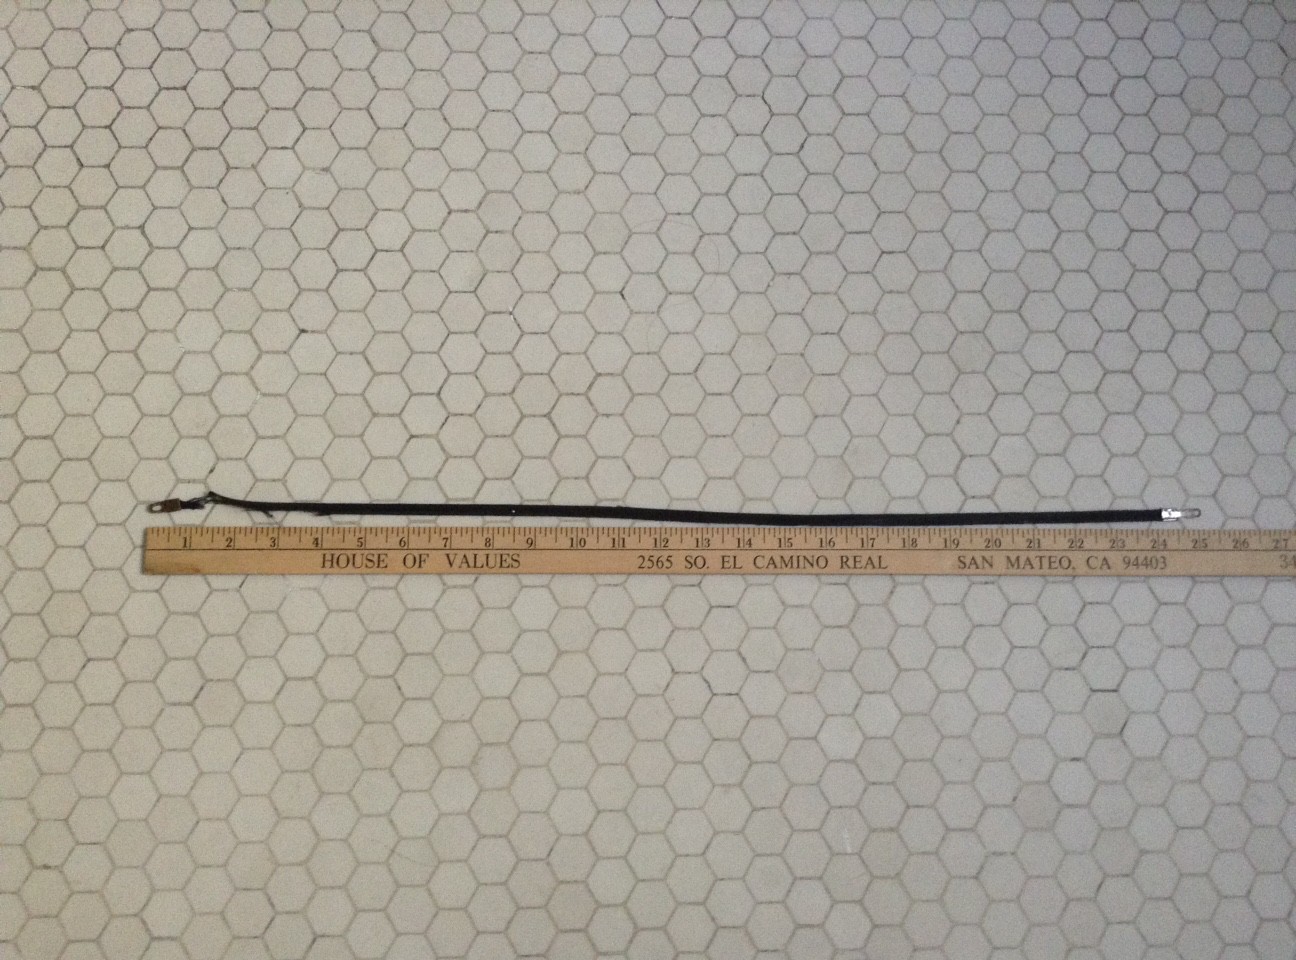
With the two ends laid out, the original drawband was about 25.5 inches long.
Since they probably haven’t manufactured these in about 50 years, I went to my local sporting goods supply shop and bought 80 lb fishing line (I didn’t need 400 yards):
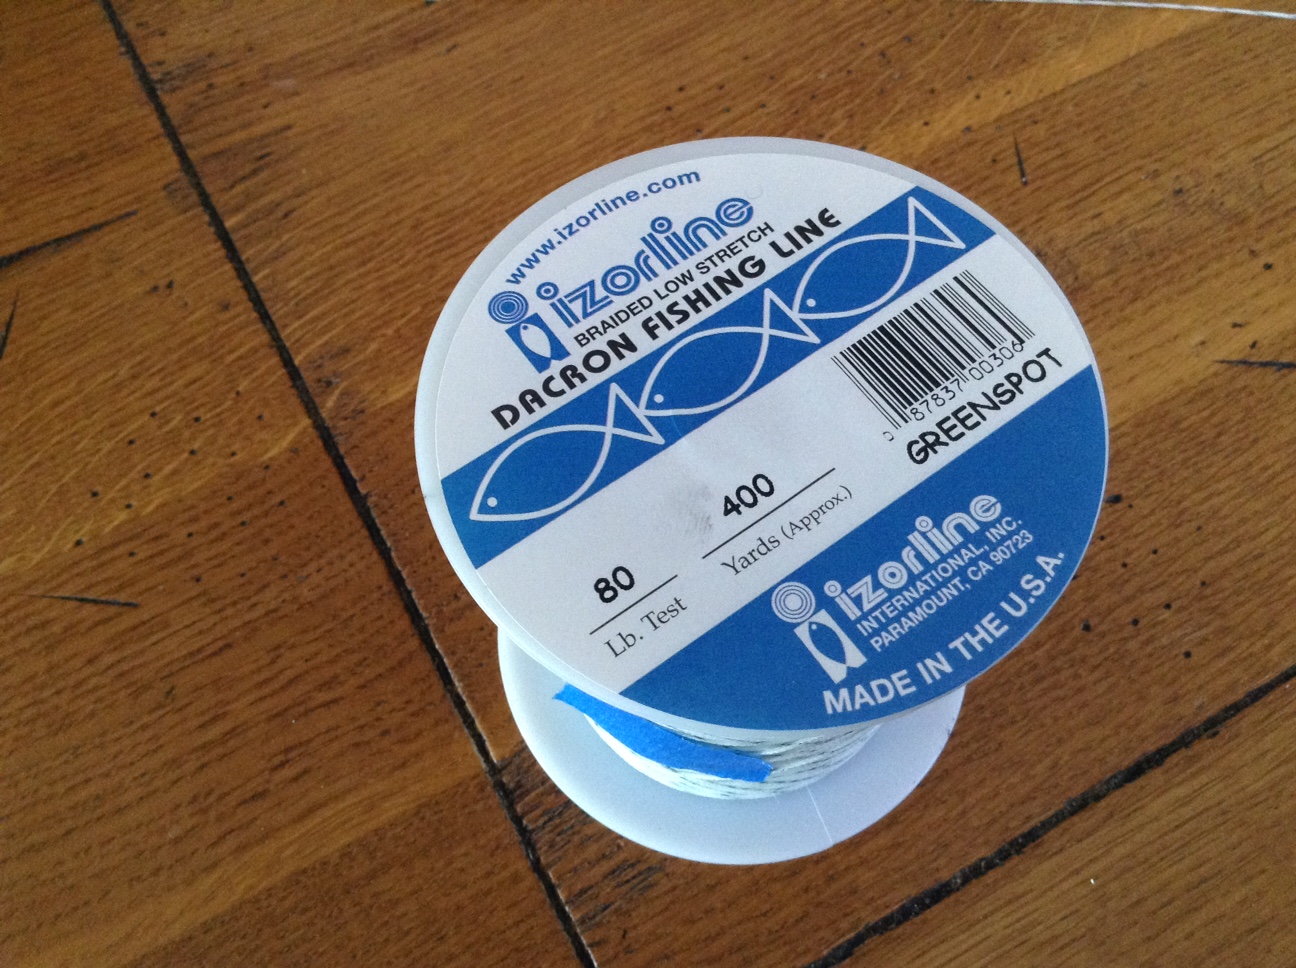
I liked this fishing line because it was braided and looked like it would be easier to knot that regular monofilament.
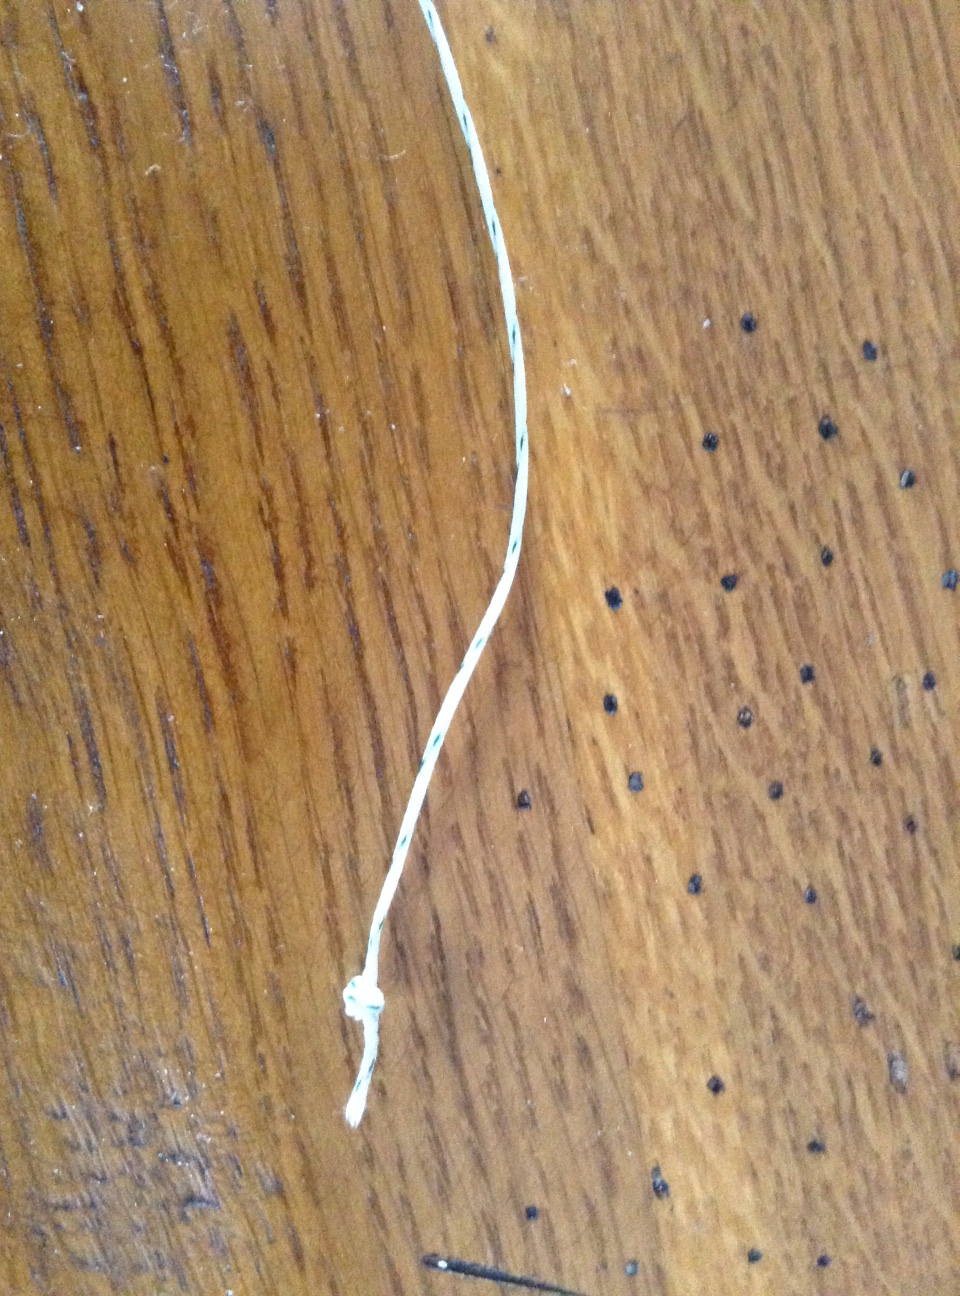
I cut the fishing line and added knotted loops at both ends, making it 25.5 inches in length.
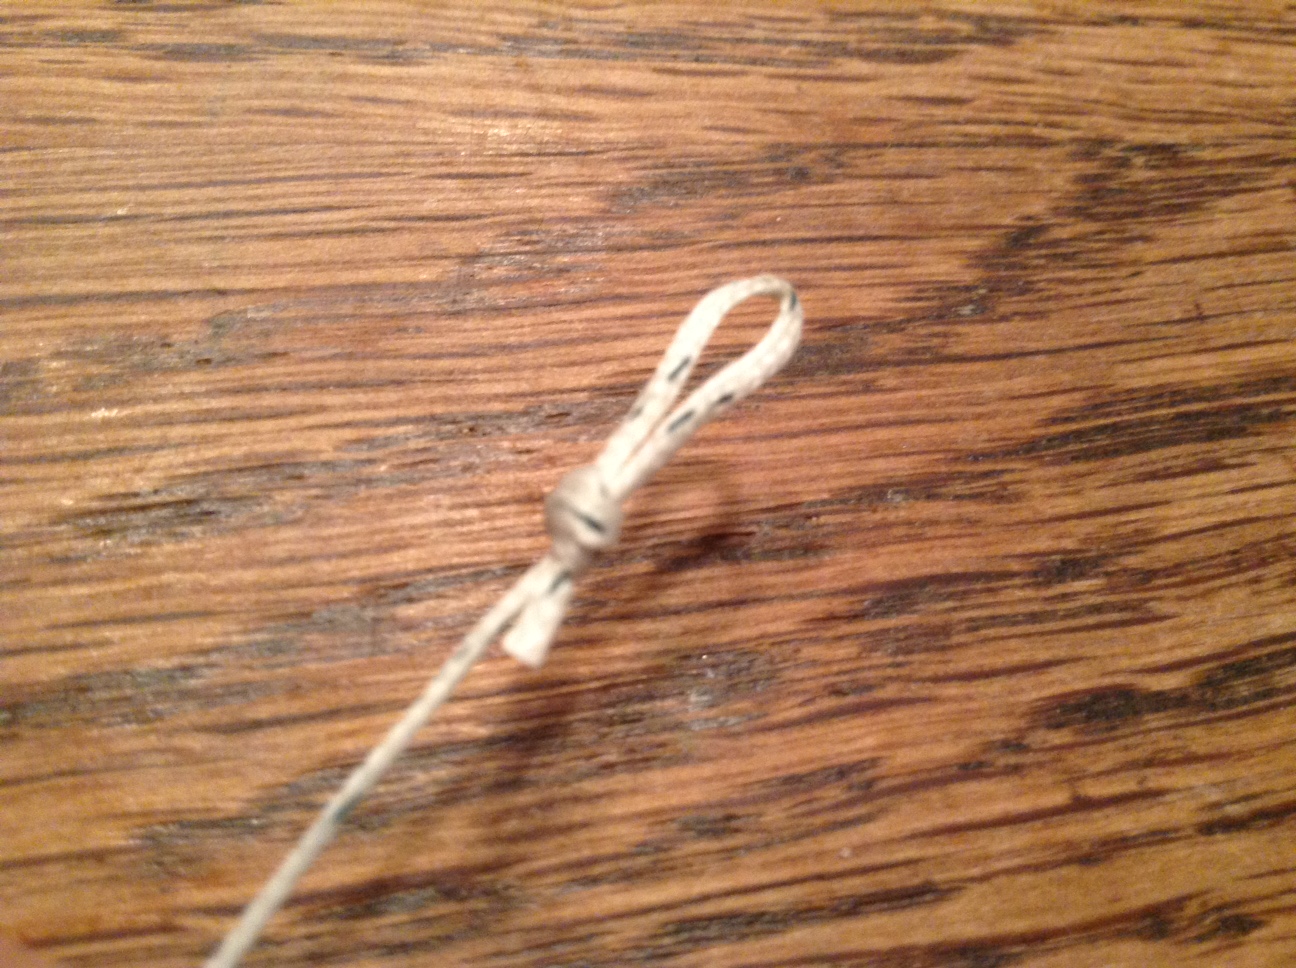
Made a loop at each end. This braided fishing line was very easy to work with.
Starting on the right side of the typewriter, I attached the first loop to where the old drawband was attached – a little notched projection.
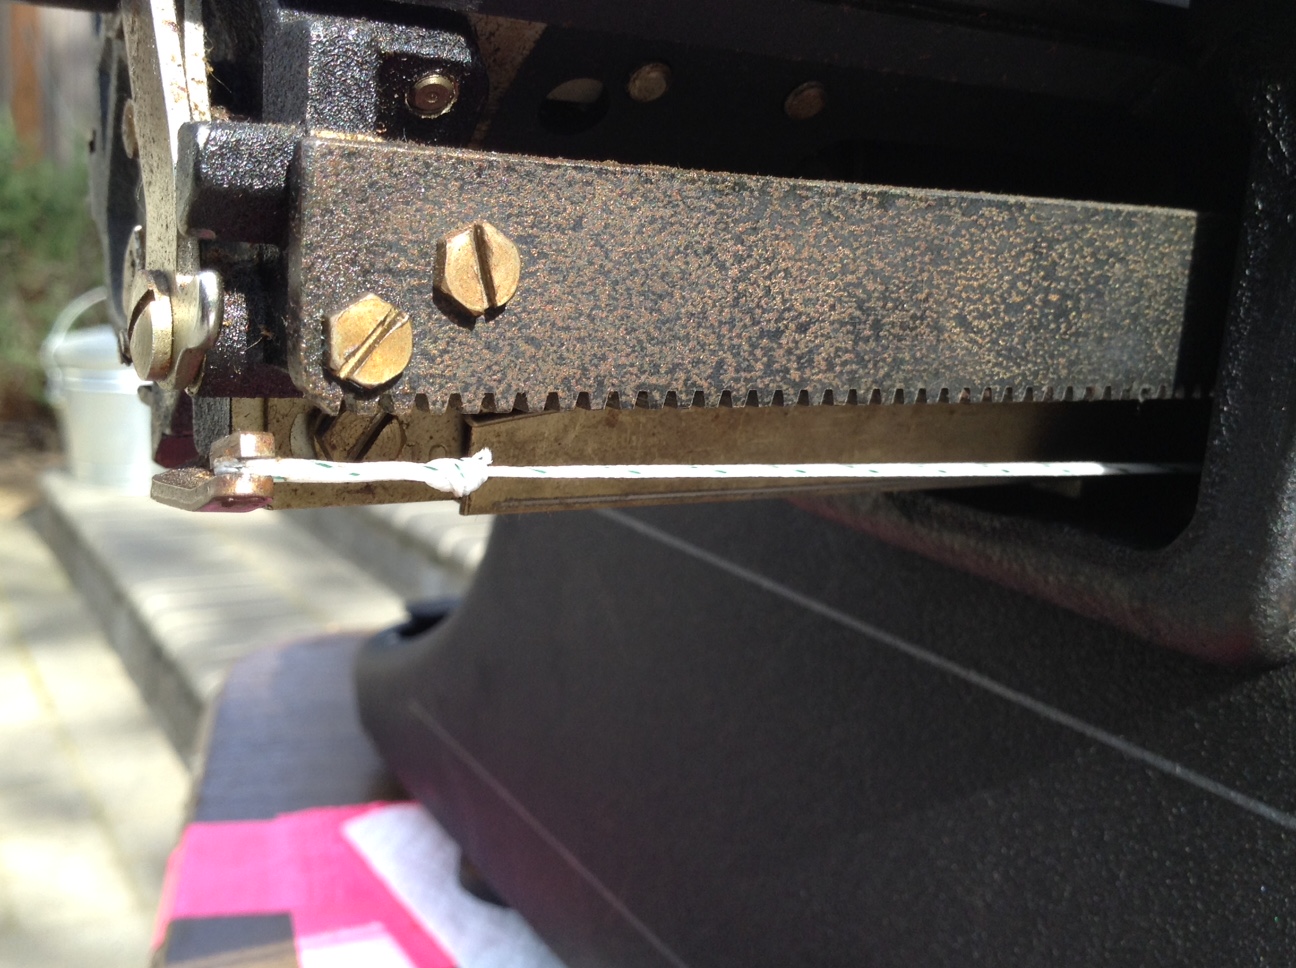
One loop goes on the notched projection under the end of the carriage; this picture was taken after I fed the fishing line through to the mainspring and attached it. I think I made the knot a bit close to the loop. Hope it holds. If not, I’ll film replacing the drawband.
Next, I taped two wooden skewers together to make a tool that I could use to feed the fishing line under the carriage to the mainspring. A huge thank you to Robert Messenger of oztypewriter.blogspot.com who suggested using a wooden meat skewer.
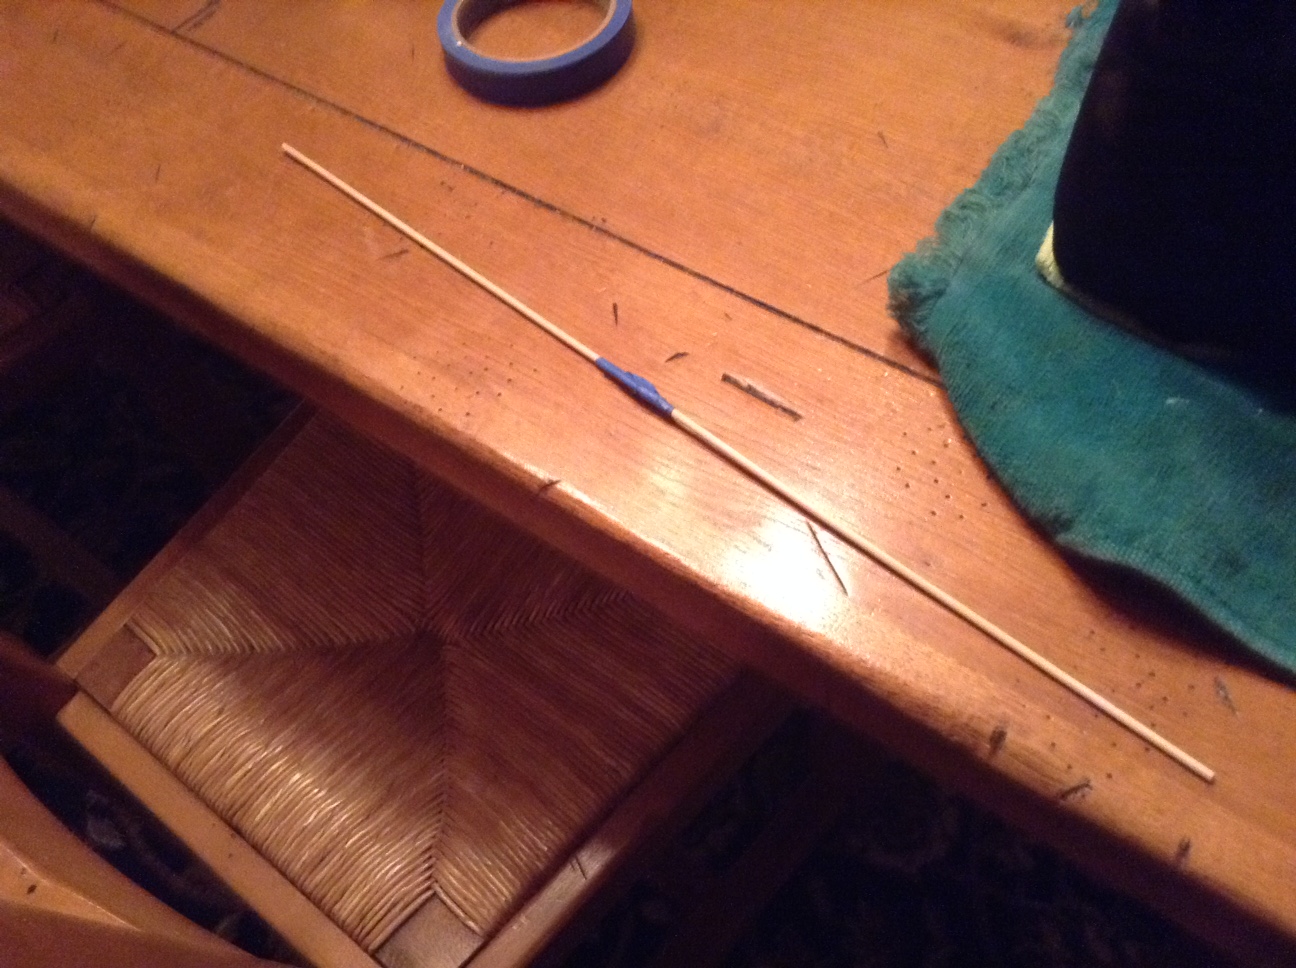
Taped together, my skewer tool is about 20 inches long
Like Robert Messenger, I modified the end of one wooden skewer with a utility knife and slipped the knotted loop over the slit.
I then fed the skewered fishing line straight under the carriage to the mainspring, being careful to feed straight across the back to the mainspring drum.
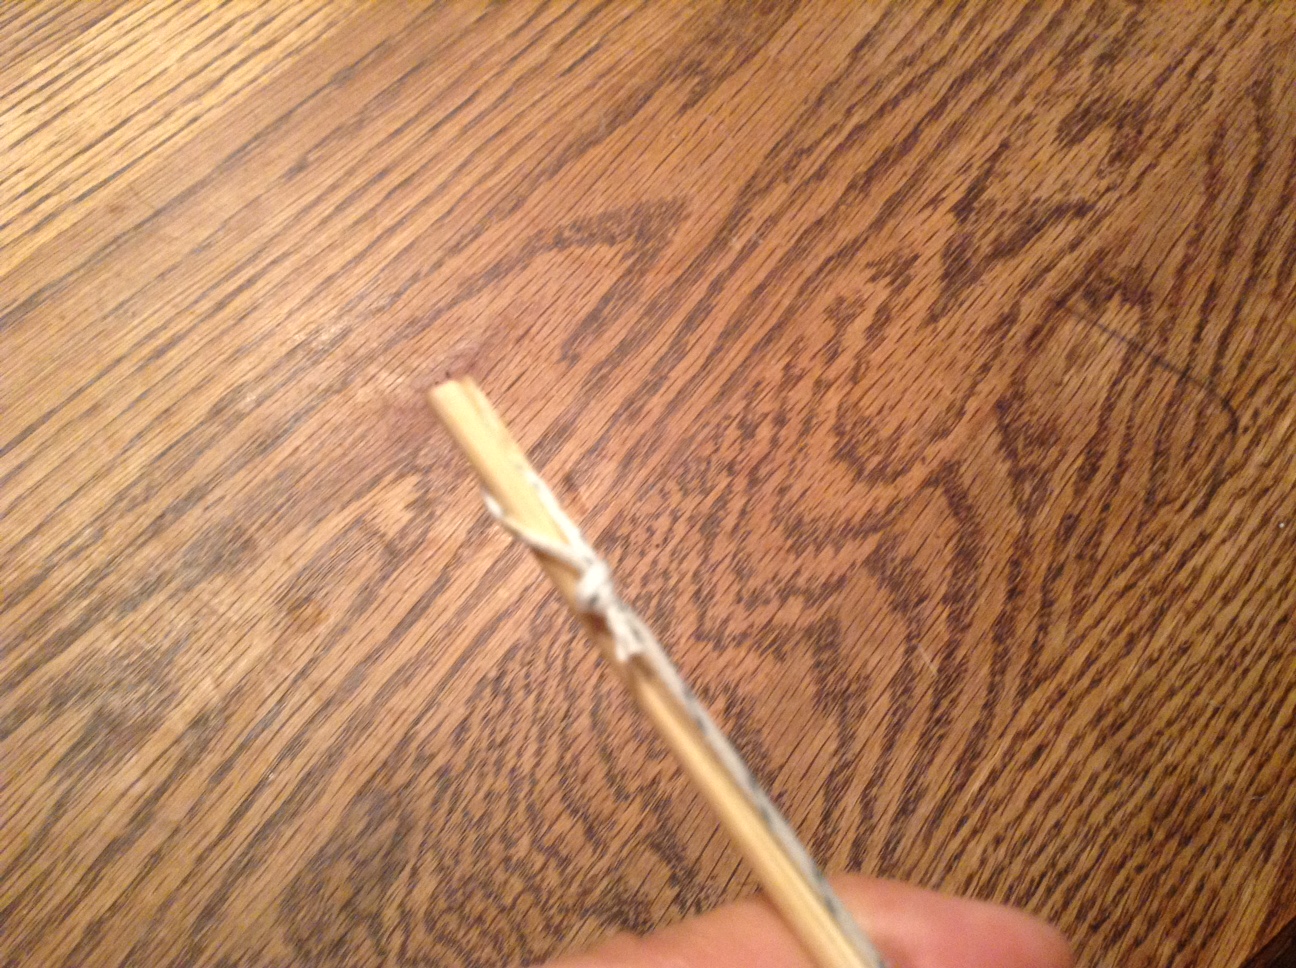
Loop inserted into a slit cut into skewer. This held the fishing line as I fed it through to the mainspring.
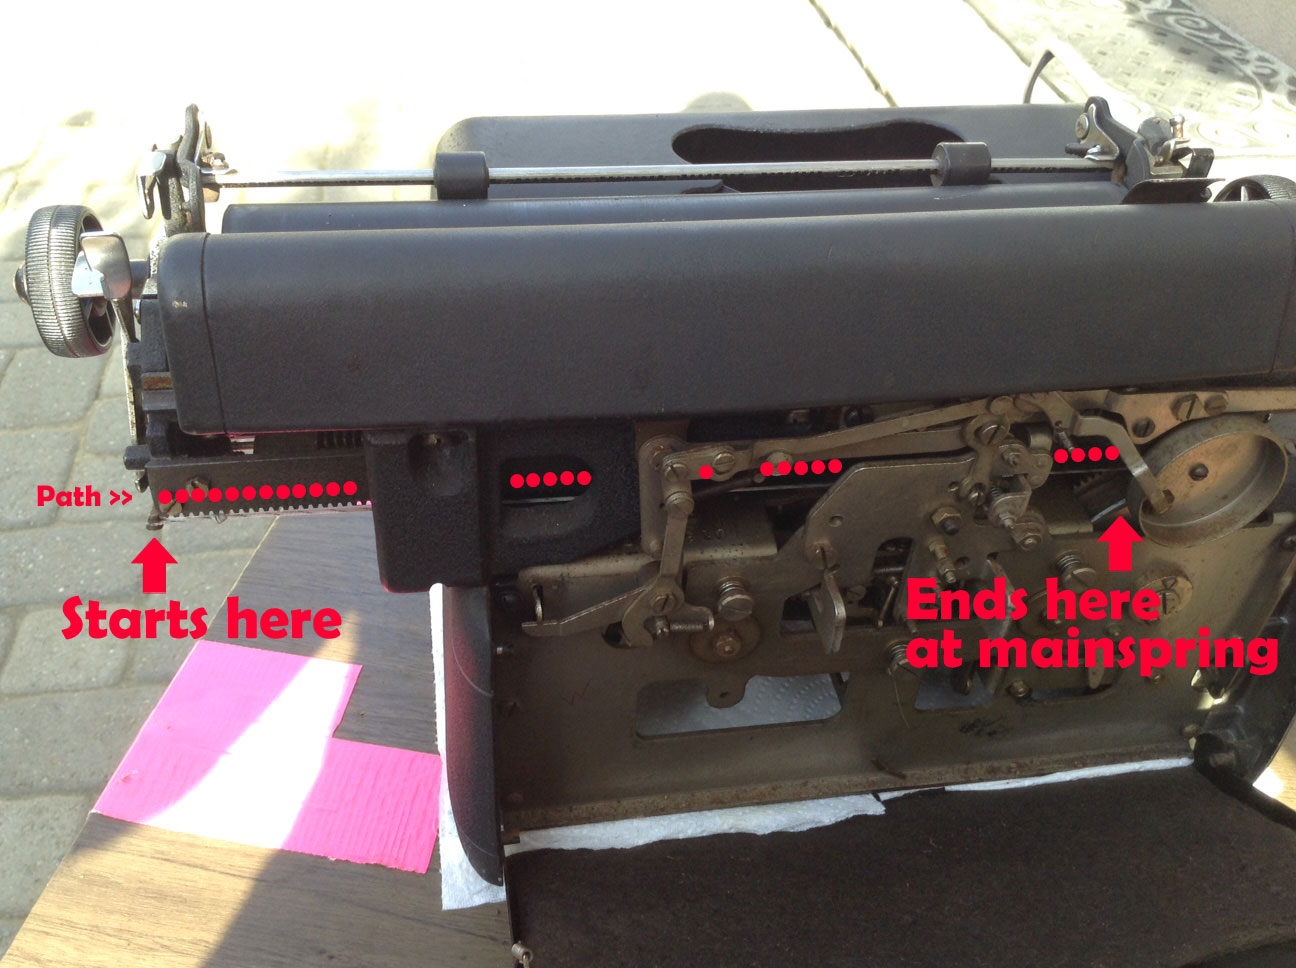
The path the fishing line took. You can see the attached fishing line in white just below my dotted lines.
Once the fishing line was fed through the typewriter to the mainspring, I came to the tricky part: winding up the mainspring and attaching the looped end of the fishing line to it without it unwinding.
I put on disposable gloves for this because it was dirty work and the little teeth of the mainspring drum bit into my fingers. My hands are pretty small, but this was a very tight situation.
I pulled the looped end of the fishing line out of the way for the time being.
I then wound the mainspring clockwise 3.5 turns. It got to a point where it was difficult to turn and hold a grip on it. I kept losing hold of it and it would rapidly unwind and the little teeth of the mainspring bit into my fingers like mad piranhas. On my last attempt, I wound it up clockwise 3.5 turns and with a pair of tweezers, set the fishing line loop onto a hook on the mainspring drum. I let go and the mainspring wound up the extra fishing line, pulling the line taught. There was a enough tension for the carriage to advance with typing. I had a semi-functional typewriter.
I will try to post a video of how I replaced it. Since I am not an expert knot maker, I may have put the knot too close to the right loop. It may come undone; and if I have to replace the drawband again, I’ll film it for posterity.

a great time repair all the old typewriters i repair typewriters for over 30 years
now im loook ing for parts . to restore a old imperial 60 cant get any so i will have to try to make them up
LikeLike
It’s very satisfying when I’m able to return a broken typewriter to full function with a cleaning or simple repair like a replaced drawband.
LikeLike
Thanks for the information. This really helped me fix my KMC with a broken draw band. Instead of a fishing line, I was able to find a similarly sized ID lace and that’s what I used. I was lucky enough to have one that didn’t stretch lying around and used it with the original hardware.
It works perfectly now.
LikeLike
So glad that you were able to fix your KMC. They are really superb machines. Happy typing!
LikeLike
Hello from Denmark, loved reading your post on how to fix a drawband for a typewriter
I am in very similar situation
My draw and is broken and have ordered a nylon fishing line
I tried using the broken braided on the winding drum it doesn’t seem to fit anymore
After seeing your post I can see that I do not have any Hook to set it in the drum ?! Do you have any suggestion on how I can fix without it ? ☺️
LikeLike
Hello Fari from Denmark! Some typewriters do not not have a hook on the mainspring drum for the drawstring. What you will see is a hole or slot where the knotted end of the drawstring is inserted. Here is a good video from Duane of Phoenix Typewriter that shows how to attach a drawstring in this situation:
If you tell me the brand and model of your typewriter, I may be able to help you find a more specific video.
LikeLike
Thank you ! Will watch it ASAP ☺️👍🏼
LikeLike
Great video! Super helpful. I have a Royal Quiet with the same problem. Would you know how long the draw band should be from loop to knotted end, before it starts to wind over the main spring drum? I know that it will wrap a few times around the drum, so how long should it be to start/
Thanks!
LikeLike
Hi John – I took a look at my Royal Quiet De Luxe and I am estimating that the drawstring is about 13 inches from the loop to the knotted end. See if that works for you.
LikeLike
Thanks! I’ll give it a try today. I have 30 lb. braided line and 40 lb. mono-filament. I’ll start with the braided line first. Thanks again. John
LikeLike
In the past, I sort of over-engineered drawstrings and used extremely strong material. I have recently begun using heavy duty, waxed upholstery twine since it’s easy to knot. It seems strong enough.
LikeLike
Hello ,how are you please if you can help me I have a typewriter that is old(Olivetti Loxicon 80 ) Now and after finding it In my grandfather house I am trying to fix it but some problems I can’t be solved so I need your help to find the solutions and If you want some pictures about the problem I will send it to you and thanks…
LikeLike
The Lexikon 80 is such a beautiful typewriter. I have written a few posts about it:
https://myoldtypewriter.com/category/olivetti-lexikon-80/
What seems to be the trouble with your Lexikon 80? I *might* be able to help you.
LikeLike
Hi again, Thank you for your help
The drawband is on and it is working very well now 🥳👍🏼☺️
The typewriter model is Mercedes super T (made in Spain)
I have been testing it and can now see that the uppercase letters are not working correct and my brand new ribbon isn’t providing enough black ink onto paper 😩
One problem solved and now two other appeared lol 😂
May I ask your for help again with these above mentioned issues?
Thank you in advance ☺️☺️
LikeLike
Congratulations on you drawband repair!

Could you send me a photo of a typing sample as well as a photo of your ribbon placement with the ribbon cover up to my email address? My email is:
That will help me diagnose your problem. You may have one or several issues: a sticky ribbon vibrator that does not lift properly, a ribbon that isn’t feeding correctly (is it inserted properly?), some kind of obstruction that prevents shifting, etc.
Also, does your Mercedes Super T look like this? If it does, I *think* it’s a rebranded Spanish Olivetti and that will help me trouble shoot.
https://cdn.shopify.com/s/files/1/0338/9803/7307/products/IMG_2422_1024x1024@2x.jpg?v=1584113769
LikeLike
Hi, site owner / mother of two / high ranker of typewriting lore … And to others who follow her!
The babykates just brought home to me your exact same model, I think. 30 bucks outside our local hardware store who also has … Amazingly diverse lots of stuff…
I’ve already used your blog as a reference at least 3 times … Identify. The simple ribbon answer. And most importantly, the drawband / mainstring!
When it arrived home, i immediately tested every key, switch, lever, etc. Allgood. Very very dirty, very very sludgy actions.
So of course I gave him a bath, combination vacuum, water, brush, wd-40, flea spray, whatever.
And of course it deteriorated the remainder of fiber drawstring, which I didn’t realizez and set back all my diagnosis and cleaning until i realized – and it was your blog (after I saw a suspicious fabric thingy hanging out under the hood)
So i made one using two lengths of venetian blinds cord and zigzagged sewed them together like an external braid. Wiped down with fabric glue, dried, ironed a few times to keep flat.
Short story long: success. Your blog rocks. Now i can get new ribbon! (Knowing I didn’t break it negligent to begin with!)
LikeLike
So glad to hear that the post was helpful.
I have learned many things in the six years since I brought home that KMC including these two:
I have to say: that original KMC is still one of my favorite typewriters. So solid and dependable despite the years on it.
LikeLike
That’s my hope – solid, dependable. I’m a late 40s acts like 20s redneck slacker-of-all-trades, and between the mandolins/guitars, the all-steel heavy duty sewing machine i just upgraded to, my straightforward murdercycle … And know finally last piece of puzzle (yeah right) typewriter I’ve wanted … Stuff That Works as guy clark says.
I told the better half that I’m pretty sure I’m not buying random stuff – I’m trying to buy 1952!
But the band – yeah, i can see any would work, but your numbers were spot on- mine was still intact before i modern solvented it, and it measured 25.5 eye to eyelet. So i tried to make mine 25.25 to allow.
So far, so good. Everything moving right. Office big box for cheap ribbon today.
Any idea what the lever in back of chassis, as you look from back, bottom right — what it does? Haven’t found the interwebs answer yet.
LikeLike
Hmm. Lever in back… could you send a photo?

My KMC is with my son in California right now, but I could probably identify the mysterious lever with a photo.
Also, I may not have mentioned this in any of my KMC posts, but you should check out the users manual for the KMC that’s found in Richard Polt’s typewriter manual archive:
Users Manual for Remington KMC
LikeLike