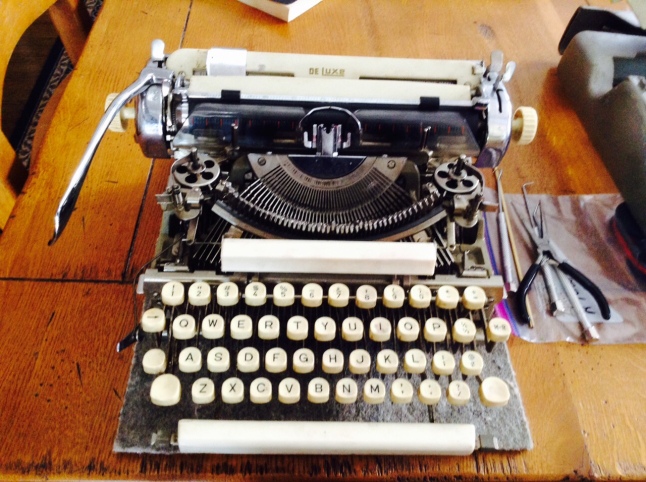
The Voss De Luxe AKA The Venus of Wuppertal AKA Swamp Thing was going to the blasting cabinet at Techshop to remove the lichen-like painted crust from the shell. But first, we had to get all the painted metal parts off the machine.
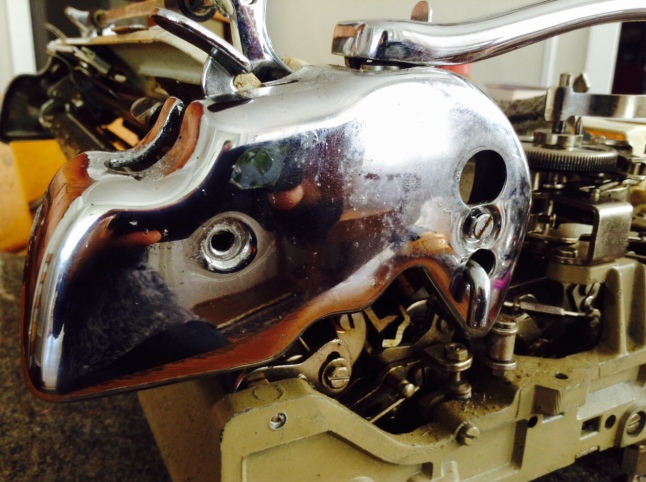
The main body casing was easy to remove. There are small clasps inside the shell in the center front and center back. Once these are undone, the shell splits in half. Nifty. The only sticky part was navigating the ribbon color selector arm on the left half of the casing. I pushed the selector lever toward the back of the machine and shimmied off the left half of the shell with some care.
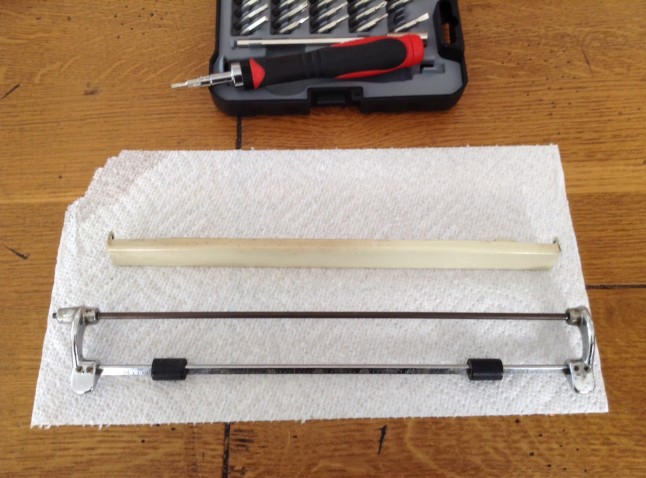
The paper table and painted metal piece on the paper bail were more challenging.
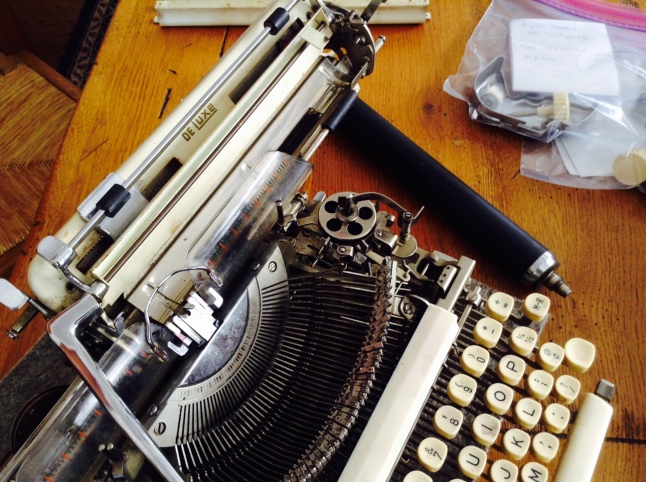
I had to remove the platen. First, I removed the platen knobs. Turning counter-clockwise and holding the platen with hefty pliers, they came off.
Next I had to remove the chrome platen cover plates – two screws on each side.
I flipped the paper release lever and eased the platen out.
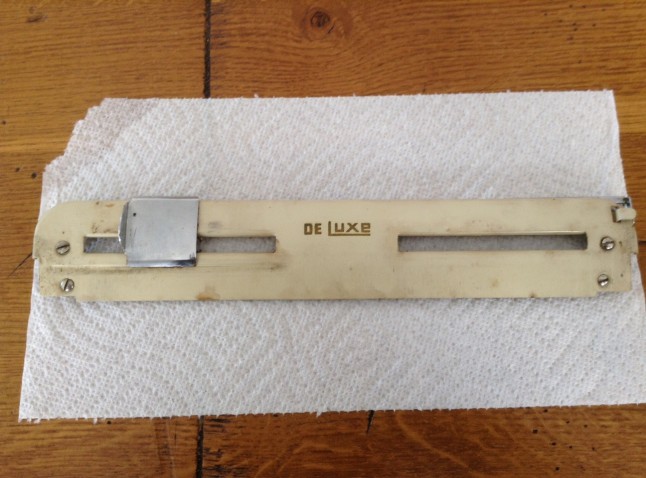
I unscrewed the paper table (four screws) and it was off.
I removed a screw on the right holding the paper bail in place and removed the paper bail with its attached metal piece. I then removed two tiny set screws that held a rod that secured the smaller painted metal piece to the paper bail.
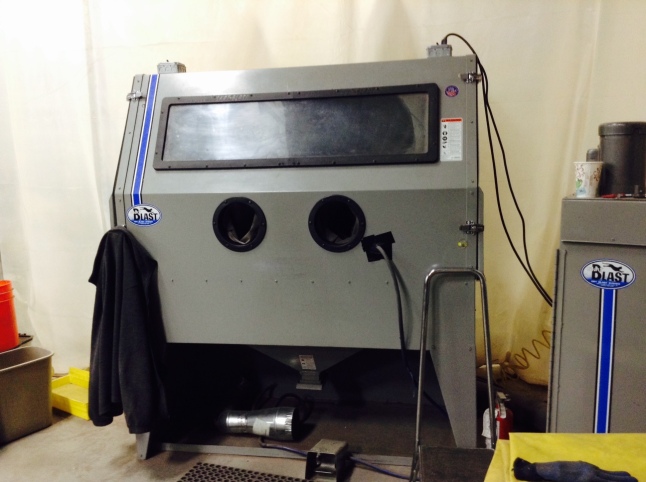
The instructor of my sand blasting and powder coating class said that you should never put greasy parts in the blasting cabinet. It contaminates the blasting media and causes problems for those using the cabinet when the nozzle sprays out greasy gunk instead of clean recirculated media.
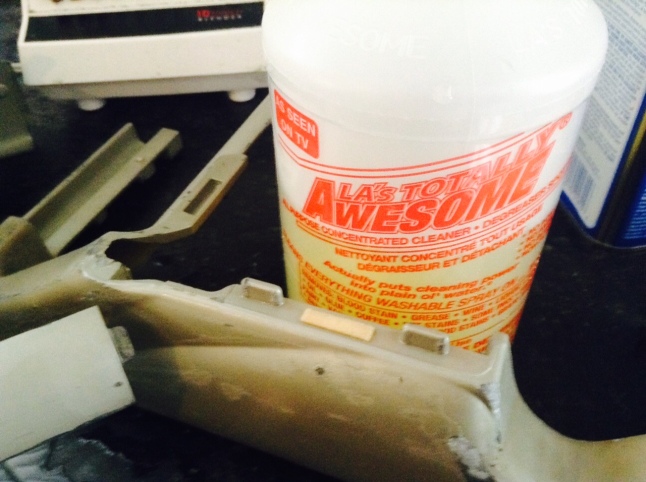
I first washed the lower casing parts in warm soapy water to get the worst of the grunge off. I had bought some dollar store degreaser (LA’s Totally Awesome for $1.00) that was recommended in an automotive forum. I washed the lower shell with it. I rinsed the shell and then went over the parts with acetone for good measure.
Degreased, the parts were now ready for the blasting cabinet.
I decided to sand blast just the lower shell halves. Those we are definitely painting. I haven’t decided whether I will repaint the cover. It’s in OK shape though it has some scrapes and crazing in the paint. I’d like to retain the original decals, so I may keep the original cream top and cream accent pieces. If I can get a good match on the cream color, I will sand blast and powder coat just the cover the same cream color and clean the accent pieces with decals thoroughly.
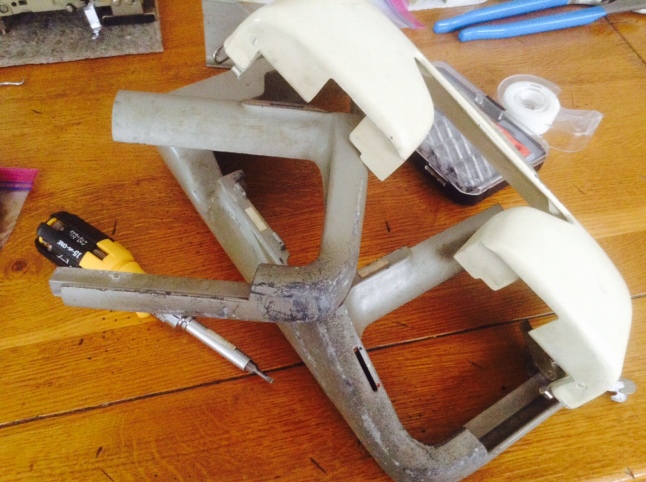
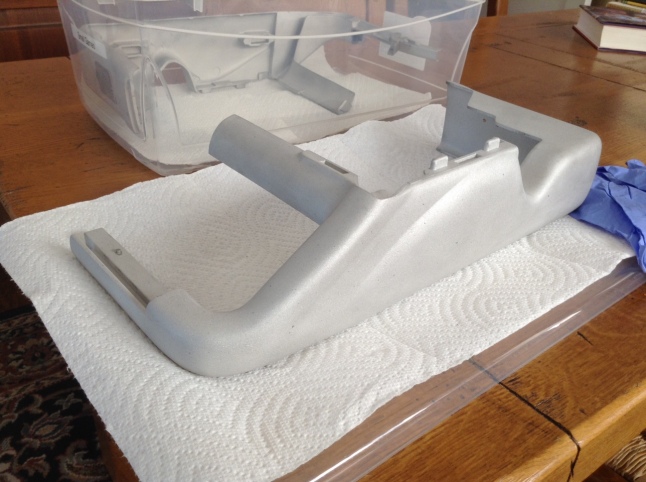
Here’s what the lower shell pieces looked like before sand blasting.
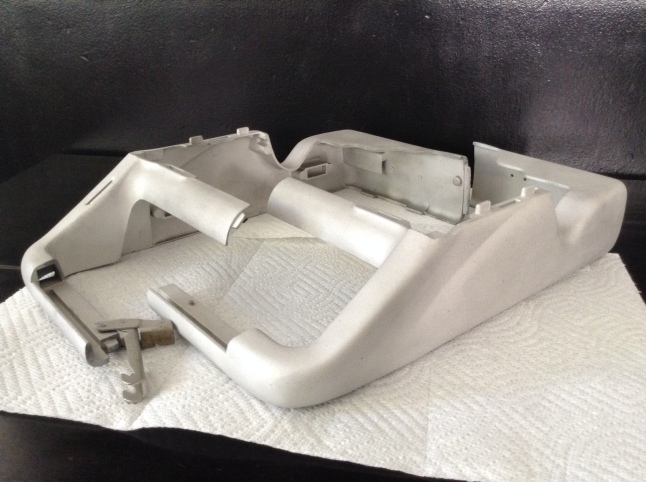
Here’s the photo after media blasting.
The shell looks decidedly more Space Age now that the crust of centuries has been removed.
It took me 1.5 hours to blast the first half of the lower shell inside and out. Though it appeared crusty and battered, the hard, baked-on enamel paint was well-adhered. It was slow going. Unfortunately, there was no pressure regulator on this cabinet. I was using 60-80 grit blasting media, but a little bit more pressure might have sped up the process.
My technique improved and the second half took me about an hour to do. Next time, I will bring ear protection. The compressor and fan are very noisy. I will probably do one more quick pass over the pieces to clean up any residue before I powder coat.
After blasting, I was very careful not to touch the pieces with my bare hands. Oils from the hands can interfere with powder coated paint adhesion later. Donning gloves, I placed the blasted pieces carefully into a clean plastic box to take home.
I may run into problems with powder coating the cast aluminum parts. Cast metals have gasses trapped inside. When baked to cure after powder coating, outgassing may cause bubbles, “fish-eye”, and pin-holes in the painted surface. The work-around is to preheat the parts in an oven at a temperature higher than your cure temp for a good long time to allow the parts to outgas. The other issue is that aluminum is notoriously porous and will soak in grease like a sponge. Pre-heating the part is once again the fix, as it allows the grease to burn off.
I am just so curious to see what kind of results I can get with powder coating. In the end, I may have to resort to re-blasting the parts and spray painting, but at least I can say, “I tried powder coating”.
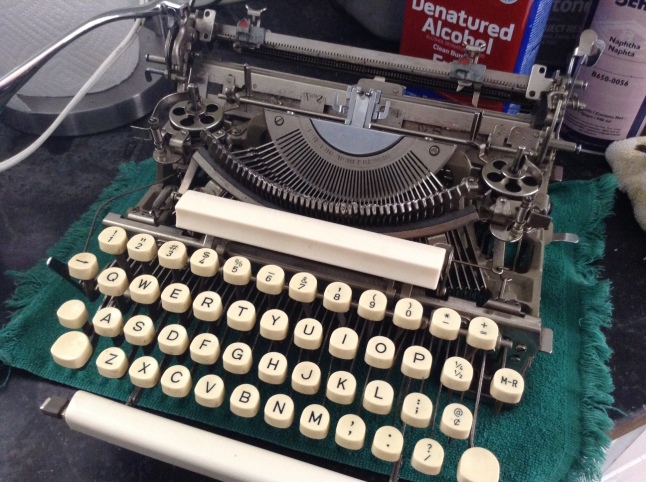
I am still carefully cleaning and de-gumming the internal mechanics. My personal favorite solvent is denatured alcohol. I know other people prefer mineral spirits, but the formulation of denatured alcohol that I use cuts quickly through gum and grease and evaporates almost immediately. I have to be careful when I use it because it will eat into painted surfaces.
Mineral spirits is a great degreaser, but the formulation I have takes forever to evaporate. Sometimes I will clean slugs and segment with mineral spirits and unevaporated droplets will spray everywhere when I test typing. I hate that. Naphtha works pretty good too, but it’s slower to evaporate than denatured alcohol.
We are in a holding pattern until we get the mailed paint samples from the powder coat paint company and decide what we will order. I impatiently await their arrival. I will spend some time with my other project typewriter, the LC Smith No. 8, while I wait for the paint samples.
Looks very promising.
LikeLike
Great progress thus far. Regarding the decals, is it possible to mask them off with a neat rectangular piece of – what – tape? Something that won’t damage the decals underneath but also won’t get damaged by the blasting?
LikeLike
My current plan is to preserve the cream painted top pieces with decals and clean them thoroughly since those pieces are not in too bad of condition. When sand blasting, you can mask areas with thick electrical tape, but I am afraid that’s going to just lift the decals. I am hoping to match the cream color of the top in powder coat paint because I’d like to strip and powder coat the ribbon cover which has some scrapes and crazing. If I don’t get a good match, I will just carefully clean and touch up the cream paint on the ribbon cover.
LikeLike
nice beginning! Can’t wait to see how pretty you make that Voss 😀
LikeLike