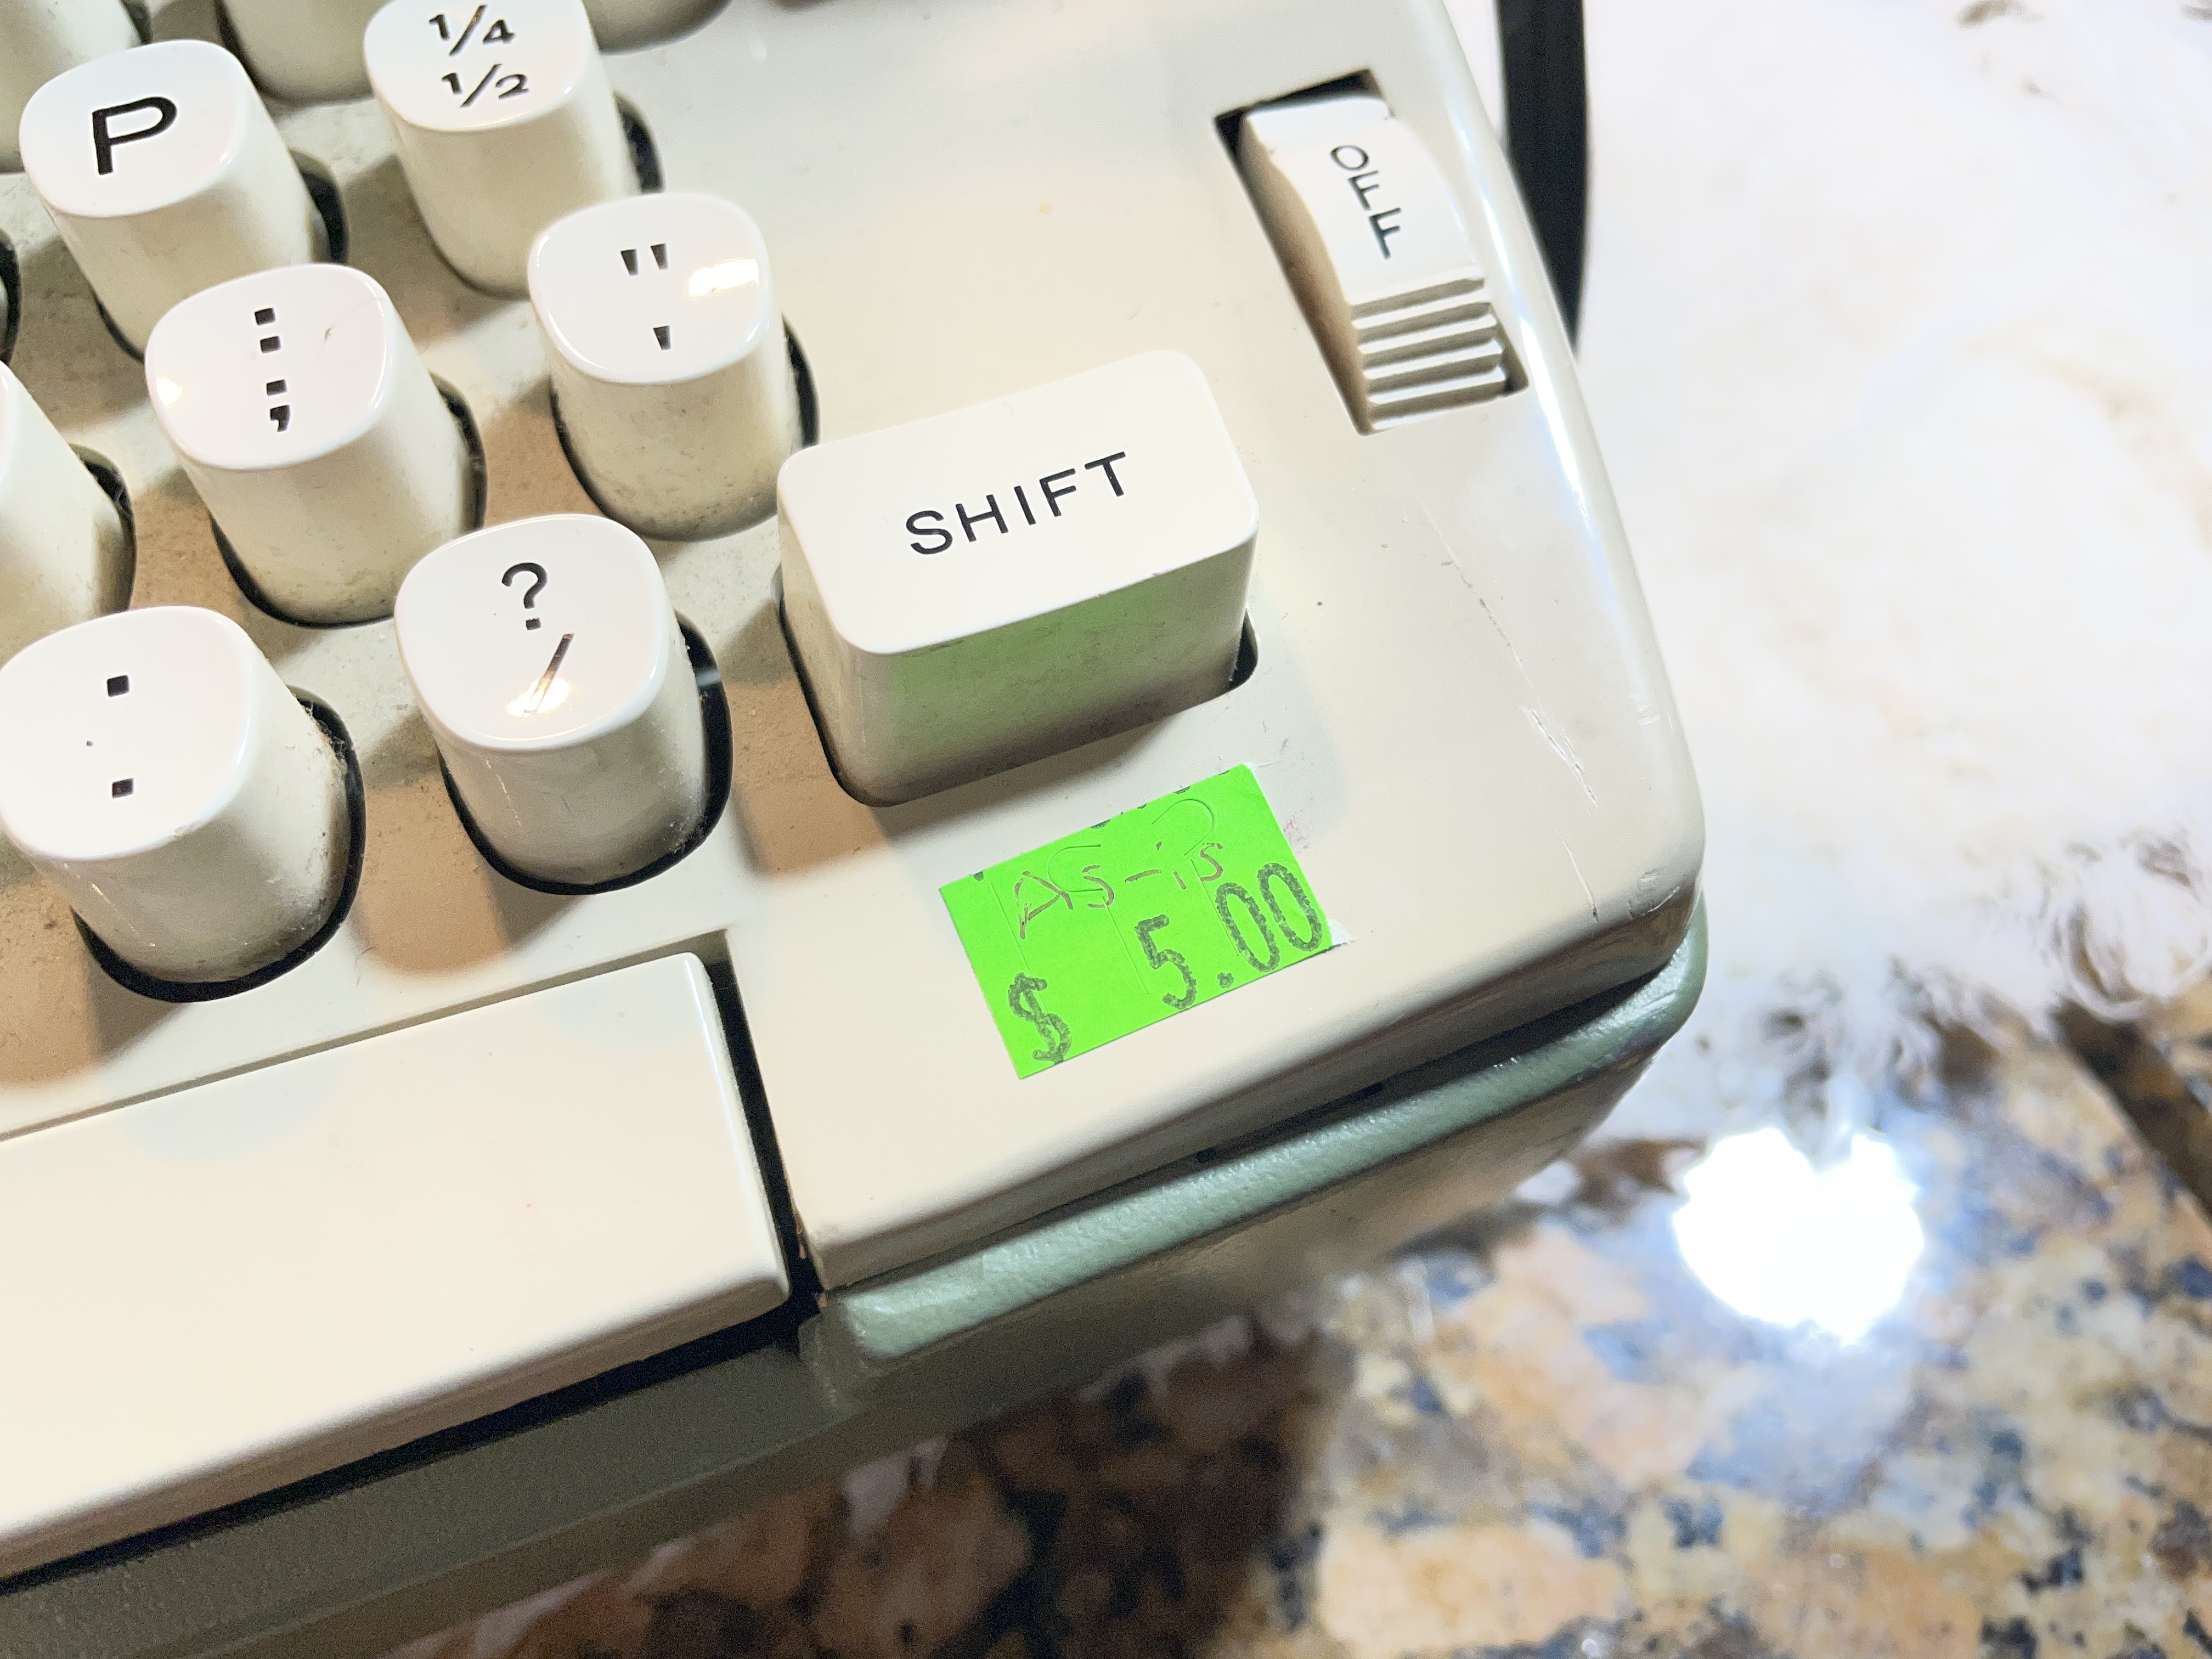
A $5.00 “as-is” machine is often worth much more than $5.00. If you can repair it, it’s worth more, obviously. If you can’t, it’s a good parts machine. And for me, a life-long learner, a broken typewriter is a wealth of educational opportunities. I recently had a doozy of a “learning experience”.
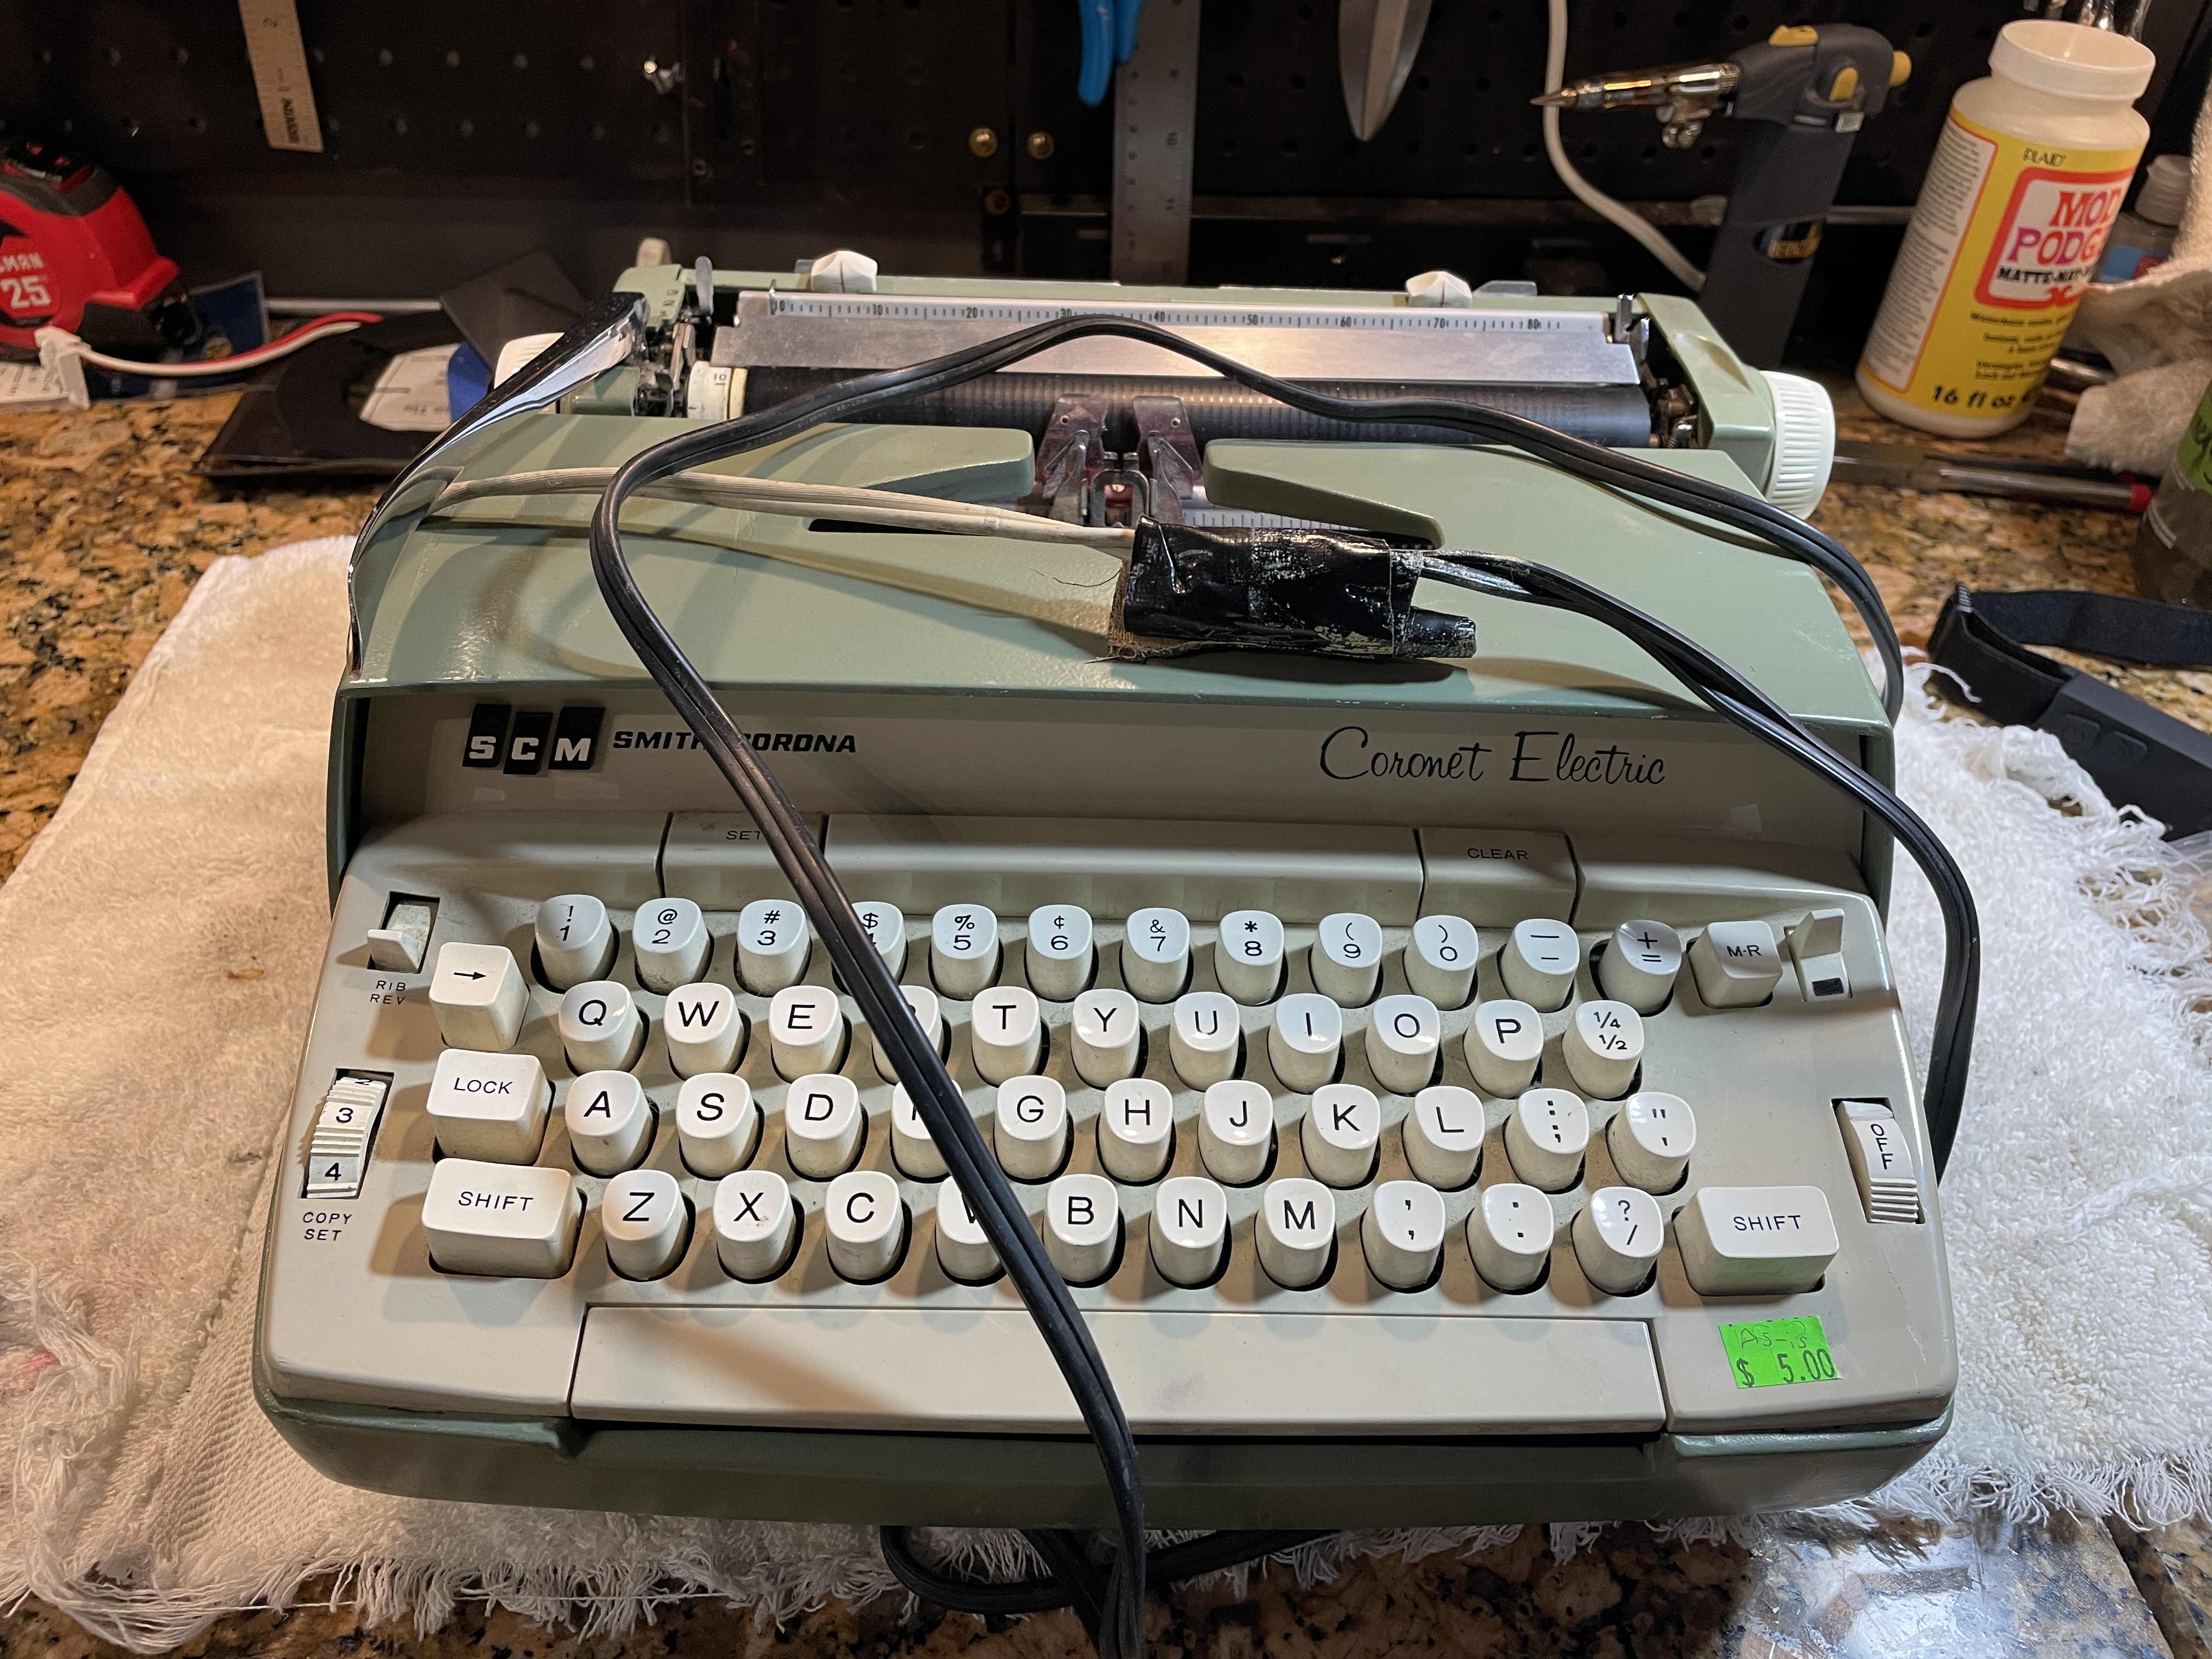
A local typospherian named Jean directed a dysfunctional 196x SCM Coronet Electric my way. A friend of hers had picked it up at a thrift store and gifted it to Jean.
When plugged in, machine hummed but didn’t do anything. Jean wanted me to see if I could get it running because it’s such a cute little baby sweetpea of an electric. I didn’t want to disappoint Jean—she’s a very positive person, full of good vibes, hope, and optimism—but the typewriter was pretty messed up. I was game.
Jean’s friend had gotten it for $5.00 in “as-is” condition.
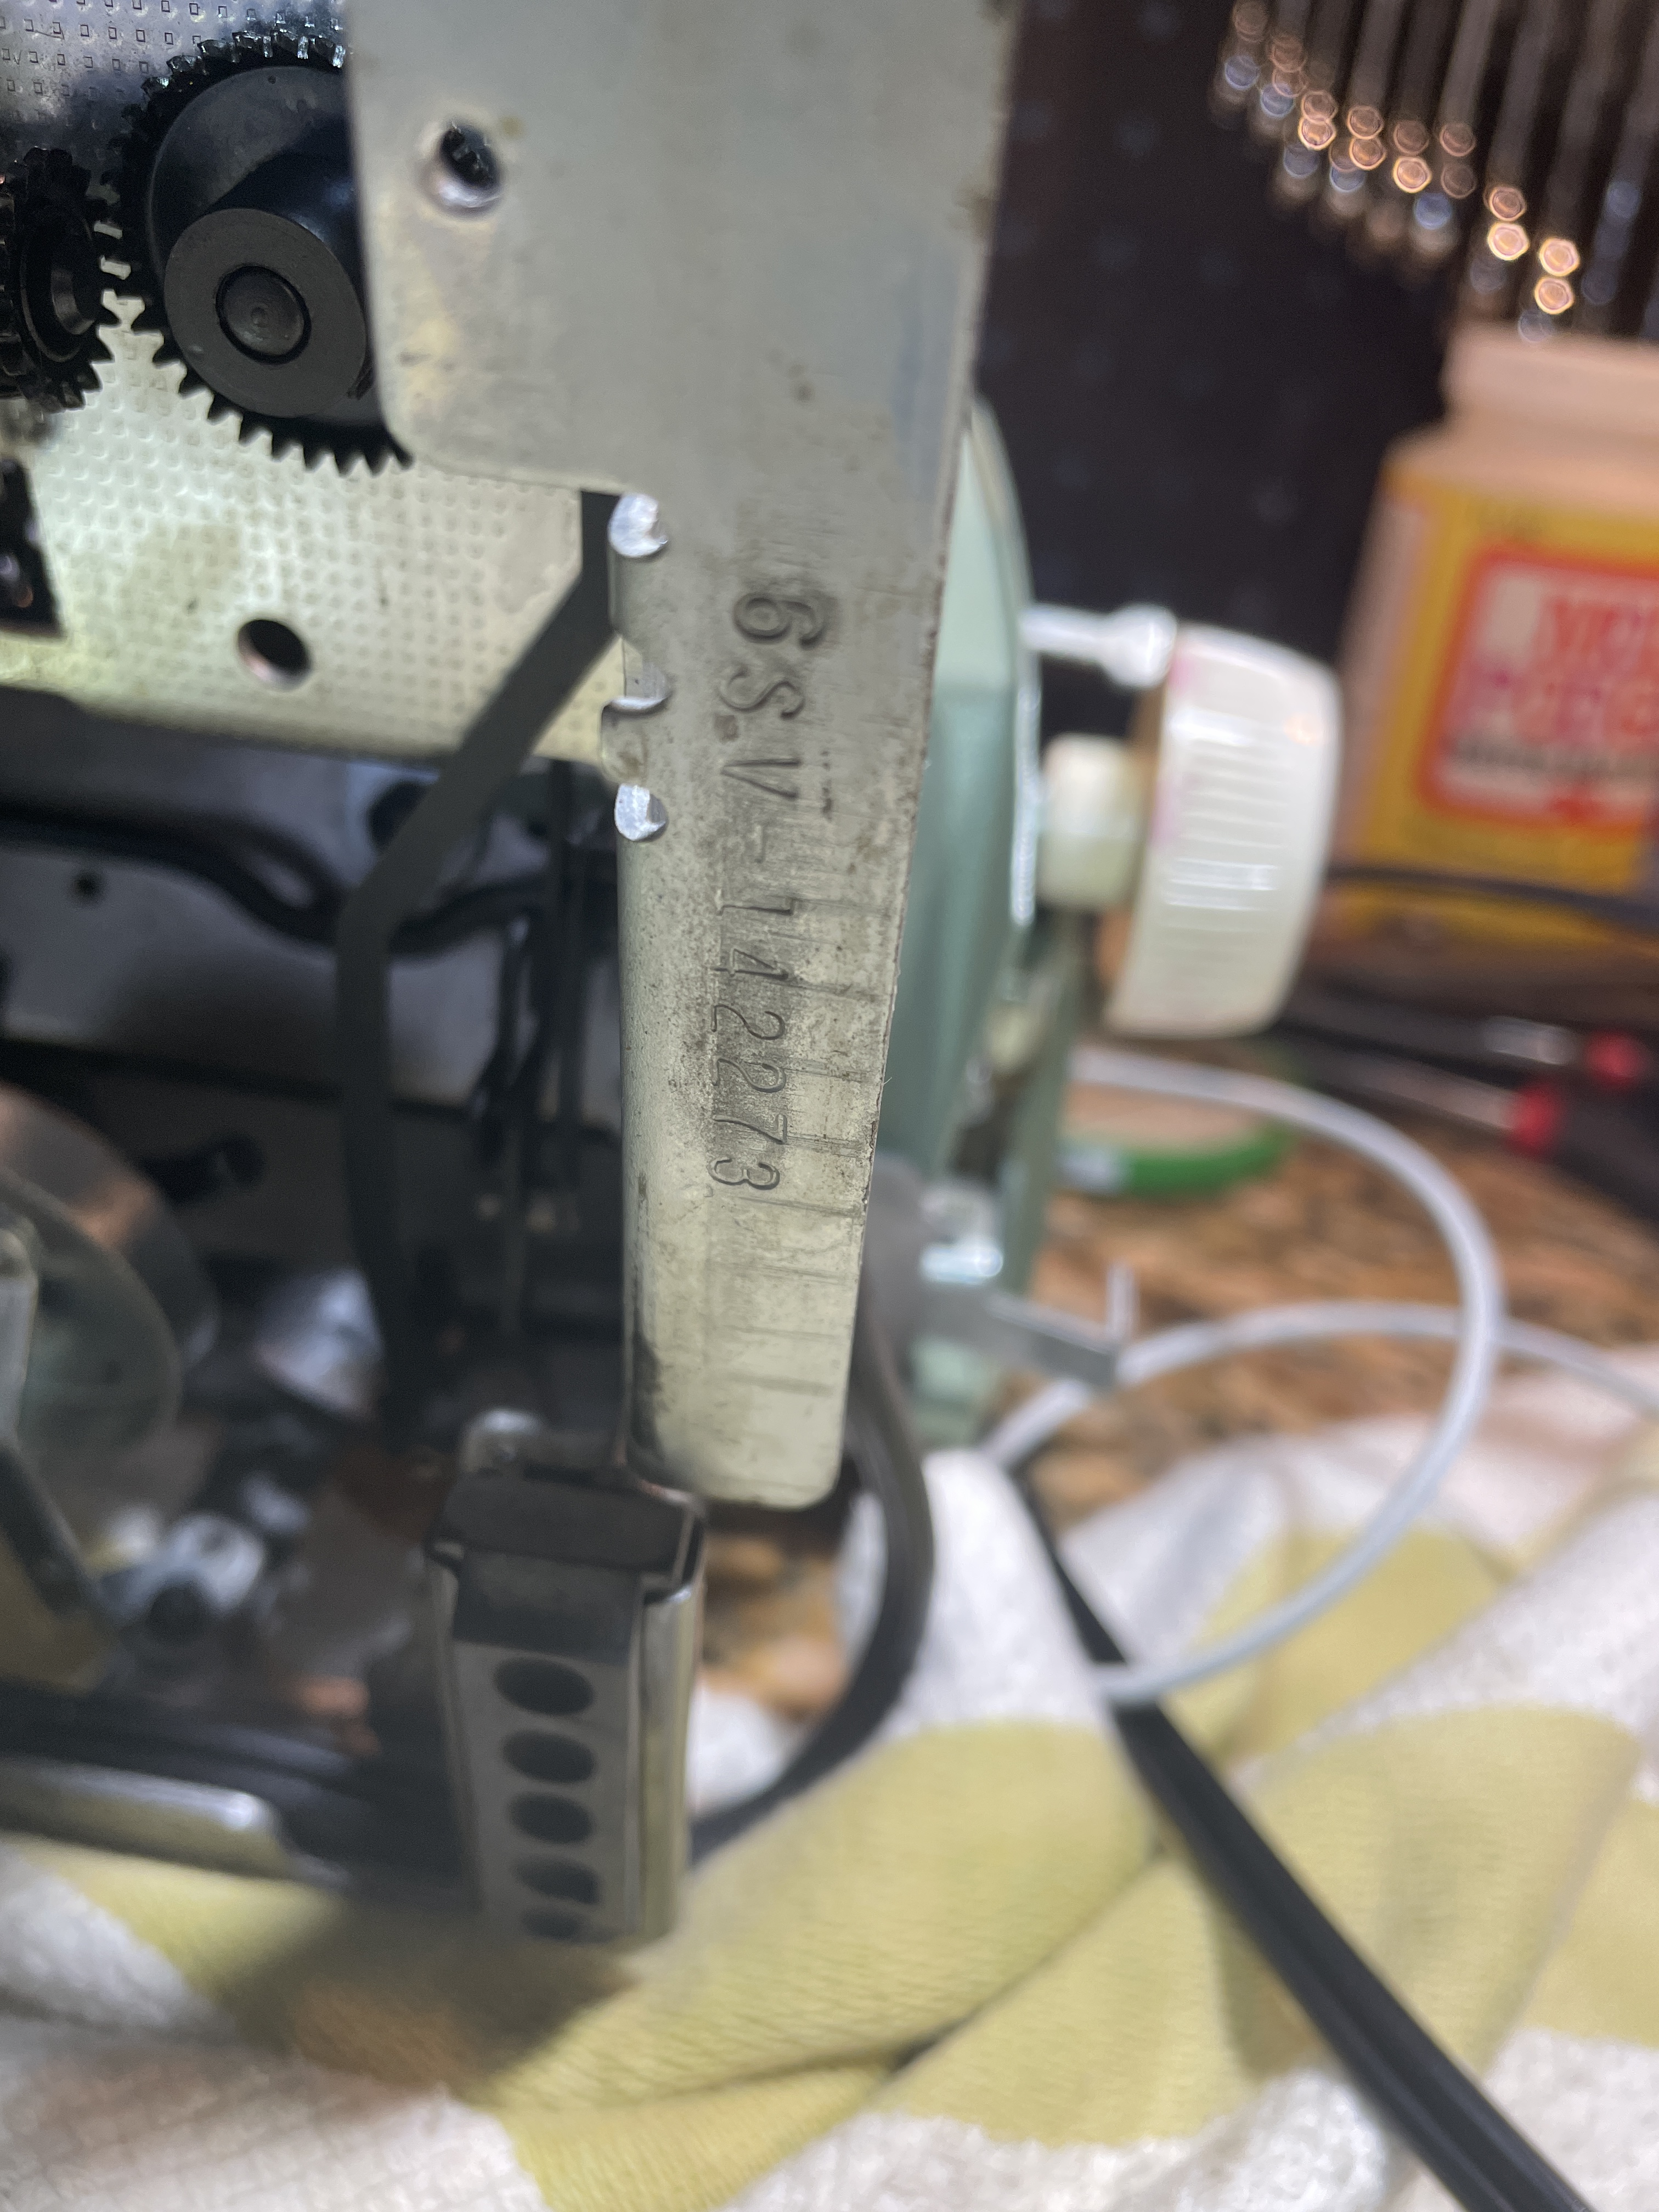
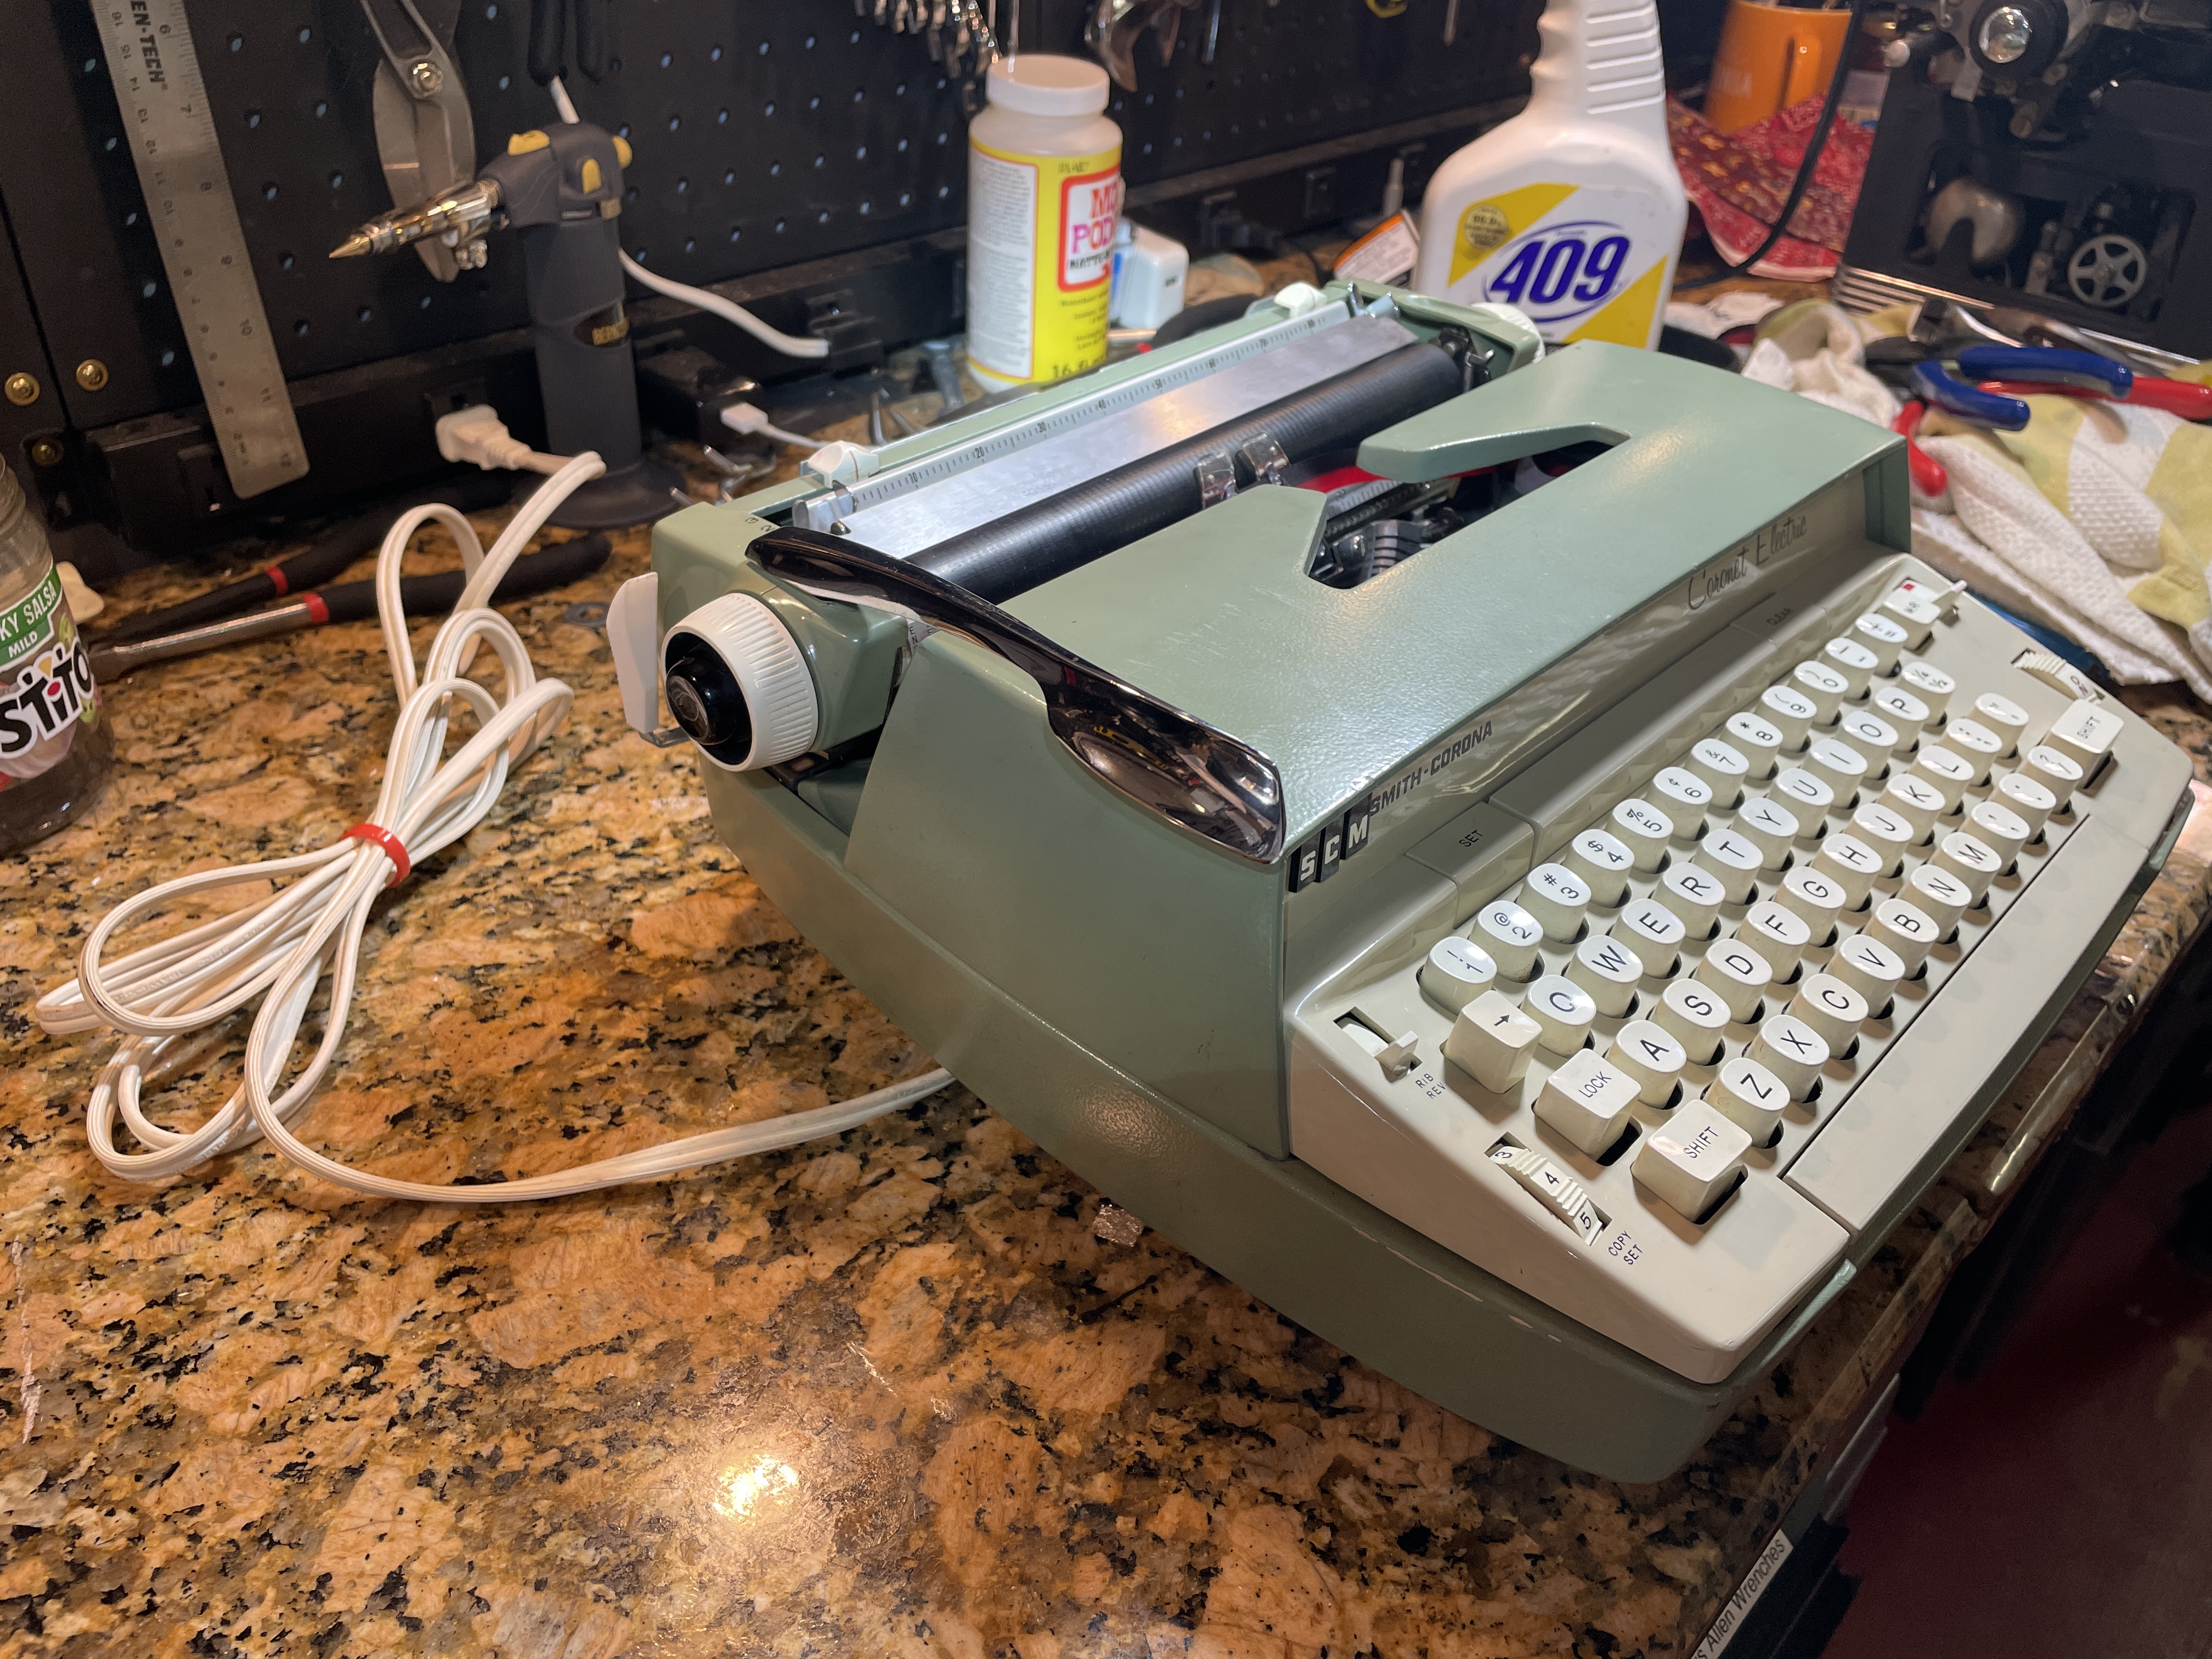
The serial number, 6SV 142273, is stamped on the bottom, and I’m guessing it’s a mid-1960s machine.
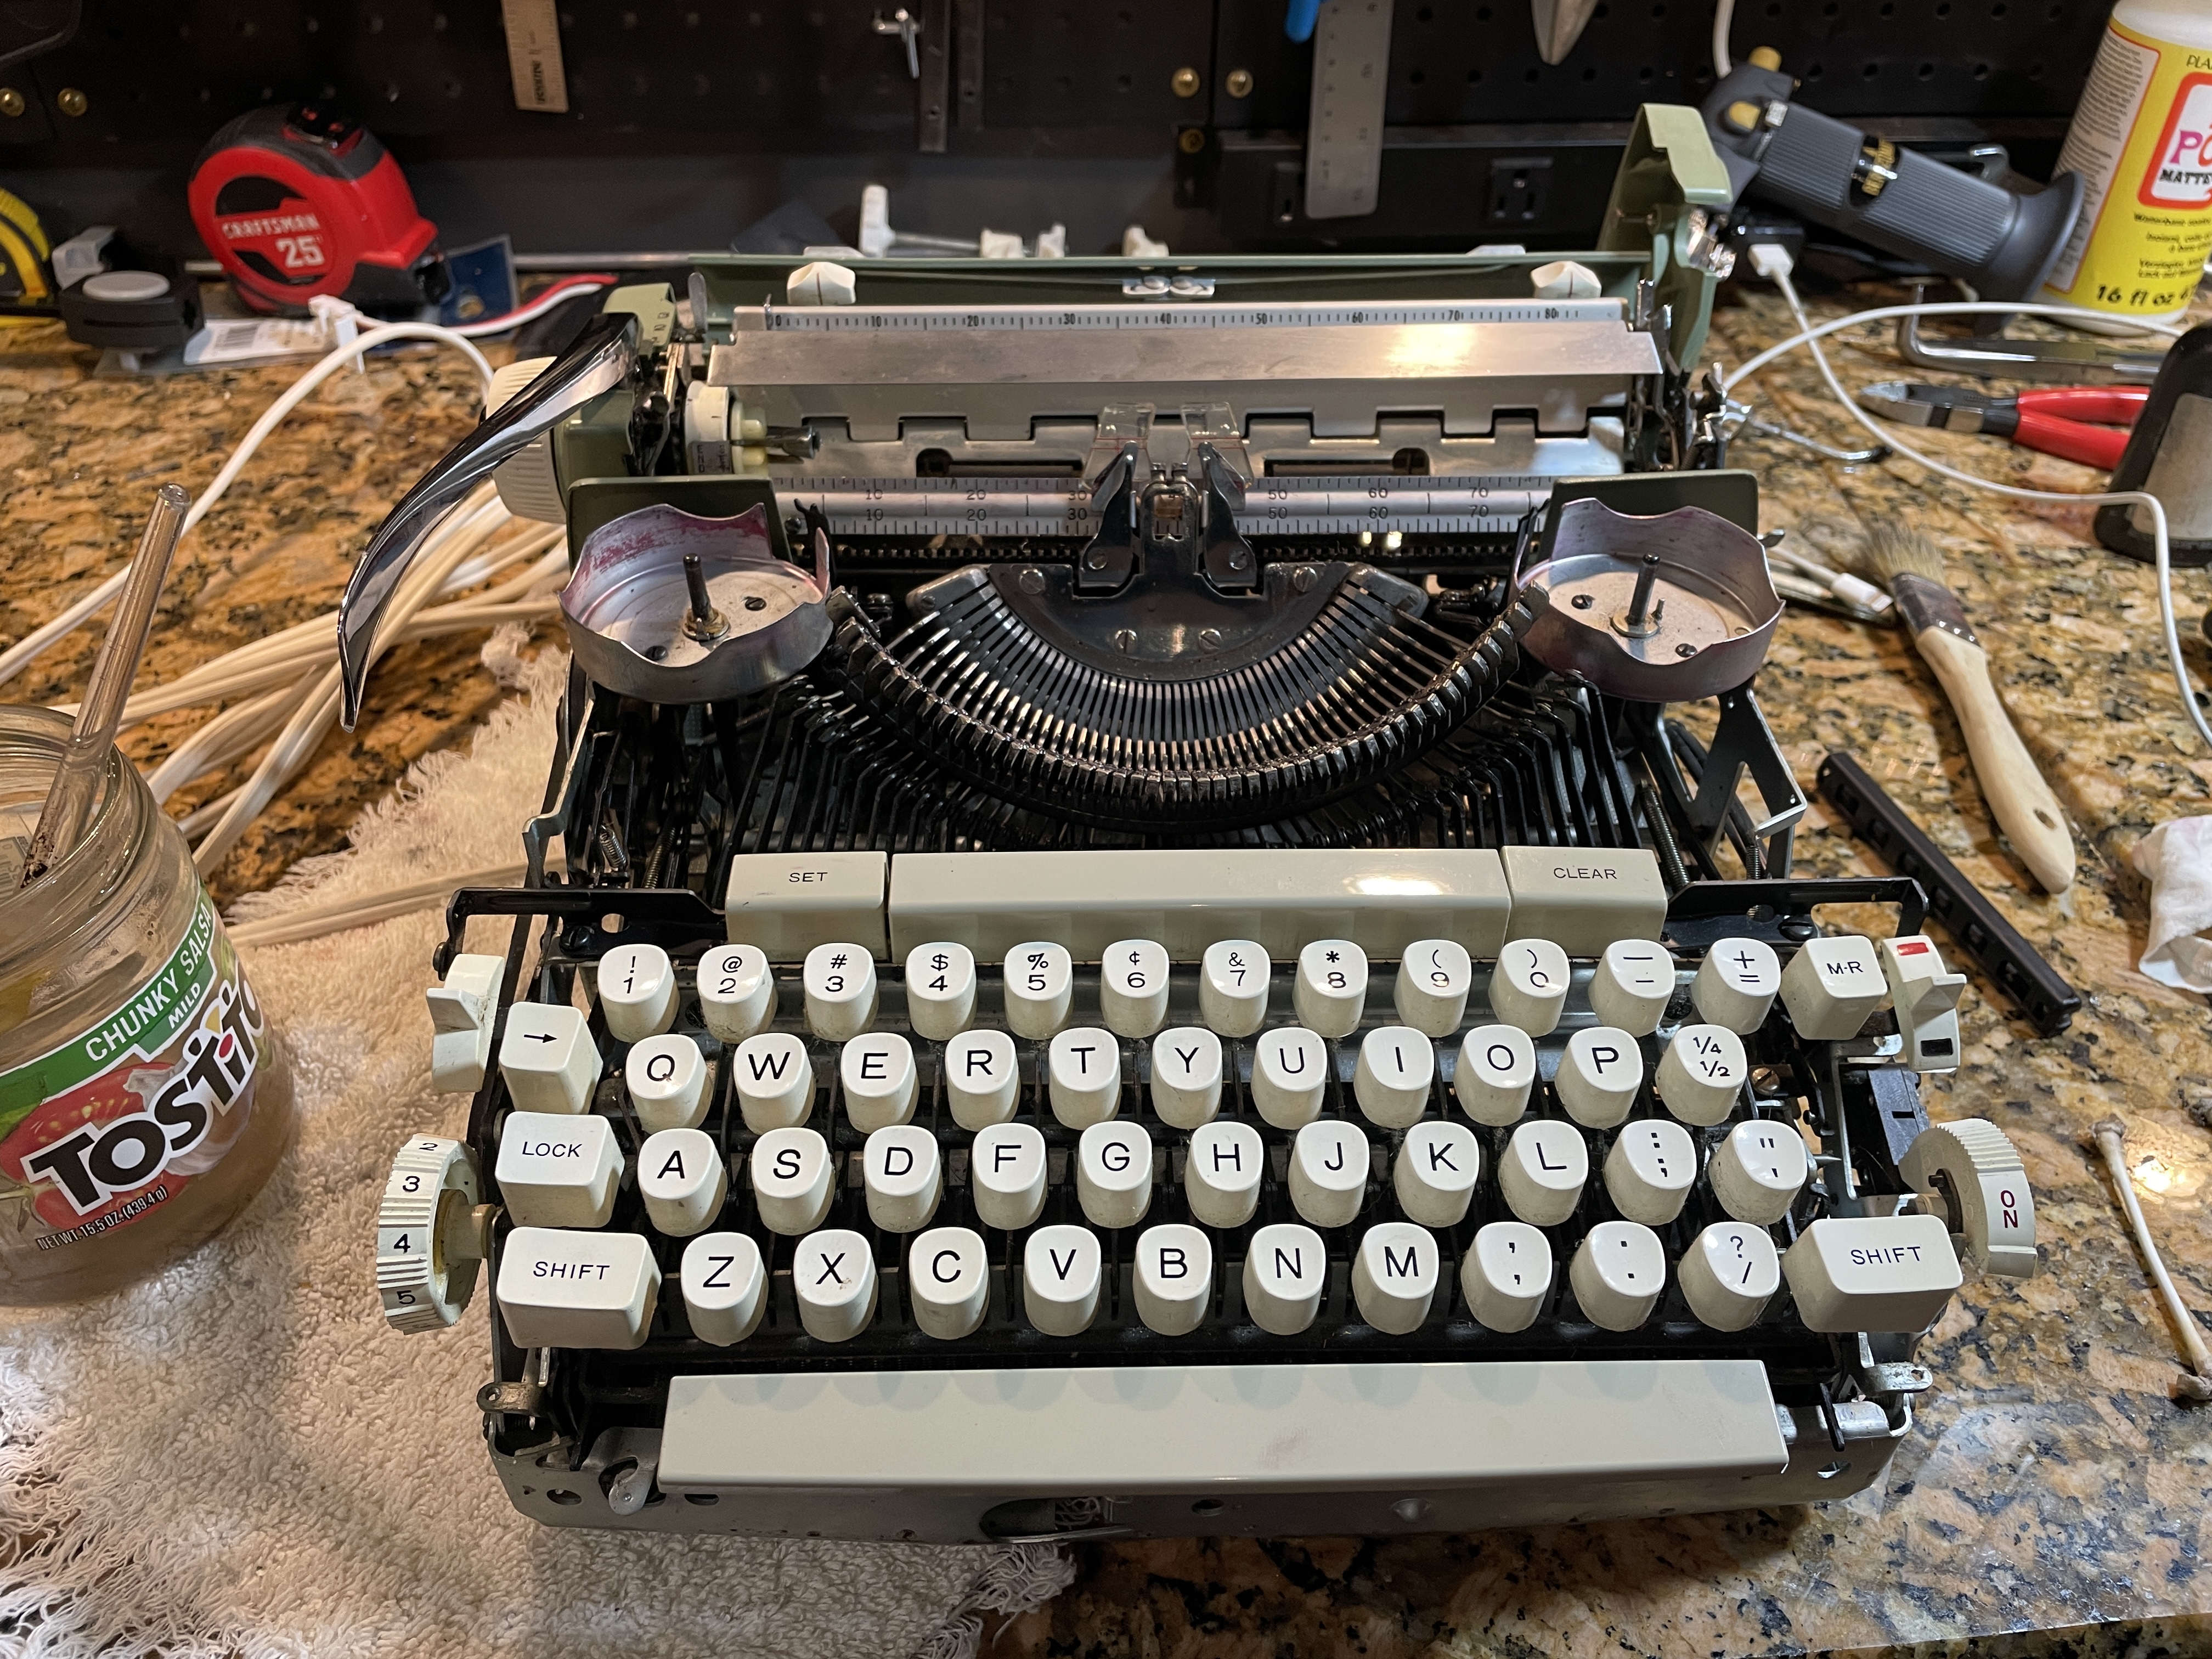
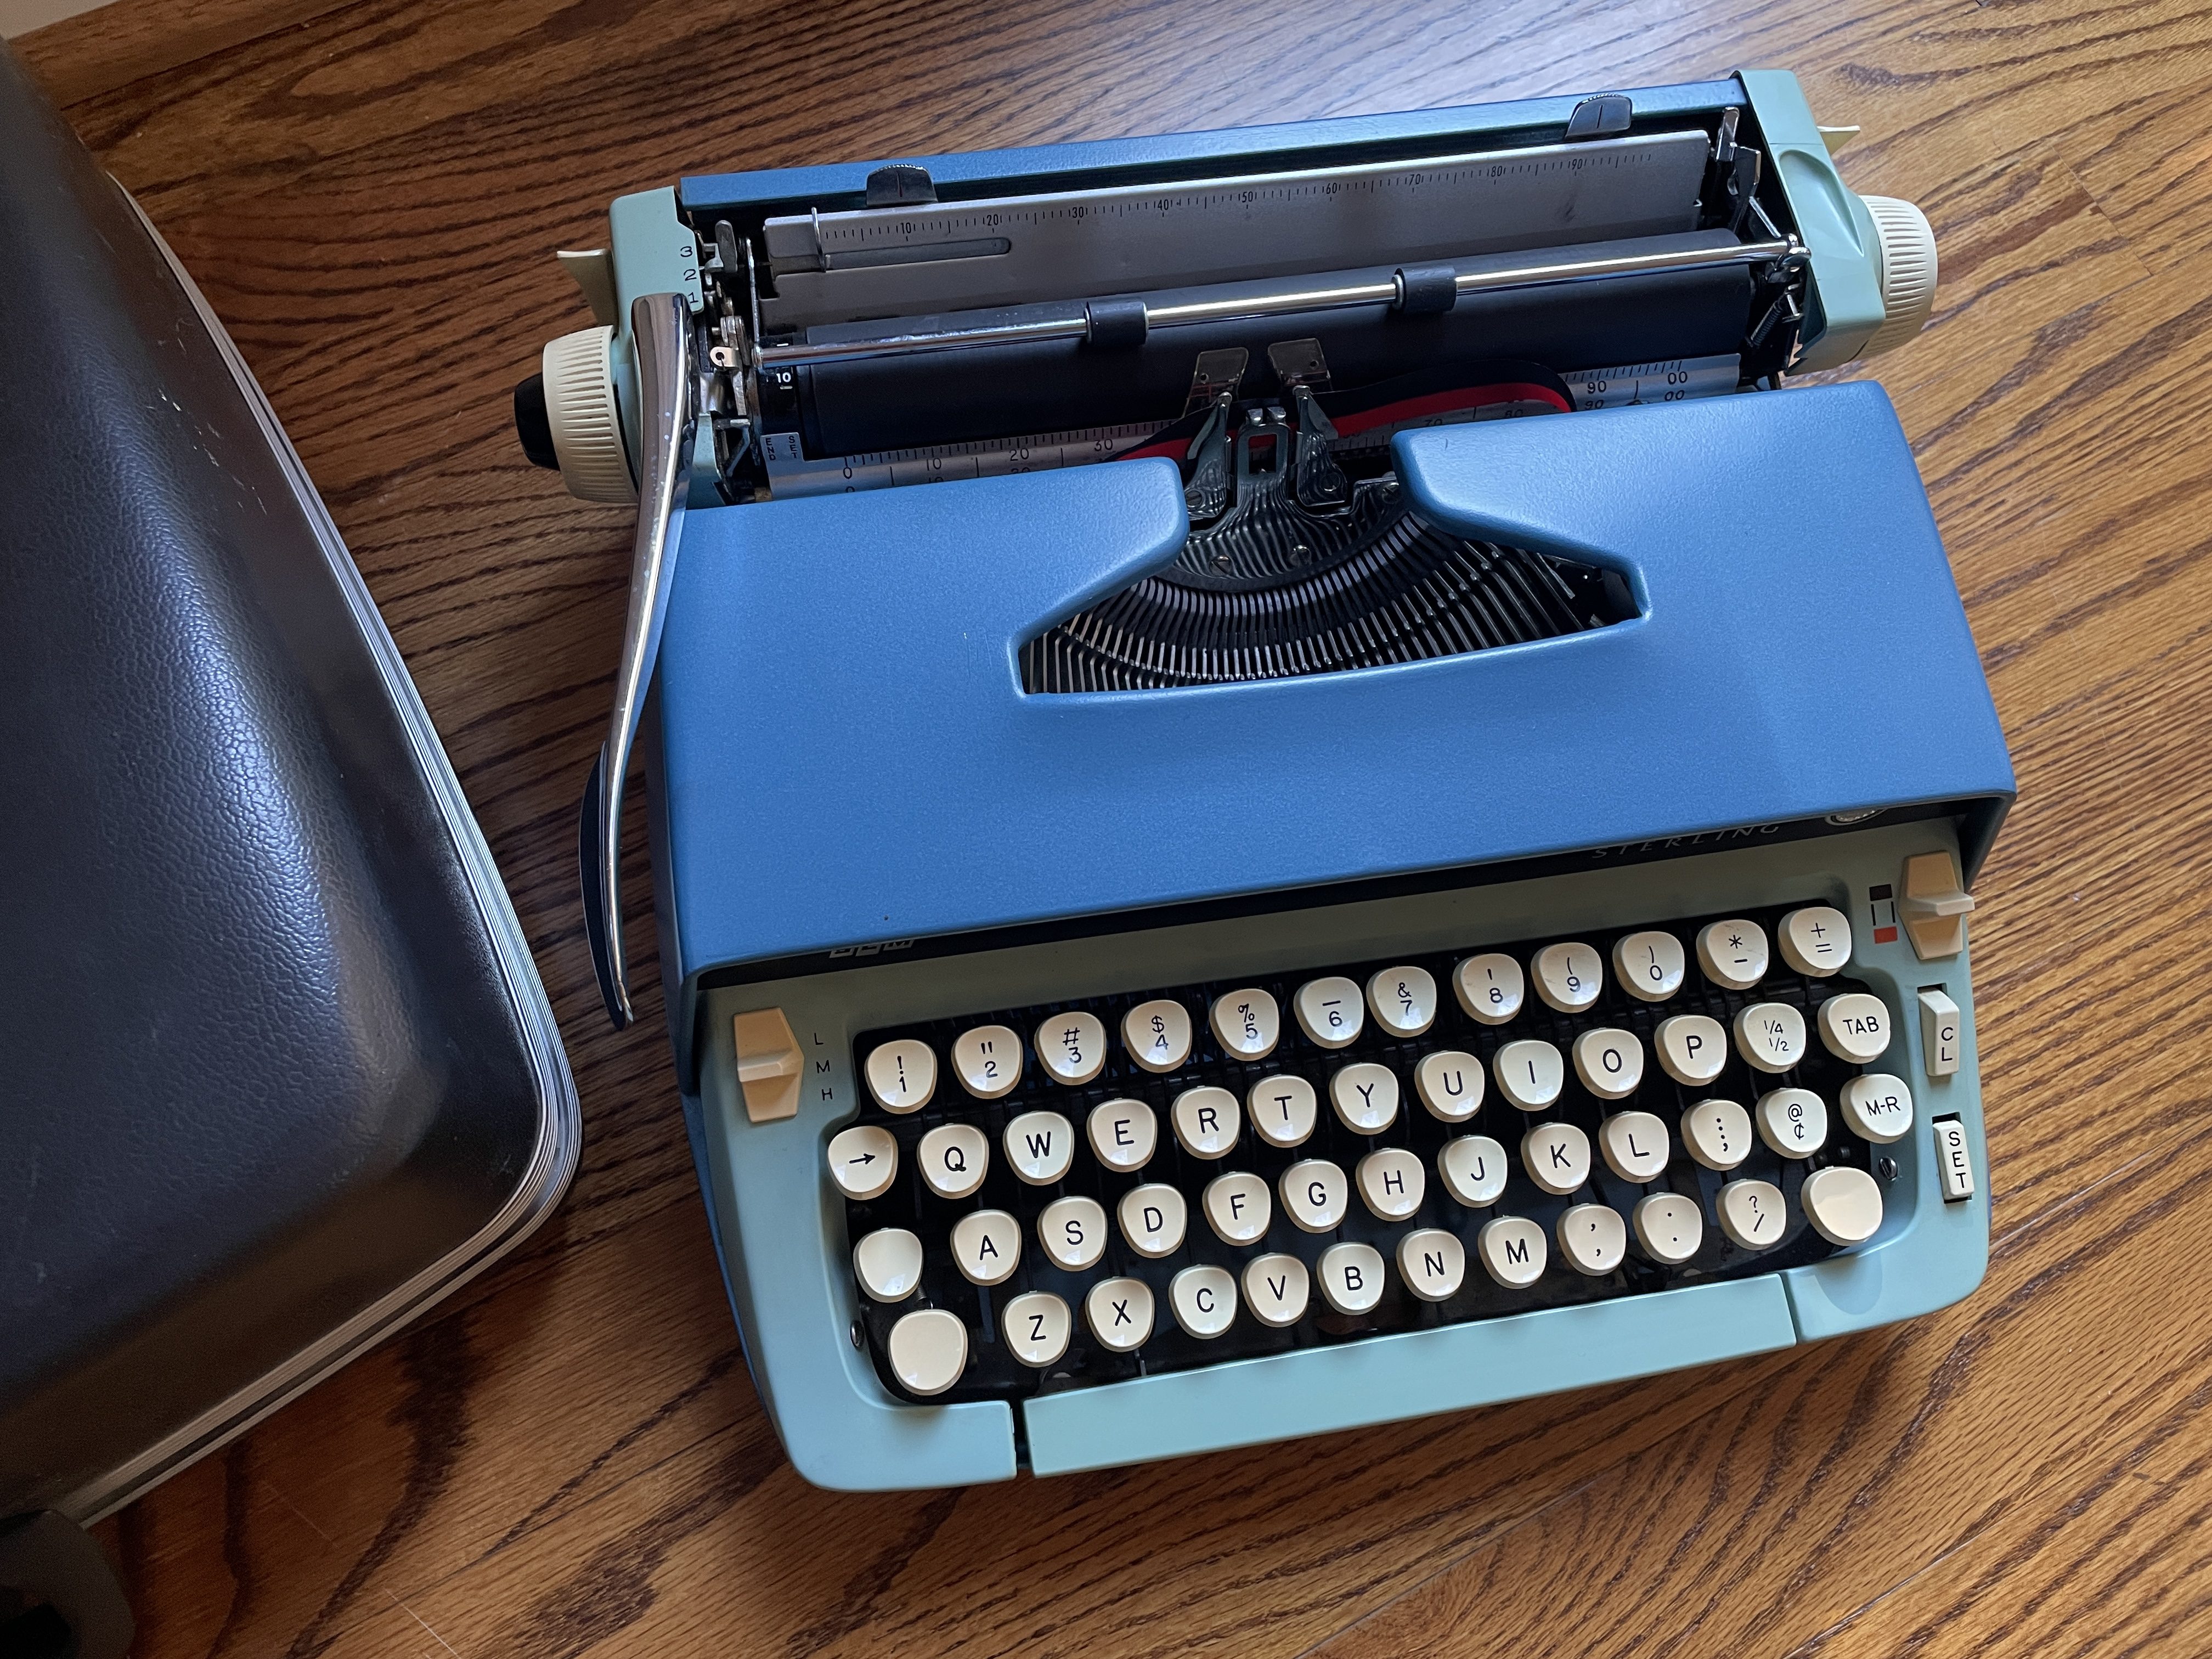
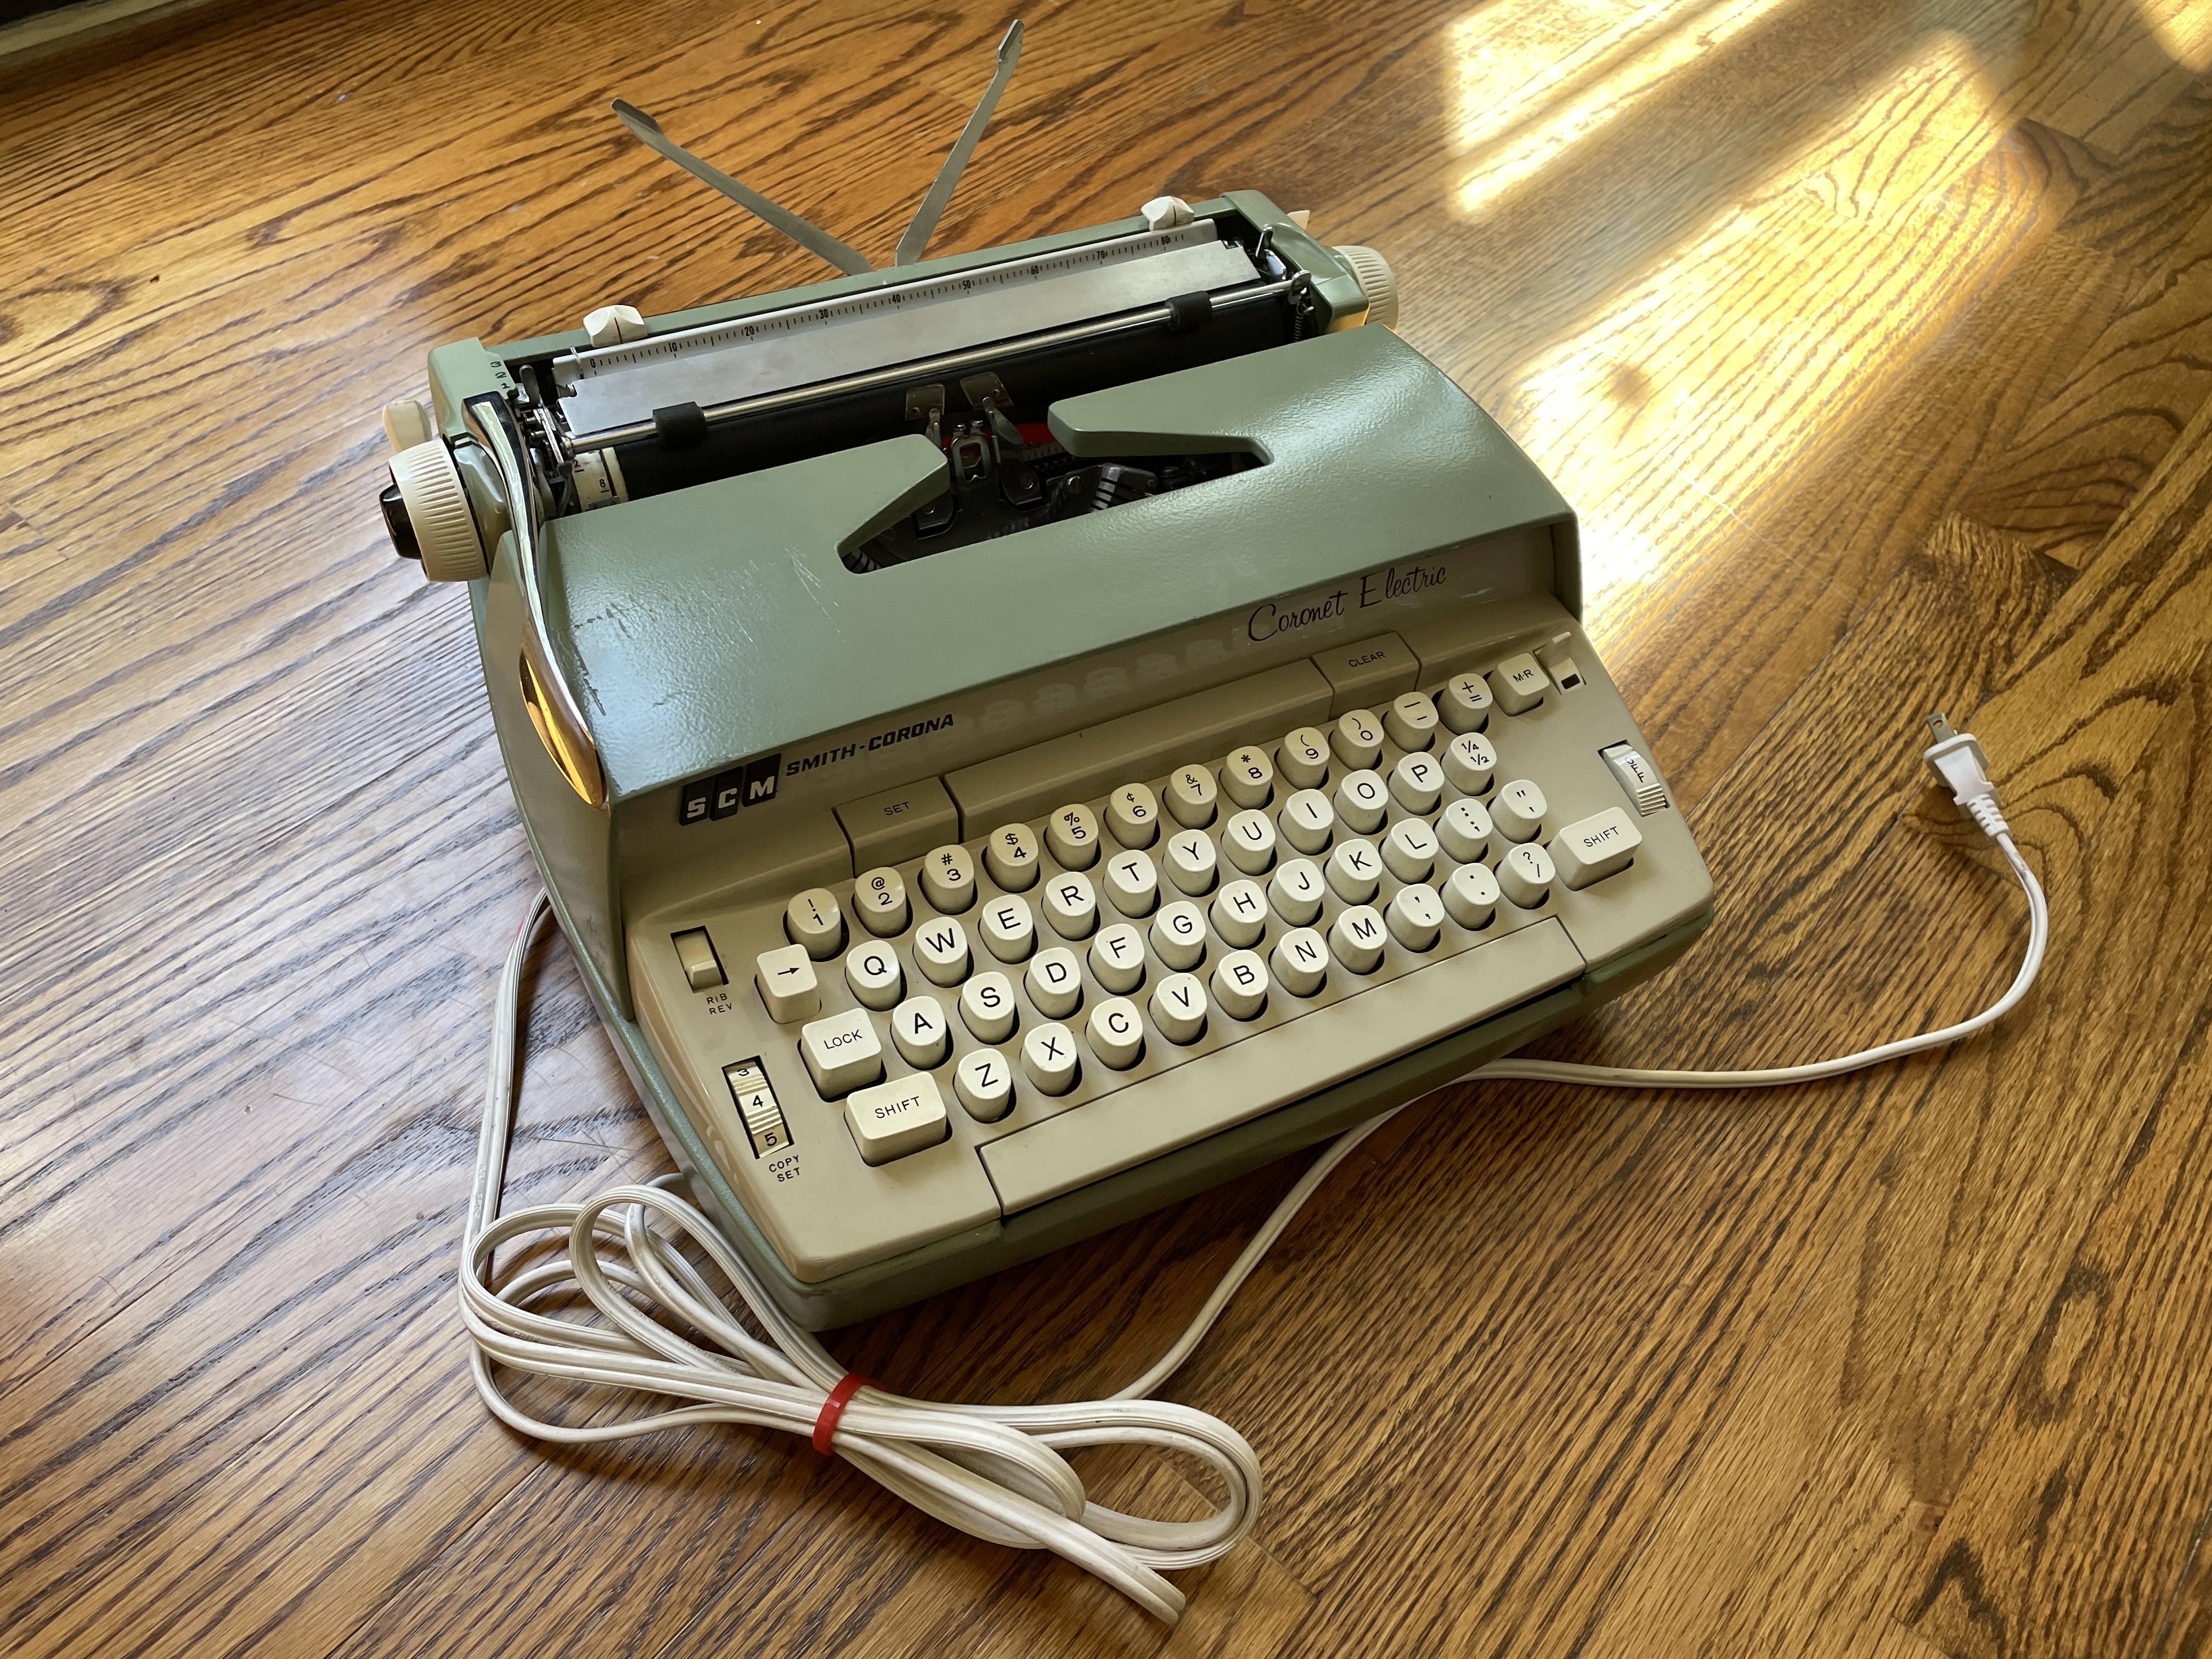
I loved this sweet little baby of an electric at first sight, with its spring green case and shortie platen, but it was so, so messed up. It seems to have been dropped at some point in its life because I kept noting bent, broken, and missing parts.
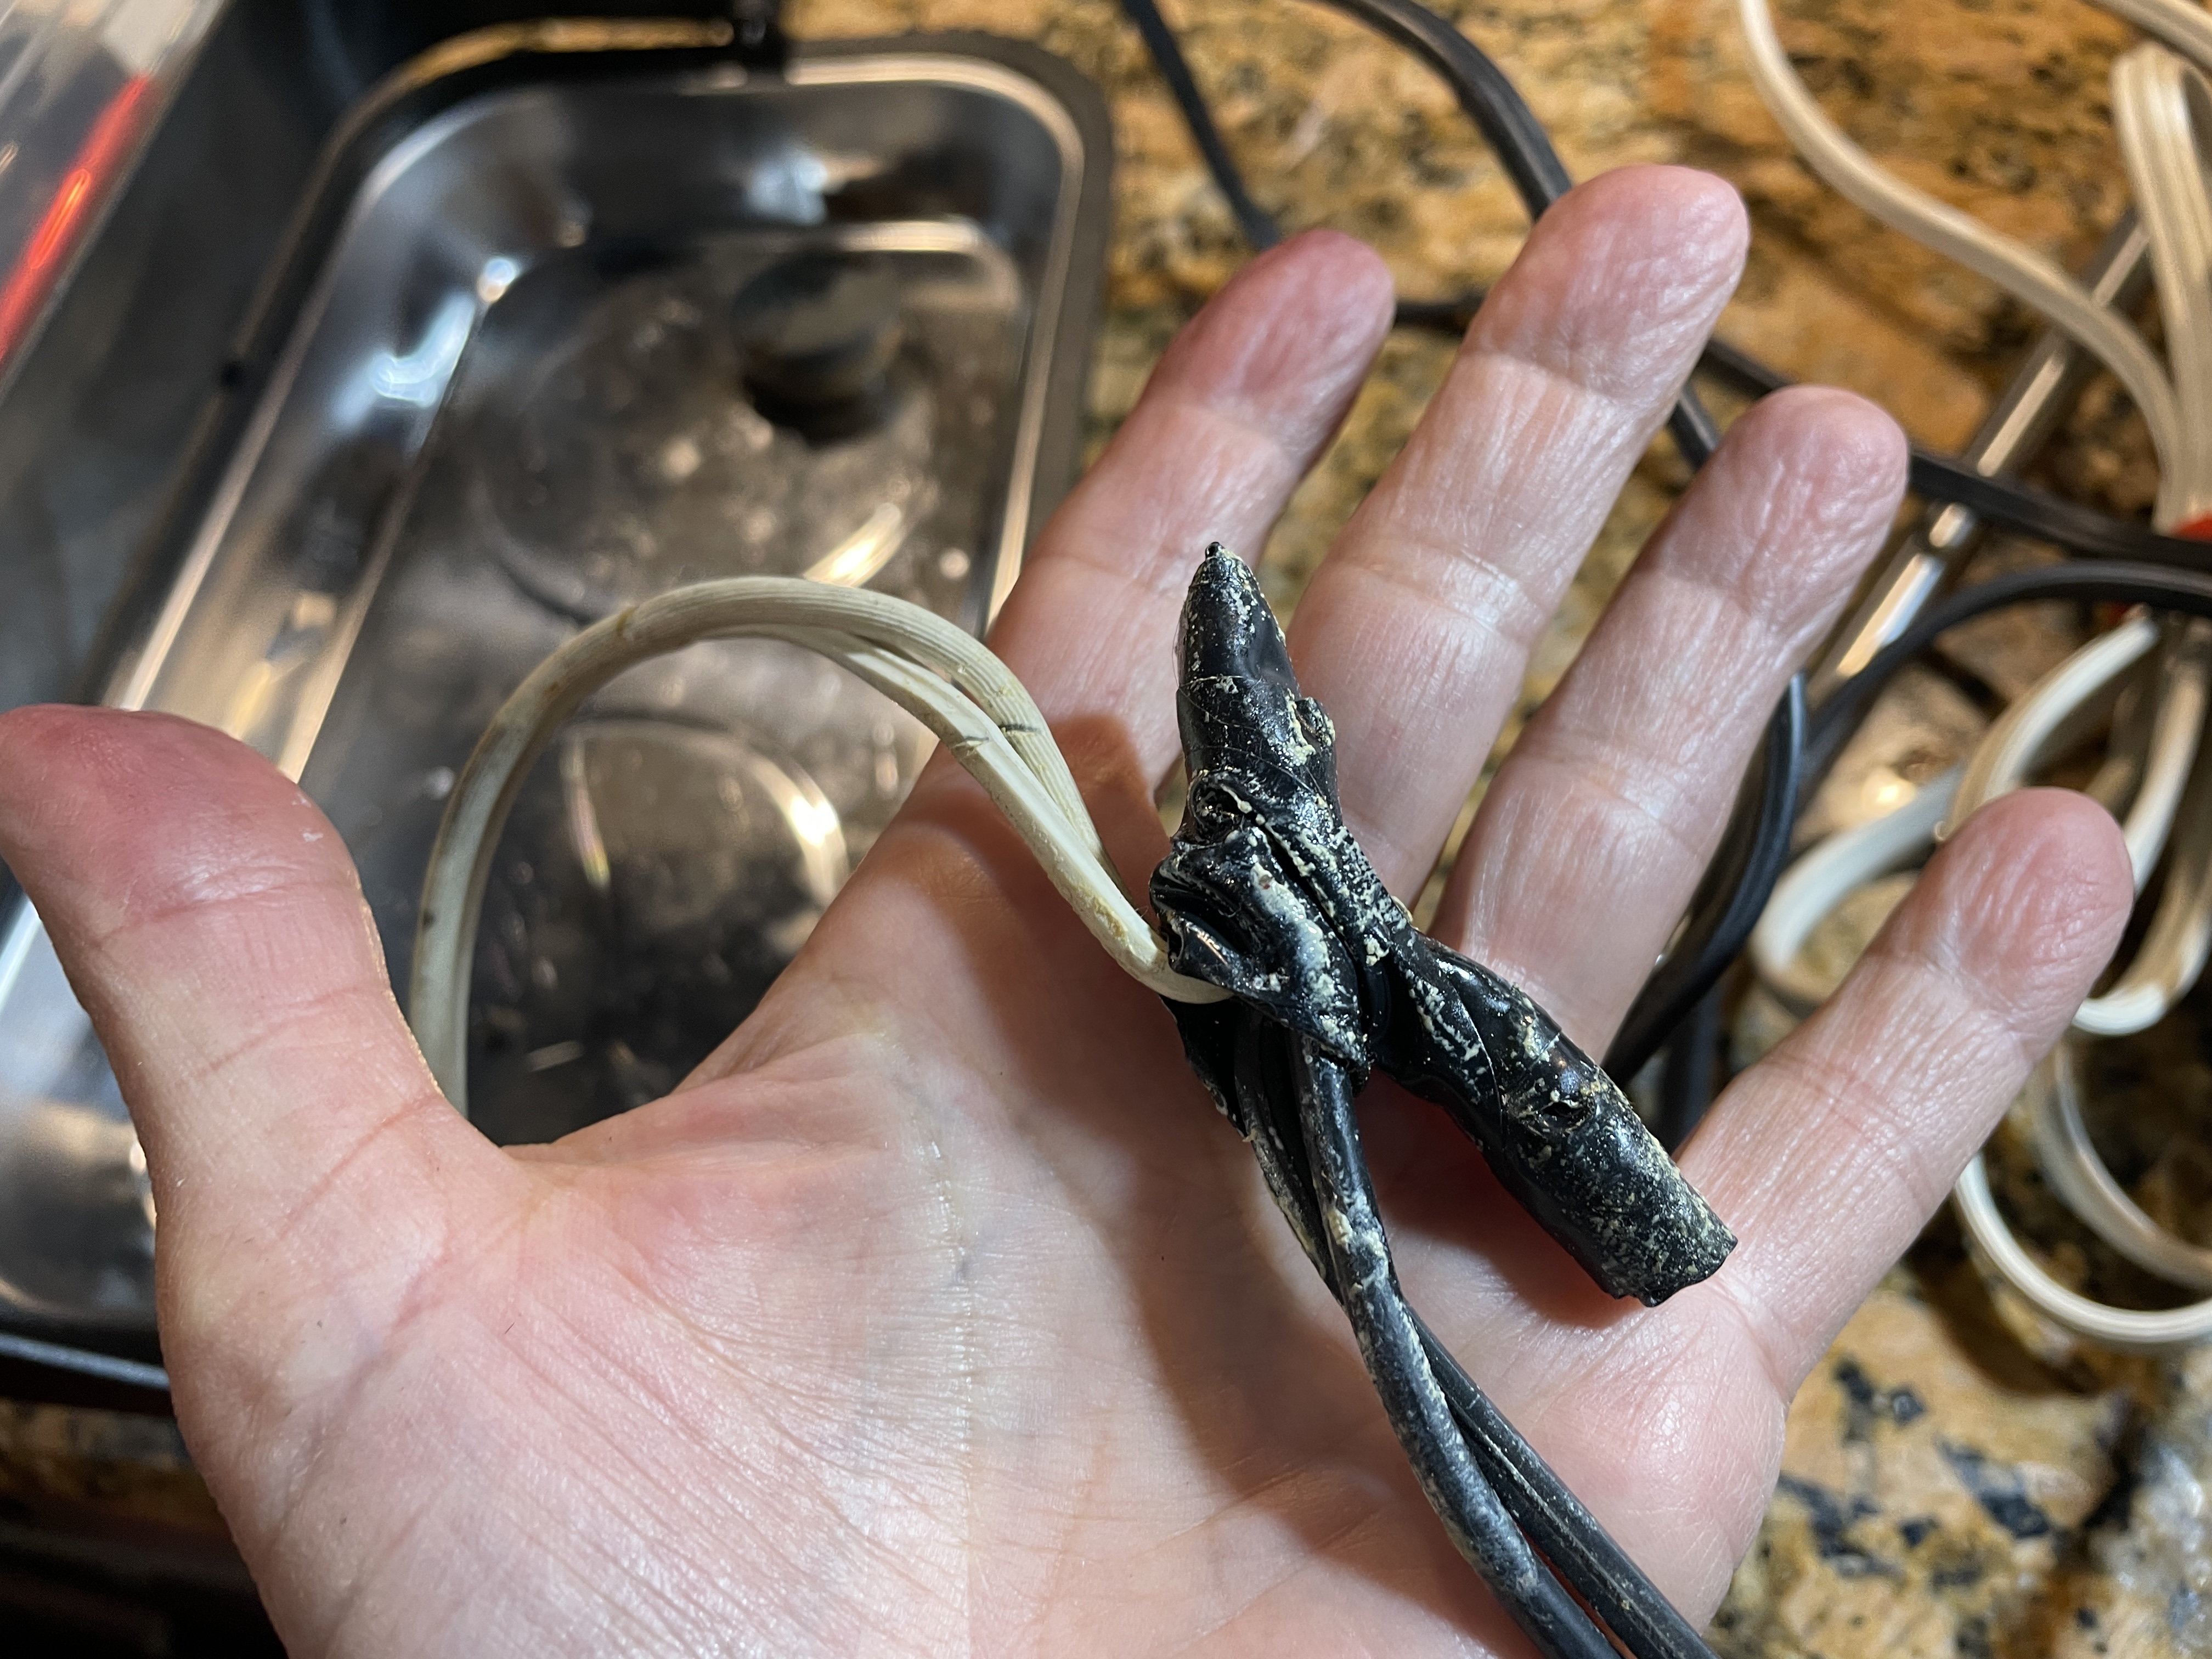
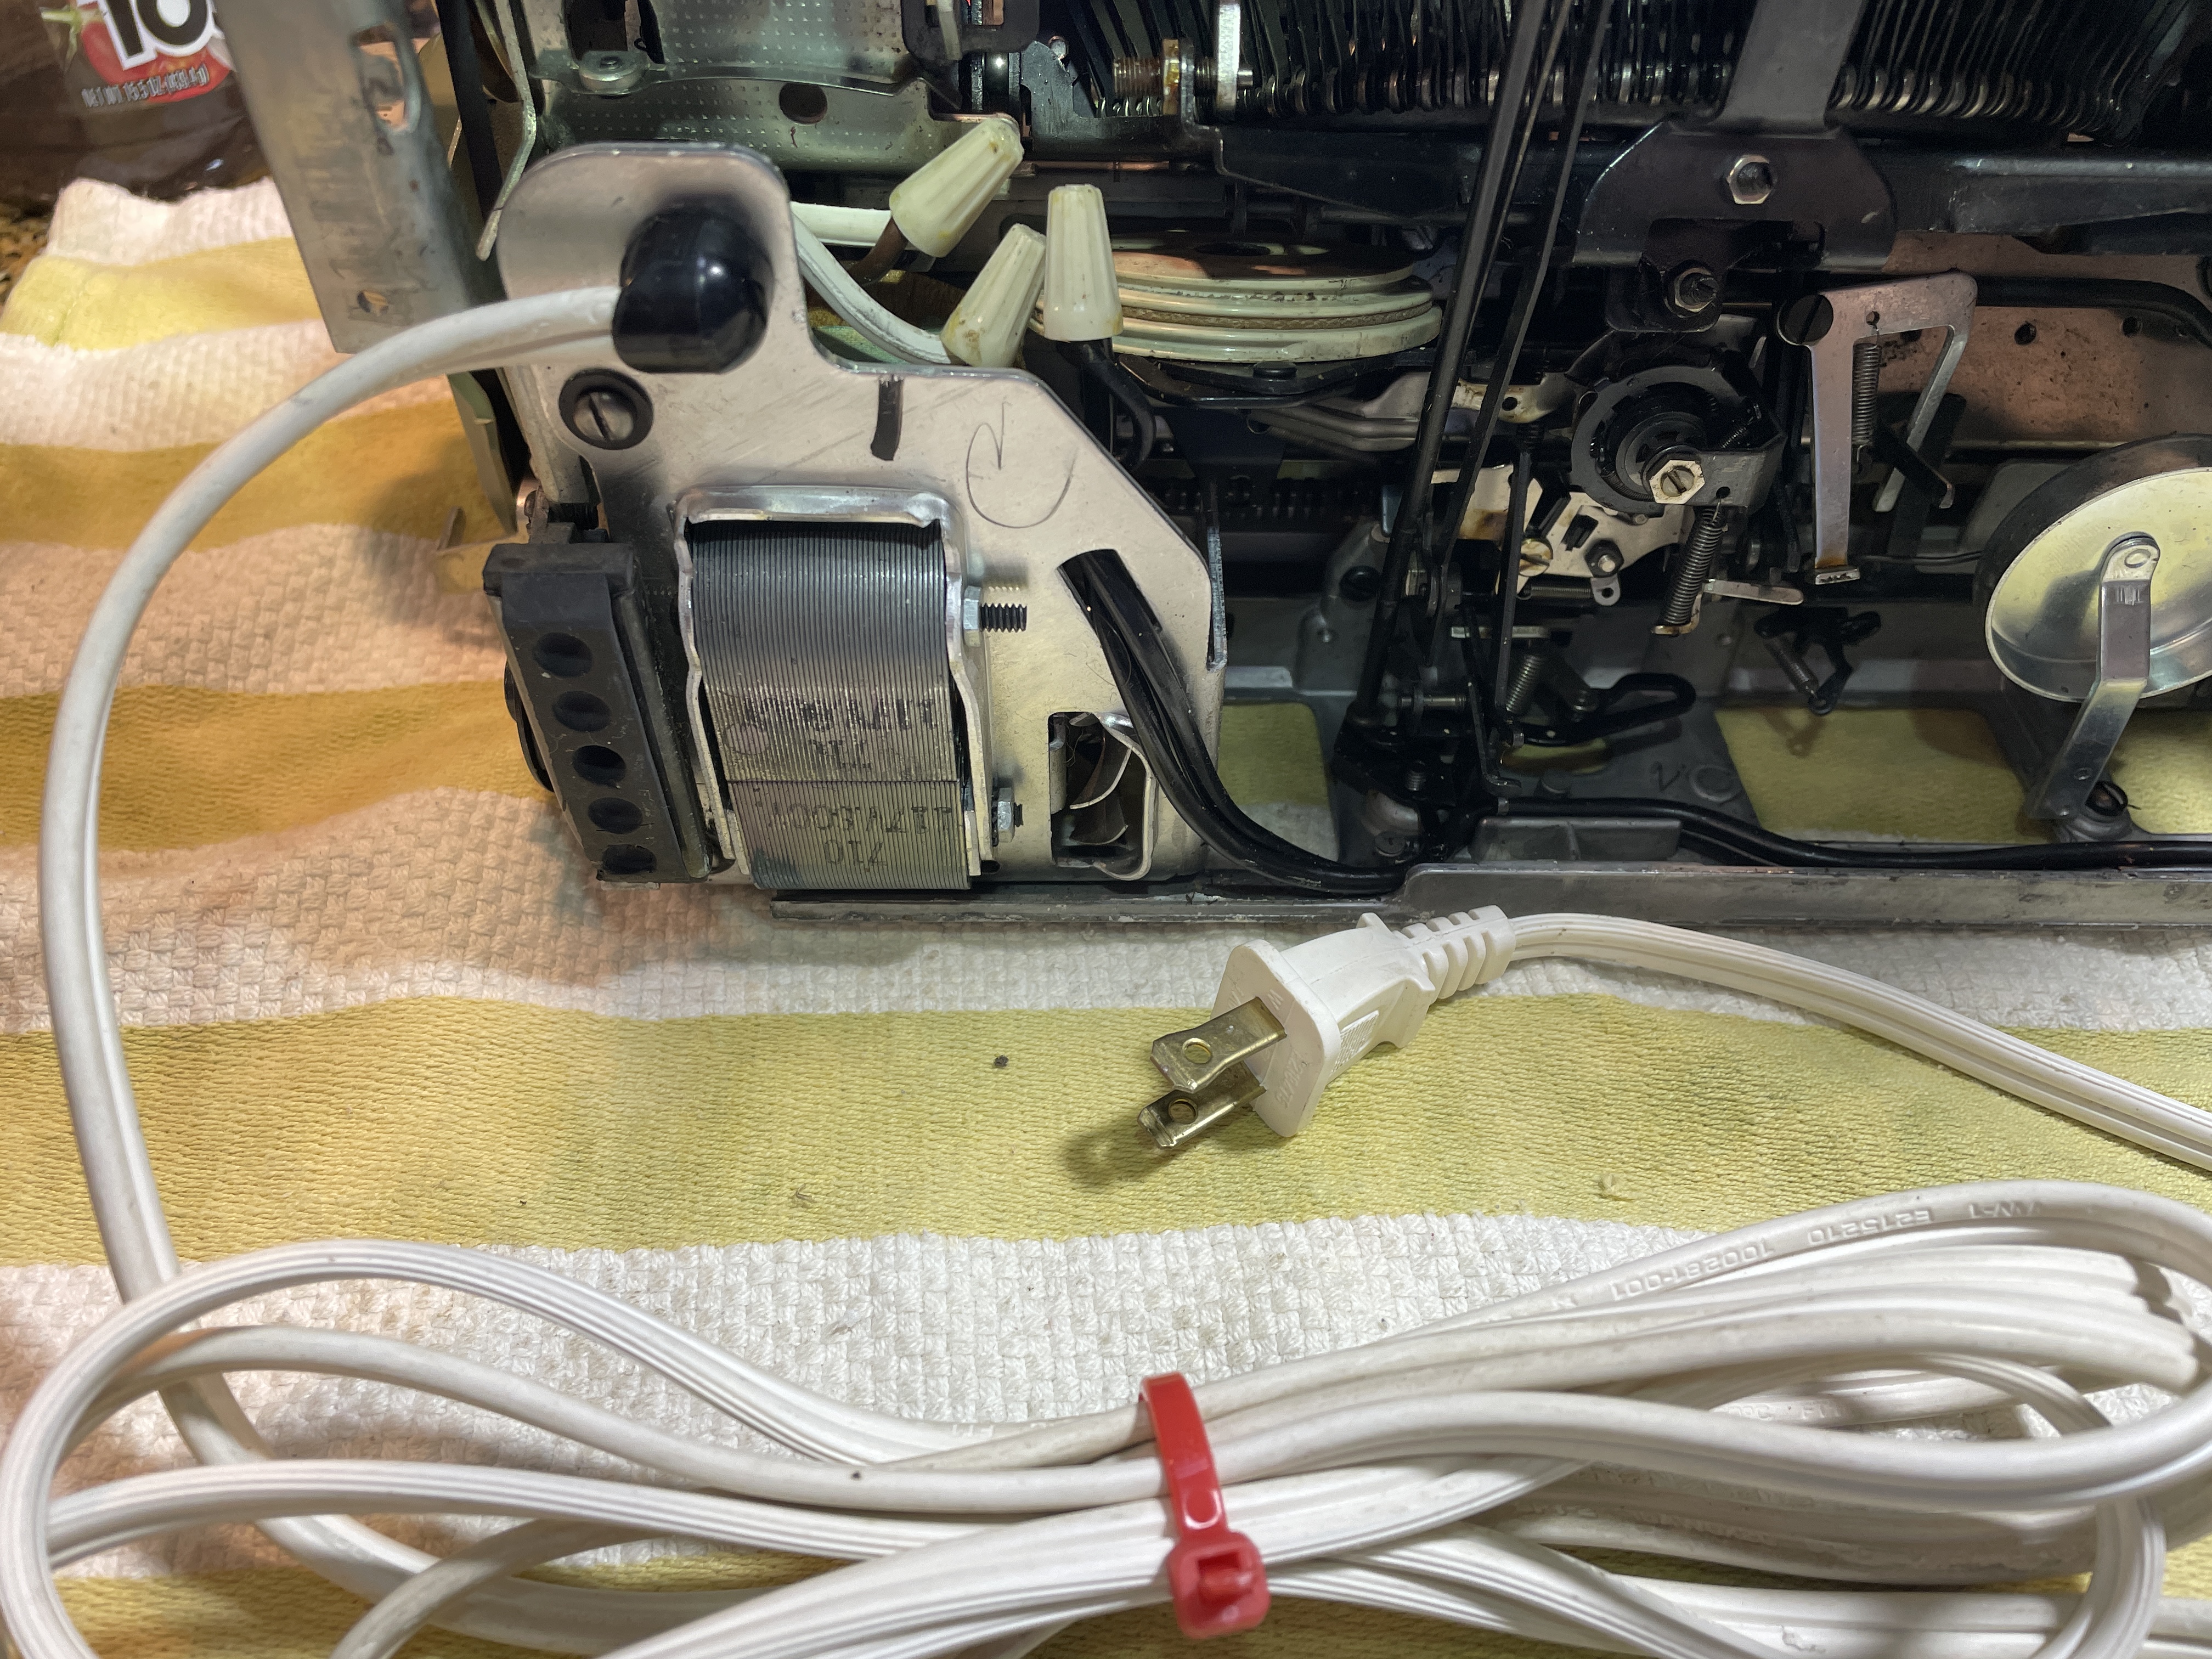
I got it home to the workbench, plugged it in, and stepped back. No good. The motor just hummed. The electrical cord looked like a widow-maker, so the first thing I did was to replace the cord.
The old spliced cord was sketchy as all get-out.
For this Coronet, I viewed many, many videos from Duane Jensen’s archived YouTube channel. There are several there on Smith-Corona 6 series typewriters. Duane was a giant in the field of typewriter repair, and I am very sad that he is gone and will never upload new Phoenix Typewriter videos. His loss has left a great, gaping hole in our community.
Anyhow, I needed to strip the Coronet down for cleaning and repair. Here’s Duane describing case removal:
Electrical Cord Replacement
After cleaning the de-shelled machine, I moved onto changing the sketchy spliced cord. Fortunately, Phoenix Typewriter has a good video on cord replacement.
I had a spare white extension cord. I snipped the end off of it. The cord replacement procedure wasn’t too hard. I just followed Duane’s video instructions. I ended up wrapping the three wire nuts together to keep them out of the other mechanics in the tight space.
Bent Shell
Out of the shell, the motor began to turn with the new cord. I had assumed that the motor was stiff from disuse, and a little manual turning had gotten it running again.
I was wrong. I put it back into the shell and turned it on, but the motor only hummed.
I looked inside and saw that the bent shell was rubbing against the motor and preventing it from spinning.
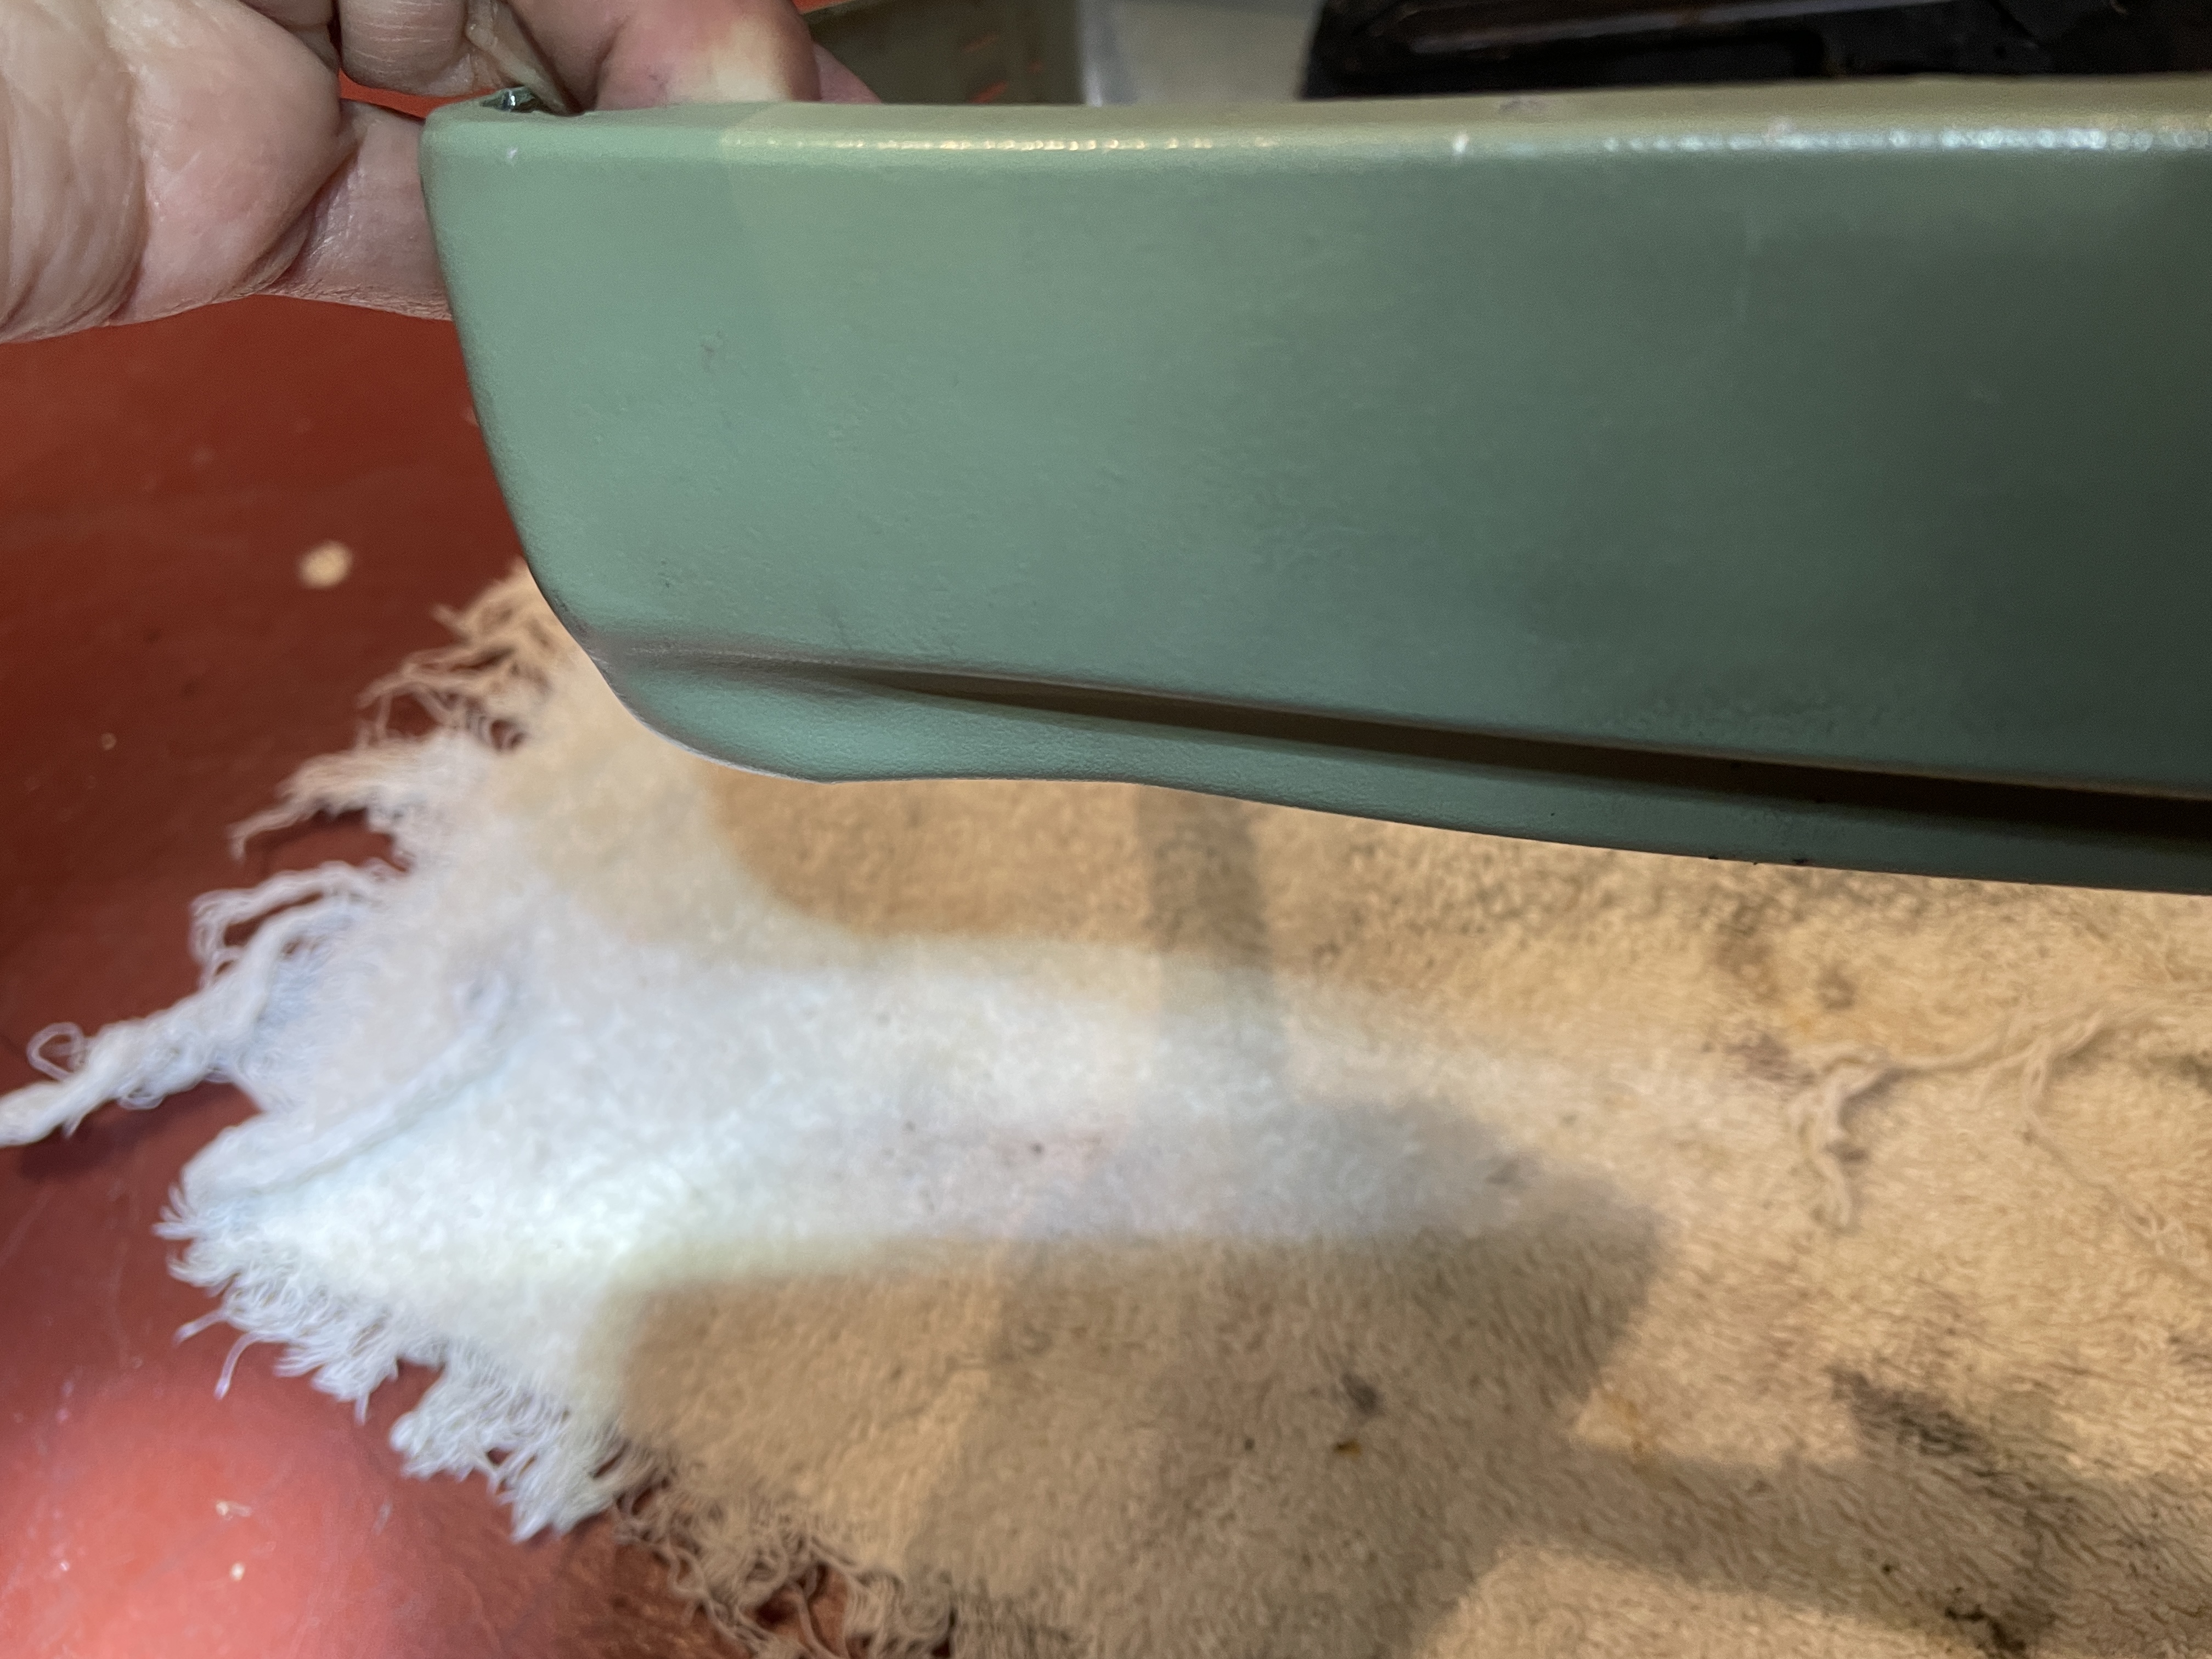
I removed the machine from the bottom shell and judiciously applied a hammer to the bent bottom of the casing. Not perfect looking, but I made enough space in the tight confines so that the motor could turn unfettered.
Missing Carriage Release Levers
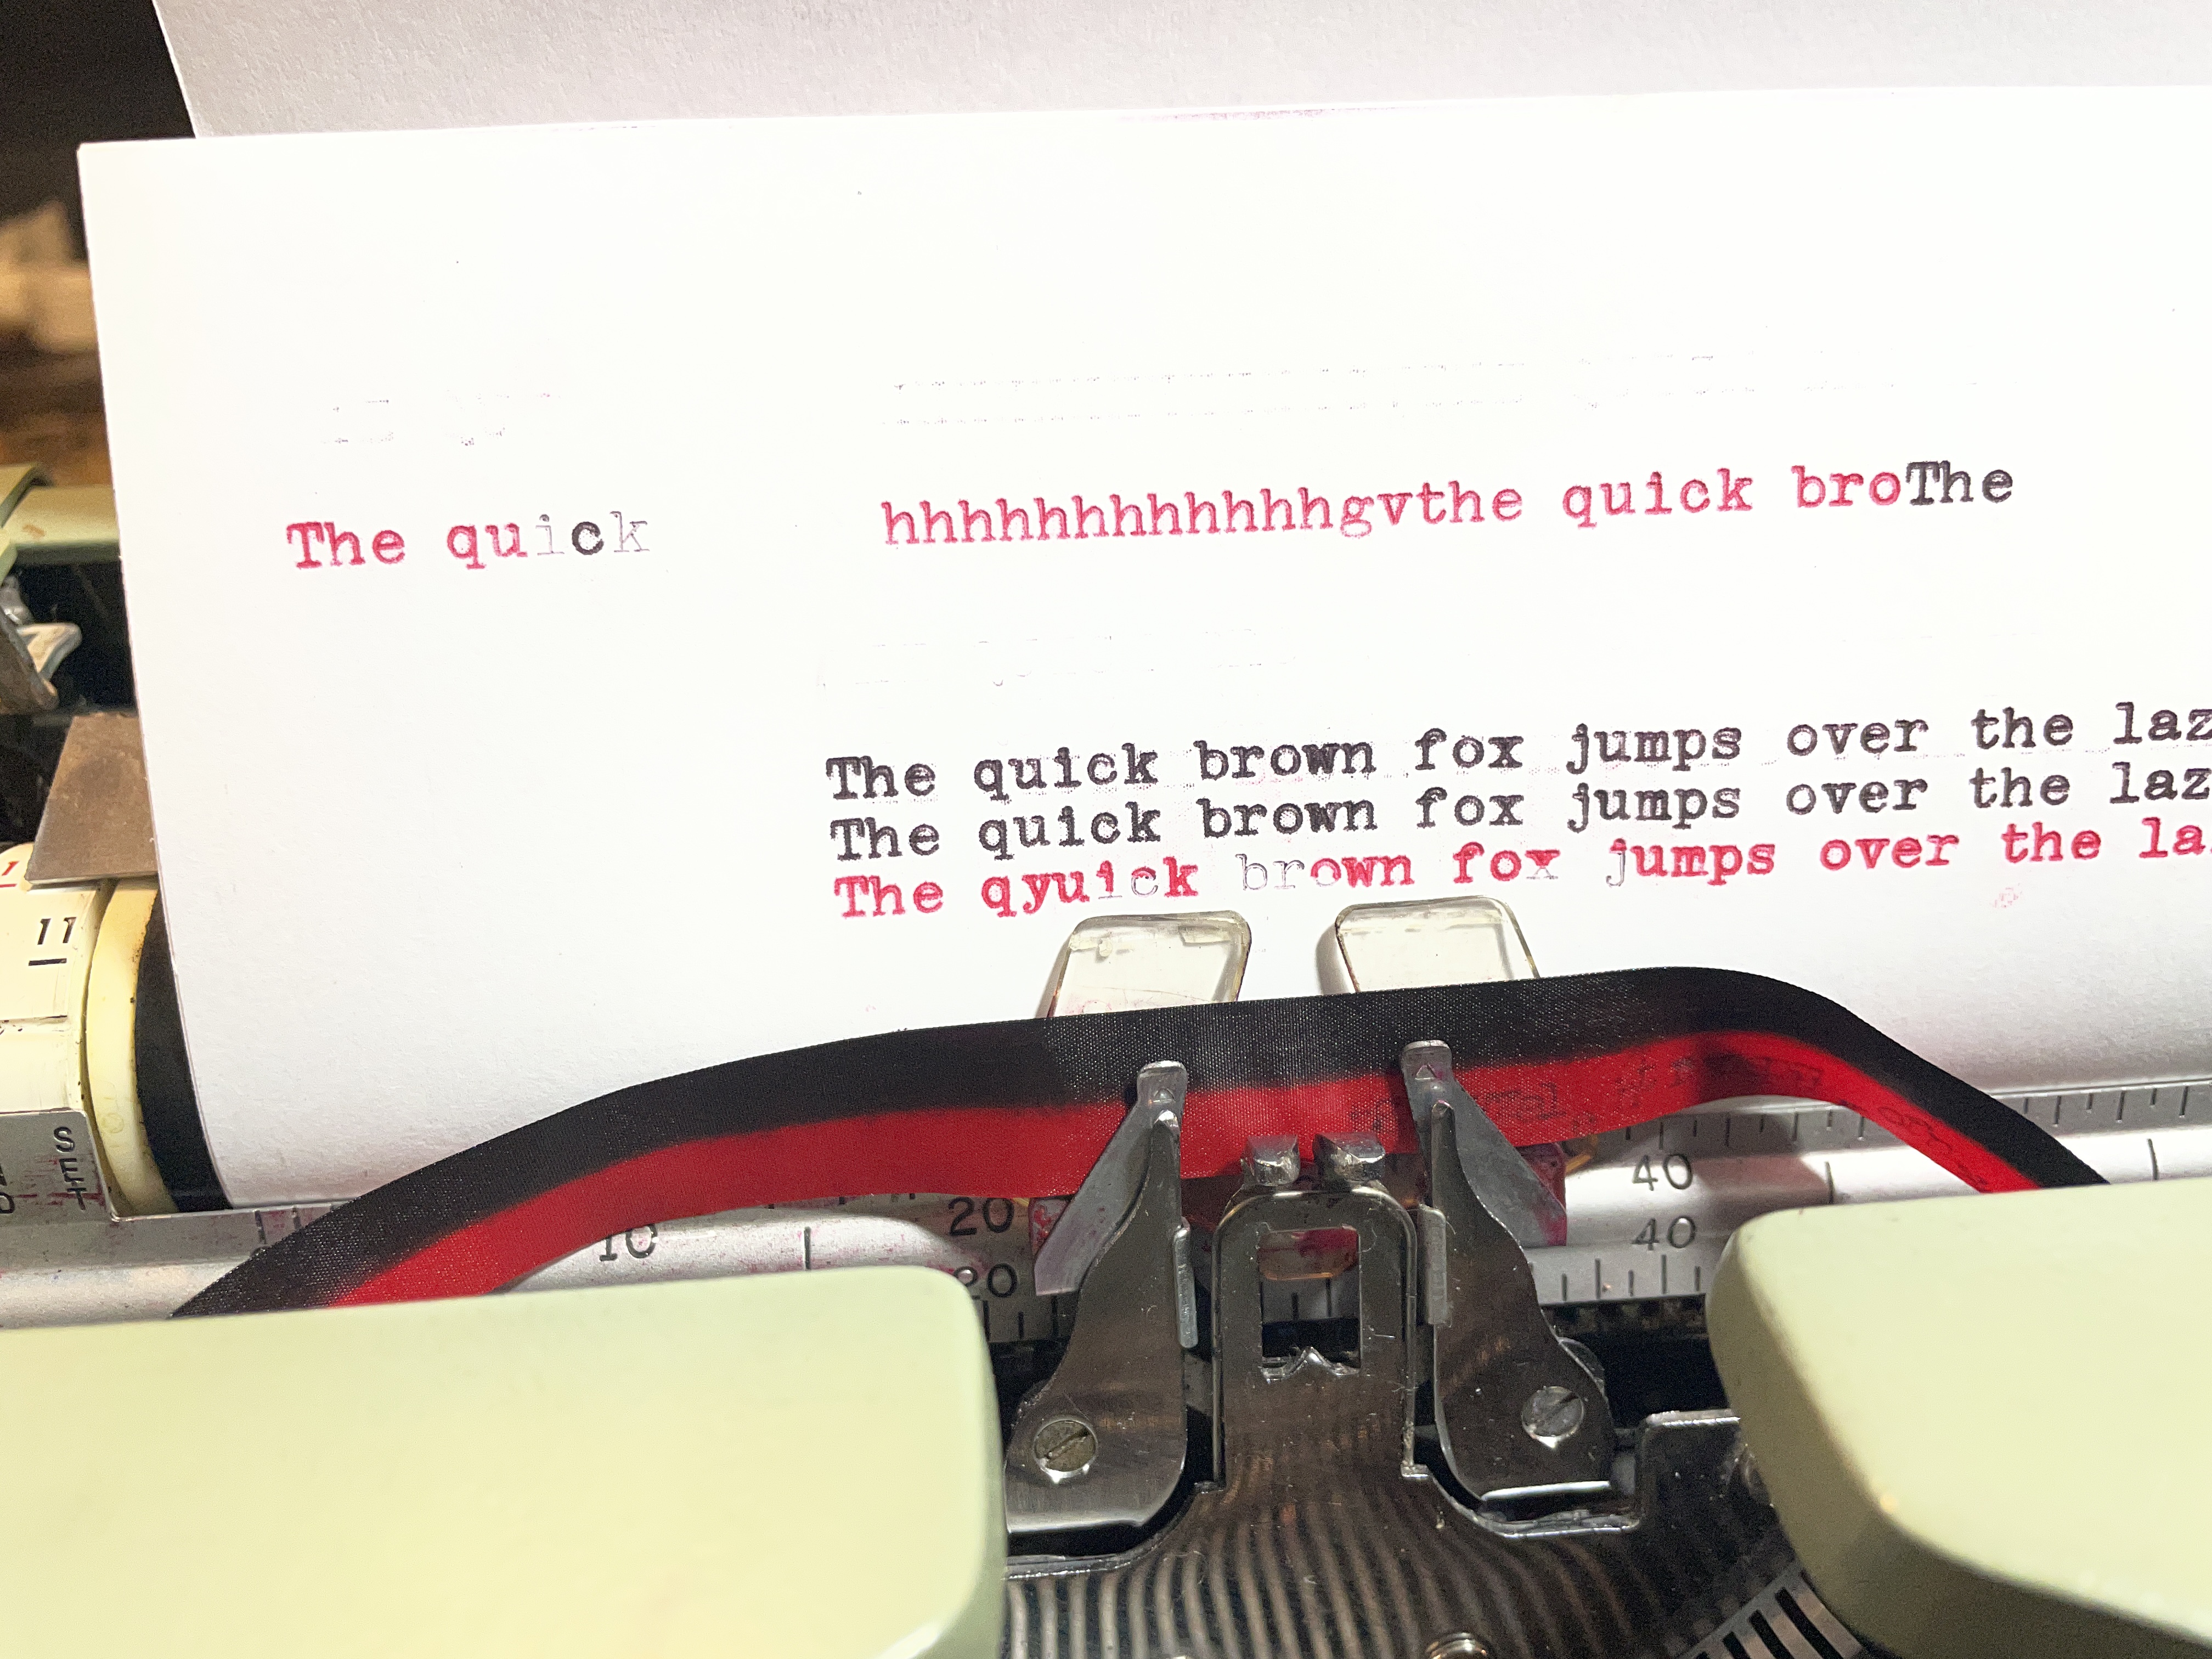
The plastic carriage release levers on both sides were missing, probably shattered in a catastrophic fall or slam. It was so hard to pull the little metal nubs forward to move the carriage. You really need the leverage of the levers for carriage release.
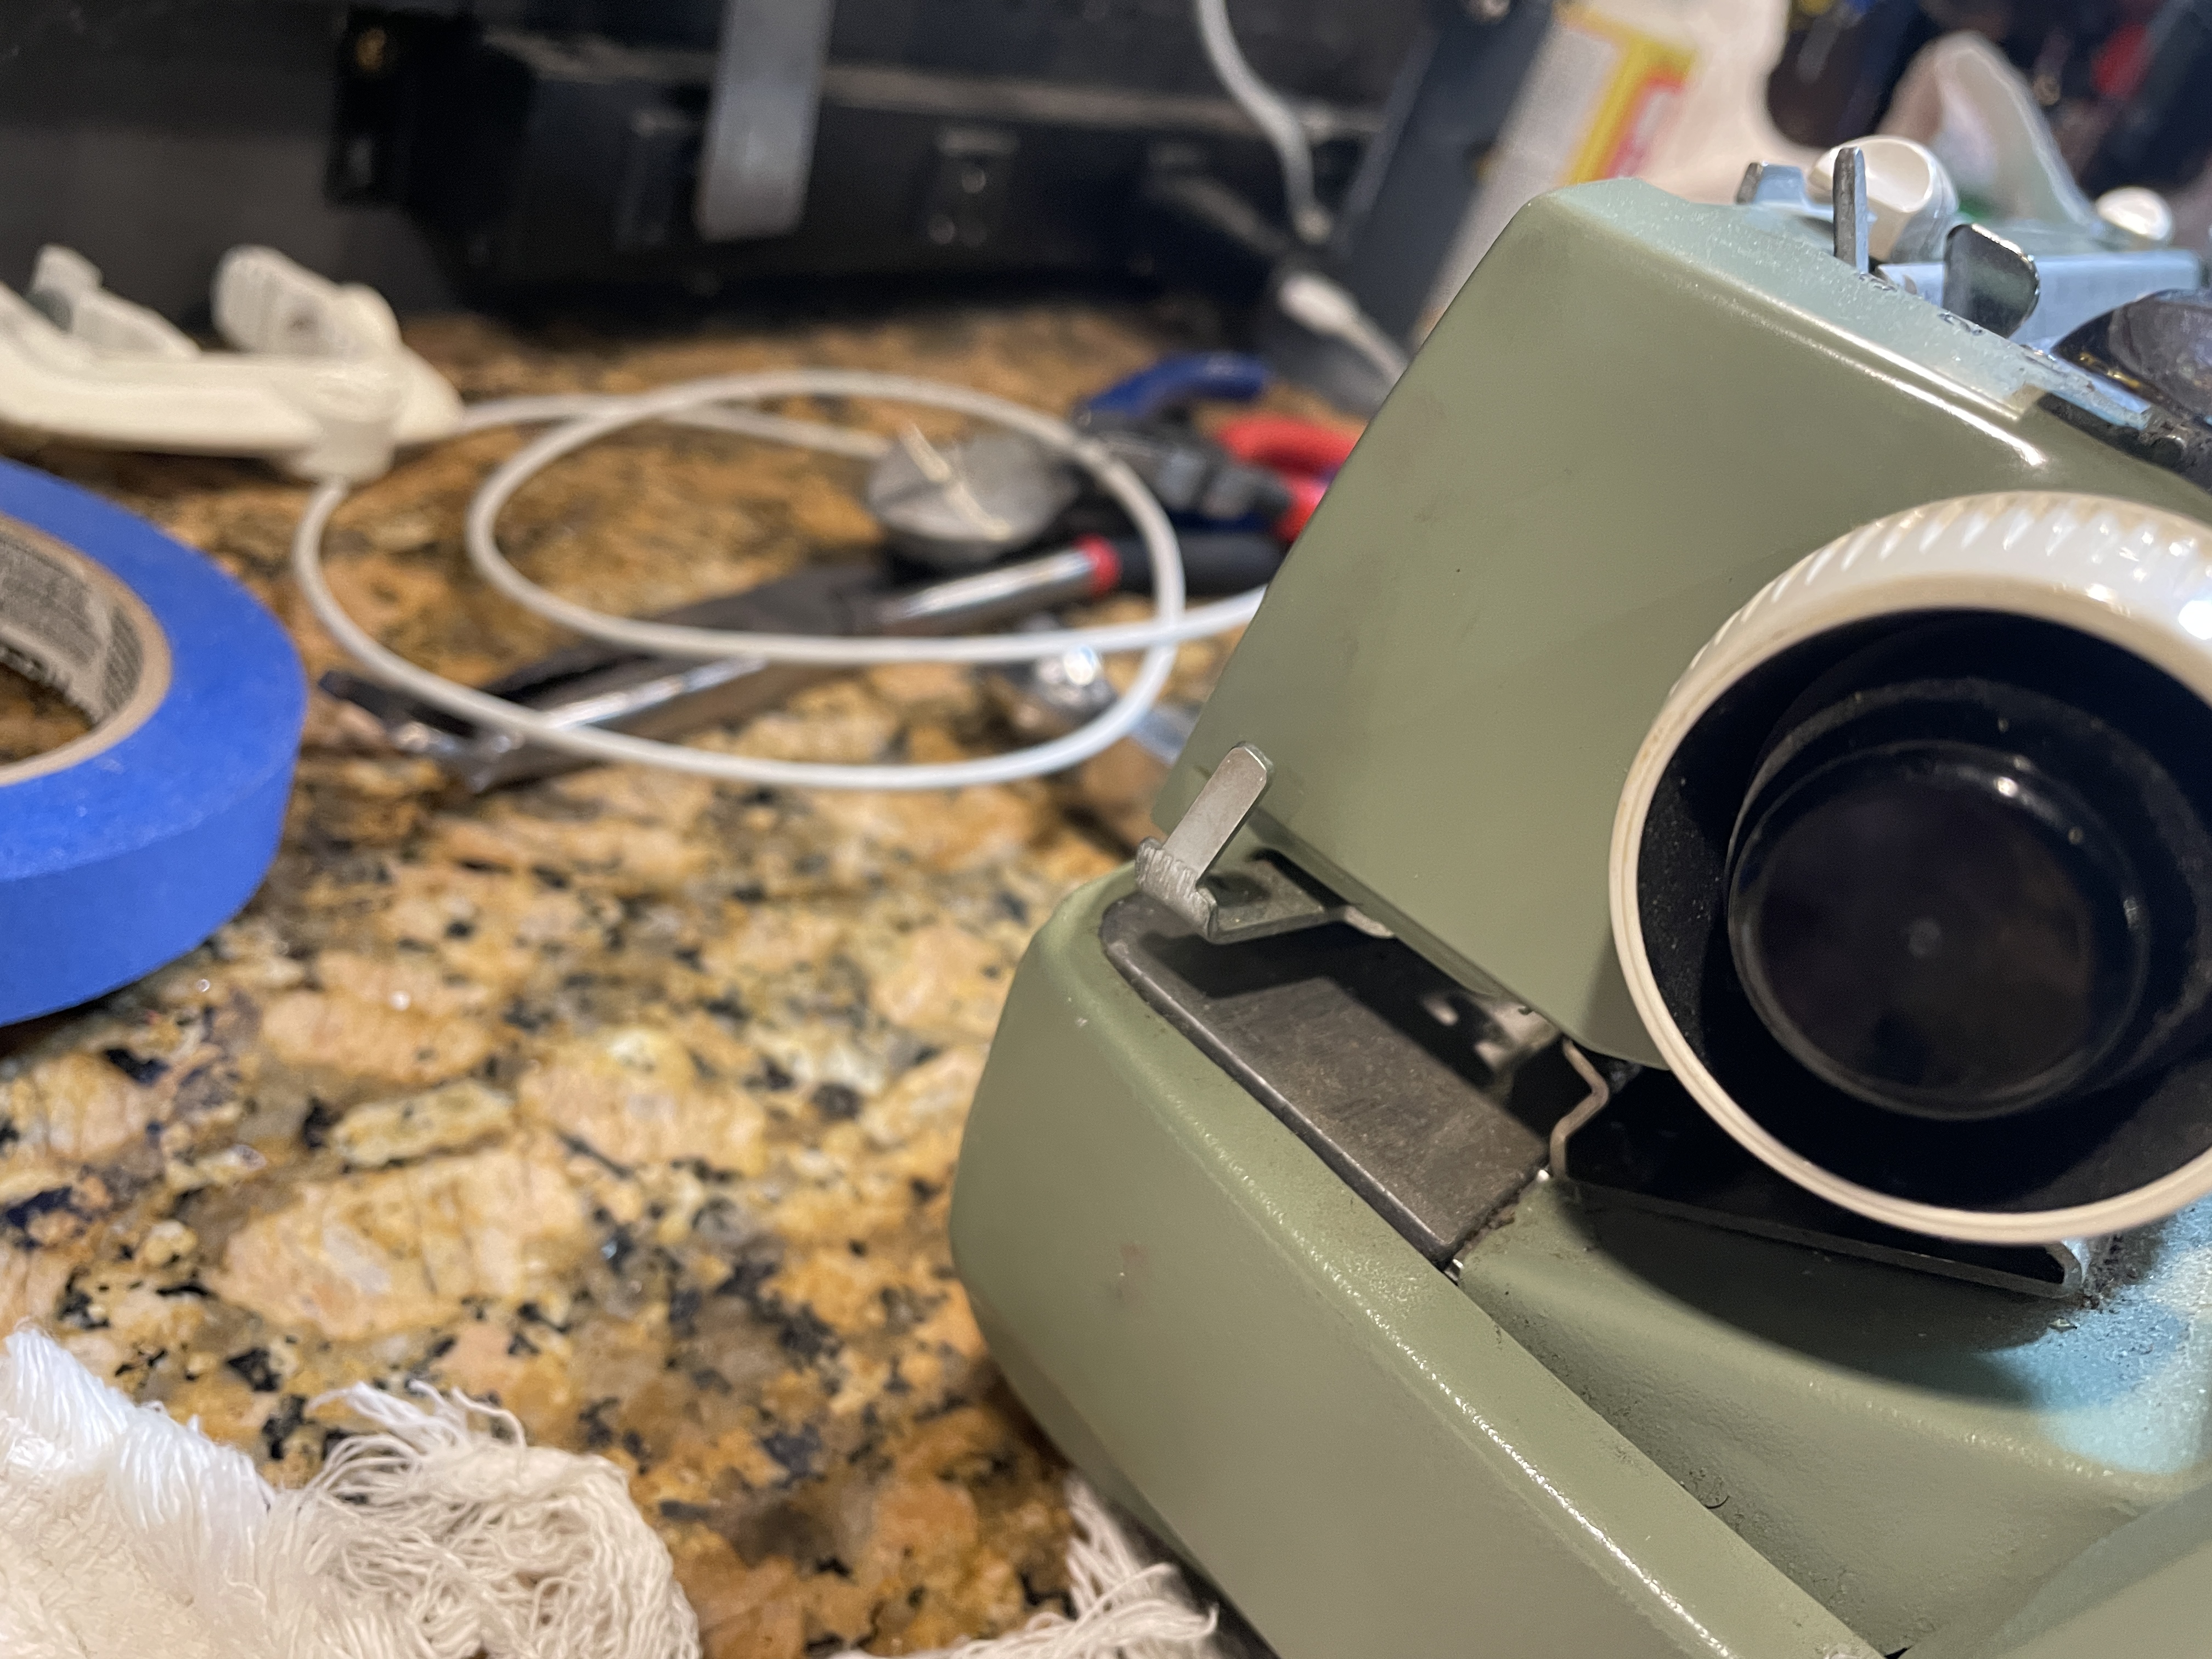
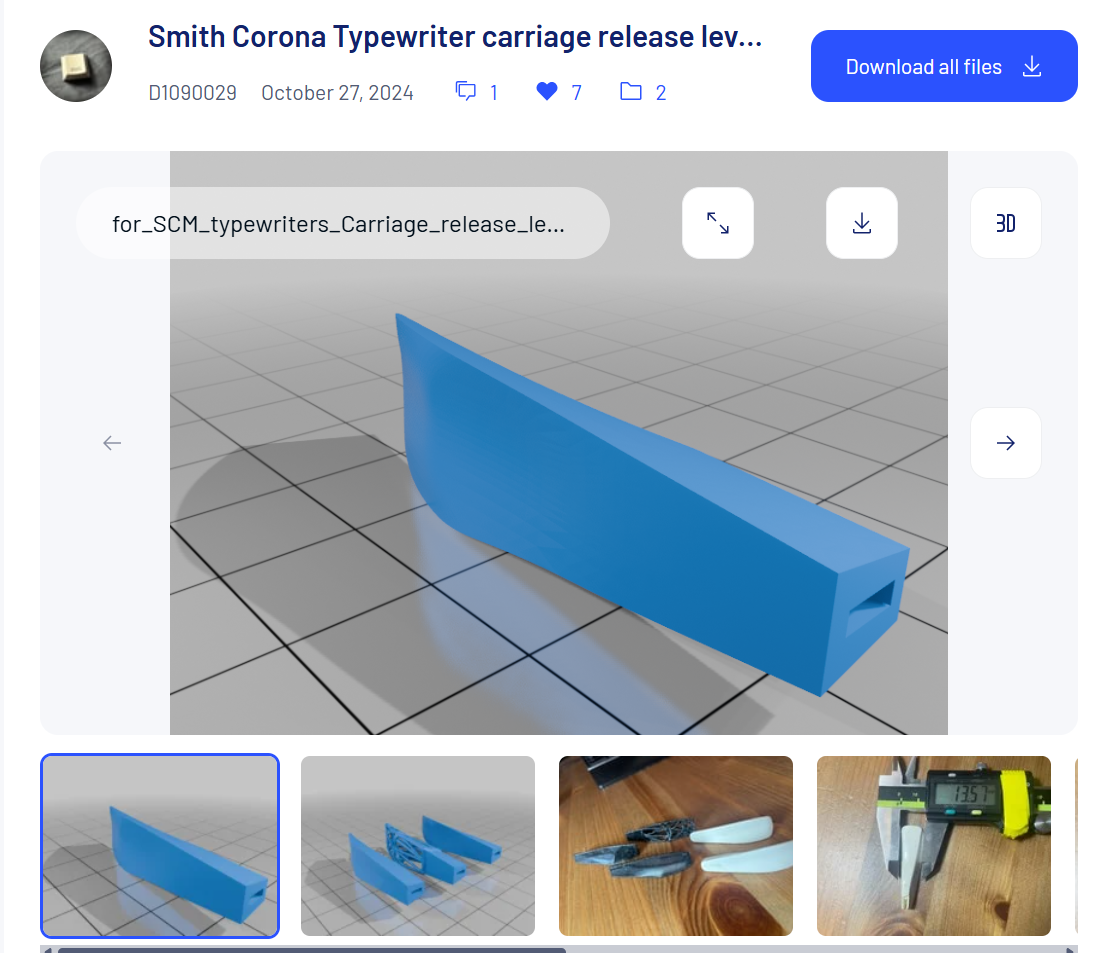
I decided to 3D-print replacements, and I was over-the-moon when I found a printable file at Thingiverse.
My son and I share a 3D printer. It’s a new acquisition. He bought it, and I provide garage space for it.
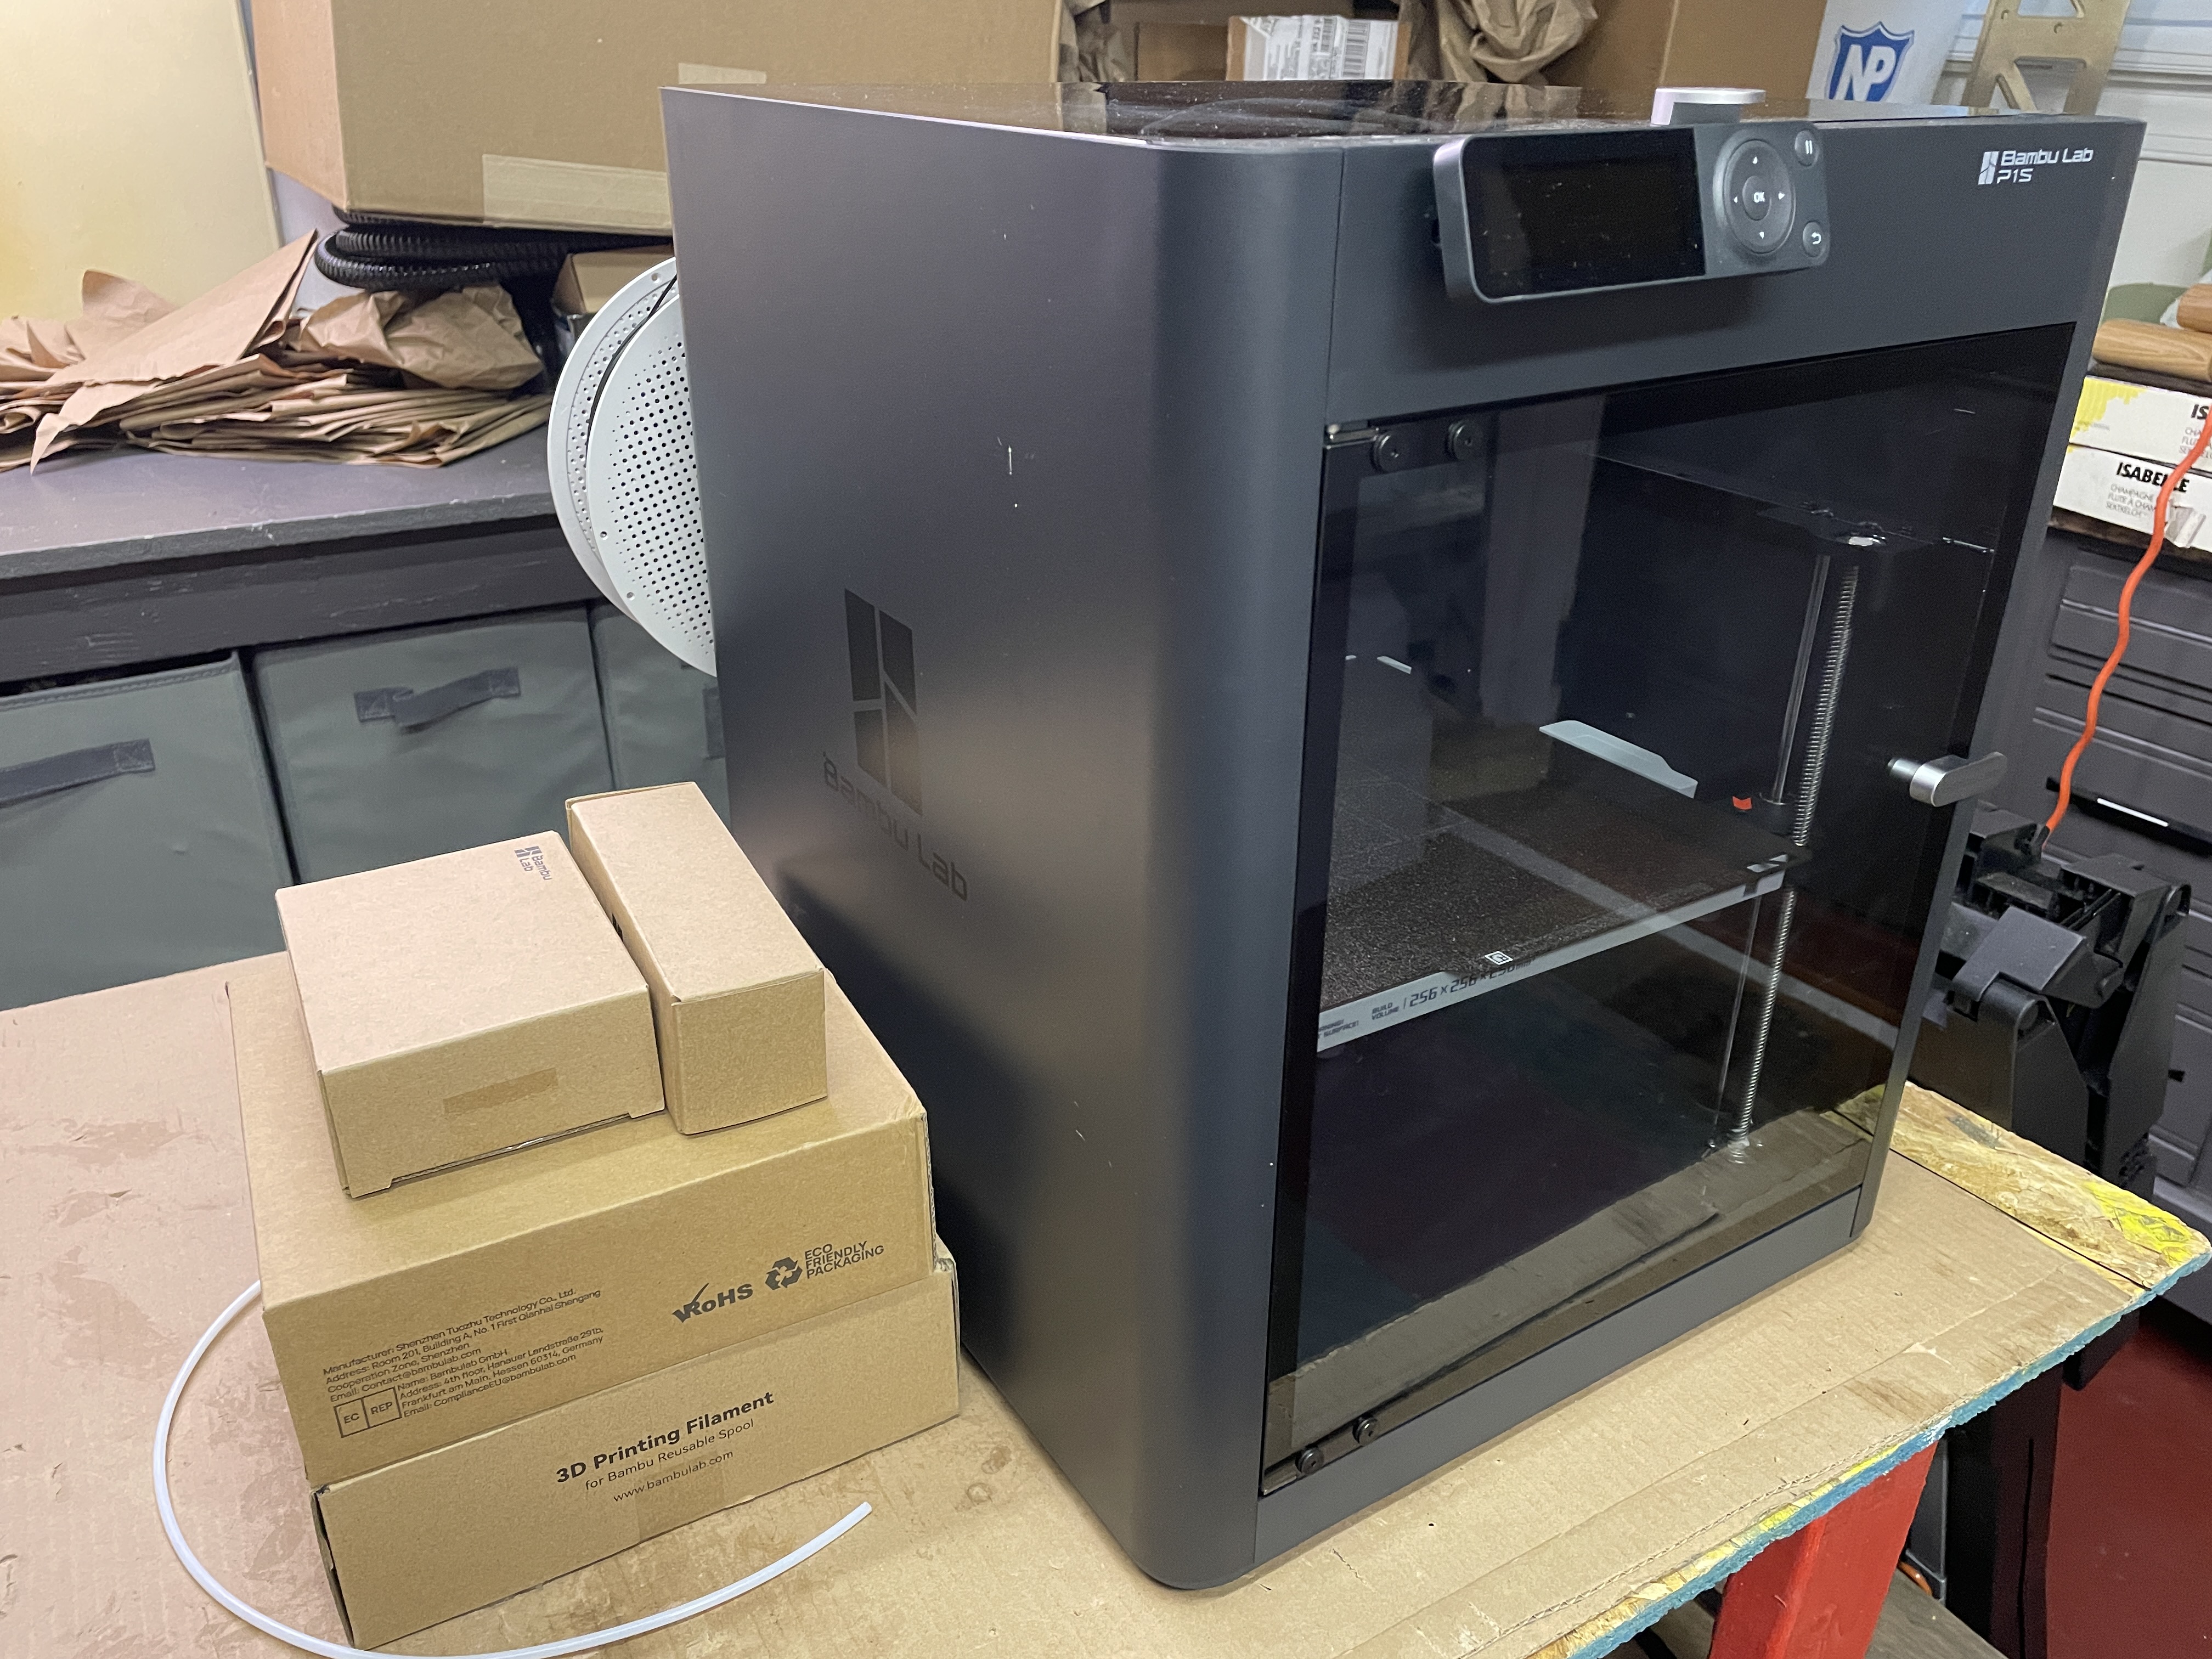
It’s a Bambu P1S. I’ve found it relatively user-friendly. It’s not exactly plug-and-play, but there are lots of resource videos online. I am an impatient person and honestly, the learning curve did not make me too frustrated.
It took about 20 minutes to print a lever in PLA filament. I watched as the printer laid down layers. It was like playing with an Easy Bake Oven.

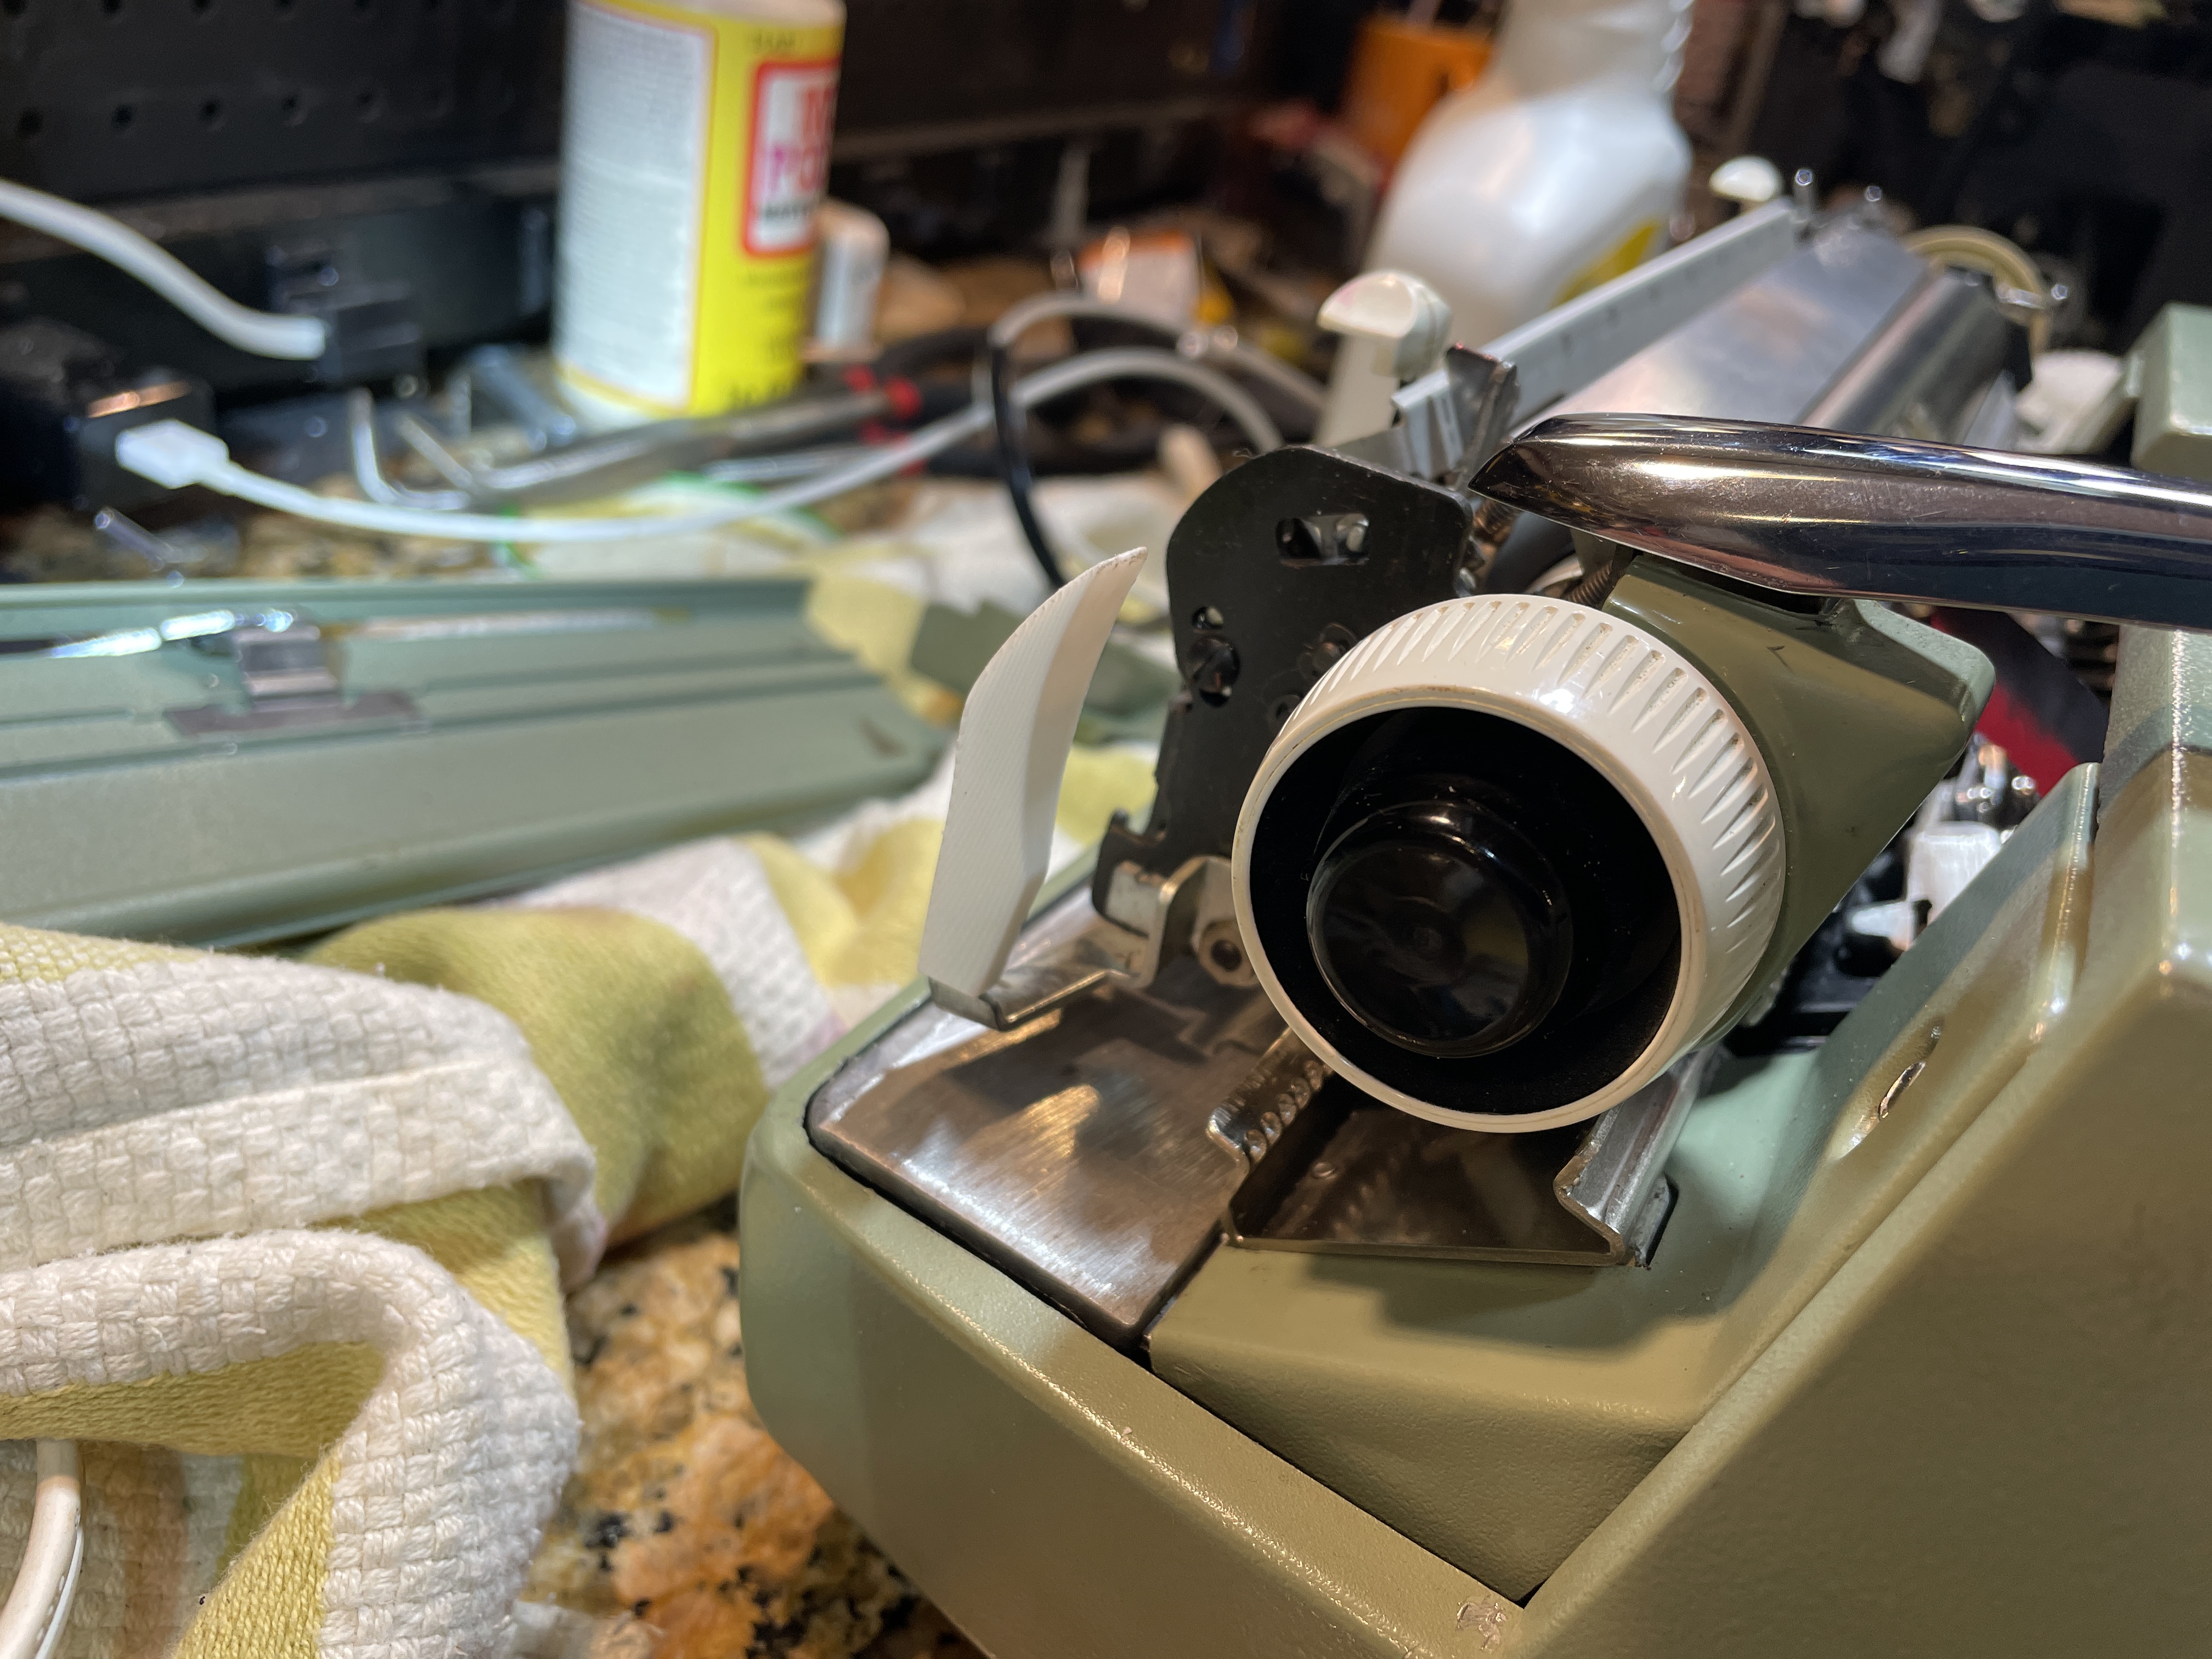
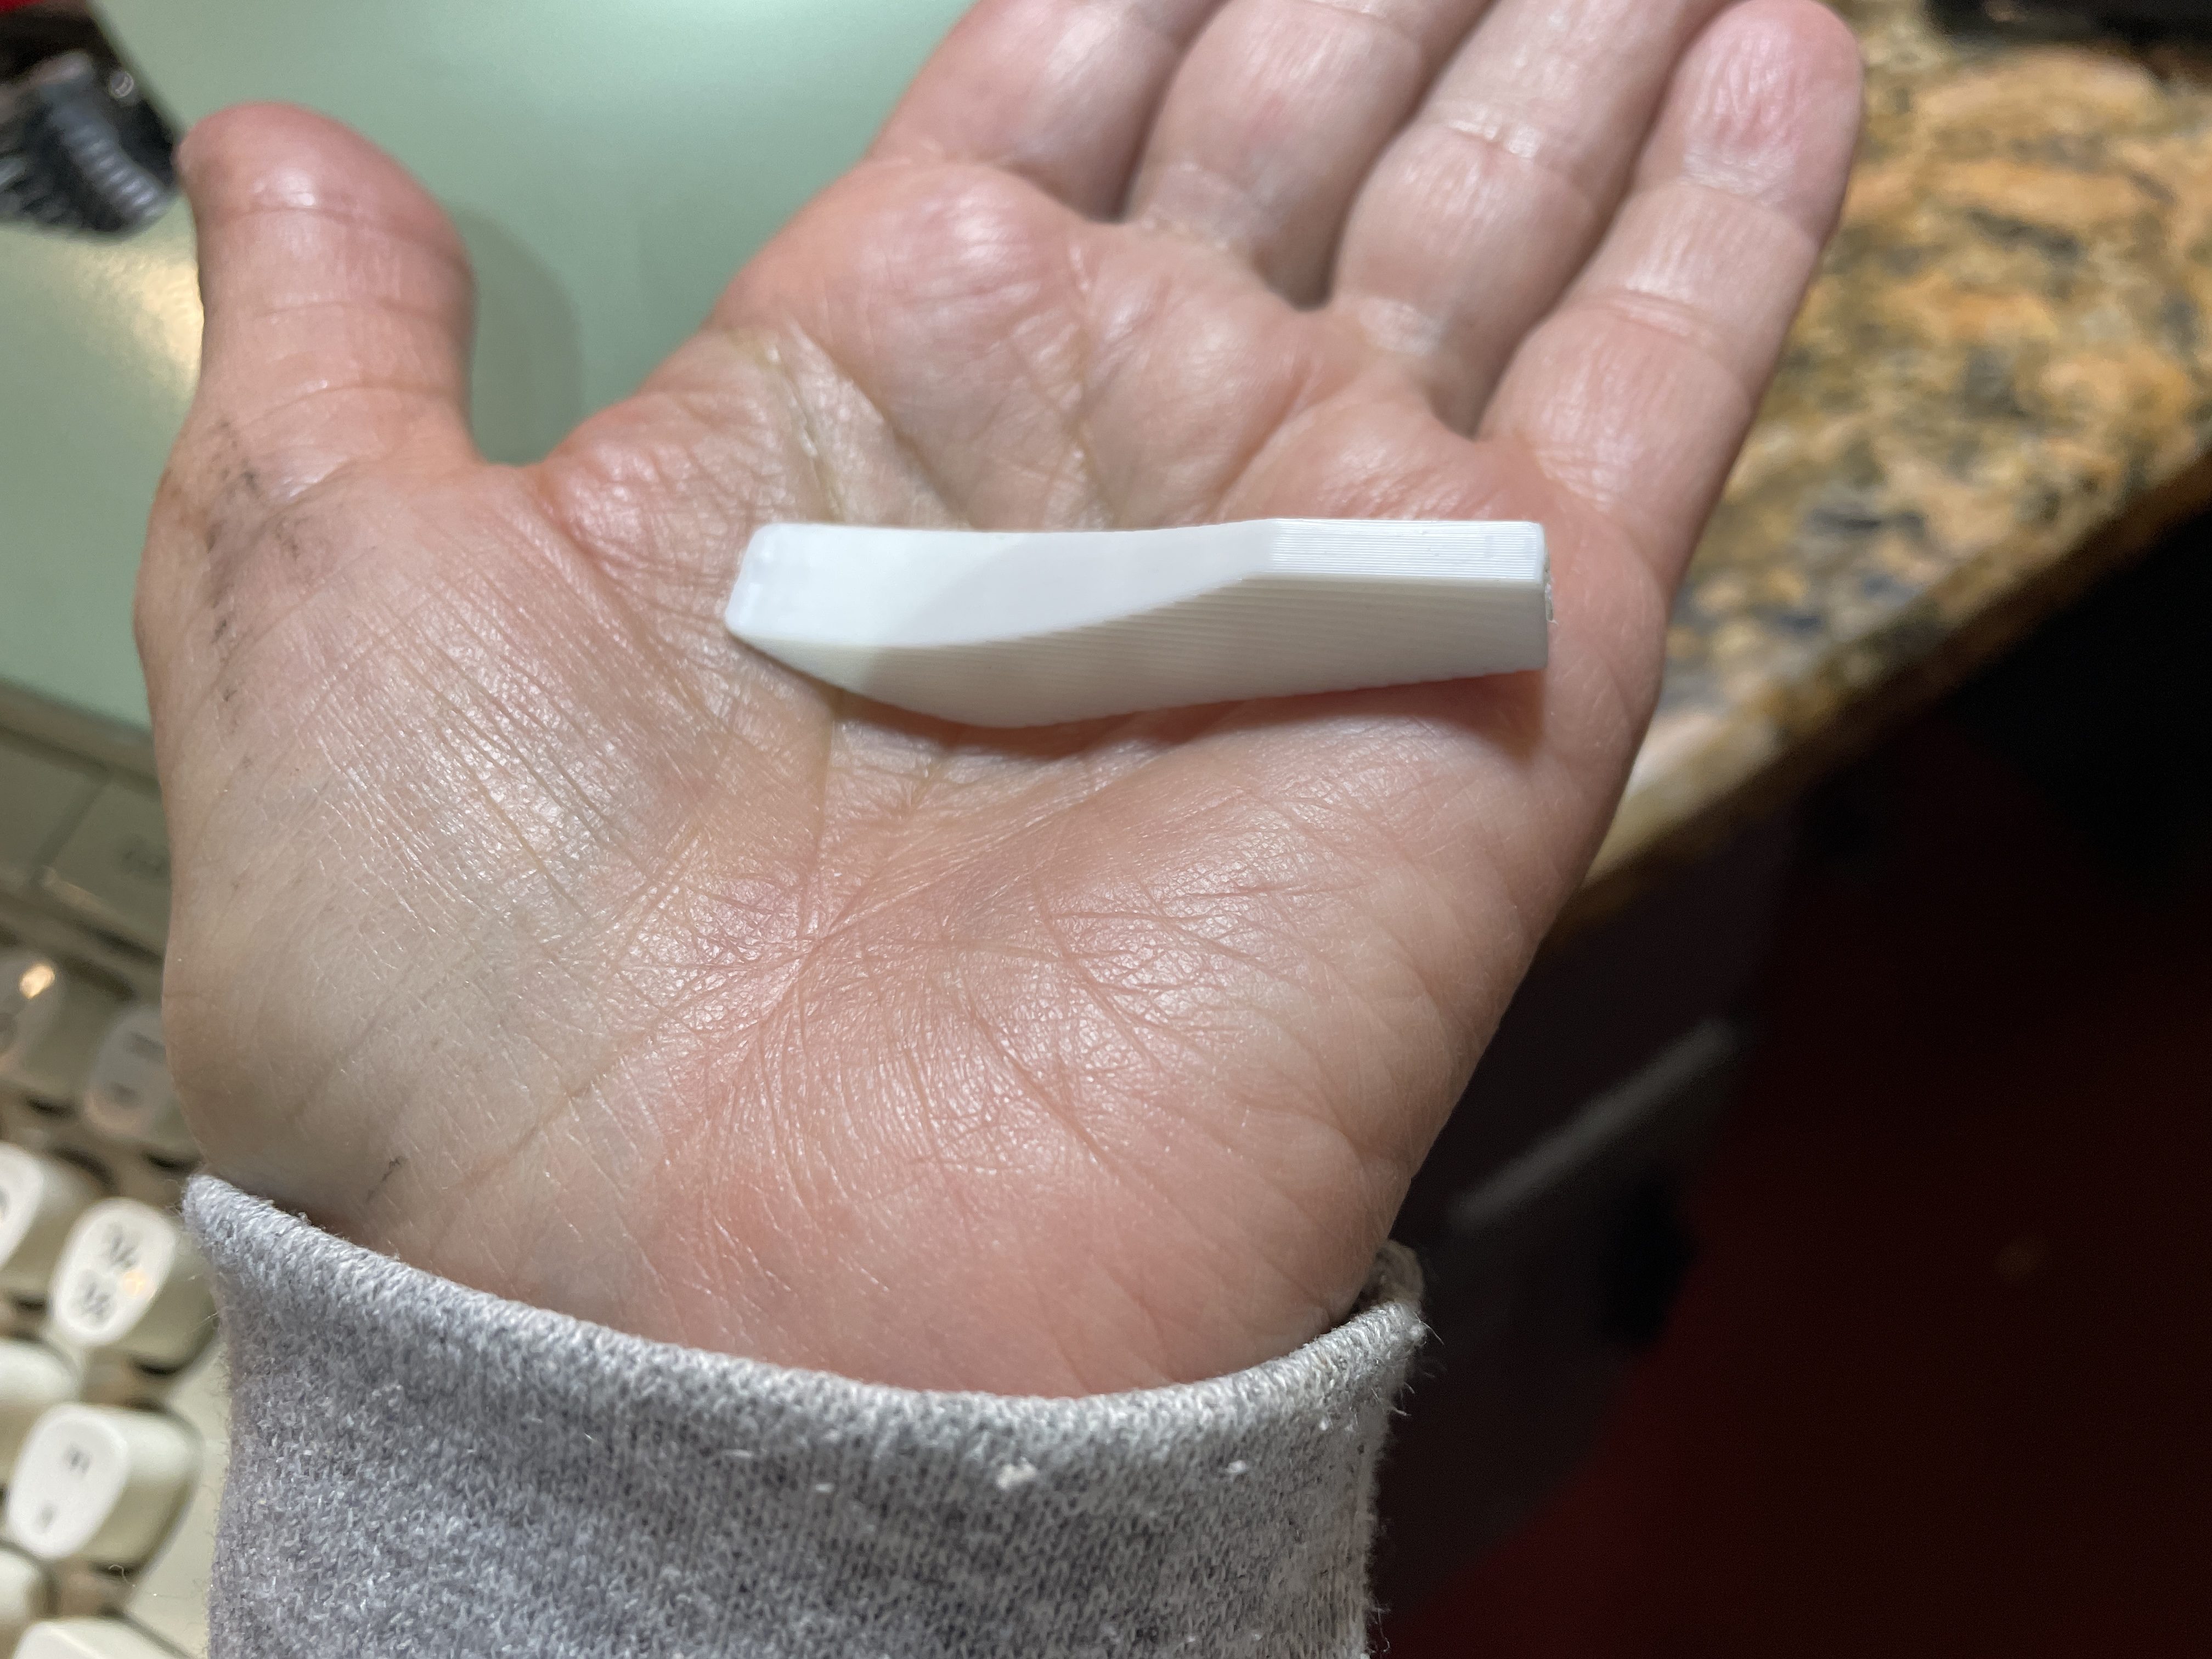
After printing, I had to drill out the center of the lever a tiny bit to wedge it onto its metal post. It’s jammed on there now, no glue. I figure I could have heated the metal post with a torch and slipped the new PLA lever on, but I didn’t want to warp the replacement lever.
I didn’t sand the new levers much, but I think I could have gotten them to a glossy surface. I think they look great as-is.
I kinda love the plastic SCM carriage release levers. Sure, after 50-60 years the original plastic becomes brittle and fragile, but wow, what a design. The shape of the original arms is breathtaking in its loveliness, like the petal of a rare rainforest lily. The swooping form is perfect for the fingers.
Loose ribbon
I started doing some testing and saw that the ribbon vibrator forks were very loose. The ribbon slipped and migrated out of the forks.
Once again, I was fortunate that Duane Jensen’s channel has a video in which he adjusts the squeeze of the ribbon forks.
It took some finessing of the forks to get the top of the forks to pinch in and also allow the ribbon to move freely through the bottom of the forks. The ribbon now stays put.
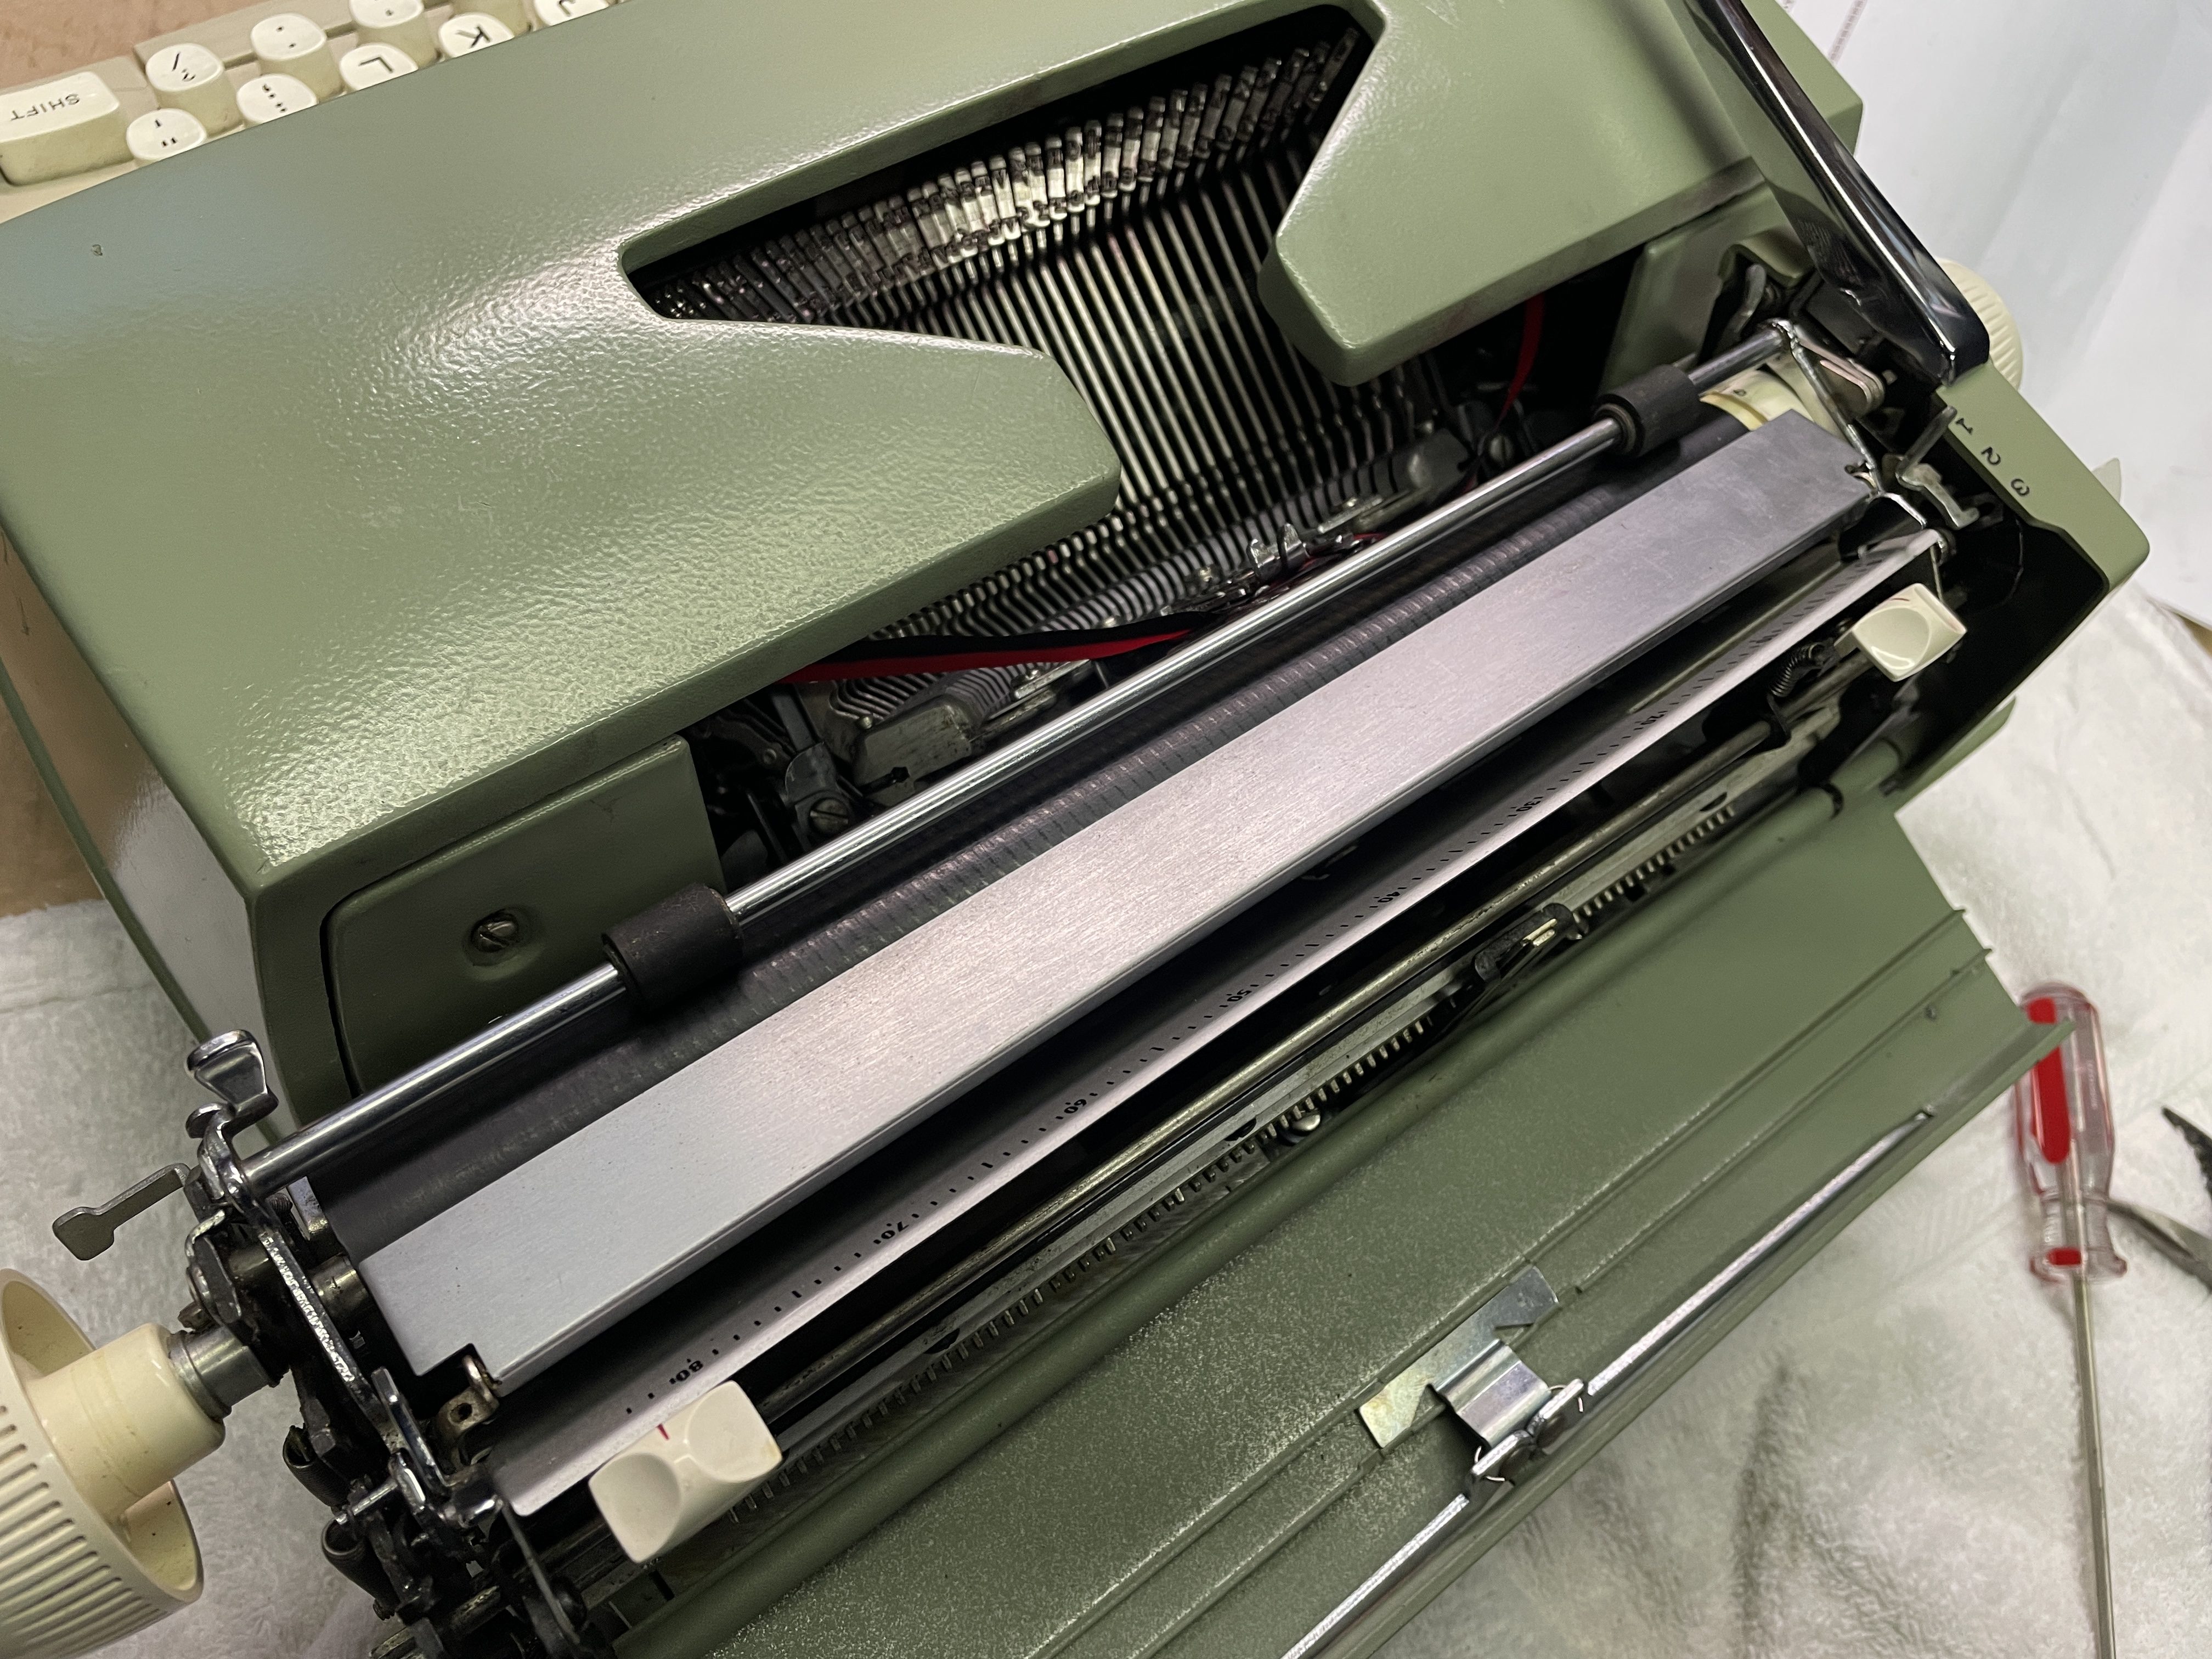
Paper not Feeding
I noticed that the paper wasn’t feeding on the left side of the platen. Paper slipped easily. I checked out a video from Duane in which he adjusts the feed rollers of the paper pan.
Getting the paper pan out was tough. Someone dropped or slammed this typewriter some time in its past, so parts of the carriage seemed a little out of kilter. Once again, I employed judicious use of the hammer to get the paper pan out and in.
Adjusting the feed roller positioning took some time because bending the little tabs can cause the feed rollers to stop moving altogether.
Unrelated note: with the platen out, it’s easy to remove the plastic card guide by loosening the two retaining screws and slipping it out. I used a teeny tiny bit of lacquer thinner to remove stubborn Wite Out. Lacquer thinner melts plastic, so I don’t recommend using it except as a very last resort. I think it would melt and cloud the clear plastic if you’re not careful. I used a tiny dab on a Q-tip and that made short work of the Wite Out.
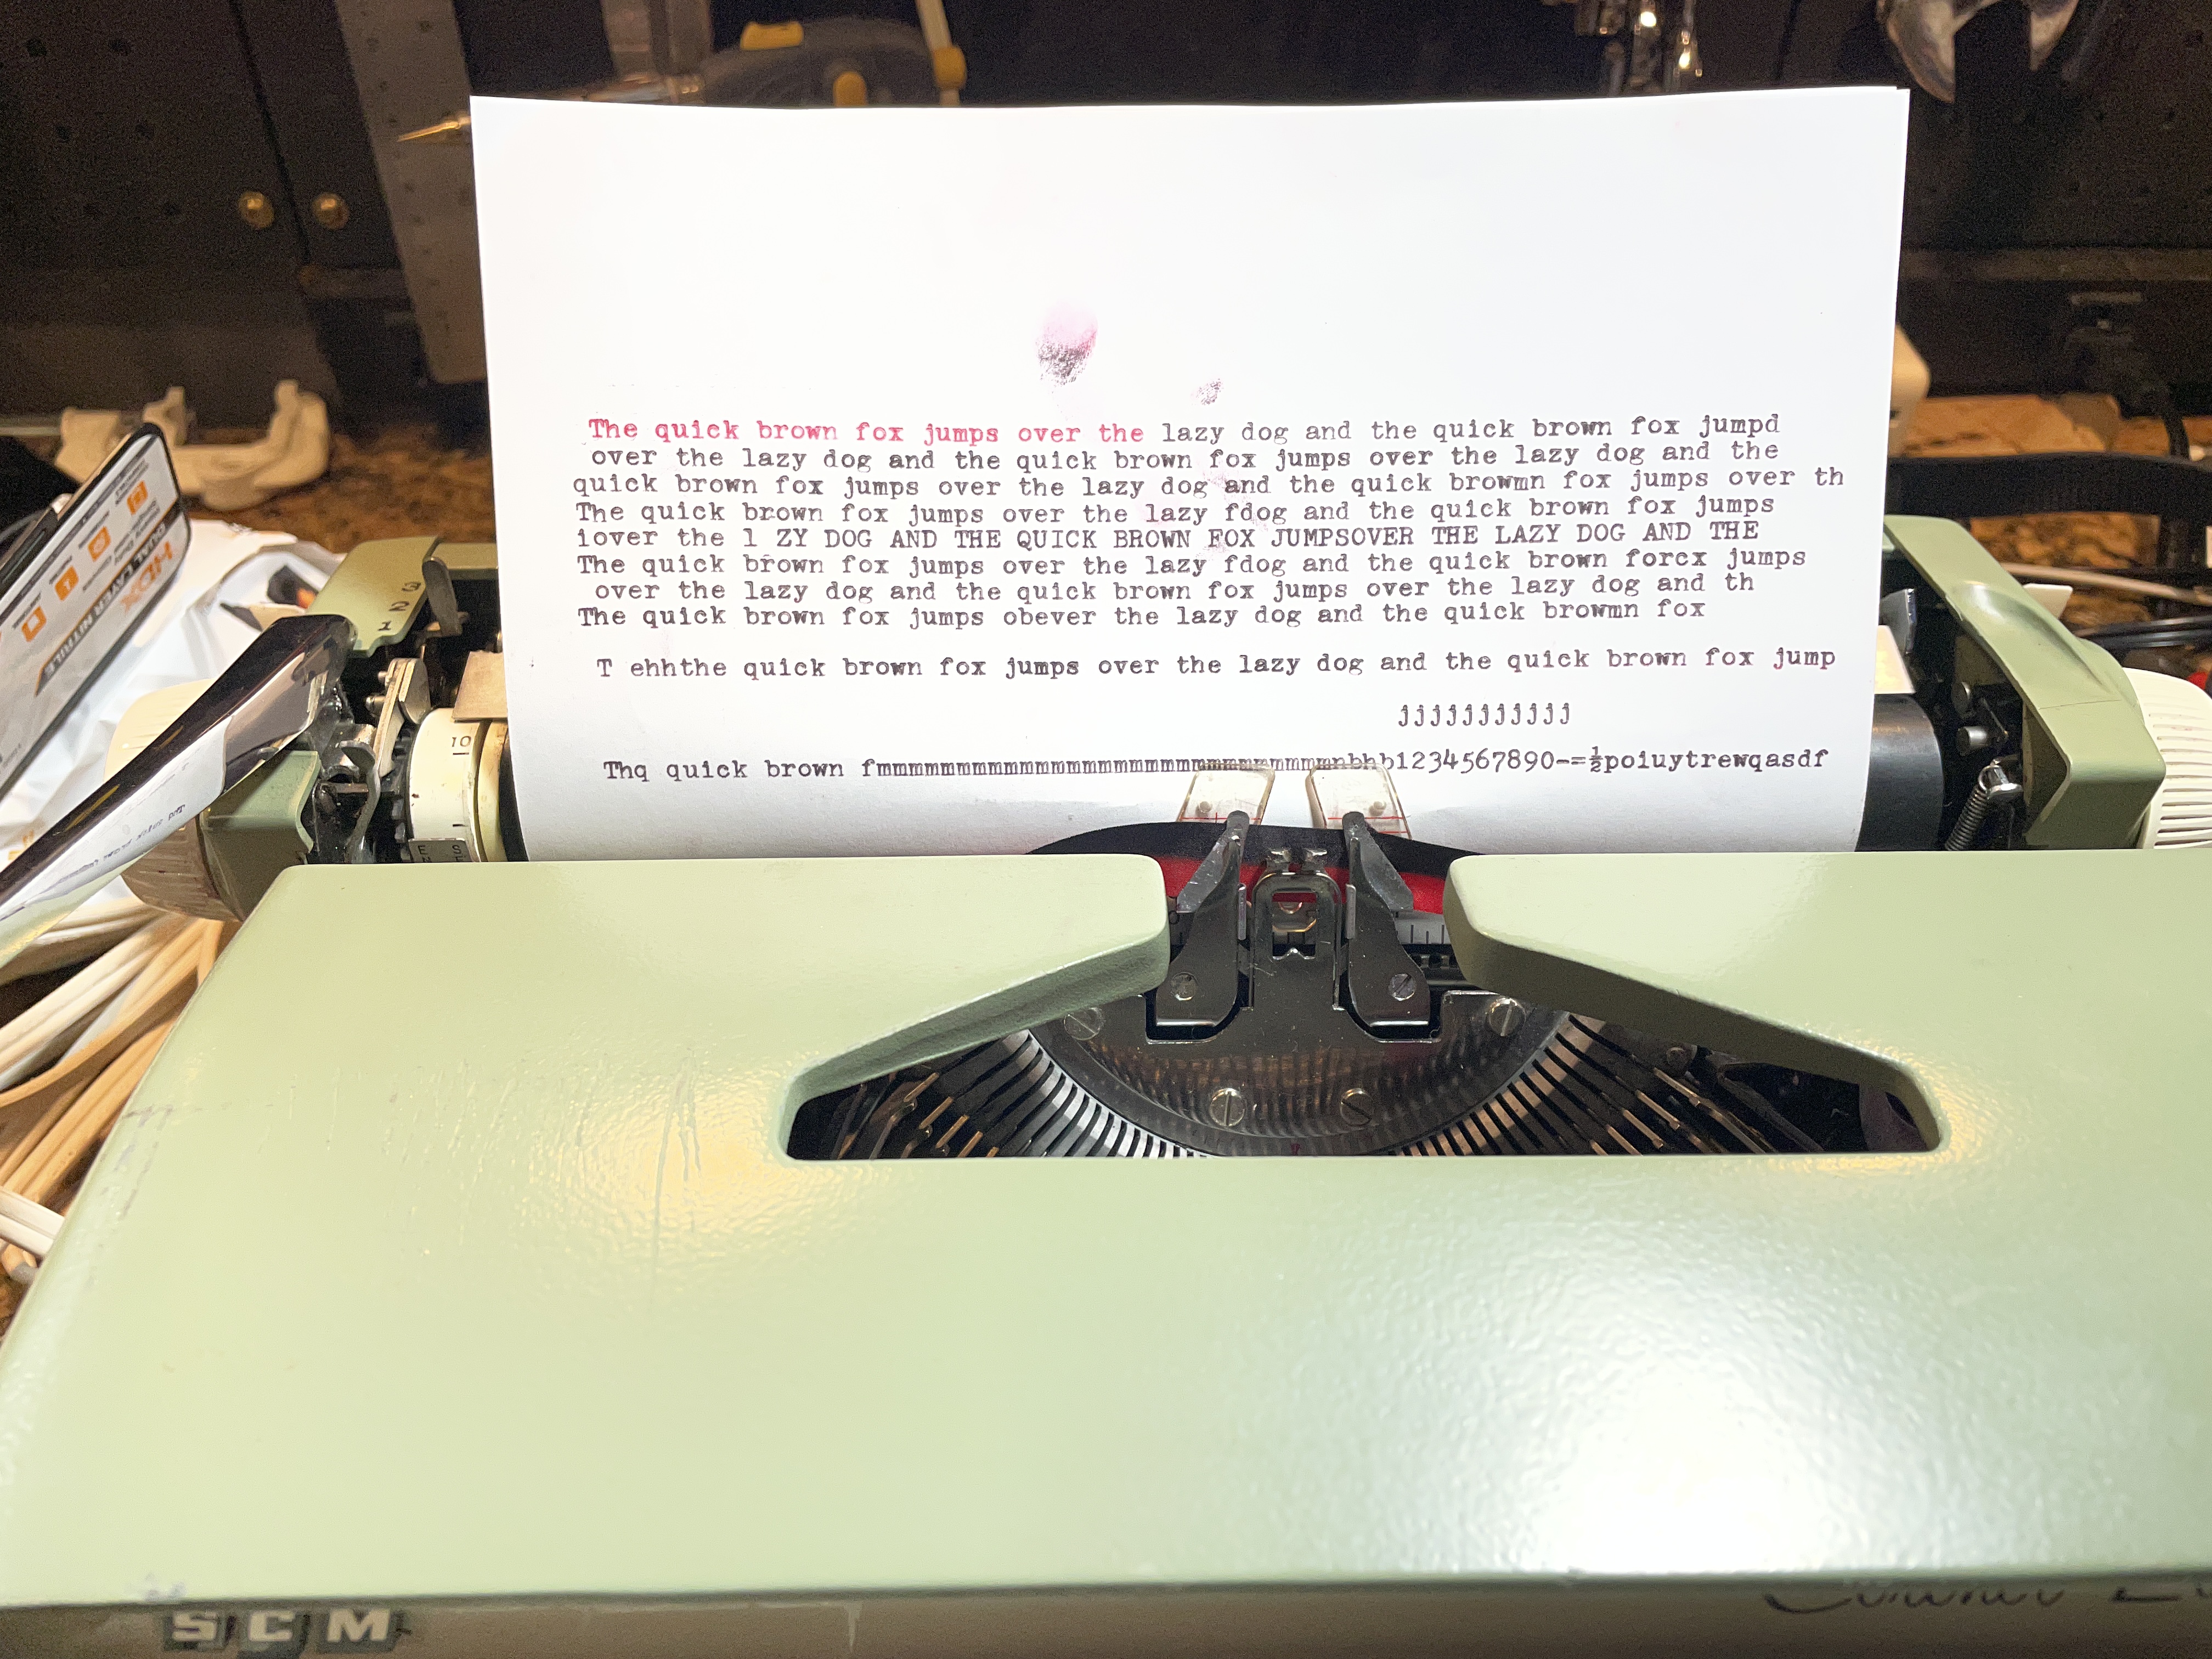
This Coronet project was coming together nicely.
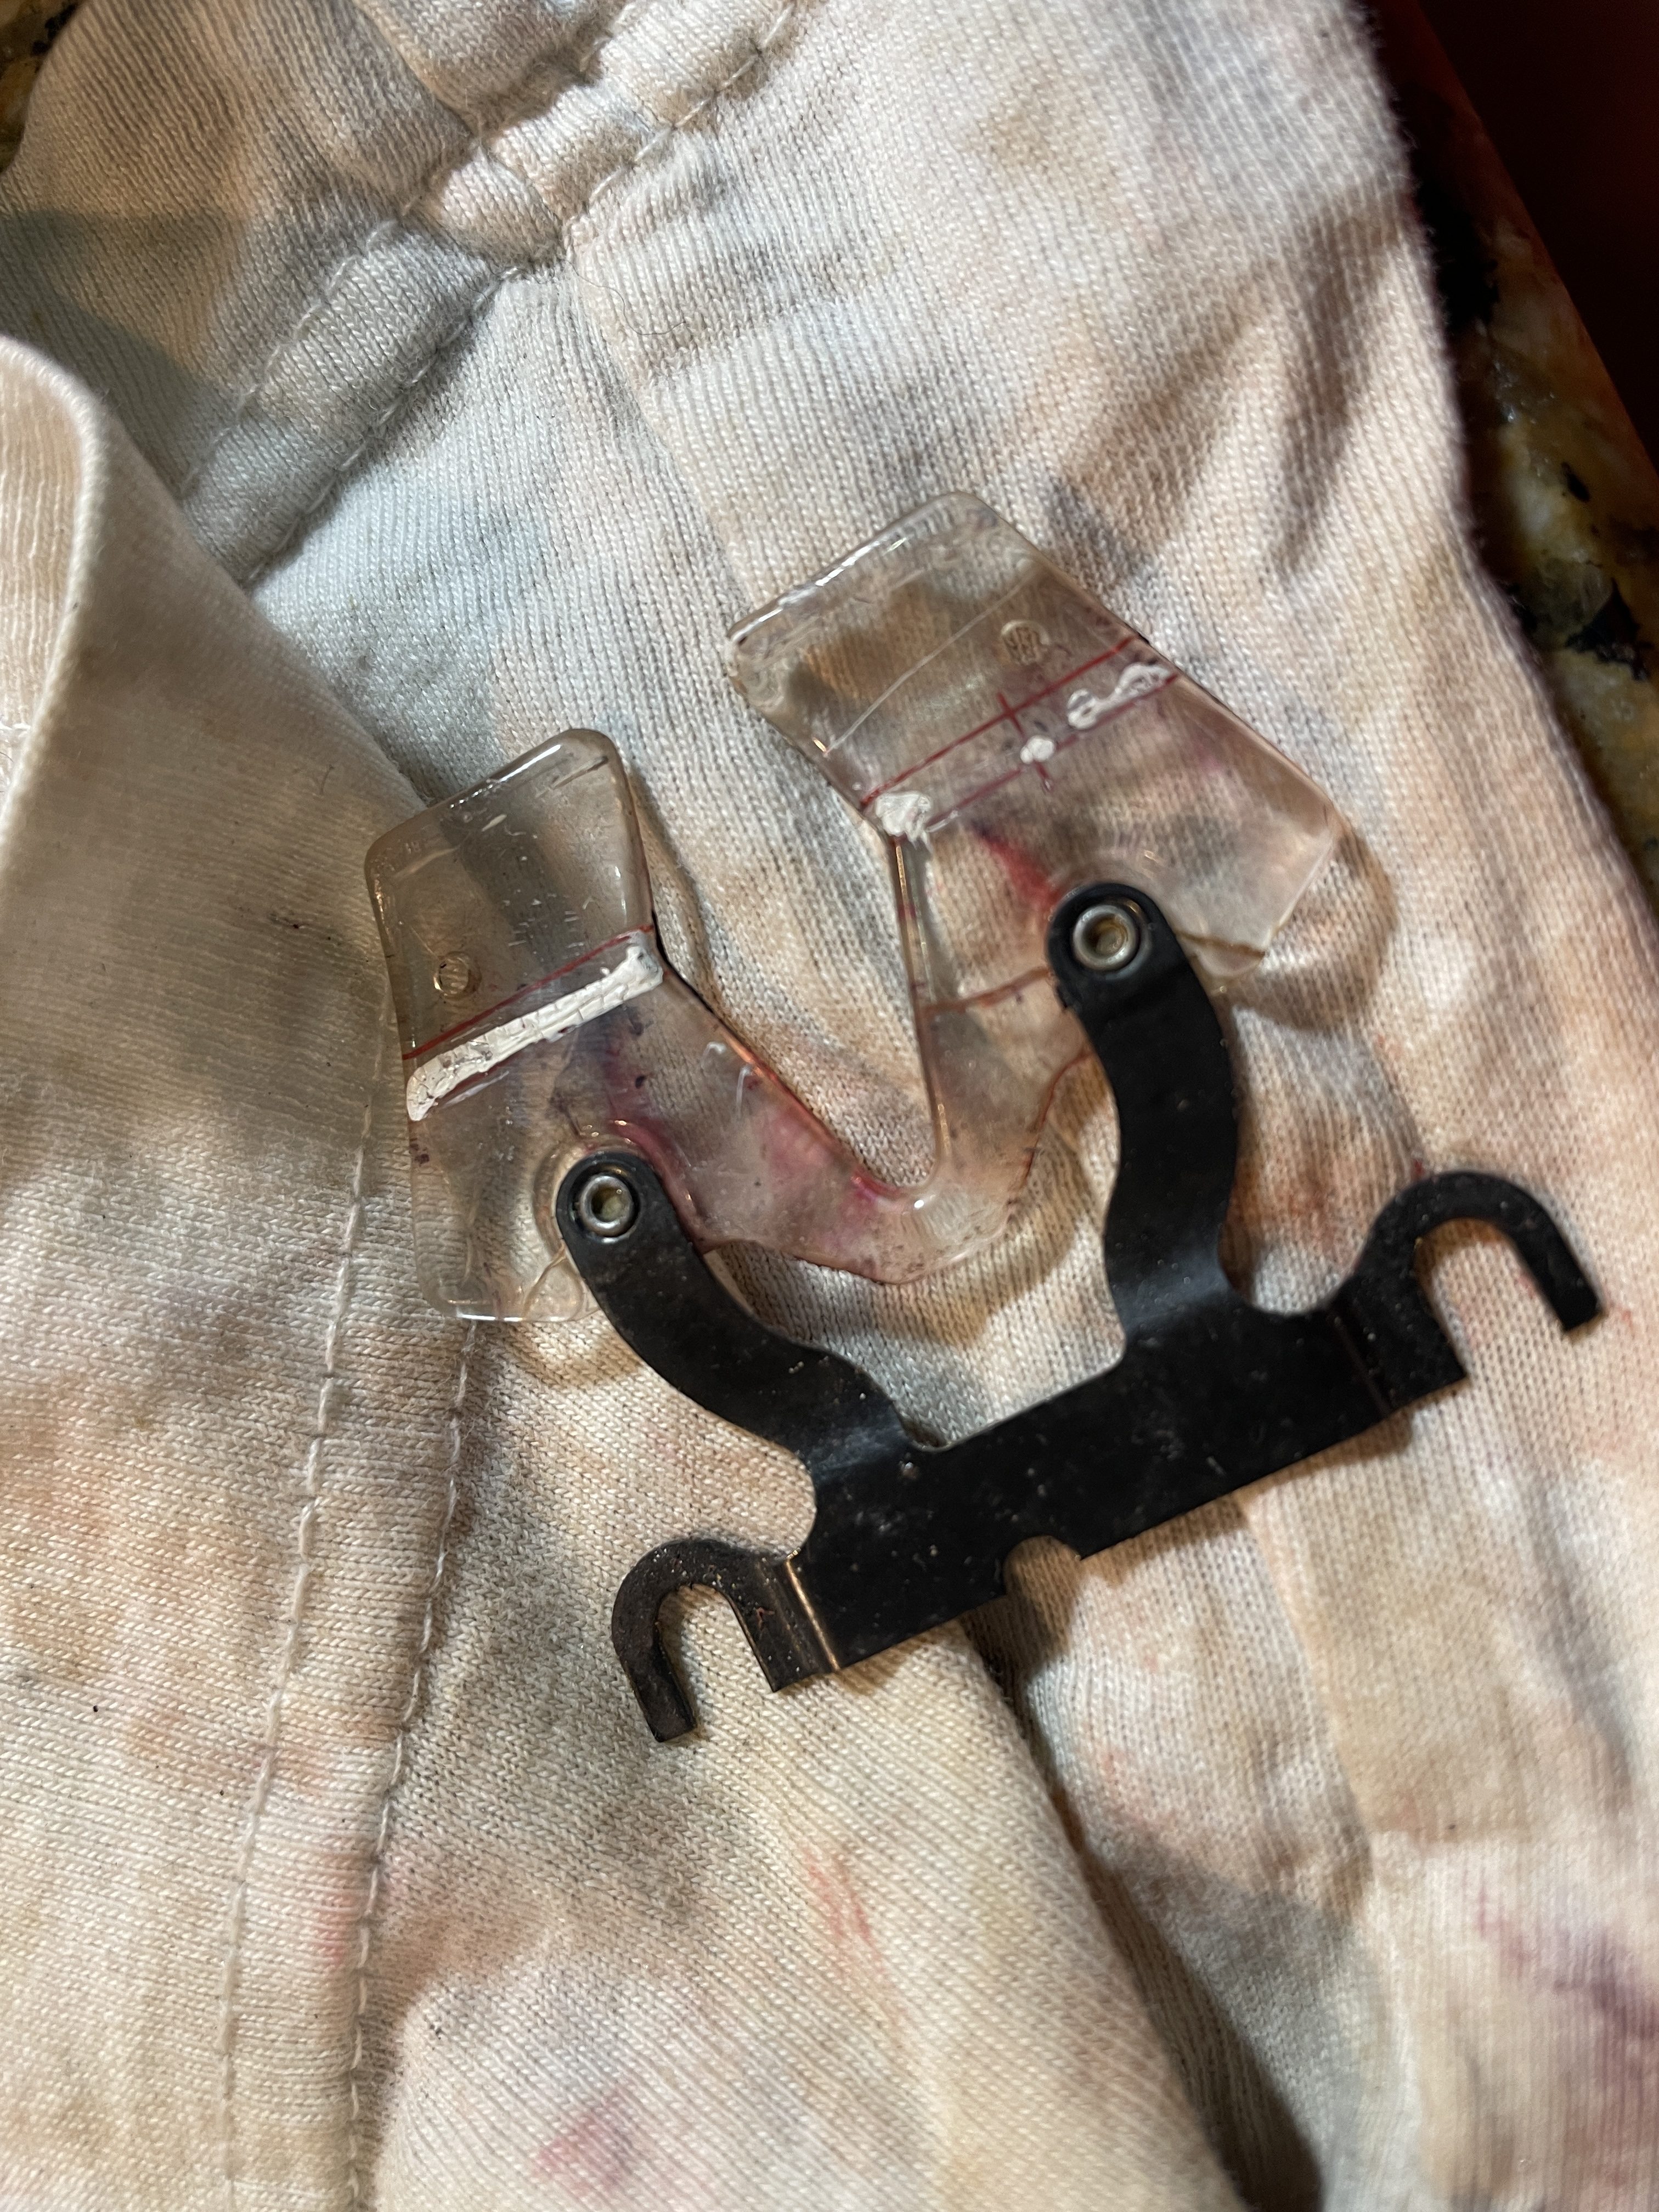
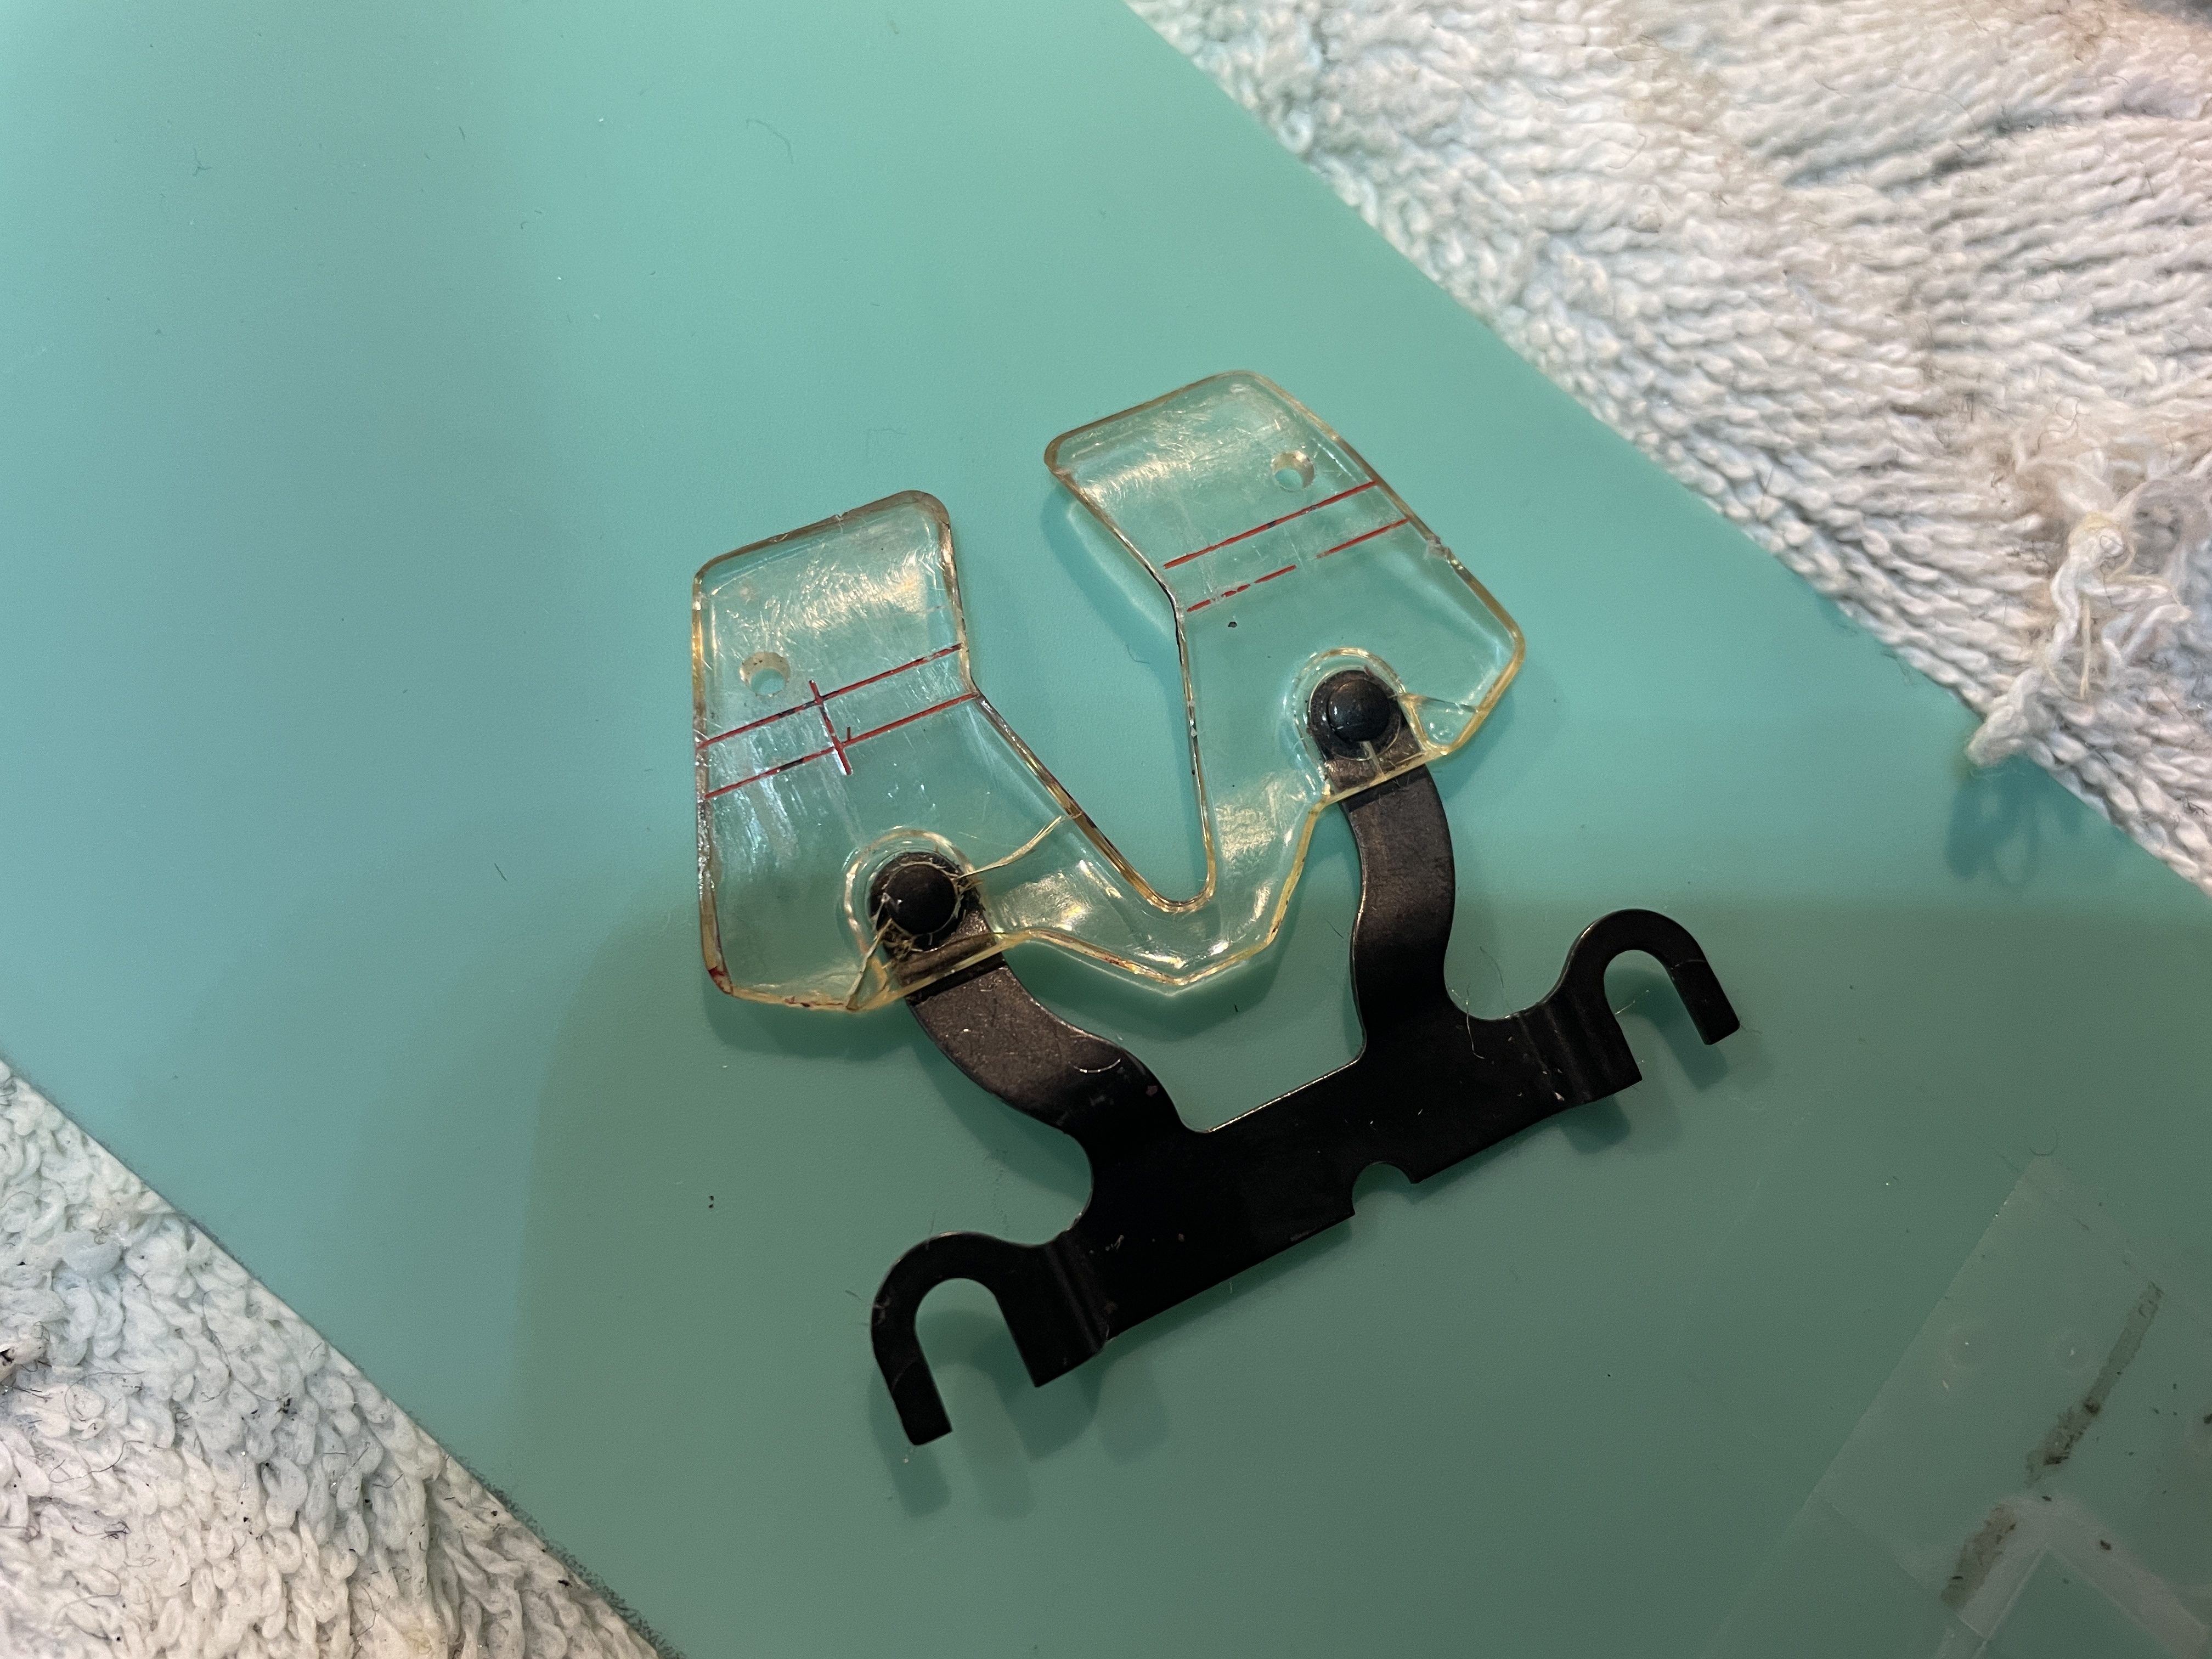
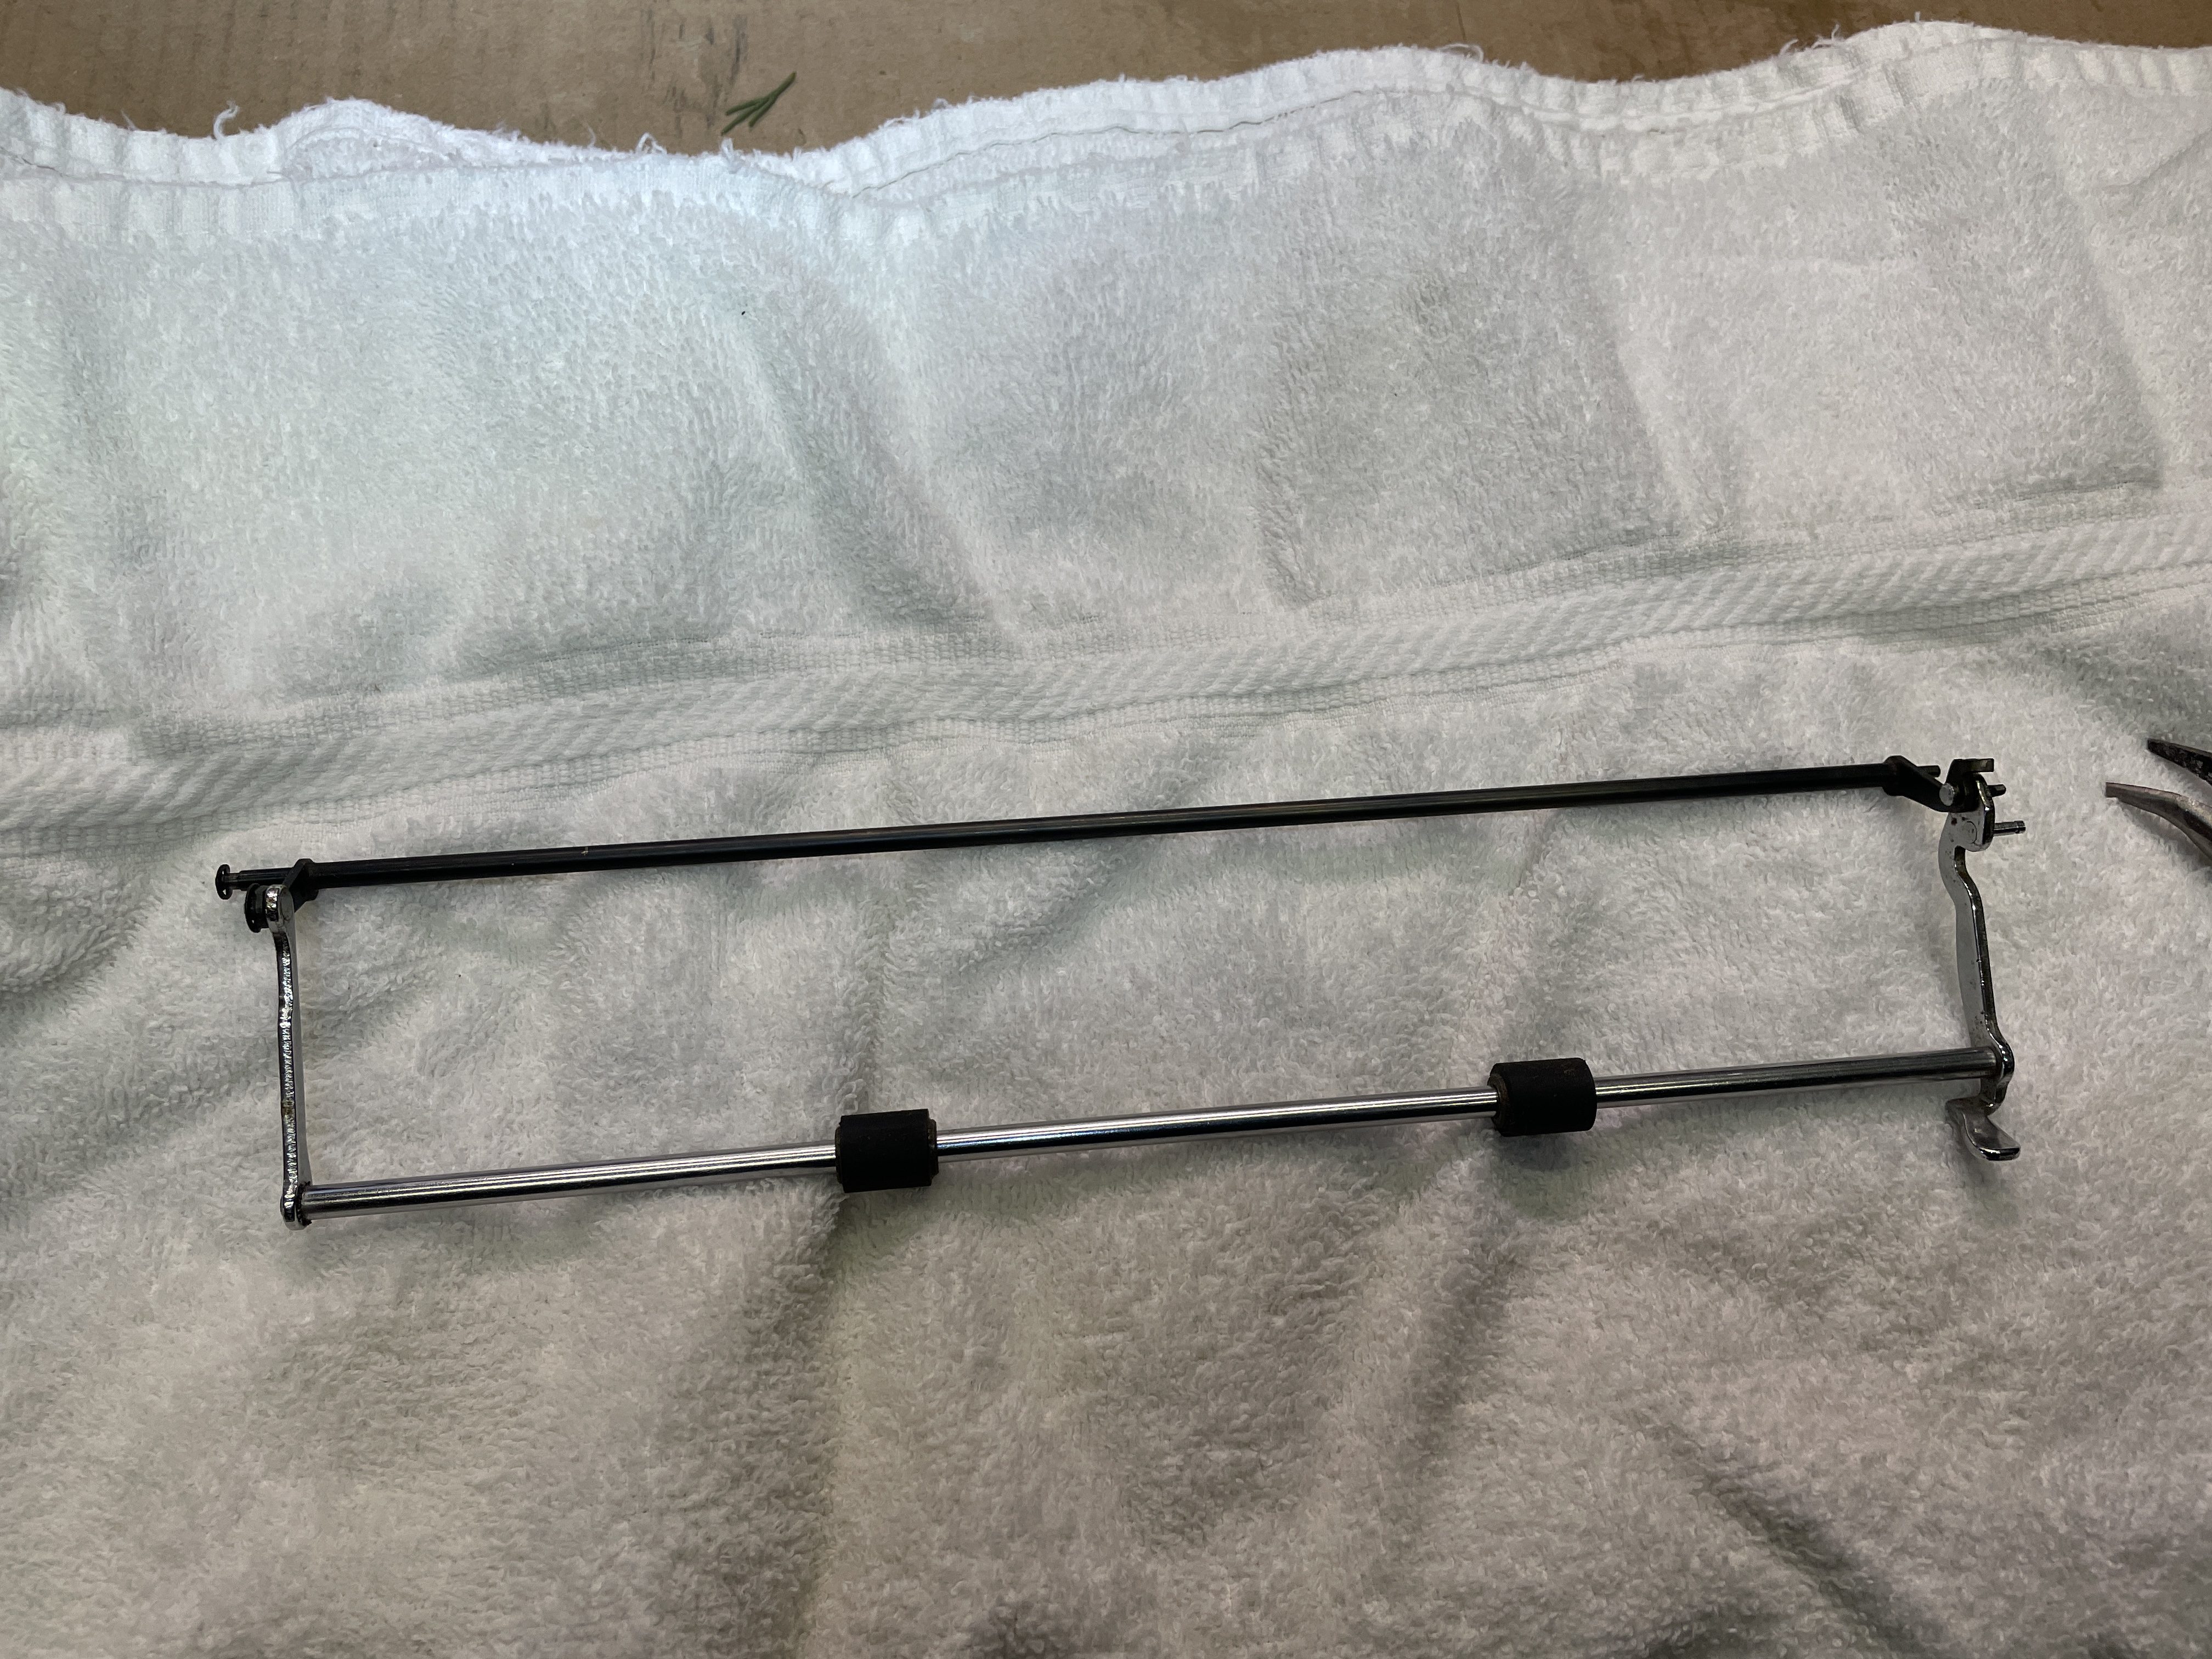
Missing Paper Bail
The paper bail was missing and I could see empty attachment arms. The paper flopped around on the platen, and I thought I could get a crisper imprint with a paper bail.
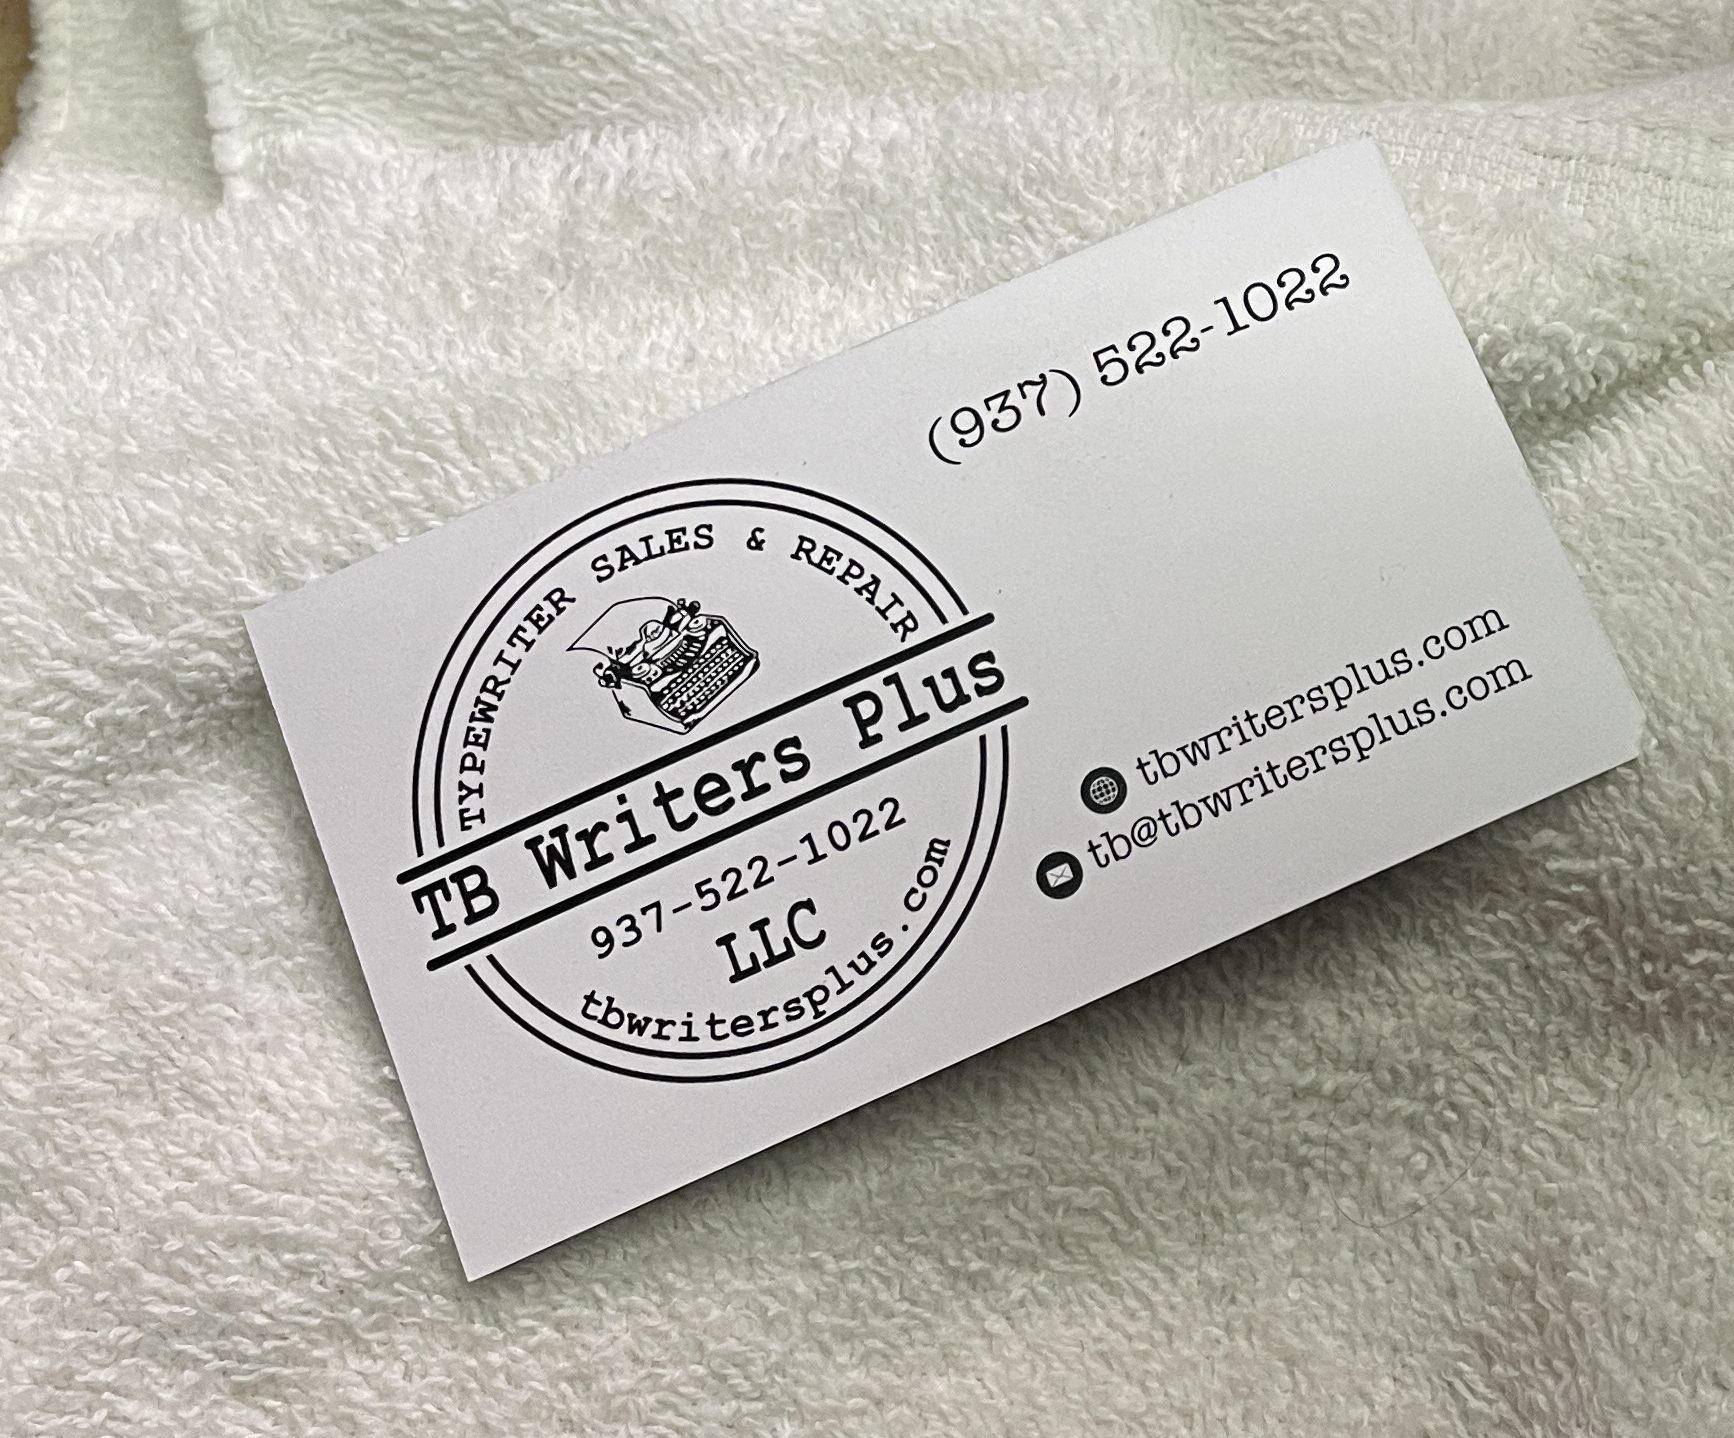
I contacted Trevor at TB Writers Plus where they have bunches of parts machines.
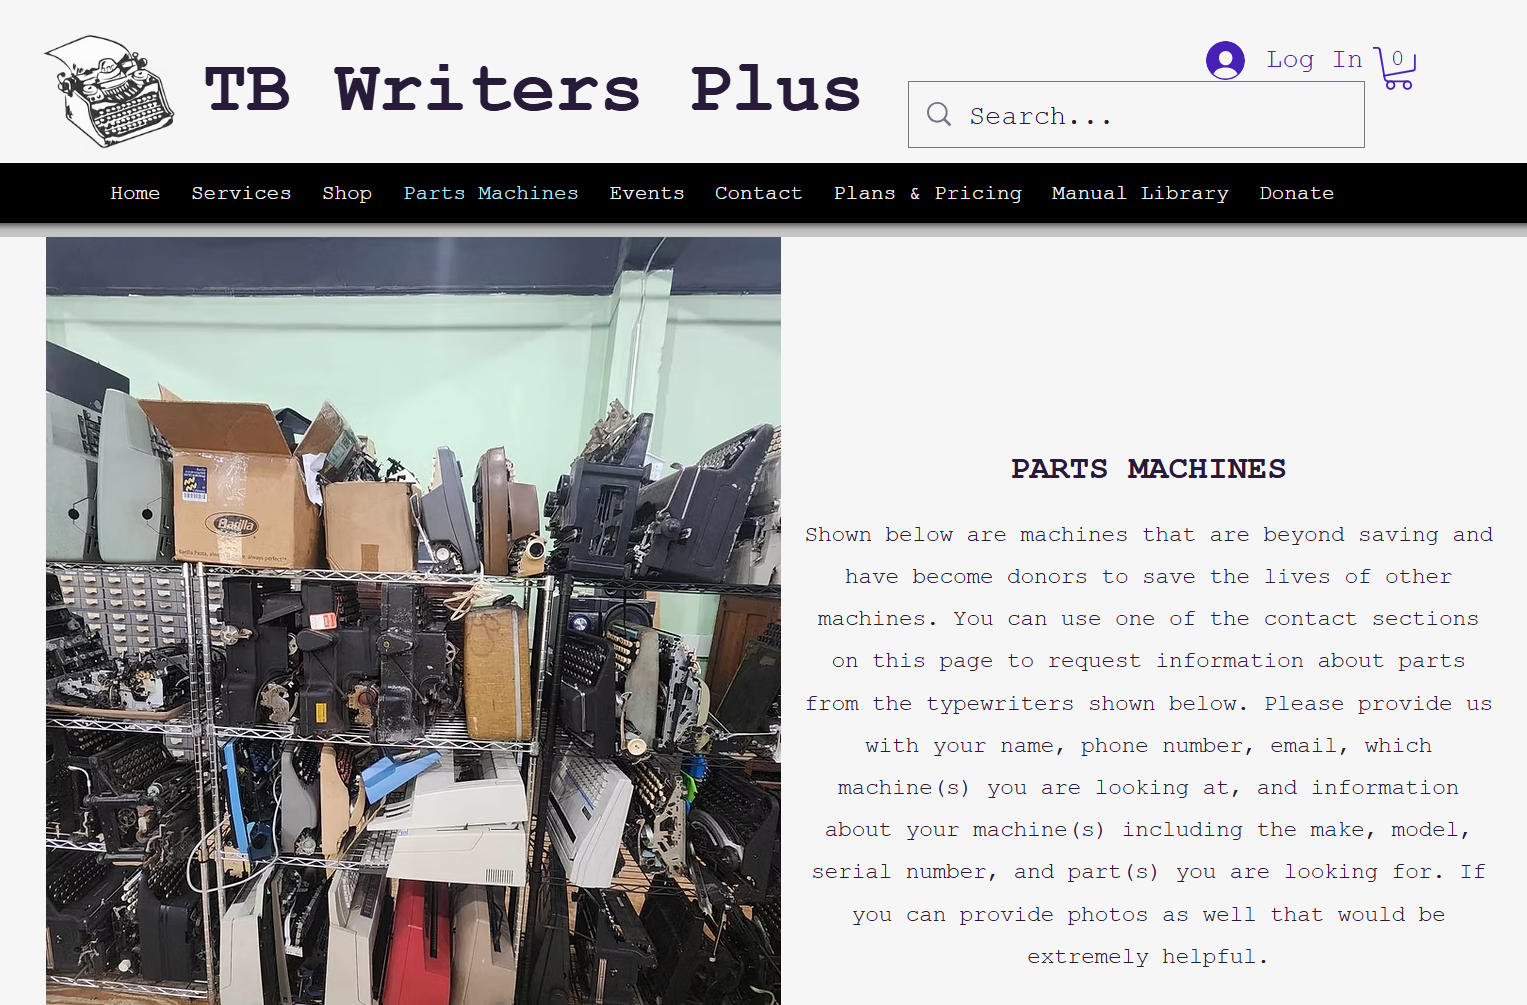
He had exactly what I needed and sent a replacement from a parts machine. Price, selection, service, and speedy-quick shipment. Damn, Trevor. You’re the best.
I inserted it into my Coronet. I had to straighten out the mounting bracket on my machine since it was mangled from whatever past trauma the machine had experienced. Ta-da! I had a nice new paper bail.
But there was something not quite right about the way that paper bail sat. If only I had a reference machine…
Well, last weekend, my neighbor dropped off her manual SCM Sterling for clean up. Hurray! A reference 6 series machine!
I compared the paper bail assemblies on the Sterling and the Coronet and saw where I had gone wrong on paper bail install. All better now!
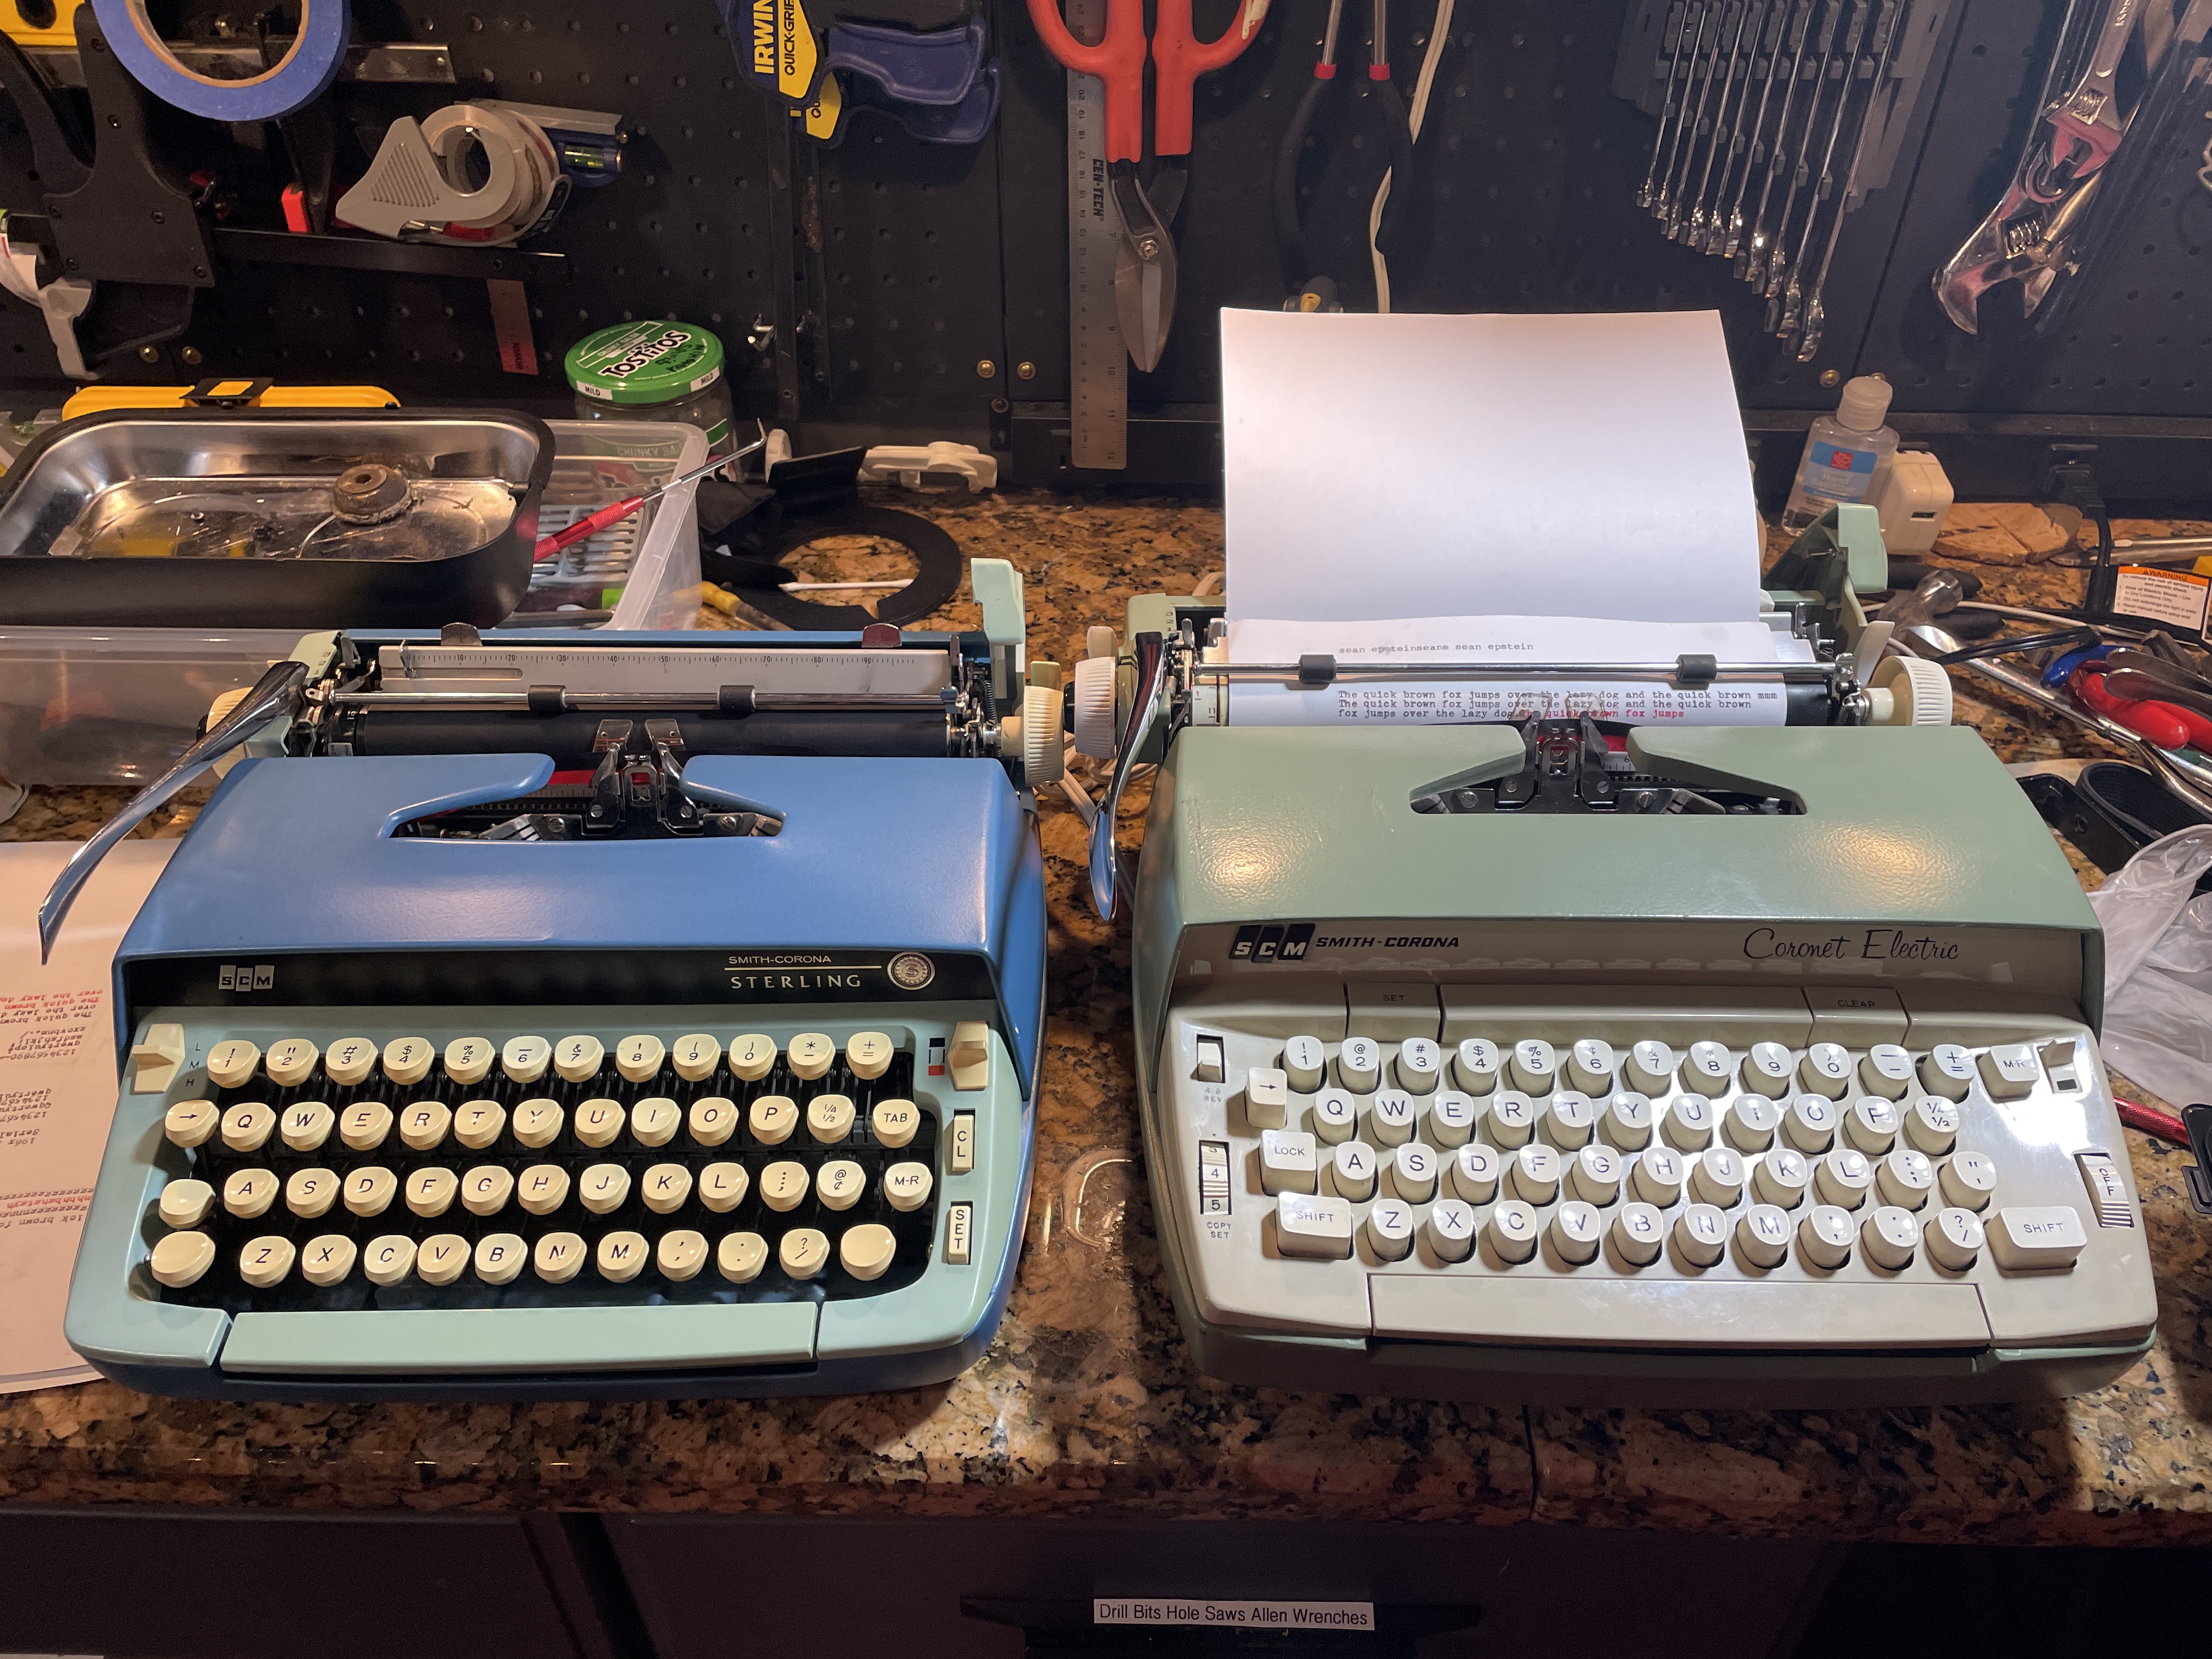
Are these things reproducing?
I’m thrilled. This little green cutie puts a smile on my face and renews my conviction that sometimes hopeless cases just need a little work. Or a lot of work.
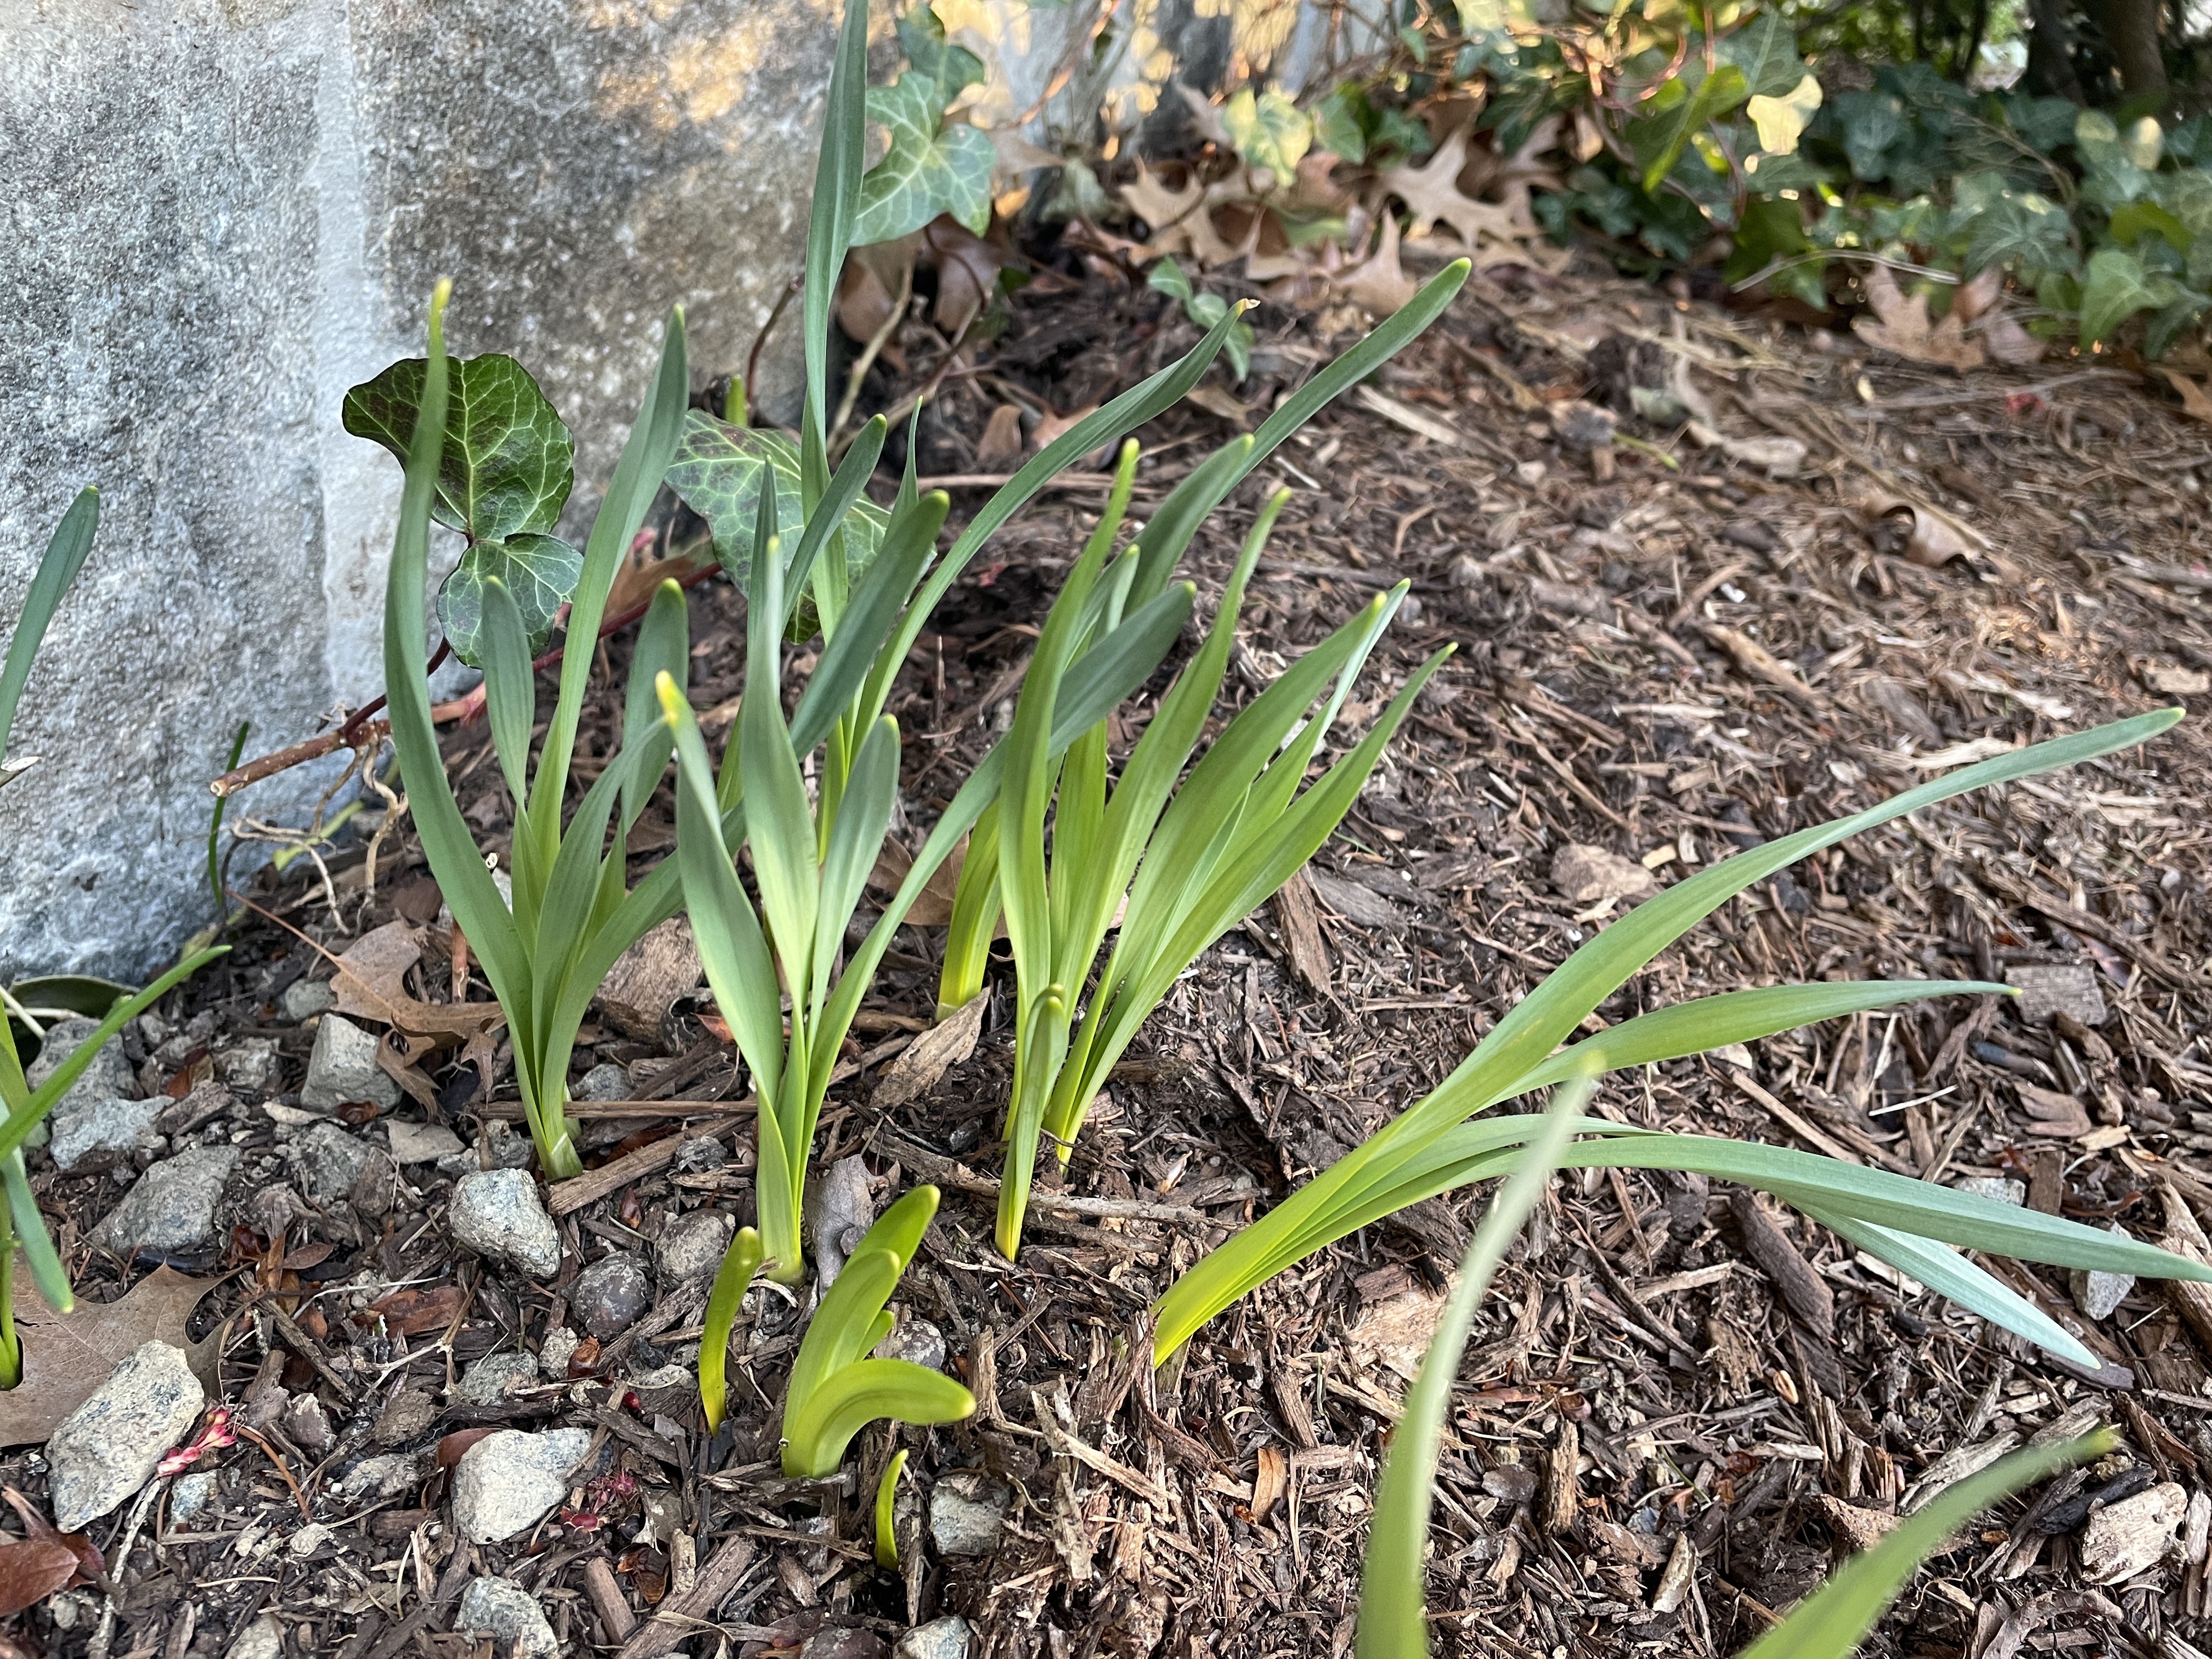
The Coronet Electric is the perfect springtime typewriter. It’s been a long, dark winter, a mini Ice Age. We had a snowstorm that left sheets of ice that didn’t recede for weeks. We shivered through long stretches of temps in the teens—temperatures that are highly unusual for this Virginia town. But finally, finally, the first green shoots of spring are emerging.
It’s baseball season, and my grandson is All In. Base. Ball.
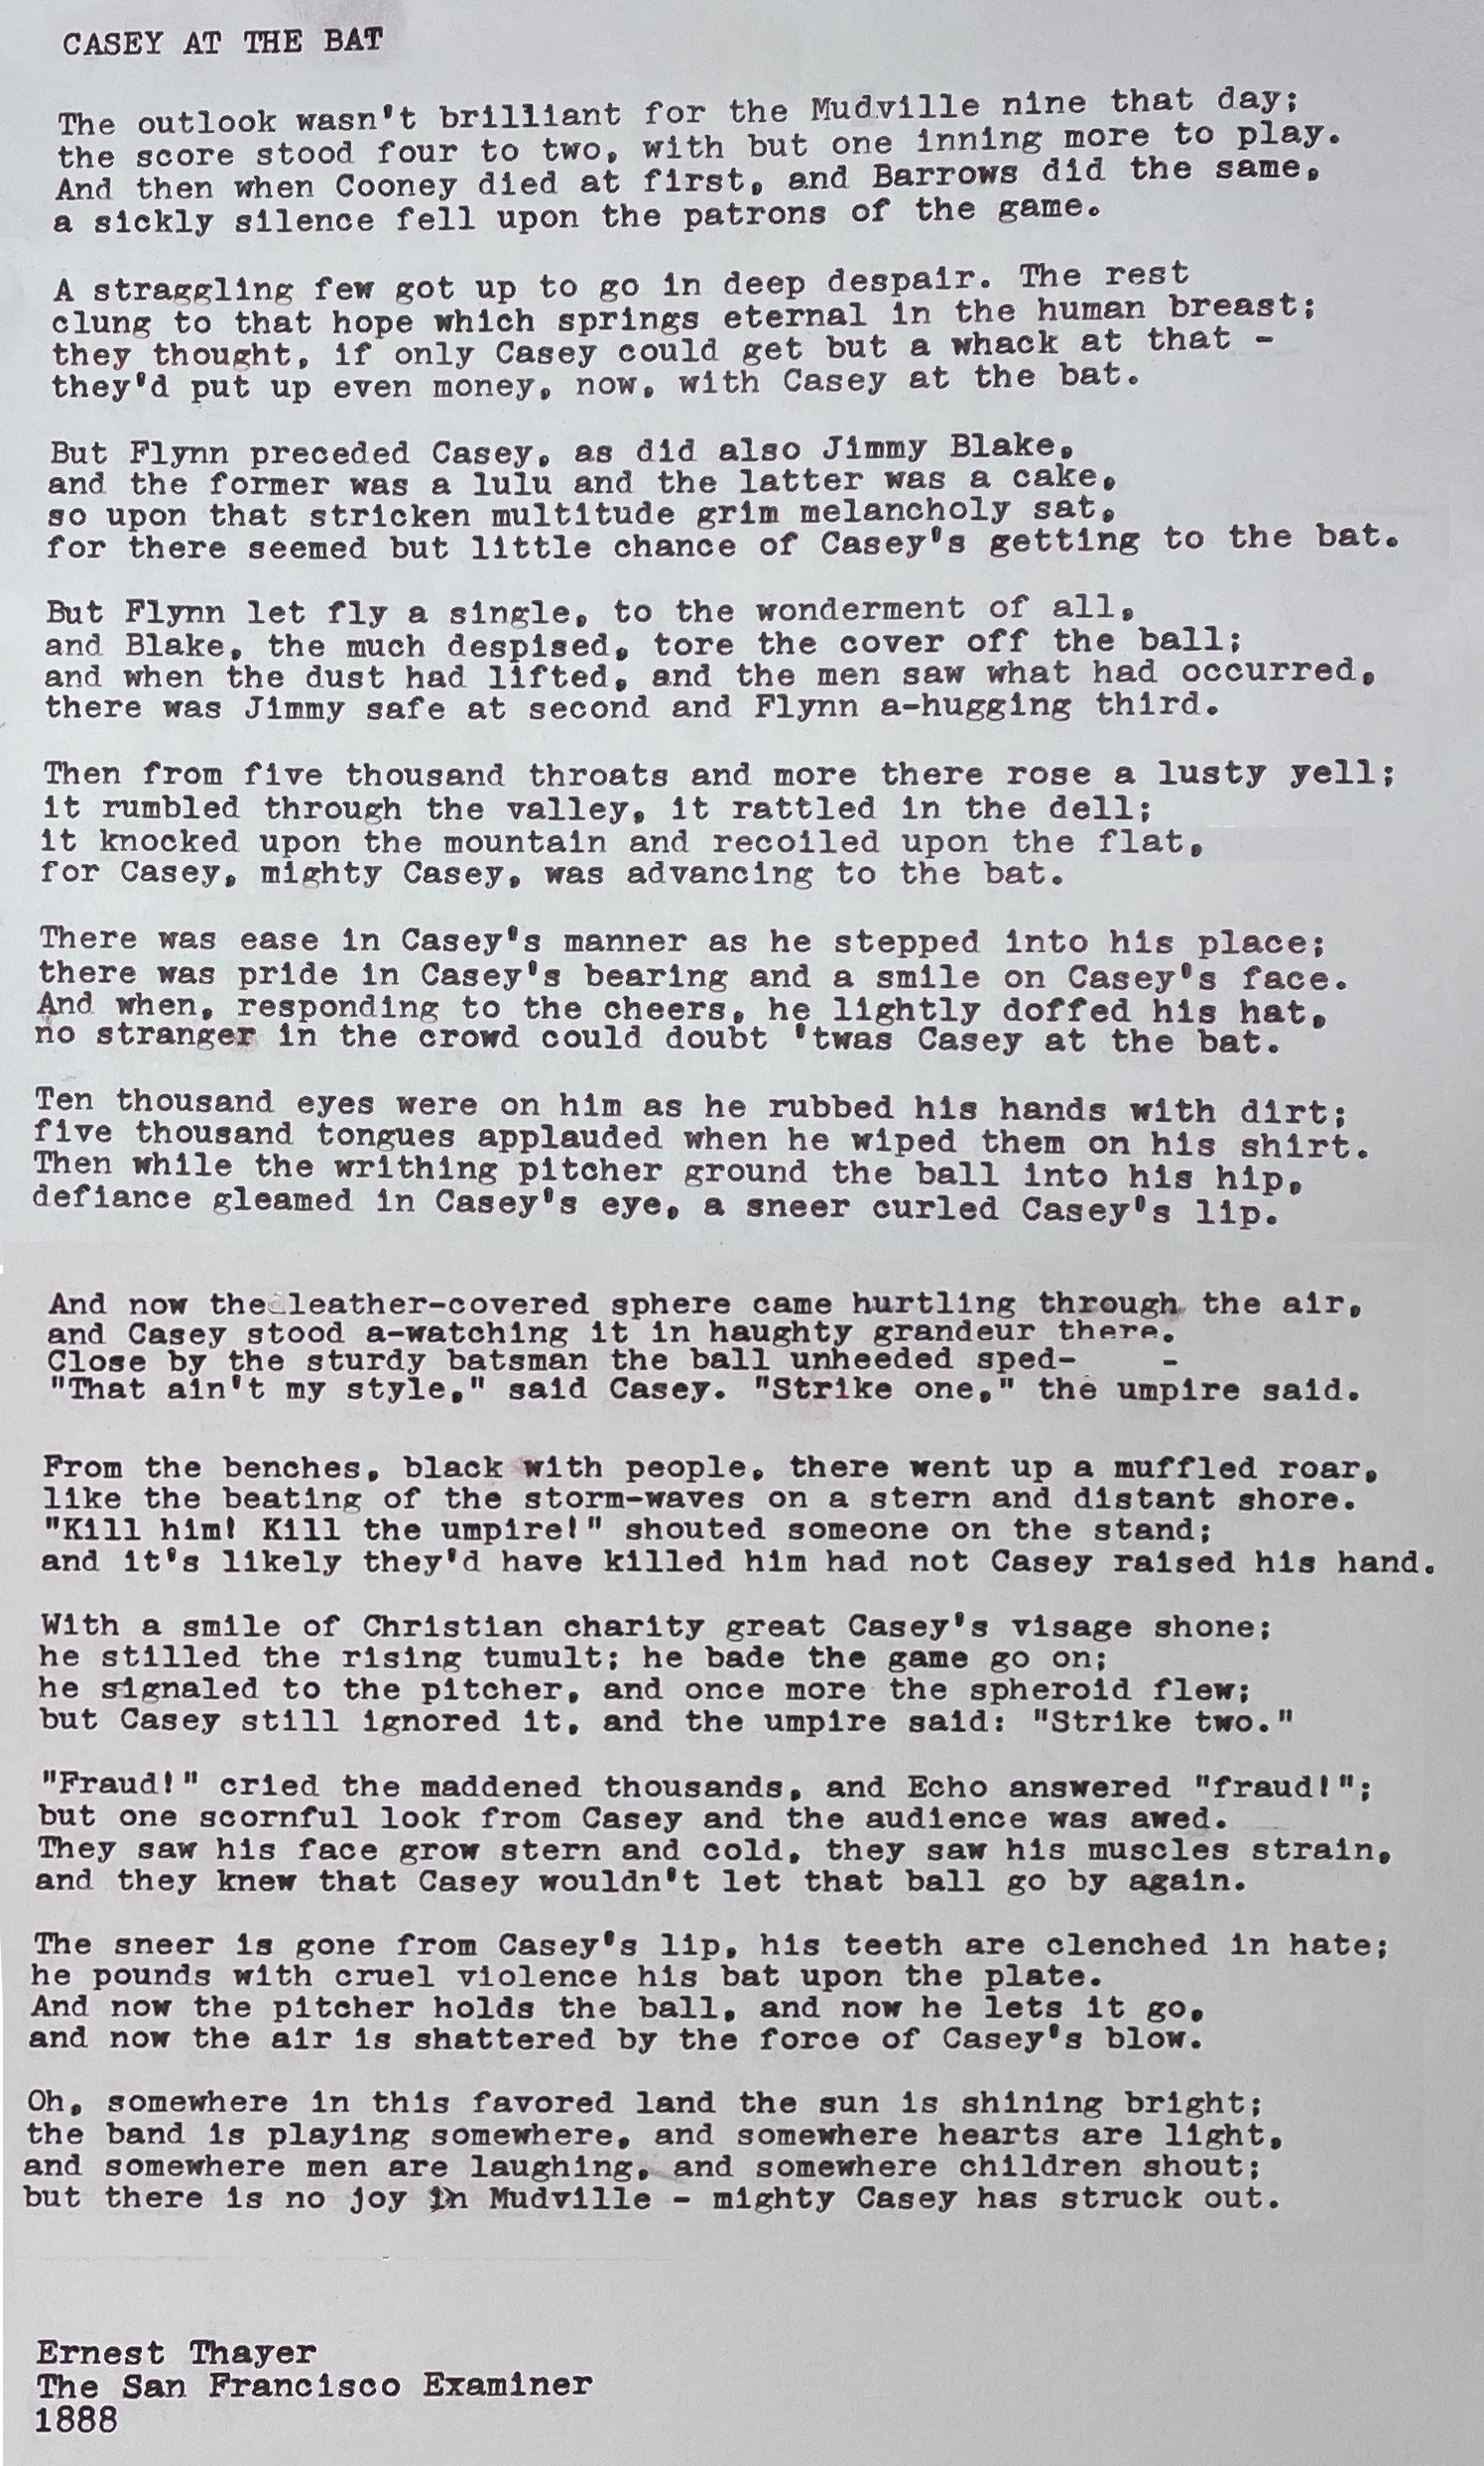
Springtime makes me hopeful and poetical. Here’s a favorite poem by Ernest Thayer from 1888 (!) about baseball. I’m surprised by how much of this I know by heart. That last stanza just about kills me.

Ahh, those mostly manual Coronets are very nice machines – Excellent revival! (:
LikeLiked by 1 person
These manual return electrics are my favorite Smith-Corona electrics.
LikeLiked by 1 person
Great work! That old electric cord is frightening indeed.
LikeLike