Ye Olde Twins: L.C. Smith No. 8 Typewriters

I have the strange feeling that I seen one of these before…

12

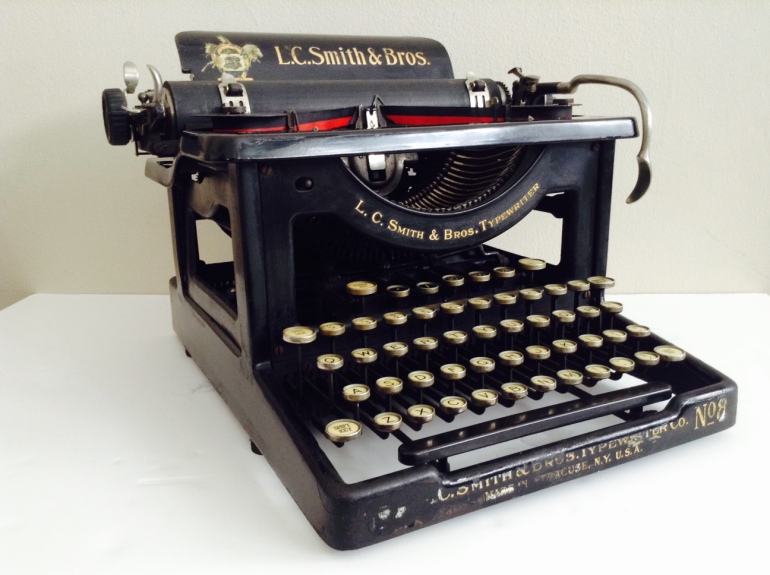
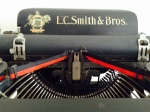
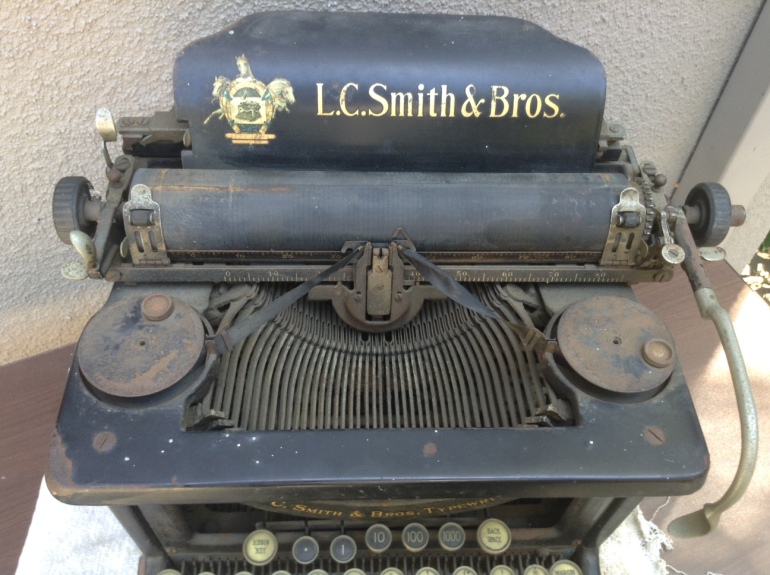
Oh, yes! This reminds me of my L.C. Smith No. 8 with smoking hot ball bearing action that I brought home in honor of Typewriter Day last June.

Cleaned up nicely

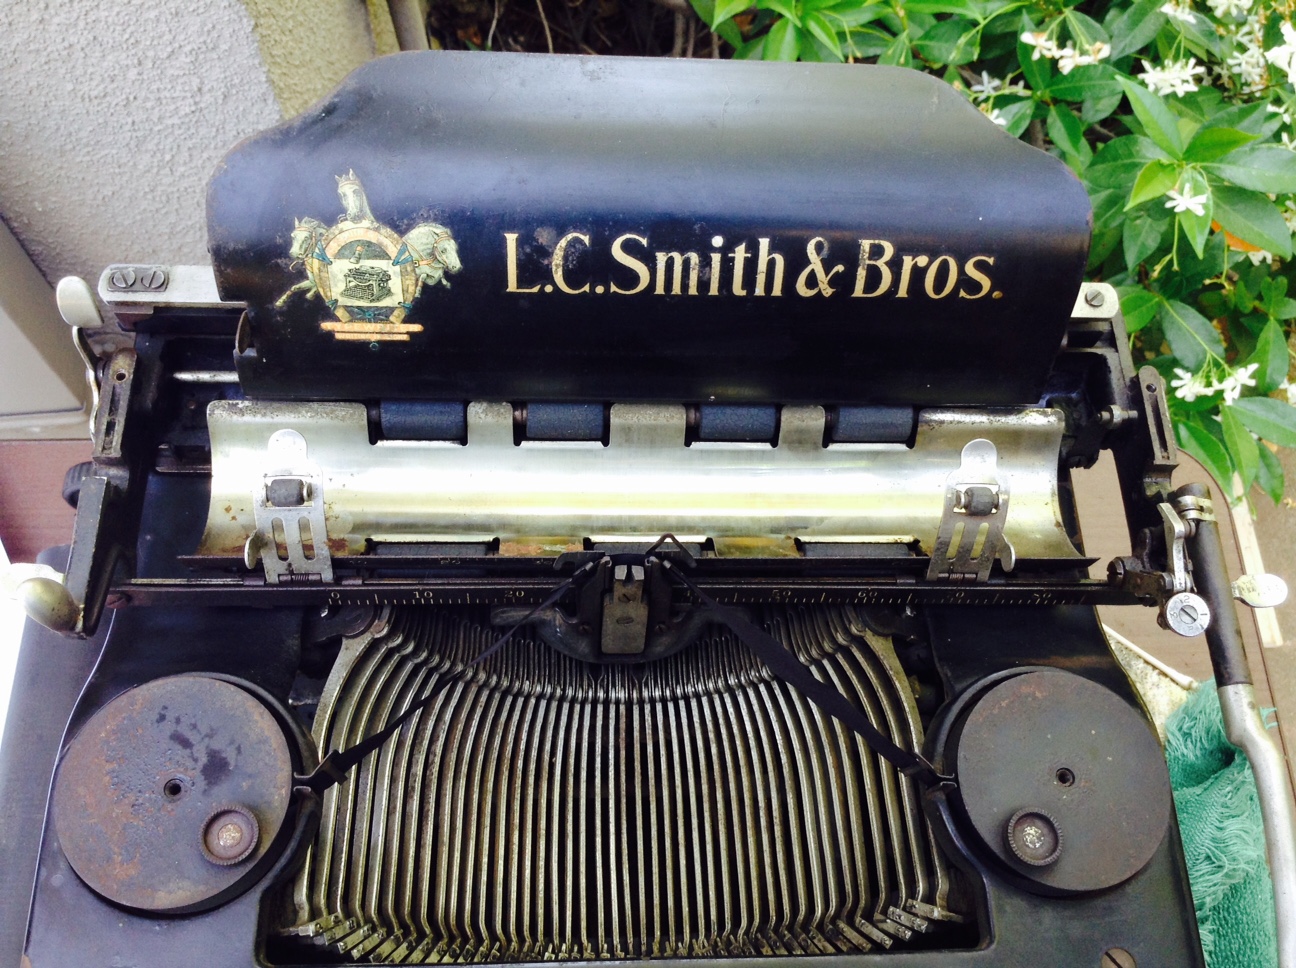
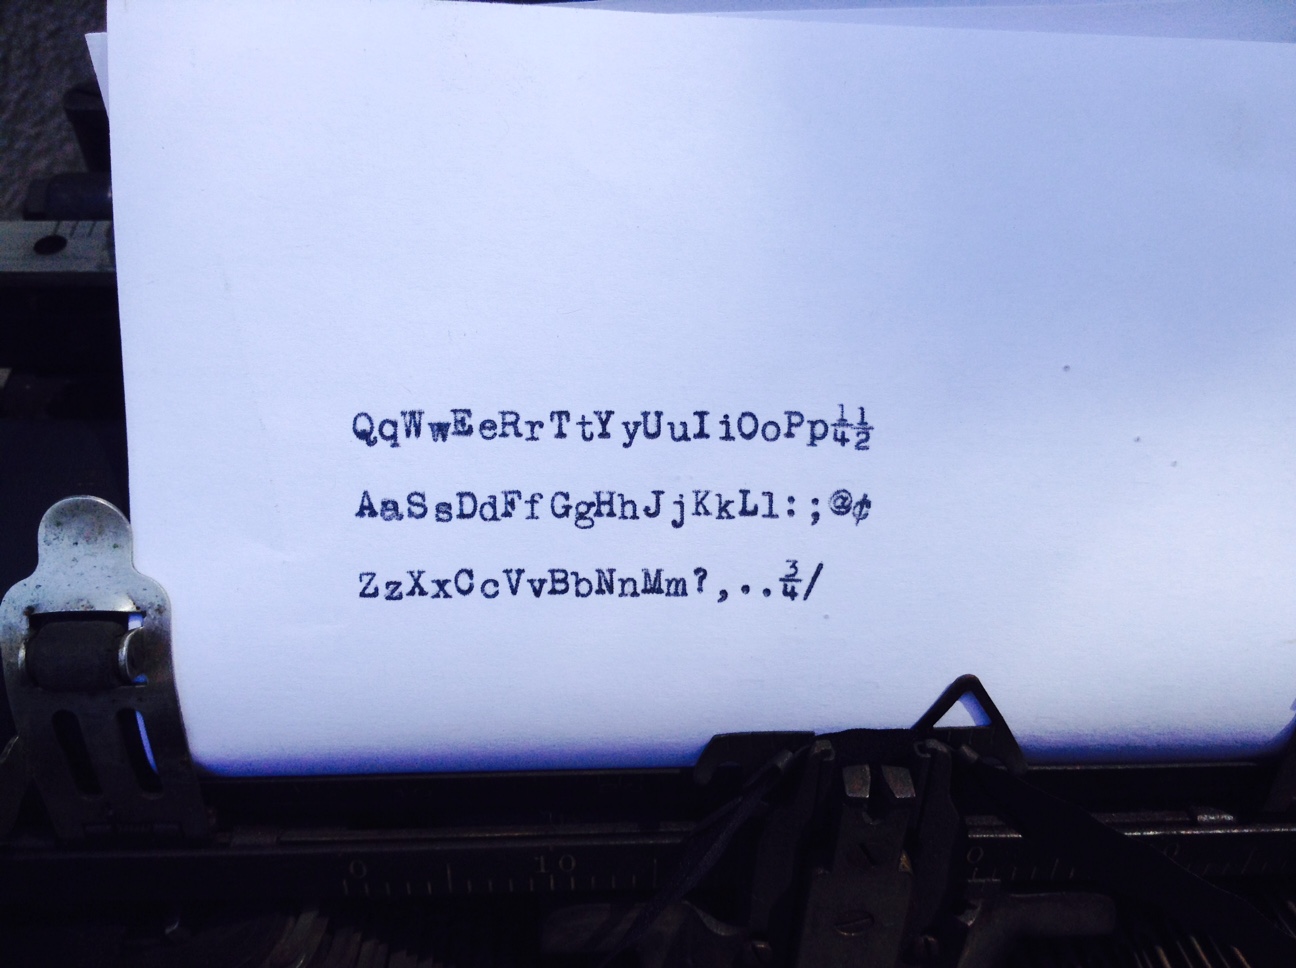
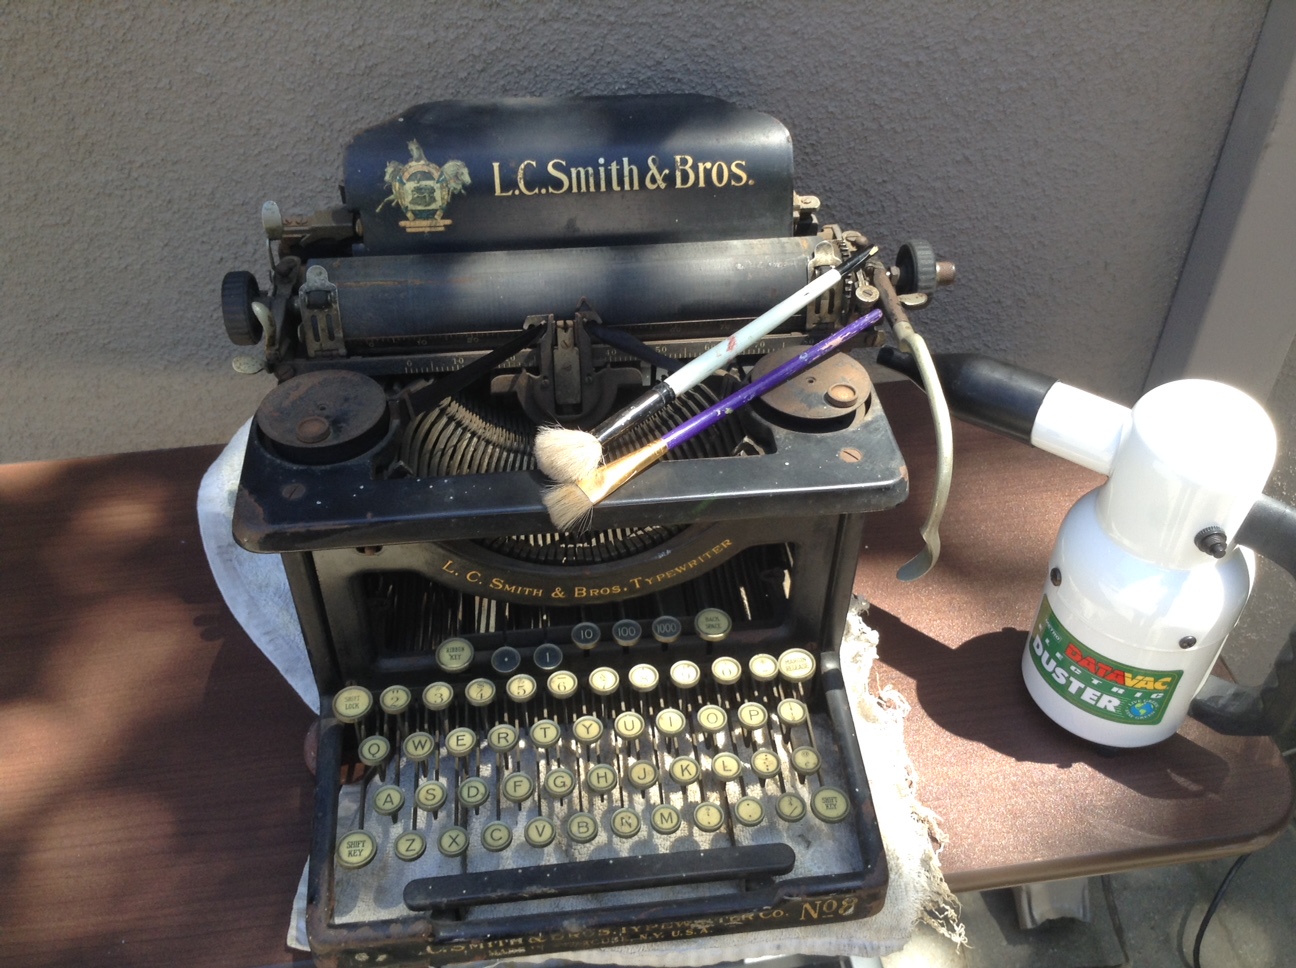
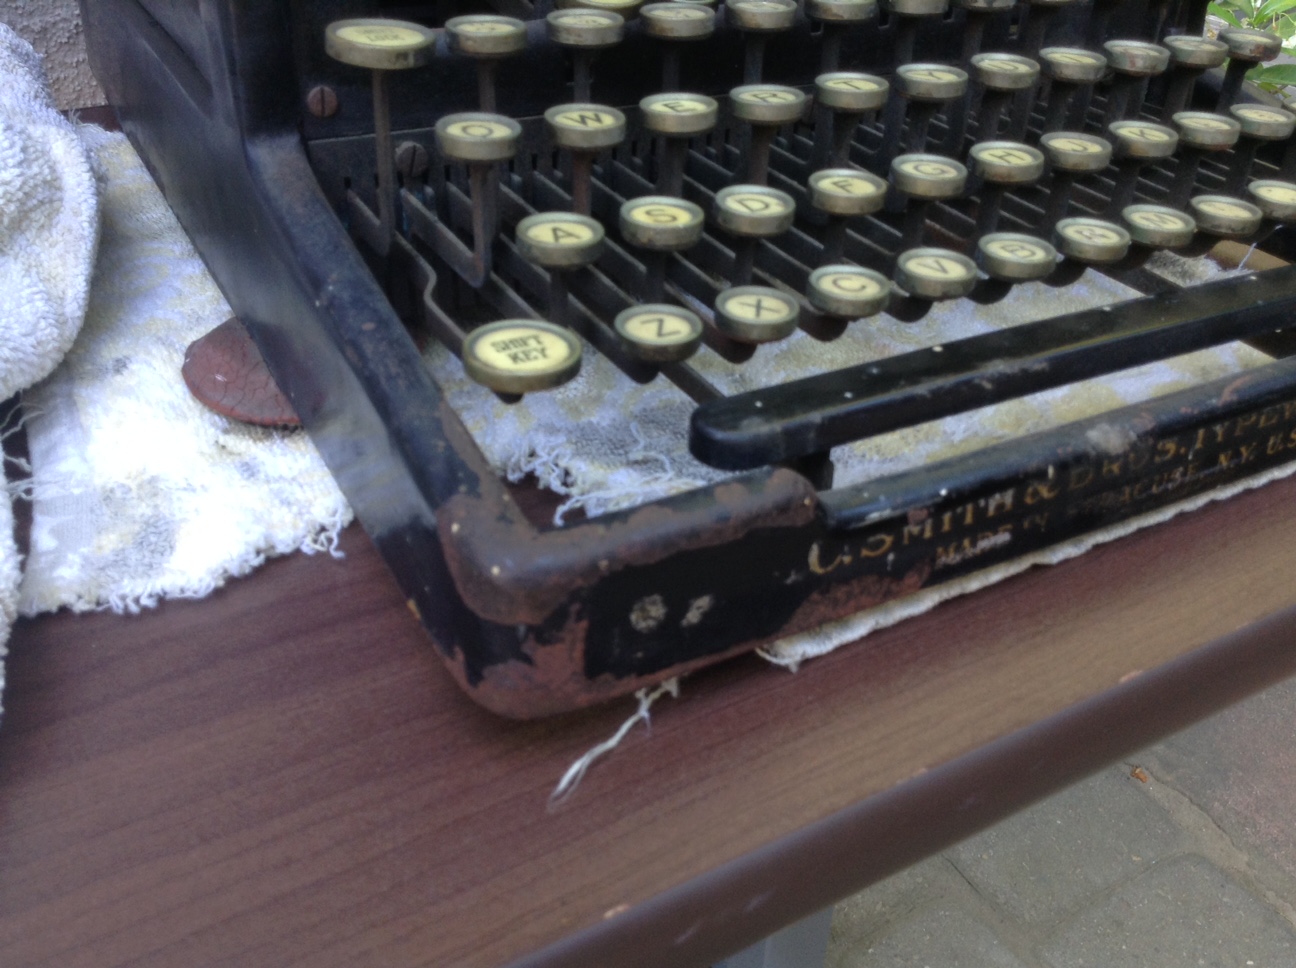
This one cleaned up nicely

Moe at the shop had an L.C. Smith No. 8 that had recently arrived.  It was in bad shape, so she let me take it home with me for a few days of typewriter spa treatment – draw strap repair, massage, waxing, hot yoga, and more.

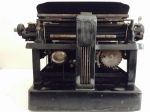
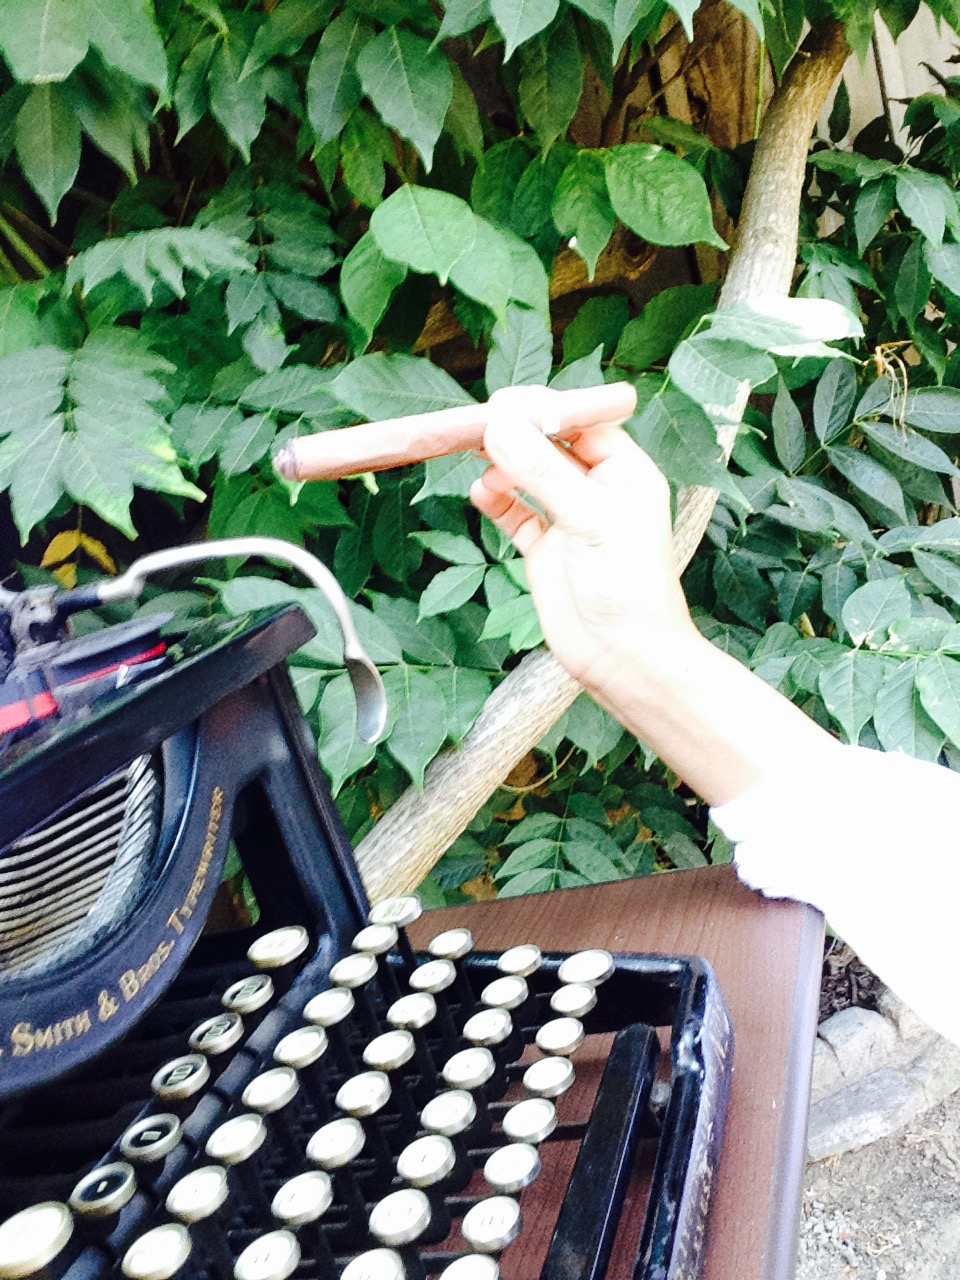
I love these ginormous old cast iron standards. I love to watch their weird old innards through the open frames as they type. They are exposed and accessible and super old-timey. They remind me of Prohibition and F. Scott Fitzgerald and the Model T and lead paint and cigars and silent pictures – they bring to mind a simpler time in B&W.

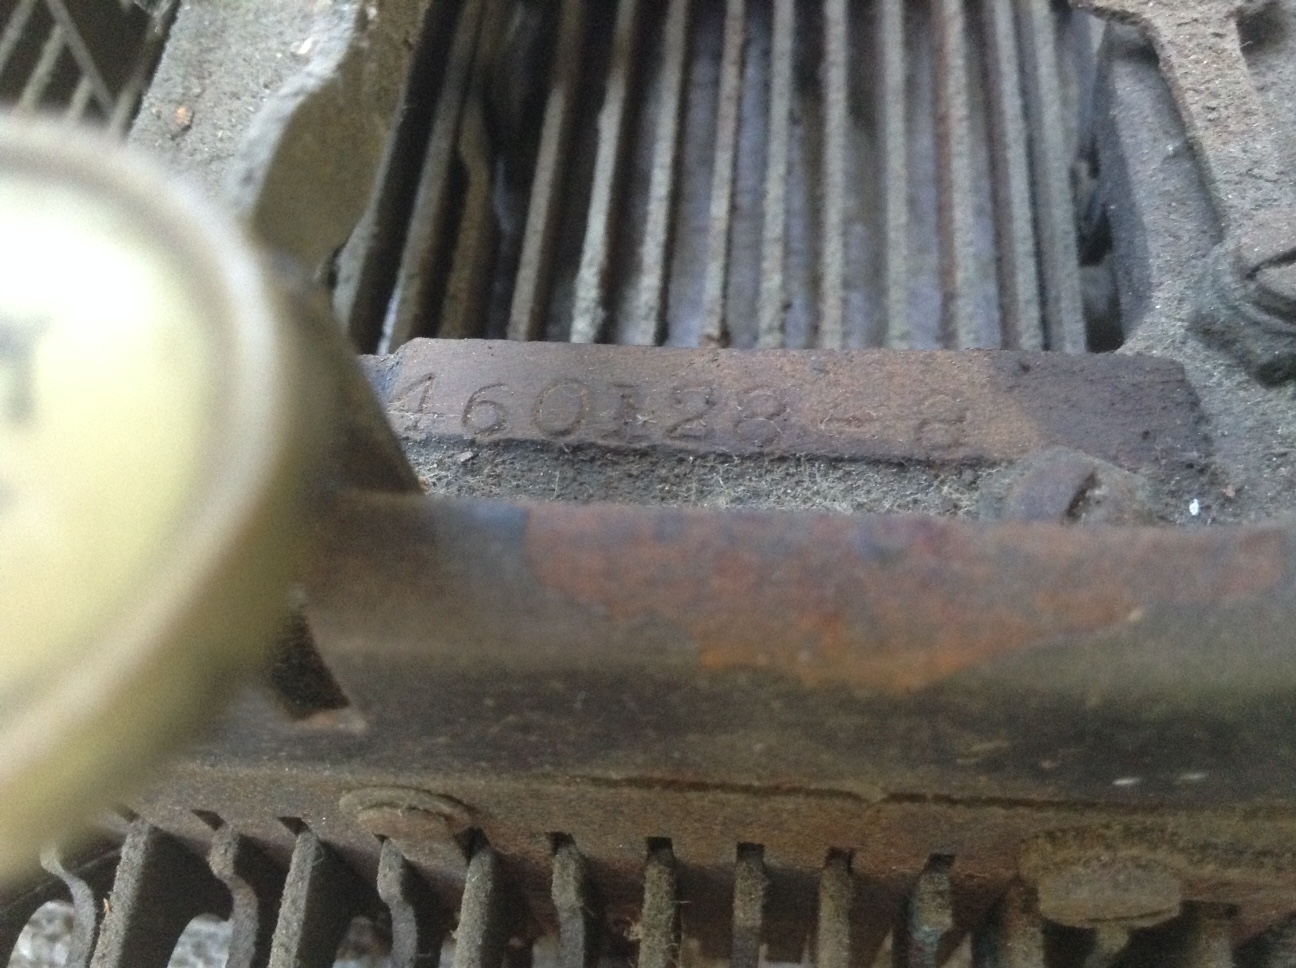
I think Moe’s No. 8 is a 1922 just like mine! My No. 8’s serial number is #460128-8 and the No. 8 from Moe’s has a serial number of #446440-8.

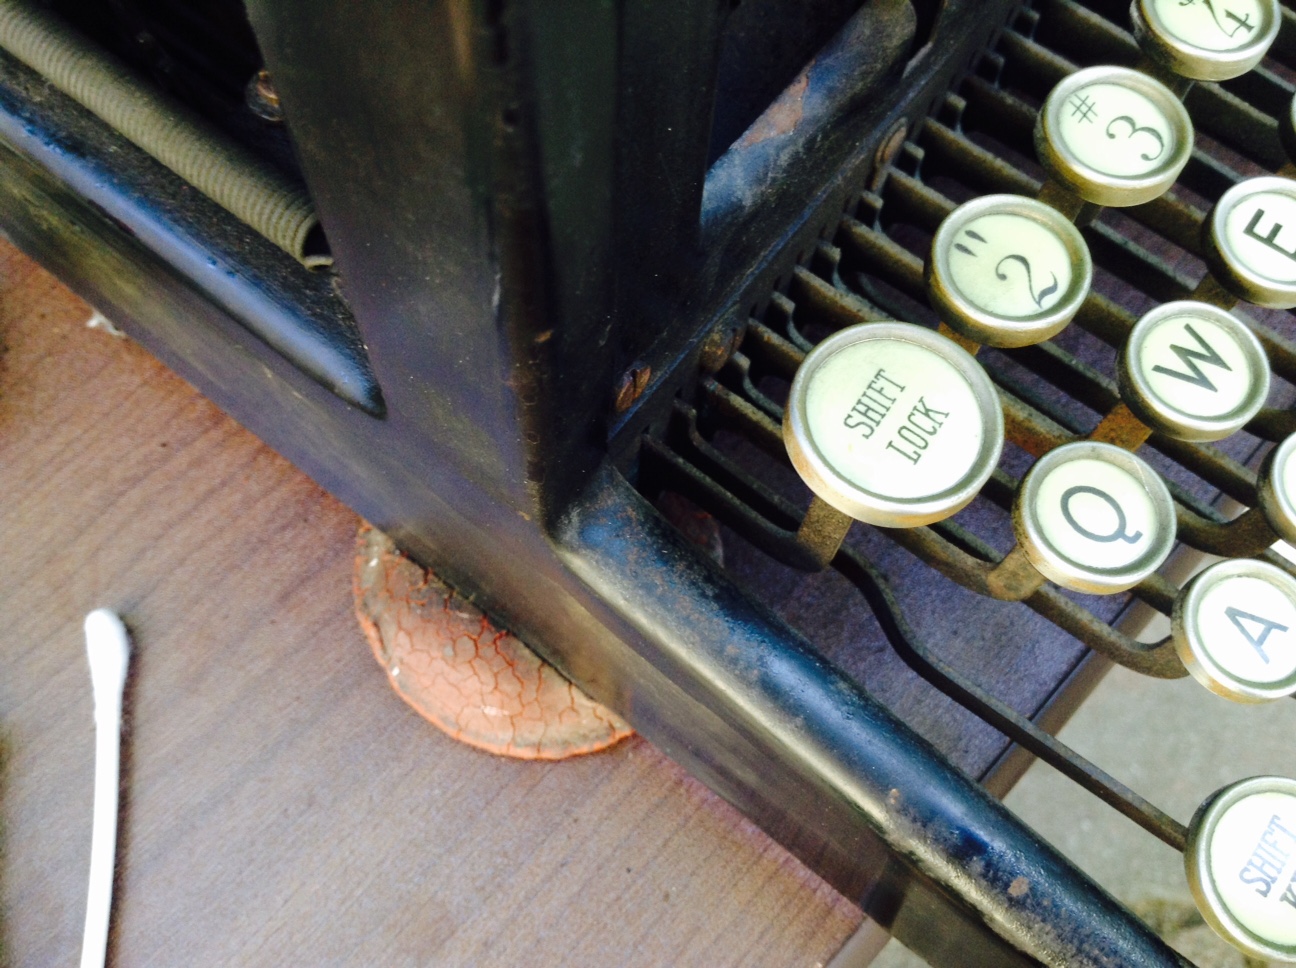
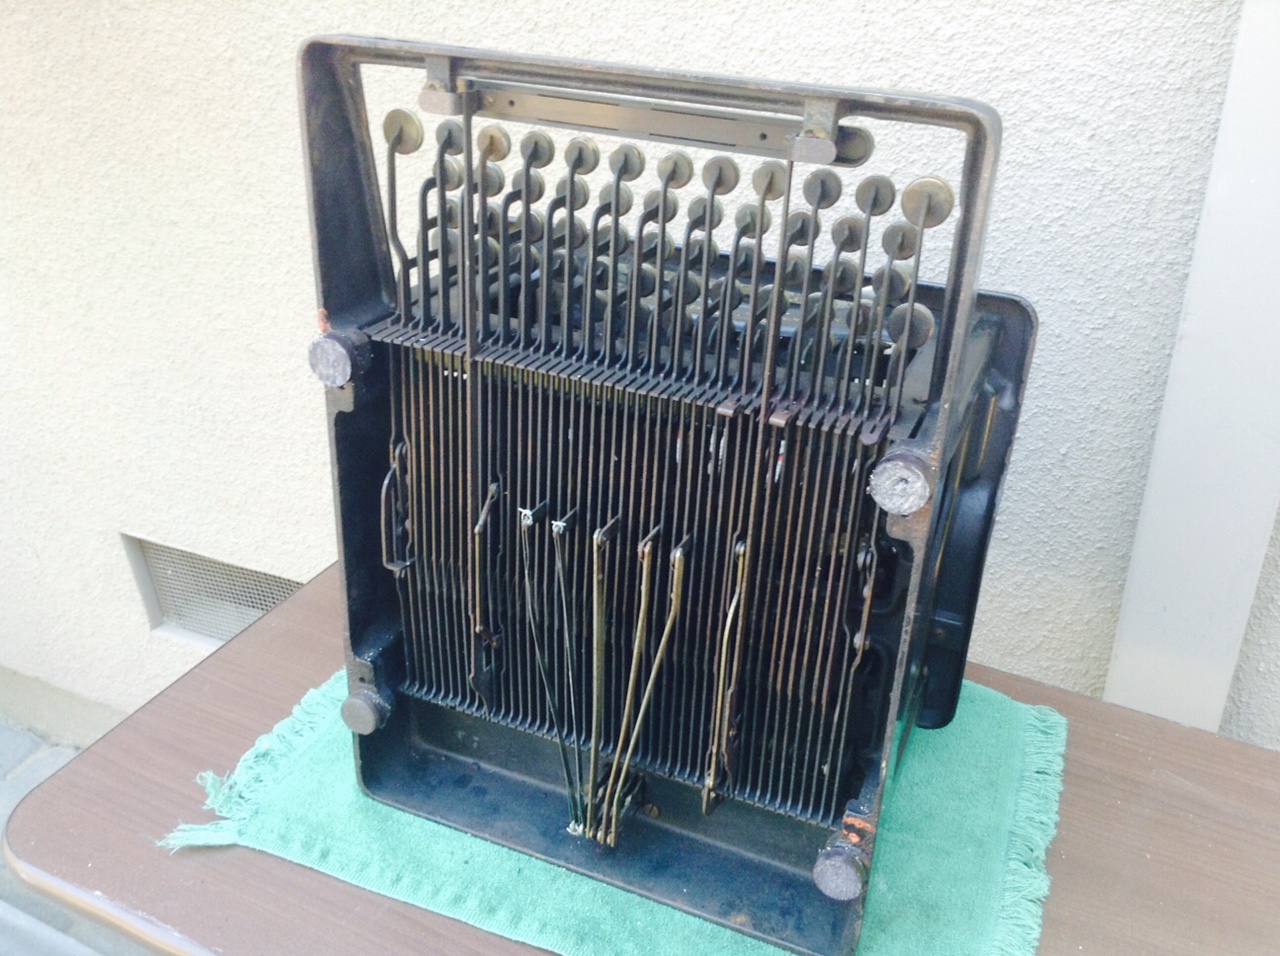
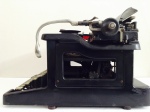
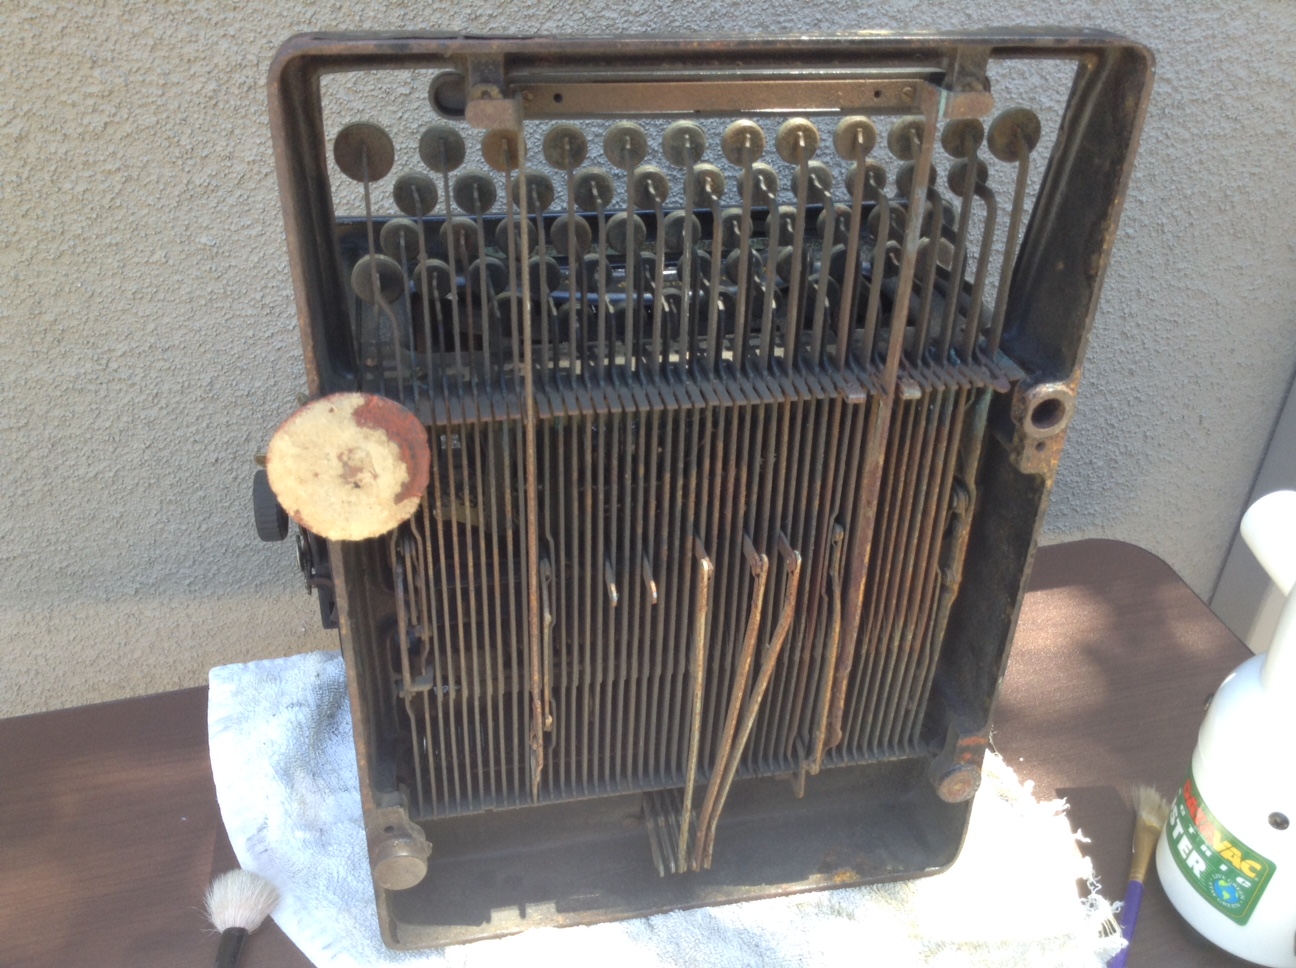
Moe’s No. 8 is in terrible shape.

The draw strap was snapped and mainspring felt stiff and rusty.

13

Rusty rusty rusty guts. Fortunately, my tetanus shot is up-to-date.

I first blew out cobwebs and dust with the DataVac Duster:

10

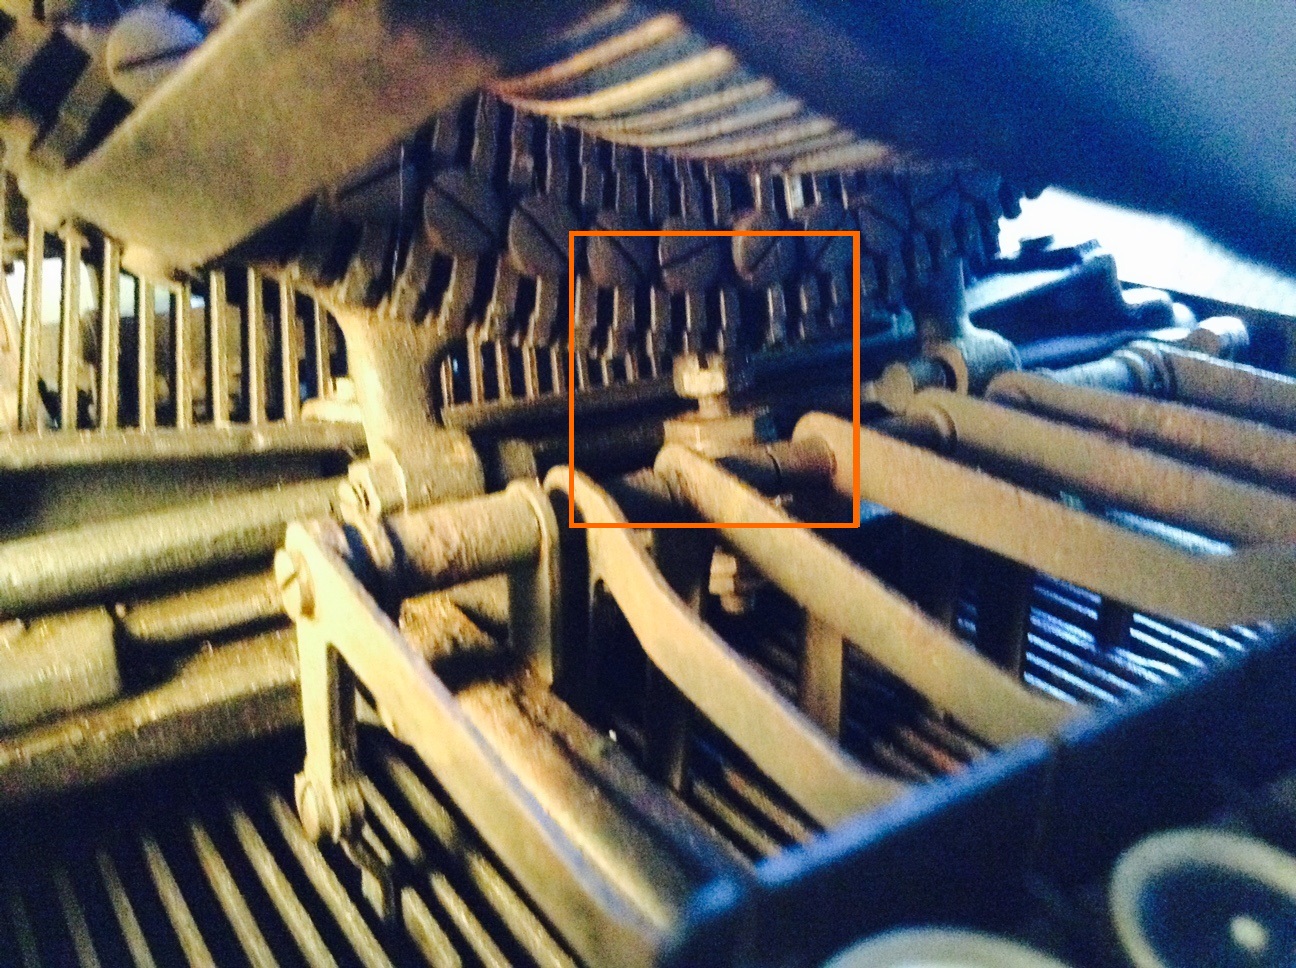
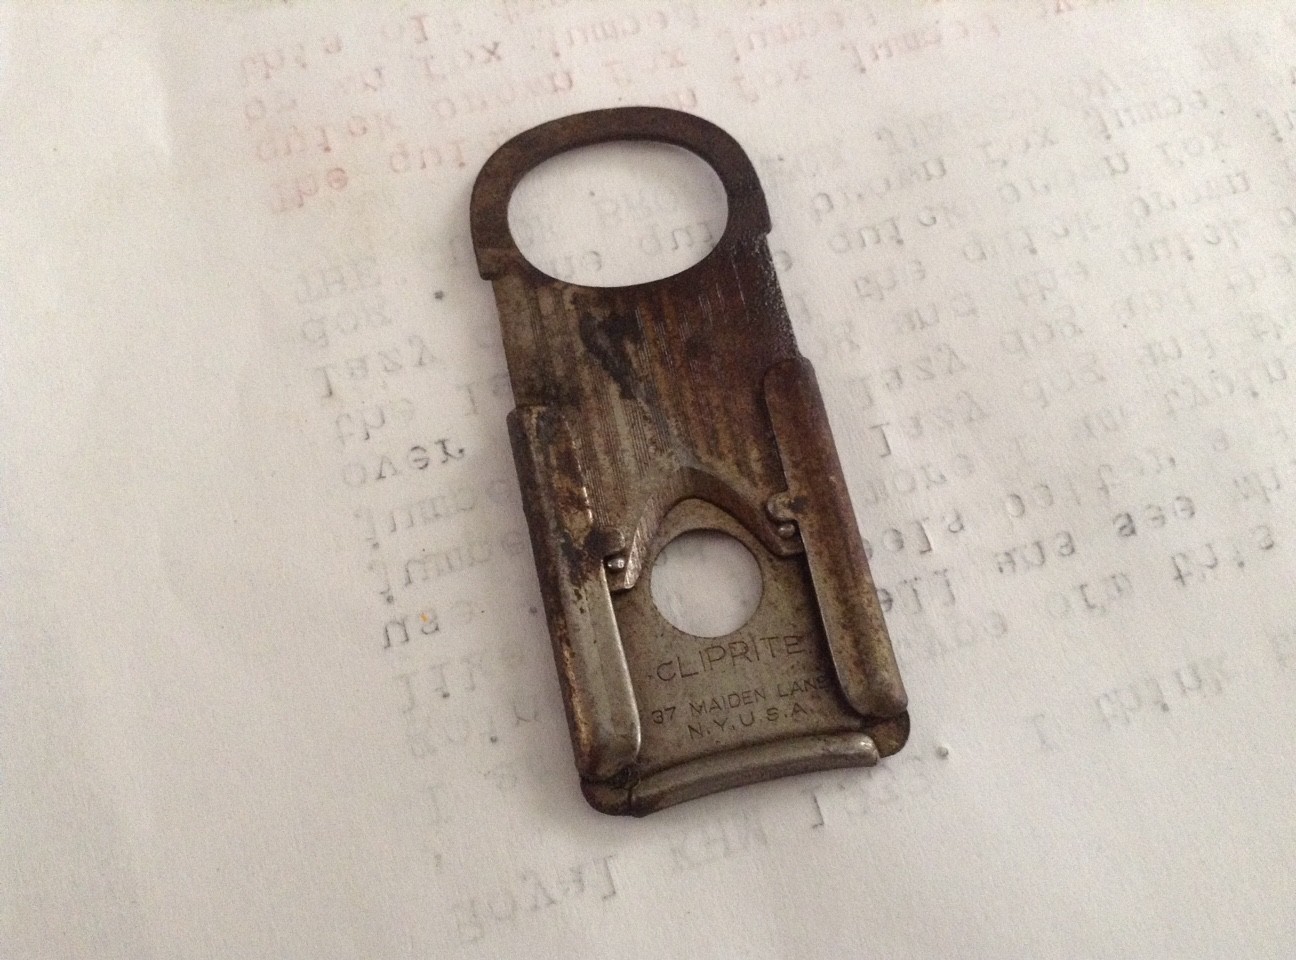
I found the requisite stray object in the machine guts:

7

It’s part of a paint brush.

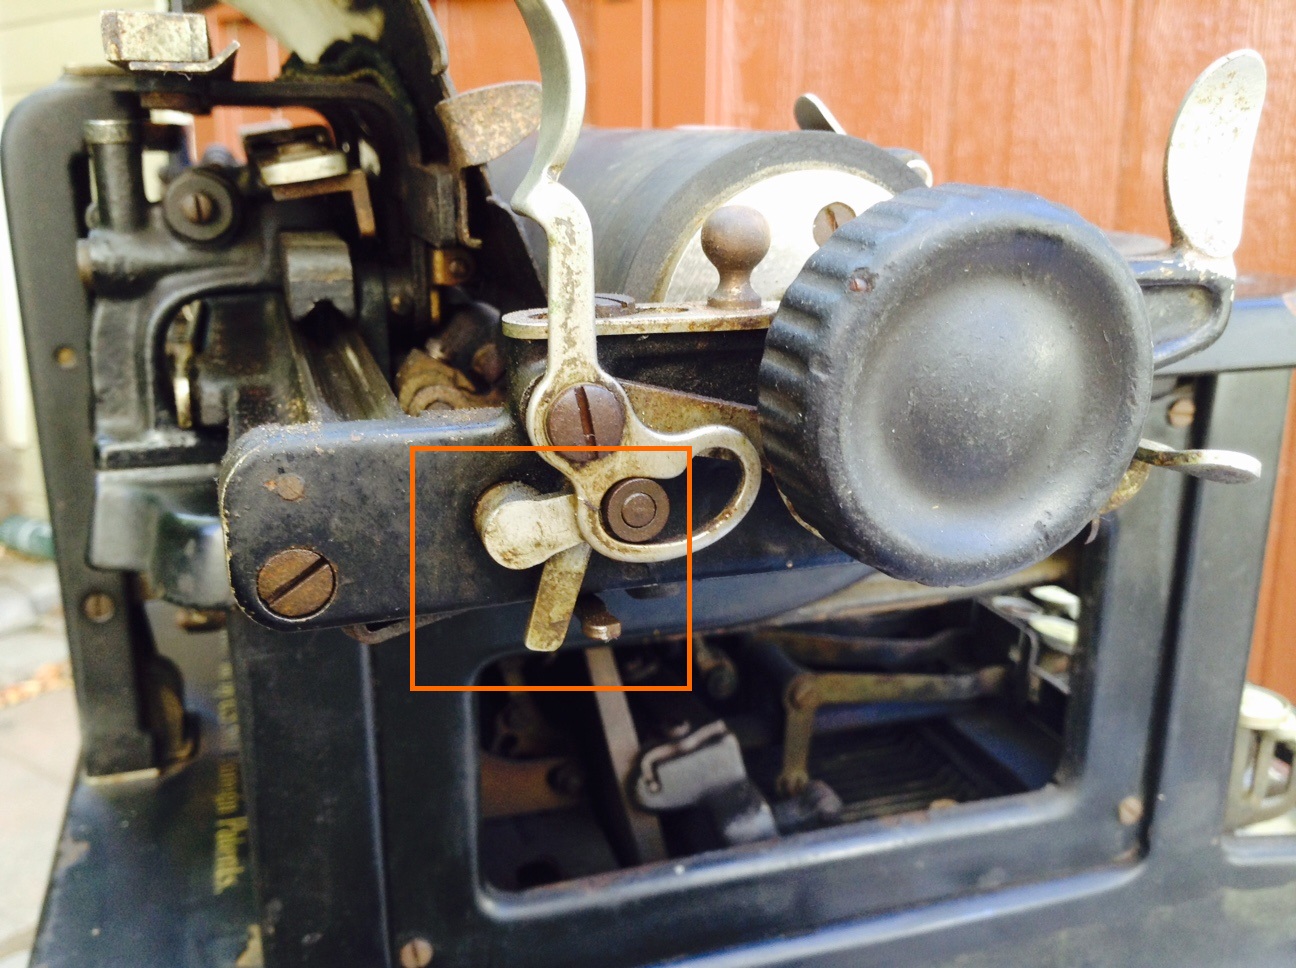
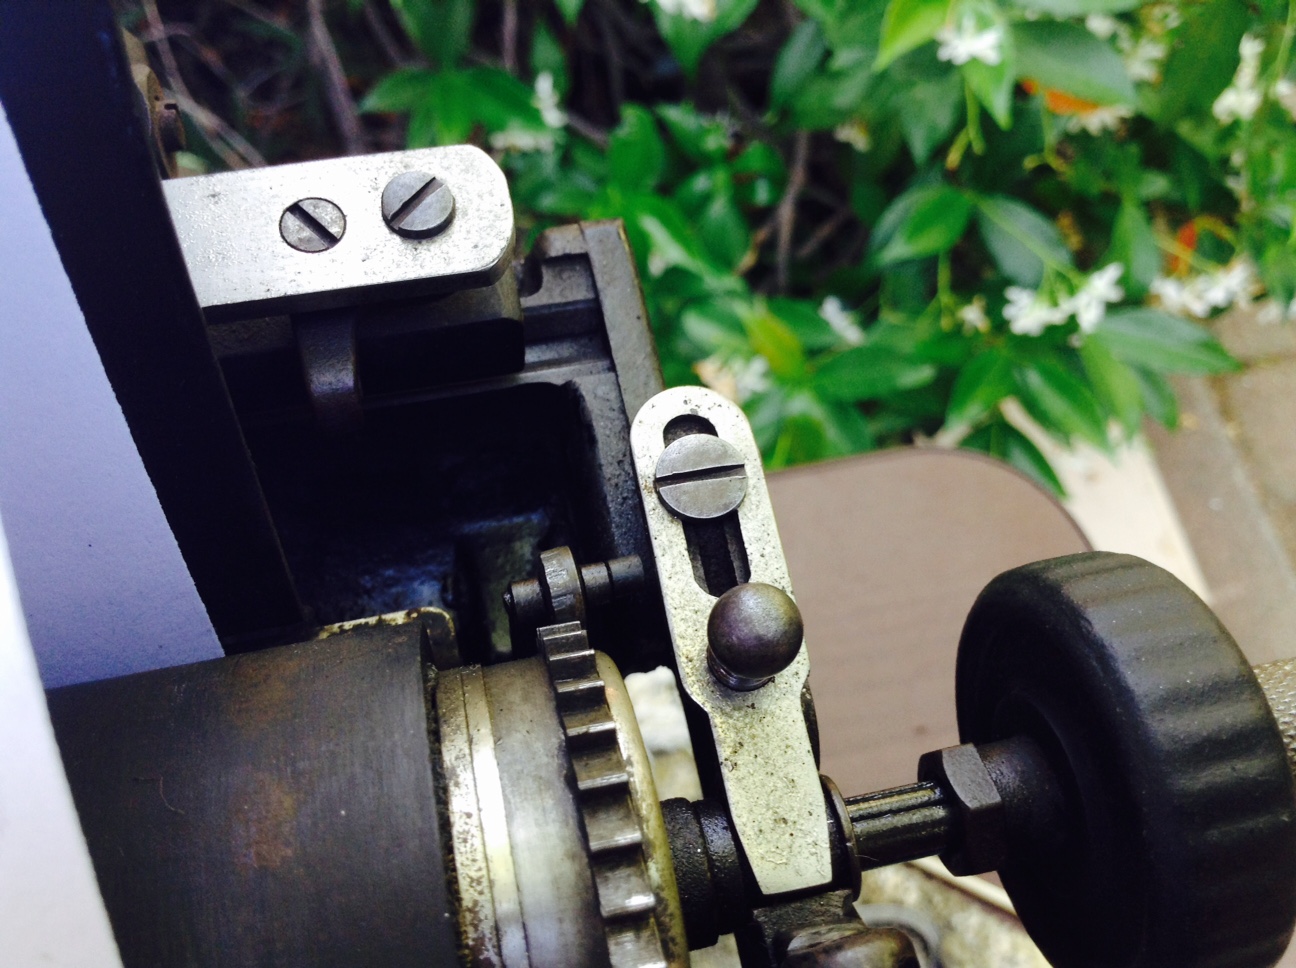
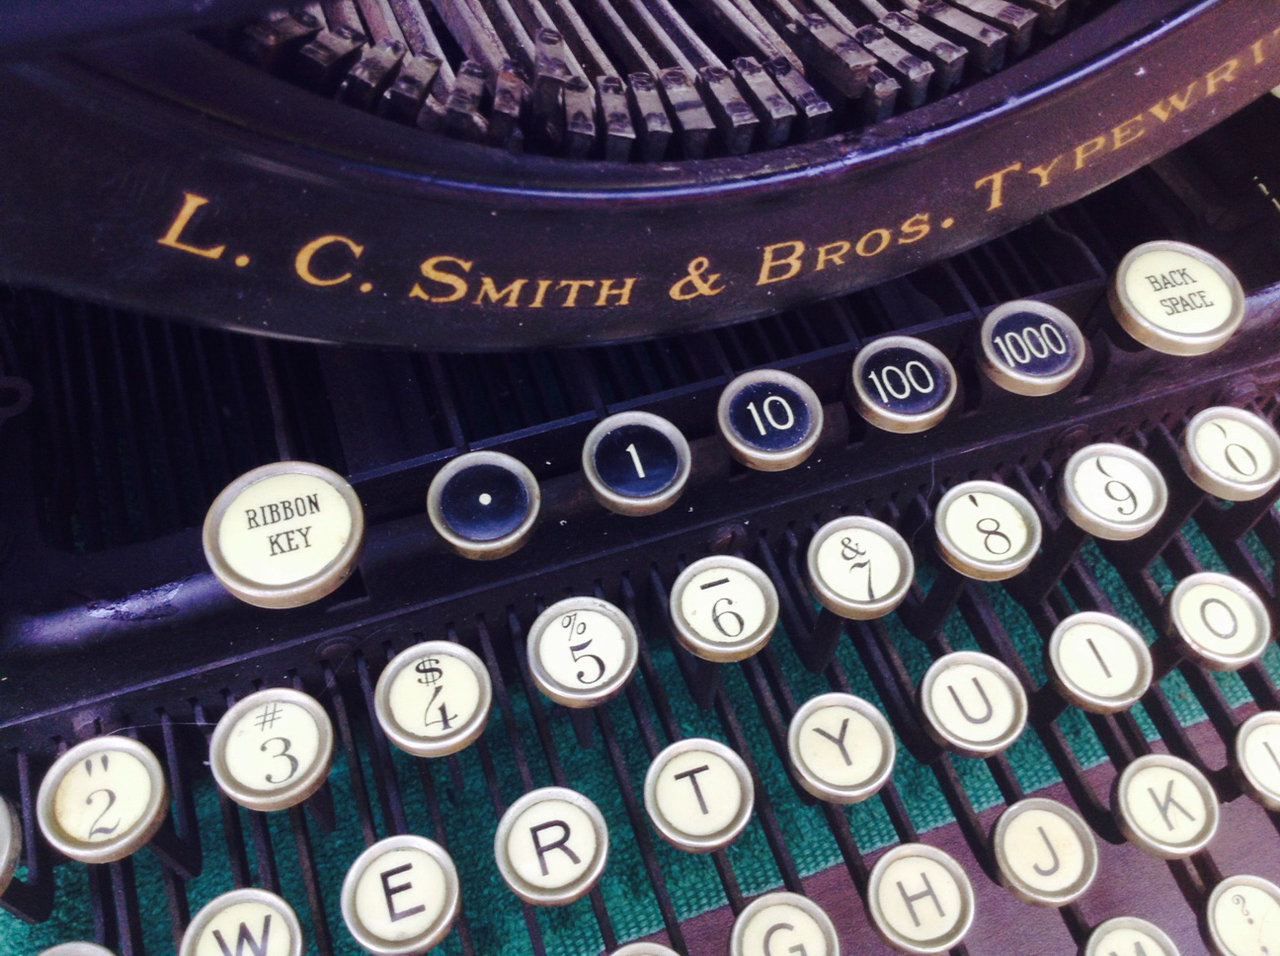
Ball bearings at all frictional points

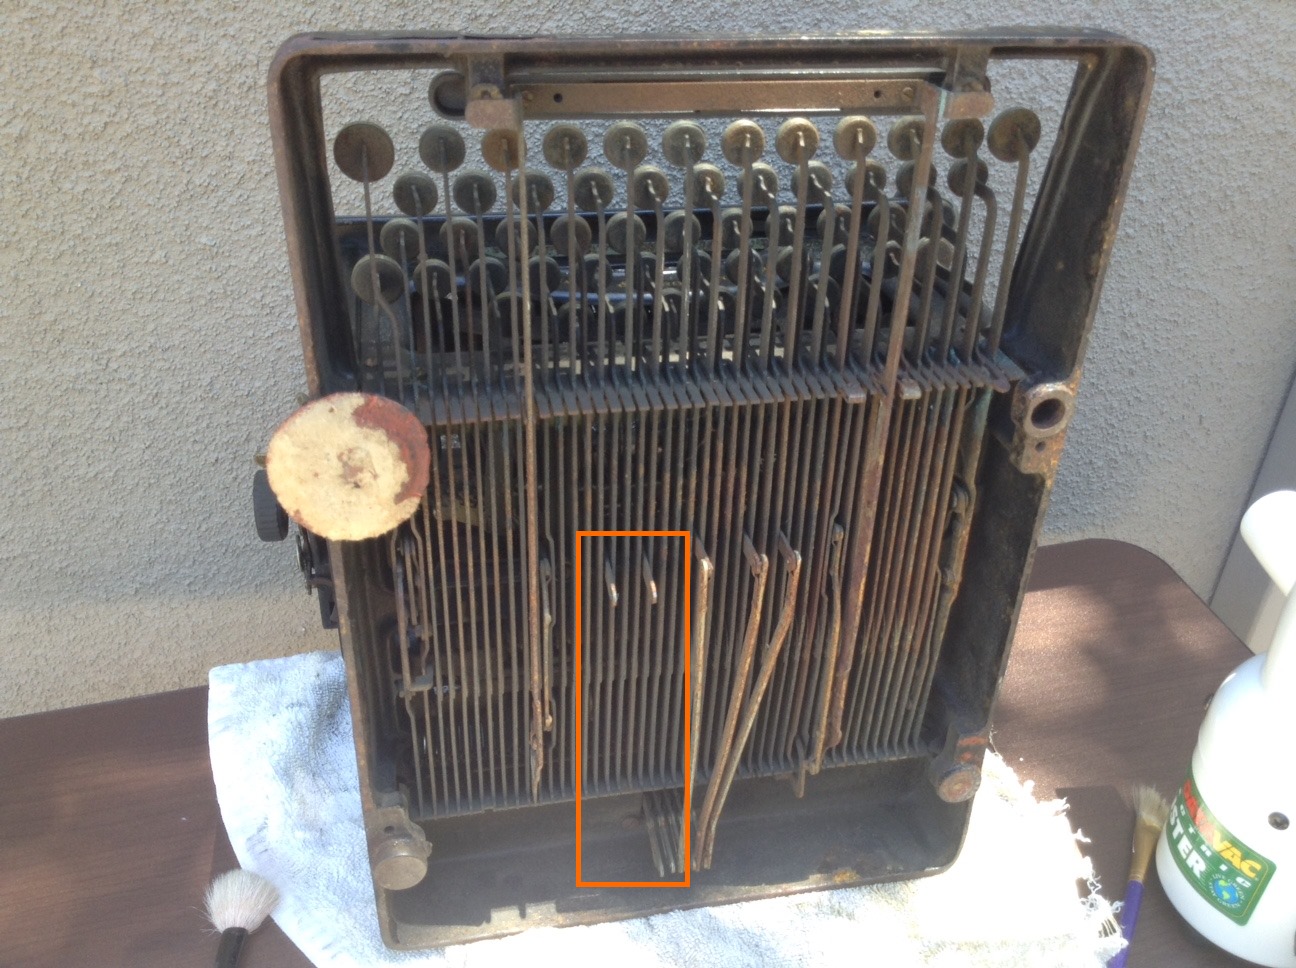
Now this is sad: the letter “F” typebar is broken! I popped it out to examine it more closely. I can see the tiny ball bearings inside the typebar – amazing!

ball bearings in typebar

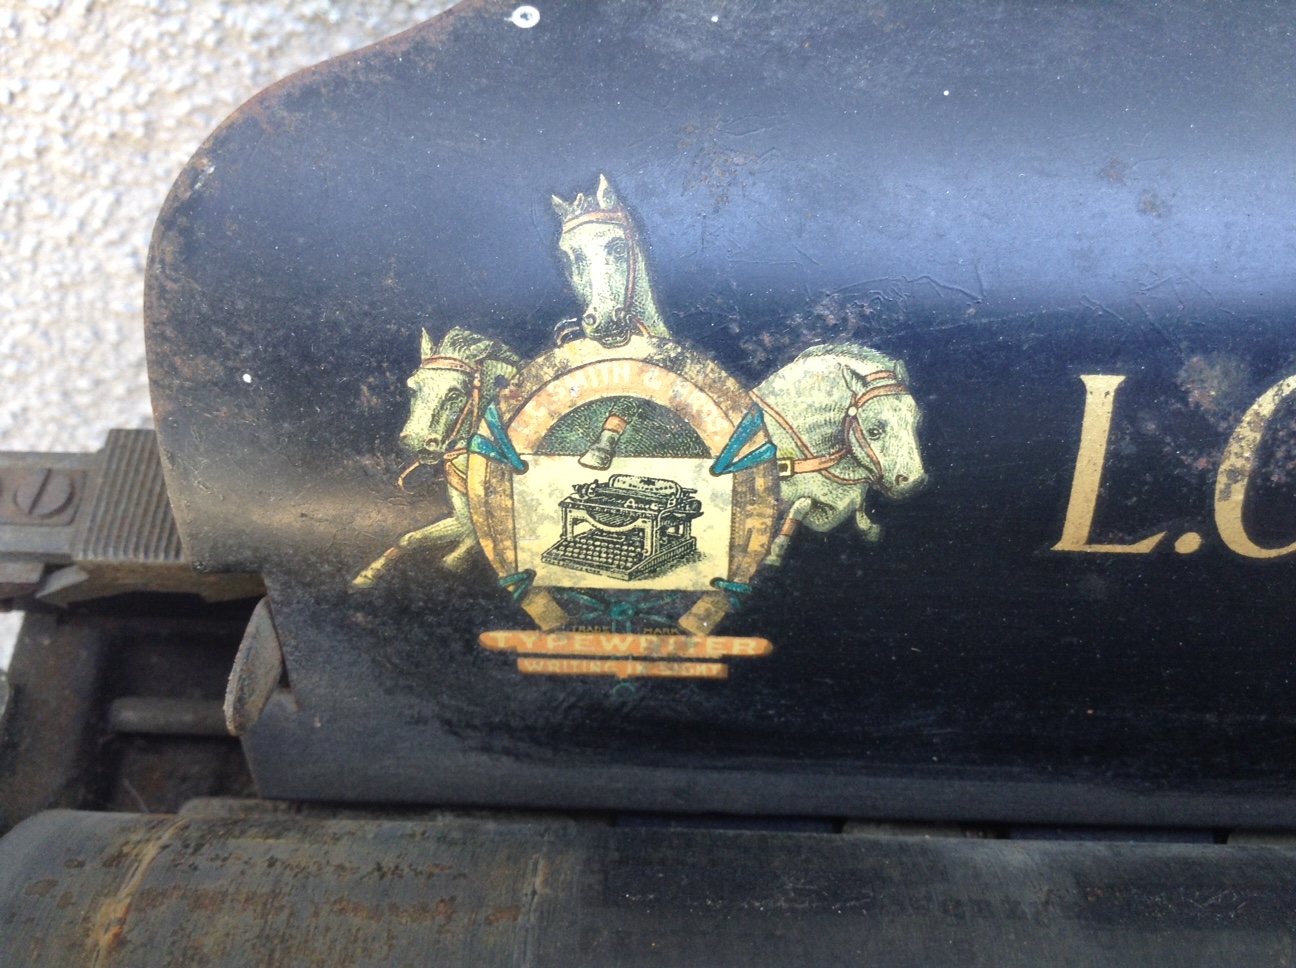
“Ball Bearing – Long Wearing”

Robert Messenger has a great post on a rebuilt L.C. Smith No. 8, and you can read all about those amazing L.C. Smith ball bearings.

6

I am sad to see that this typebar has broken from its attachment to the segment.

This poor old thing has a lot problems, some serious, some not:

  1. broken draw strap – that’s OK, I fixed that right off the bat
  2. broken “F” typebar – that’s NOT OK
  3. flattened and frozen feed rollers – blug
  4. rusted ribbon feed mechanism on right side – meh
  5. no dinging bell and dangling spring in back – meh
  6. broken ribbon spool – meh
  7. shifting sluggish and lacking bounce – meh
  8. ribbon color selector key lever frozen with rust – meh

A seed of a thought began to grow and take shape in my brain.  Slowly, slowly the wheels began to turn and gain momentum. In yet another metaphor, my feverish thoughts caught fire!

What if…I make this a project machine? This typewriter is so bad that there is no way, no how that I could do this typewriter justice in just two days.  Sure, I could get it to type, but couldn’t it be better?

I could give Moe my functional L.C. Smith No. 8 and I take this poor decrepit hunk of rusty iron and make it mine. I could take it apart and clean it properly. I could go to the blasting cabinet at Tech Shop, strip it, re-paint it, and finally get to play with those wonderful typewriter decals I hear so much about.

I put both typewriters into the trunk of my car and went to Moe’s to pitch the idea.

trunk

Moe was all for a typewriter swap – especially since my L.C. Smith looks good and types better. I was trading the looks and performance of one typewriter for the fun and entertainment of the other.

I felt a strange little tug when I left my L.C. Smith at Moe’s.  I sent the No. 8 out with care and feeding instructions as well as the cigar cutter I had found inside her.

mozos2

As soon as I got home I started stripping down the other machine. I removed the side cover plates, front cover plate and key lever comb.

The machine had been badly repainted at some point, and whoever did it had painted over all the screws. I had to soften the paint with paint remover to get the rusty old screws out.  It was a struggle.

Enough of this rust porn – time to get that carriage off.

Smokin’ Ball Bearing Action: L.C. Smith No. 8

Since I got back from a recent family vacation,  I have been alternating working on the 1922 L.C. Smith No. 8 and the Century 10.  I have been switching back and forth. When I run out of ideas on one, I move to the other.

Ball Bearings at All Frictional Points!

When I first brought the L.C. Smith home, there were several immobile keys – the basket was dusty, rusty and gummed-up. And there was a circa 1920 cigar cutter jammed between the universal bar and the line lock bail.

After cleaning with denatured alcohol, the typewriter began to type and type beautifully. I happily typed out a long letter and it loosened more and more with each printed line.  It has a light, springy touch which I assume is due to the ball bearings in the typebars. It is a joy to type on. Robert Messenger has a great post on his L.C. Smith 8 typewriter that includes images of early advertisements which extol the virtues of the L.C. Smith’s “ball-bearings at all frictional points”. If I were a decent typist, I could go smokin’ fast on this one.

My L.C. Smith’s most major problem is rust, especially underneath the machine.  I would love to dunk her in an Evapo-Rust bath, but unfortunately Evapo-Rust is not friendly to paint – it softens up the paint quite a bit.  It also leaves a messy, sticky sort of residue.  I use it only for parts that I can remove, soak, and polish up afterwards.

So here is all the fun I had with the L.C. Smith:

Shift lock not holding

Could it be that the Enormous Grotesque Foot is interfering with the motion of the shift lock? Why, yes. I removed the foot and the shift lock was able to move.

foot

The machine needed three feet, and I cut some really classy looking feet out of cork and colored them with black Sharpie.

Original foot on left. Cork replacement foot being carved into shape.

Original foot on left. On right: cork replacement foot being carved into shape. Covered in Sharpie.

Thanks for the cork replacement foot idea, JustAnotherGuy.

Left carriage release not working

I compared right and left carriage release mechanisms and determined that a lever wasn’t in the right spot.

wrong

Wrong.

Right.

Right.

I loosened a screw, moved the lever to the correct spot, re-tightened the screw, and all was well.

Dirty platen

Yes, it was FILTHY.  I typed a letter to a fellow typospherian and there was debris all over the page.

dirty

It is very easy to remove the platen from an LC Smith No. 8.  It it held in place with a screw at each end in a knobbed plate and then pops right out. So easy – I wish they were all like this.

platen1

platen2

The platen is nice and soft and cleaned up beautifully with a little Soft Scrub.  From the Craigslist pictures, I thought there were rips in the platen, but it was just crusts of rust.

Missing tab connectors

Functional tabs are little low on my list of priorities, but the missing tab linkages and sunken keys bugged me.

Missing tab connectors

Missing tab linkage

sunken2

Resulting in sunken tab keys

I cut some thin pieces of metal to size to temporarily replace the missing connectors. I need more rigid metal if I want to use the tabs, but these work for keeping the sunken keys up.

new tab connectors made from thin metal

New tab connectors made from thin metal

3

Tab keys sunken no more

Outstanding Issues:

Malfunctioning line lock

This is still an issue I haven’t been able to resolve.  I get to the end of a line and the typewriter allows me to continue typing, piling letters on top of letters at the end of the line.  The line lock should engage at the end of the line, but doesn’t.  The line lock bail is rusted into position and does not move at all.  I am getting some Liquid Wrench today to see if I can free it.

Missing tab stops

The tab stops are nowhere to be seen (and I didn’t see them under the universal bar with the cigar cutter).  I went to internet and asked about it.  I am not the first person to run into this problem.

I love Knife141’s posts at Instructables: this guy Gets It Done. I have run across his very informative posts before:

Knife141 has a post called, “Making tab stops for an LC Smith Typewriter”.  I have bookmarked this page so that if ever I get ambitious, I will make those tab stops.

The vertical alignment of the capital letters is a bit high

This typewriter is basket shift. The capital letters are printing a little high:

uneven

Thanks to Knife141, I believe that I need to make an adjustment to the nuts directly under the segment to bring it to the right height with shifting. I just don’t have the right size crescent open end wrenches, but Good Neighbor Brian has offered the use of his set. First off though, I need to get some Liquid Wrench because the nuts are very rusty.

nut

Cleaning, touch up and waxing

I cleaned the exterior of the typewriter with soap/water and a little Soft Scrub.  I was very careful around the decals – cleaning all around them.

I touched up the bare metal spots with a very thin layer of Testor’s black paint pen that I rubbed on. Sharpie was not a good match, but the paint pen was very close. On future projects, I’d like to experiment with India Ink (Encre de Chine) which was suggested by RobertG as it is less permanent and is an almost perfect match.

I bought some Renaissance wax polish and shined up the typewriter.  I avoided the decals as I was worried that I might rub them off. I don’t know if this is a legitimate worry with the Renaissance wax, but I didn’t want to take the chance. I love those insane horsies so much.

1922 L.C. Smith No. 8

Serial number: 460128-8

I’ve attached the cigar cutter with a ribbon to the typewriter for easy access. I believe that the “best practices” use of this machine involves cigar smoking, so I lit up a stogie and enjoyed an afternoon of typing en plein air.

clip

2


A Belated Happy Typewriter Day: L.C. Smith No. 8

I am a little late to the Typewriter Day party, but I did religiously observe the holiday by bringing home a new typewriter (as is customary I understand).  This 1922 L.C. Smith No. 8 was on Craigslist, described as “a hobby project to rebuild”. I liked the big cast-iron machine with its beautiful decals and the weird squid tentacle of a right carriage return lever. It looked pretty dusty and rusty.  It apparently needed repair, but it still had a ribbon in it.  I always take the presence of a ribbon as a hopeful sign.  Things can’t have been that bad for that long a time if the ribbon remains. Right?

I carefully compared the Craigslist photos with other L.C. Smith 8 examples on Typewriter Database and determined that as far as I could tell, all the pieces were there except for the ribbon spool lock screws.

I drove over to look at it and was relieved on two counts.  One: the seller was a very normal person and extremely nice.  Two: the typewriter didn’t seem to have anything more wrong with it other than rust, dirt, and gunk.  Though the carriage wasn’t moving and it really wasn’t typing, if I pulled hard to the left, the carriage moved with typing.

The seller, for his part, seemed very happy that I was going to try to fix it and clean it up.

I brought her home.  The typewriter and I had drinks together out on the patio and got to know each other.

IMG_3946

The horsey paper table decal is in good shape. The insane surrealist horse legs in this decal are The Best. Is that top horse trying to type with its hoof? Trying to stomp the typewriter?

IMG_3948

After a long search I finally located the serial number on the inside of the right front frame behind the back space key under a thick layer of grime and determined that I had a 1922 L.C. Smith No. 8:

IMG_3945

L.C. Smith No. 8 serial number located in front right frame area right behind the back space key

It was pretty rusty, especially underneath the machine.  It may have sat in water at some point in time. One foot was missing and another foot (probably a replacement) was hideously swollen and deformed.

IMG_3961

I dusted the typewriter first with a soft brush to loosen the debris and then blew out the insides.

IMG_3962

I cleaned and lubed the carriage rails with PB Blaster and the typewriter’s carriage began to move on its own with typing.   Everything seemed to function, albeit slowly, screechingly and rustily.

The one thing I had problems with was the ribbon carrier/vibrator – it wasn’t moving at all.  I did some research on the mysterious “Ribbon Key” in the L.C. Smith No. 8 manual I found in the manuals archive of The Classic Typewriter Page.

IMG_3956

It was in the “stencil” position and once I switched it to a regular printing position, the ribbon vibrator began to move. Whew. I was also happy to find out that the “Ribbon Key” has high and low positions for red or black printing.  I love those red and black ribbons.

During the time when I was trying to figure out the ribbon vibrator problem, I poked around in back.  I saw a loose piece of metal wedged under the universal bar.

IMG_3964

Here I am pulling the piece of metal out with my dental pick

Oh no, I thought.  Is it a broken piece of the ribbon vibrator mechanism?  I pulled it out.

IMG_3967

It looks like a typewriter part, but stamped on it are these words:

CLIPRITE, 37 Maiden Lane, NY USA

I did a quick Google search and found that it was an antique cigar cutter similar to this one. The image in my mind of someone smoking cigars and pounding away on this old typewriter Back in the Day gives me a chuckle. “Dammit, where’d my cigar cutter go?”

Here is 37 Maiden Lane in New York where the Cliprite company used to be headquartered:

maiden

I am going to de-rust, de-grease and clean the typewriter over the next few days. One aesthetic issue is the areas of flaking black paint.

IMG_3969

Should I stabilize those flaking areas or remove the flaking edges of paint?  Should I cover bare metal areas? Sharpie or Testor’s black paint pen?

IMG_3968