A Renewed Ribbon for the Taupe Pancake: Skyriter

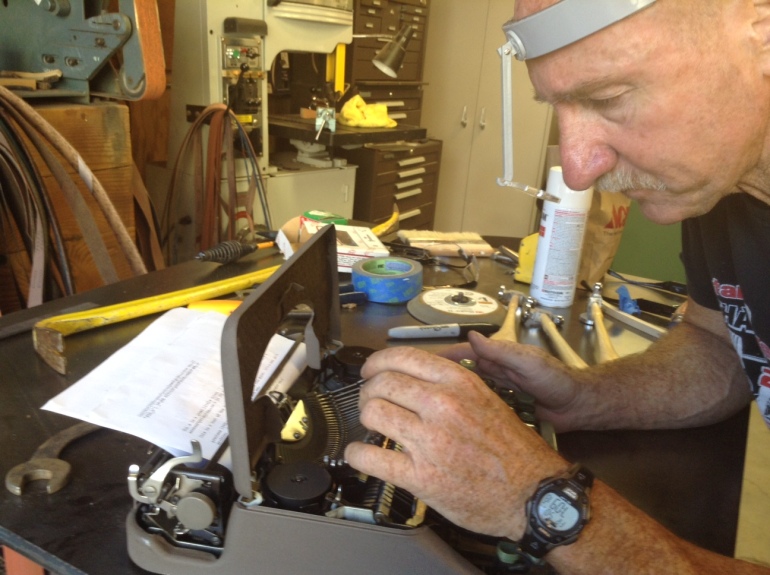
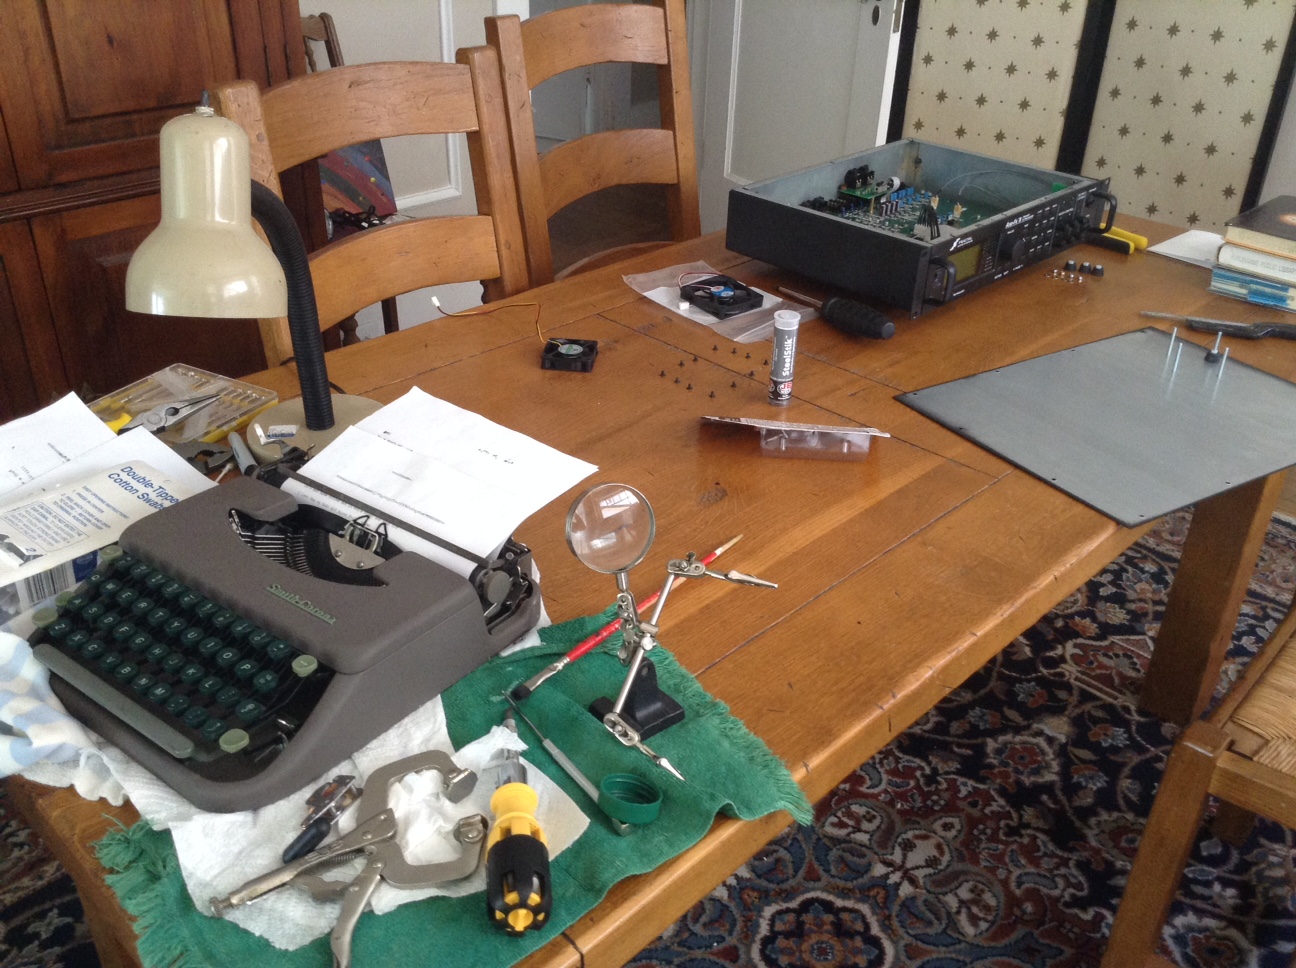
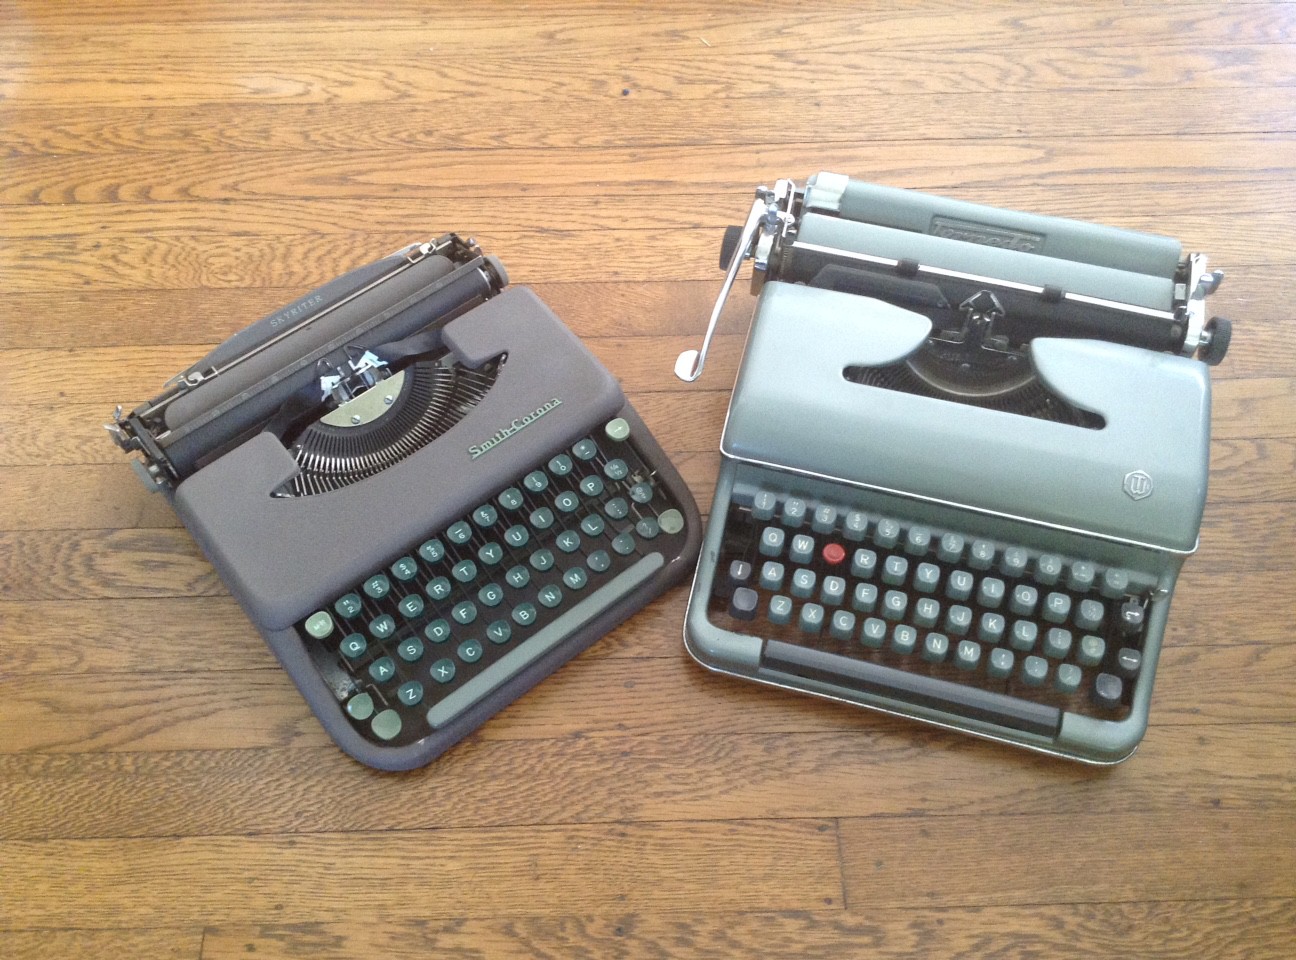
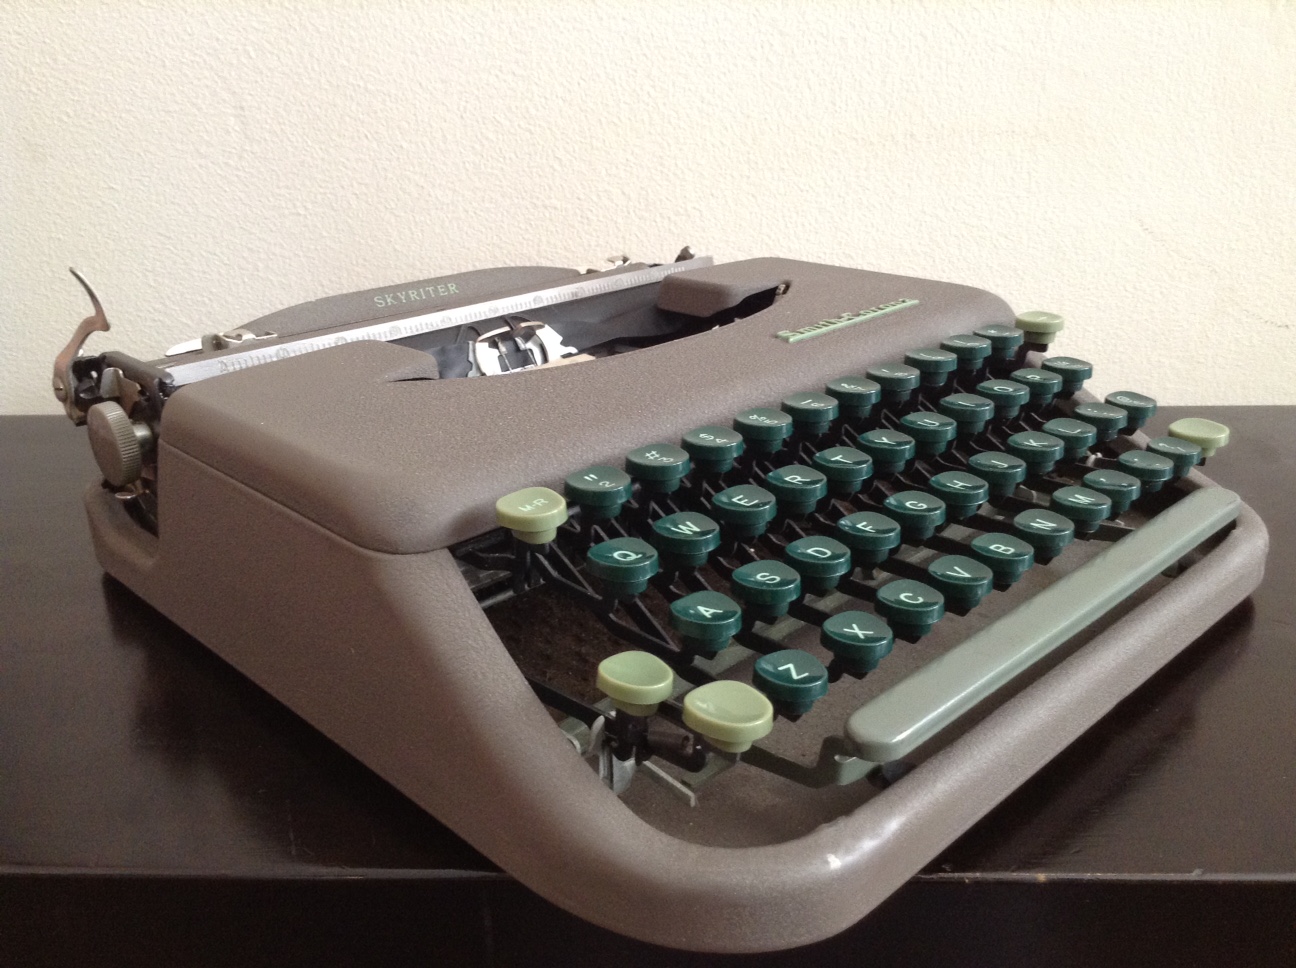
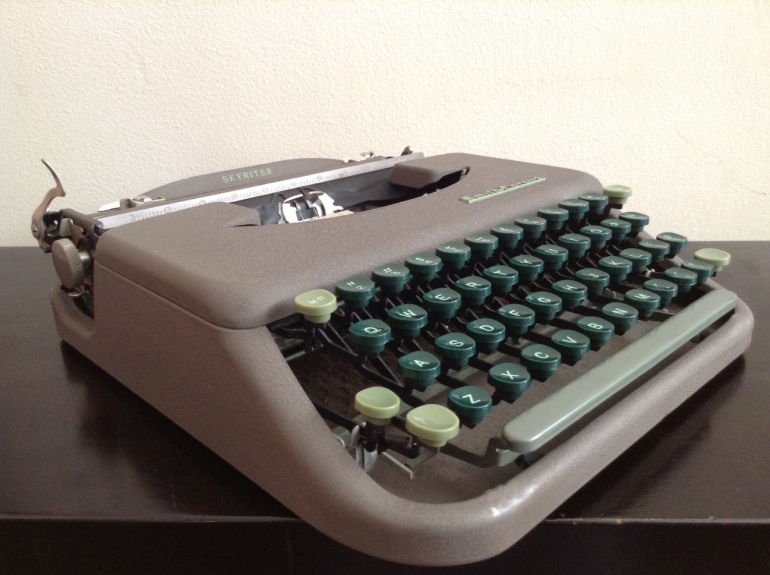
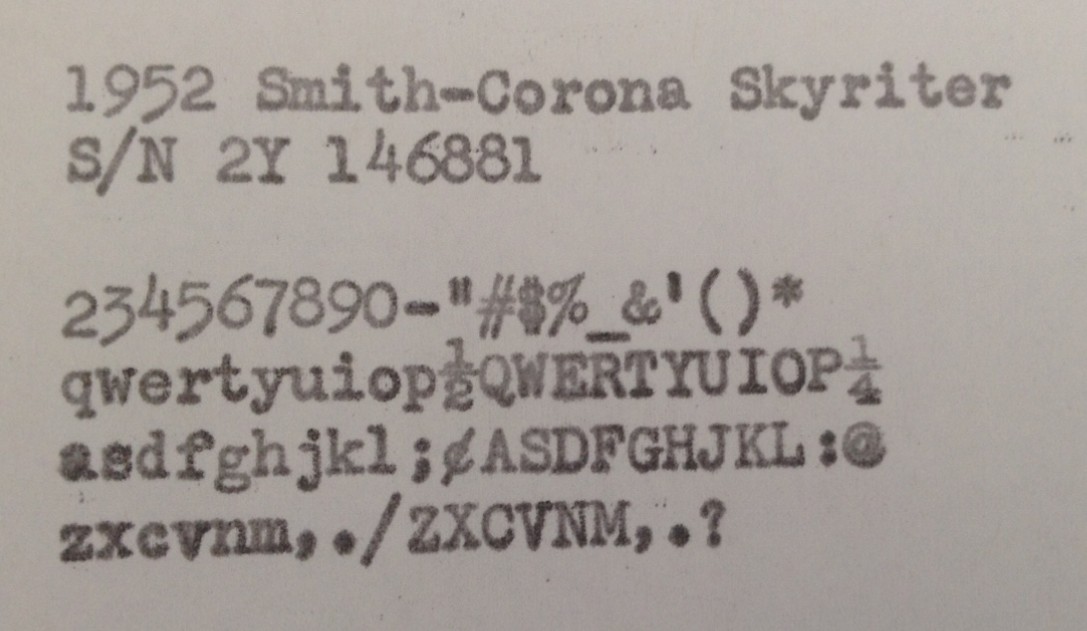
My tough little pancake – the Skyriter – had a pretty dried out ribbon when I got her.

IMG_3520

I have read that you can sometimes rejuvenate old dried-up typewriter ribbons with WD-40. I could save $7.99 and a trip to the office supply store for this:

This 1/2" black ribbon is compatible with Okidata...and others

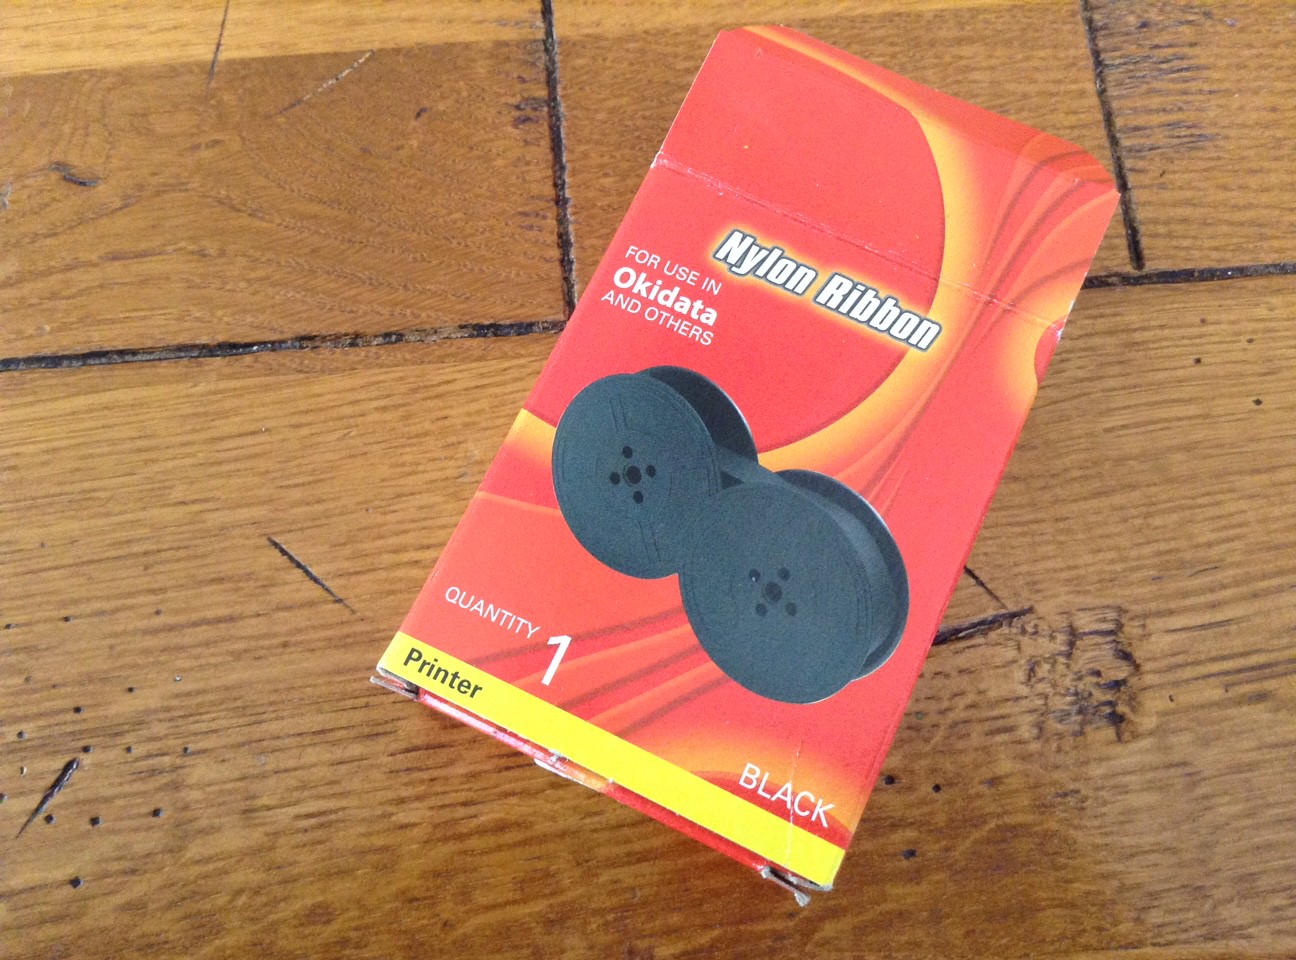
This 1/2″ black ribbon is compatible with Okidata…and others

Since I am both cheap and impatient (two qualities that have made me the success I am today), I thought I’d try it.

First I had to find a box to work in.  I found a box outside but first I had to evict two Wubble-Bubbles, Charles and Dope.
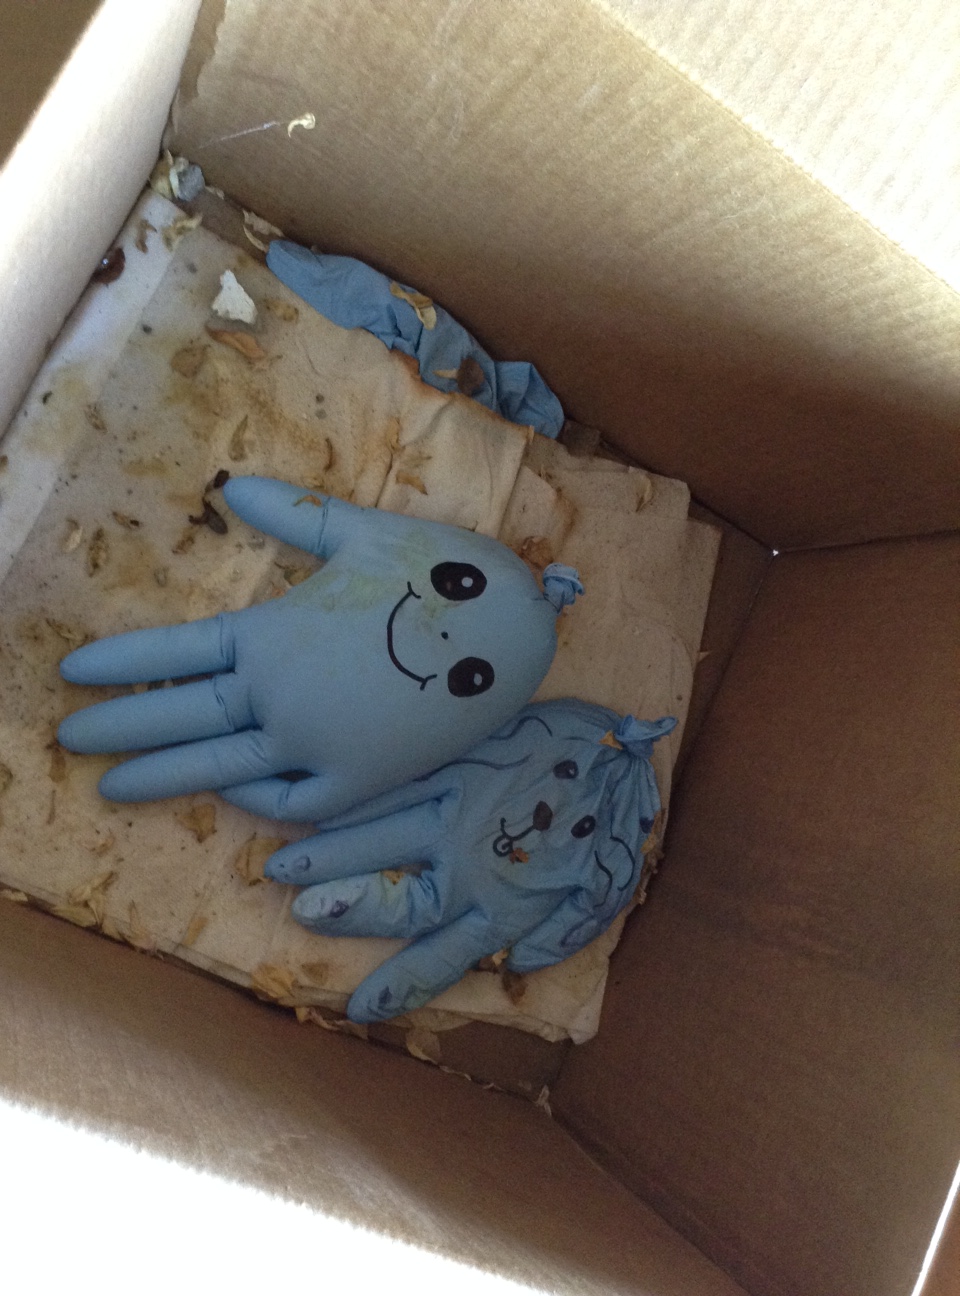
IMG_3464

Scat, you two.

I then removed the ribbon from the machine, unspooled it and put it in the box.  Then I sprayed the whole tangled mess with WD-40:

IMG_3465

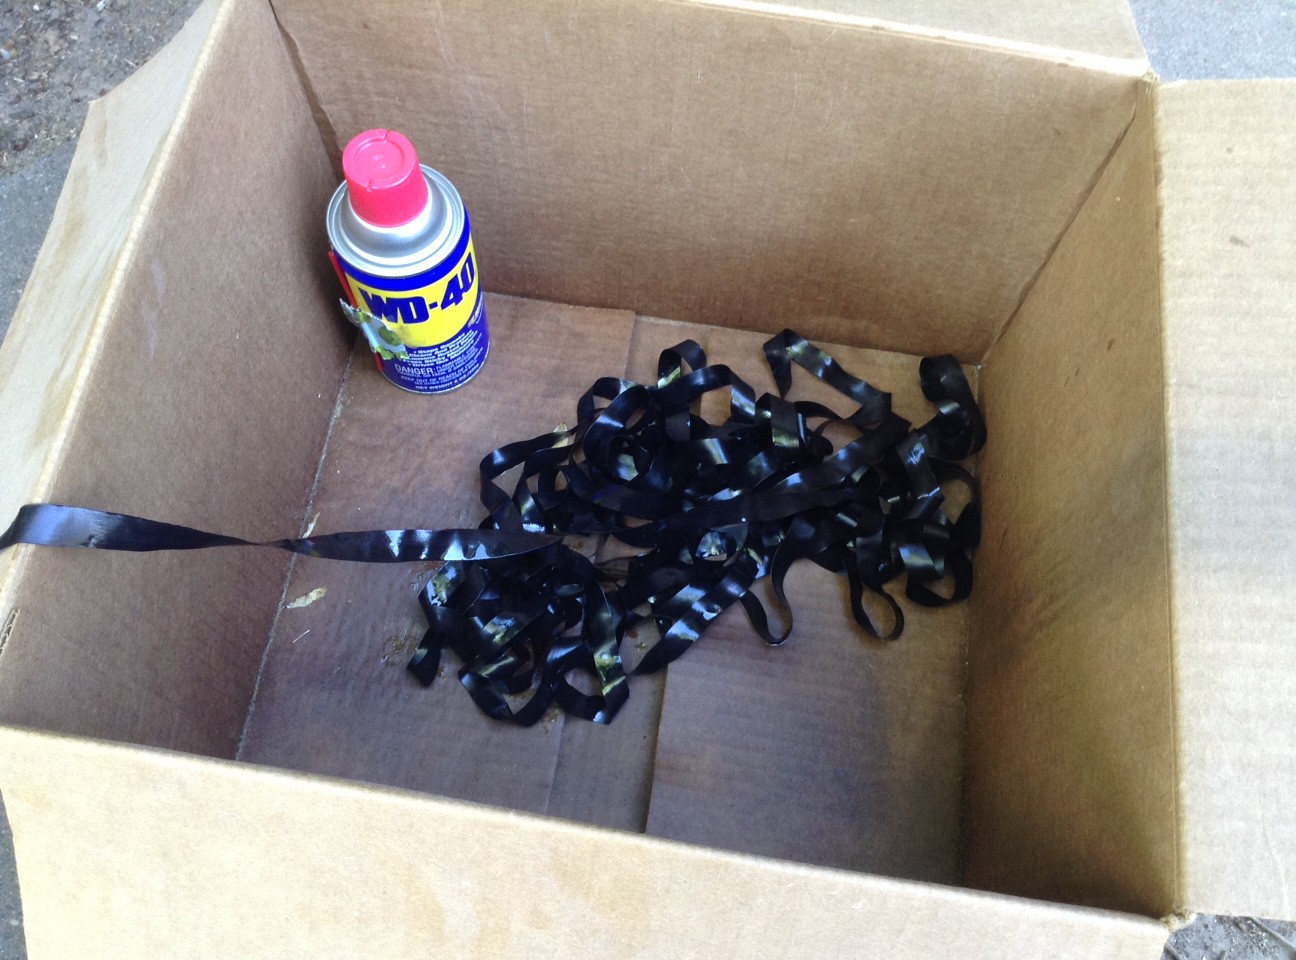
I waited about 30 minutes, then wound all the ribbon onto one of the spools very tightly.  I then squirted WD-40 onto the tightly wound spool.  That might have been over-kill.

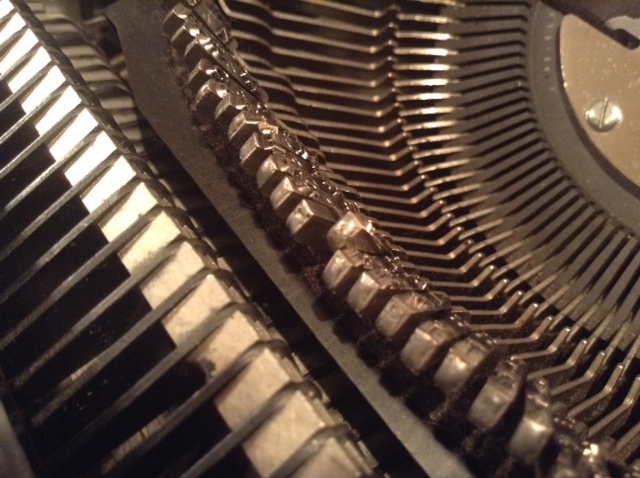
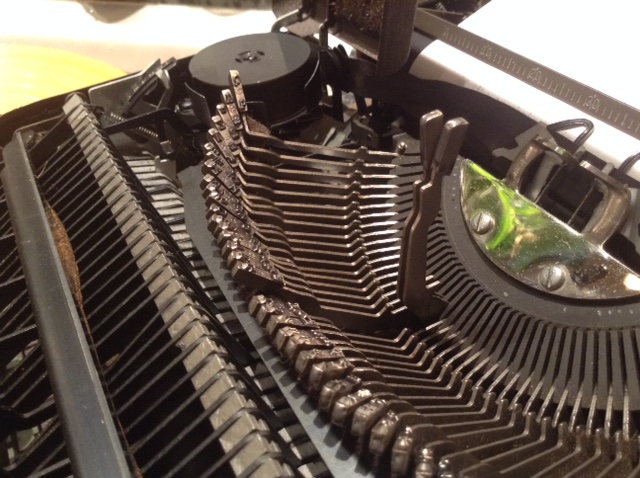
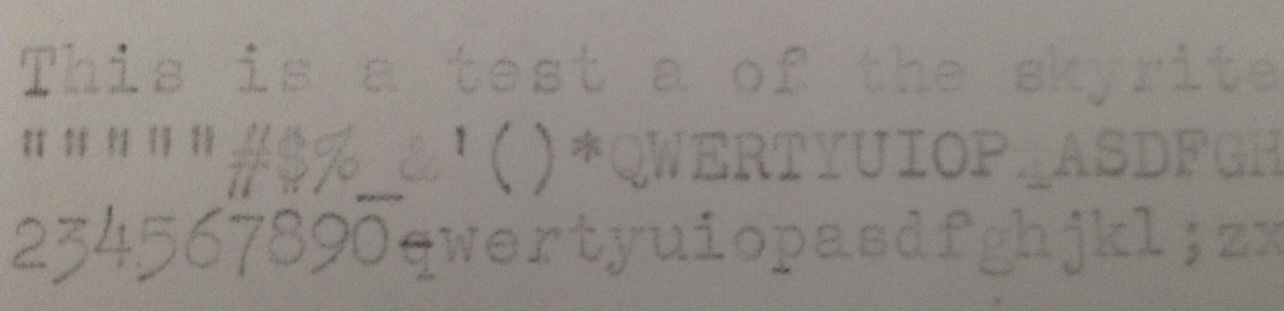
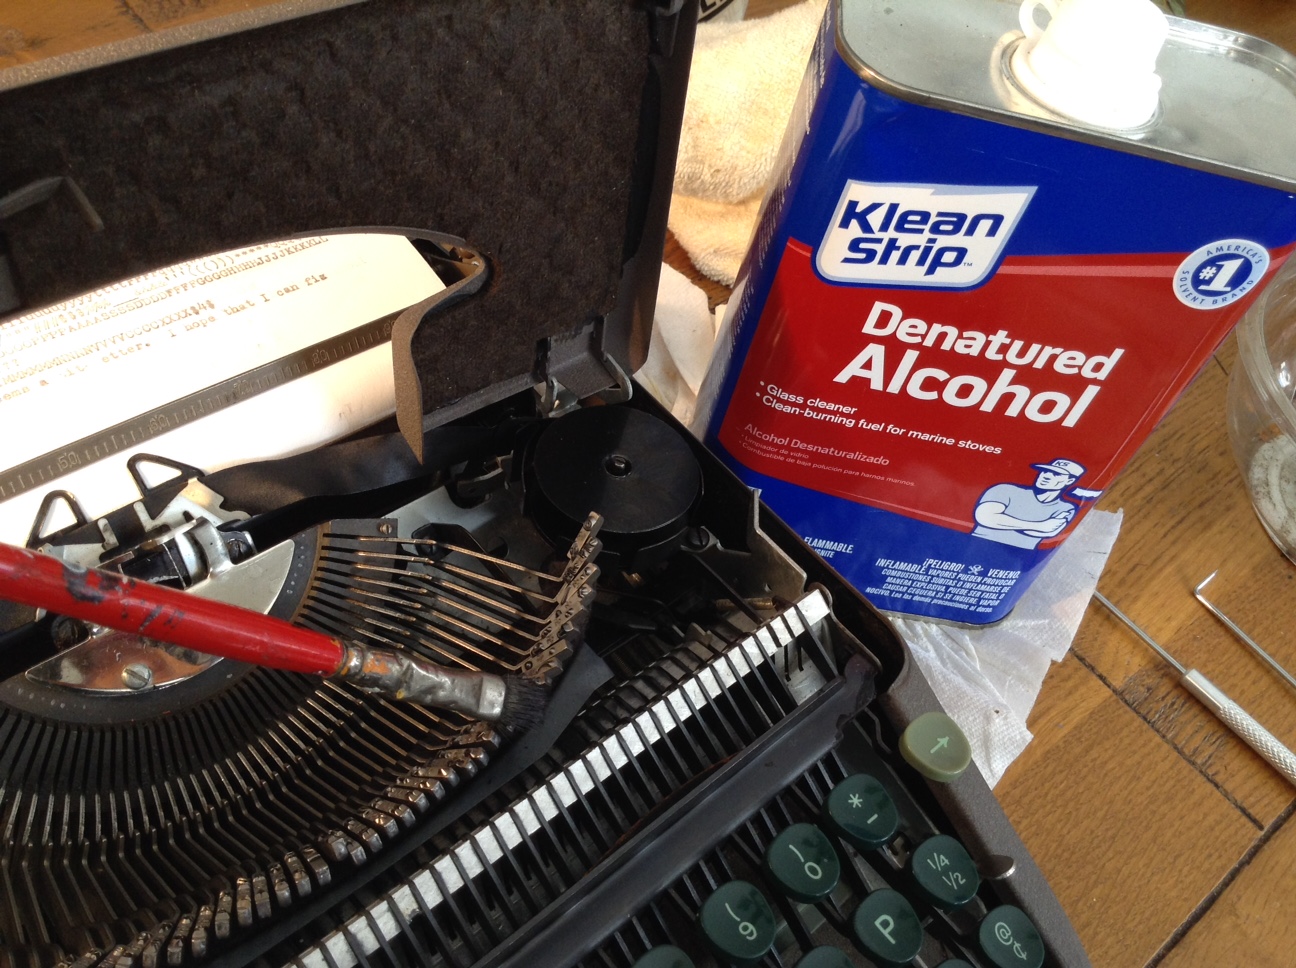
I then waited about an hour and put the ribbon spool back on the machine and hooked things back up. The first test was very squishy and gray. I had used a lot of WD-40 on the ribbon.  I let the ribbon sit longer and cleaned the type in the meantime with denatured alcohol since it was a little gunky.

IMG_3466

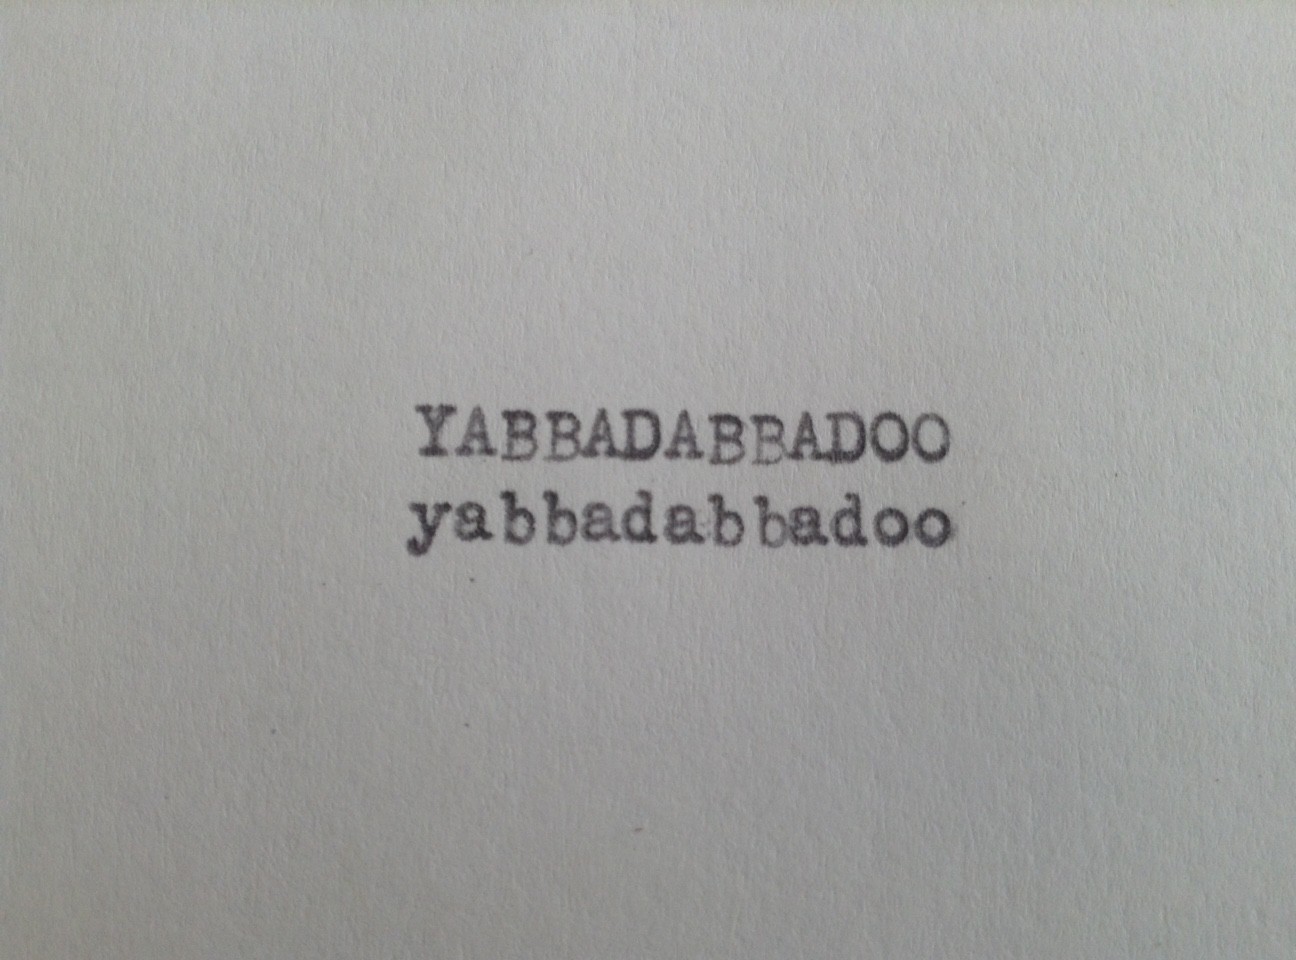
After about an hour, the typed page looked better.  It’s a readable charcoal color, but definitely not a true black like a new ribbon would produce.

IMG_3481

I’ll keep the WD-40ed ribbon for the time being.  It works.

UPDATE: 2 weeks later: WD-40ed ribbon still typing fine – just fine – not black, but fine.

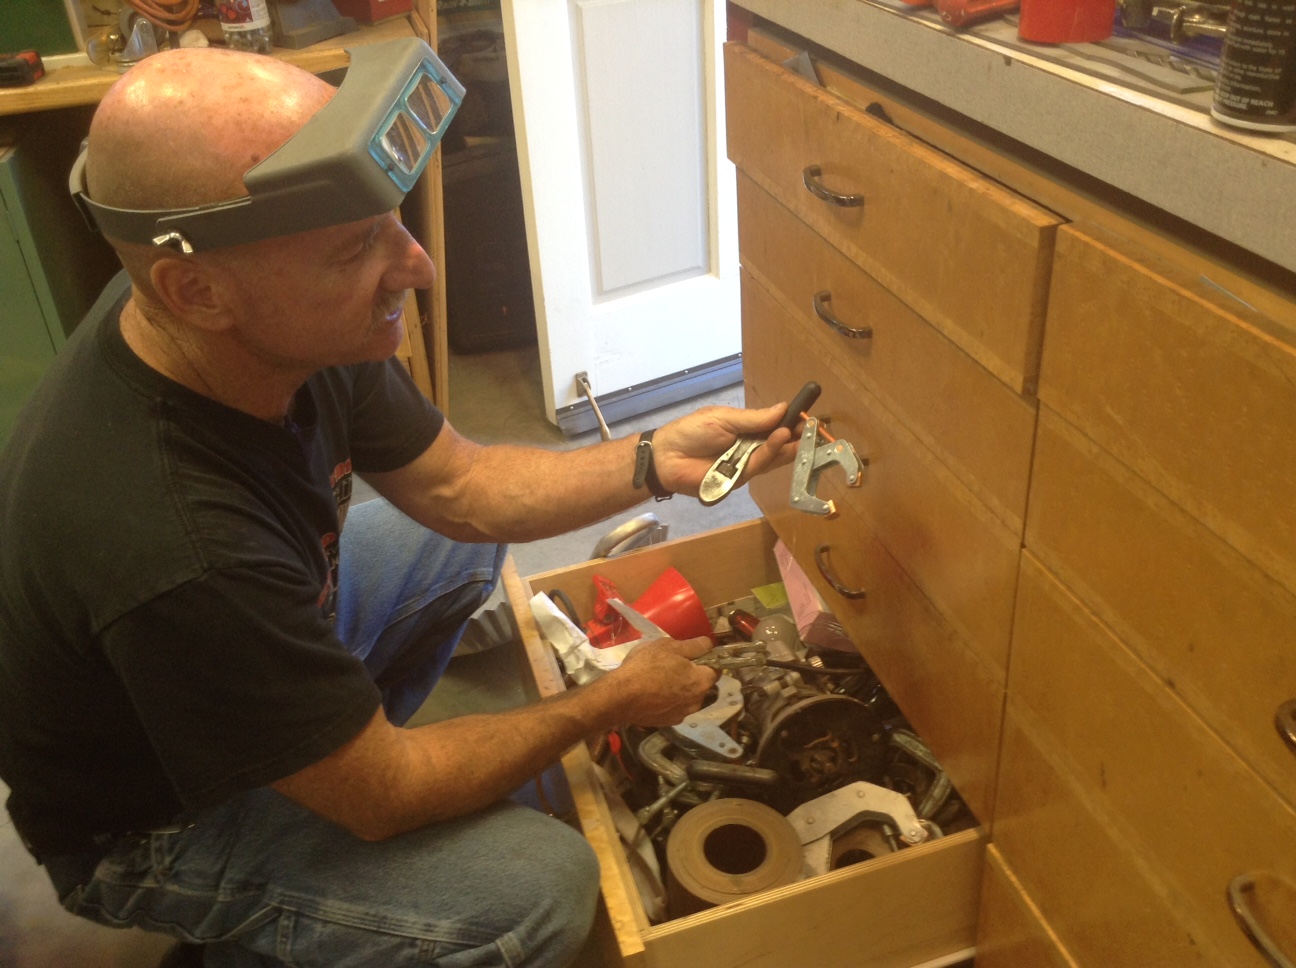
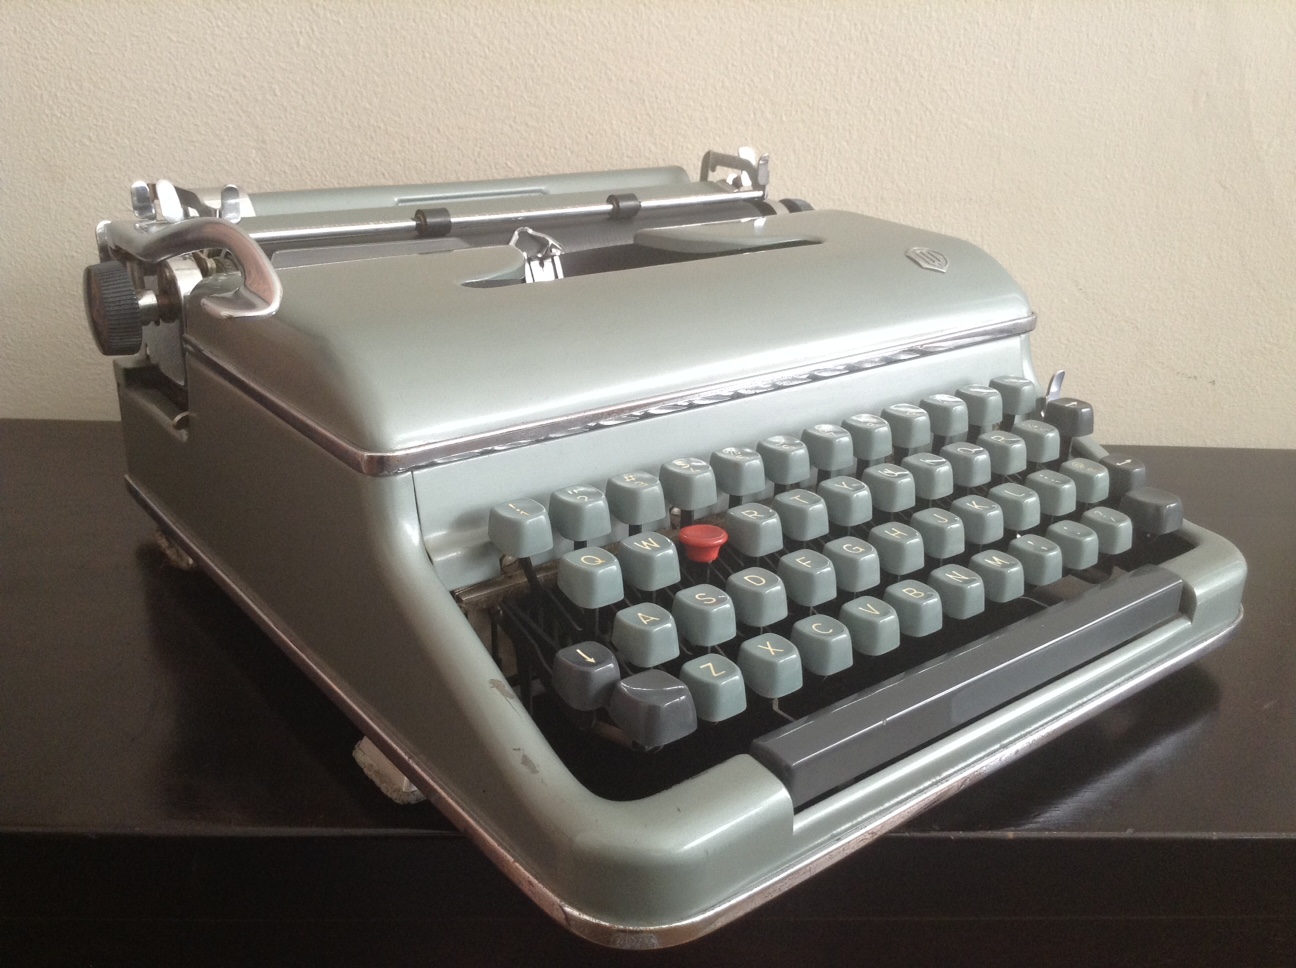
Another interesting tidbit related to ribbon spools: when I received my Oliver in the mail last month from the eBay seller, there was a mysterious piece of metal rattling around in the box. I put it in a baggie, labeled it “Oliver Mystery Piece”, set it aside, and hoped it wasn’t important.

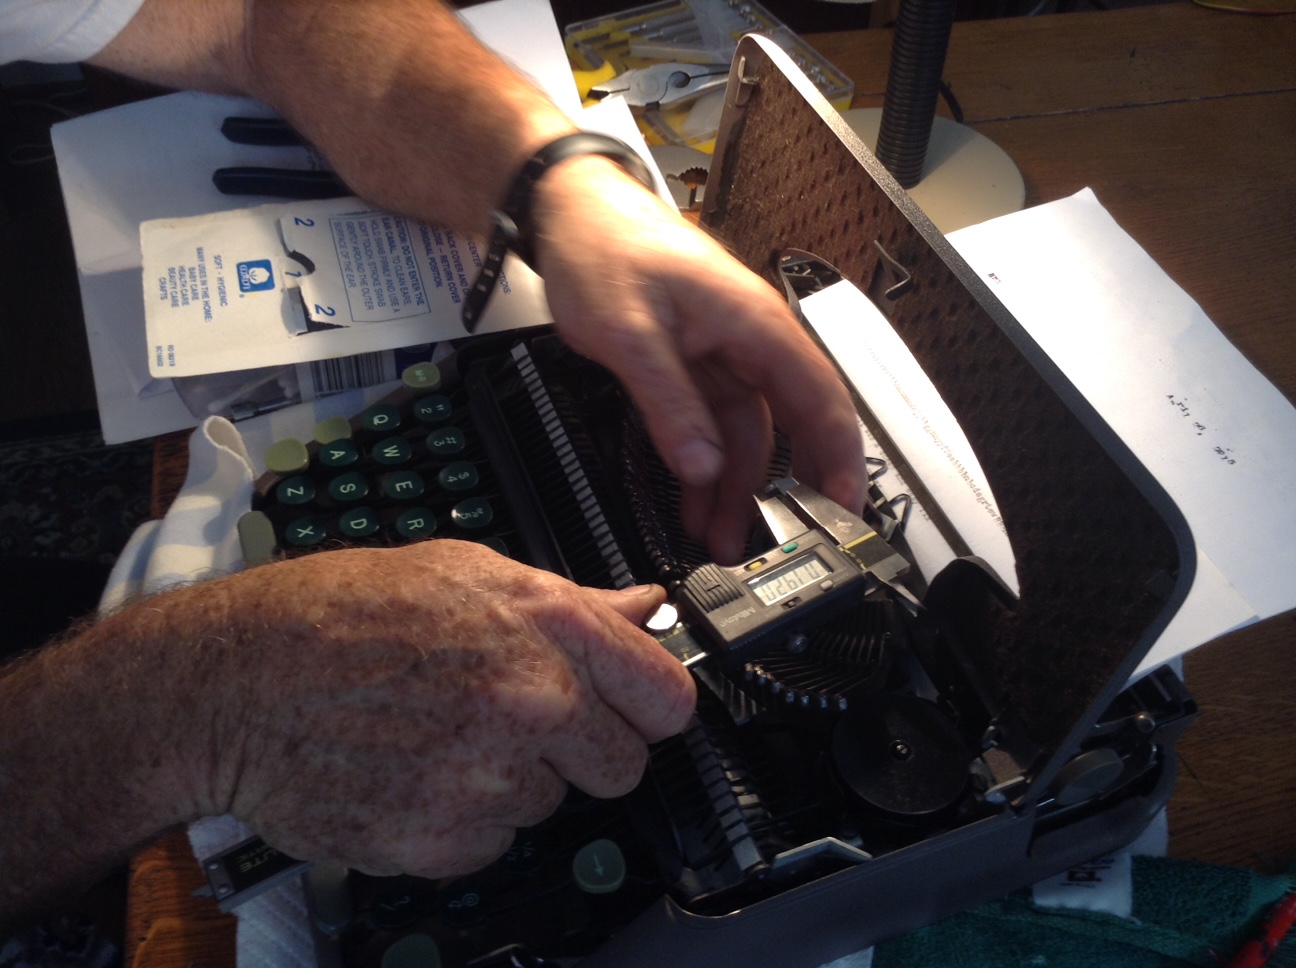
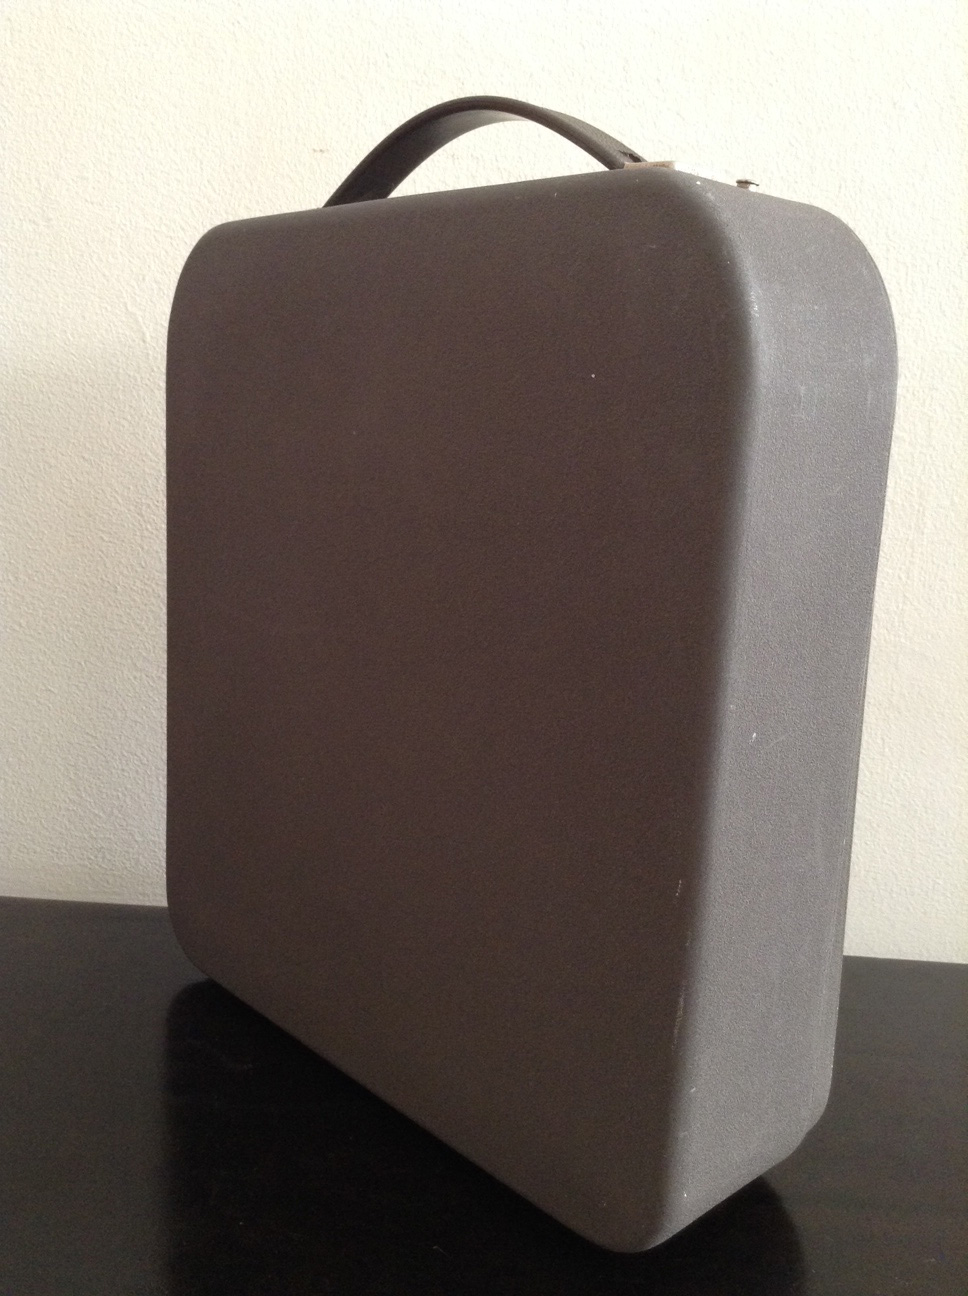
A couples weeks ago, I brought home my Skyriter and I was cleaning and looking for the serial number when I found an almost identical mysterious piece of metal rattling around loose inside the Skyriter’s case.

IMG_3455

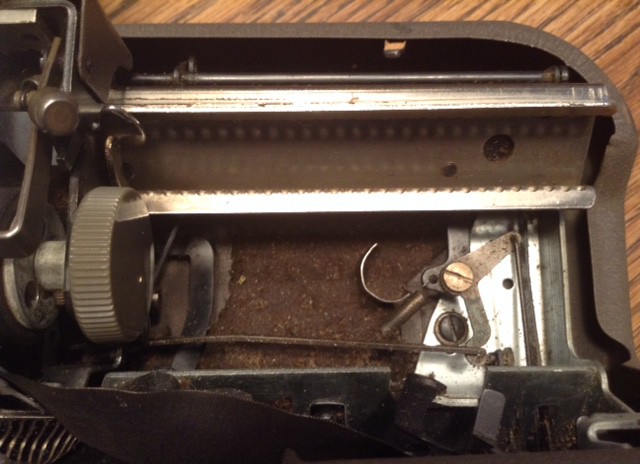
It was almost the same as the Oliver’s Mystery Piece except smaller in size.

IMG_3457_2

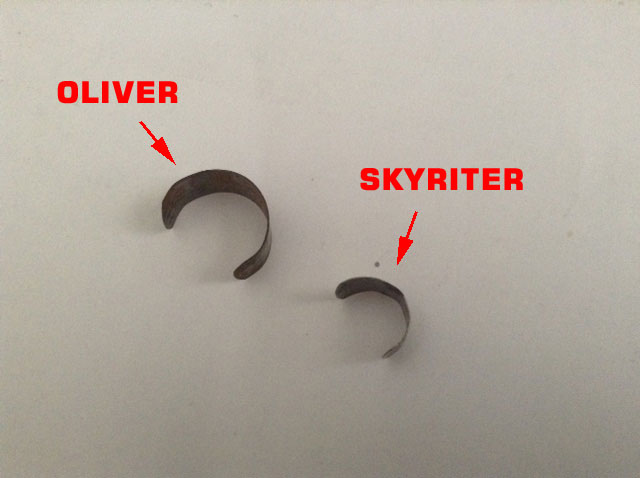
A typewriter repair specialist on the Typewriter Talk forum identified these as ribbon spool clips that secure the ribbon to the core of the typewriter spool.

I used my newly-identified spool clip to secure my Skyriter ribbon when I replaced the WD-40ed ribbon spool.

The Wayward Type Slug and the Good Neighbor

This is a parable for our times.

We live next door to Brian and his family.  They have been our neighbors for almost 13 years.  Brian is an incredibly decent man and good neighbor. We love Brian.

Brian is also a hobbyist knife maker. As an aspiring typewriter fixer, I know this is a good person to know as I frequently find myself in metal-related dilemmas.

For his own pleasure, Brian makes beautiful knives that look like this:

bootDagger2

So when I purchased a Skyriter with a bent type slug, I knew just who to see.

I had tested the typewriter in the junk store before I bought it and noted that the letter B/b was not printing.  When I popped the hood, I saw the problem: the B/b type slug was tilted forward.

IMG_3452

When compared to its neighbor slug, it was very noticeably out of alignment:

IMG_3454

I took the Skyriter home after negotiating a lower price. I carefully tried to bend the slug back into position using needle nose pliers, but it wasn’t budging for me.

So I went over to Brian’s.  He has the best workshop with lots of fun equipment.

IMG_3496

IMG_3497

Please note: this is a human interest post – not an instructional post.  I am only documenting what happened. What follows is an intense scene of type slug peril, so if you don’t have the stomach for that, stop reading right now.

We supported the typebar right under the slug so that the typebar didn’t get bent.  We used a Kant Twist mini clamp to support the typebar.

IMG_3500

The Kant Twist is pretty cool.  It has flat and grooved faces.

IMG_3499

Much to my alarm, Brian placed a block behind the clamp and pulled out a punch and mallet.

IMG_3503

Using the punch positioned between the B and the b on the slug, he tapped gently and precisely with the mallet and the slug moved into proper position.

Kids, do not try this at home unless you live next door to Brian.

Brian was prepared to pull out a mini blow torch to soften the solder that holds the slug onto the typebar, but there was no need.

After the initial straightening, the slug was listing a little to the side.  Brian pulled out an small 4″ wrench with flat, parallel gripping surfaces.  It’s an antique he picked up at a garage sale. I covet it.

IMG_3502

I want.

He put the typebar and slug into the wrench, tightened it and the slug pulled up straight.

Brian has a large collection of clamps and vises:

IMG_3504

He offered me a teeny Kant Twist and a vise grip clamp that he cleaned up for me. They will be great for straightening bent pieces of typewriters.

IMG_3509

IMG_3506

Brian, put on your eye protection!

I came away with a straightened B/b type slug and two new tools for fixing typewriters.  Thanks, Brian!

The B/b is still slightly misaligned, but the screwiness gives the typed page some character and is a reminder of the machine’s history. In the future, I will call any type slug with an eccentric alignment a “Brian B” in honor of my good neighbor, Brian.

IMG_3517

UPDATE: Brian stopped by the next morning. Our dining room table looked like Machine General Hospital that day.

IMG_3511

Brian had a great time helping me straighten out the type slug yesterday and felt I needed some modified pliers for use while working on typewriters.  Using a pair of calipers, he determined that all my Coronas and Smith Coronas have the same size slugs.

IMG_3512

He wanted to modify some pliers so that they will grip the slugs perfectly when making alignment adjustments.

IMG_3513

Below are the modified pliers Brian made me. They have parallel flat surfaces that are just wider than a Corona or Smith-Corona type slug so that I can insert leather padding to protect the slug when I use the pliers:

IMG_3535

The lesson of the parable of the Wayward Type Slug and the Good Neighbor is: live next door to Brian.

Now We Are Six: Torpedo and Skyriter

On Wednesday I found a couple typewriters – a Torpedo and a Skyriter – at my local junk store that needed a loving home.

These two are really good friends.  They bonded during their captivity in the junk shop and now they are inseparable.

IMG_3493

The Skyriter is nuzzling the Torpedo


1957 Torpedo 18a
Serial number: 936000

IMG_3484

The Torpedo was pretty dirty with lots of Wite Out splashes and some shellac-like substance dribbled on it.  The Wite Out and shellacky stuff came up beautifully with Goo Gone and the Goo Gone didn’t seem to harm the paint. The Torpedo is a stunner in gorgeous pale blue-green. This Torpedo hasn’t got a TAB key, so she’s an 18a – I think that’s the difference between an 18a and 18b.

The “Made in Western Germany” sold me.

IMG_3487_2


1952 Smith-Corona Skyriter
Serial number: 2Y 146881

IMG_3469

This Skyriter is such a delicious little pancake, but it was the Skyriter’s metal cover that tipped me over the edge.  Type the Clouds compared the Skyriter cover to a roasting pan.  I am going to roast up a chicken in it tonight for dinner.

IMG_3478

Both these machines are chock full of aesthetic appeal, but what really truly sealed the deal was the way they felt under my fingers.

For such a tiny machine, the Skyriter has a hardy, durable feel. I would happily take her on an airplane or on a cross-country road trip or on a backpacking trip or on safari.

The Torpedo has a different feel – that of a precision instrument – no clatter, just solid, classy efficiency. I feel noticeably classier when I type on it.

So now I am up to six typewriters. I think six is enough for the time being. No more distractions since I still need to finish up the Oliver and tear apart the Corona 4.