I’m a very normal person. Like other very normal people, the Weird makes me queasy, and I generally don’t seek it out. However, sometimes the tentacles of the numinous reach for me, and I am pulled into another layer of reality outside my current one.
Typewriter Database was coming up on 20,000 typewriters, and I wanted to do my part as a solid citizen of the typosphere and add the strays in my collection that I hadn’t gotten around to uploading. So, I scooped up all my Royals and Olympias and started entering them into TWDB.
That’s when my eye fell upon The Box.

Oh yeah, that one.
An involuntary shudder passed through me.
I recently read a novella from 1907, The Willows by Algernon Blackwood, an example of the Weird in fiction said to have inspired H.P. Lovecraft. The story is about two men canoeing down the Danube who find themselves overcome by mysterious, menacing, otherworldly forces.
Like the Willows of the story, this Box was giving off serious eldritch vibes. Inside was a Hammond No. 2 with its unsettling Cthulhu-esque form.

If you acquire the reputation as the neighborhood’s typewriter weirdo, typewriters will start showing up at your door unannounced. A neighbor’s friend heard I was into typewriters and gifted me this 190X Hammond No. 2. Her father-in-law had been a typewriter repairman in Sacramento, and he had tucked this away.
I know regular typewriter stuff, not weird stuff like Hammonds. Anything that doesn’t look or act like a “normal” typewriter makes me uneasy, so I had put off investigating this old machine. Now I was curious. I was drawn in.

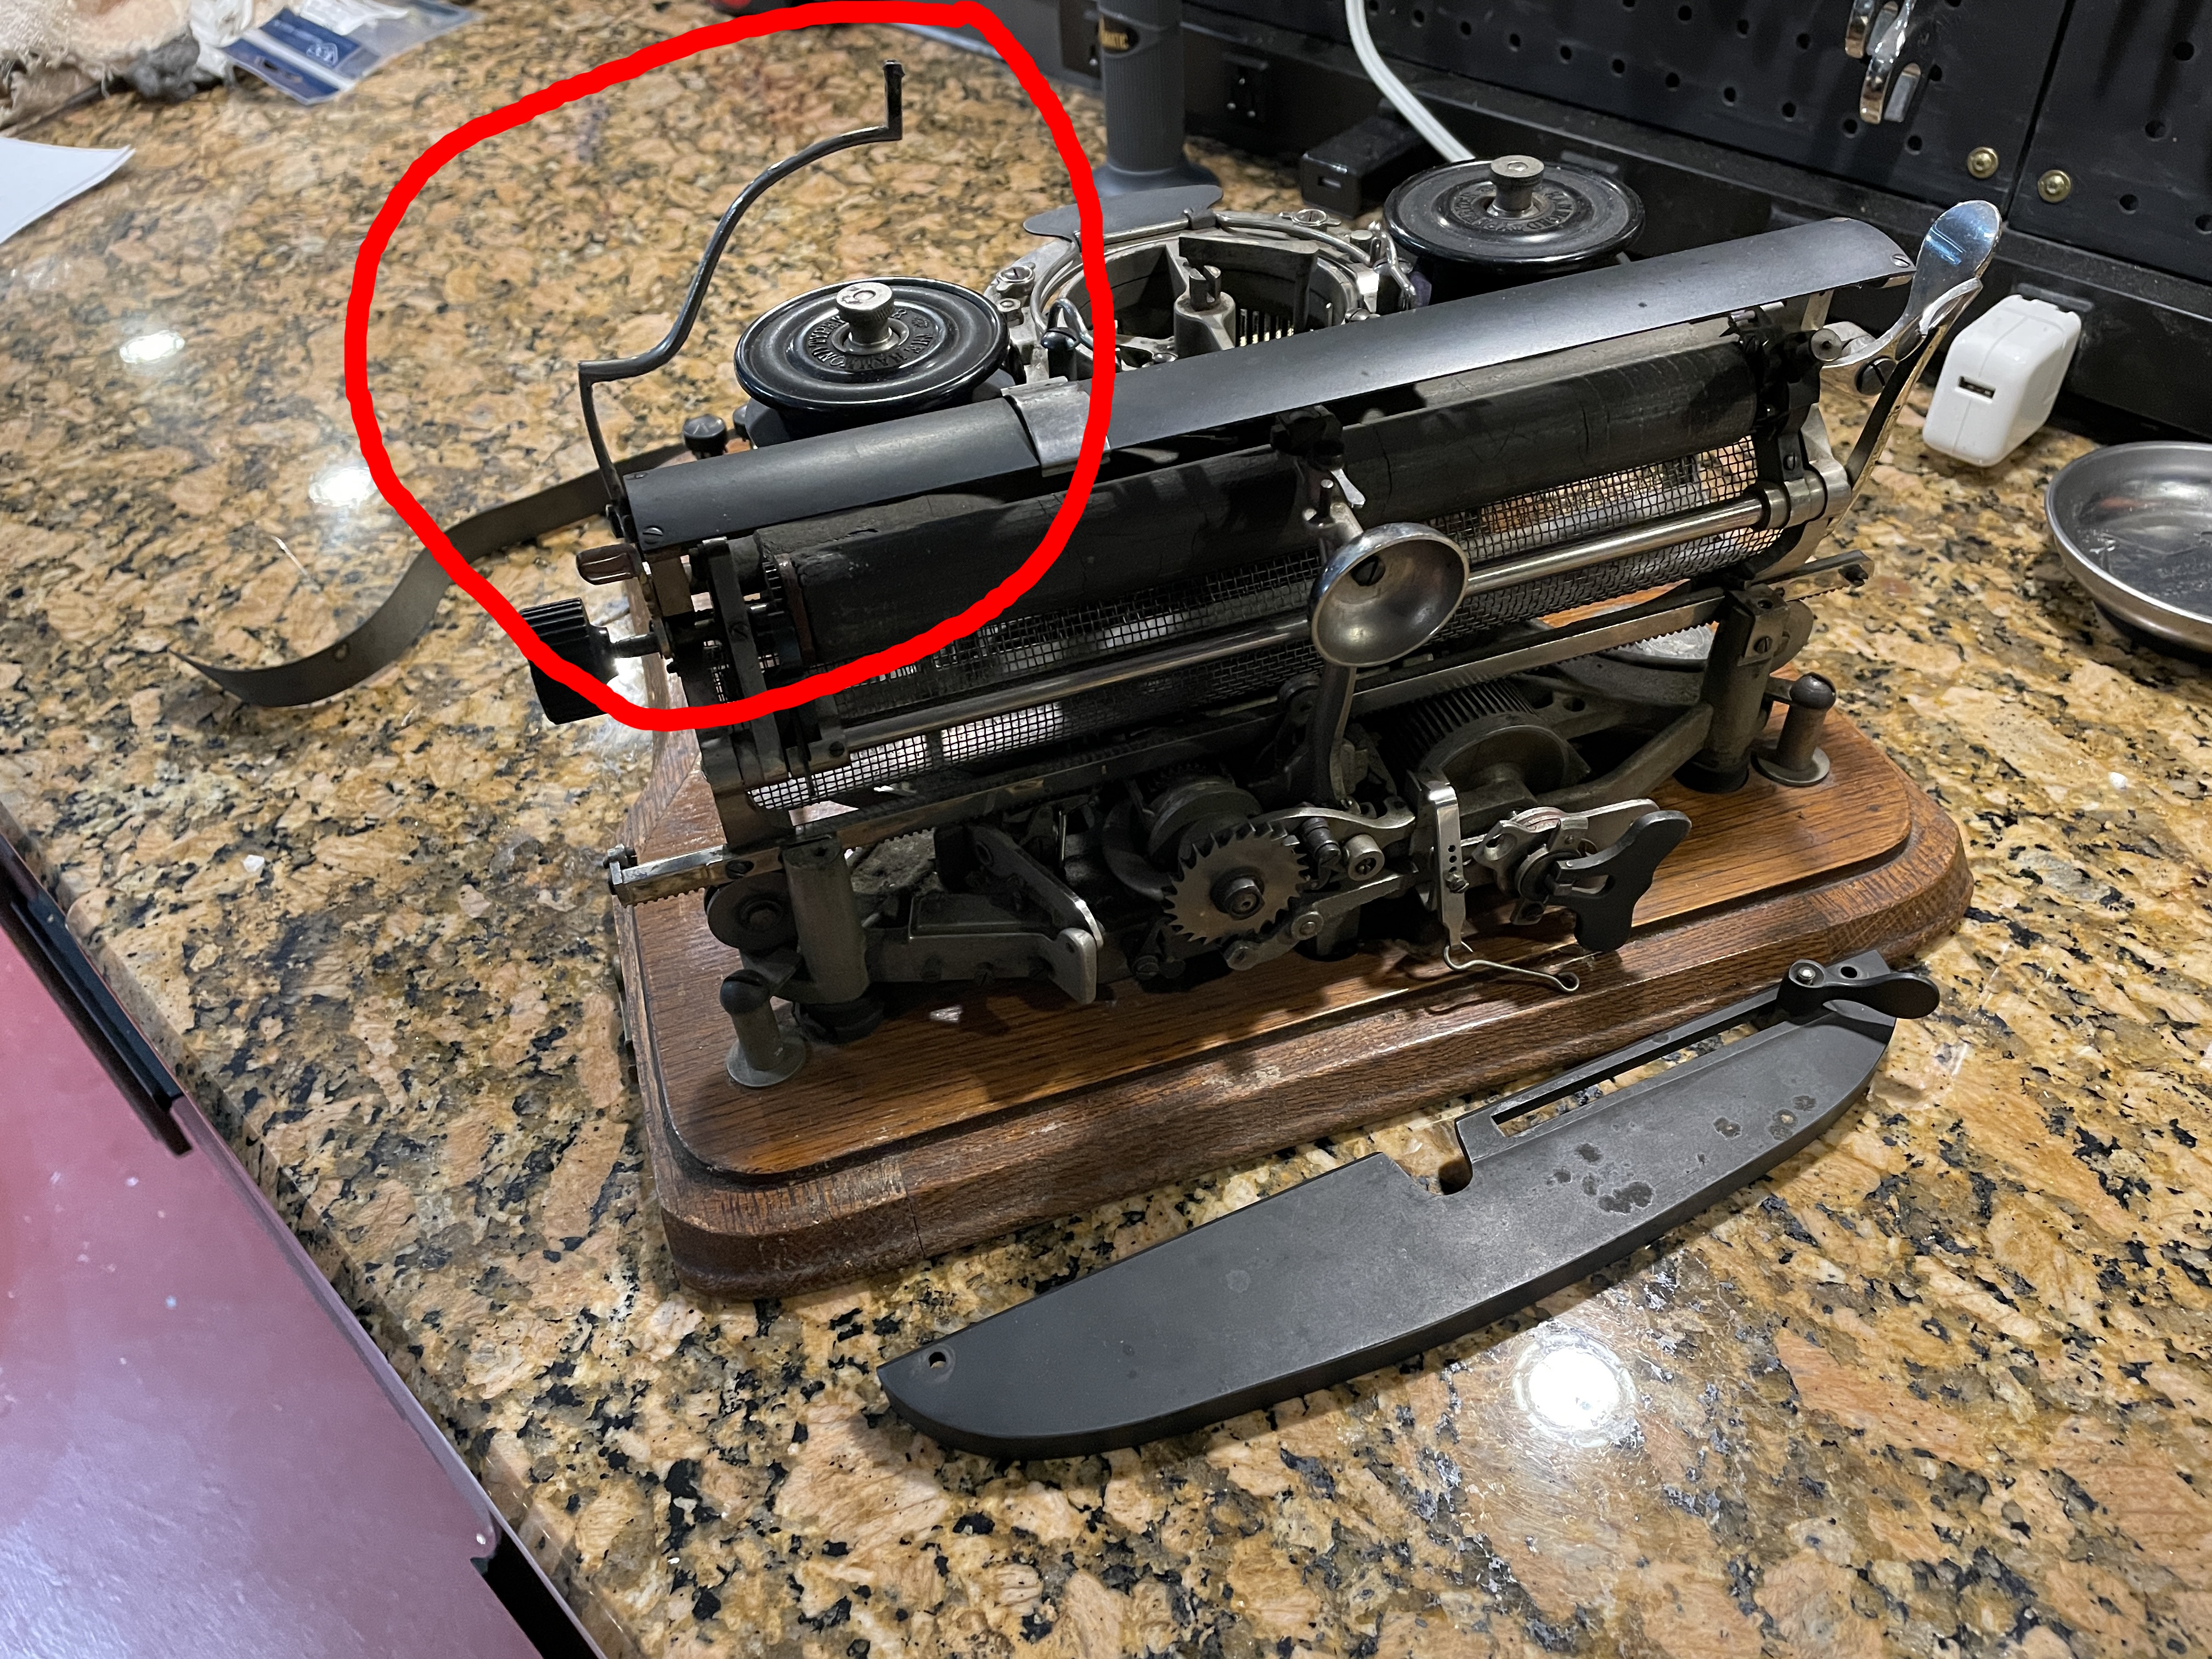
The machine appears to be pretty much intact though the paper rest is broken and it’s missing its bell striker. I couldn’t get any kind of escapement action going because it was partially dismantled with a little ribbon tin of pieces. The spring drum made a listless twang when I moved the carriage. Though free of any surface rust, the parts were very gummy.

The typewriter came with a bundle of ephemera, including an Ames Golden Anniversary magazine from 1952 that I got lost in.

The Ames Supply Company was a family business.
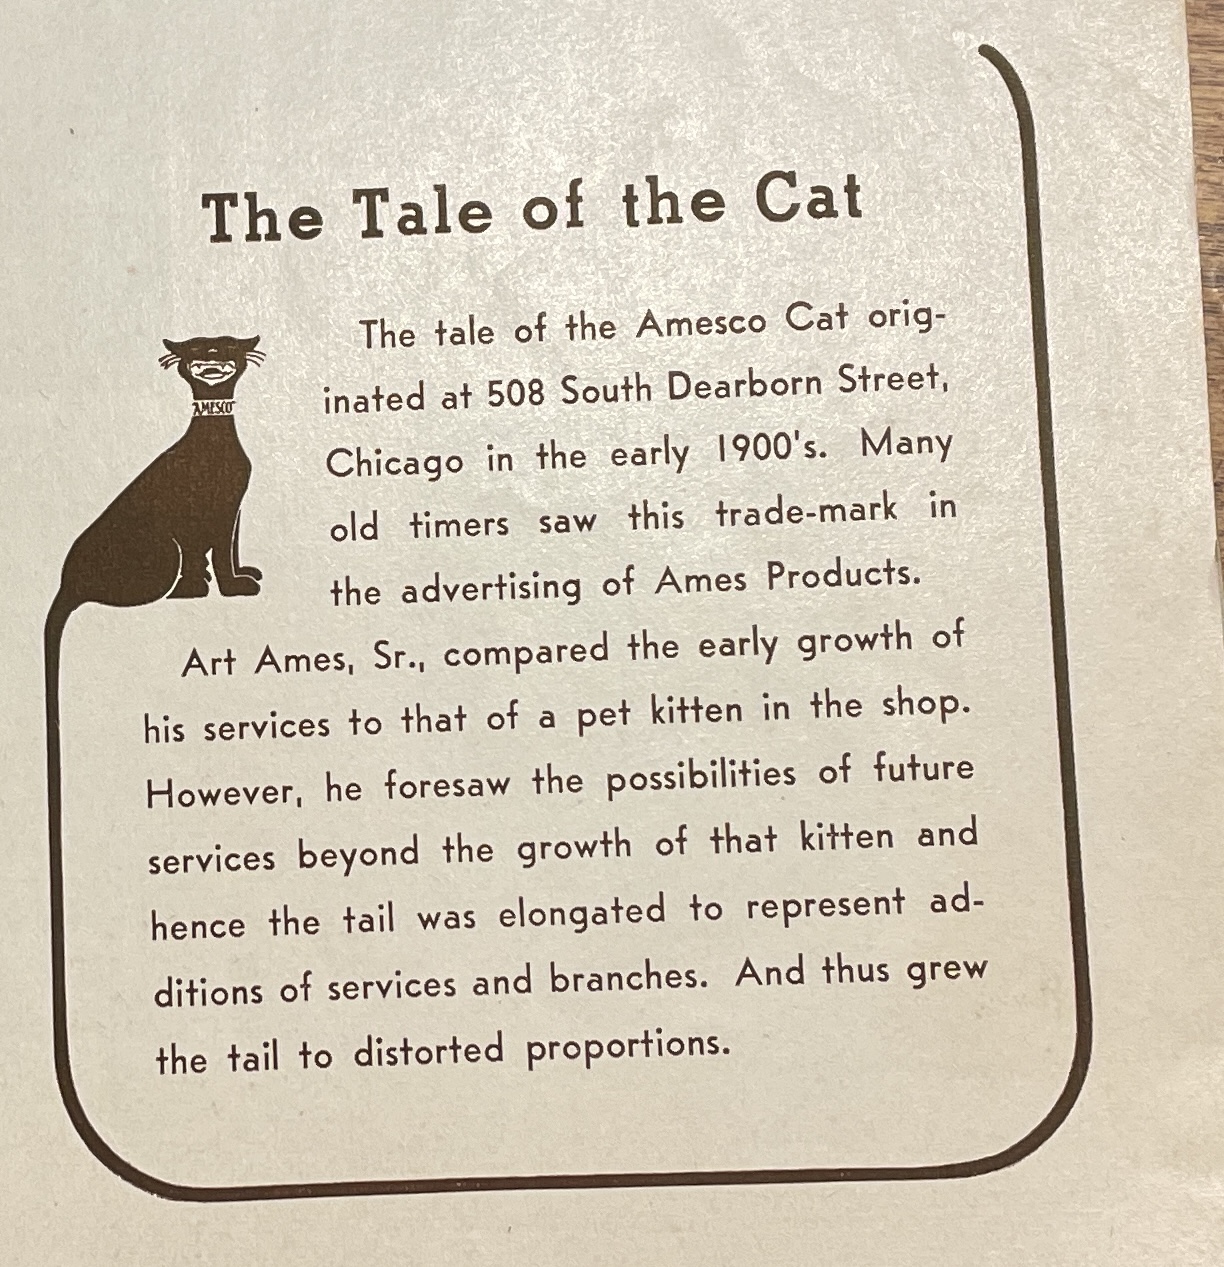
The Ames magazine has a little blurb about the “Amesco Cat”.
Of course the cat sent me down an internet rabbit hole. I found an image of a little set of typewriter tools with the Amesco Cat at WorthPoint.

Check out Robert Messenger’s post about the Ames Behind the Ames Supply Company.
Though the Ames Supply Company closed their doors in 2012, an Ames spinoff dedicated to rubber production still makes rubber things.
Focus, focus, focus. Back to the Hammond No. 2. I started to do a little research, and I found Mr. E’s YouTube video of a Hammond No. 2 in action. My reaction: weird—but gosh, that looks like fun. I have got to get this thing running.
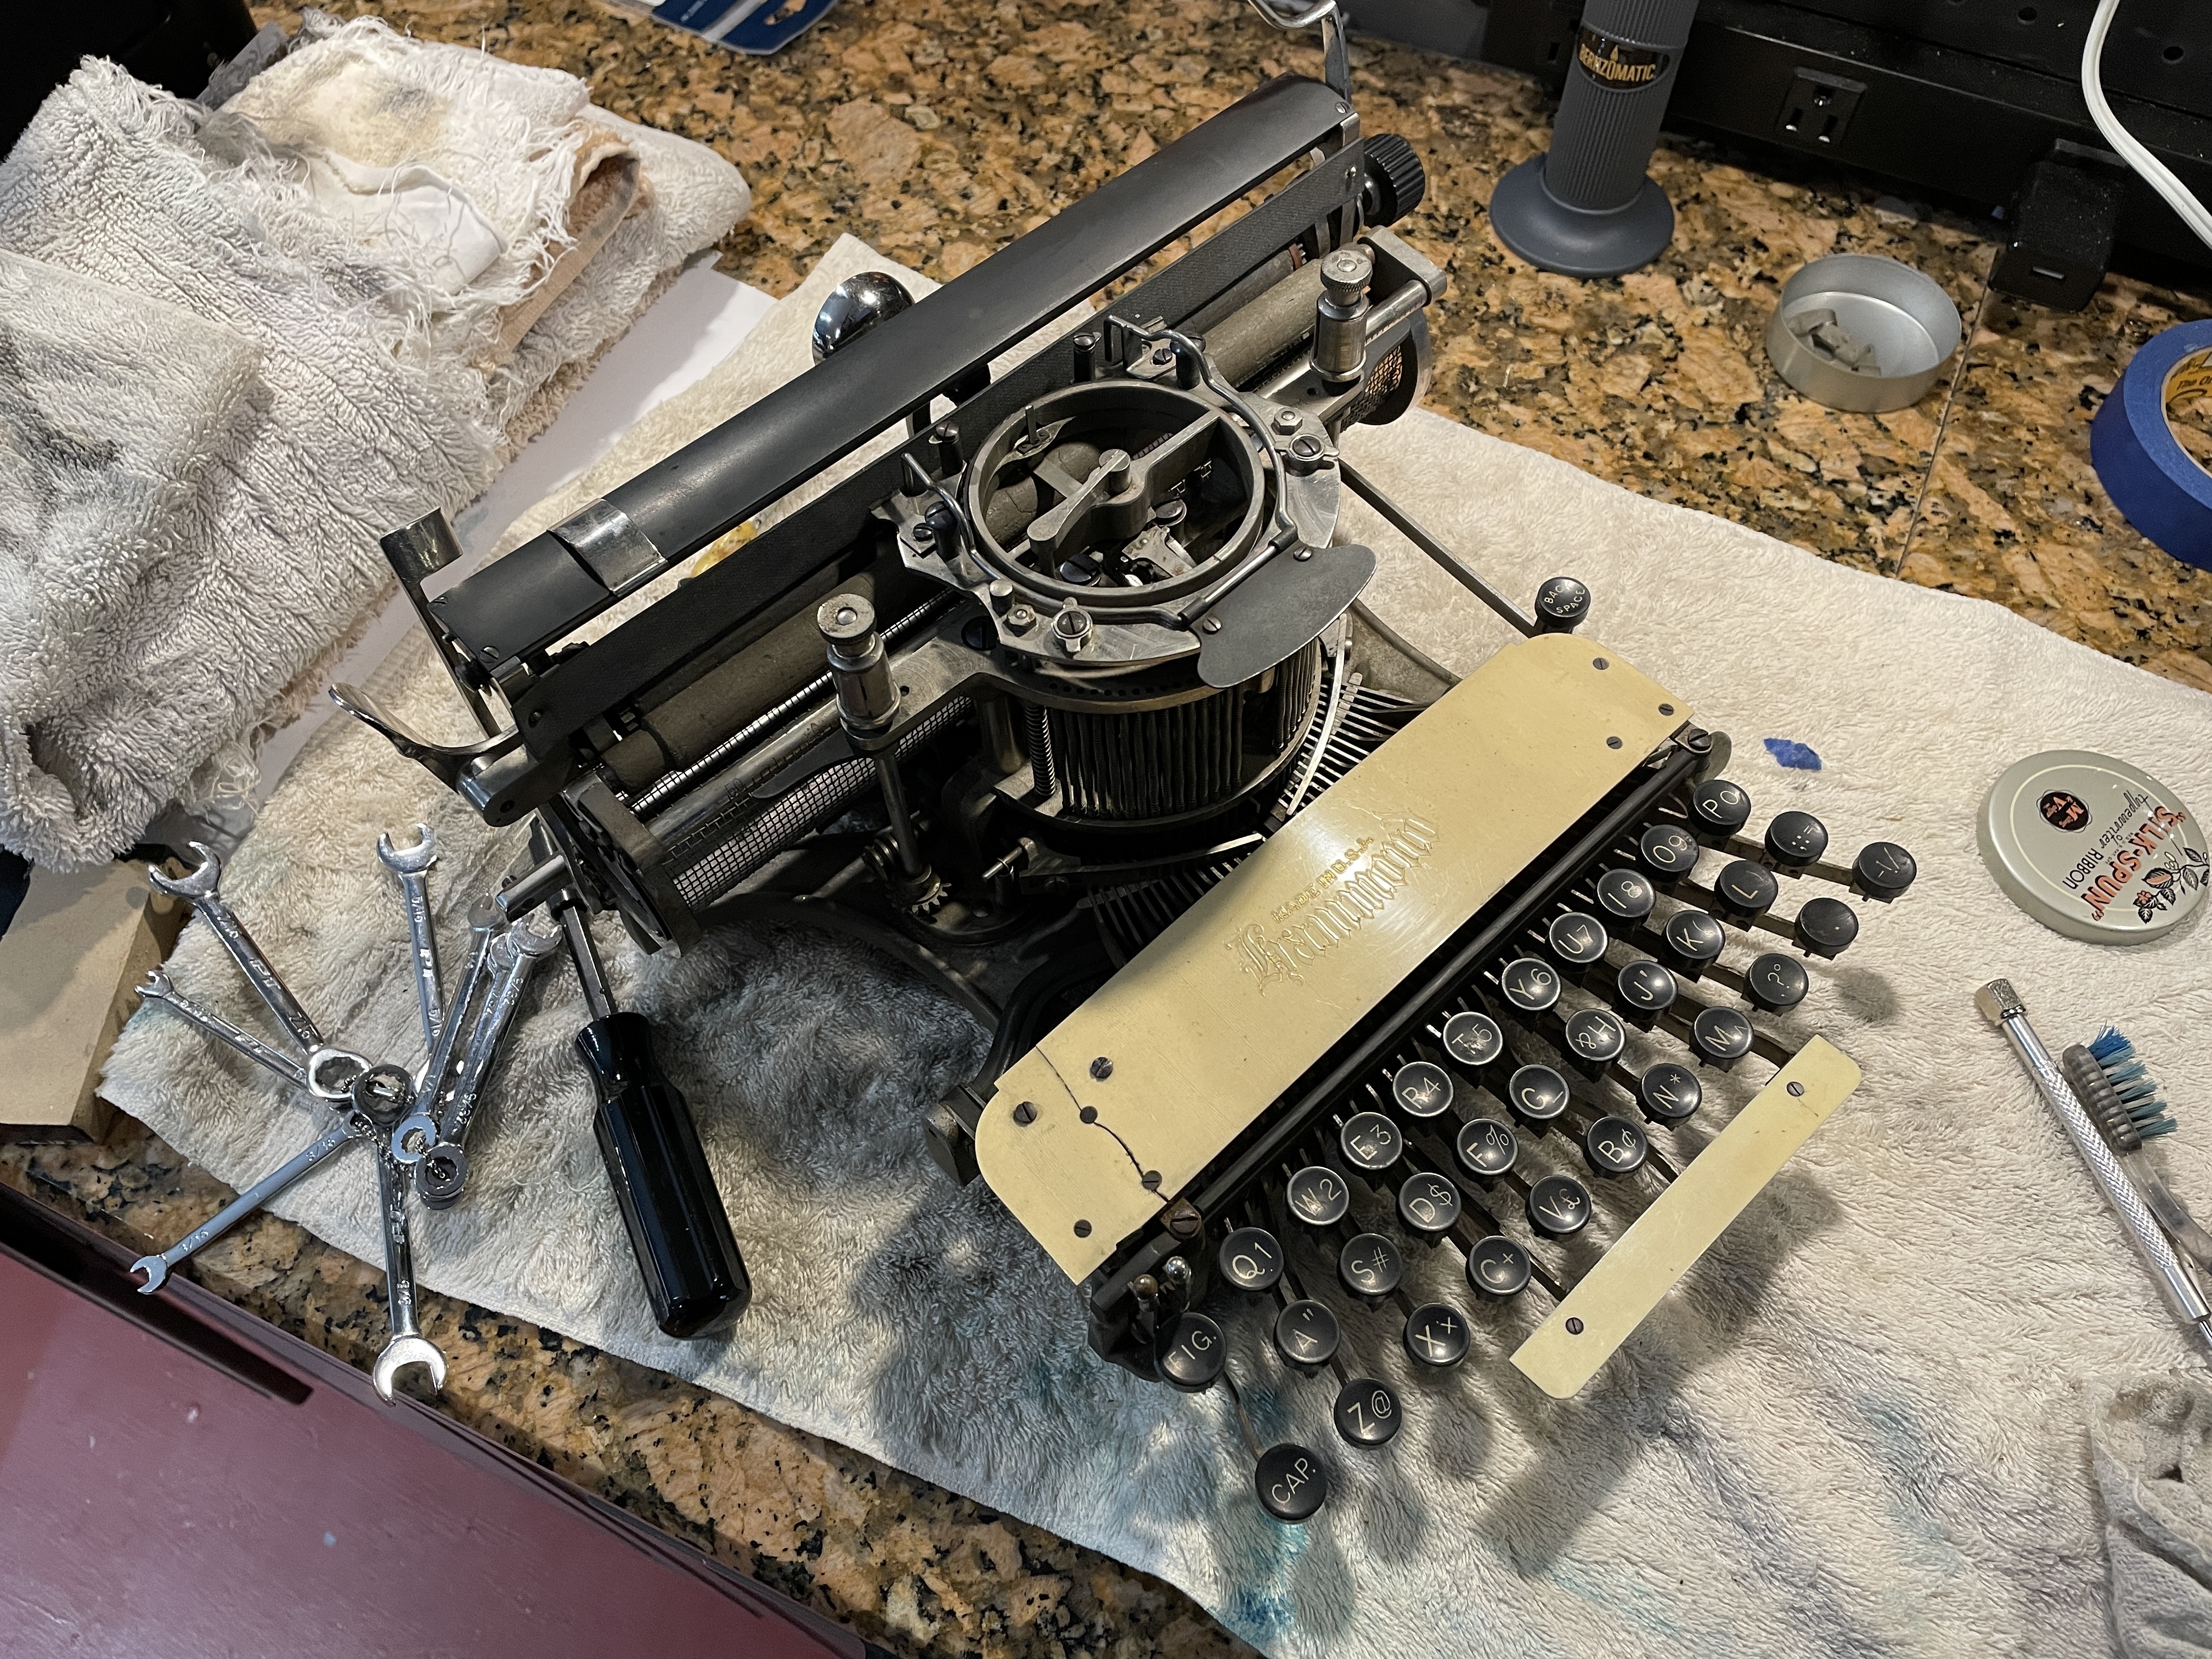
Here is a gallery of pictures before I cleaned and worked on the Hammond. Click images to view larger.


This Hammond No. 2 was manufactured in the late 1890s or early 1900s—it’s hard to nail down a specific year by its serial number 48831. Typewriter Database has information on some specific serial numbers and corresponding dates. The rectangular keyboard of this Hammond is called a “Universal” keyboard. Hammond also produced No. 2s with a semi-circular “Ideal” keyboard layout.
Initially, I wasn’t quite sure what model Hammond I had. Fortunately, there’s a whole website dedicated to the Hammond typewriter, and I found information on identifying my model and understanding the machine. There’s a page describing the difference between a No. 2 and a No. 12, so I determined that I had a No. 2 because of the following:
- spring loaded tower and finger plate that can be pressed down to see what’s typed
- serial number 48831—before the Hammond 12 introduced
- bolt-on backspace key
- three-piece paper rest
- one-hole mounts for the impression strip
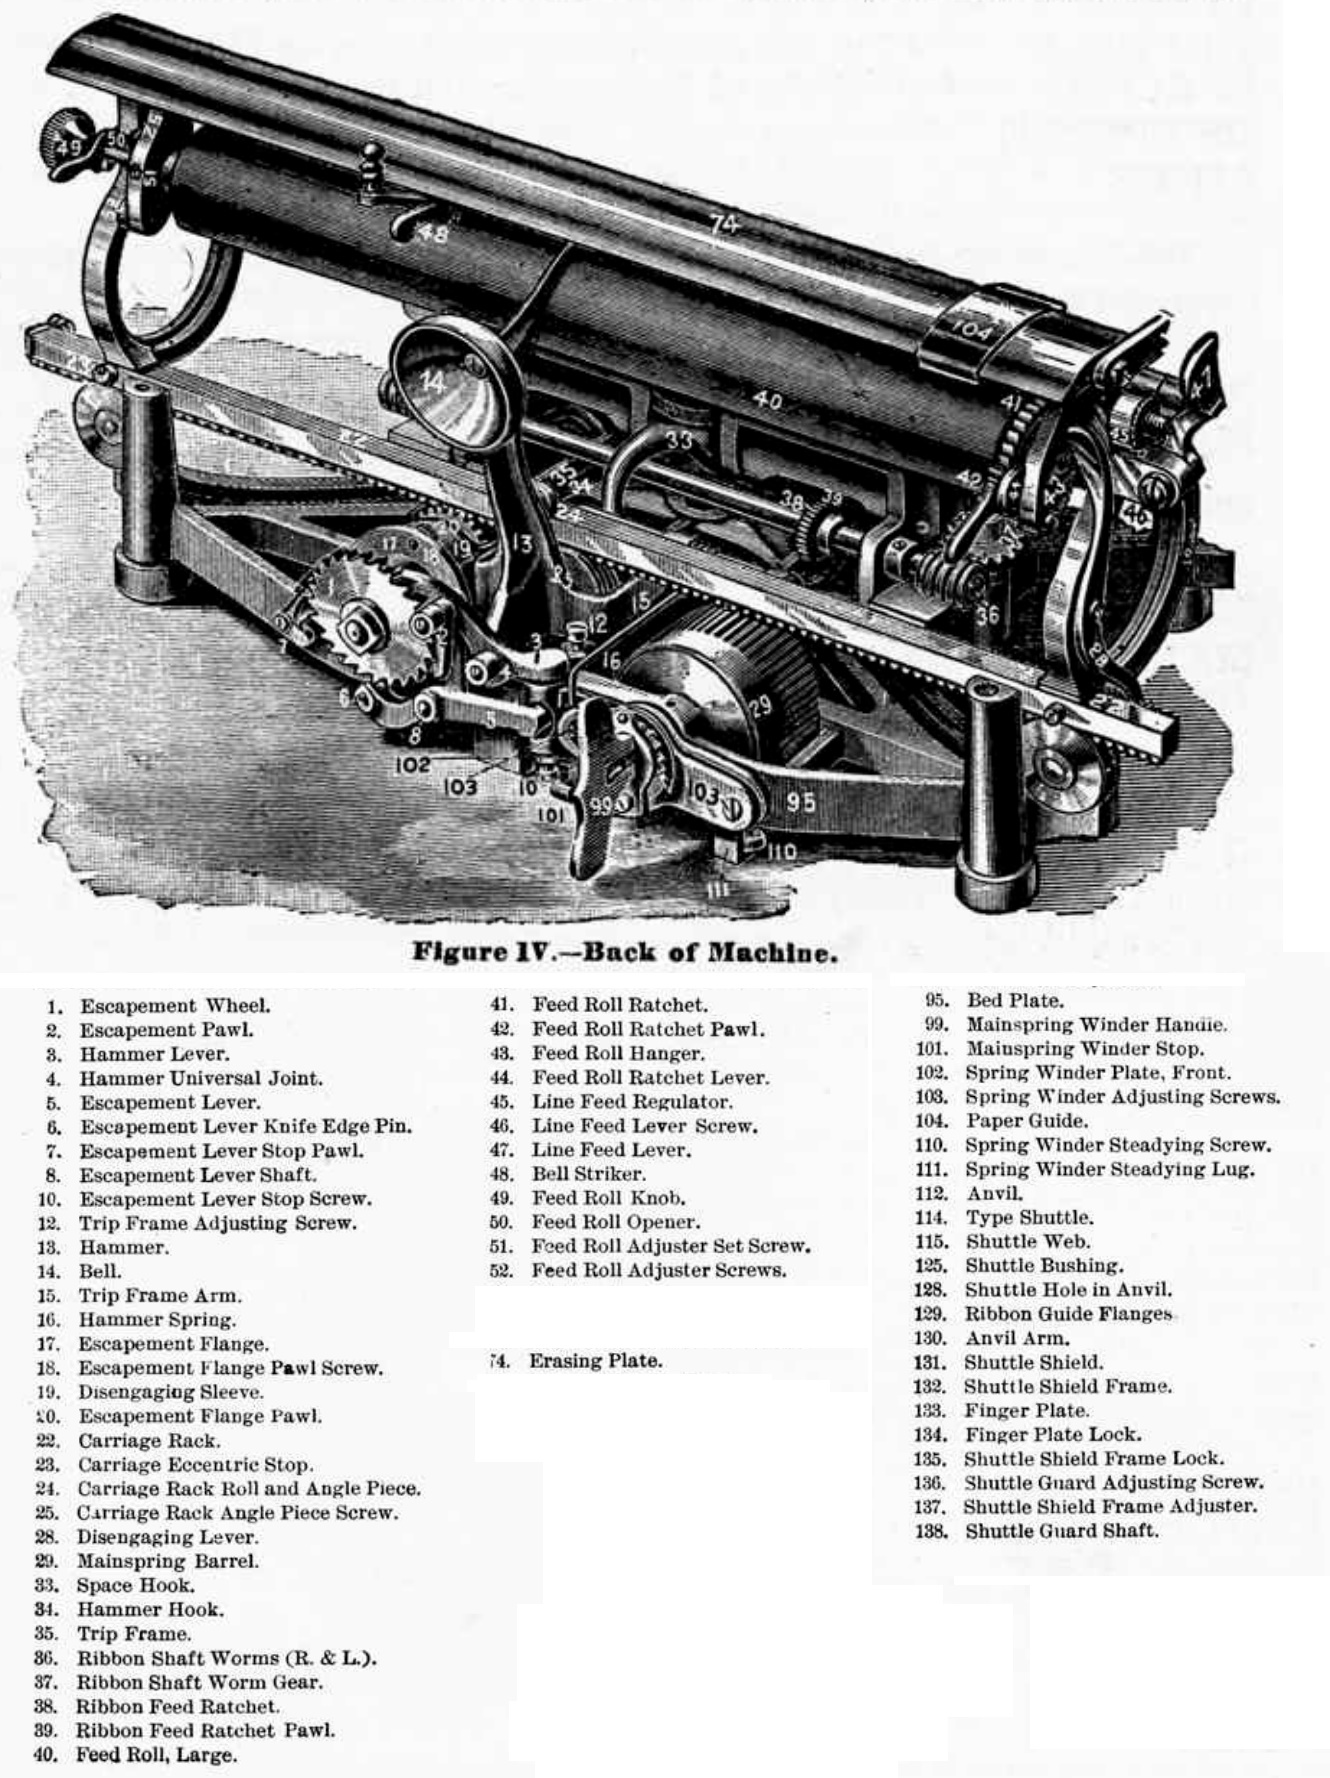
In Richard Polt’s manuals archive, I found a user manual for the Hammond 2. Like many old typewriter manuals, this one presents numbered diagrams and several pages later, the key to those diagrams.
Since I was new to the machine, I chopped up the images of the manual so that I could correctly name parts. I felt like Thomas Jefferson who created his own Bible with razor and glue so that it made more sense to him.
Here are my hacked together diagrams and labeling. Click images to view larger:


I familiarized myself with Hammond parts and looked at a lot of high resolution images of Hammond 2s and 12s at eBay to get a sense of where the loose parts should go.

The ribbon tin that came with the machine contained a spring, some screws, a couple carriage clamps, and another piece that I think is the “spring winder stop”. I found a series of Hammond Multiplex posts at RobertG’s Backspace does not erase and thanks to shots of the underbelly of his machine, I saw where that spring (hammer spring, probably) needed to go.
I spent a lot of time examining high resolution images of Hammonds at eBay and in the Facebook Antique Typewriter Maintenance group. I also found some very good detailed images of a Hammond 12 at In Mechanica Antiqua.
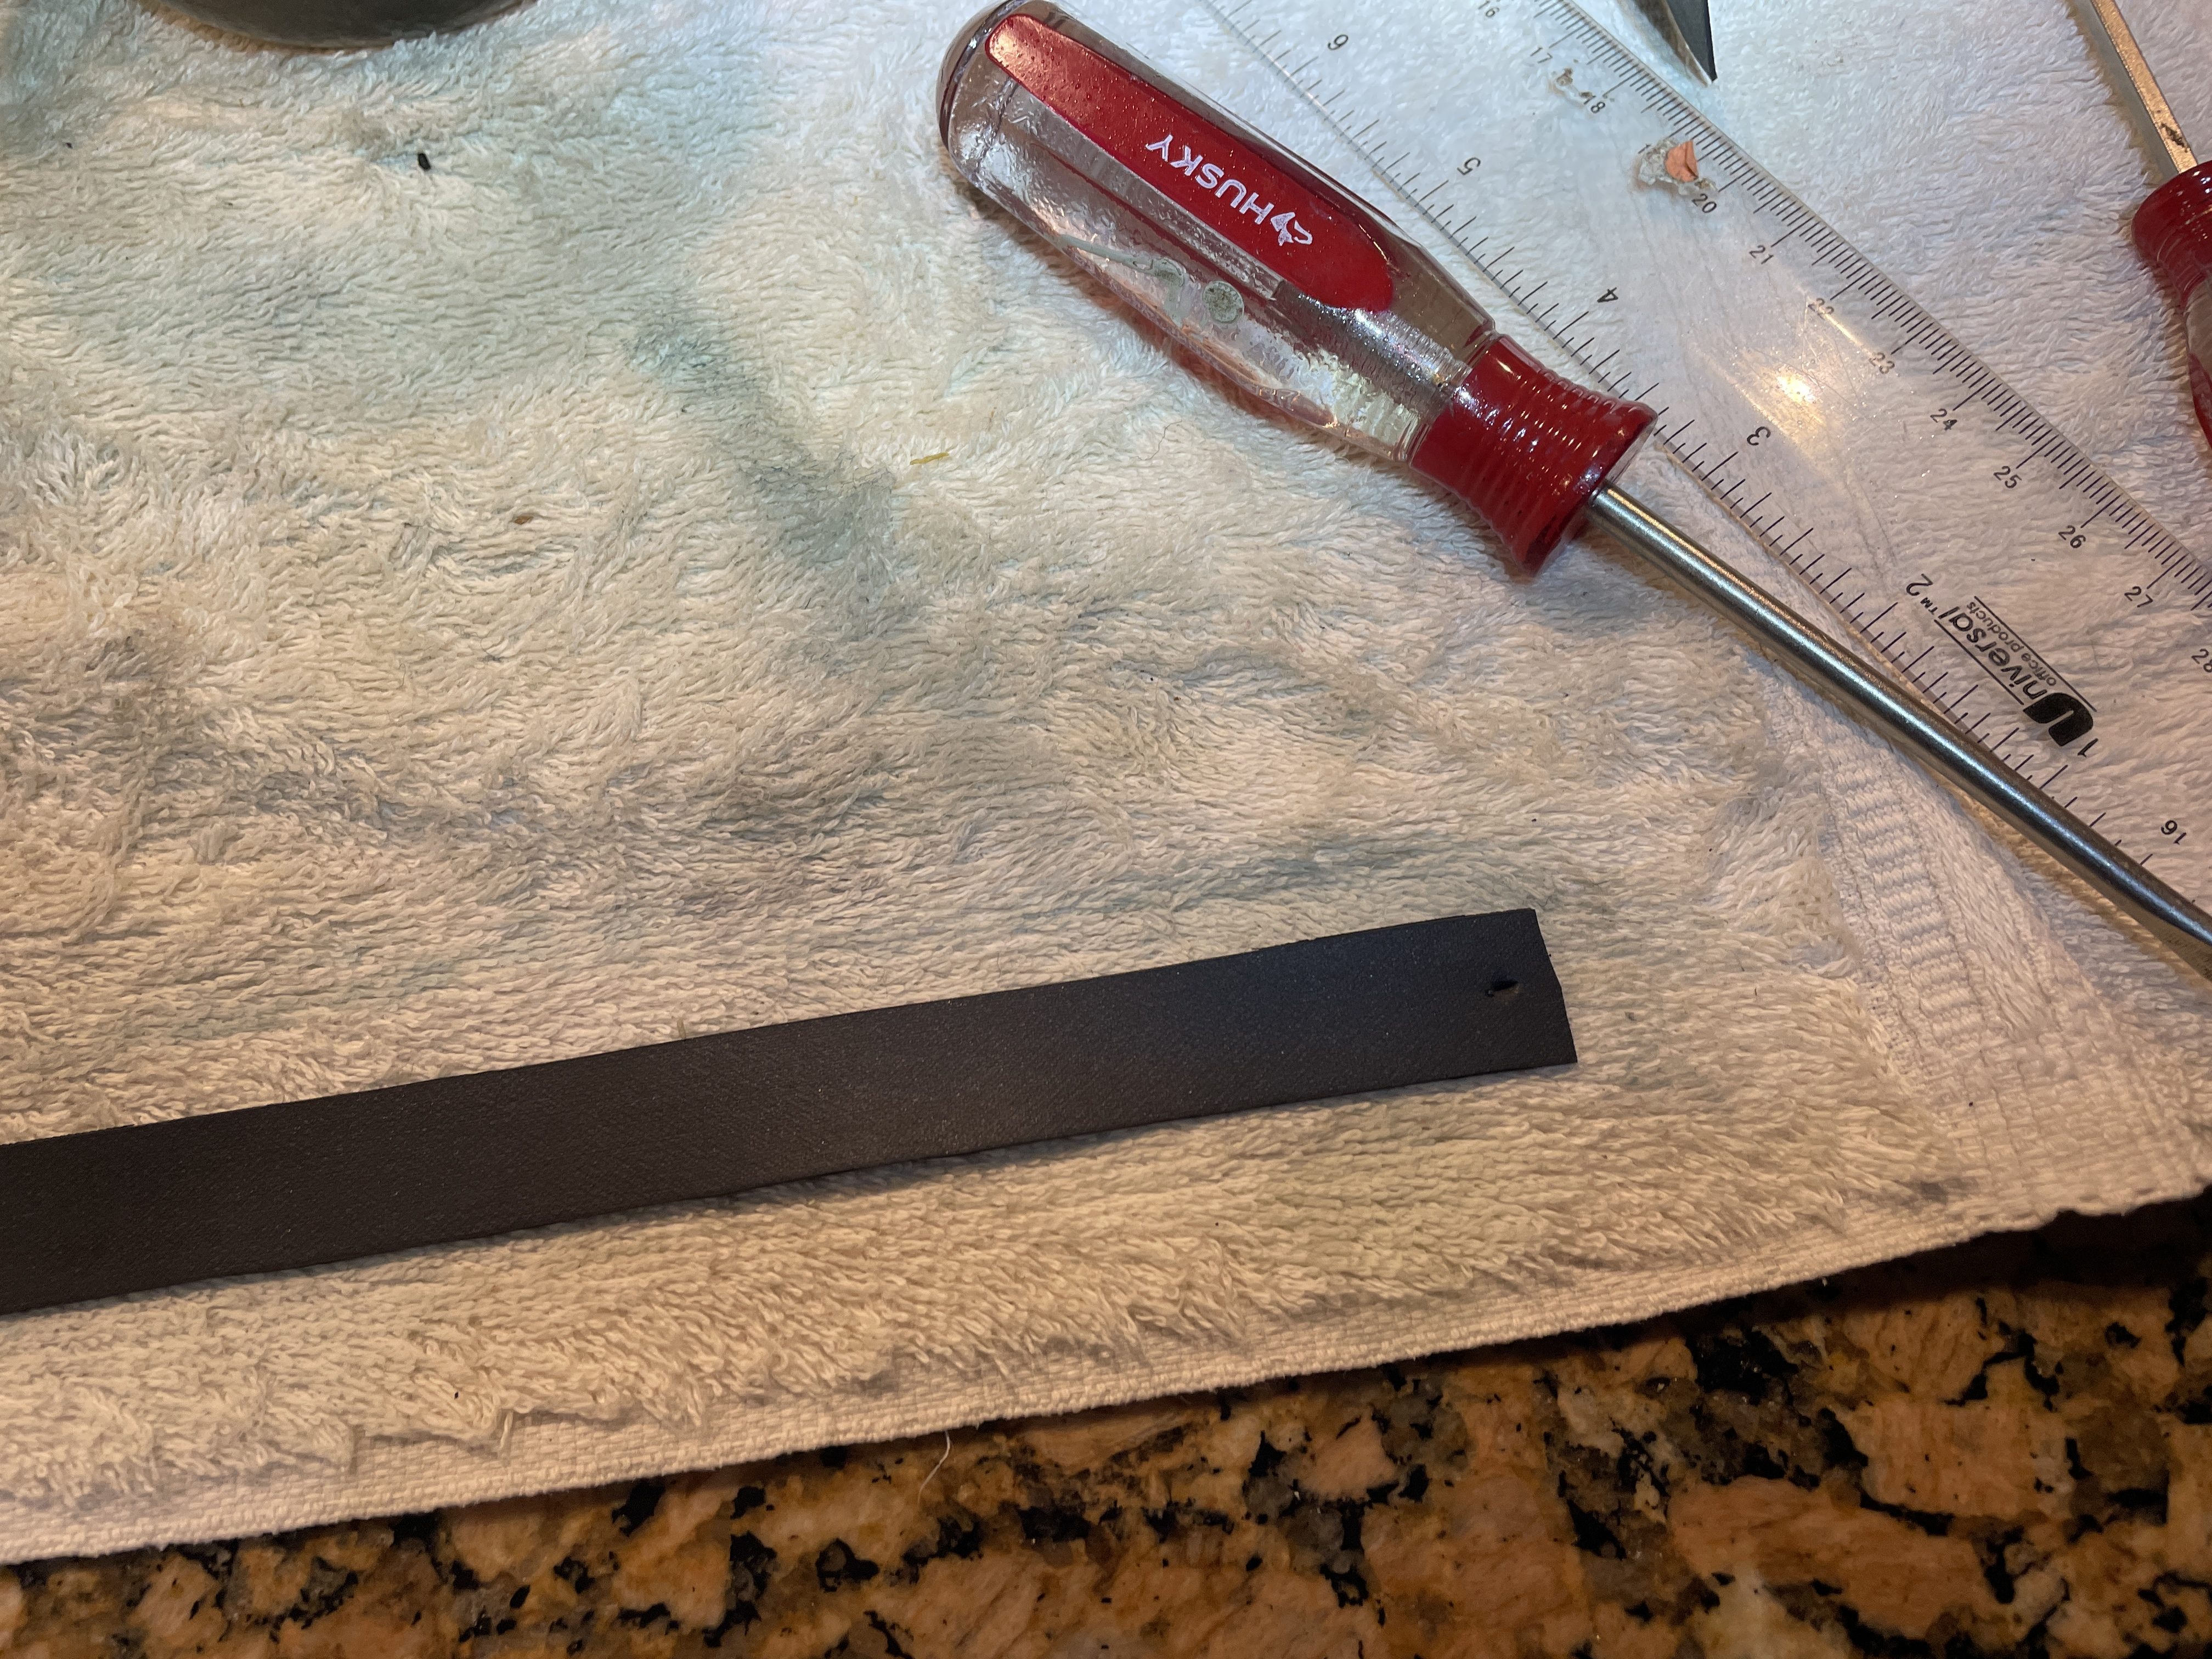
The Hammond came with a strip of rubber. I assume its previous owner had considered fabricating an impression strip from it. The impression strip protects the type shuttle from the impact of the hammer in the back. You need one when typing so that you that don’t damage your shuttle.
I punched holes in the rubber strip, and I’ll see if it works as an impression strip. I’ll probably reinforce the ends to prevent sag. You can buy Hammond impression strips on eBay, but I’ll work with what I have here.
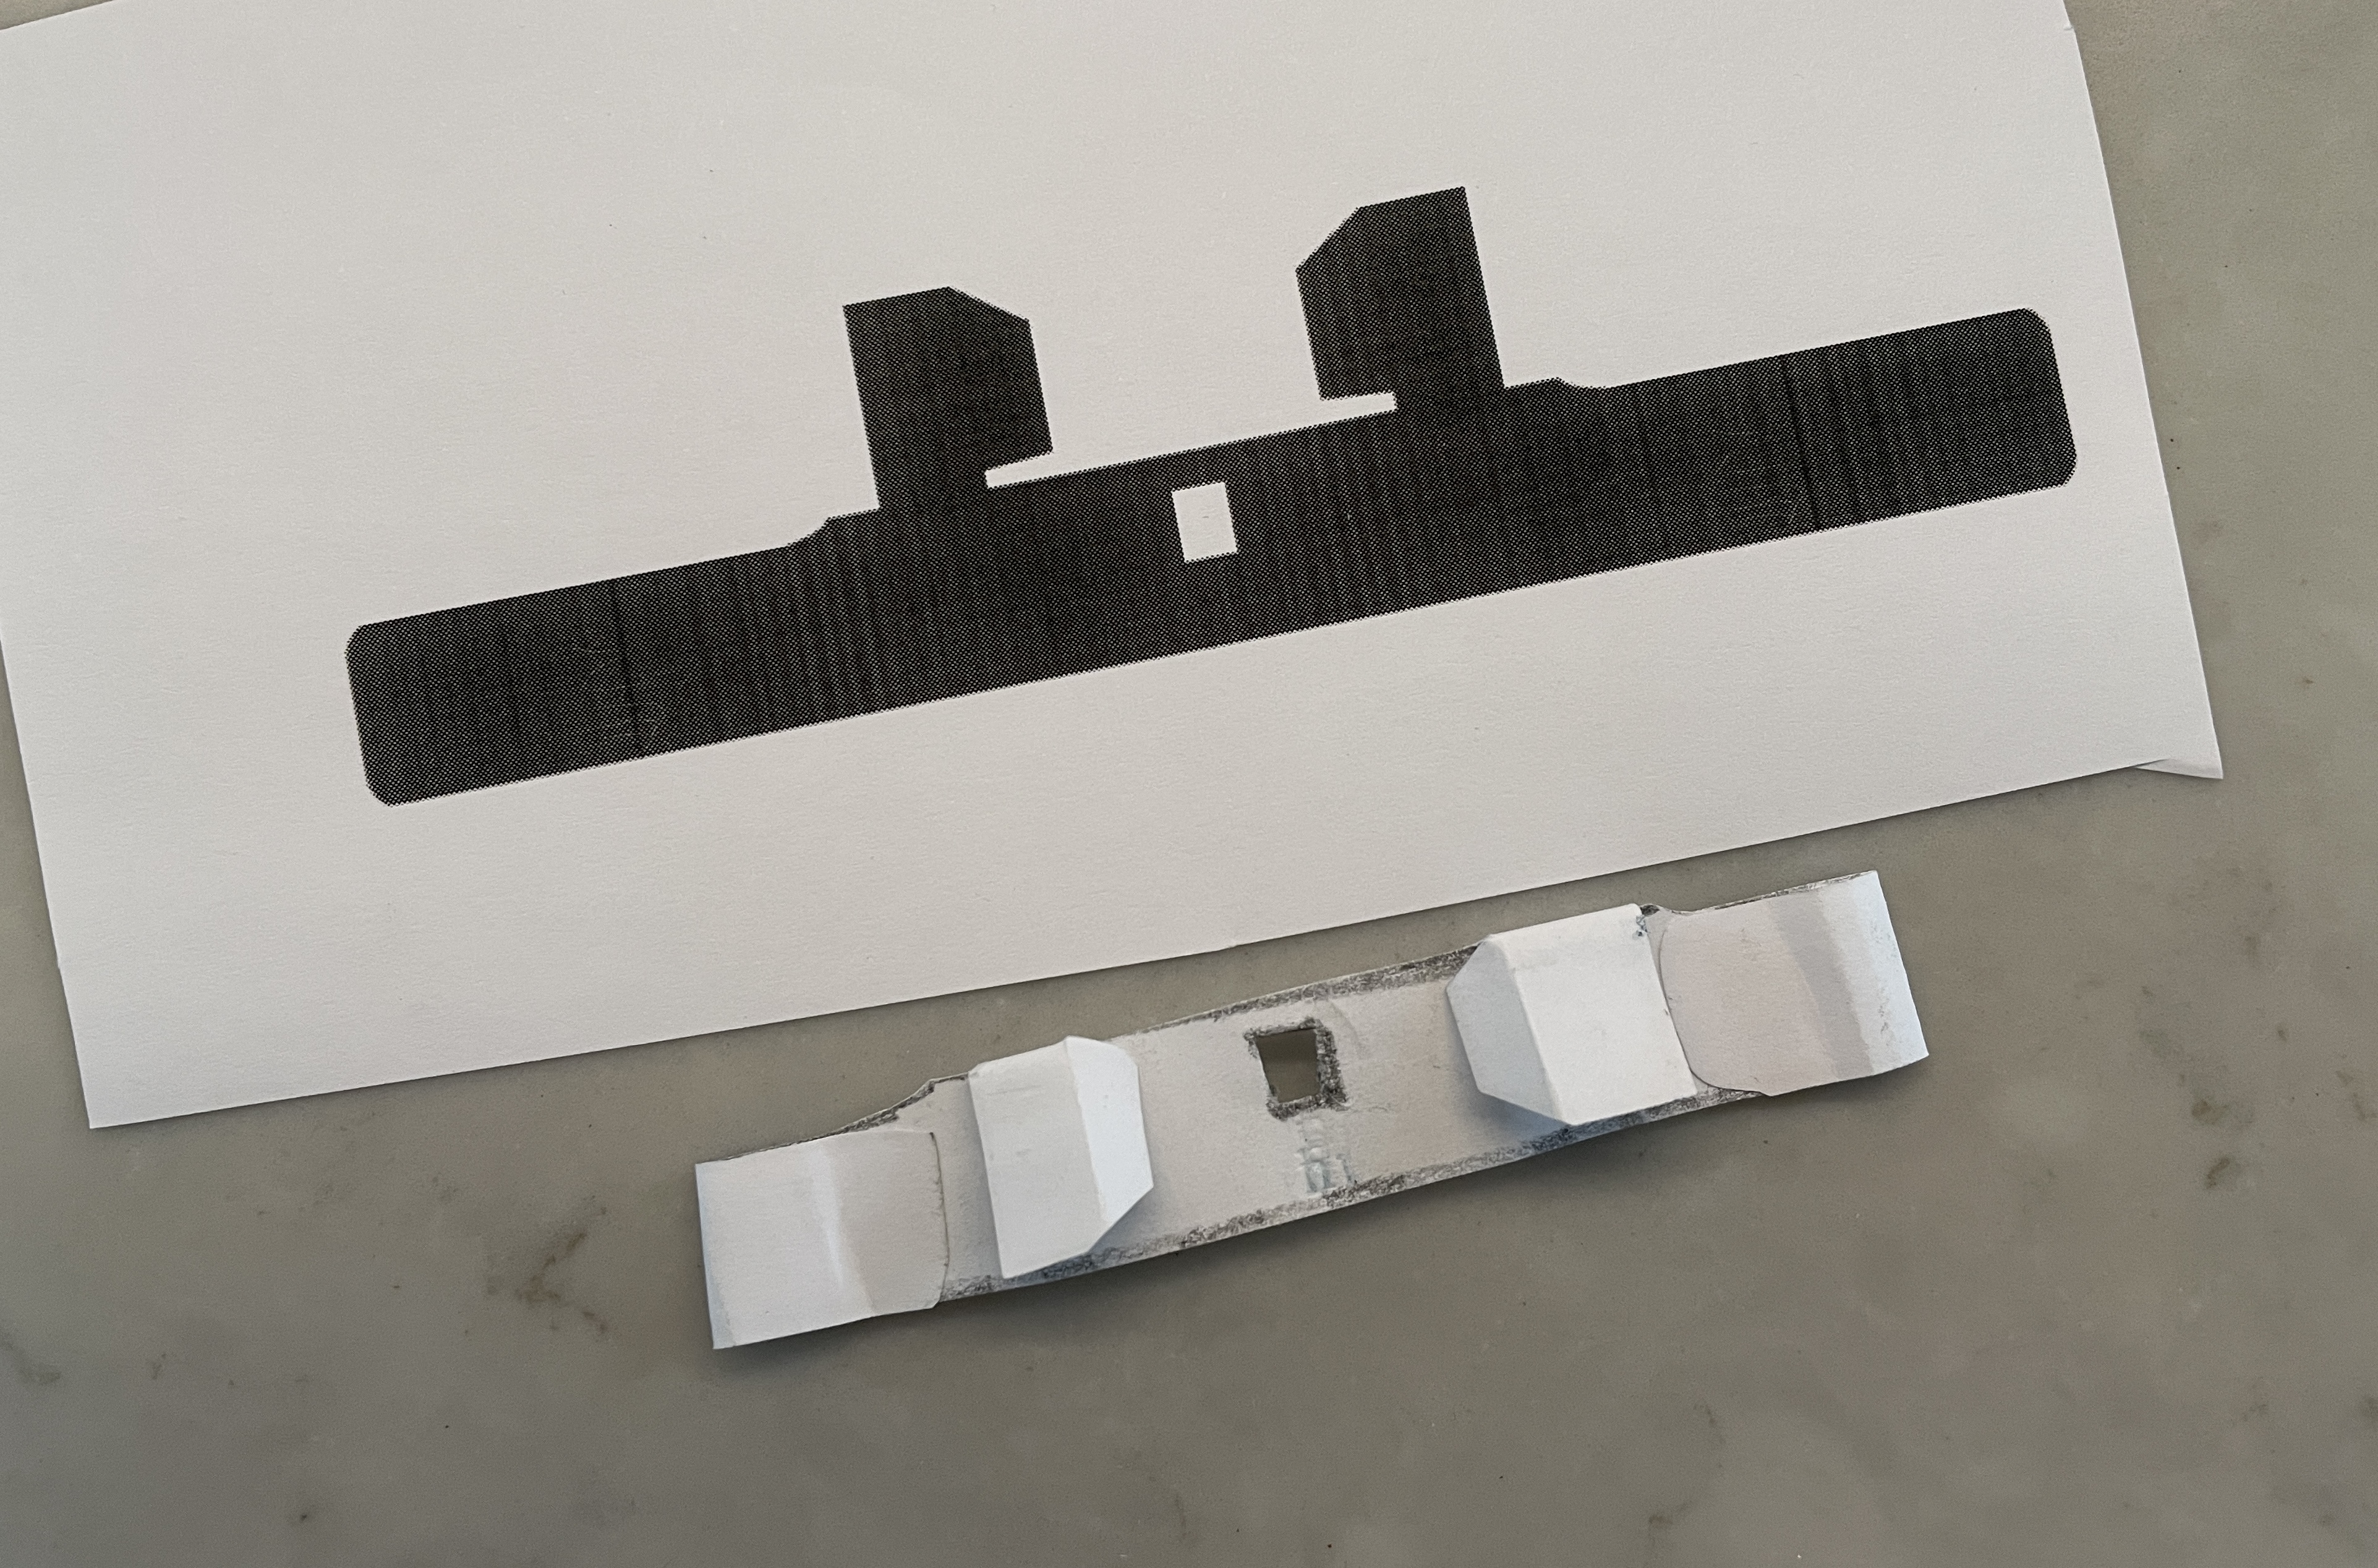
I noticed that this Hammond is missing its ribbon shield. The ribbon shield is a thin piece of metal that sits between the ribbon and paper and prevents ink smearing all over the paper. Here’s a snapshot of a ribbon shield for a Hammond No. 2 from the Hammond Folding Multiplex manual that’s in Richard Polt’s manuals archive.
Here are some examples of ribbon shields and impression strips that others have fabricated:
- Backspace does not erase’s ribbon shield fabrication
- Backspace does not erase’s impression strip fabrication
- In Mechanica Antiqua’s ribbon shield fabrication
- Facebook Antique Typewriter Maintenance Group post regarding ribbon shield fabrication
- ETCetera Magazine No. 127 Winter 2019/2020 “Creating New Hammond Ribbon Shields”
I am testing paper prototypes for size and I am almost there:
The video below from Haelscheir’s Haven describes how to make both the ribbon shield and the impression strip.
Which brings me to ribbons. Hammonds don’t use standard size 1/2″ ribbons. I’ll need to get a 7/16″ ribbon and Ribbons Unlimited sells them.
I dabbed a little mineral spirits on the parts in the shuttle/anvil area until the shuttle guard went boing-boing-boing when the finger plate was pressed. I was finally able to rotate the shuttle arm into correct position.

I know this isn’t mission-critical, but the broken paper rest bothered me.
I was able to get one from Greg of The Antikey Chop. He had a paper rest from a Hammond No. 1 for sale (it’s identical to a No. 2’s) in the Antikey Chop eBay store.

I also bought a Hammond No. 2 Repair Manual reproduction from Greg. It should get here a little later in the week and may shed some light on adjustments.
I did some light cleaning in the escapement area, screwed in the mainspring key assembly, and reattached the hammer spring and what I think is the winder stop.

I was able get the machine to work if I pulled on the carriage. Unfortunately, I couldn’t get any tension in the mainspring. It just made a wistful twang when I moved the carriage back and forth.
I reached out to a local Hammond expert, and I got lots of enthusiastic support in my task of getting this working again. He helped me figure it out. I had made the mistake of screwing the winding key assembly snug against the machine’s back frame which meant the spring was completely unwound.
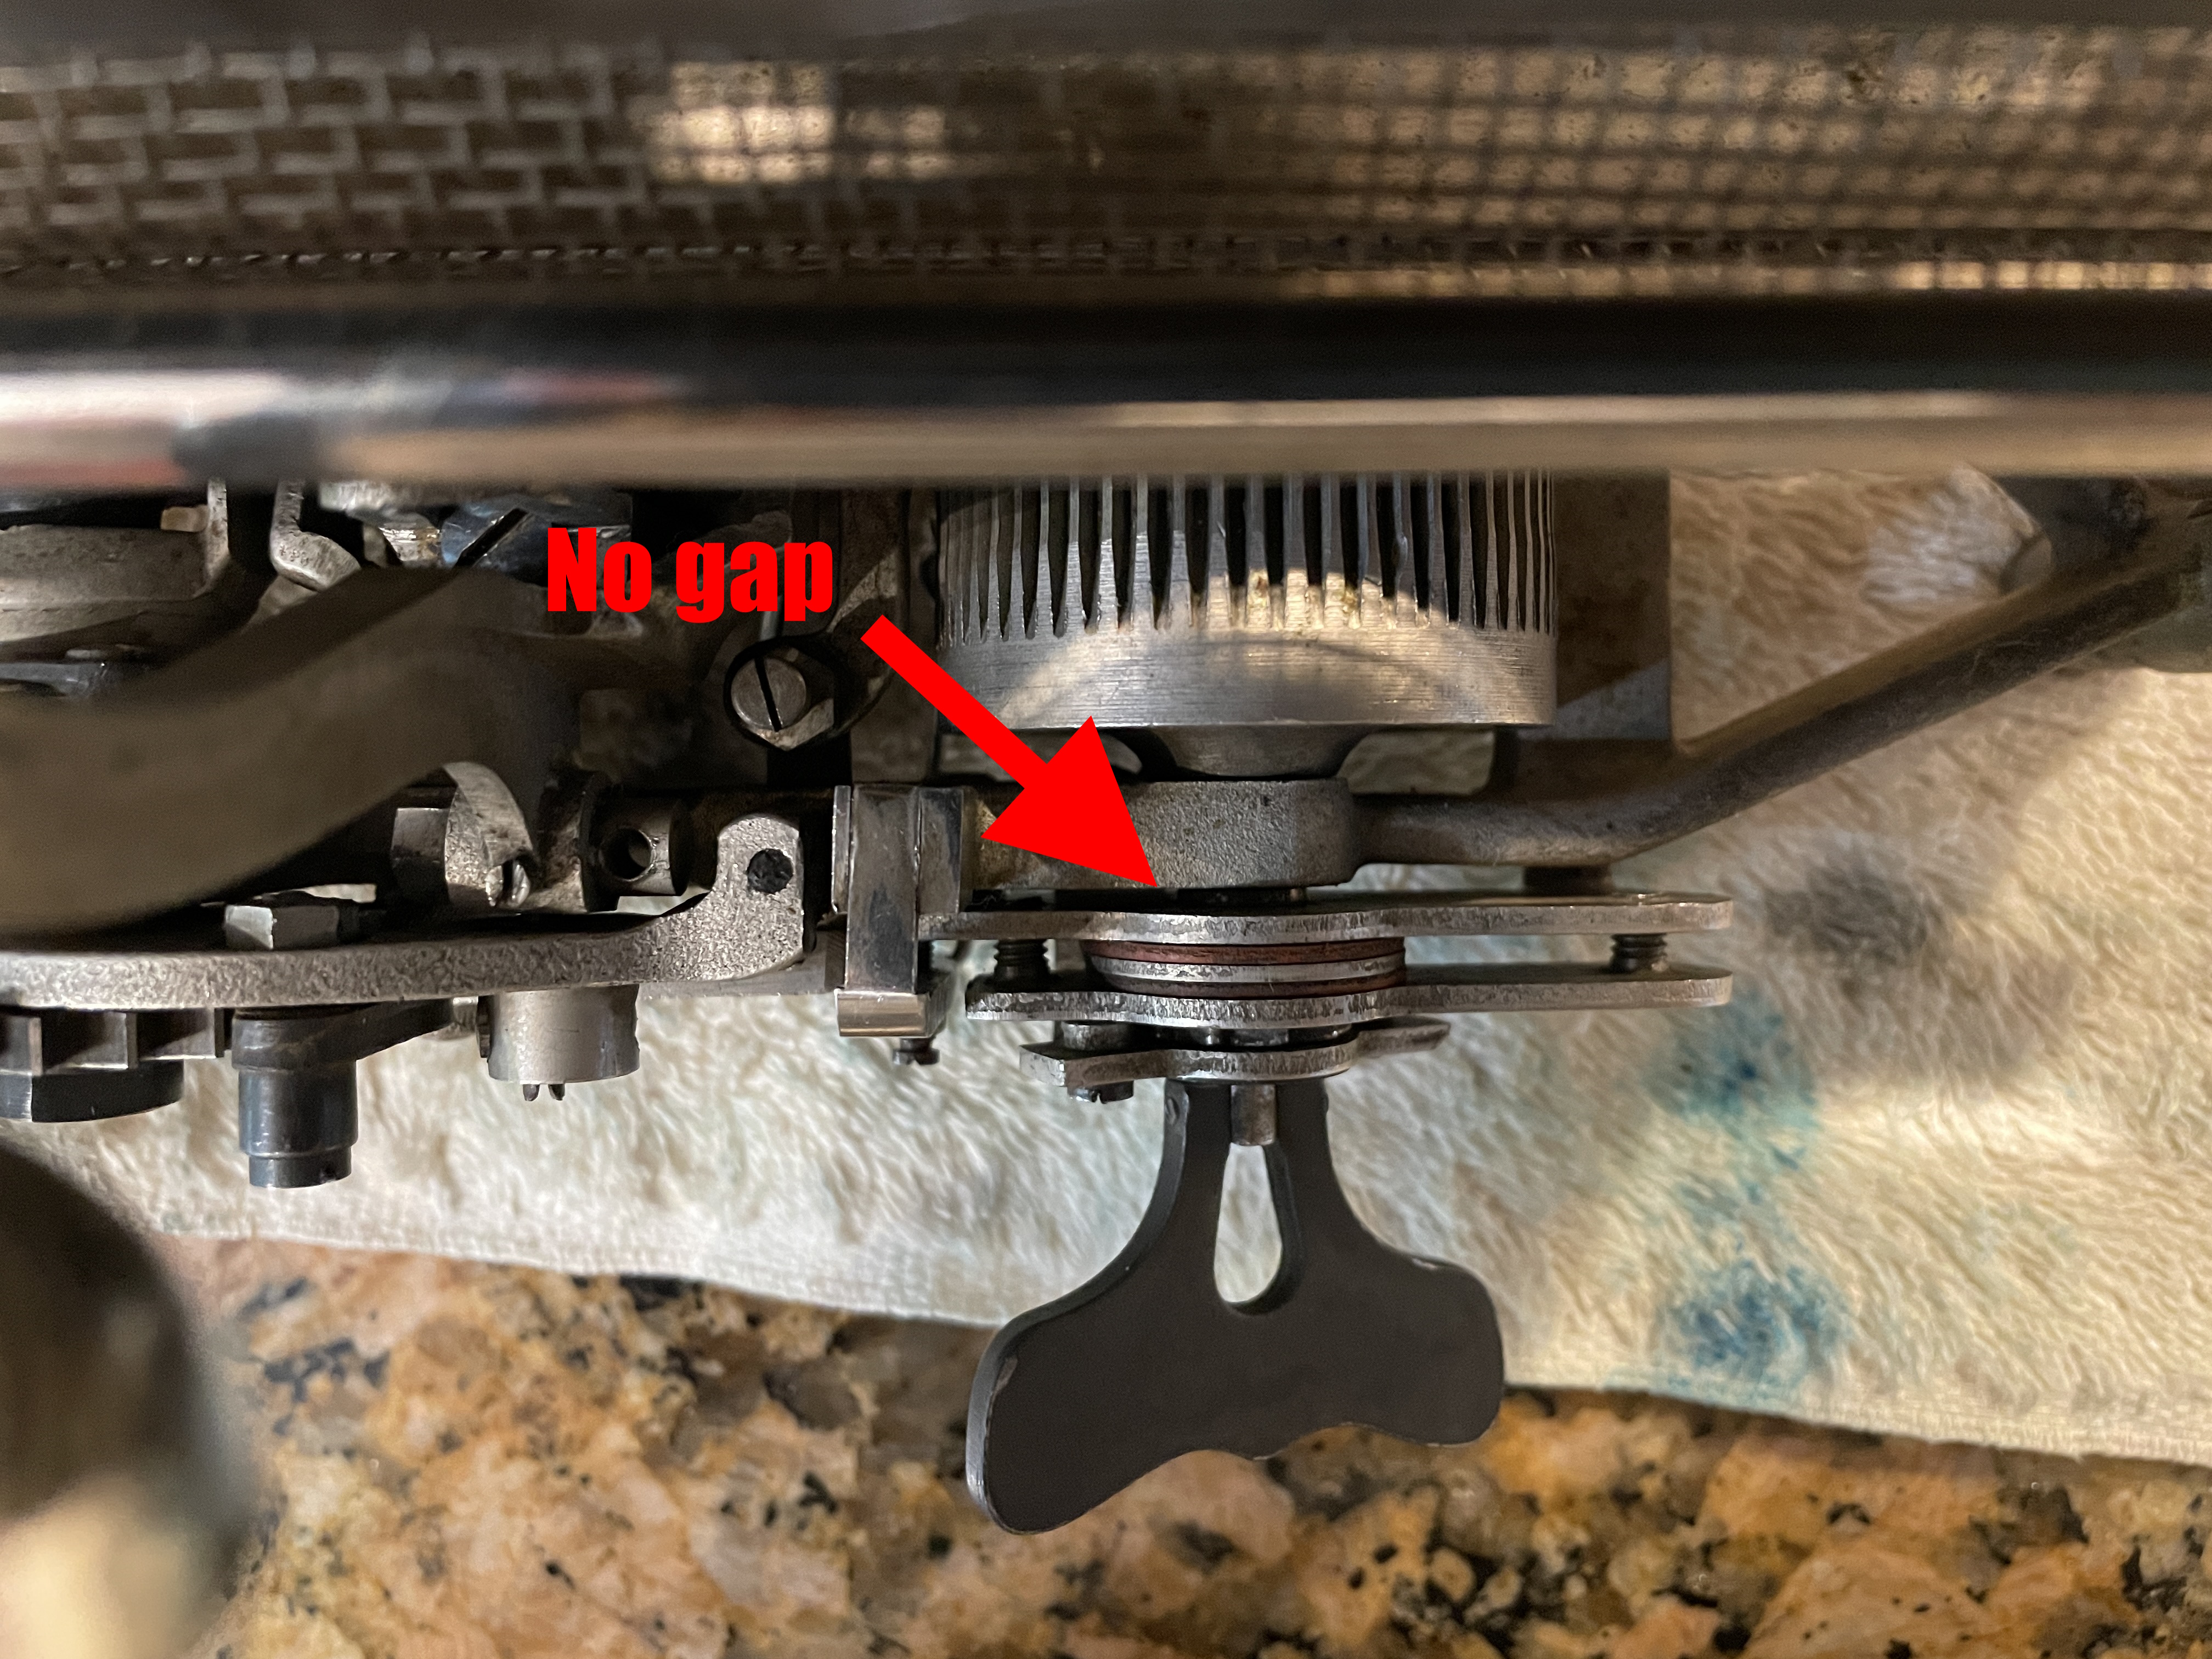
I removed the winder stop and backed the key assembly out so that I could wind the spring. Once wound, the carriage began to move with typing.

I wound the mainspring very tightly. Though I didn’t have the winder stop secured yet, I found that the springed tooth in the winding assembly will hold your spring tension.

It’s working. Sort of. It spaces fine but the hammer most often fails to return to rest after typing characters, so I may need to make some adjustments to the mainspring and/or hammer spring tension. Also, though I did a cleaning sweep, there may be some residual gumminess at hammer pivot points.
In addition, I need to fabricate the non-durable parts that have disappeared or disintegrated: the impression strip, ribbon shield, feet.
I’ll 3D print prototypes of feet to check sizing.

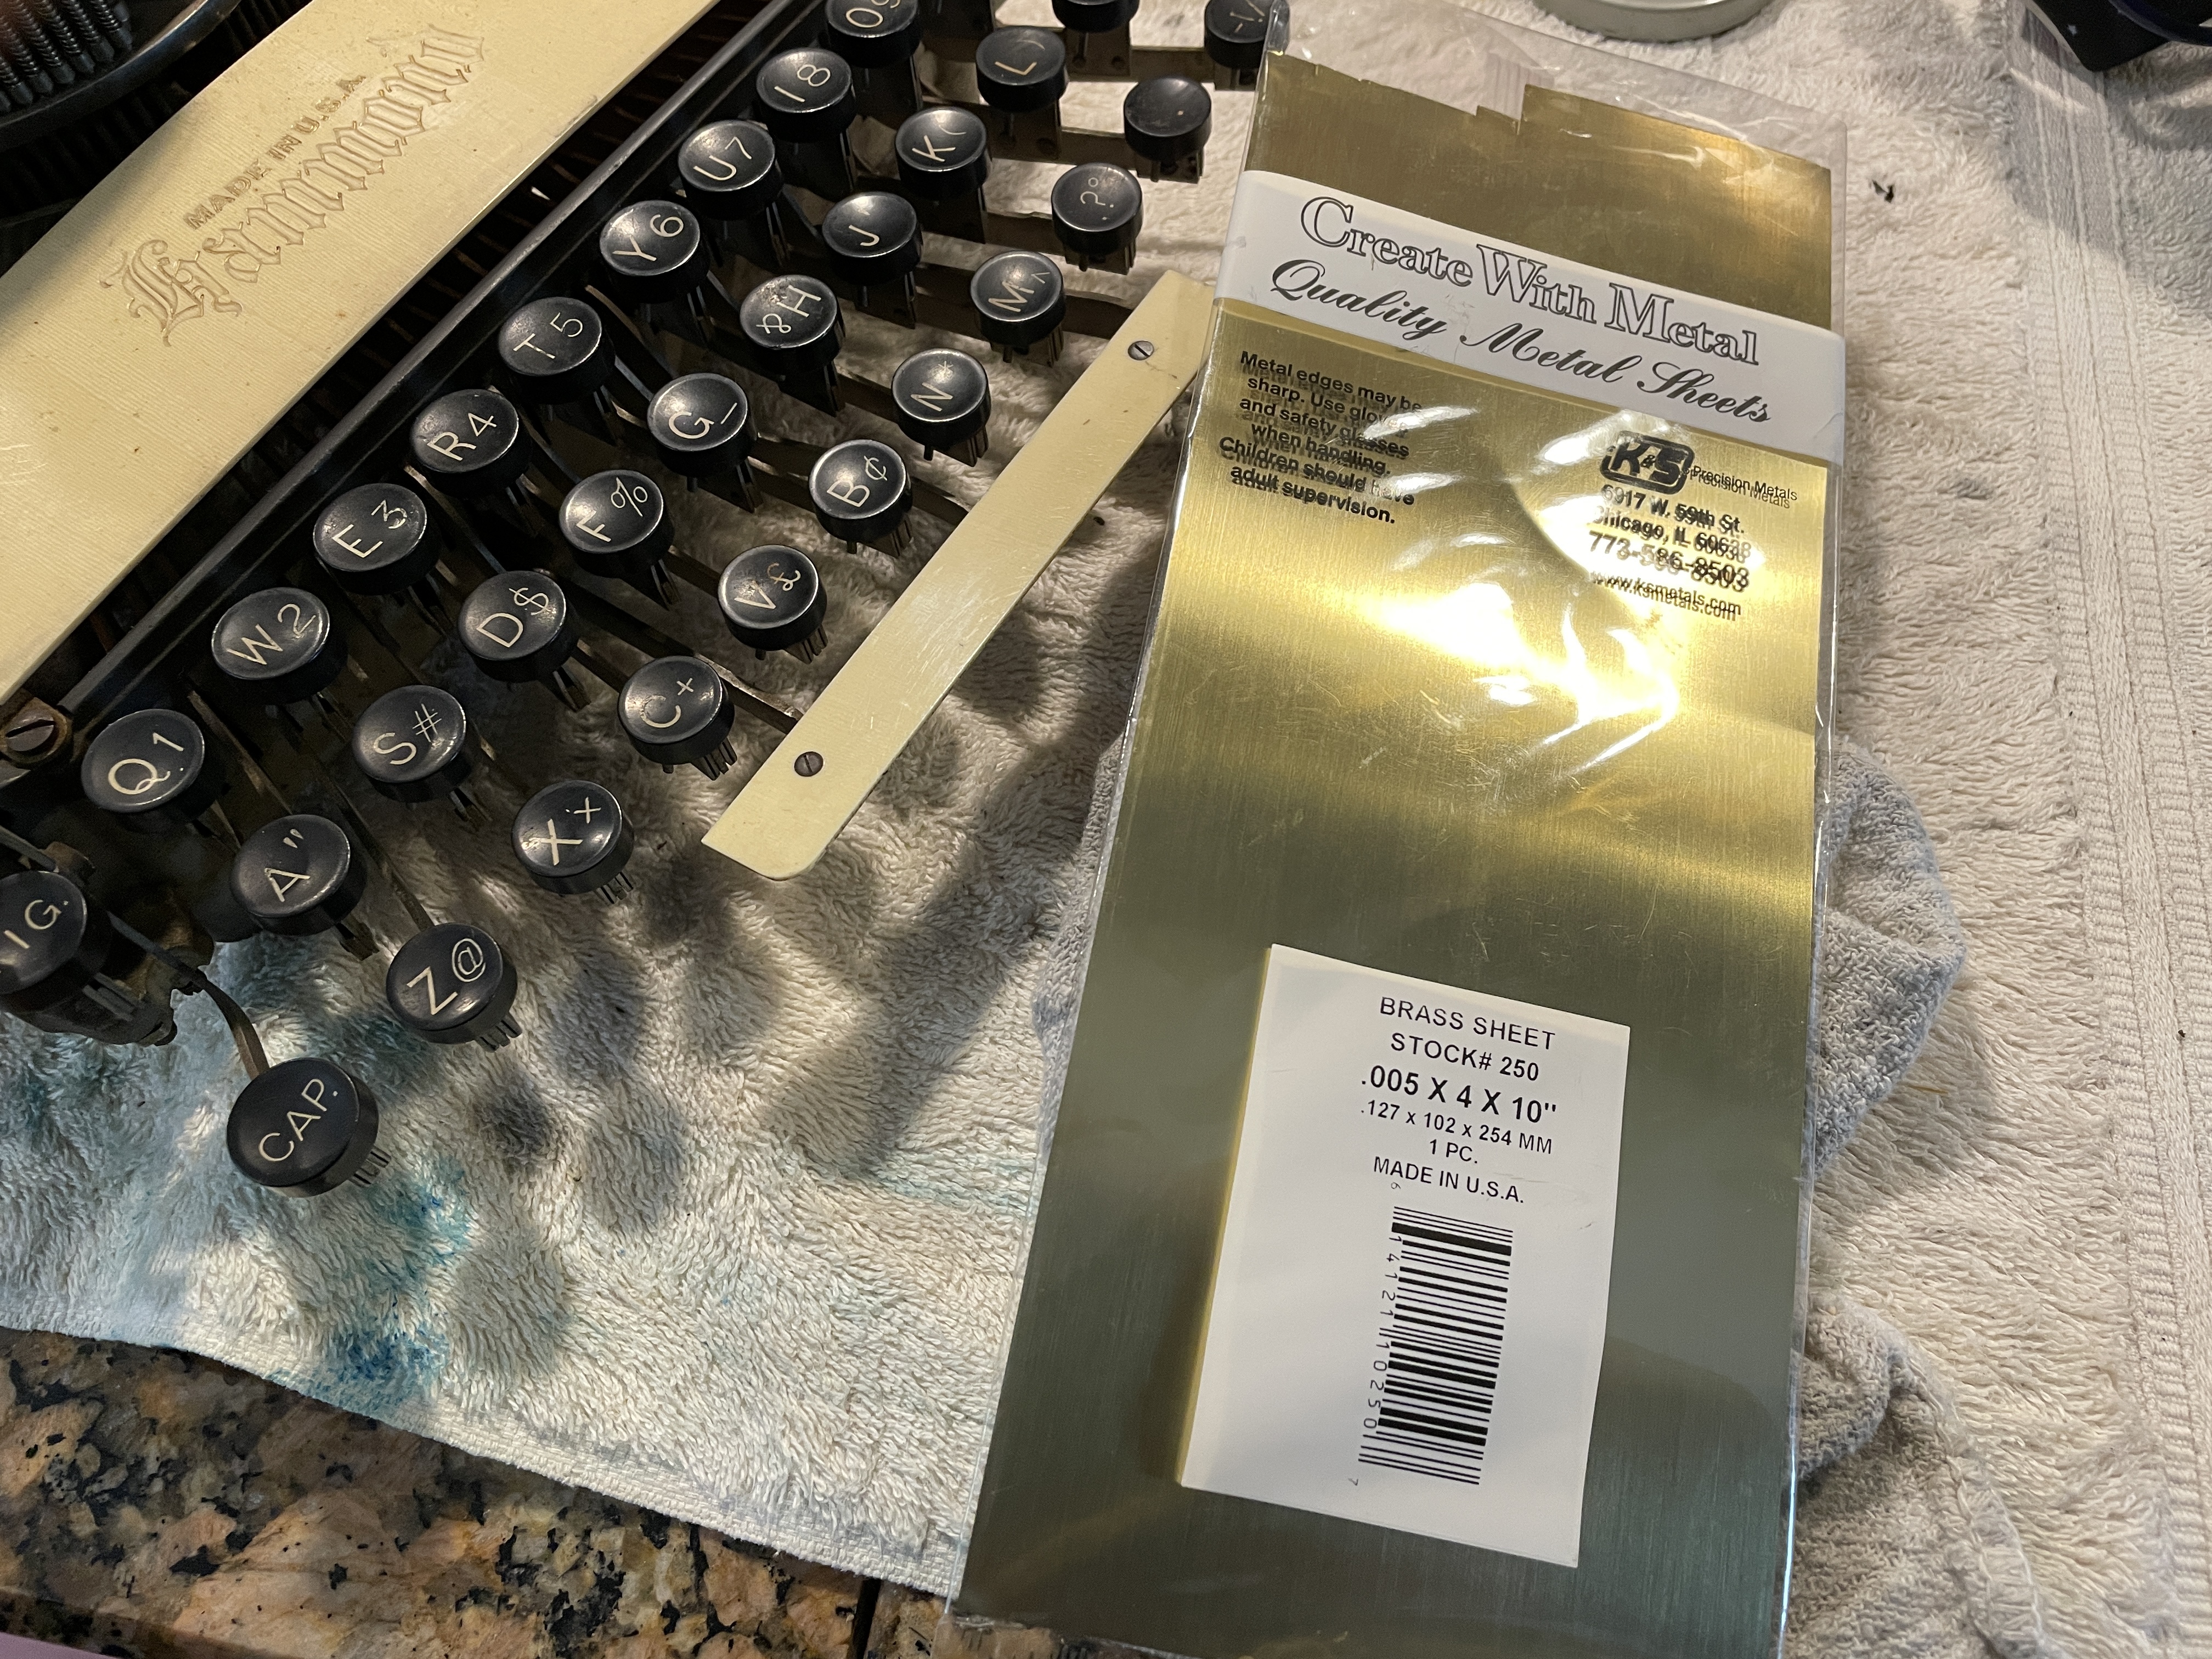
I have some .005 brass sheeting that I bought for type slug soldering shims. That will make a pretty ribbon shield though it may turn green with moisture from the ribbon.
This little oddity is full of interesting projects and revelations. However, I have to put this Hammond aside for a while. I have a New Project out in California that is calling to me. See you when I return, Weirdie!
I flew into California and evaluated the New Project. It is beautiful, but it will need some work. I’m here to give my son and daughter-in-law a full month of unsolicited project advice.

What a weird and unsettling sensation: I am someone’s grandmother! I get the feeling it’s going to be a fun project.

New project seems like a long-term thing, better save up for spare parts! (:
Also, you may consider building the ribbon shield out of clear transparency plastic sheets. I did that with my Varityper and it allows seeing what you type when you type it. (:
LikeLiked by 1 person
Clear plastic sheets sound like a great idea.
LikeLike
Interesting idea to use something different from metal for the shields!
LikeLike
What a huge and delightful project!
Being a grandma, that is. But the Hammond too.
LikeLike
Oh, are you gonna scan that ephemera? 😀
LikeLike
I’m in California for the next three weeks but when I’m back with the ephemera, I’ll run the items by you and we’ll determine what would be scan-worthy.
LikeLike
Looks like the New Project came along just in time, Mary, to give you a well deserved break from that “Weird Hammond” (lol). Safe travels, and have fun in California 🙂
LikeLike
Thanks, Michael. The Hammond is such an interesting project. I am committed to getting it fully functional.
LikeLiked by 1 person