Over the holidays, I sent DePiglio the Underwood 5 away to a nice farm in the country—er, I mean, to my brother-in-law’s office in Rhode Island.
Underwood No. 5


Catch and Release
Some time ago, I was on the phone with one of my sisters, chatting about death—as one does—and the huge piles of accumulated STUFF people usually leave behind.

Platens, Writers, Readers, and Livers
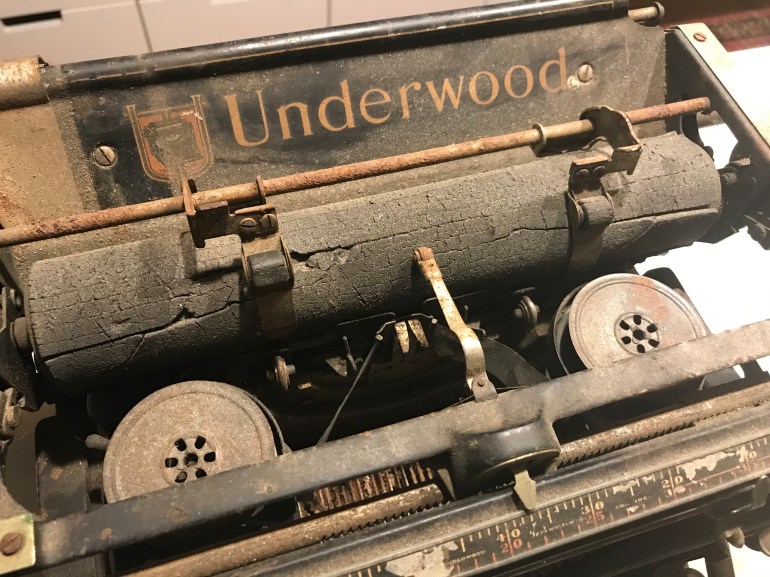
I’ve been getting some questions about platen recovering recently. Last year, I recovered a Remington Portable #2 platen and an Underwood 5 platen that were in sorry shape. In their cracked condition, the bad platens made the typewriters unusable. I thought: well, what’s the worst I can do?
Don’t Fear the Junker
We interrupt this typewriter blog post for an important public service announcement:

The Underwood Five
Sonny Boy was home briefly from college.

Recalled to Life
As I prepared Quin’s Underwood 5 for its return to Modesto, I finished the last items on my to do list. I used a lot of penetrating oil on this typewriter, so I needed to flush out the sticky oil before it started attracting dirt. I flushed everything with liberal amounts of mineral spirits and then gave the typewriter a final blast of air to clear out the steel wool fragments and rusty grit.

Underwood 5: Bit by Bit
I have been spending many happy days outside by the garage working on the Underwood 5 for the young writer, Quin. When I first got it, I had doused the machine in Liquid Wrench penetrating oil to loosen the rust. That horrible burning smell persisted for days and days – working in the fresh air was necessary. Fortunately the weather was warm and pleasant, and I cleaned and tinkered and listened to the neighborhood children play and the neighborhood dogs bark.

Modesto
A couple weeks ago, I got an email out of the blue from a young writer named Quin from Modesto. Quin had recently attended a writers’ conference and had run into another writer, Kirsten, who owns an Underwood 5 I had cleaned up some time ago. Remember this lovely 1915 Underwood 5?

One Hundred Years of Aptitude
It is not true that people stop pursuing dreams because they grow old, they grow old because they stop pursuing dreams.
–Gabriel García Márquez
