High Riding Ribbons, Royal Margins and a Small Quibble

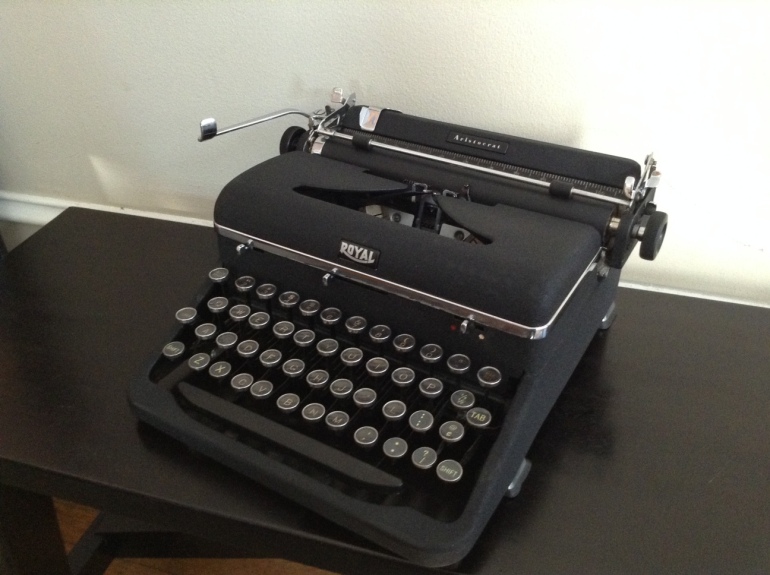
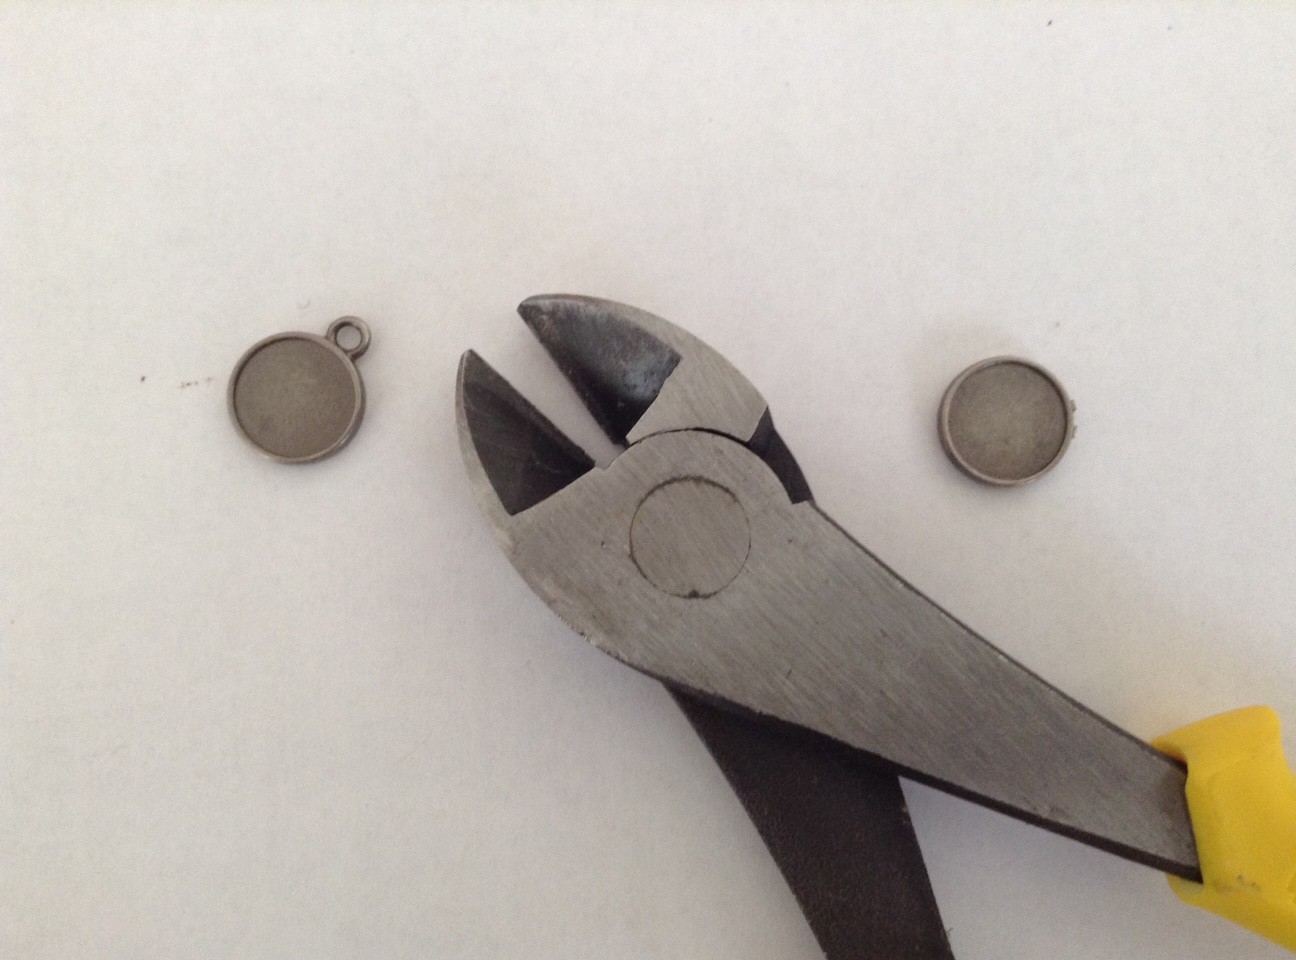
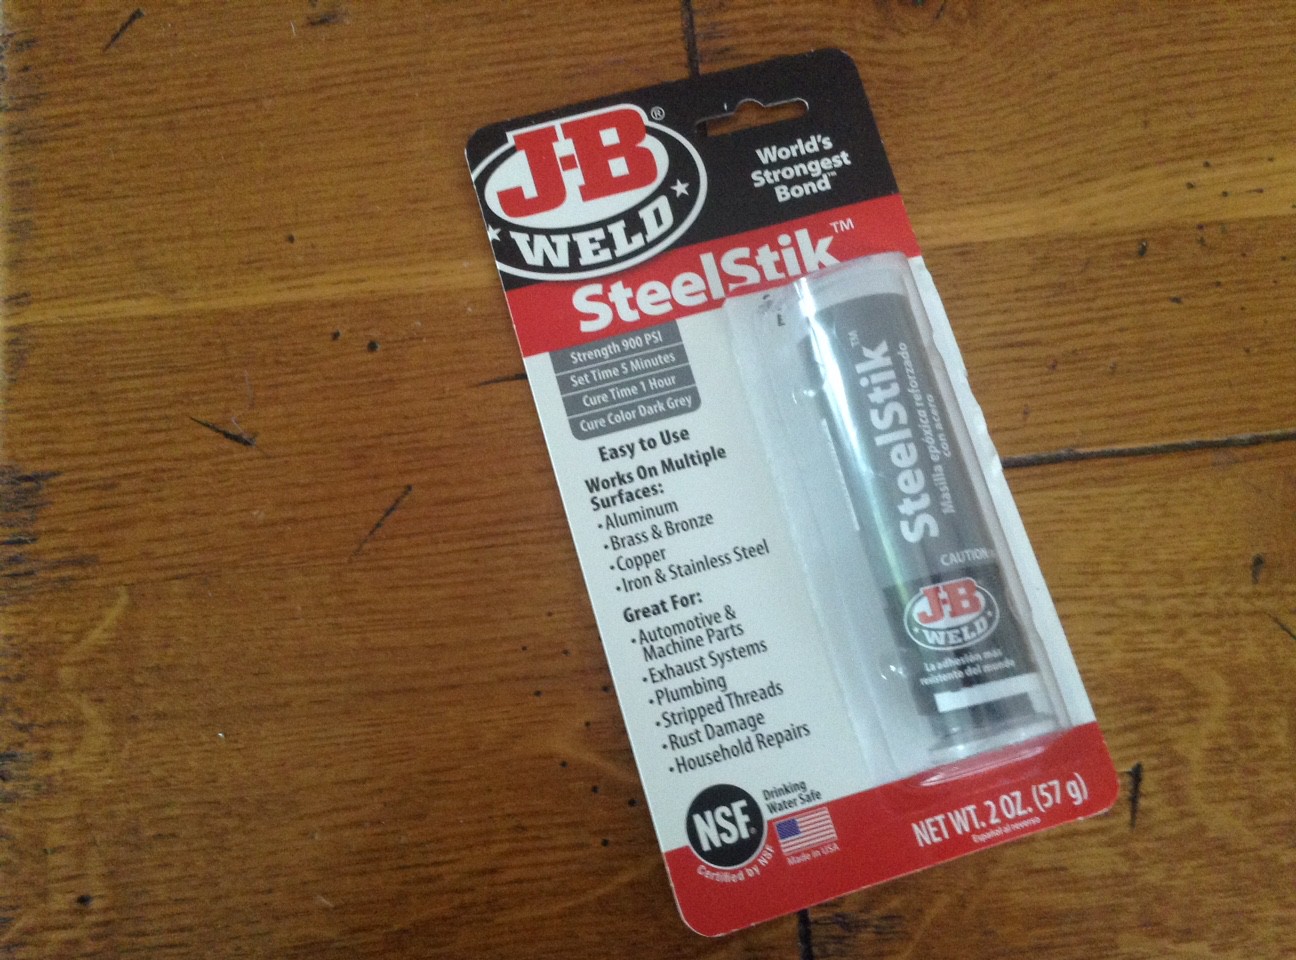
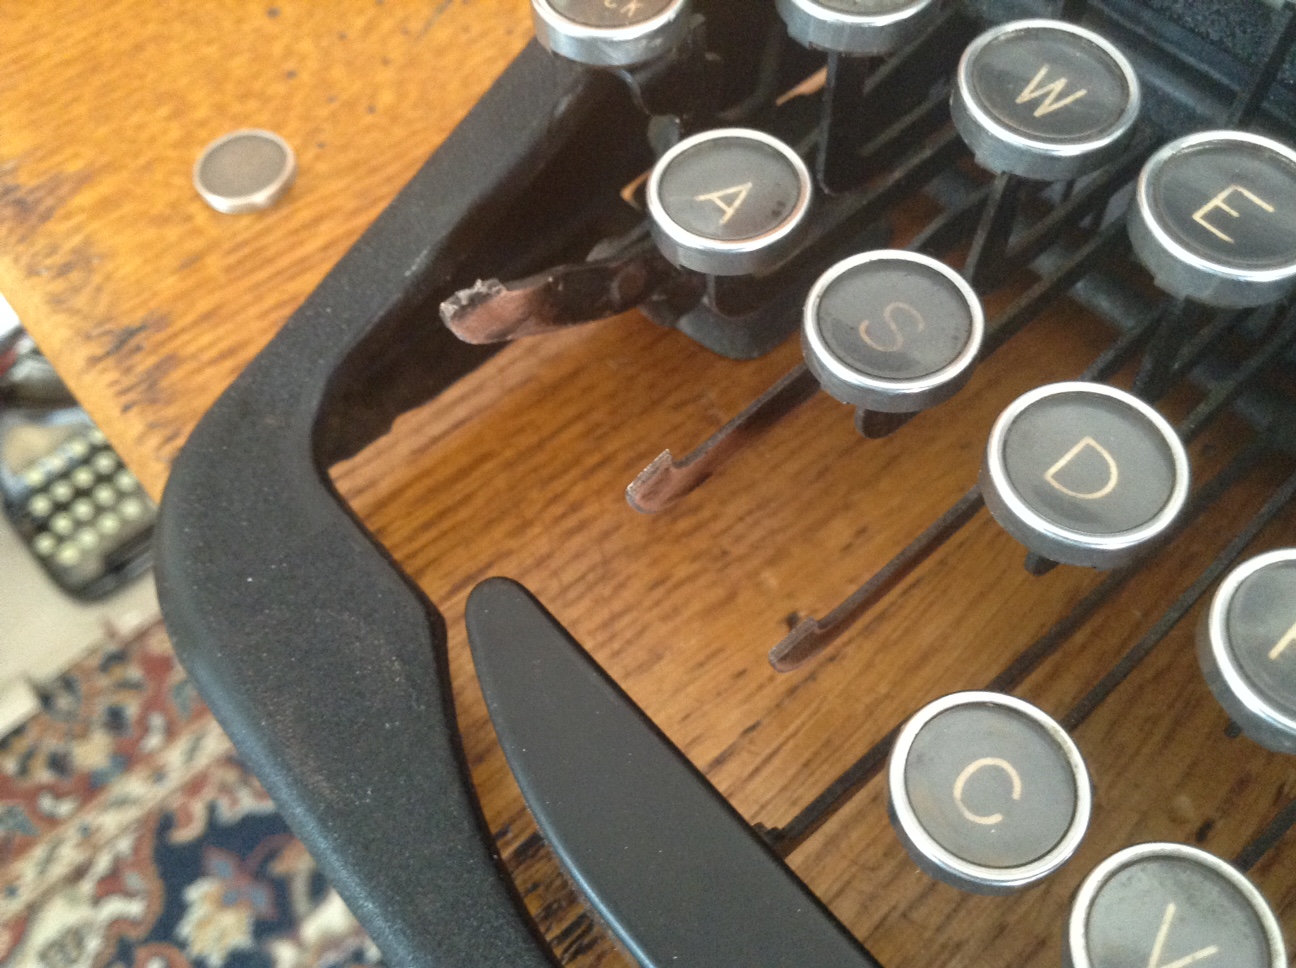
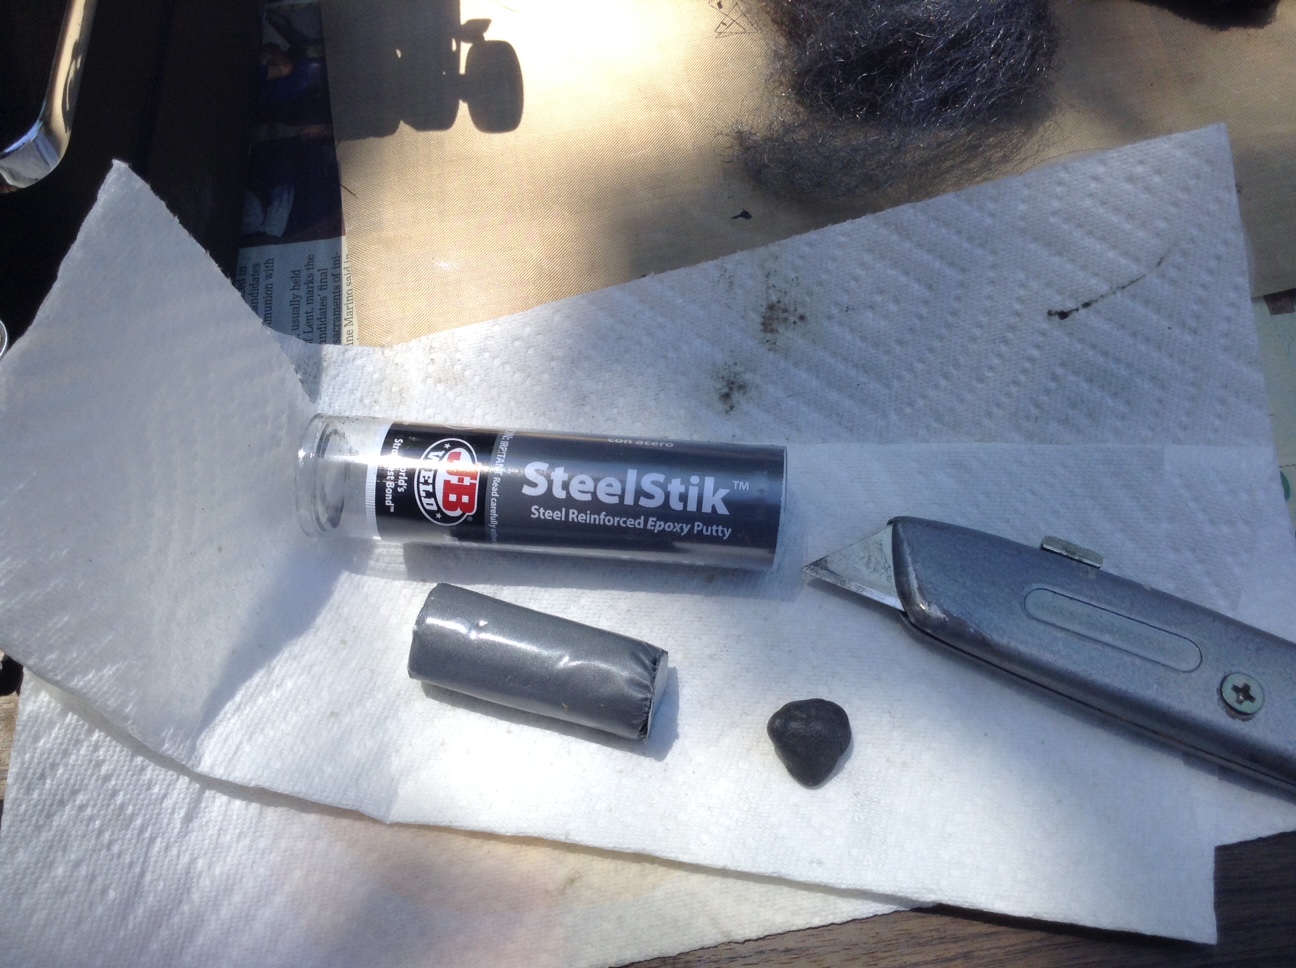
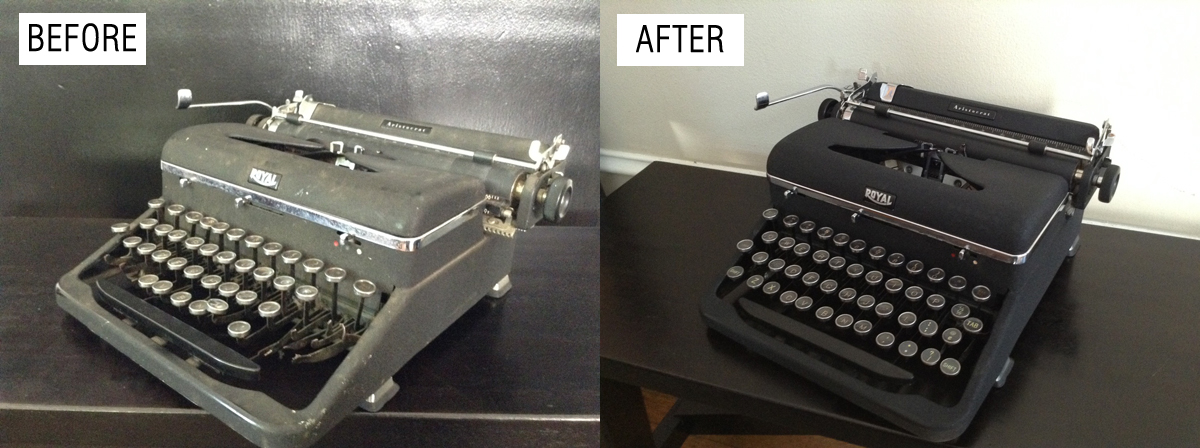
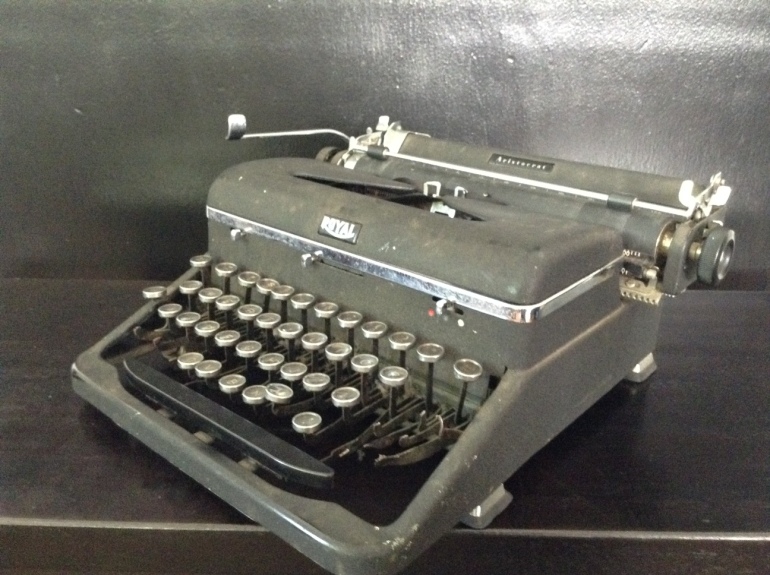
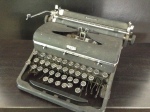
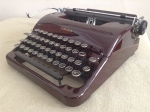
Lady Royal Aristocrat is looking a lot better after her key top reattachment surgery, and the J-B Weld Steelstik bonds are holding great after a few days of typing – I need to get some neighborhood kids to put her through her paces.

She’s looking good, but has/had a few lingering issues.

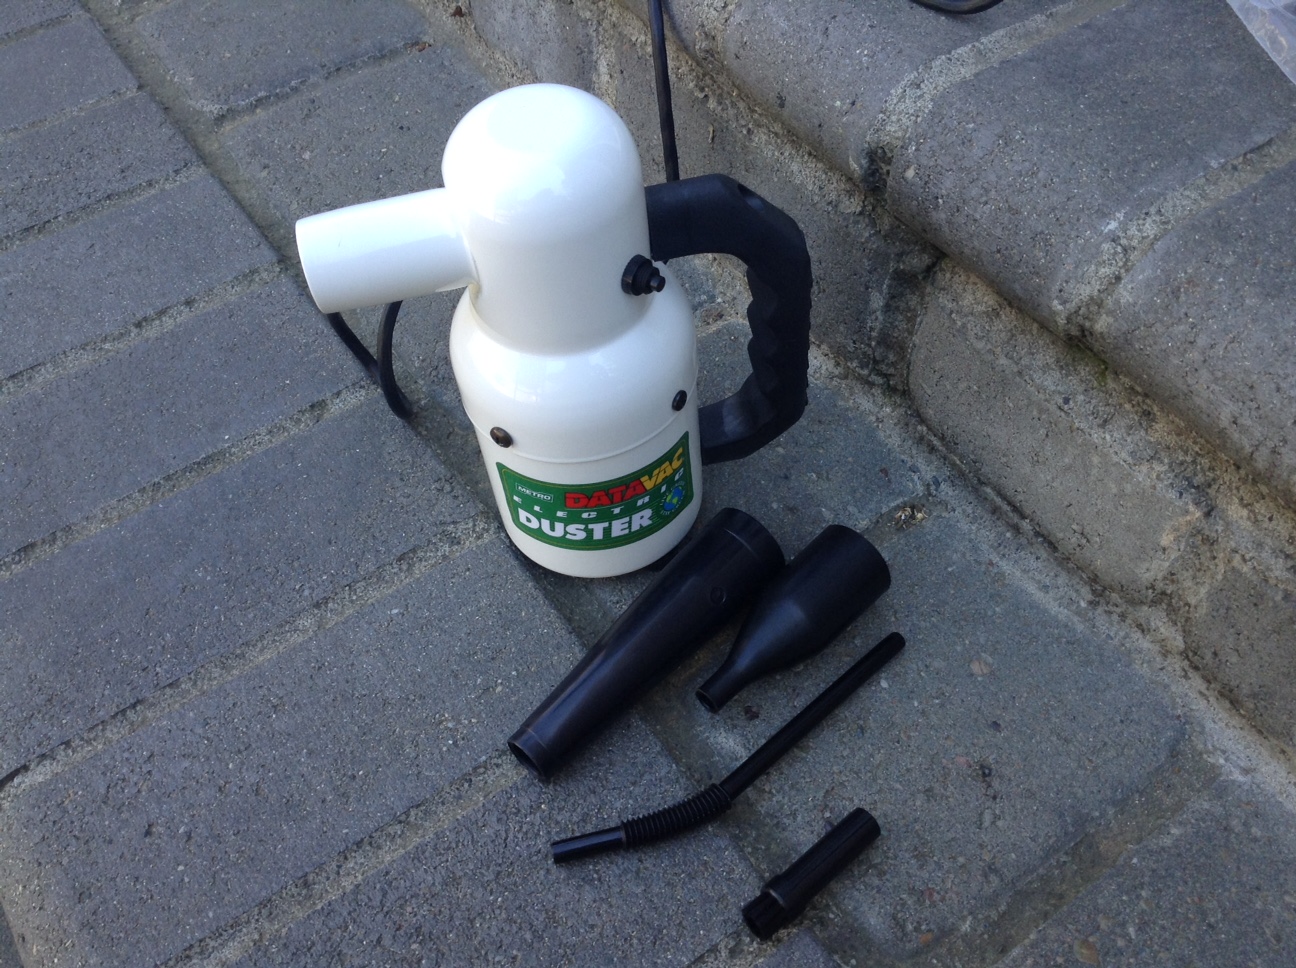
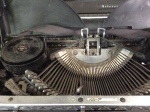
Sticky Ribbon Vibrator

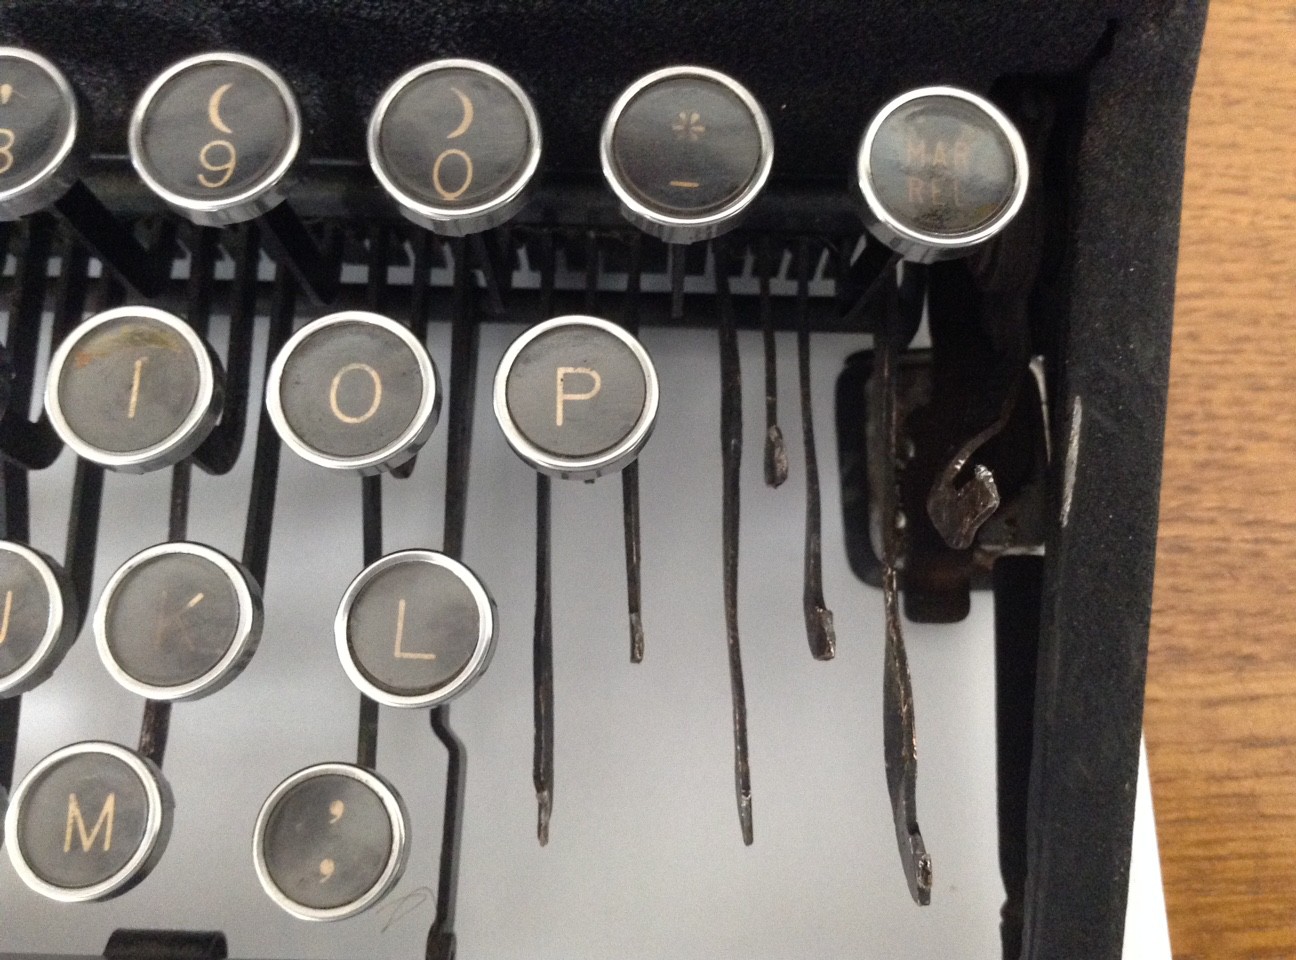
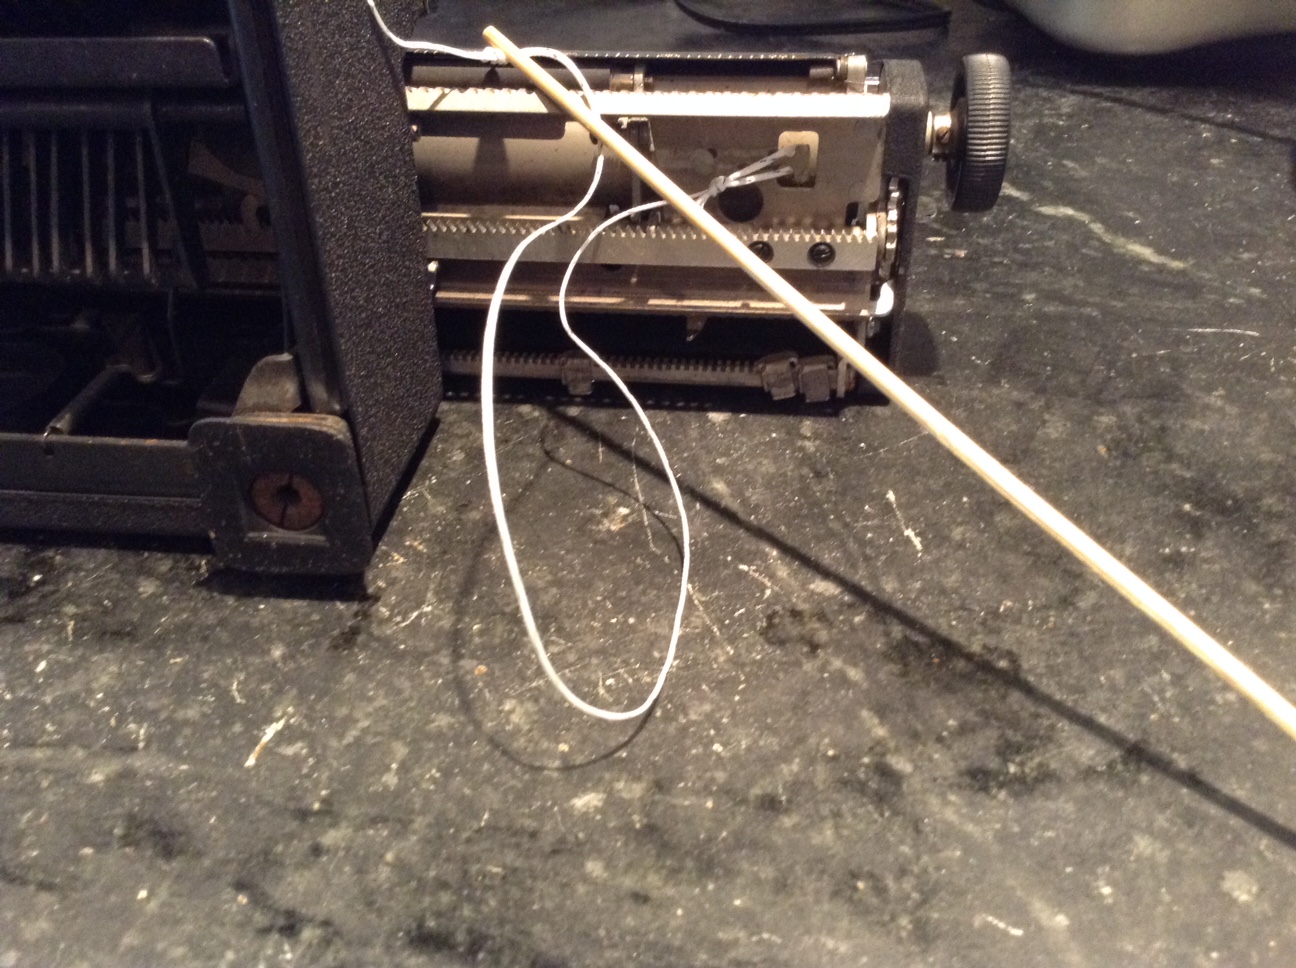
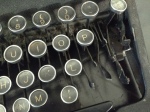
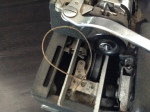
First off: I couldn’t see a thing as I typed because my ribbon carrier wasn’t returning to its lowest position with each stroke.  The ribbon hid all the typed text.

IMG_3896

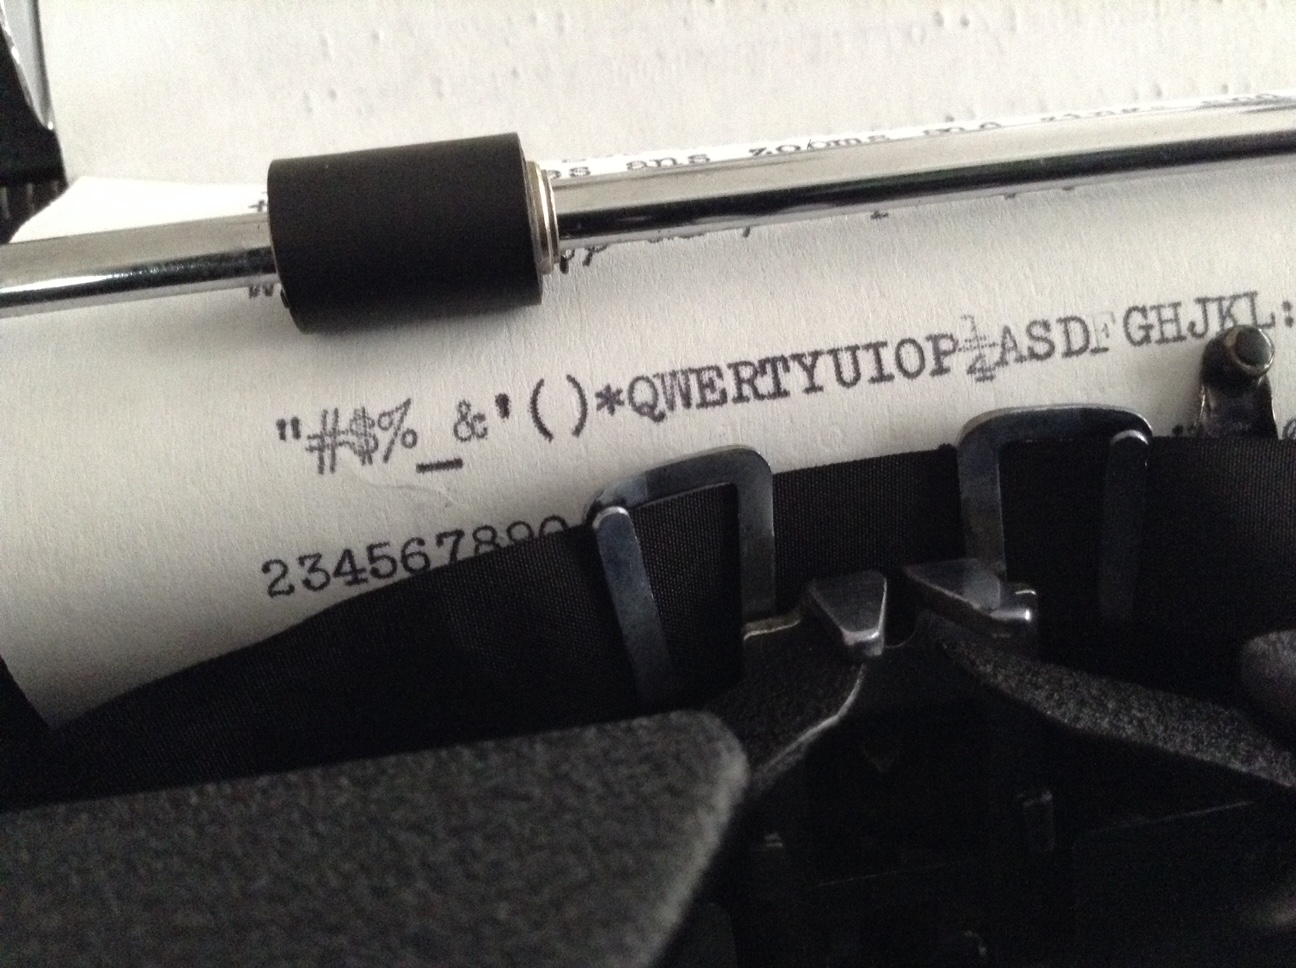
What did I just type?

My online research indicated that the sticky ribbon vibrator problem was probably due to either dirt or binding or both.

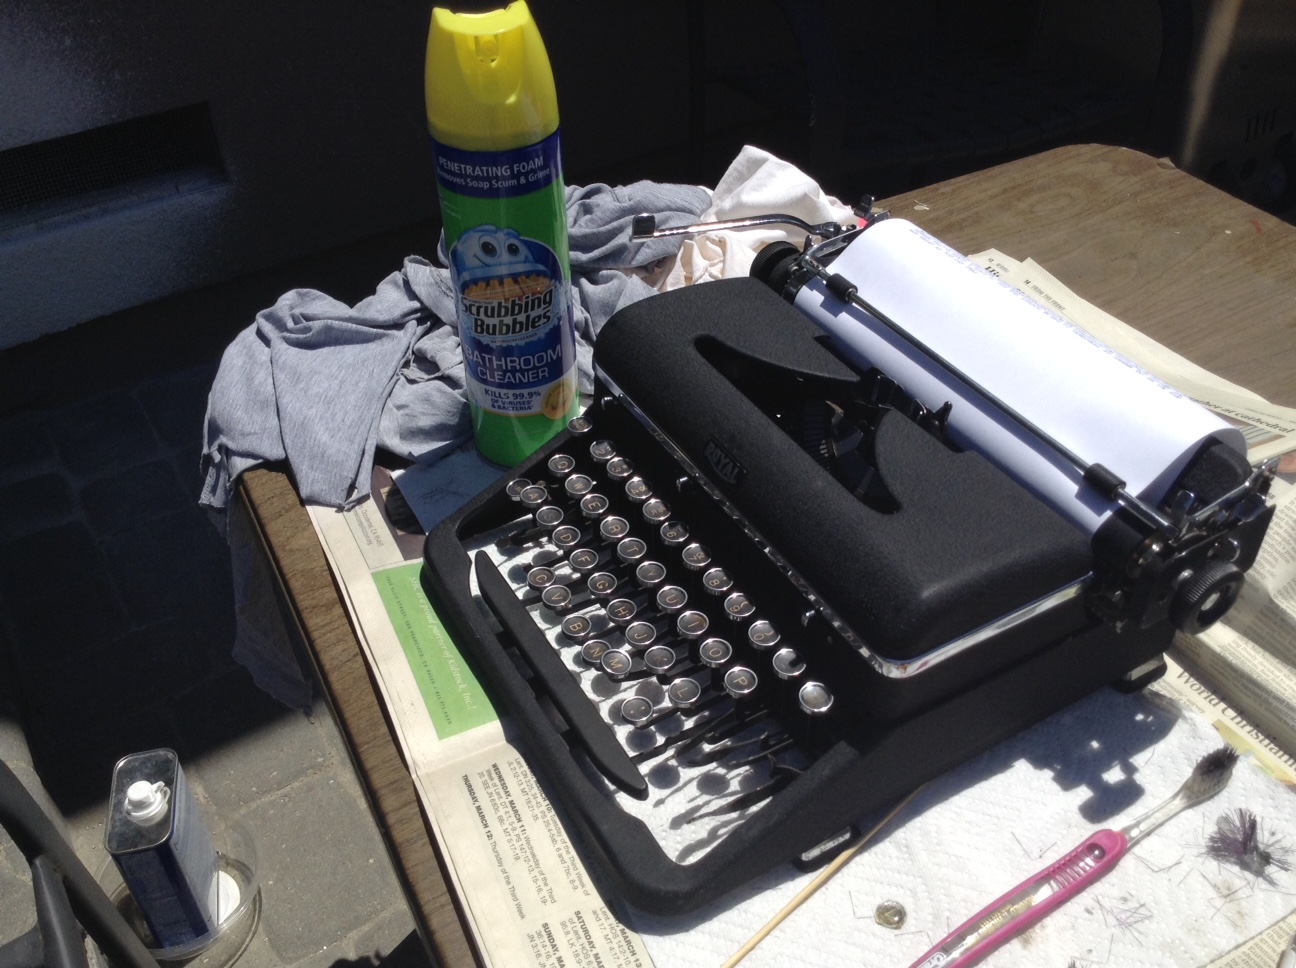
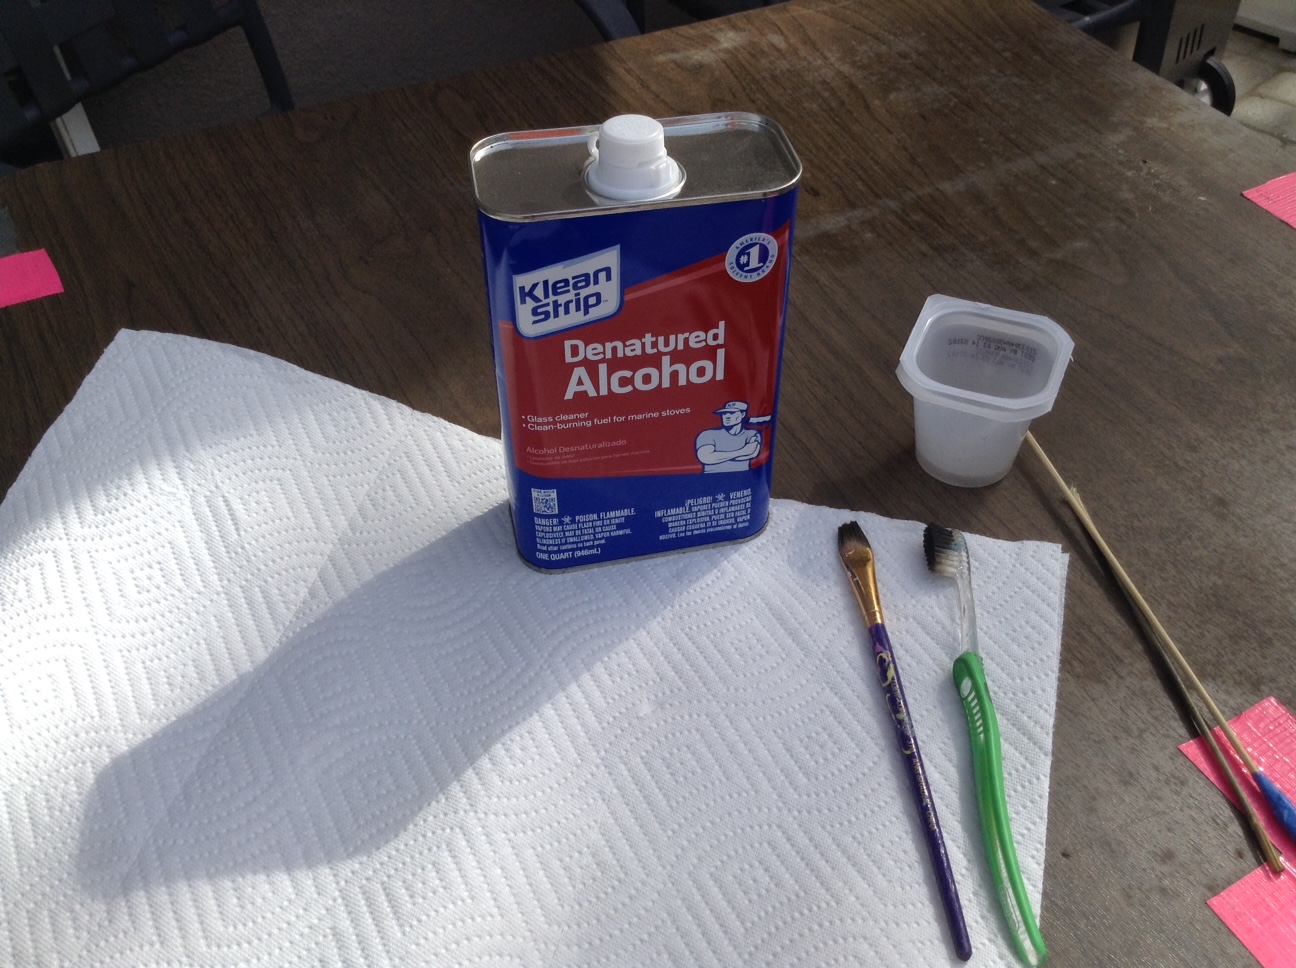
I cleaned the ribbon vibrator carefully, scrubbing with denatured alcohol and using a penetrating lubricant (PB Blaster). Things looked cleaner and the ribbon guide began to flicker and move up and down as I typed. Upper case typing wasn’t a problem because the entire basket moved down with shifting, but lower case typing was still obscured by the high riding ribbon.

I read that gentle bending of the ribbon guide could free it so it would move smoothly up and down, but what to bend and which way to bend it?

Let’s Go to TWDB

Because I am a member of Typewriter Database, I can access its documents library. I get a lot out of the manuals.  Knowing the name and function of parts helps me a lot; otherwise, I’m just staring at a lot of small, mysterious metal pieces.

One interesting manual that I seem to have passed over in the past is called D. E. Fox Typewriter Repair Manual, 1950. Perhaps I had foolishly assumed that it was a repair manual for Fox typewriters. No – it isn’t.  It covers standard and portable Underwood, Remington, LC Smith, Smith-Corona and Royal typewriters.

In the Royal portable section about the ribbon vibrator it says:

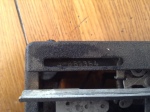
“The Ribbon Carrier (Vibrator) must operate freely. Examine the ribbon guiding wings of Ribbon Carrier (1) to make sure that they are not fitting too closely to Type Bar Guide (2)”

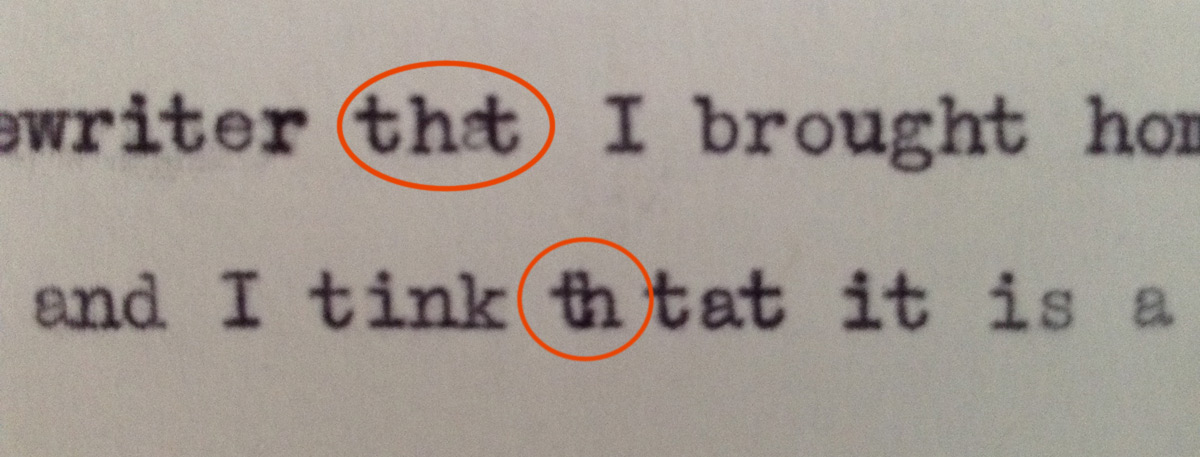
D. E. Fox Typewriter Repair Manual, 1950, TWDB Documents Library

ribbon-vibrator

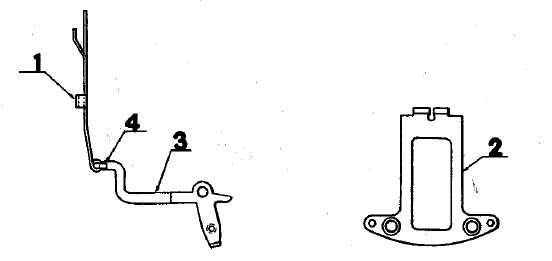
image: D. E. Fox Typewriter Repair Manual, 1950; TWDB

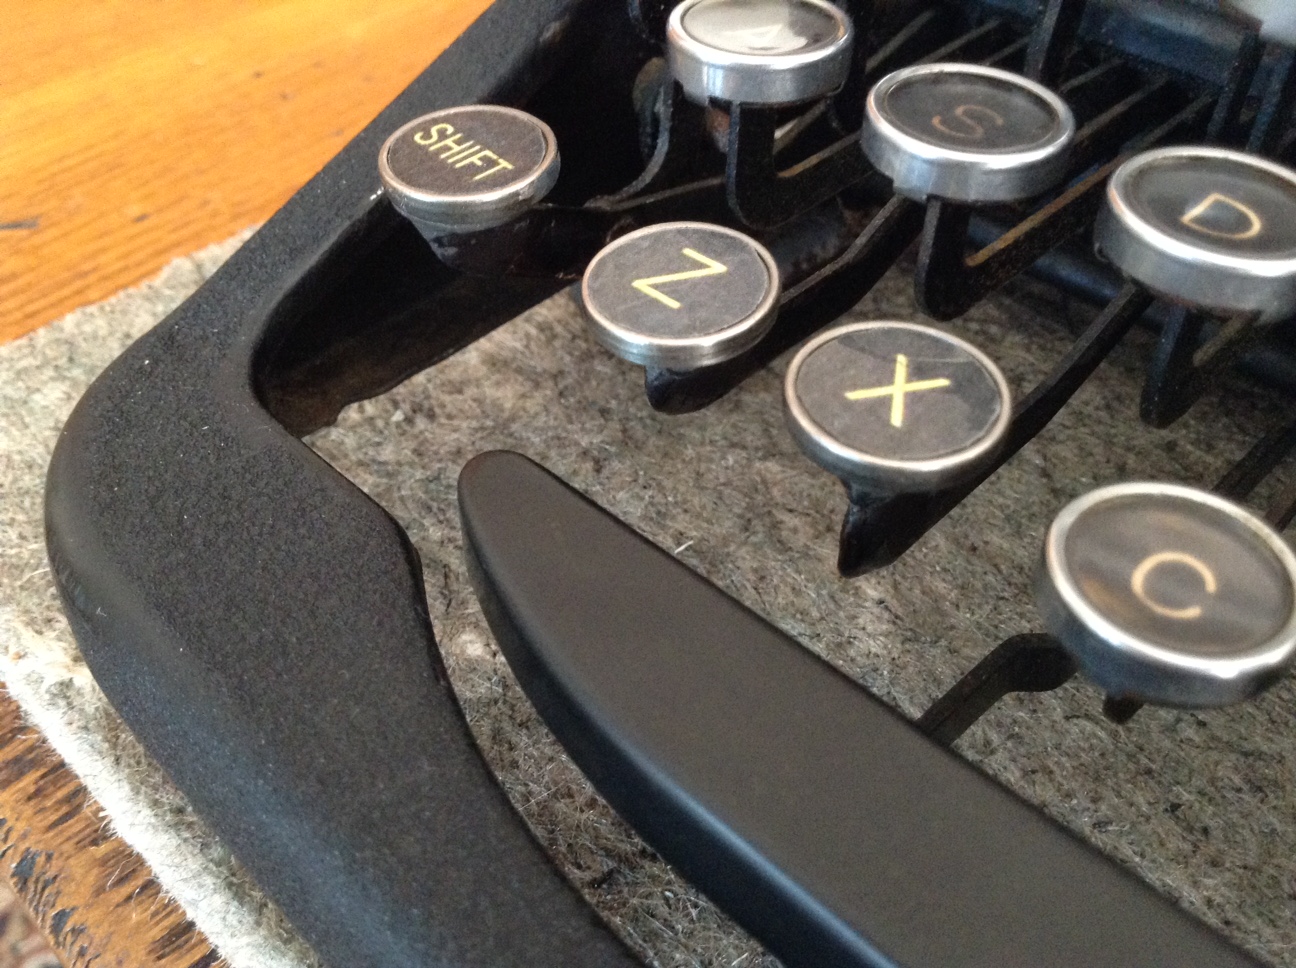
Those “guiding wings” were fitting a little too closely to my type bar guide on my machine. Very gently pinching the ribbon carrier forks together at the top loosened the “guiding wings” grip on the type bar guide and the parts of the ribbon vibrator mechanism began to slide freely.

pinch

Perhaps at some point in its life the typewriter had take a hard hit to the top, splaying the ribbon vibrator forks open and causing the binding.

Success: the ribbon moved properly out of the way with each key stroke and I could see what I typed.

Off the Rails: Royal Margin of Error

I have heard tell of the Royal typewriters’ reputation for erratic left margin behavior, and now I get to experience the Royal “soft margin” first-hand:

margin3

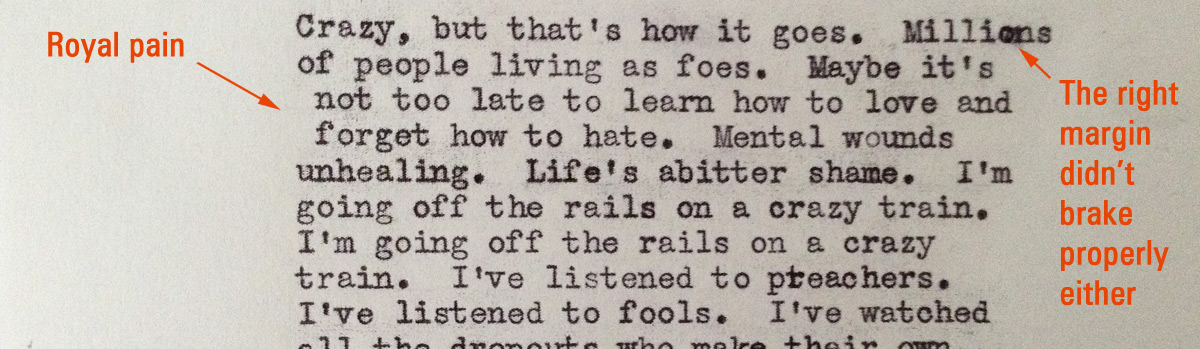
It is said to be fixable.

According to a Yahoo Typewriter Group post:

“The soft left margin was easily adjustable with the margin stop screw.”

And according Typewriter Maintenance, TM 37-305, 1944:

“Margin Stop Banking Screws may be made accessible by moving carriage to the extreme right or left, whichever is necessary, disconnecting Bail Lift Screws, and swinging Margin Release Bails back out of position.”

Ok – I just need to find that easily adjustable margin stop screw. I am still on the hunt for that.

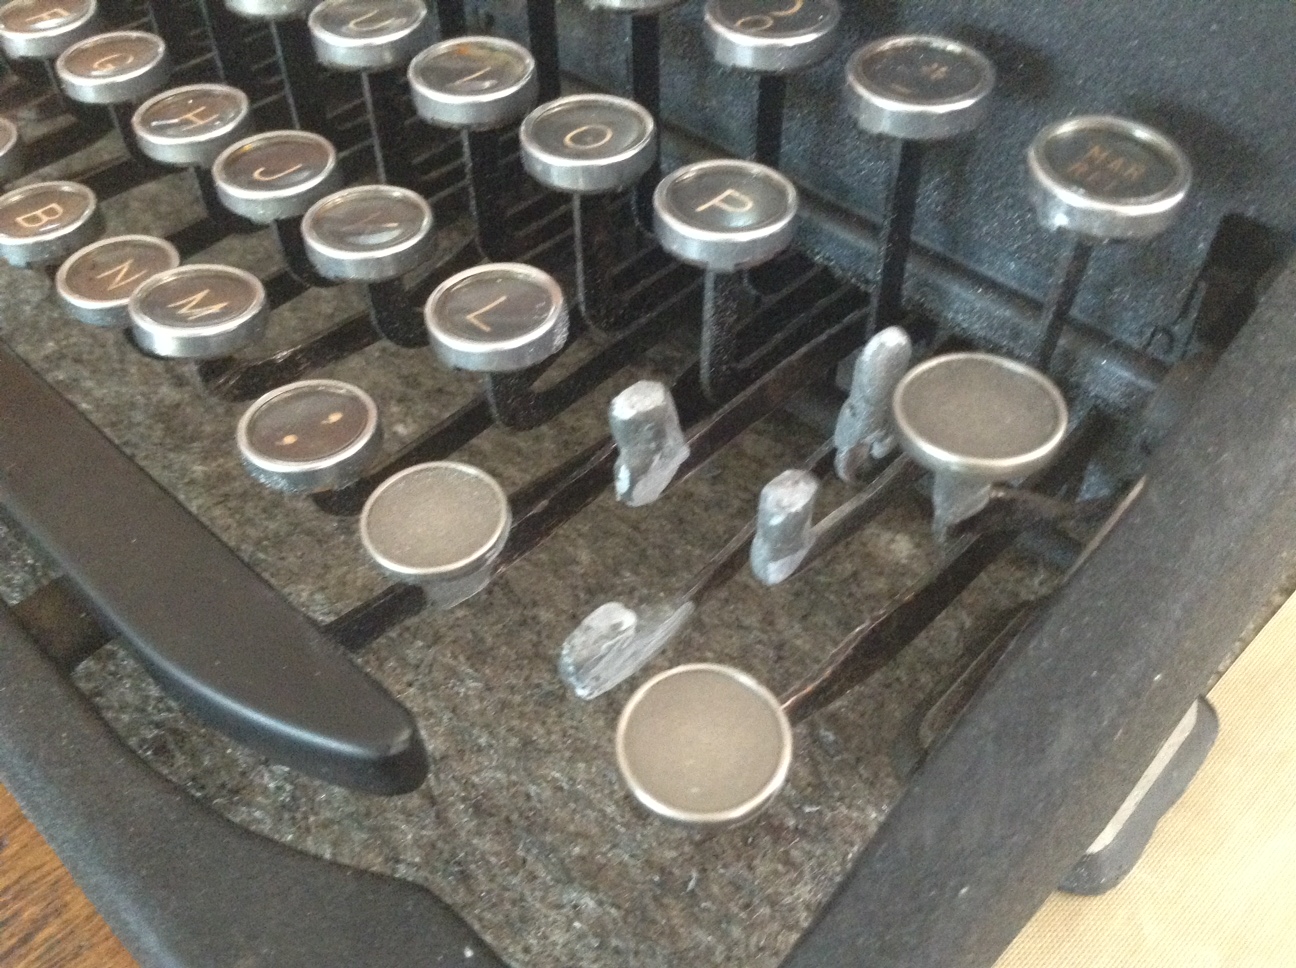
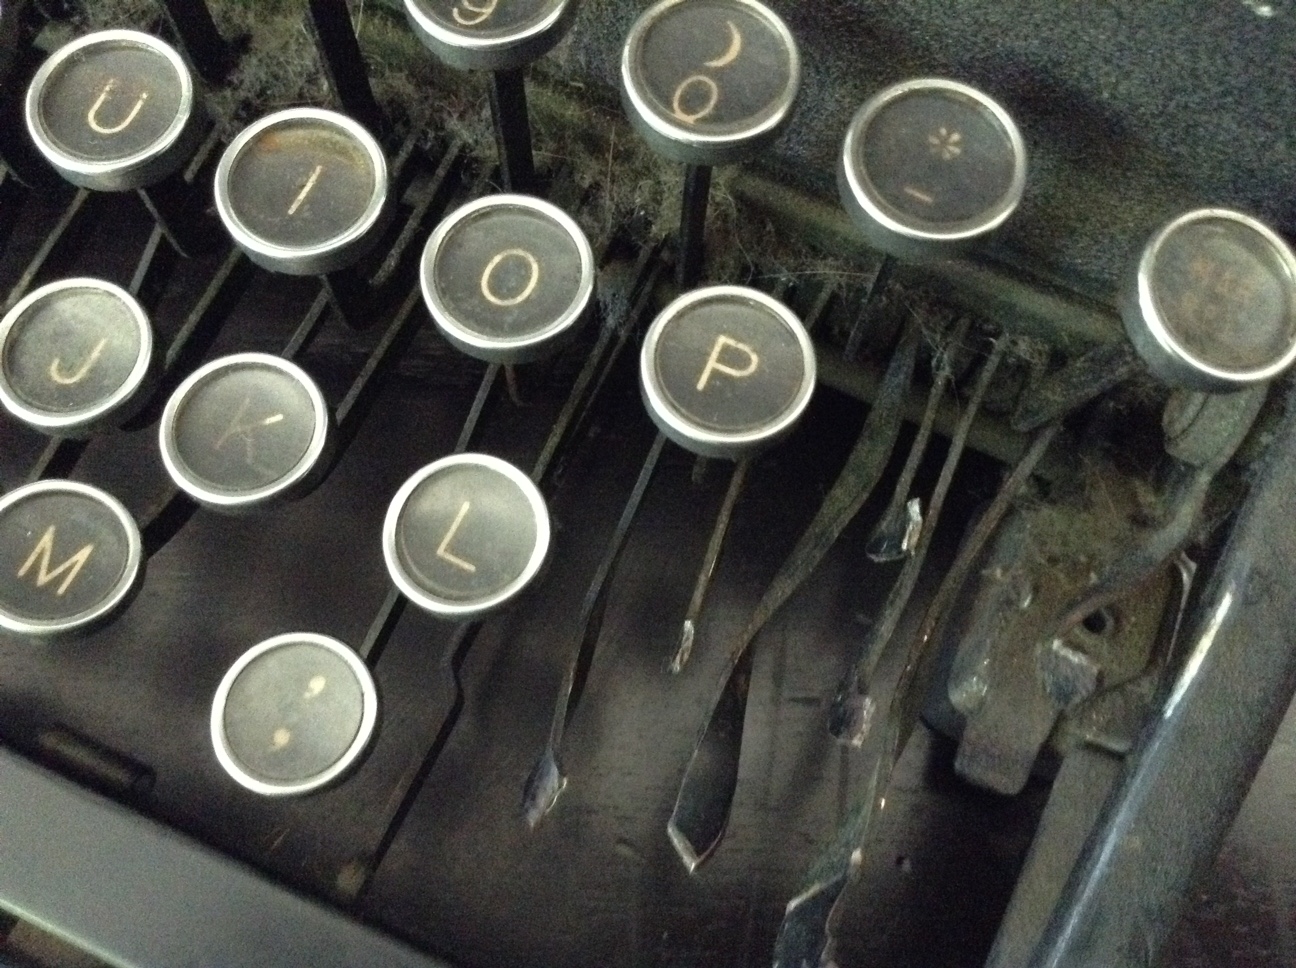
A Little Letter Piling

I’ll admit it.  I am terrible typist. I am a two-fingered keyboard hunt and pecker with an inconsistent slamming flail that drives just about anybody watching or hearing me nuts. I type like a high-energy ten year-old kid set loose on a typewriter at Goodwill.  You would not trust me with your fine collectible typewriters.

To the point: seven of my typewriters put up with me and my ways.  Big Betty the KMC, Olive Dammit the Oliver, Corona McDraggle, Posh Spice, Camper Van Pancake the Skyriter, Mrs. Hudson the Torpedo, Marge the SG3 – they all tolerate my touch.

Lady Royal Aristocrat – not so much.  If I type too weird and too fast on the Aristocrat, I get letter piling.  It trips, the door opens and then there’s a drunken pile of two letters who snuck in. If I type like a normal person, everything is fine.  However, as soon as I show a little “flare”, I will get the occasional letter piling. None of my other typewriters do this to me.  Is this yet another Royal hallmark or something unique to my machine?

piling

It doesn’t bother me too much – it’s a smallish quibble. I still love Lady Royal Aristocrat.

New Key Tops for a Key Chopped Typewriter

It was a crafting weekend here at home. We had a paper maché project going and a typewriter repair in progress on the dining room table.

IMG_3852

There were 10 key tops that had been chopped from Lady Royal Aristocrat that I needed to re-key before I developed tetanus from hitting the broken key levers.

I first straightened out the levers which were very twisted from their violent chopping:

Ugh

GAH! Bent and bad.

IMG_3839

Better and a little straighter after using needle nose pliers

I picked these faux typewriter keys up at Joann Fabric:

IMG_3824

I clipped off the little loop on the faux key and sanded the edge smooth.

IMG_3840

They were almost a perfect match in size.

IMG_3846

I had some J-B Weld SteekStik metal epoxy putty around the house.

IMG_3845

I sanded the broken key levers and the backs of the faux keys so that they’d have “grip”.

IMG_3847

I cut off a little of the putty and kneaded it until it was a soft ball of a uniform shade of gray.  You have to work fast and use a little at a time because this stuff sets in five minutes and is sandable in an hour.  It dries rock hard.  I did one key at a time.

IMG_3850

Worked great!  Here are the first three:

IMG_3849

The broken stems on the right side of the typewriter were broken off shorter than those on the left side so I had to build up the stems in a first step.  They were a bit lumpy so I had to sand them a little.

IMG_3853

I added the faux key tops in a second step.

I printed out some key labels that I made in Photoshop, trying my best to replicate the font and coloring of the Royal’s keys.  lettersLg

I covered the printed sheets with clear laminate, cut out the individual keys and glued them to the key tops – pretty close!

IMG_3854

It’s not perfect – some of the stems are a little lumpy and the font color is just slightly too yellow, but it’s close.  If it starts to bother me, I’ll pull out the dremel and sand the lumpiness and replace the letters with a new label.

IMG_3859

beforeAfter

Many, many thanks to the clever Mr. E at Typewriter Talk who found these craft keys and used them to re-key his chopped typewriter. His project inspired mine.

She is such a pretty little thing.  I couldn’t help but notice how similar my 1939 Royal Aristocrat and 1957 Torpedo 18a are in terms of size and shape though they were manufactured almost 20 years apart on different continents.  I think I need to get an Olympia SM3 so I can do more extensive comparisons 🙂

IMG_3861

Lady Lazarus the Royal Aristocrat

Lady Royal Aristocrat (a redundant name, no?) is looking and feeling so much better after a few days here at the spa enjoying typebar yoga, methylated spirits cleanses, Scrubbing Bubble massages…

This typewriter was really dirty when I got her last week.

Grody

Grody

First things first, I took out my handy hand-held air blower thing and blew out the inside of the machine.

IMG_3190

I always do this outside against a wall corner so that if there is something loose that blows out, it will hit the wall and not get lost.

A good five minute blast treatment took care of years of grimy dust, cat fur and cobwebs.

I thought the Royal Aristocrat was a charcoal gray – but lo and behold after a some work with Scrubbing Bubbles she is a beautiful crinkle paint black.

Soaking up the sun

Soaking up the sun

I doctored the guts with PB Blaster and let her sit outside overnight since the keys and ribbon vibrator were very gummy and sticky.  The next morning I flushed everything out with denatured alcohol and scrubbed the segment with a paint brush and tooth brush (being careful not to get the denatured alcohol on the paint). Brown and black gunk dripped from the insides.

IMG_3106

I fixed the broken draw cord using the inspired Robert Messenger wooden skewer tool. Since my typewriter tastes run to the junkier end of the spectrum, four out of my eight typewriters have needed a carriage draw band / draw string / draw cord repair: Remington Rand KMC, Oliver No. 9, Corona Four and now this Royal Aristocrat

I have close to 400 yards of of 80 lb fishing line – it’s heavy enough to land a marlin – or to replace a broken draw string on a typewriter.  I cut a length of about 13 inches for my new draw cord and made a loop at one end which I hooked onto a likely projection under the right side of the carriage.
IMG_3099
IMG_3827

I hooked my draw string onto a projection on the right side under the carriage

I tied a knot at the other end and inserted it into the slit at the end of my wooden skewer. I fed the string from right to left under the carriage using the wooden skewer as a guide and emerged on the left side of the carriage with my knotted end.

IMG_3831

I wound the mainspring 3.5 times and inserted the knot into the mainspring.  I got a set of three dental-like tools at the hardware store for about $6.00.  This pointy one helped me push the knot into the mainspring while I held tension on the mainspring with my pinkie.

IMG_3832

With a new draw string, this 1939 typewriter is typing great. Enjoy six seconds of looping fun while I try to avoid those sharp key levers. Ouchie!

Now onto those missing key tops.

A Lady in Peril Rescued: Royal Aristocrat

I was out and about today and stopped in at a few town thrift stores looking for brown plastic cases for Operation: SCM Datecode.  I  didn’t find any, but I did run across this lovely but very dirty Royal Aristocrat.

My collection is a little Smith-Corona / Corona heavy and I have been thinking I should branch out and see what all the fuss is about other typewriter brands: the Royals and the Underwoods etc.

This Royal was filthy. Not a problem – I like to clean things up.  The draw cord was broken.  I can fix that (probably).

IMG_3822

Uh oh.

IMG_3818

What is wrong with people?  You know, we are living in a SOCIETY.

I left the shop feeling irritated not just at the key-chopping but at the sheer half-assedness of the evil doing. It appears that the chopper took a few keys, got bored and quit. And they took the Shift Freedom keys.  So mean.

I thought about the typewriter all day. Its ultimate fate would probably be to have the remaining keys clipped off and the body dumped in a scrap heap.  NO. IT SHALL NOT BE. Not while I have $30 in my pocket!

I went back and took the Royal Aristocrat into protective custody.

1939 Royal Aristocrat
S/N B-889364


About those missing key tops:  a clever typospherian at Typewriter Talk salvaged a key-chopped typewriter with faux craft keys.  I swung by my Joann Fabrics and picked up similar items for $5.00:

IMG_3824

I’ll clip off the loops on the faux keys, print out Royal Aristocrat style letters and attach the faux keys to the broken stems…somehow.

Last thing: did I mention that she is really dirty? I had problems finding the serial number because it was under a layer of filth.  Anyhow, while I was turning her over trying to find the serial number, a piece of metal fell out. Oh lordie – where does that go?  Fortunately, it wasn’t a typewriter part, but an old watch face that fell out.  What other secrets do you hold, Aristocrat?

Not a part of the typewriter.  Whew.

Not a part of the typewriter. Whew.