A Belated Happy Typewriter Day: L.C. Smith No. 8

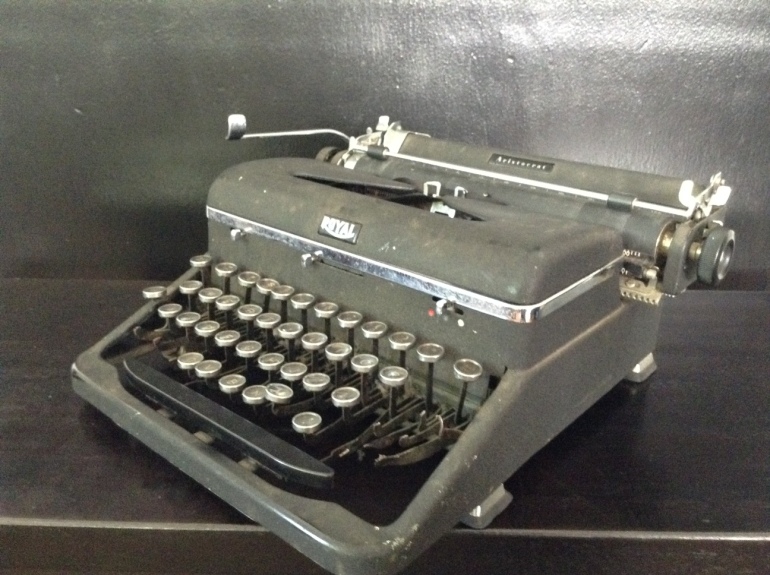
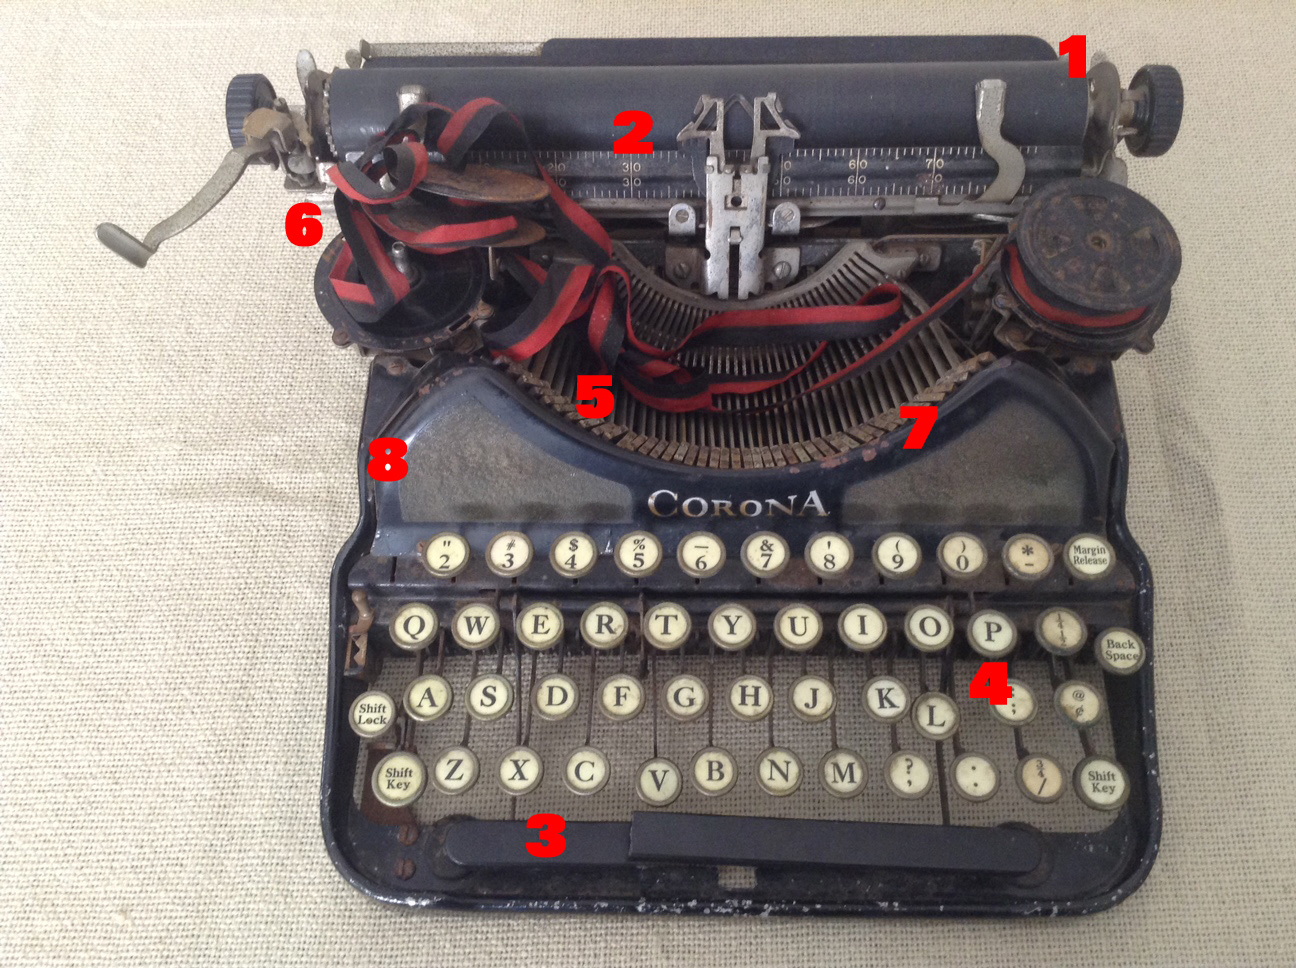
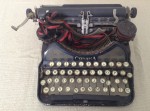
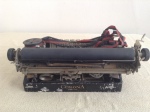
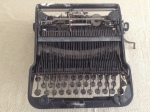
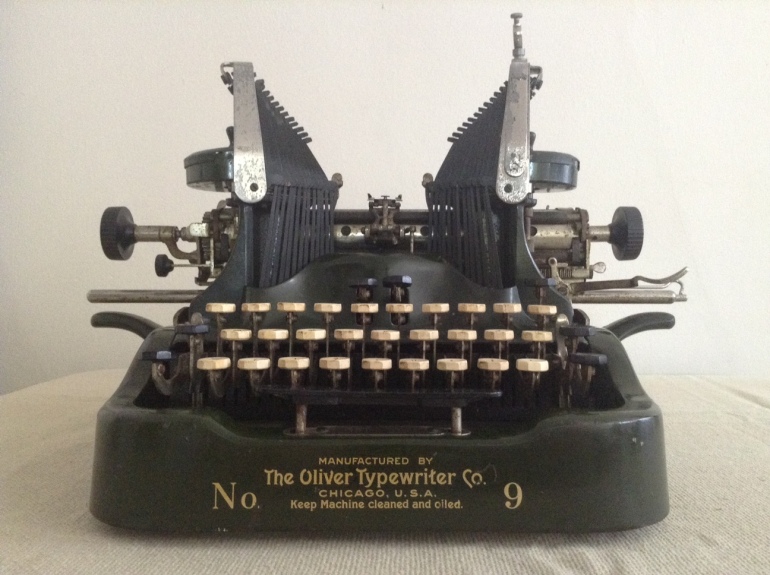
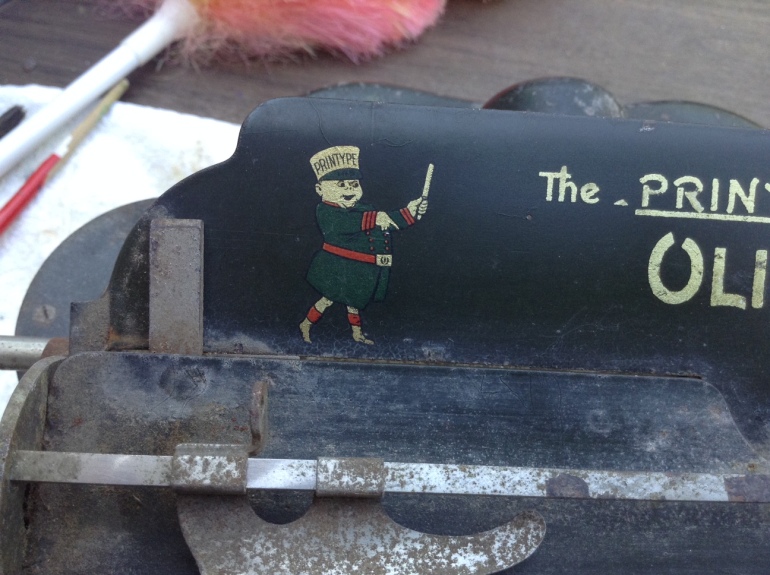
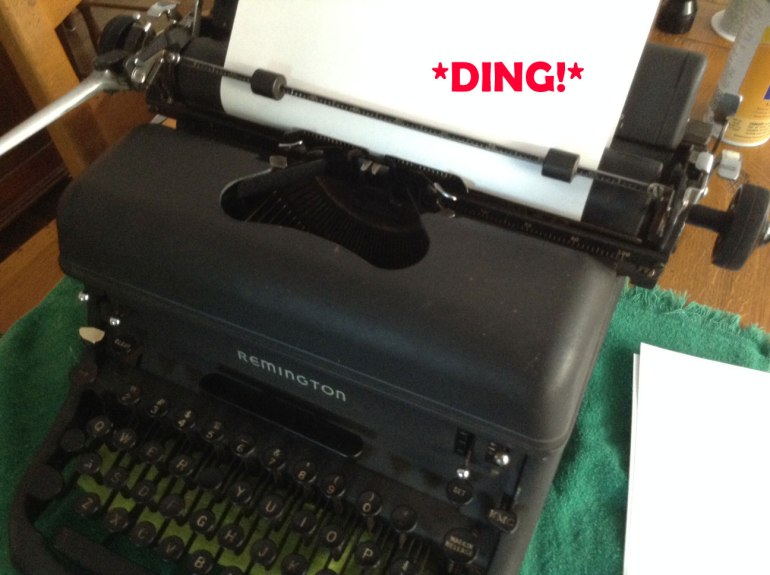
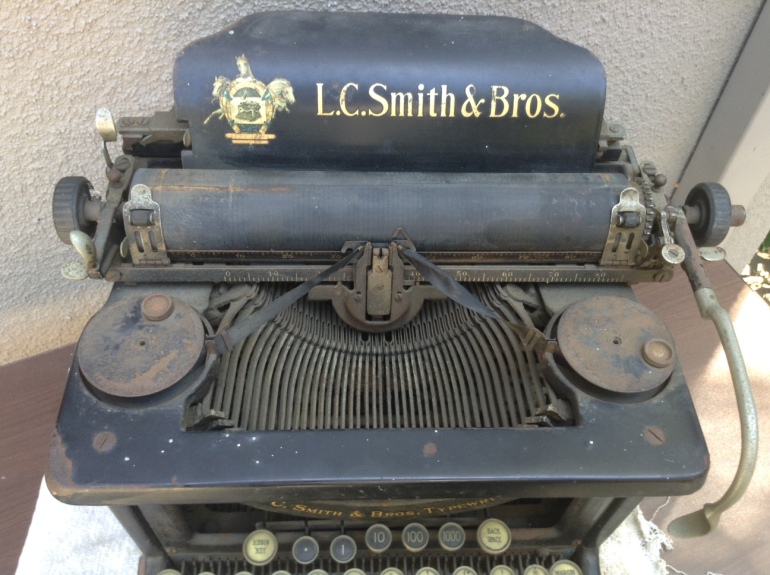
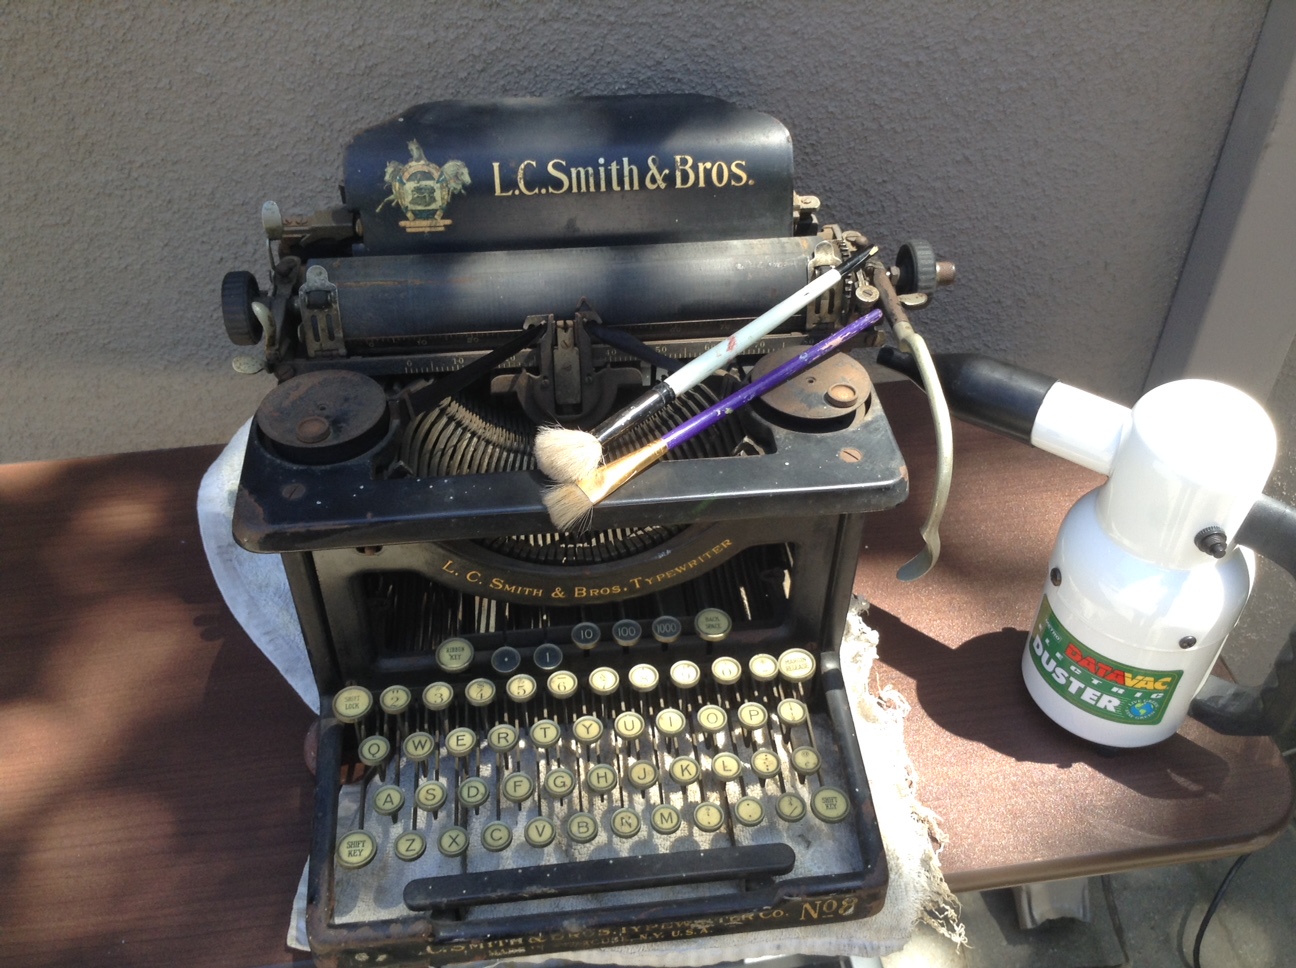
I am a little late to the Typewriter Day party, but I did religiously observe the holiday by bringing home a new typewriter (as is customary I understand).  This 1922 L.C. Smith No. 8 was on Craigslist, described as “a hobby project to rebuild”. I liked the big cast-iron machine with its beautiful decals and the weird squid tentacle of a right carriage return lever. It looked pretty dusty and rusty.  It apparently needed repair, but it still had a ribbon in it.  I always take the presence of a ribbon as a hopeful sign.  Things can’t have been that bad for that long a time if the ribbon remains. Right?

I carefully compared the Craigslist photos with other L.C. Smith 8 examples on Typewriter Database and determined that as far as I could tell, all the pieces were there except for the ribbon spool lock screws.

I drove over to look at it and was relieved on two counts.  One: the seller was a very normal person and extremely nice.  Two: the typewriter didn’t seem to have anything more wrong with it other than rust, dirt, and gunk.  Though the carriage wasn’t moving and it really wasn’t typing, if I pulled hard to the left, the carriage moved with typing.

The seller, for his part, seemed very happy that I was going to try to fix it and clean it up.

I brought her home.  The typewriter and I had drinks together out on the patio and got to know each other.

IMG_3946

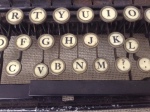
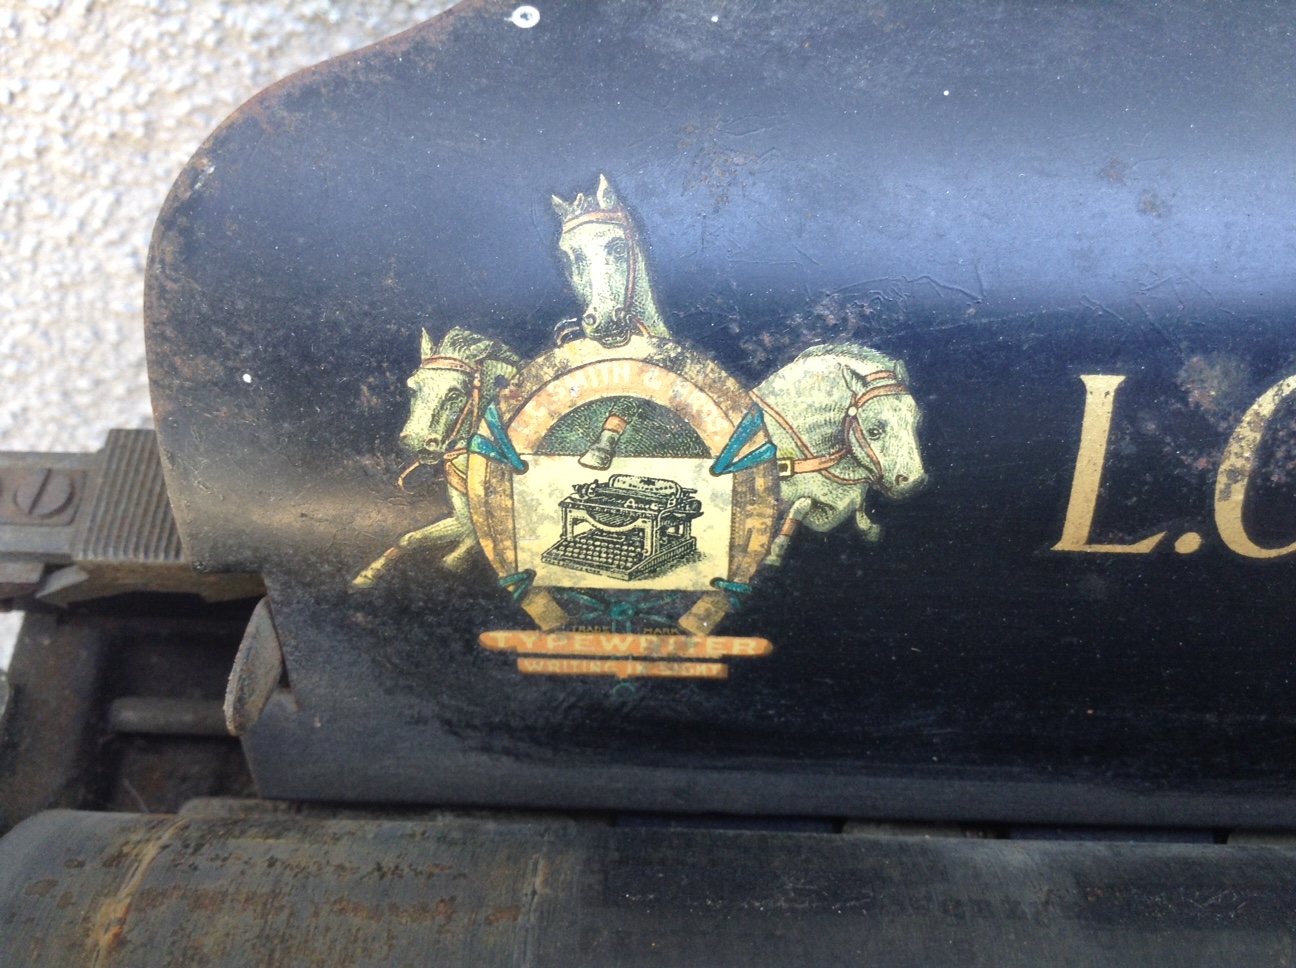
The horsey paper table decal is in good shape. The insane surrealist horse legs in this decal are The Best. Is that top horse trying to type with its hoof? Trying to stomp the typewriter?

IMG_3948

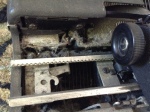
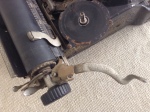
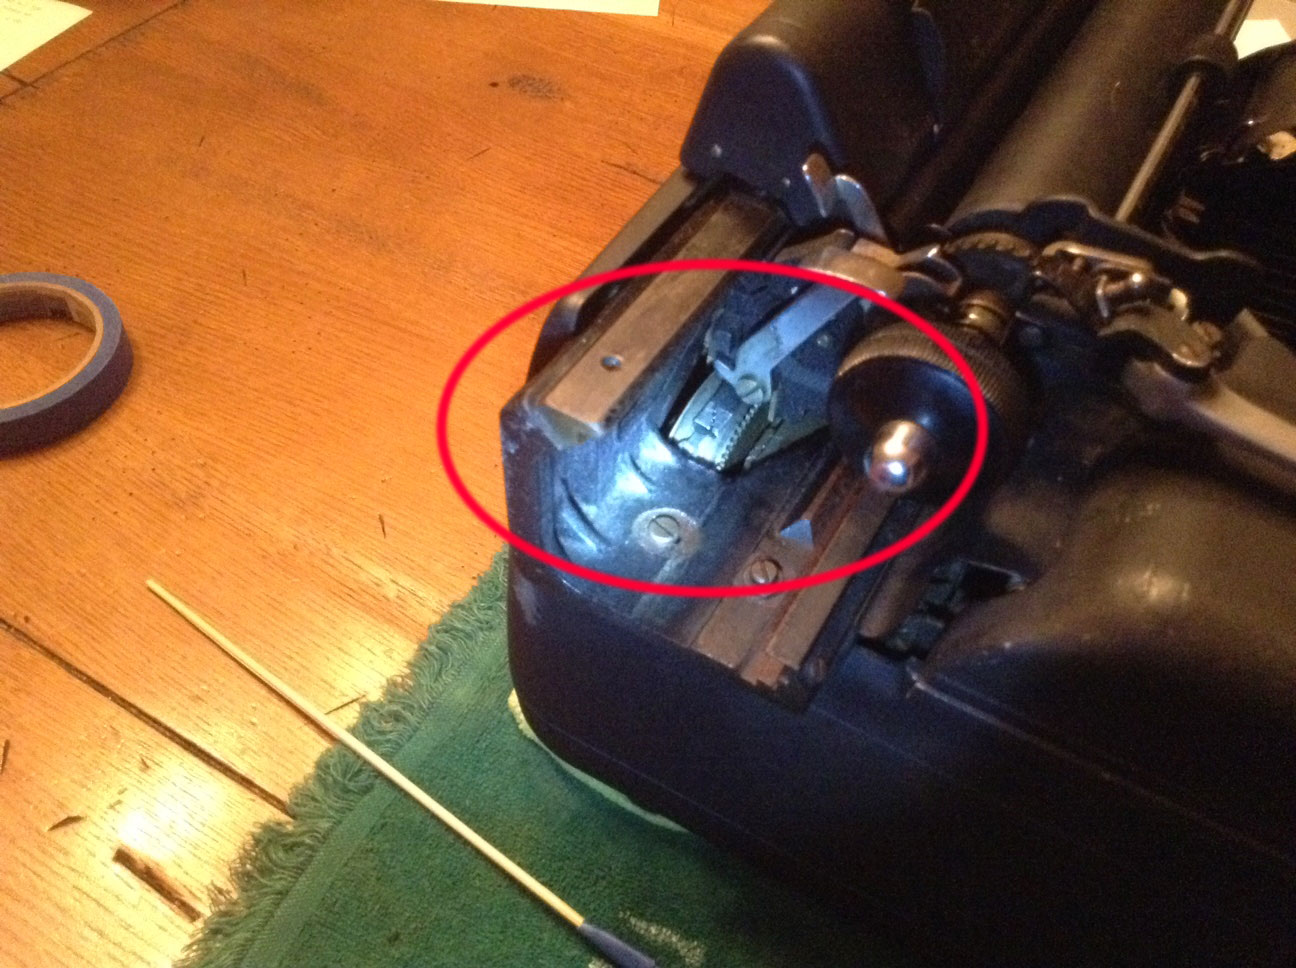
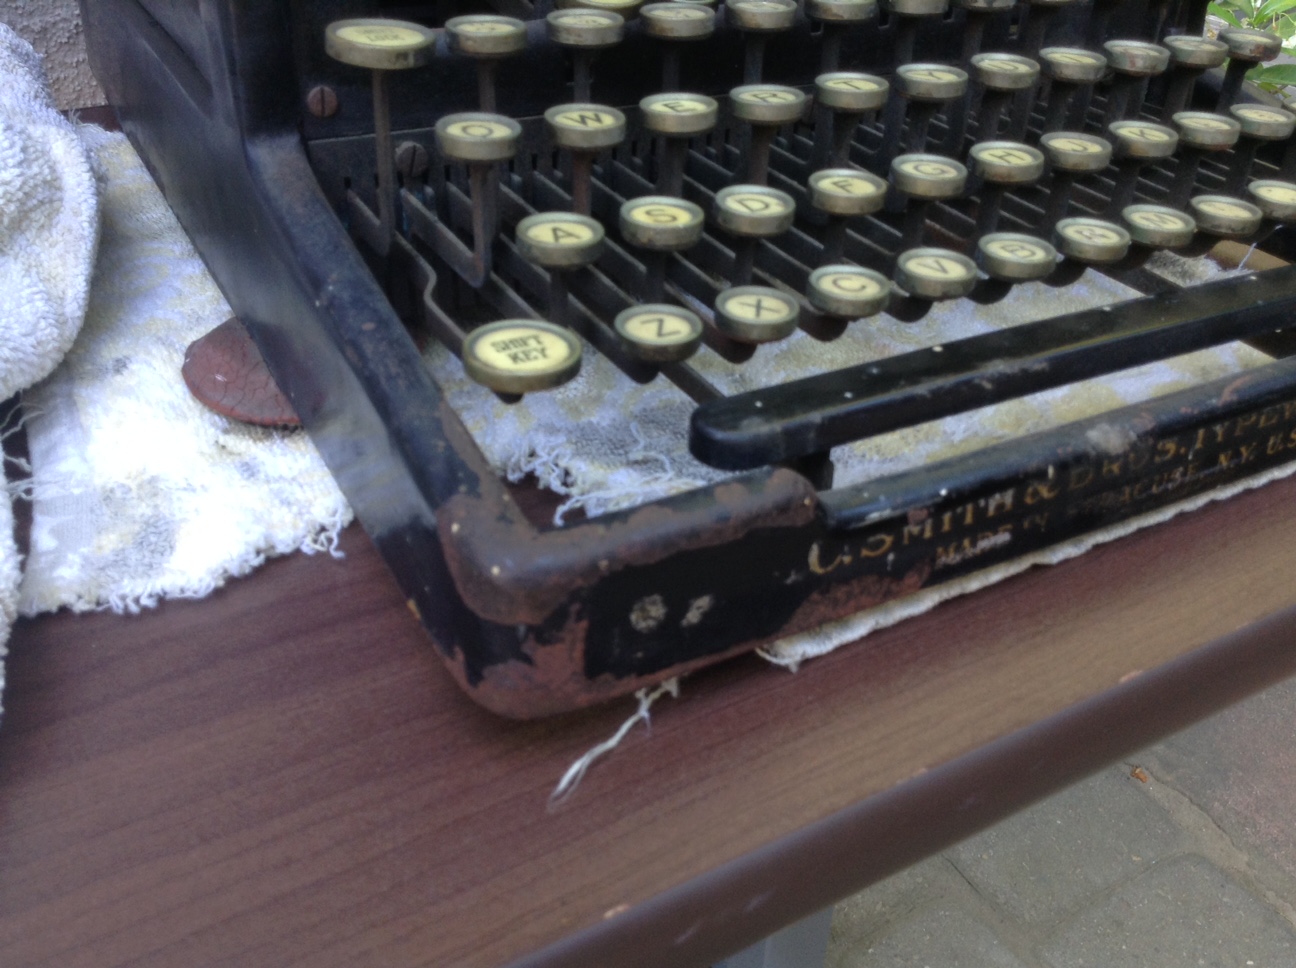
After a long search I finally located the serial number on the inside of the right front frame behind the back space key under a thick layer of grime and determined that I had a 1922 L.C. Smith No. 8:

IMG_3945

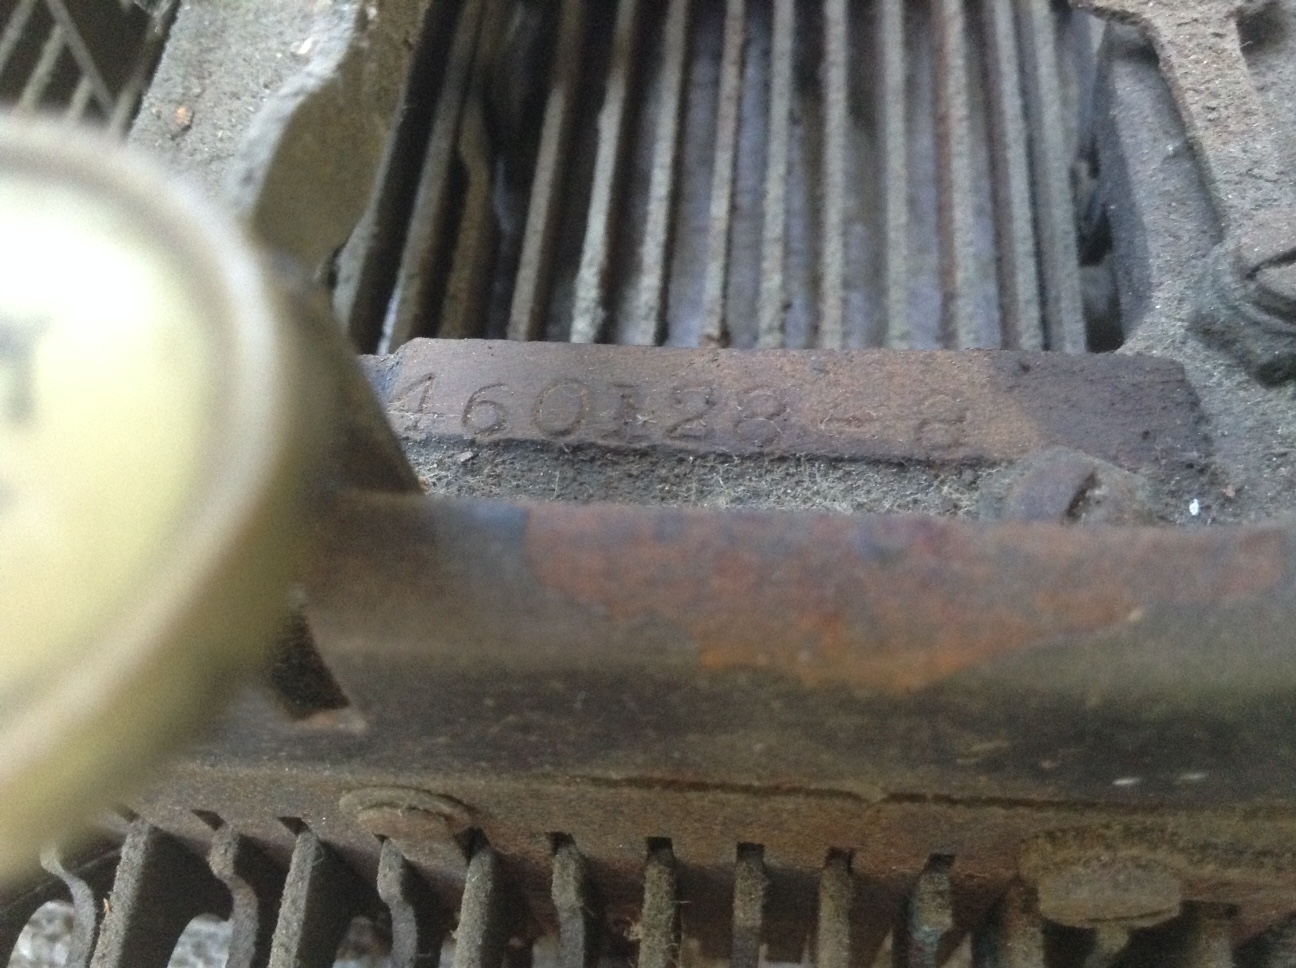
L.C. Smith No. 8 serial number located in front right frame area right behind the back space key

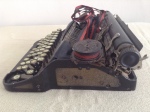
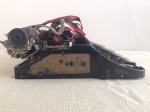
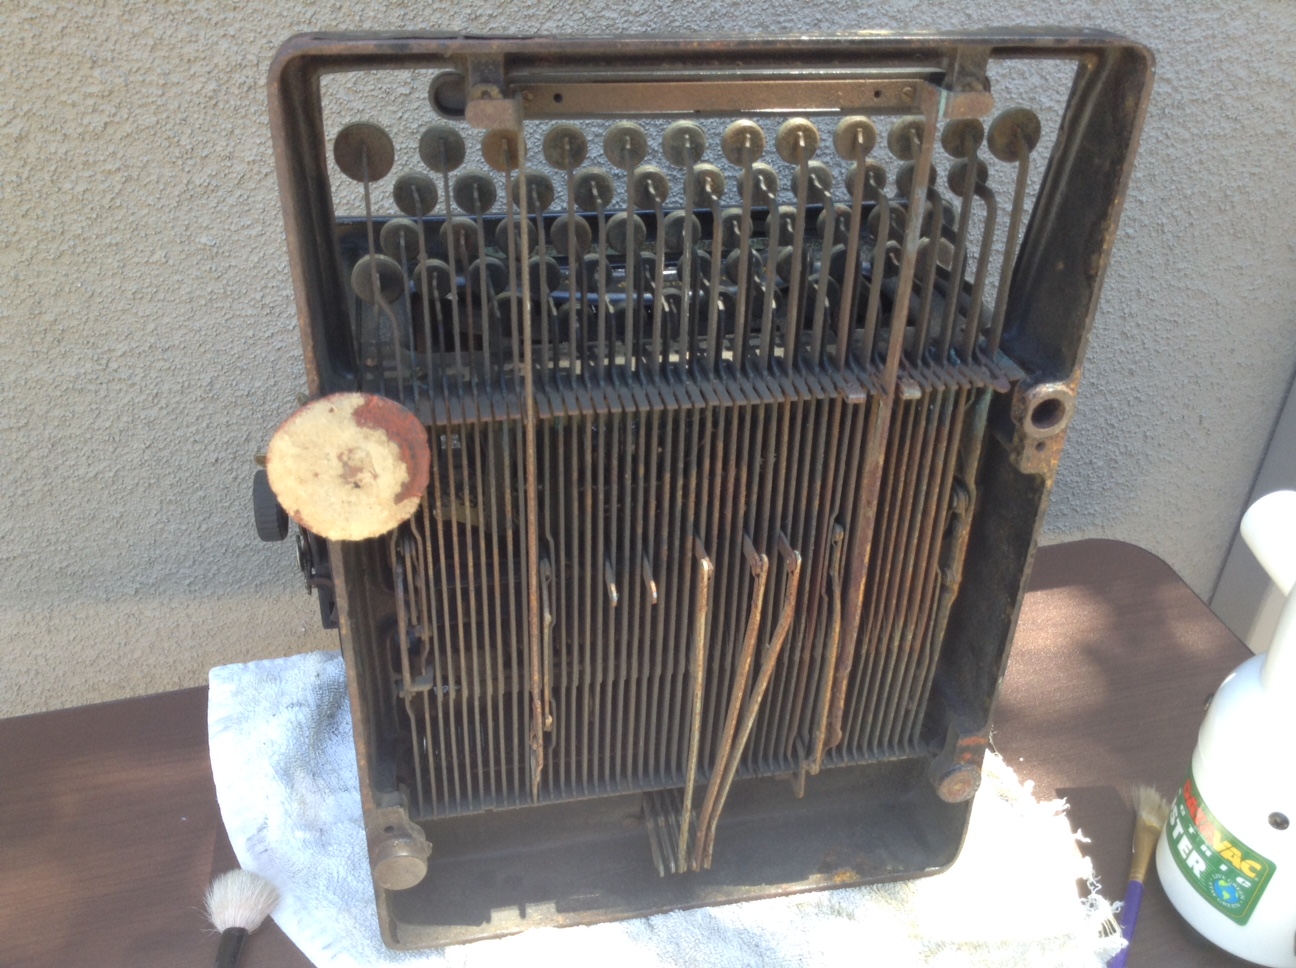
It was pretty rusty, especially underneath the machine.  It may have sat in water at some point in time. One foot was missing and another foot (probably a replacement) was hideously swollen and deformed.

IMG_3961

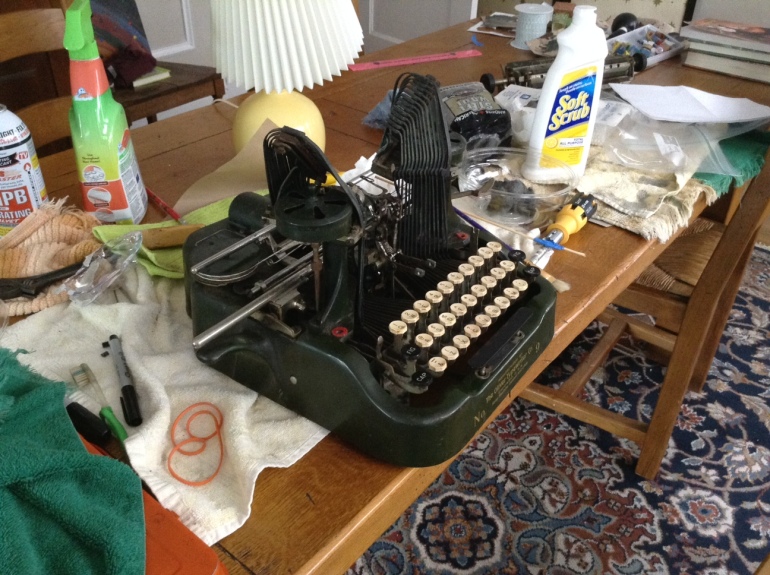
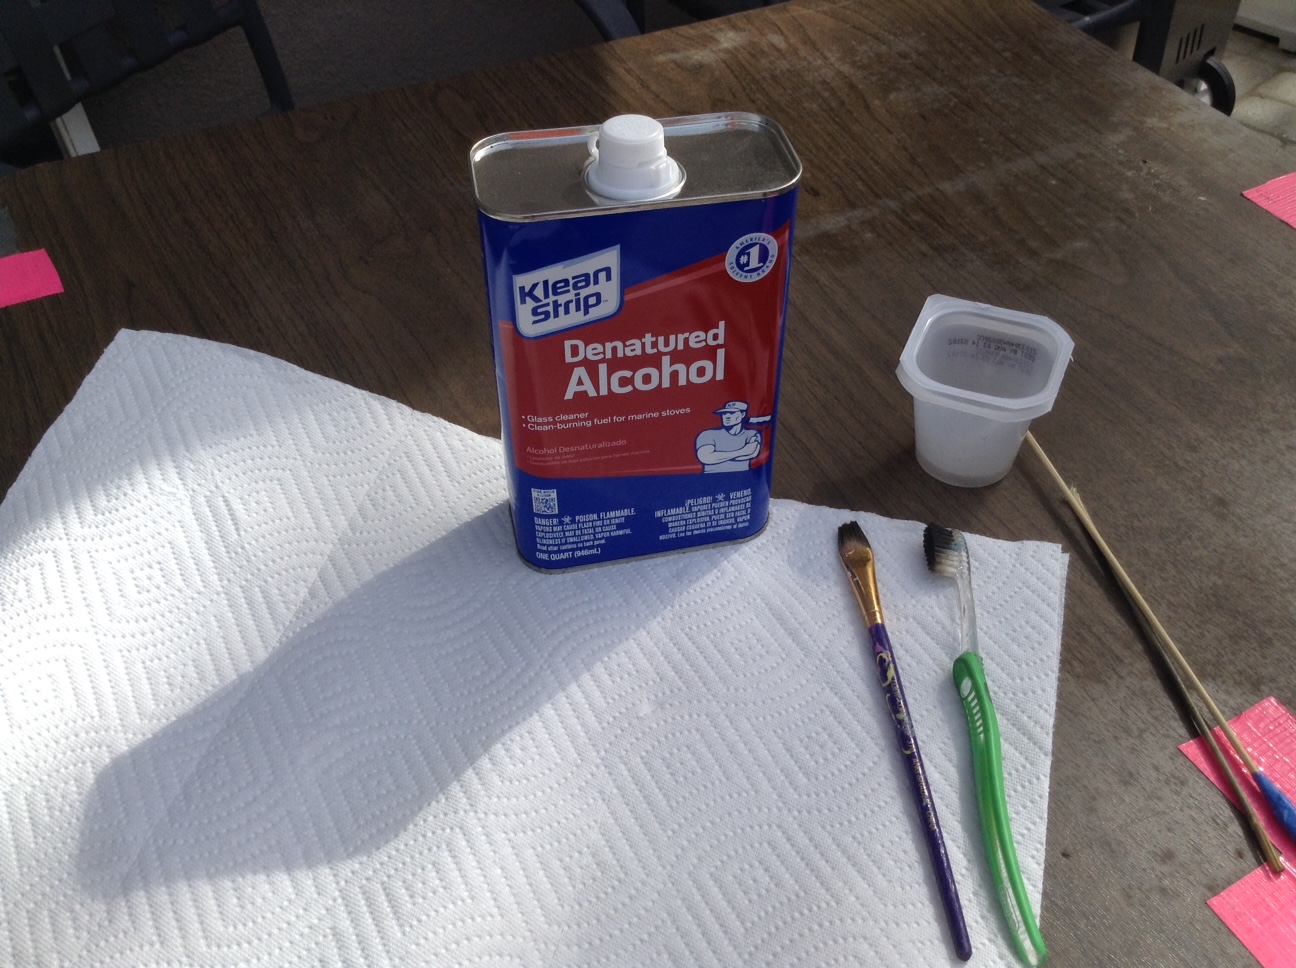
I dusted the typewriter first with a soft brush to loosen the debris and then blew out the insides.

IMG_3962

I cleaned and lubed the carriage rails with PB Blaster and the typewriter’s carriage began to move on its own with typing.   Everything seemed to function, albeit slowly, screechingly and rustily.

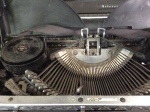
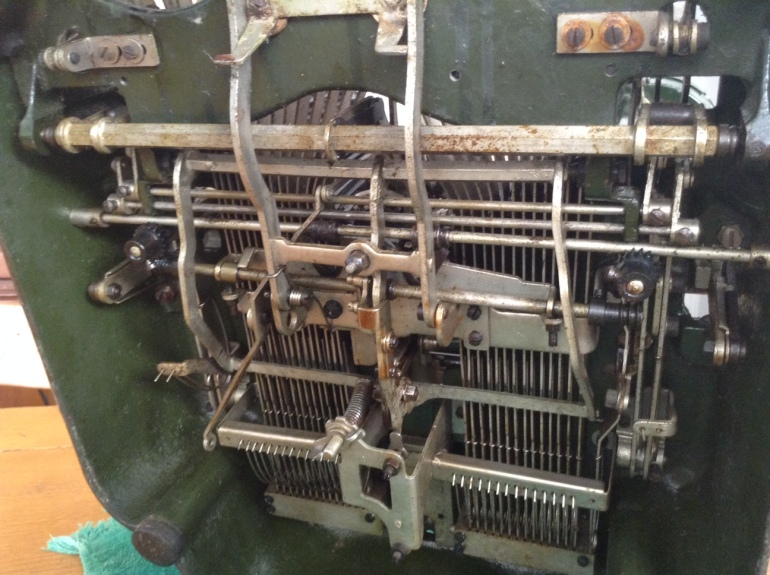
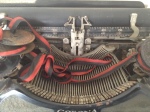
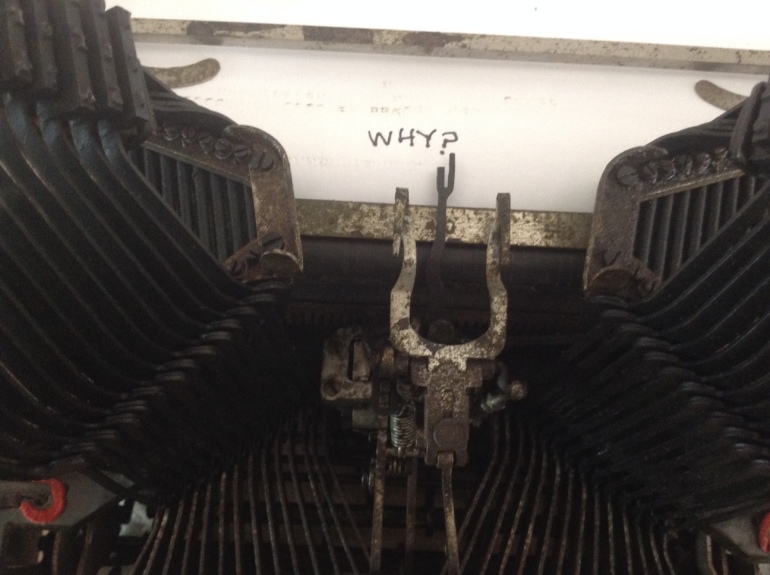
The one thing I had problems with was the ribbon carrier/vibrator – it wasn’t moving at all.  I did some research on the mysterious “Ribbon Key” in the L.C. Smith No. 8 manual I found in the manuals archive of The Classic Typewriter Page.

IMG_3956

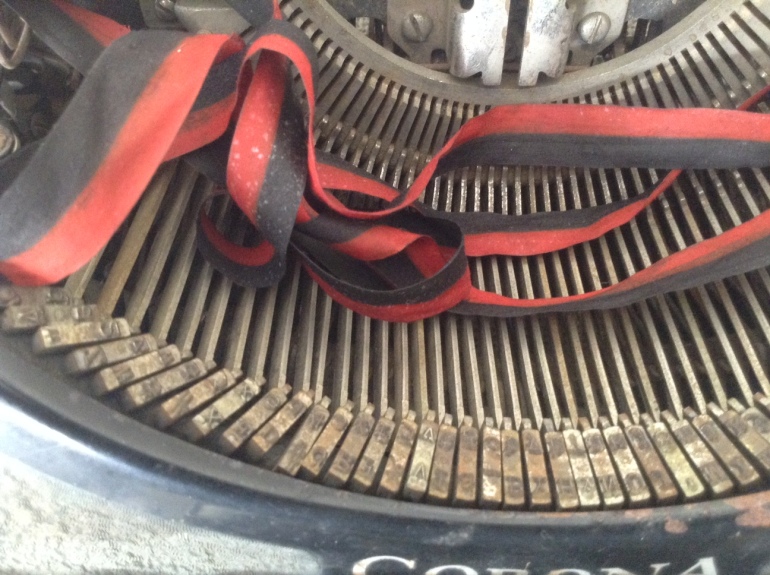
It was in the “stencil” position and once I switched it to a regular printing position, the ribbon vibrator began to move. Whew. I was also happy to find out that the “Ribbon Key” has high and low positions for red or black printing.  I love those red and black ribbons.

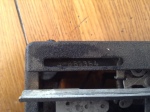
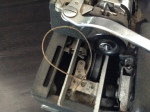
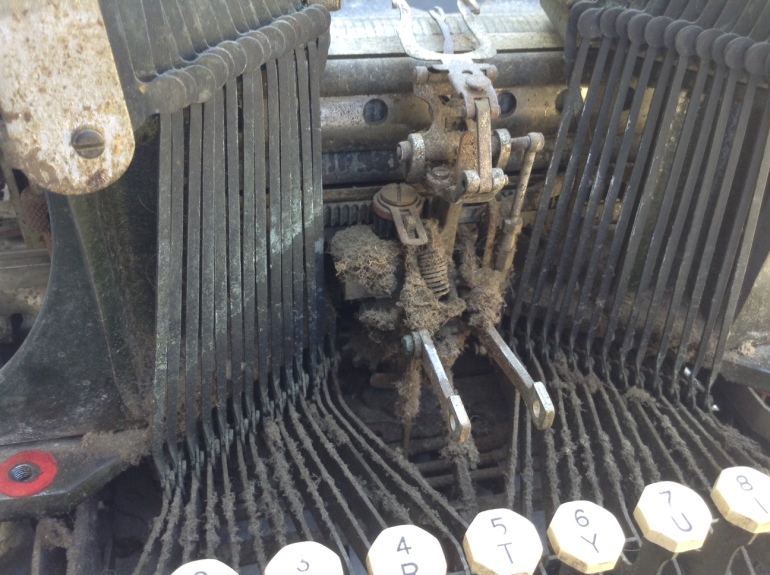
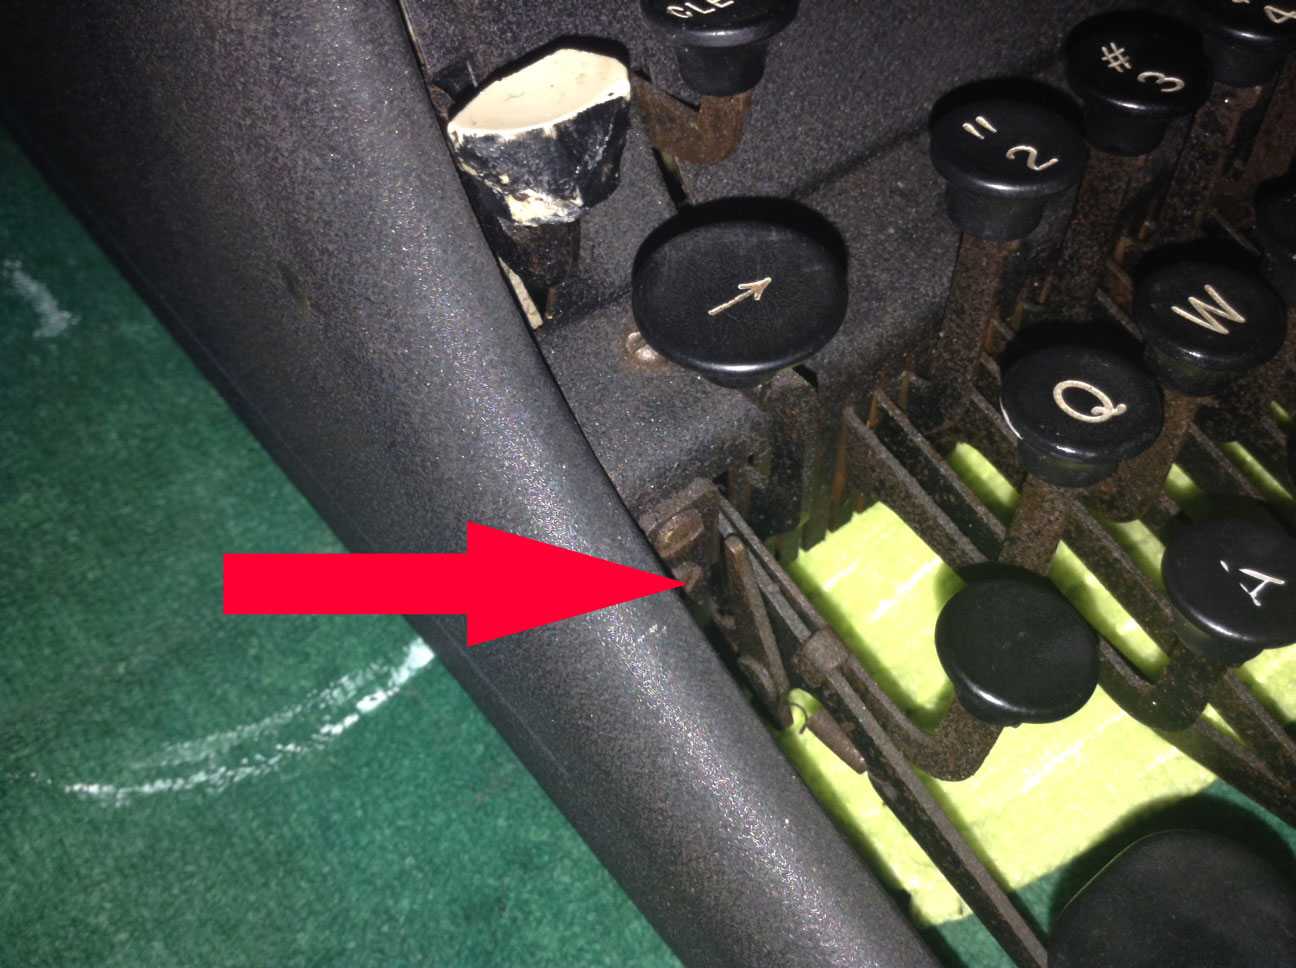
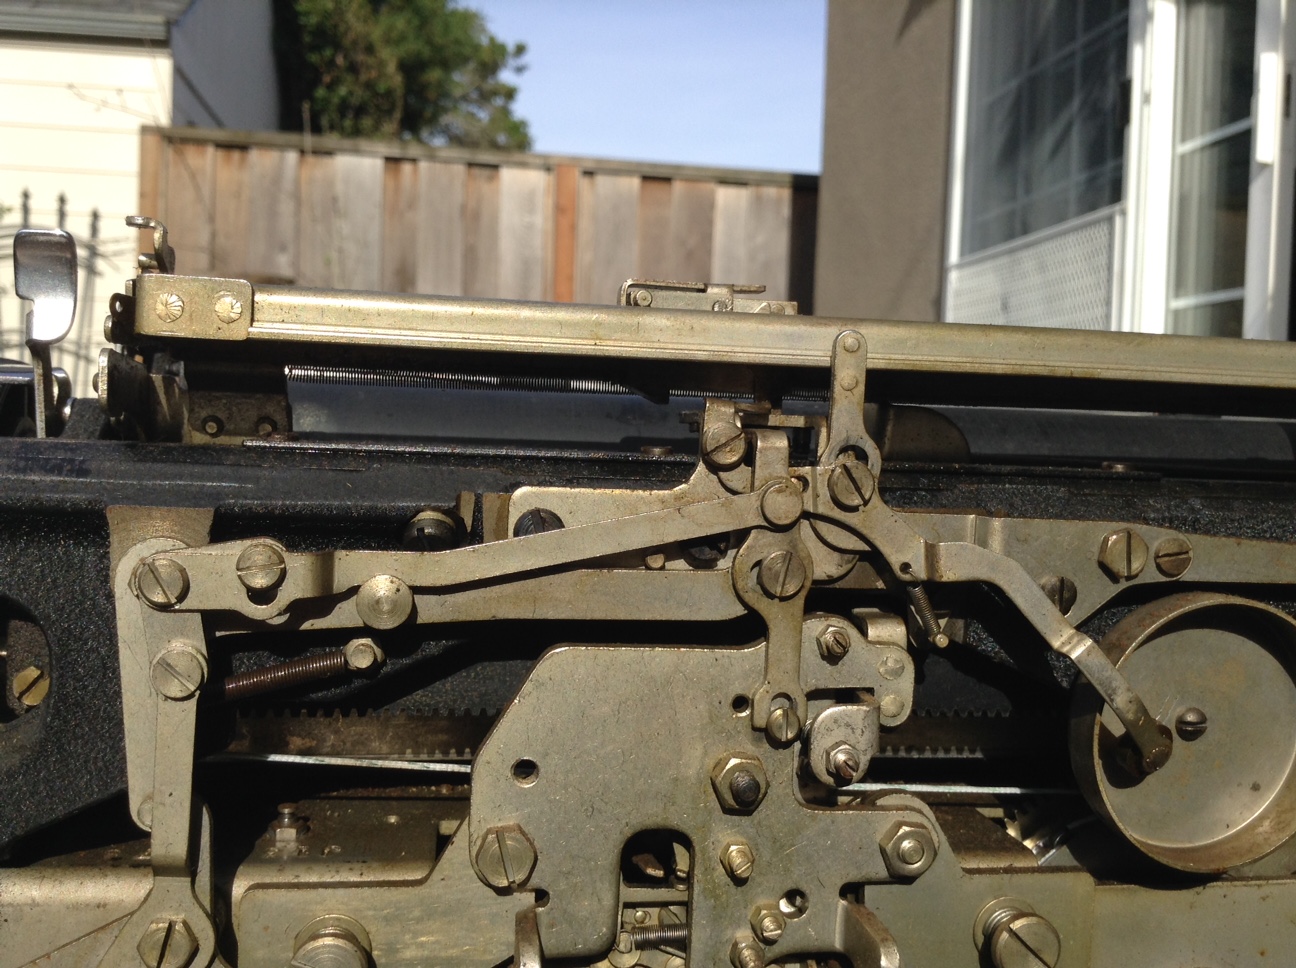
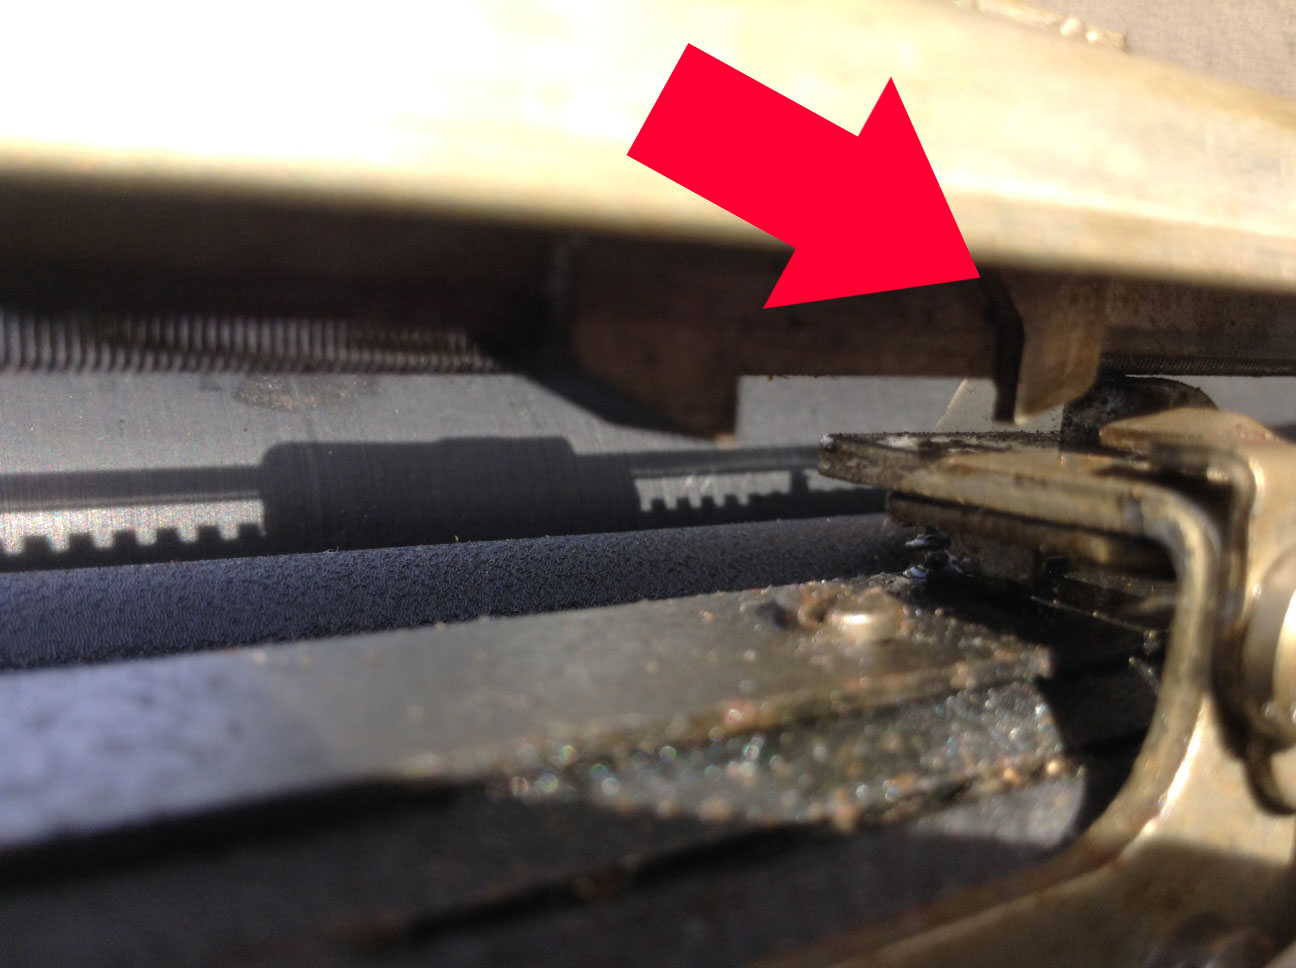
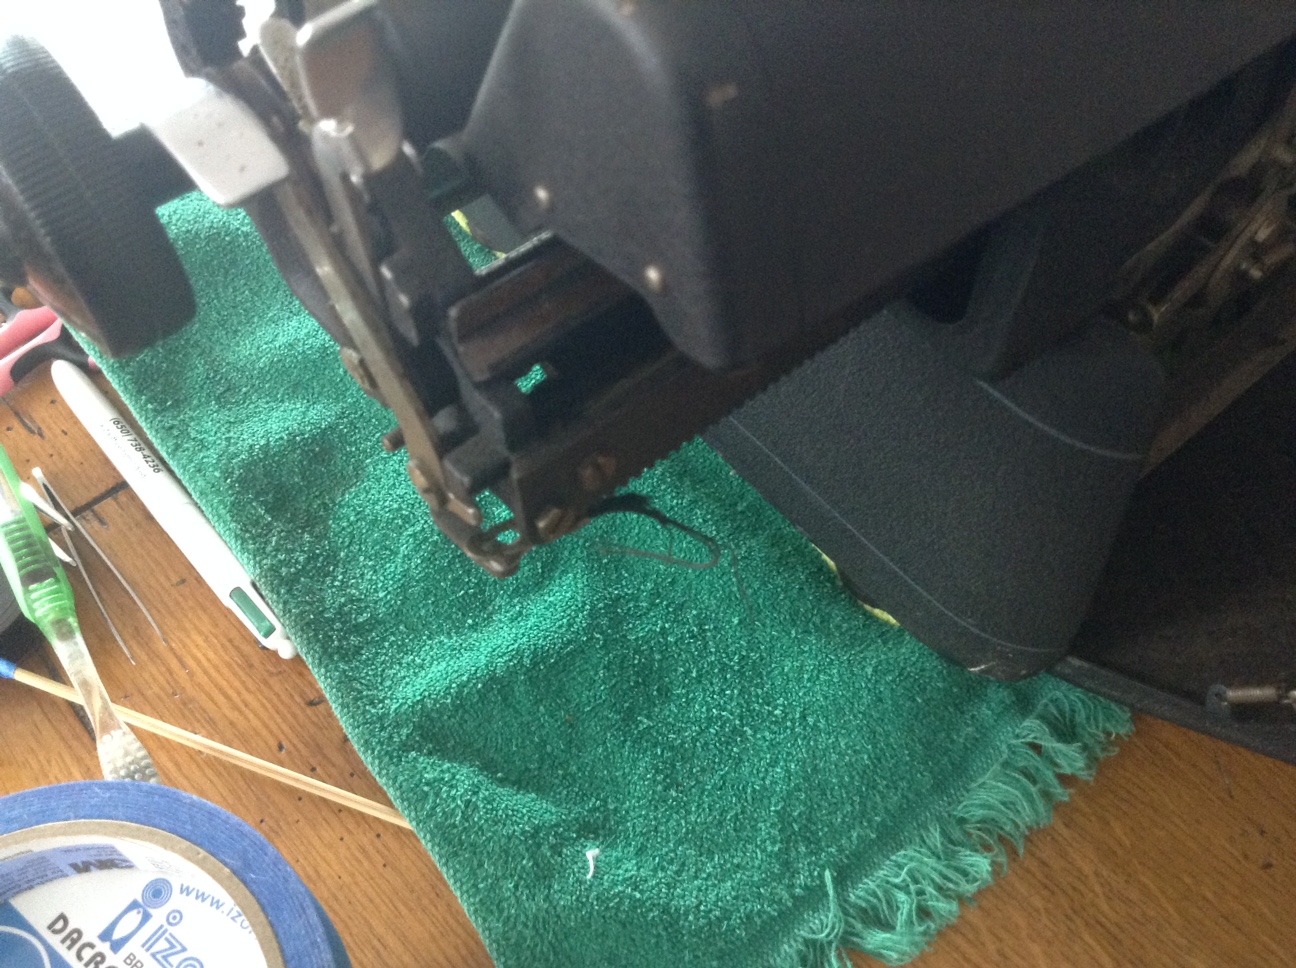
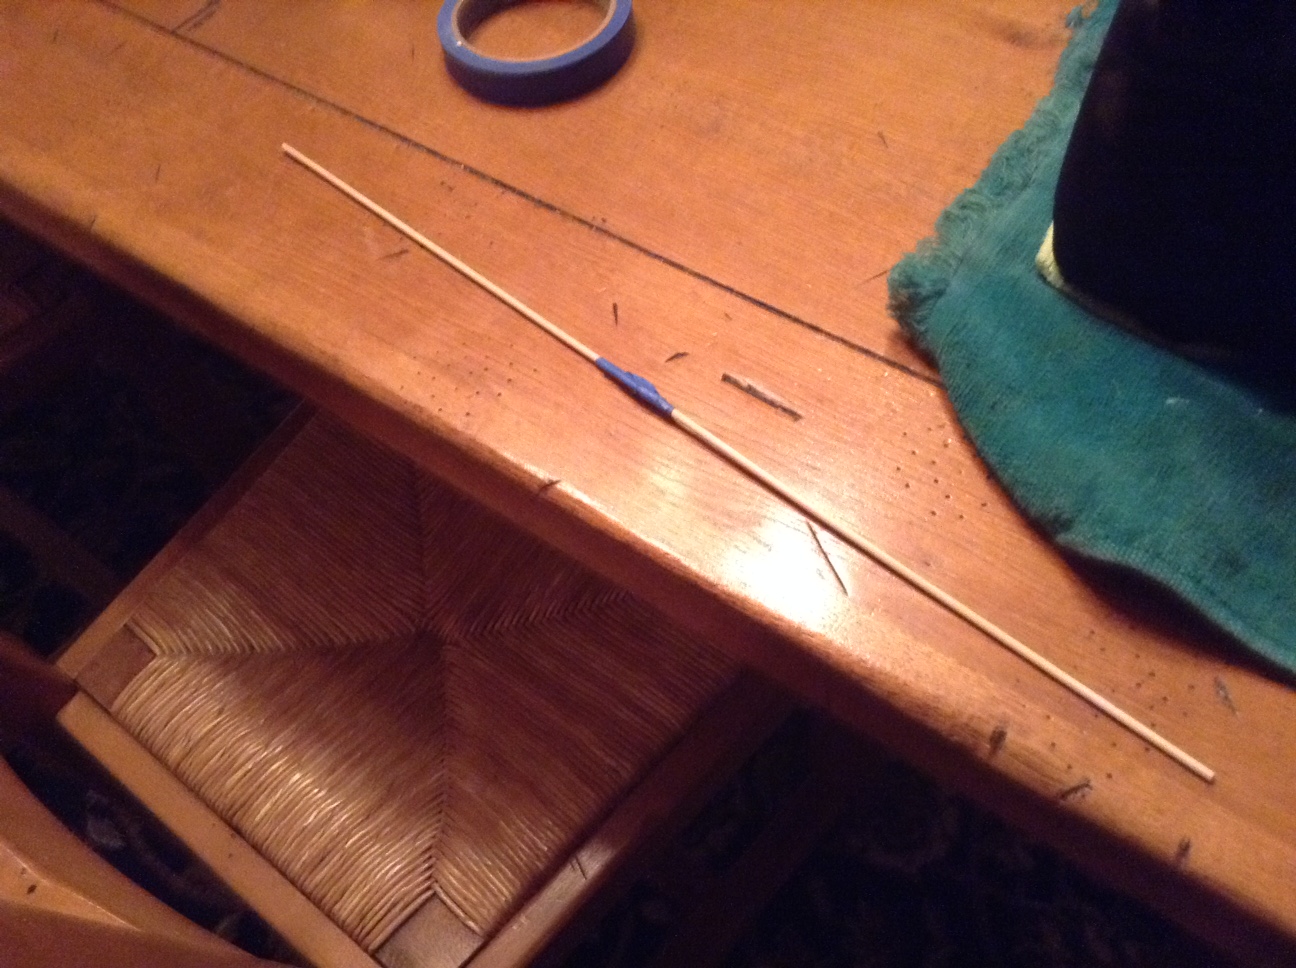
During the time when I was trying to figure out the ribbon vibrator problem, I poked around in back.  I saw a loose piece of metal wedged under the universal bar.

IMG_3964

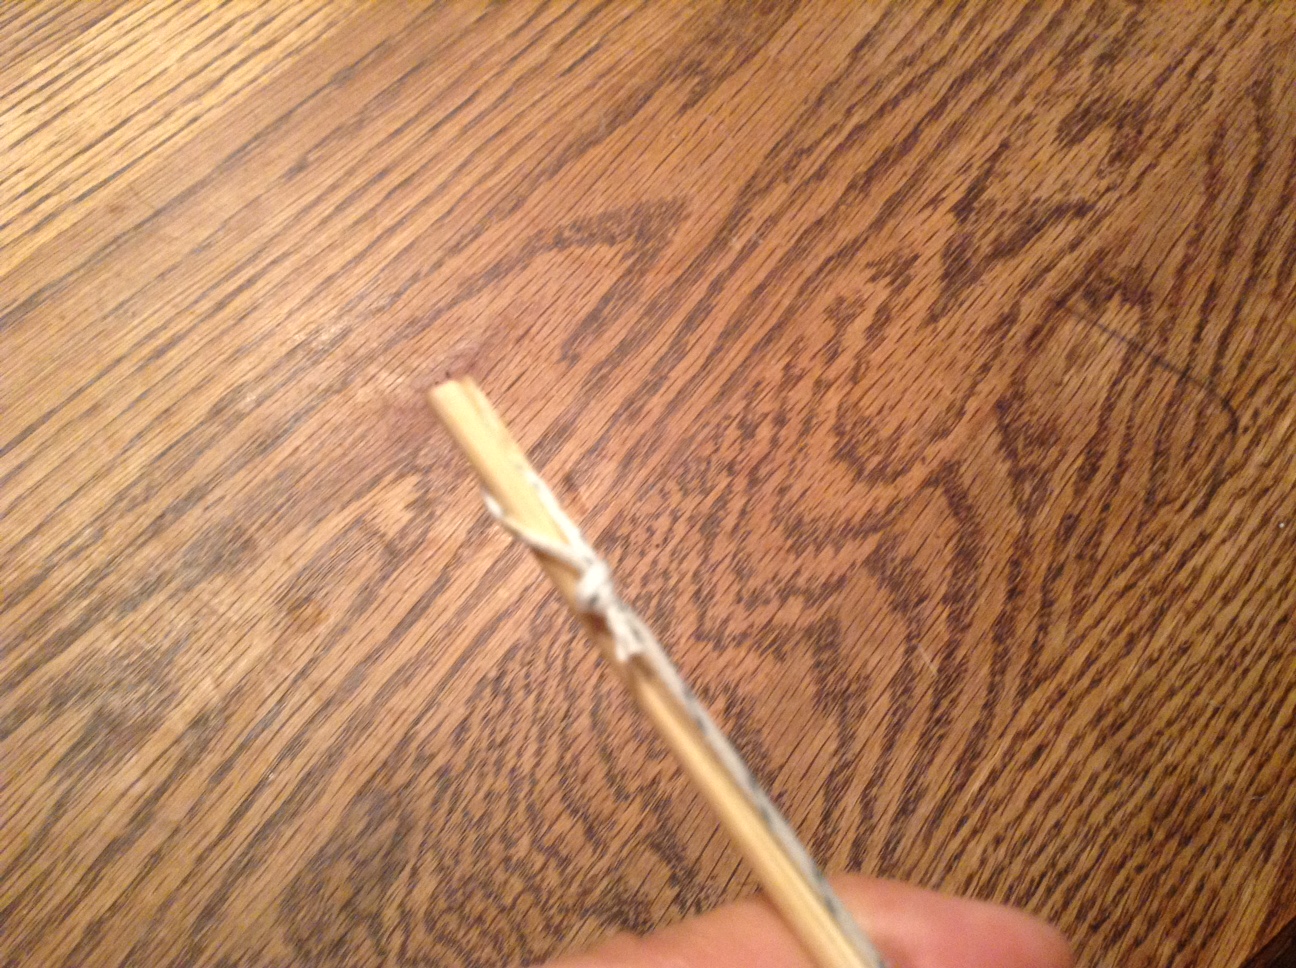
Here I am pulling the piece of metal out with my dental pick

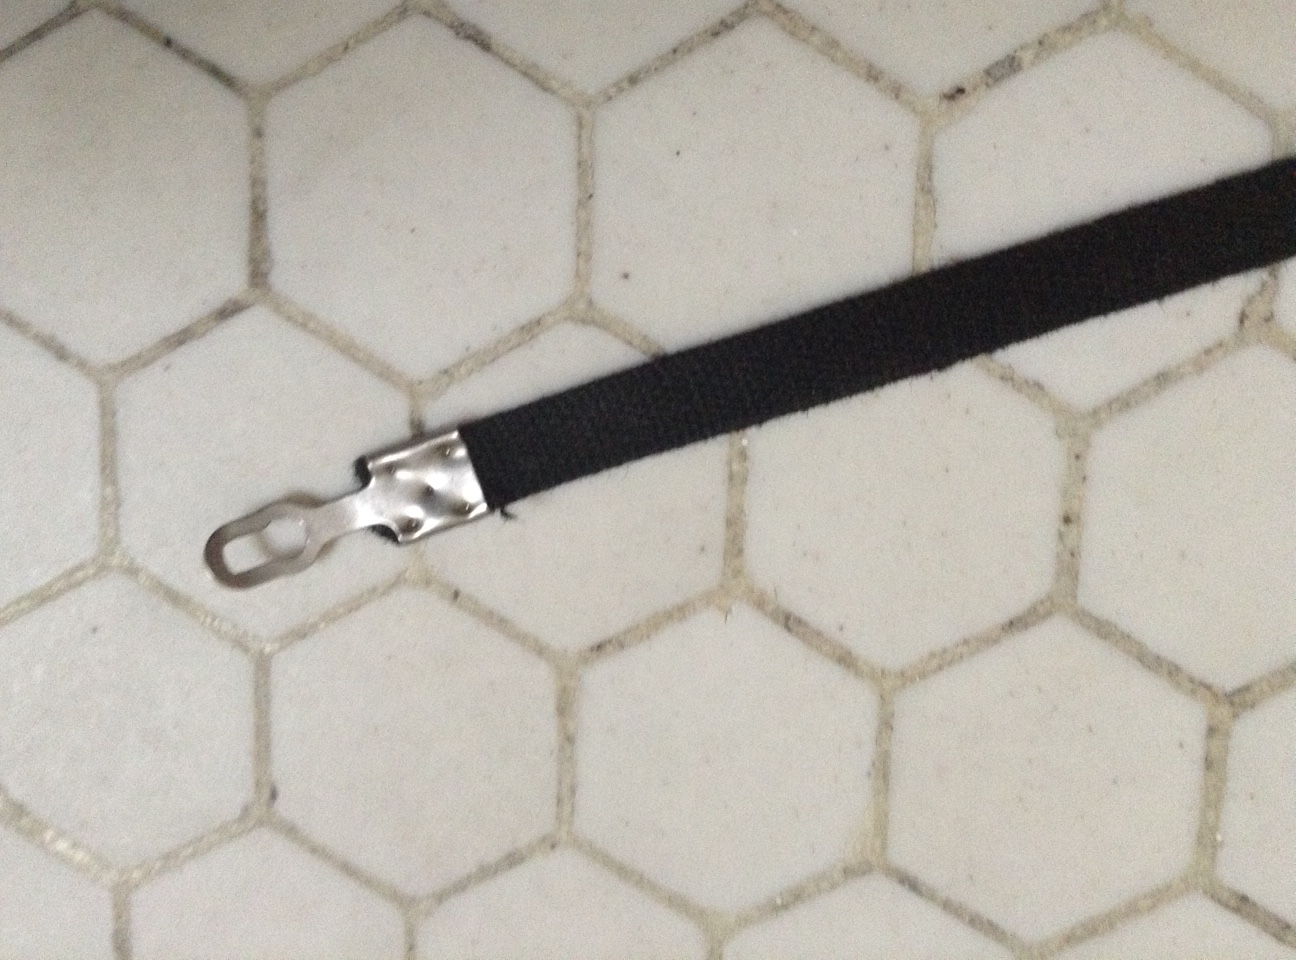
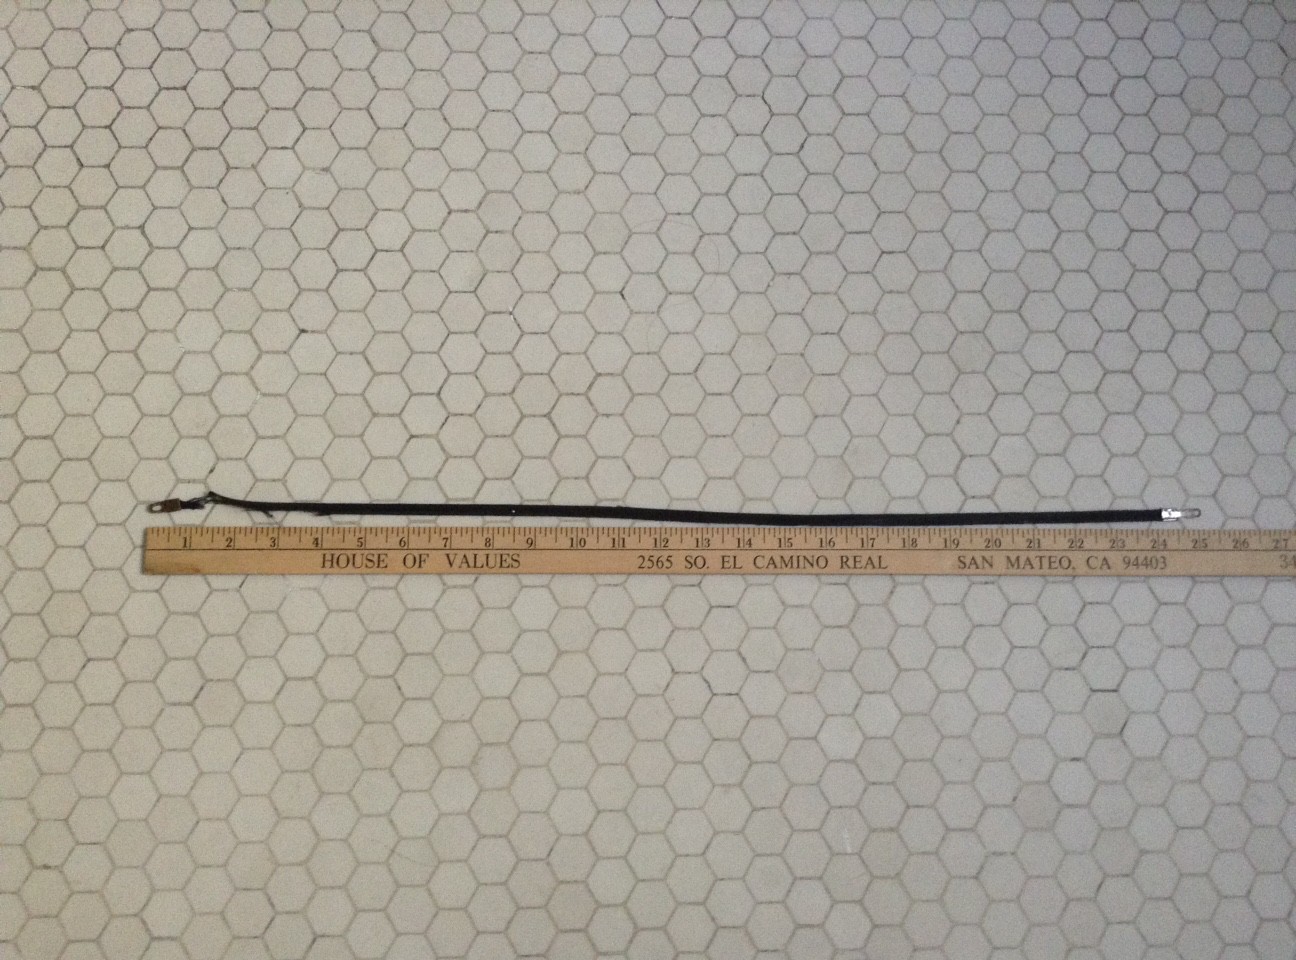
Oh no, I thought.  Is it a broken piece of the ribbon vibrator mechanism?  I pulled it out.

IMG_3967

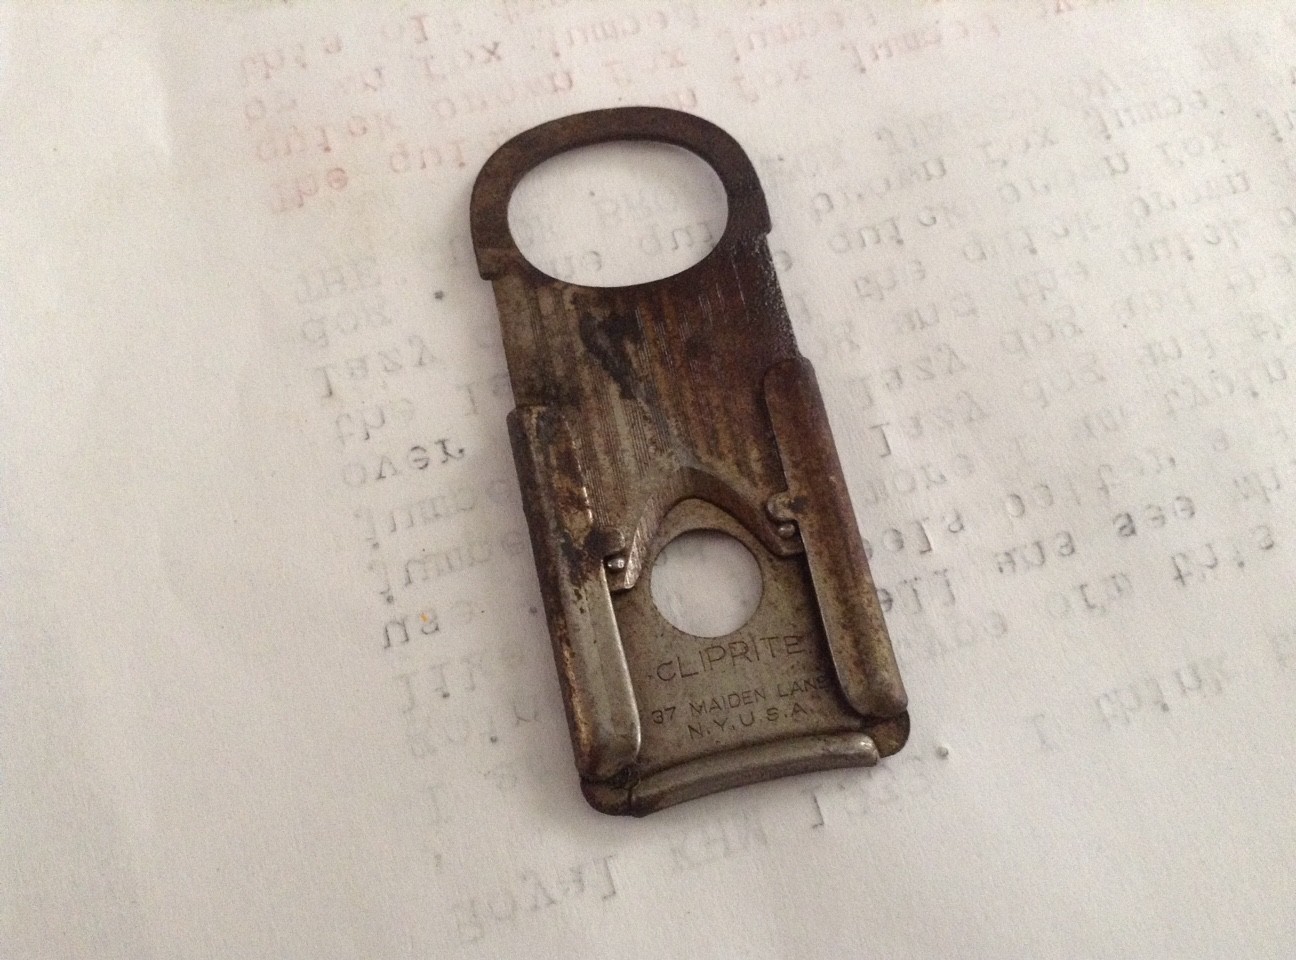
It looks like a typewriter part, but stamped on it are these words:

CLIPRITE, 37 Maiden Lane, NY USA

I did a quick Google search and found that it was an antique cigar cutter similar to this one. The image in my mind of someone smoking cigars and pounding away on this old typewriter Back in the Day gives me a chuckle. “Dammit, where’d my cigar cutter go?”

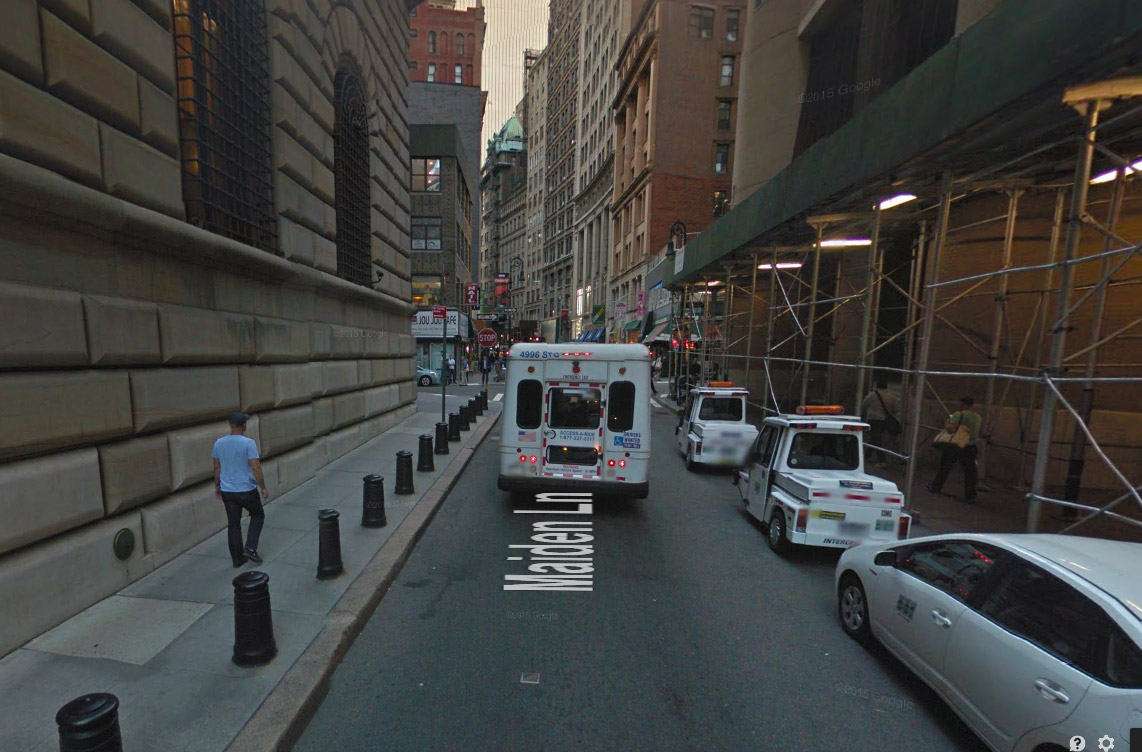
Here is 37 Maiden Lane in New York where the Cliprite company used to be headquartered:

maiden

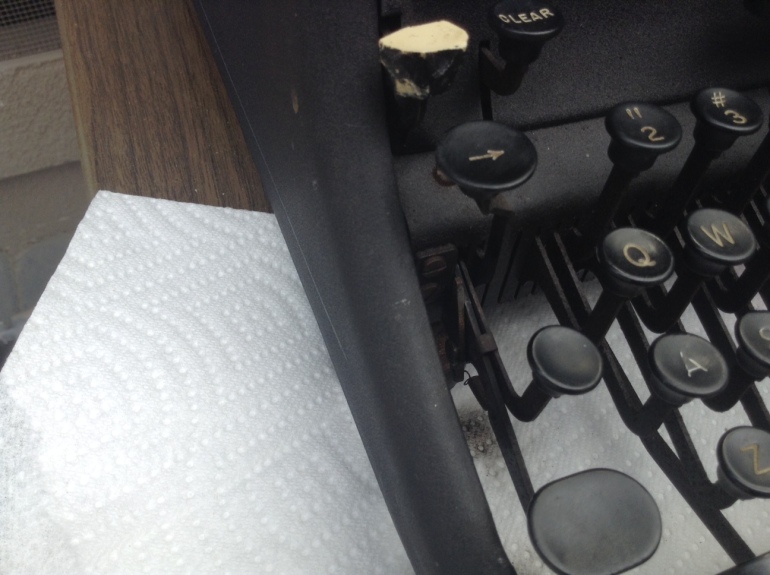
I am going to de-rust, de-grease and clean the typewriter over the next few days. One aesthetic issue is the areas of flaking black paint.

IMG_3969

Should I stabilize those flaking areas or remove the flaking edges of paint?  Should I cover bare metal areas? Sharpie or Testor’s black paint pen?

IMG_3968


A Lady in Peril Rescued: Royal Aristocrat

I was out and about today and stopped in at a few town thrift stores looking for brown plastic cases for Operation: SCM Datecode.  I  didn’t find any, but I did run across this lovely but very dirty Royal Aristocrat.

My collection is a little Smith-Corona / Corona heavy and I have been thinking I should branch out and see what all the fuss is about other typewriter brands: the Royals and the Underwoods etc.

This Royal was filthy. Not a problem – I like to clean things up.  The draw cord was broken.  I can fix that (probably).

IMG_3822

Uh oh.

IMG_3818

What is wrong with people?  You know, we are living in a SOCIETY.

I left the shop feeling irritated not just at the key-chopping but at the sheer half-assedness of the evil doing. It appears that the chopper took a few keys, got bored and quit. And they took the Shift Freedom keys.  So mean.

I thought about the typewriter all day. Its ultimate fate would probably be to have the remaining keys clipped off and the body dumped in a scrap heap.  NO. IT SHALL NOT BE. Not while I have $30 in my pocket!

I went back and took the Royal Aristocrat into protective custody.

1939 Royal Aristocrat
S/N B-889364


About those missing key tops:  a clever typospherian at Typewriter Talk salvaged a key-chopped typewriter with faux craft keys.  I swung by my Joann Fabrics and picked up similar items for $5.00:

IMG_3824

I’ll clip off the loops on the faux keys, print out Royal Aristocrat style letters and attach the faux keys to the broken stems…somehow.

Last thing: did I mention that she is really dirty? I had problems finding the serial number because it was under a layer of filth.  Anyhow, while I was turning her over trying to find the serial number, a piece of metal fell out. Oh lordie – where does that go?  Fortunately, it wasn’t a typewriter part, but an old watch face that fell out.  What other secrets do you hold, Aristocrat?

Not a part of the typewriter.  Whew.

Not a part of the typewriter. Whew.

The Hot Mess: Corona Four

While doing research on my Oliver No. 9’s problems, I came across an entertaining post about a Remington Travel-Riter DeLuxe by Robert Messenger. He described its ribbon vibrator and the spool capstans as “banjaxed”.  I thought to myself: I will add that word and all its imaginary variations to my vocabulary.

My Oliver No. 9 isn’t the only train wreck in the house. While undeniably sexy, our Corona Four is thoroughly banjaxed. She has lived hard, but has obviously had a grand old time. I have photographed her in all her magnificent banjaxment.  Here we go:

The Toll of Hard Living

  1. Frozen carriage.  I had hoped that it was just a case of the carriage lock being on, but I really don’t think so.
  2. Ribbon vibrator in permanent “up” position – gives her a bit of a surprised look
  3. Broken space bar
  4. Sunken keys with missing linkage
  5. Bent typebars
  6. Deceased ribbon
  7. Rust
  8. Generalized grime
Go home, Corona Four, you've had too much to drink.

Go home, Corona Four. You’ve had too much to drink.

Here’s some more pictures of her in alluring disarray:

I can clean her up – she has the potential for stunning looks.  However, I don’t want just a display specimen. I want the Corona Four working and earning her keep in my stable of machines.

I am going to take the Corona completely apart. After I finish the Oliver.

Making a Carriage Draw Cord Hook & Reattaching the Cord to the Mainspring of an Oliver

My Oliver is a little miracle of Chicago engineering.  It has a very clever draw band and carriage set up that works like this: a small hook attaches to the end of the draw band / draw cord.  During routine carriage removal, this hook catches mid-machine on a little two-prong fork so that the draw cord doesn’t fly loose from the mainspring and cause the mainspring to lose tension.

Continue reading

Shift Lock Key Not Holding

Many of the problems with our old typewriter seem to be the result of the overly enthusiastic application of oil and lubricants and the accumulation of dust and debris over the course of close to seventy years.  I am still scrubbing out the thick gooey gunk from the insides of the machine. Because of this, I am reluctant to put any oil in the newly cleaned parts.

Back to the problem at hand: the left shift lock key was working in a lackluster and intermittent manner.  My hunch was that it was gunk-related: nothing a little denatured alcohol and a careful cleaning couldn’t fix.

The little metal tooth (finger?) was very greasy and dirty

The little metal tooth (finger?) was very greasy and dirty

The shift lock has a little spring that releases a metal finger that “locks” into a notch under the shift lock key.

The metal finger felt a little sticky, so I cleaned it with denatured alcohol (being careful not to get the denatured alcohol on the exterior of the typewriter as it can take off the finish) and worked it back and forth.  It freed up and moved back and forth easily after a little cleaning and the shift lock key began to work consistently.

The right side shift lock has its issues. The little metal finger was completely immovable due to goo and rust. I freed it up as well with careful cleaning and soon it was swinging easily.  However, the right shift lock has another significant problem: a broken spring.

You can see the broken spring hanging down

You can see the broken spring hanging down

I removed the spring from the key.  It’s a fine, tiny thing.  I will try to find a replacement at our hardware store.

It's a tiny thing.  It seems to have rusted aprt.

It’s a tiny thing. It seems to have rusted apart.

Cleaning the Type on My Remington Rand Typewriter

I was typing along in nonsense for the pure joy of it when I looked down and thought, “Wow, the type looks very gunked up.”

bad

So I opened the lid and noted that some letters (such as “e”) were filled with gunk.

IMG_3152

So I pulled out my trusty denatured alcohol, toothbrush (my husband’s, not mine) and paint brush and got to work scrubbing each type letter.

IMG_3106

This is what I started out with:

1

After a few minutes of gentle scrubbing and wiping:

2

Much better, but a few of the letters needed a little more attention:

3

Lovely!

Swapping Out a Missing Key

After we fixed the major functional issues of our old typewriter (replacing the drawband, setting the margins, cleaning the keys and getting them moving, replacing the ribbon), we addressed a comfort issue. The key “T” was missing its key cap.

It seemed like a minor problem until we started typing with our newly functional typewriter.  Who knew “t” was so popular?  Our fingers were soon sore from striking the naked stem of the key. The stem was rusty and sharp and though we are up-to-date with our tetanus shots, we decided to do a switcheroo.

The shift lock button on the right had a broken spring and wasn’t functional.  Since we had a functional shift lock on our left, my husband gently pried the blank key off the stem with his fingers and put it on the bare “T” stem.

IMG_3132

You can see the broken spring hanging down from the shift lock button

Typing was much more pleasant with a key rather than a bare stem.

I am going to search on eBay and see if I can get a replacement composition key for my right shift lock – I know that I will eventually replace that broken spring and make it functional again.

IMG_3131


Fixed the Bell on My Remington Rand KMC

When we first dragged the typewriter in from the curb, we could hear the bell ring now and then when we played with the typewriter. On our typewriter, there is a soft bell that *dings* when you are about five spaces from the end of the line to alert you that you are about to hit the right margin.

After I blew out the dust and debris and cleaned it up with denatured alcohol, the margin bell stopped ringing all together.  I was worried that I had broken something (spring?) in my cleaning.

I removed the top “hood” that protects the margin area:

It pops right off

It pops right off

I popped off the back and checked the bell:

The bell is on the right of this picture

The bell is on the right of this picture – it has such a soft, pleasant *ding*

I cleaned all the inner workings with denatured alcohol (being careful not to get it on the painted surfaces), paying special attention to a little wiggly pawl that hangs down and trips the bell when the carriage is within five spaces of the right margin.

The pawl was a little stiff with goo, but I got it to wiggle freely by painting it carefully with denatured alcohol. And guess what?  The margin bell began to *ding*.

Once the little pawl was moving freely, the bell began to chime as it should.

Once the little pawl was moving freely, the bell began to *ding* as it should.


Broken Drawband Repair on My 1948 Remington Rand KMC Using Fishing Line

One of the first things we noticed about our old typewriter after we had hauled it in from the curb was that the carriage did not advance with typing or hitting the space bar.  My husband noted a suspicious strip of fabric strapping hanging from under the right carriage:

The suspicious stray threads hanging from under the carriage

The suspicious stray threads hanging from under the carriage – that doesn’t look good.

On further investigation we found the other piece of the fabric strap still attached to the mainspring drum on the left side of the carriage.

From the left of the typewriter, you can see the old drawband on the maincase

From the left of the typewriter, you can see the old drawband on the mainspring drum

A quick internet search confirmed our fears: the drawband that pulls the carriage along while typing was broken. I did find some great information on replacing the drawband:

http://typewriter.boardhost.com/viewtopic.php?id=107

http://oztypewriter.blogspot.com/2013/11/reattaching-drawband-to-mainspring-on.html

Though the above links describe drawband repair on non-Remington typewriters, the general concept is the same: replace the drawband with something strong and attach it to a wound-up mainspring so that the carriage will be pulled along as you type.

Here’s a video of a gentleman replacing the drawband in an Oliver – I found it very helpful though my Remington Rand set-up was very different:

Replacing My Typewriter Drawband

I removed the old broken drawband from the mainspring drum and laid it out.  It was pretty cool looking, like a super tightly woven shoelace. Looks like it should have lasted a million years.

The drawband end that connected to the main case

The drawband end that connected to the mainspring

With the two ends laid out, the original drawband was about 25.5 inches long.

IMG_3097

Since they probably haven’t manufactured these in about 50 years, I went to my local sporting goods supply shop and bought 80 lb fishing line (I didn’t need 400 yards):

IMG_3099

IMG_3100

I liked this fishing line because it was braided and looked like it would be easier to knot that regular monofilament.

I cut the fishing line and added knotted loops at both ends, making it 25.5 inches in length.

Made a loop.  This braided fishing line was very easy to work with.

Made a loop at each end. This braided fishing line was very easy to work with.

Starting on the right side of the typewriter, I attached the first loop to where the old drawband was attached – a little notched projection.

One loop goes on the notched projection under the end of the carriage

One loop goes on the notched projection under the end of the carriage; this picture was taken after I fed the fishing line through to the mainspring and attached it. I think I made the knot a bit close to the loop.  Hope it holds.  If not, I’ll film replacing the drawband.

Next, I taped two wooden skewers together to make a tool that I could use to feed the fishing line under the carriage to the mainspring. A huge thank you to Robert Messenger of oztypewriter.blogspot.com who suggested using a wooden meat skewer.

Taped together, my skewer is about 20 inches long

Taped together, my skewer tool is about 20 inches long

Like Robert Messenger, I modified the end of one wooden skewer with a utility knife and slipped the knotted loop over the slit.

I then fed the skewered fishing line straight under the carriage to the mainspring, being careful to feed straight across the back to the mainspring drum.

loop inserted into a slit cut into skewer

Loop inserted into a slit cut into skewer. This held the fishing line as I fed it through to the mainspring.

The path the fishing took.  I used wooden skewers as a tool to guide it straight through the typewriter

The path the fishing line took. You can see the attached fishing line in white just below my dotted lines.

Once the fishing line was fed through the typewriter to the mainspring, I came to the tricky part: winding up the mainspring and attaching the looped end of the fishing line to it without it unwinding.

I put on disposable gloves for this because it was dirty work and the little teeth of the mainspring drum bit into my fingers. My hands are pretty small, but this was a very tight situation.

I pulled the looped end of the fishing line out of the way for the time being.

I then wound the mainspring clockwise 3.5 turns. It got to a point where it was difficult to turn and hold a grip on it. I kept losing hold of it and it would rapidly unwind and the little teeth of the mainspring bit into my fingers like mad piranhas.  On my last attempt, I wound it up clockwise 3.5 turns and with a pair of tweezers, set the fishing line loop onto a hook on the mainspring drum. I let go and the mainspring wound up the extra fishing line, pulling the line taught.  There was a enough tension for the carriage to advance with typing.  I had a semi-functional typewriter.

I will try to post a video of how I replaced it. Since I am not an expert knot maker, I may have put the knot too close to the right loop.  It may come undone; and if I have to replace the drawband again, I’ll film it for posterity.