My Oliver is a little miracle of Chicago engineering. It has a very clever draw band and carriage set up that works like this: a small hook attaches to the end of the draw band / draw cord. During routine carriage removal, this hook catches mid-machine on a little two-prong fork so that the draw cord doesn’t fly loose from the mainspring and cause the mainspring to lose tension.
I love being able to remove the Oliver carriage so easily – I’m able to brush out toast crumbs and candy wrappers easily from beneath the carriage. Many thanks to Martin Rice for his video on how to remove the Oliver carriage. Now that my Oliver’s carriage rails are de-rusted and lubricated with PB Blaster, the carriage slides easily along the rails and off.
My mainspring was fixed, and it was time to hook up the draw cord. First I had to address my Oliver’s missing draw cord hook.
Martin Rice has a good video that discusses the Oliver carriage draw cord hooks he’s made.
Tony Mindling has a close-up of a classy hook he fashioned from brass stock.
I started with a picture hanging hook like this:

It was lightweight enough for me to bend easily.
Below is the carriage draw cord hook I made from the picture hanging hook. It’s not pretty, very misshapen actually. As my mother would have said, “That hook is from hunger!”
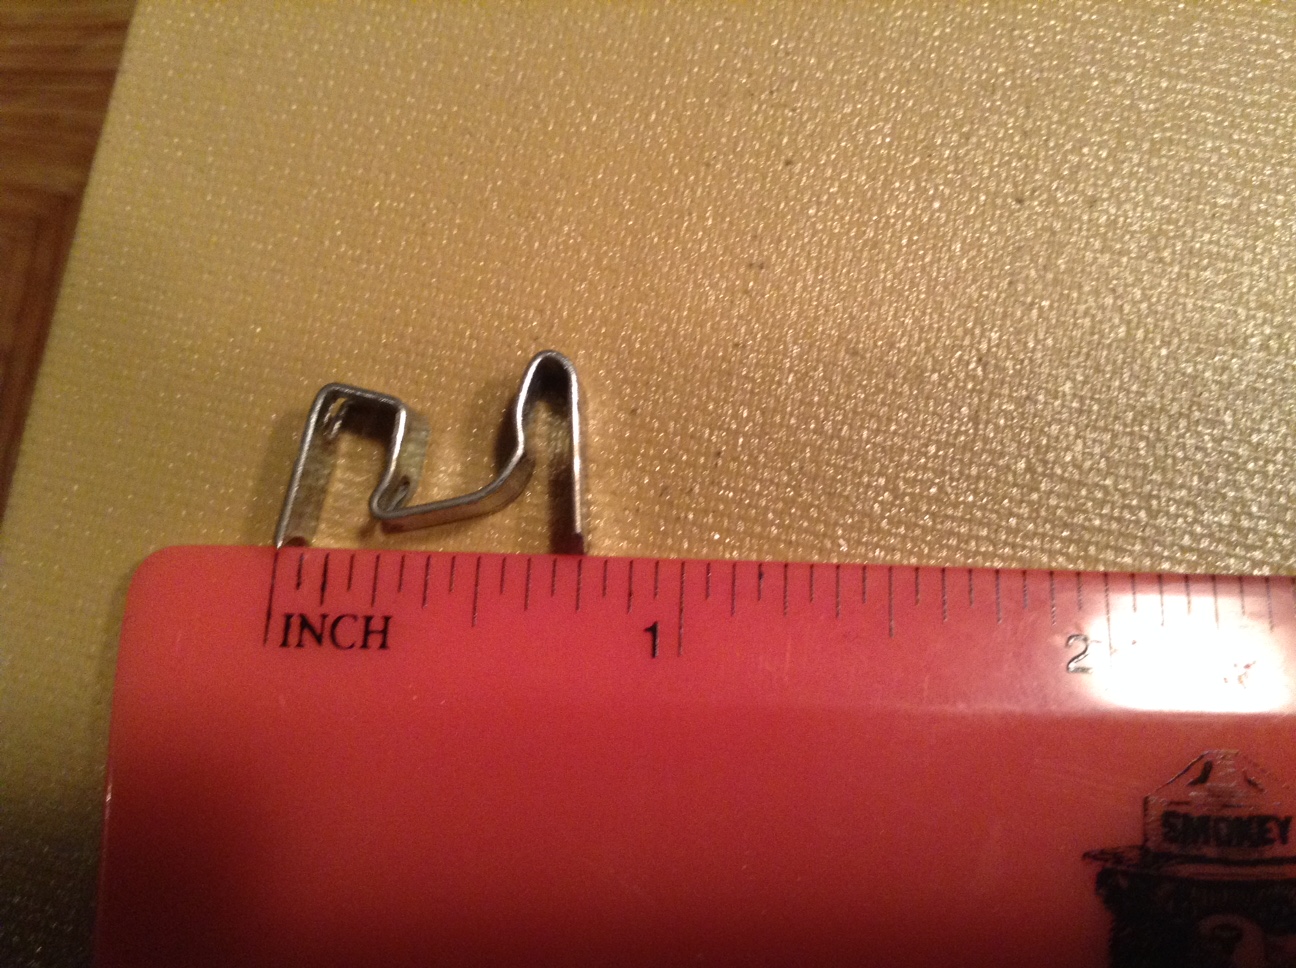
It works though. It’s about 3/4″ in height – just tall enough to catch the carriage as it rolls by on the carriage rails.
I will probably make another one since this hook is a bit embarrassing; however, I was just so excited to watch the hook, the carriage and grabber fork all in action together that I eased up on my quality standards.
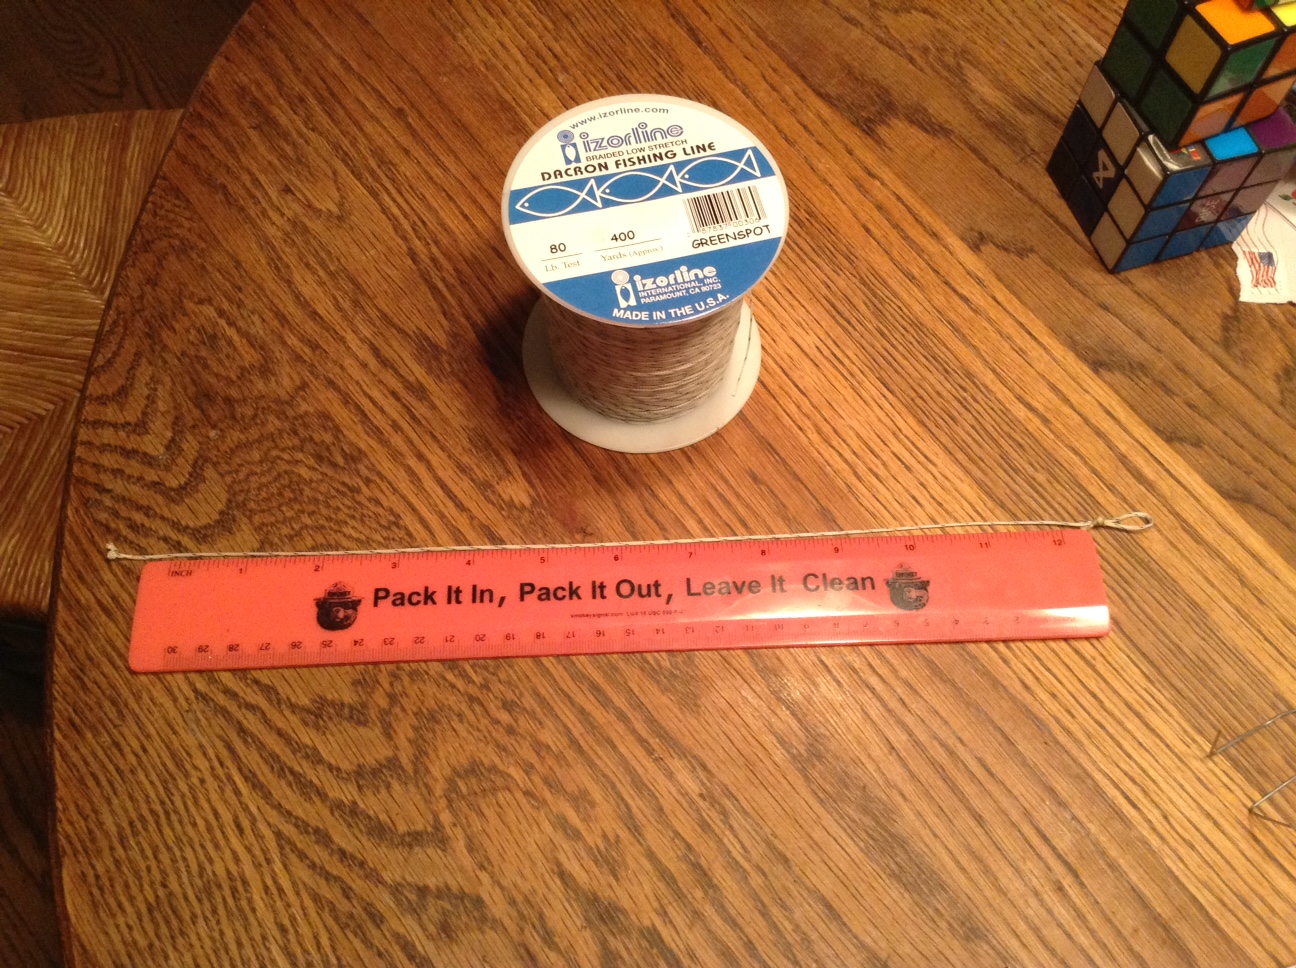
I made a drawband / carriage string / carriage return cord out of 80 lb fishing line I had on hand from my previous drawband repair. For the Oliver, it’s about 13 inches long. It has a nice big knot at one end and a loop at the other
The loop went around my homemade hook. I will re-fashion my hook with a hole so that the cord is better secured to the hook, but this works for now. It looks bad, I know.

Then it was time to reattach the draw cord to the Oliver’s mainspring. The idea behind carriage advancement while typing is that wound tension from the mainspring pulls the carriage along from right to left via the draw cord. So: when you reattach the draw cord you have to maintain good tension on the mainspring at all times
First I wound my spring barrel carefully 3.5 turns counter-clockwise,

Hand model winds the spring counter-clockwise
I then poked the end with the big knot into the hole with slot in the side of the spring barrel, being careful not to lose tension.

I used tweezers to poke the knot into the hole and pulled it to the right so that it caught in the slot next to the hole.
I then wound the fishing line counter-clockwise onto the barrel being careful not to lose tension on the spring inside.
I then passed the fishing line through the little pigtail on the two-pronged grabber fork and secured the hook to the fork in the center of the machine.

Here I come with the hook, Little Two-Prong Fork.
Here it is secured to the fork and pigtail:

Through the pigtail and hooked onto the fork
Remember: you have to maintain 3.5 rotation tension on the spring at all times and keep your cord at the level of the spring barrel; otherwise, it will slip and unwind.
Let’s try it out. Here comes the carriage flying down the rails:

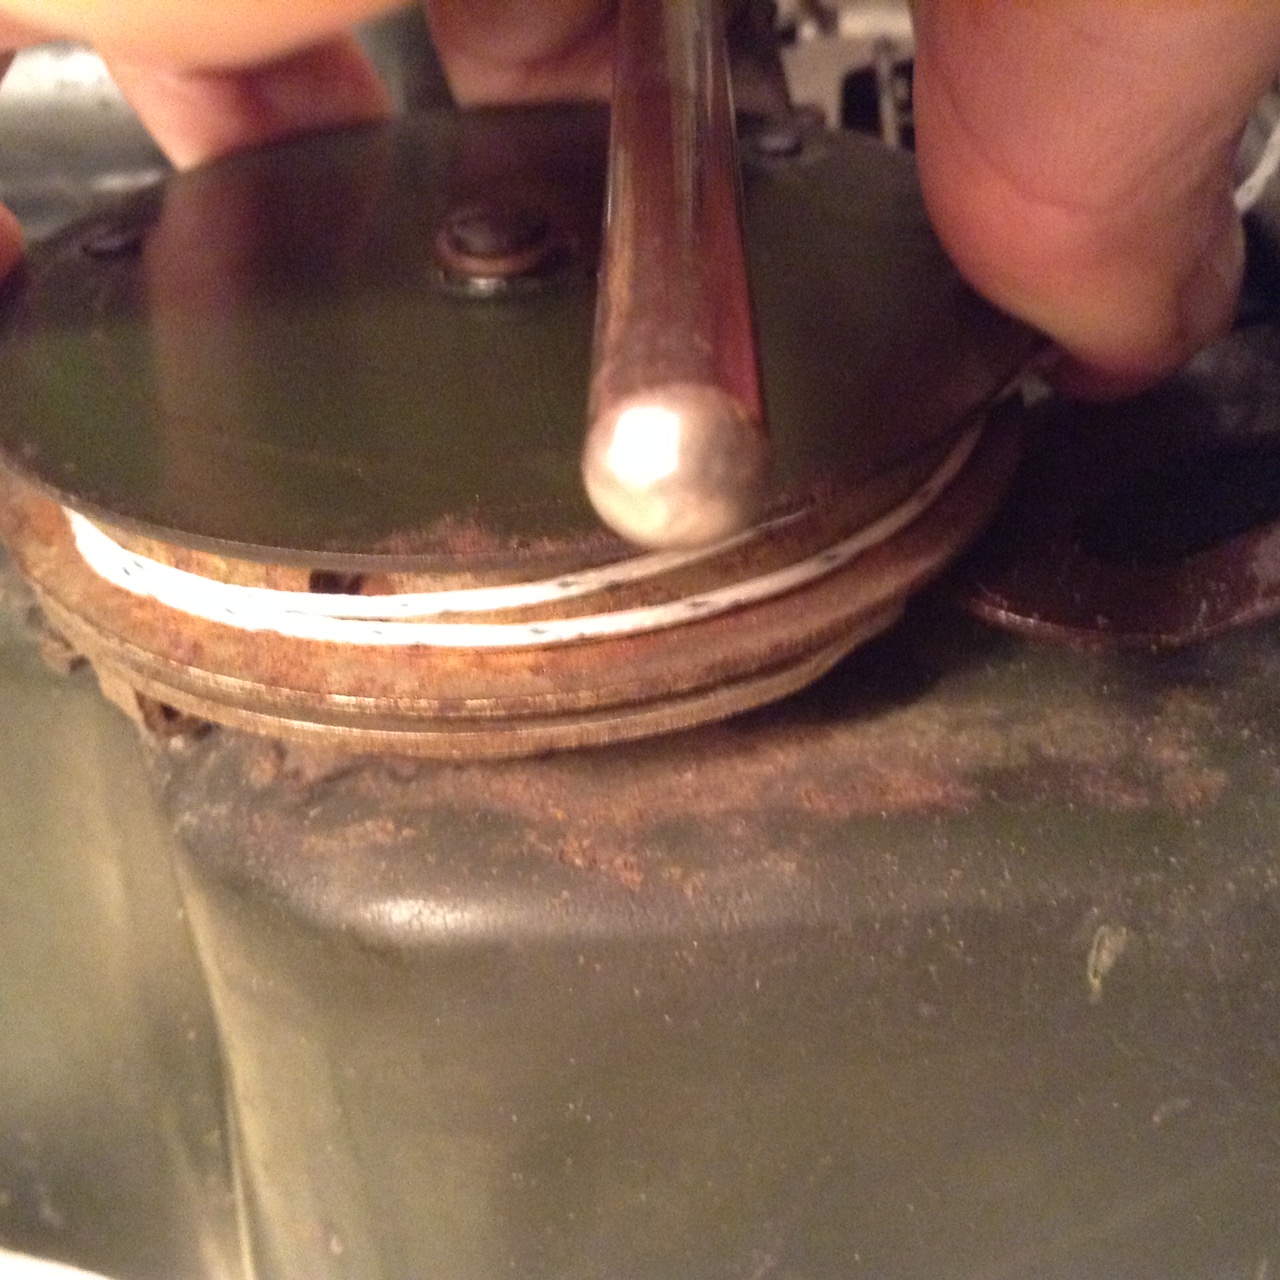
The hook catches the carriage for a ride on the rails. You can see the serial number in the foreground.
Perfect height! The hook catches onto the carriage as it rolls by down the rails.

The end of the line
Made it to the end and holding up fine. I really admire the Oliver’s cleverly simple system.
This reminds me of a train riding down the rails and picking up mail:

Brava!!
I love that film of the mail train. Very efficient.
LikeLike
Thank you!!! Easy to understand.
LikeLike
Thank you. I have similar problem with my old senta typewritter. Hope I can fix it this way.
LikeLike
I wish you luck. Repairing the draw cord is not too difficult. Mainspring problems are more challenging especially if the mainspring drum is difficult to access.
LikeLike