Monica and Stephen are a delightful local couple who are really into typewriters. They not only collect, but they organize type-ins and bring people together for typing fun. I was a little late to the Monica and Stephen Party, but I’m so glad to know them now. Good people.
I recently fixed up a problematic Remington for them. When they came to pick up Barney the Purple Porto-Rite, they brought me two fabulous but dysfunctional Hermes typewriters, a 1957 Hermes Rocket, serial number 5580633 and a 1958 Hermes 2000, serial number 2188582.
Monica and Stephen were fresh from three recent type-ins: 1) Tom Furrier’s retirement type-in in Massachusetts, 2) the type-in they organized at a local public library here in Northern Virginia, and 3) an event in Pennsylvania, the Y.E.T.I. (York Epic Typewriter Initiative) type-in. Stephen and Monica are all in!

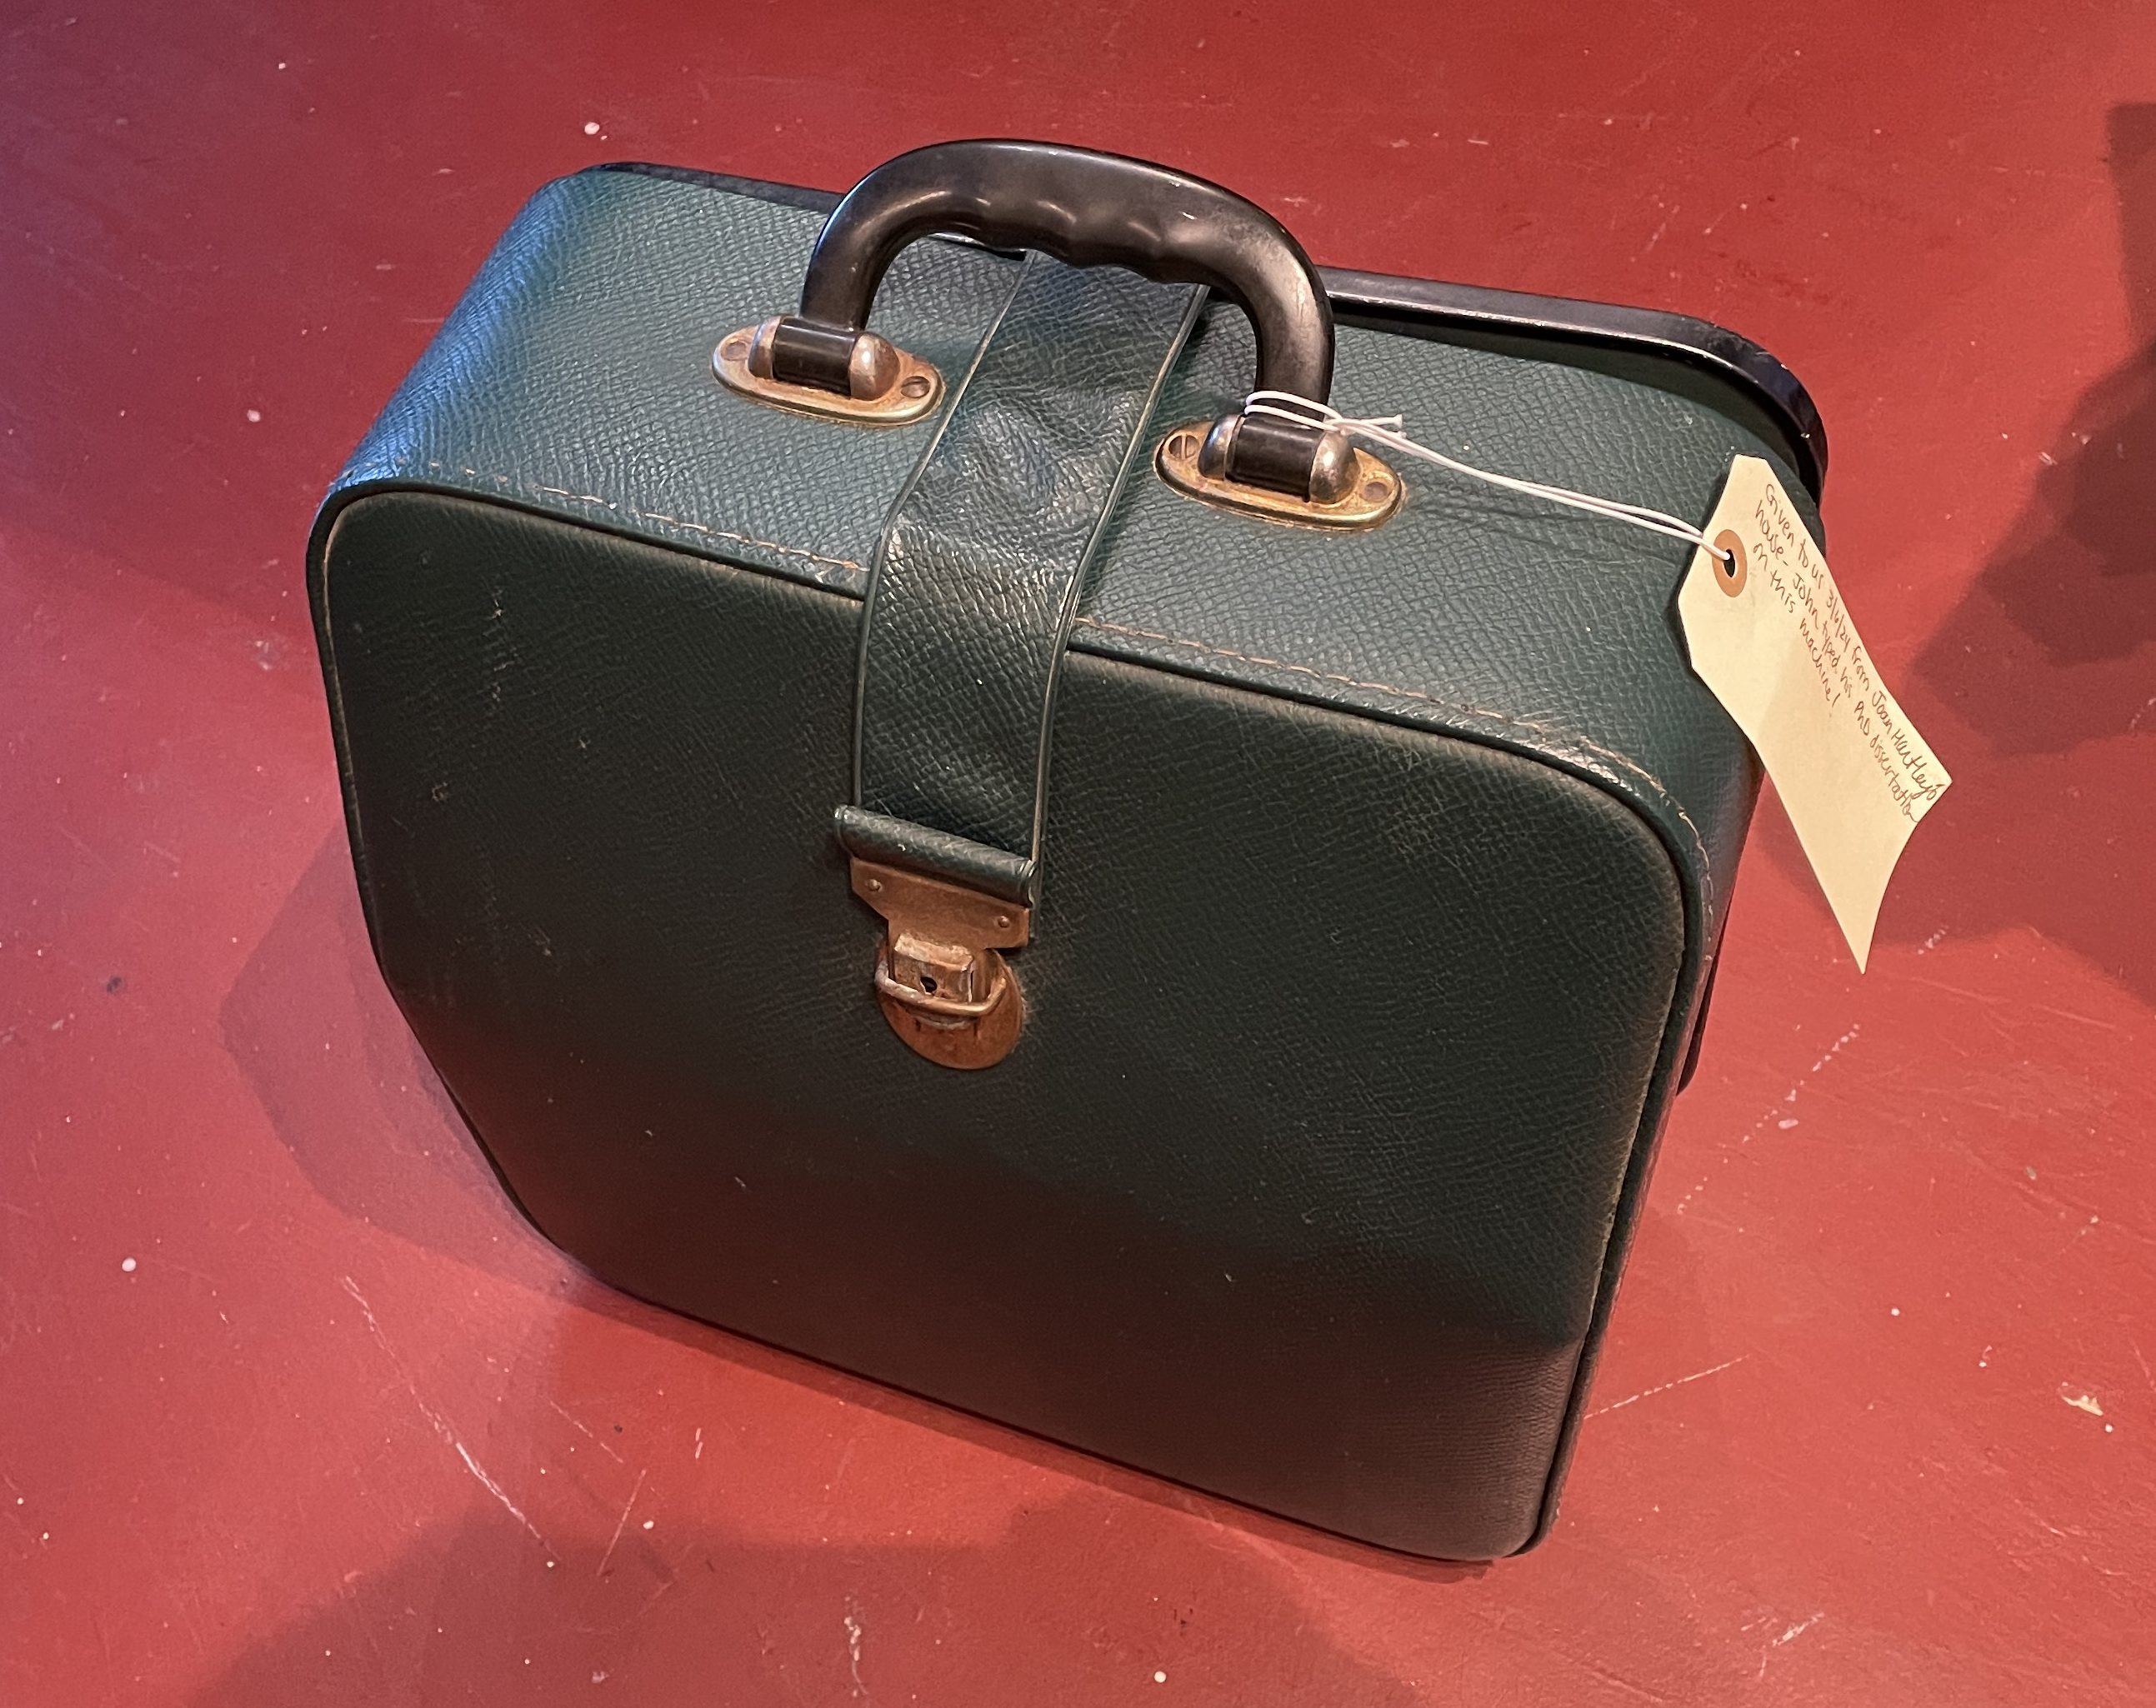
What they brought me looks like a mother-daughter pair. The Hermes 2000 is a sensible matronly type. She even comes with an enormous green pocketbook where she can stash tissues, cough drops, chapstick, and a sewing kit.
The Rocket is her errant teenage daughter who sneaks out at night to smoke cigarettes with her friends. But this Rocket wasn’t going anywhere—the typebars were jammed. She’s a bit sullen.

The Hermes 2000 was pretty dirty with a dead “A” key and a broken platen knob.

I planned to 3D-print a platen knob replacement. I figured that there was a detached link to the “A” key that would be an easy task to rehook. Otherwise, the Hermes 2000 just needed a good clean. It would be a pleasure cleaning up this lovely typewriter.
The first thing I did was download some Hermes resource material at TWDB Operation OOPRAP:
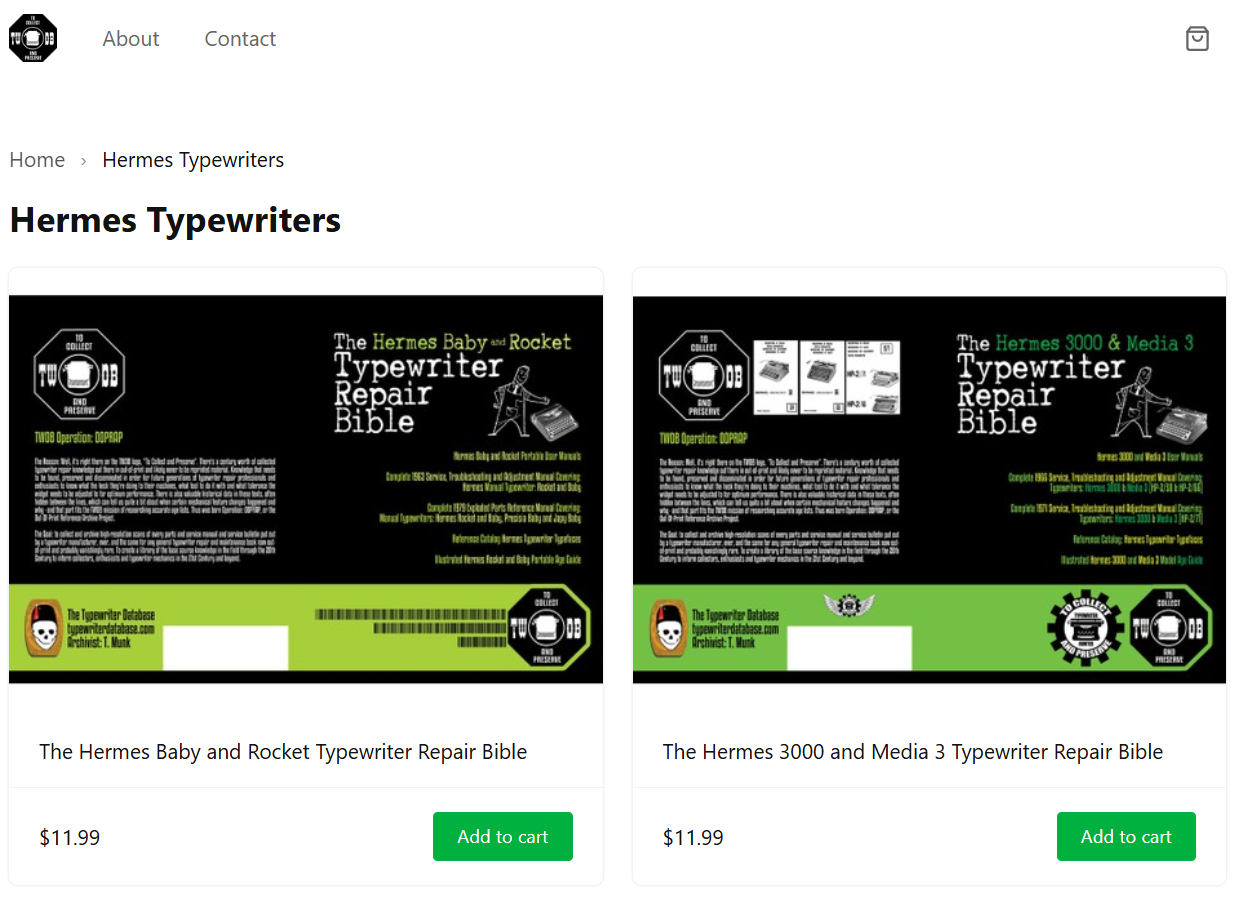
There wasn’t a Hermes 2000-specific repair manual available at Operation OOPRAP, but I got the Hermes 3000/Media 3 manual to refer to.
I was over the moon with this pair of Hermes. I had never worked on either a Rocket or a Hermes 2000, so this was virgin territory for me.
The Rocket was jammed and not typing, though the carriage moved with the carriage release and the spacebar was working. It felt like the line lock was engaged, but I would need to remove the bottom plate to check out the situation.
I stripped down the Rocket. Its cover plates are surprisingly thin and light and strong like a metal egg shell. Could it be Mithril? [You might think I’m a big nerd, but I actually grew up in Middle-earth—I’m still in touch with high school friends there]
Out of its case, the Rocket needed to sit on a flat counter or supported on blocks to type. I slipped a towel under the naked machine, but the belly guts dragged on the towel.
Flipping it and looking underneath the machine for some time, I finally saw the reason why it was jammed up. A little tongue from the universal bar was hitting a metal tab in the line lock system causing the line lock to permanently engage. I formed the tab to allow a tiny bit of space between the two pieces, just enough to clear the universal bar tongue in normal typing but close enough so that the line lock will engage when the typewriter reaches the end of the line. The typewriter was now free to type.

The next problem I dealt with was the Rocket’s carriage return lever which was bent so badly that the line spacing mechanism selector couldn’t index.
 ‘
‘
I looked through photos of Rockets at Typewriter Database to determine how far up I needed to form the bent carriage return lever. The lever is very thin, and I was able to form it easily with my bare hands. This is good enough, and now the line spacing selector works.

I did some typing and found that keys in the center of keyboard sometimes didn’t trip the escapement. Though I didn’t see any obvious source, I wondered if the Universal bar was subtly bent.

Joe Van Cleave has an interesting video in which he describes just such a problem on his Hermes Rocket.
Per the Hermes Baby/Rocket manual, trips for individual keys can be adjusted by forming the little tongues than curl around the universal bar.
The Hermes Baby/Rocket manual has excellent explanations of what should happen during each phase of escapement activity and offers useful troubleshooting advice. I have not come across such clear descriptions in a typewriter repair manual before.
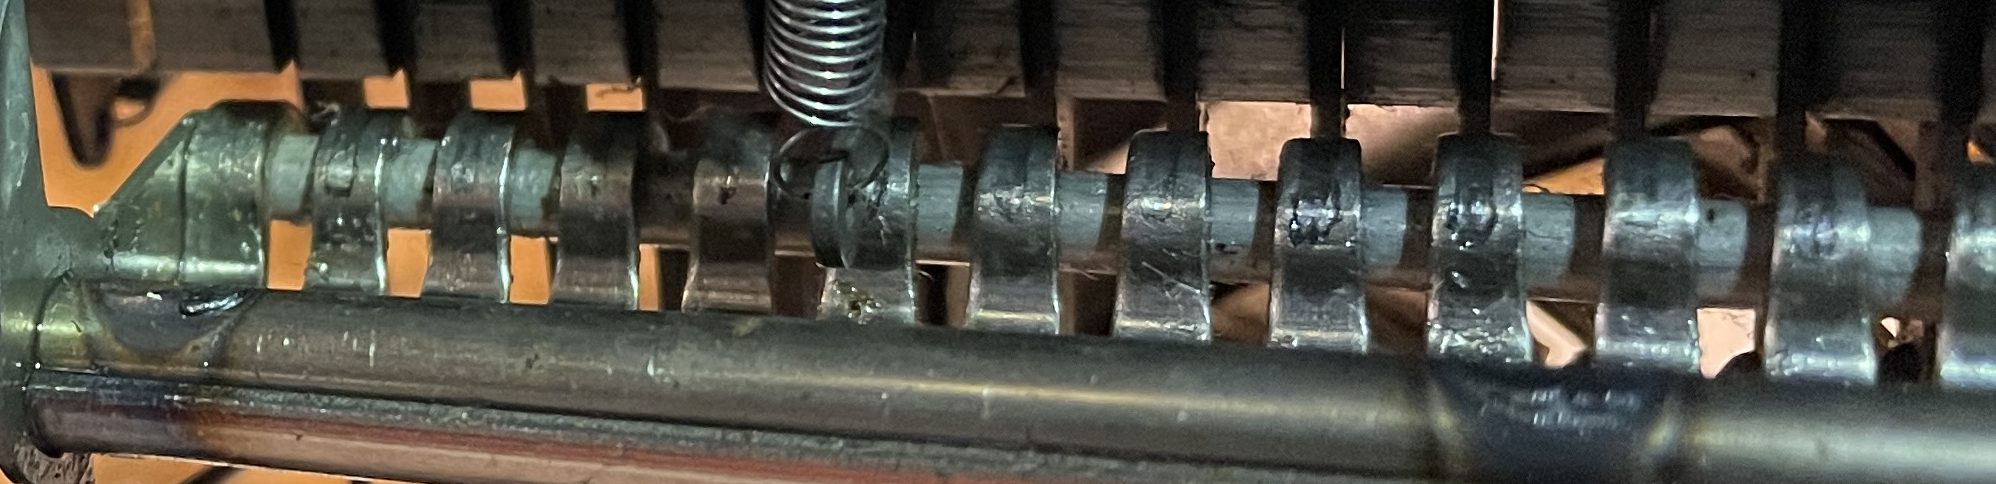
I decided to adjust the first trip globally because all the keys were tripping at the platen, not the 4 to 7 mm (.16 to .28″) that is recommended for the first trip per the Hermes Baby/Rocket manual.

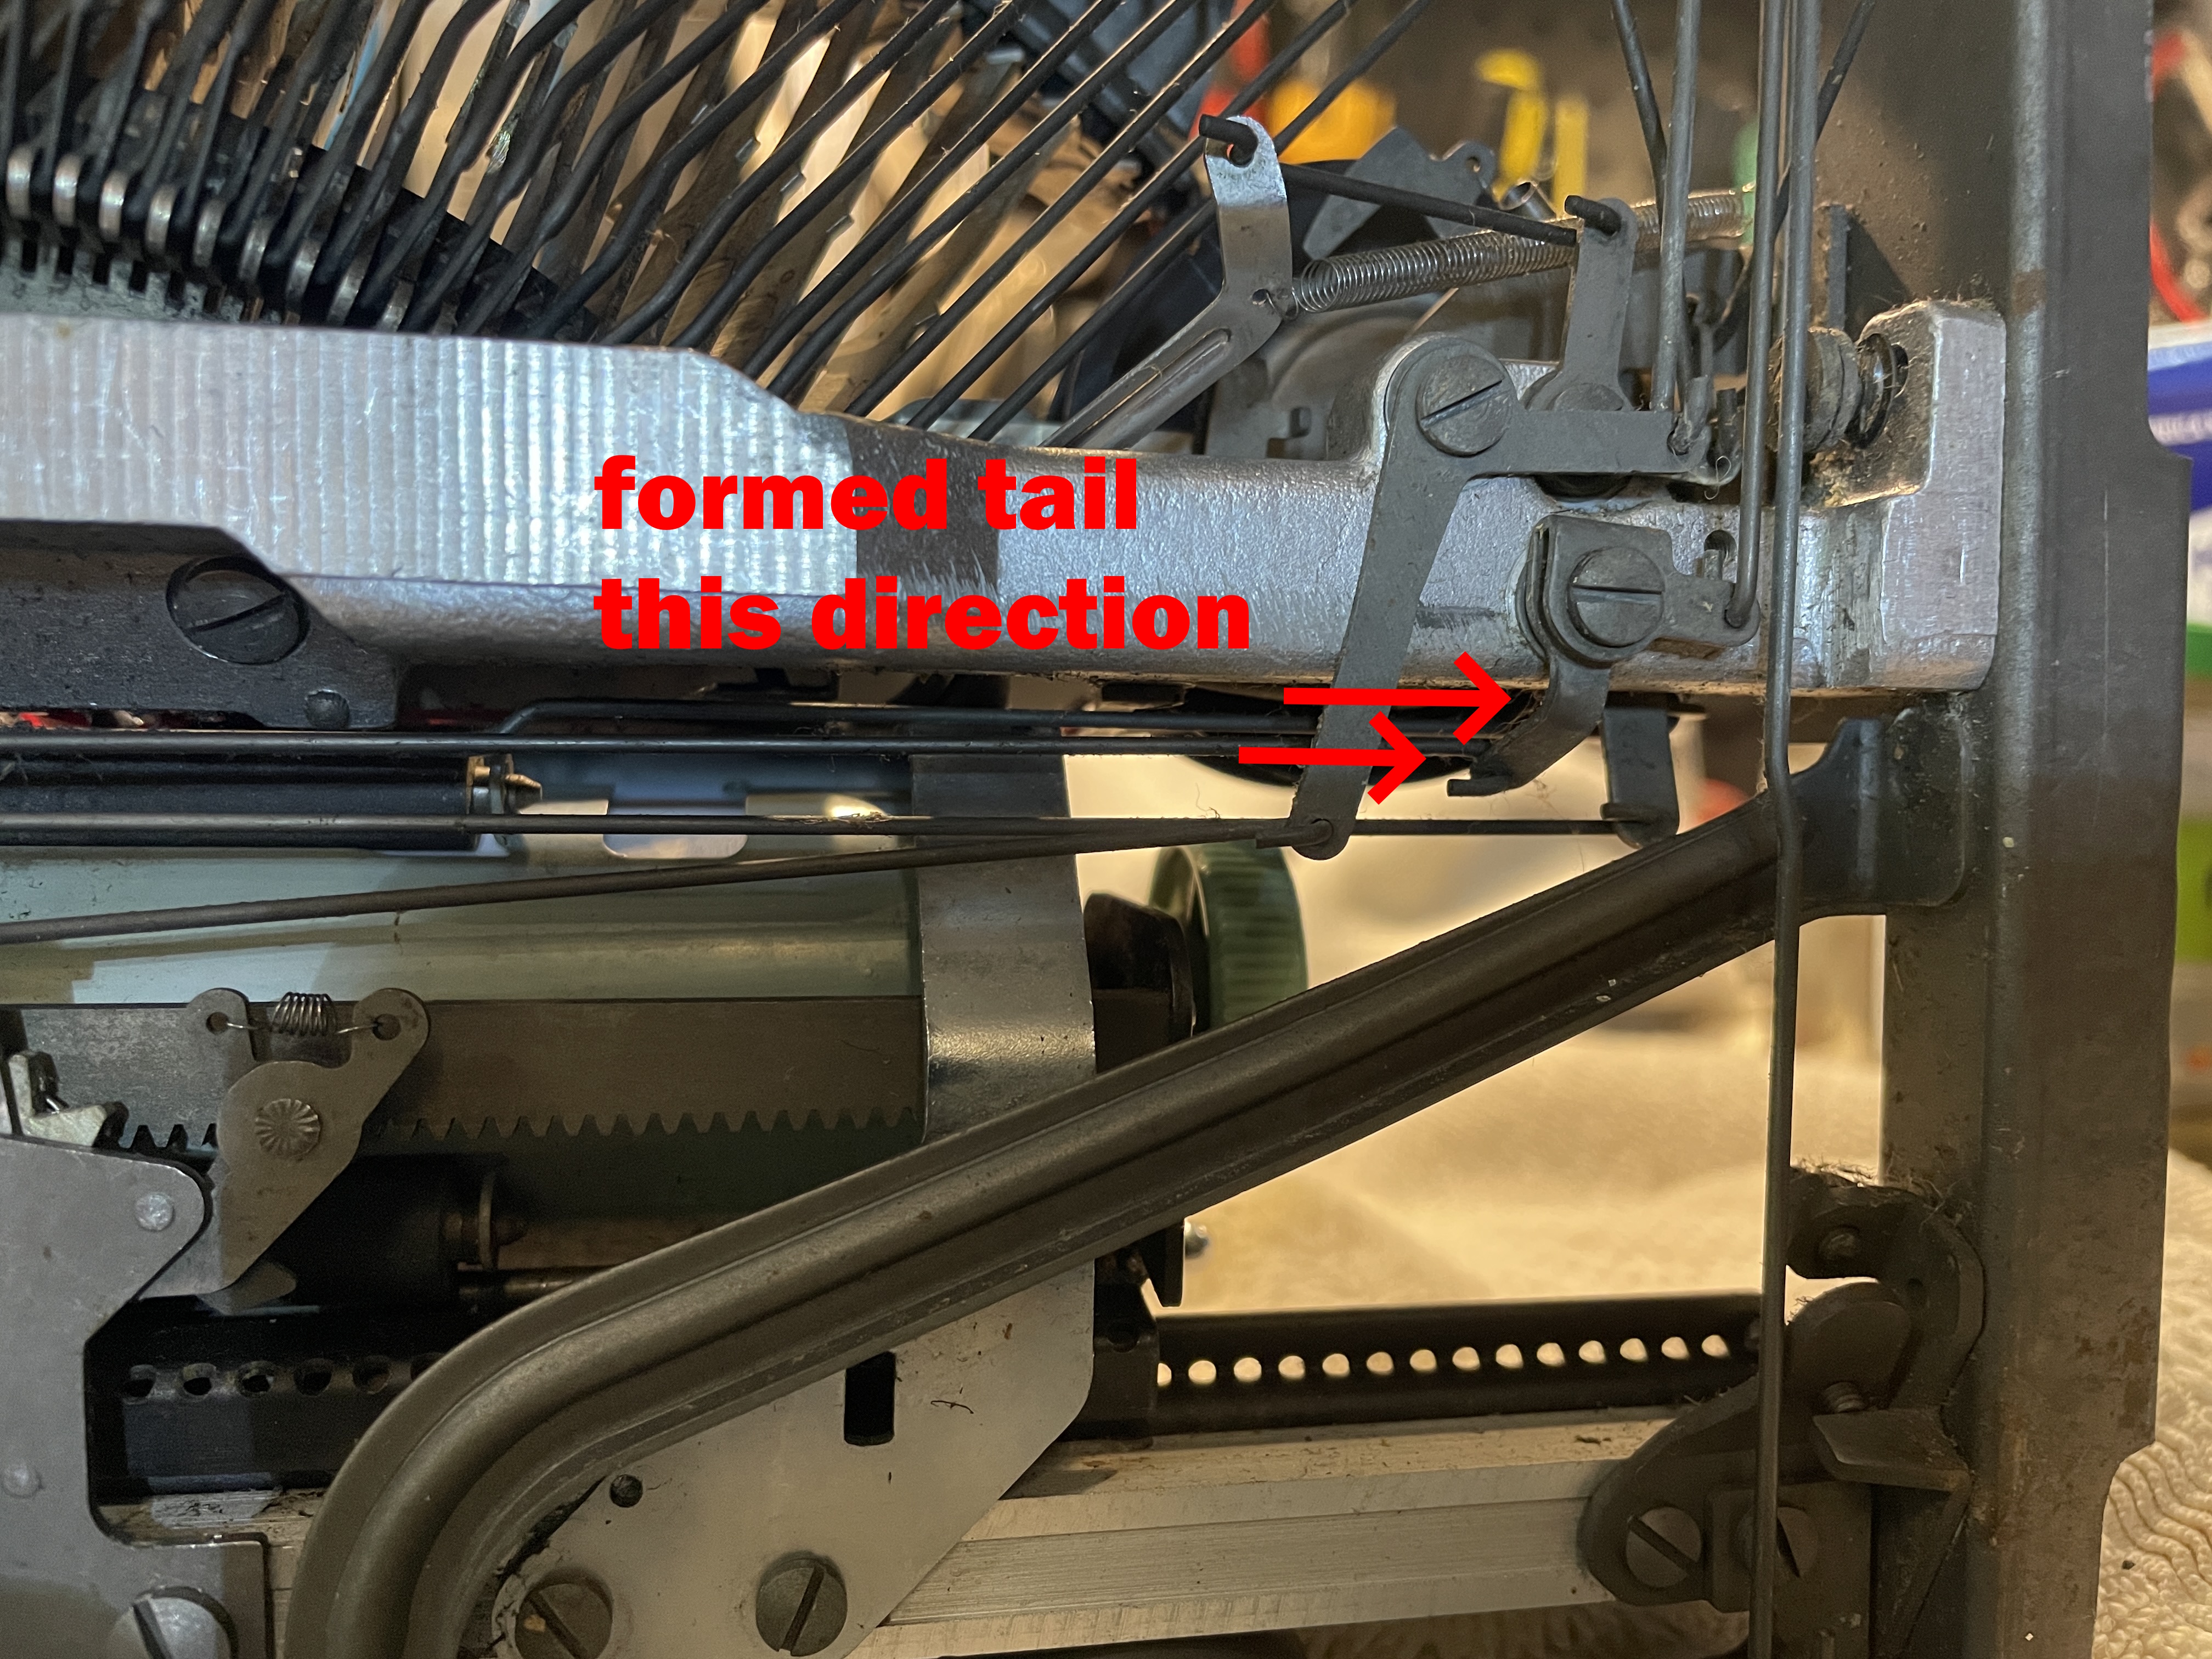
I formed the tail of HD-417 toward the outside of the machine and tested. WHOA, NELLY! That is a sensitive adjustment! The first trip was now occurring an inch or more from the platen! I backed it off a teeny bit, and it began to trip when it should.
The machine was very gummy, perhaps because it had been line-locked for a while. In retrospect, I should have cleaned it before making adjustments, but I didn’t.
I started with mineral spirits and compressed air, moved up to lacquer thinner and compressed air and when I still had a couple sticky keys, I sparingly used PB Blaster. The days have been warm and pleasant and I was able to work outside with the solvents.
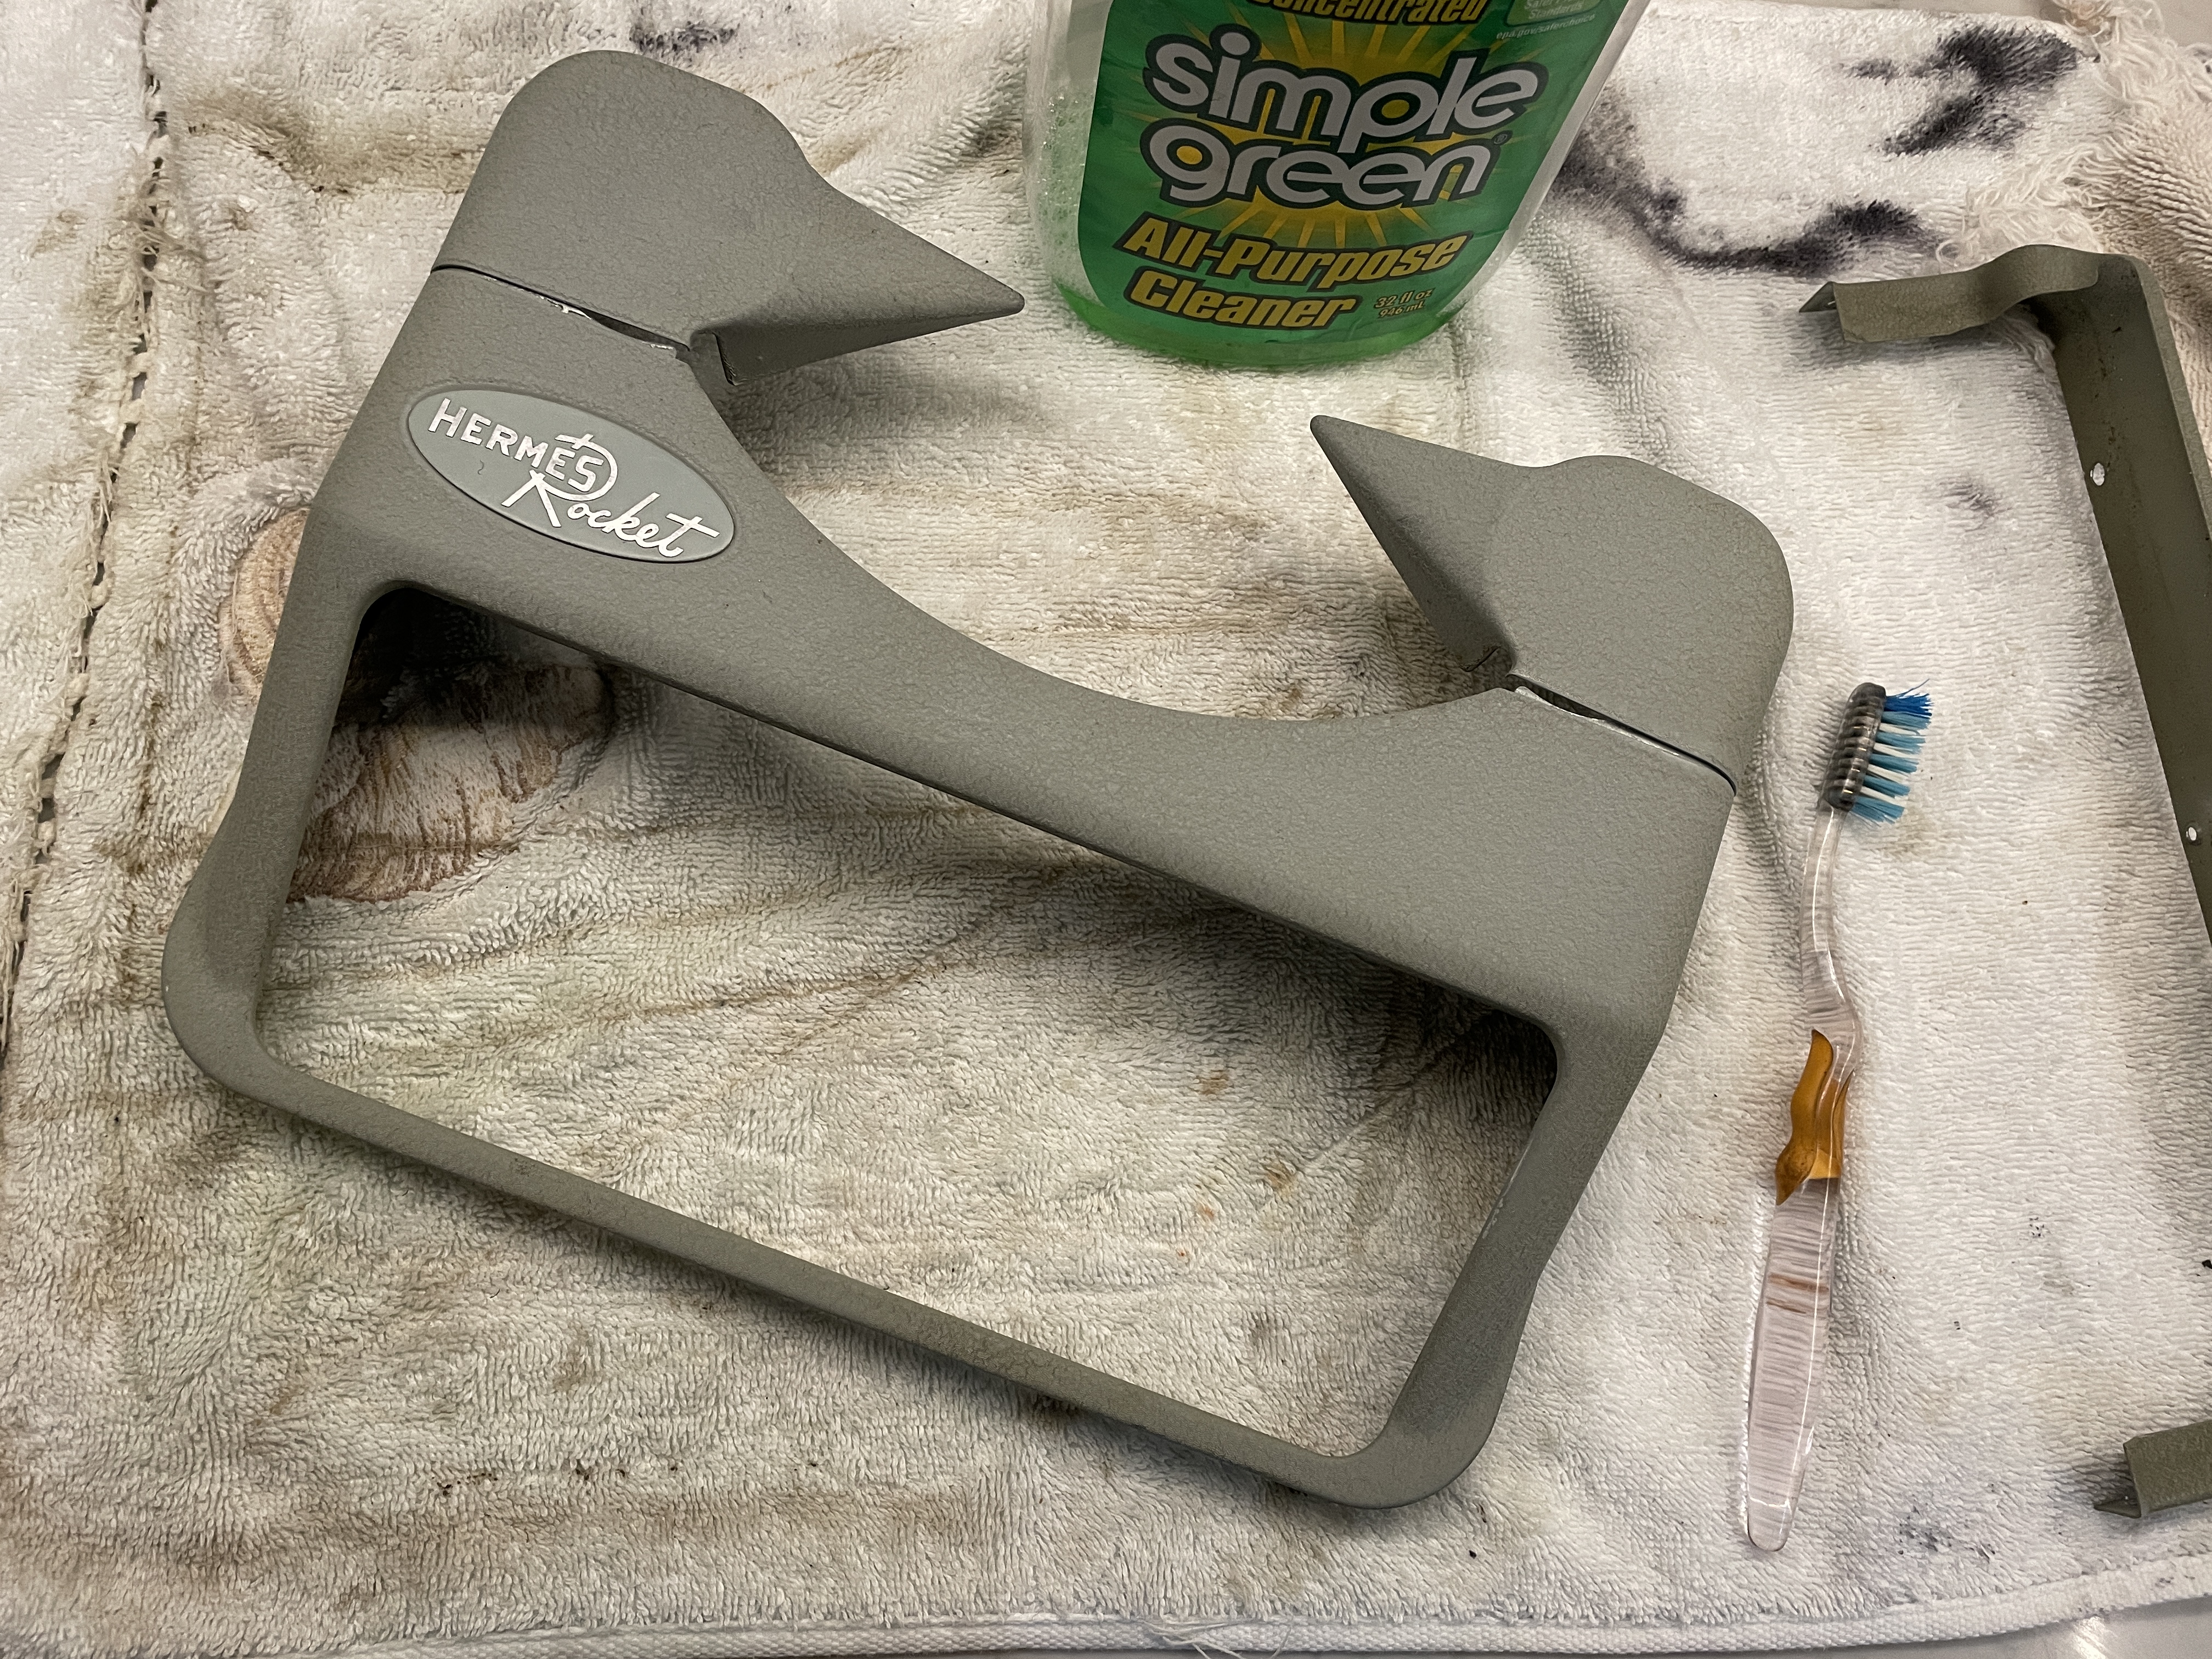
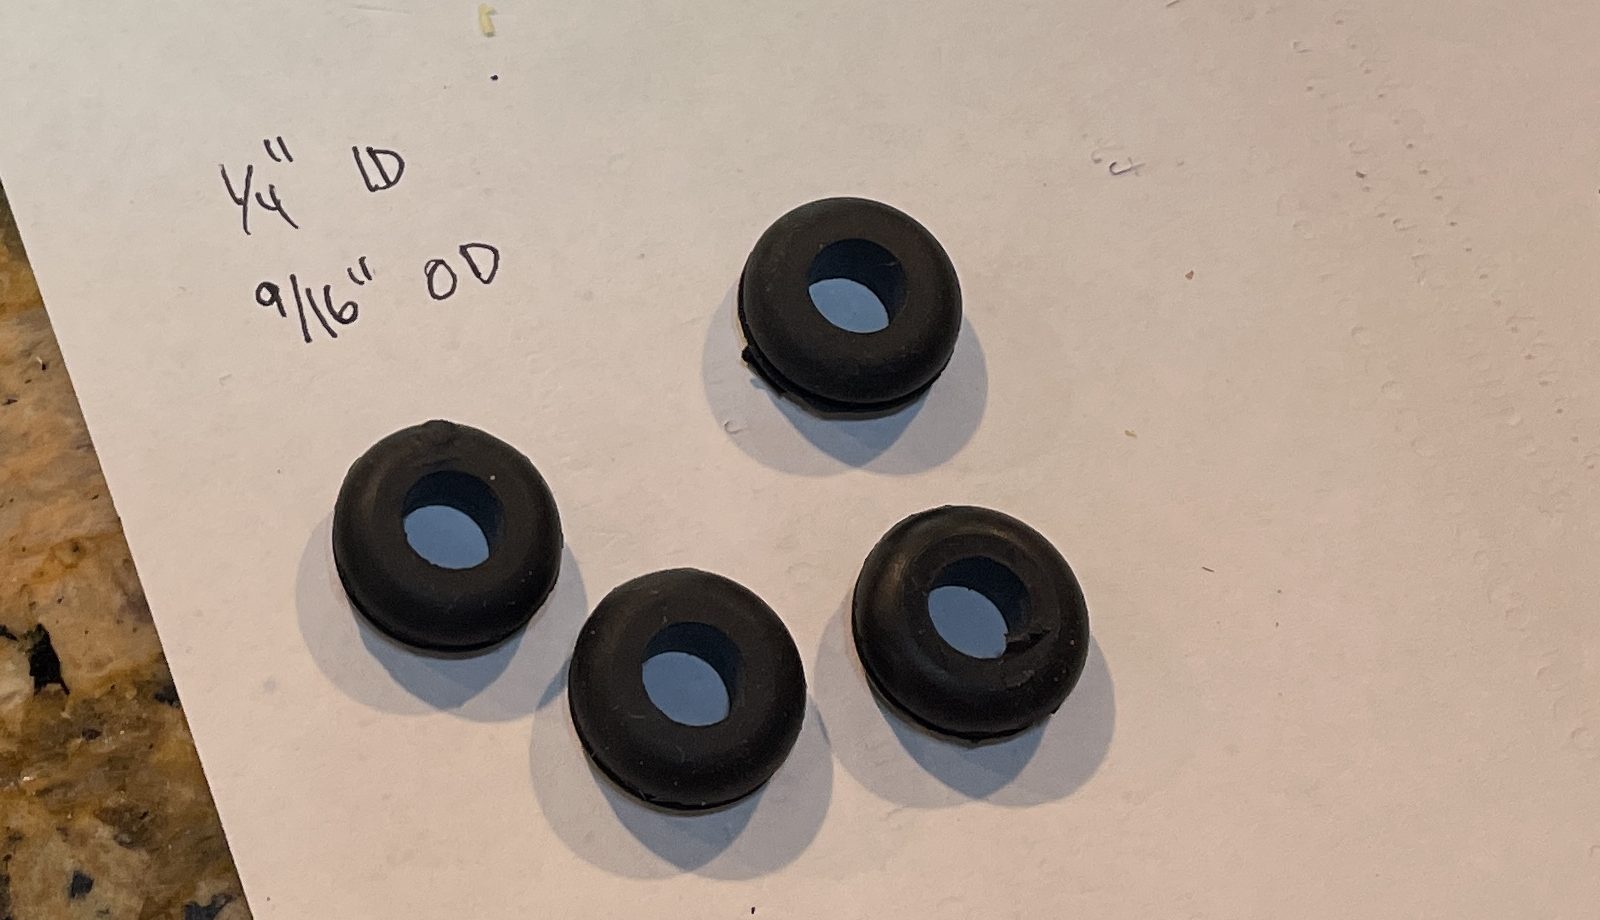
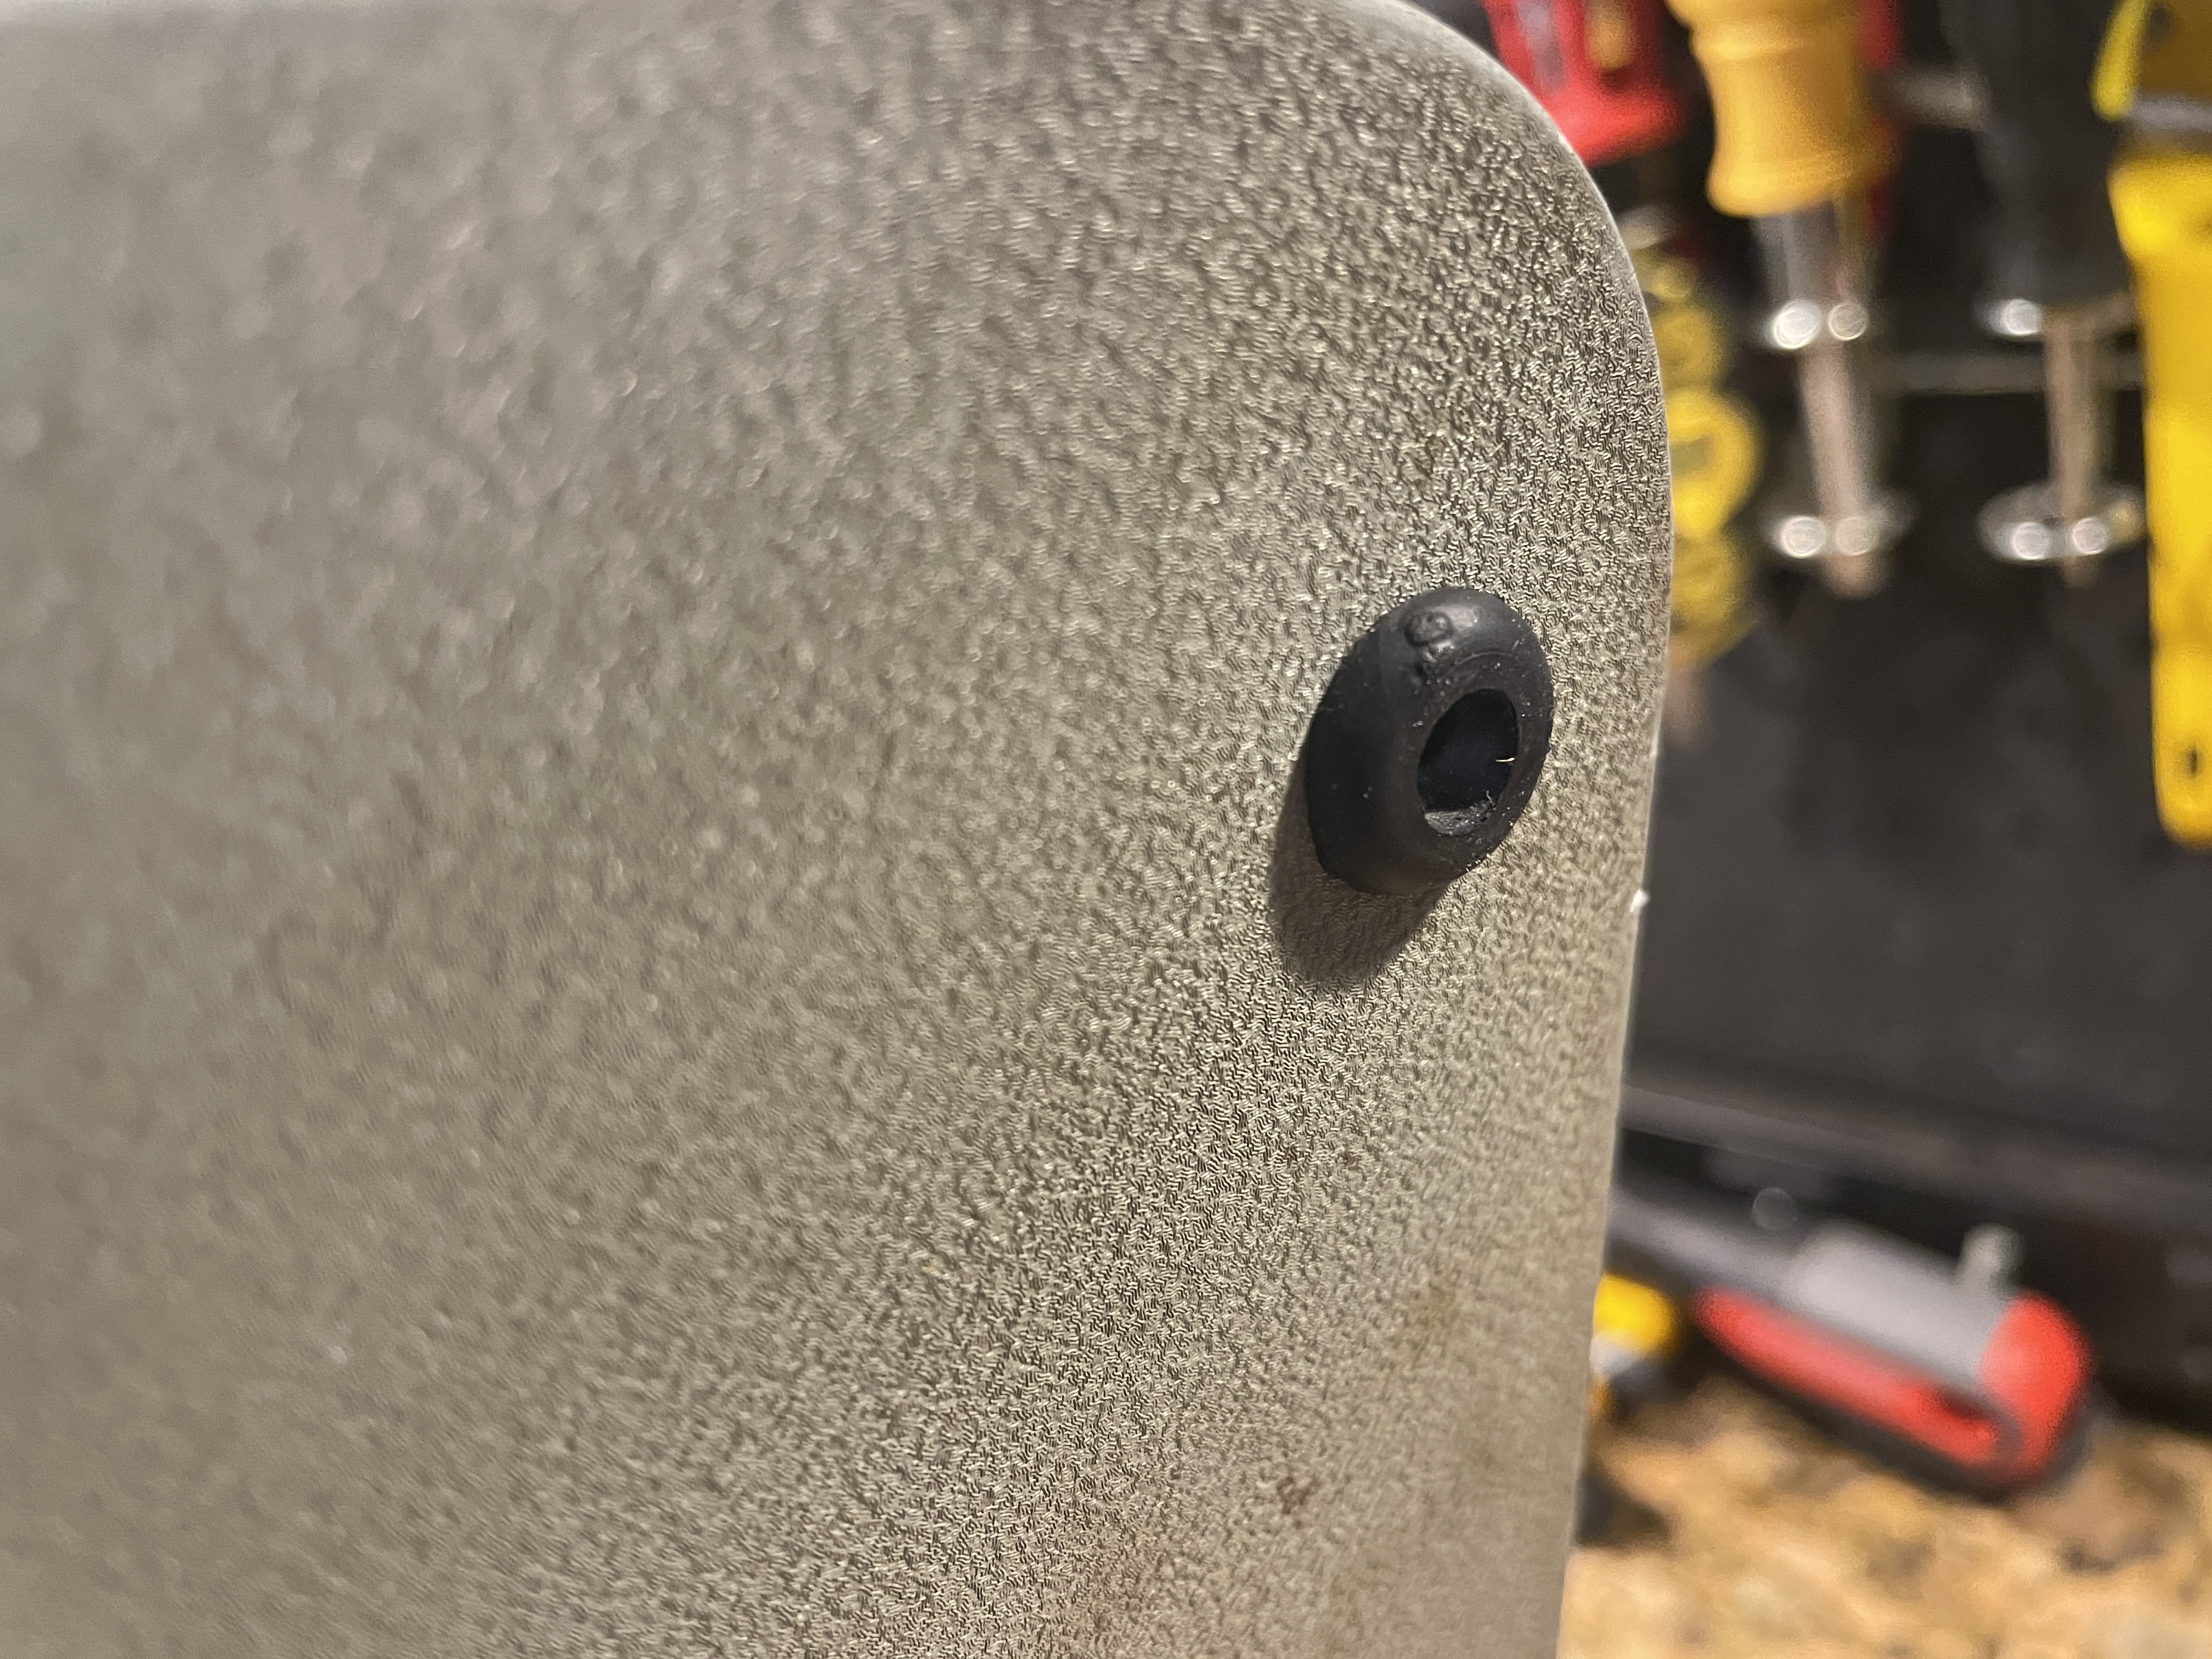
I cleaned the shell with Simple Green and added some rubber grommets from the hardware store for the missing and deteriorated case feet.
The Hermes Rocket is sitting pretty. I’m doing some final testing before I send it back to Monica and Stephen.

So about the Hermes 2000 with the dead “A” key. I thought it would be an easy task of hooking up a detached link on the “A” key. But, no.

The sub-lever arm for the “A” key was sheered in half. I found the top half rattling around under the type basket. The “A” sub-lever is unique to the letter “A” and stamped with the number “2”.
I removed the shell of the machine and used a stiff chaser wire in the sub-levers to retrieve the bottom half.


Now what? Here are some options:
- Glue the two broken pieces together with JB Weld. No way. This is not likely to be a durable repair.
- Weld the two pieces together. I really should get a cheap welding set-up. Mother’s Day is around the corner and I know what I’m asking for.
- Find someone with a Hermes 2000 parts machine and pull the “A” sub-lever from it.
- Fabricate a sub-lever.
- Try a sub-lever from a different brand of machine and see if that works.
I salvaged a sub-lever from my parts Royal Safari, but it was too different.

I decided to fabricate a sub-lever from .05mm steel sheet metal. I used sheet metal shears and my Dremel to shape it. I drilled the holes with my Dremel in a drill press workstation. I was so close. I realized as I was installing it that the interior angle needs to be about 120°, not 90°.

I manhandled it into the correct angle. It looks like hell. This hillbilly hack sticks out from all the fine Swiss engineering around it, but it works.

The metal I used is half the thickness of the original sub-lever which is about 1 mm thick. It seems sturdy enough, but the real test is taking it to a type-in with 40 kids to see how my homemade sub-lever holds up.
The more I thought about 40 kids at a type-in, the more uneasy I got with my repair. My sheet metal hack is okay, but it is a temporary fix at best. So, I reached out to Trevor at TB Writers Plus of Dayton, OH to see if they had a Hermes 2000 parts machine and yes, they did. I ordered a sub-lever from them and will swap it in when it arrives.
I can’t say enough wonderful things about TB Writers Plus. As someone who works on junkers and problem child typewriters, finding a good source of parts is big deal. At Reddit, r/Typewriter_parts, Trevor of TB Writers Plus gives a brief video tour of their typewriter repair and parts operation. They have an impressive amount of stuff.
Like the Hermes Rocket, this Hermes 2000 got new shoes too. I found some rubber “screw bumpers” at the neighborhood hardware store. They worked great as feet on the Hermes 2000.

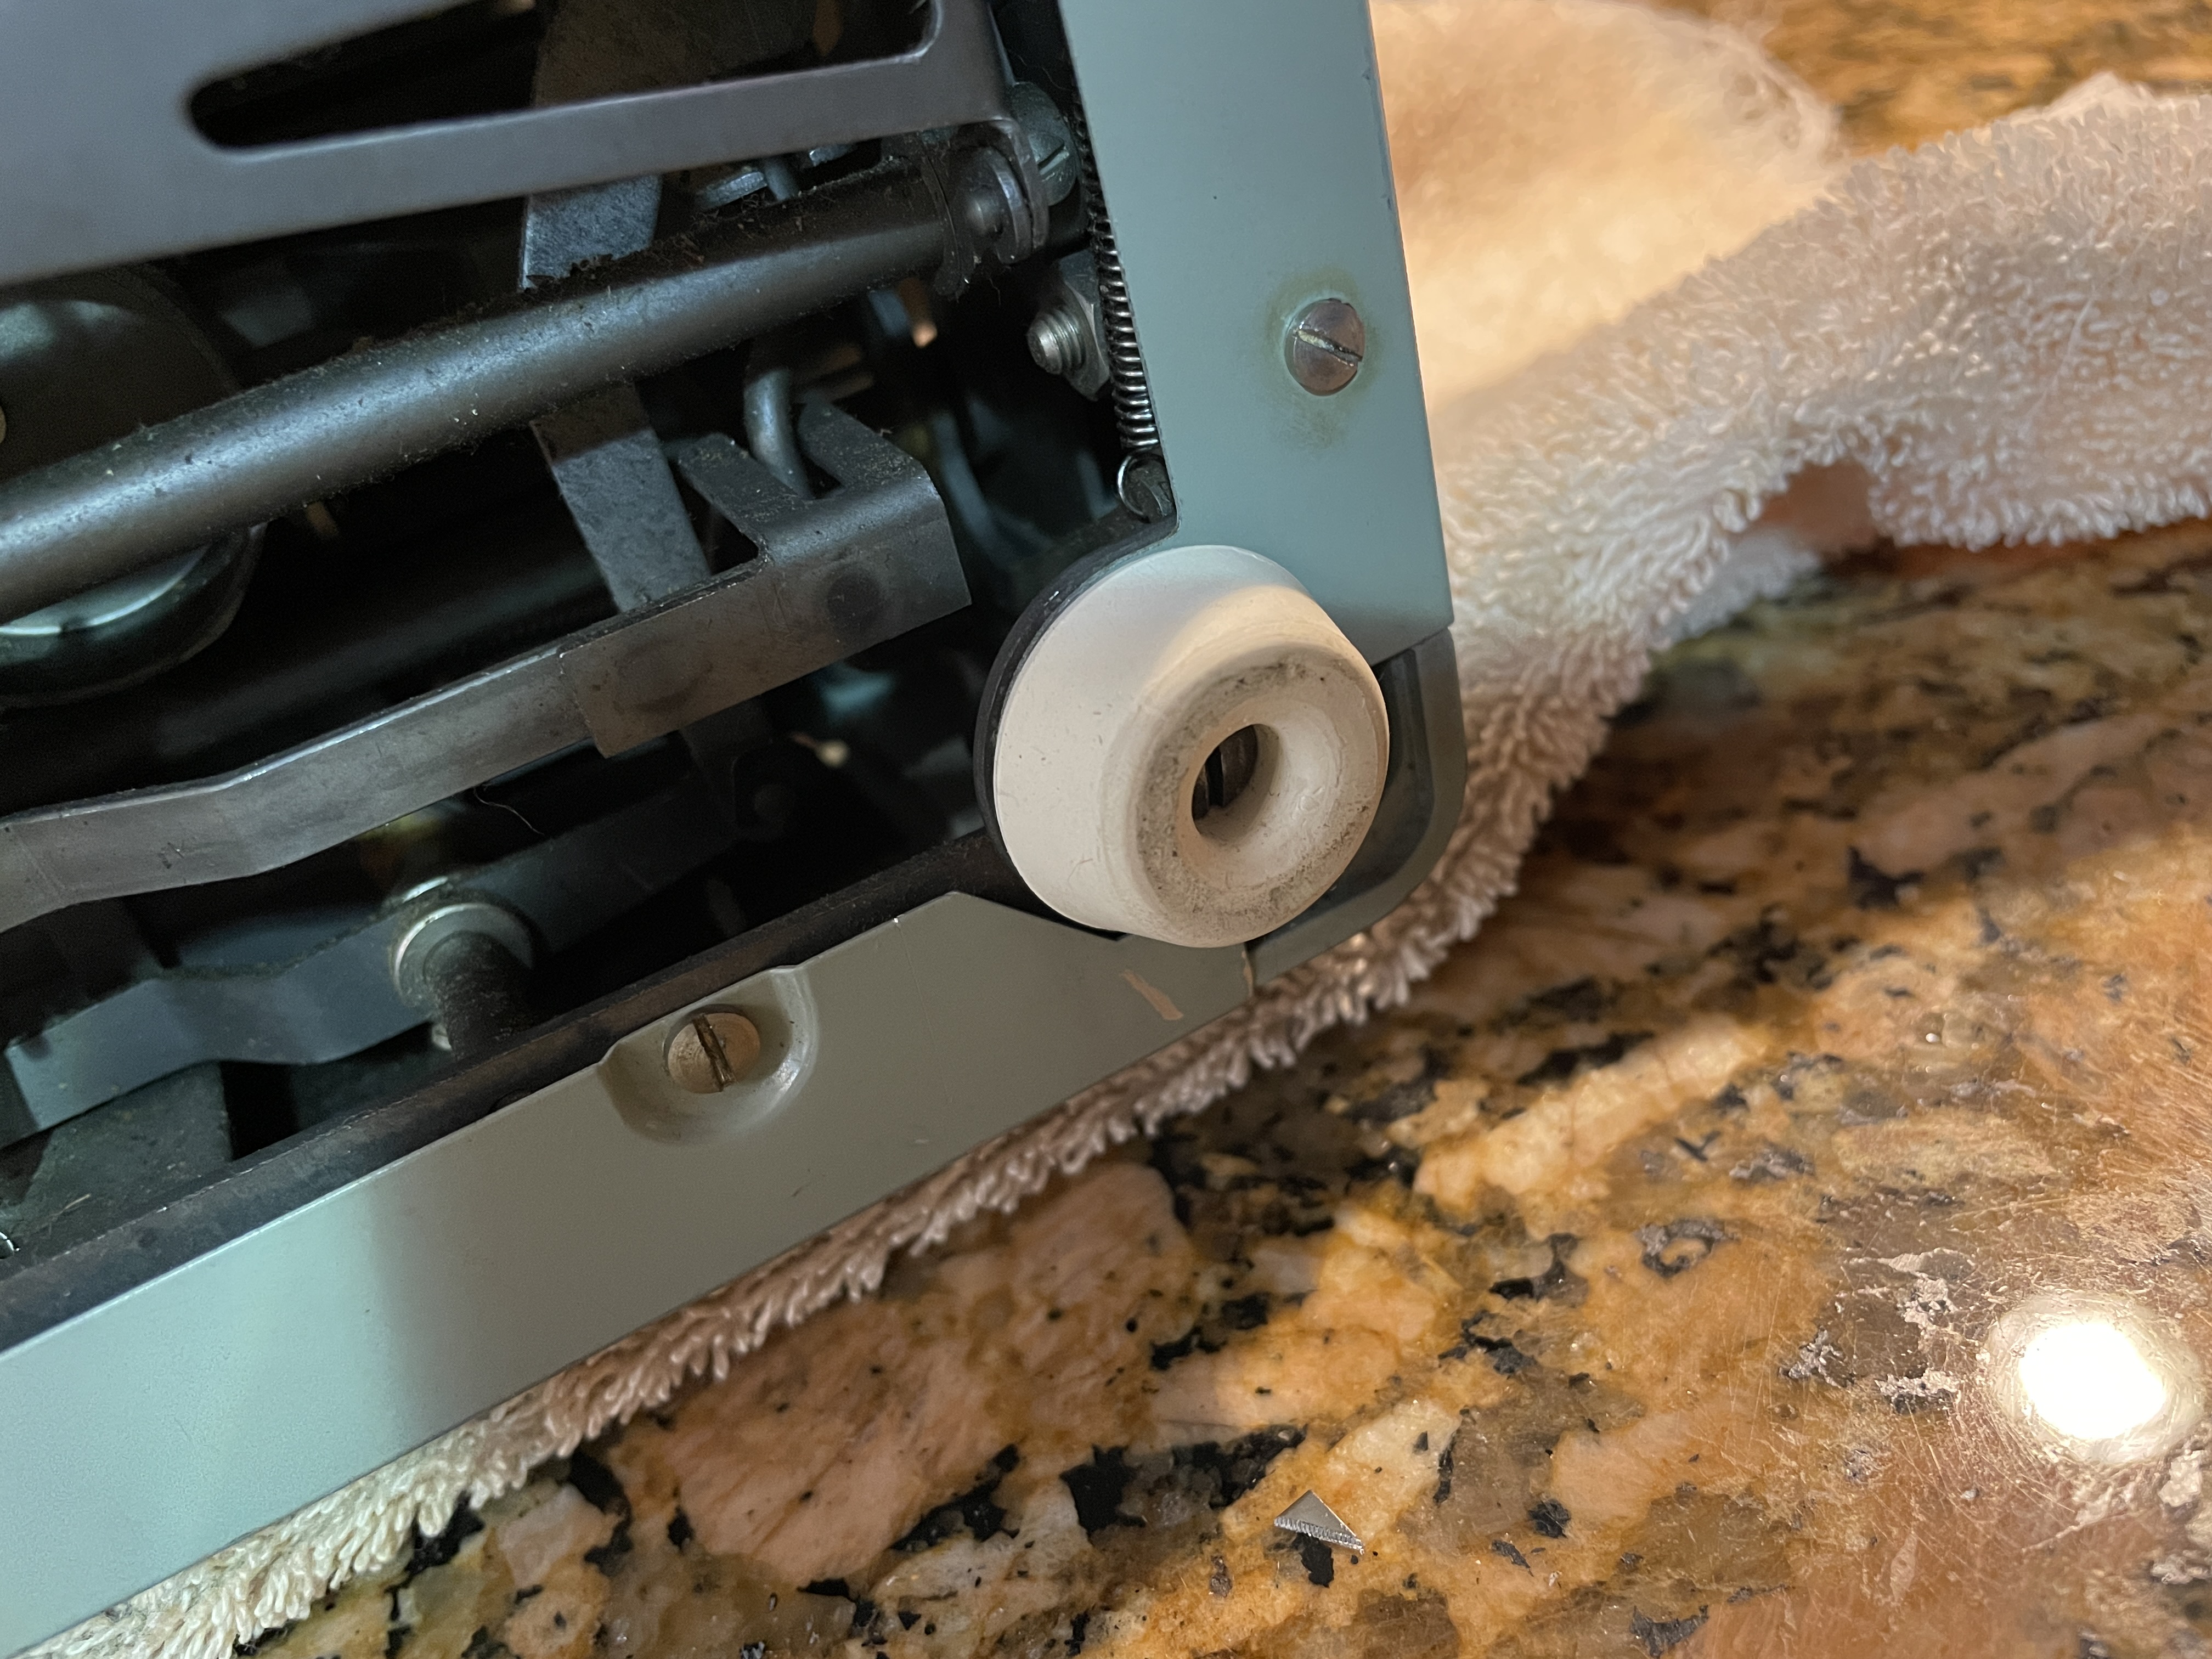
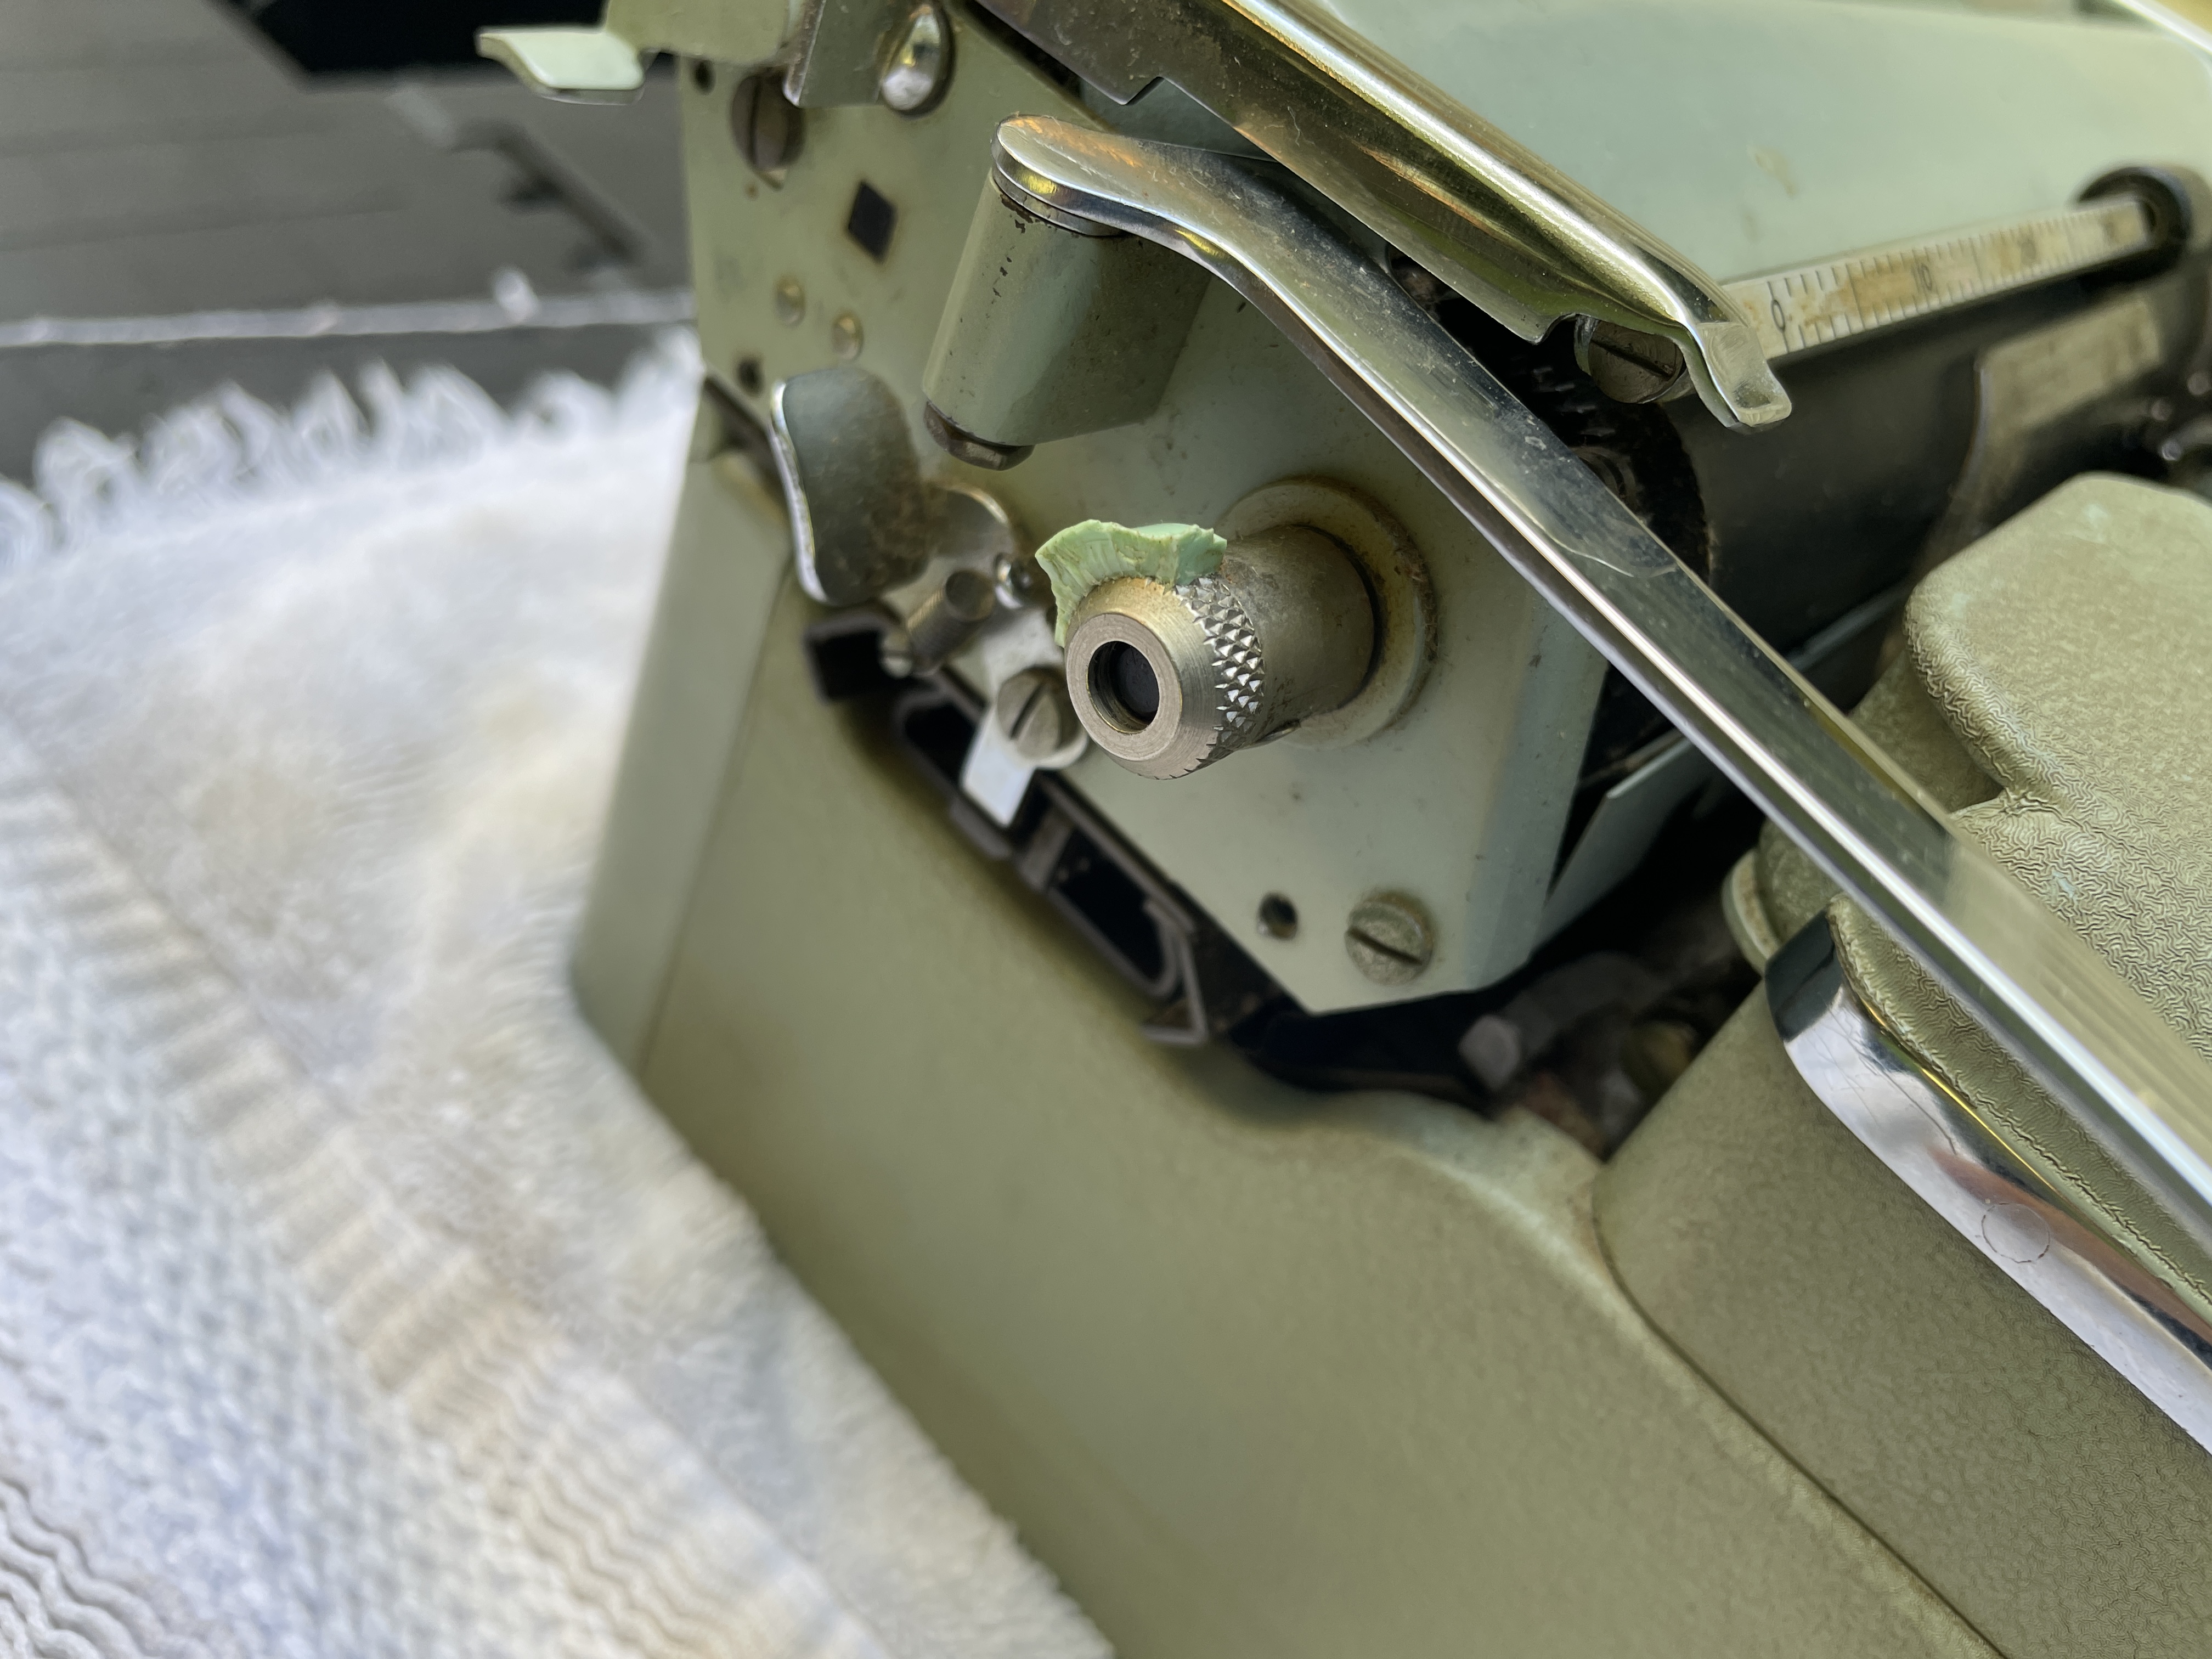
Onto the broken platen knob. I modeled a platen knob for the Hermes 2000 in Tinkercad and uploaded it to Thingiverse.

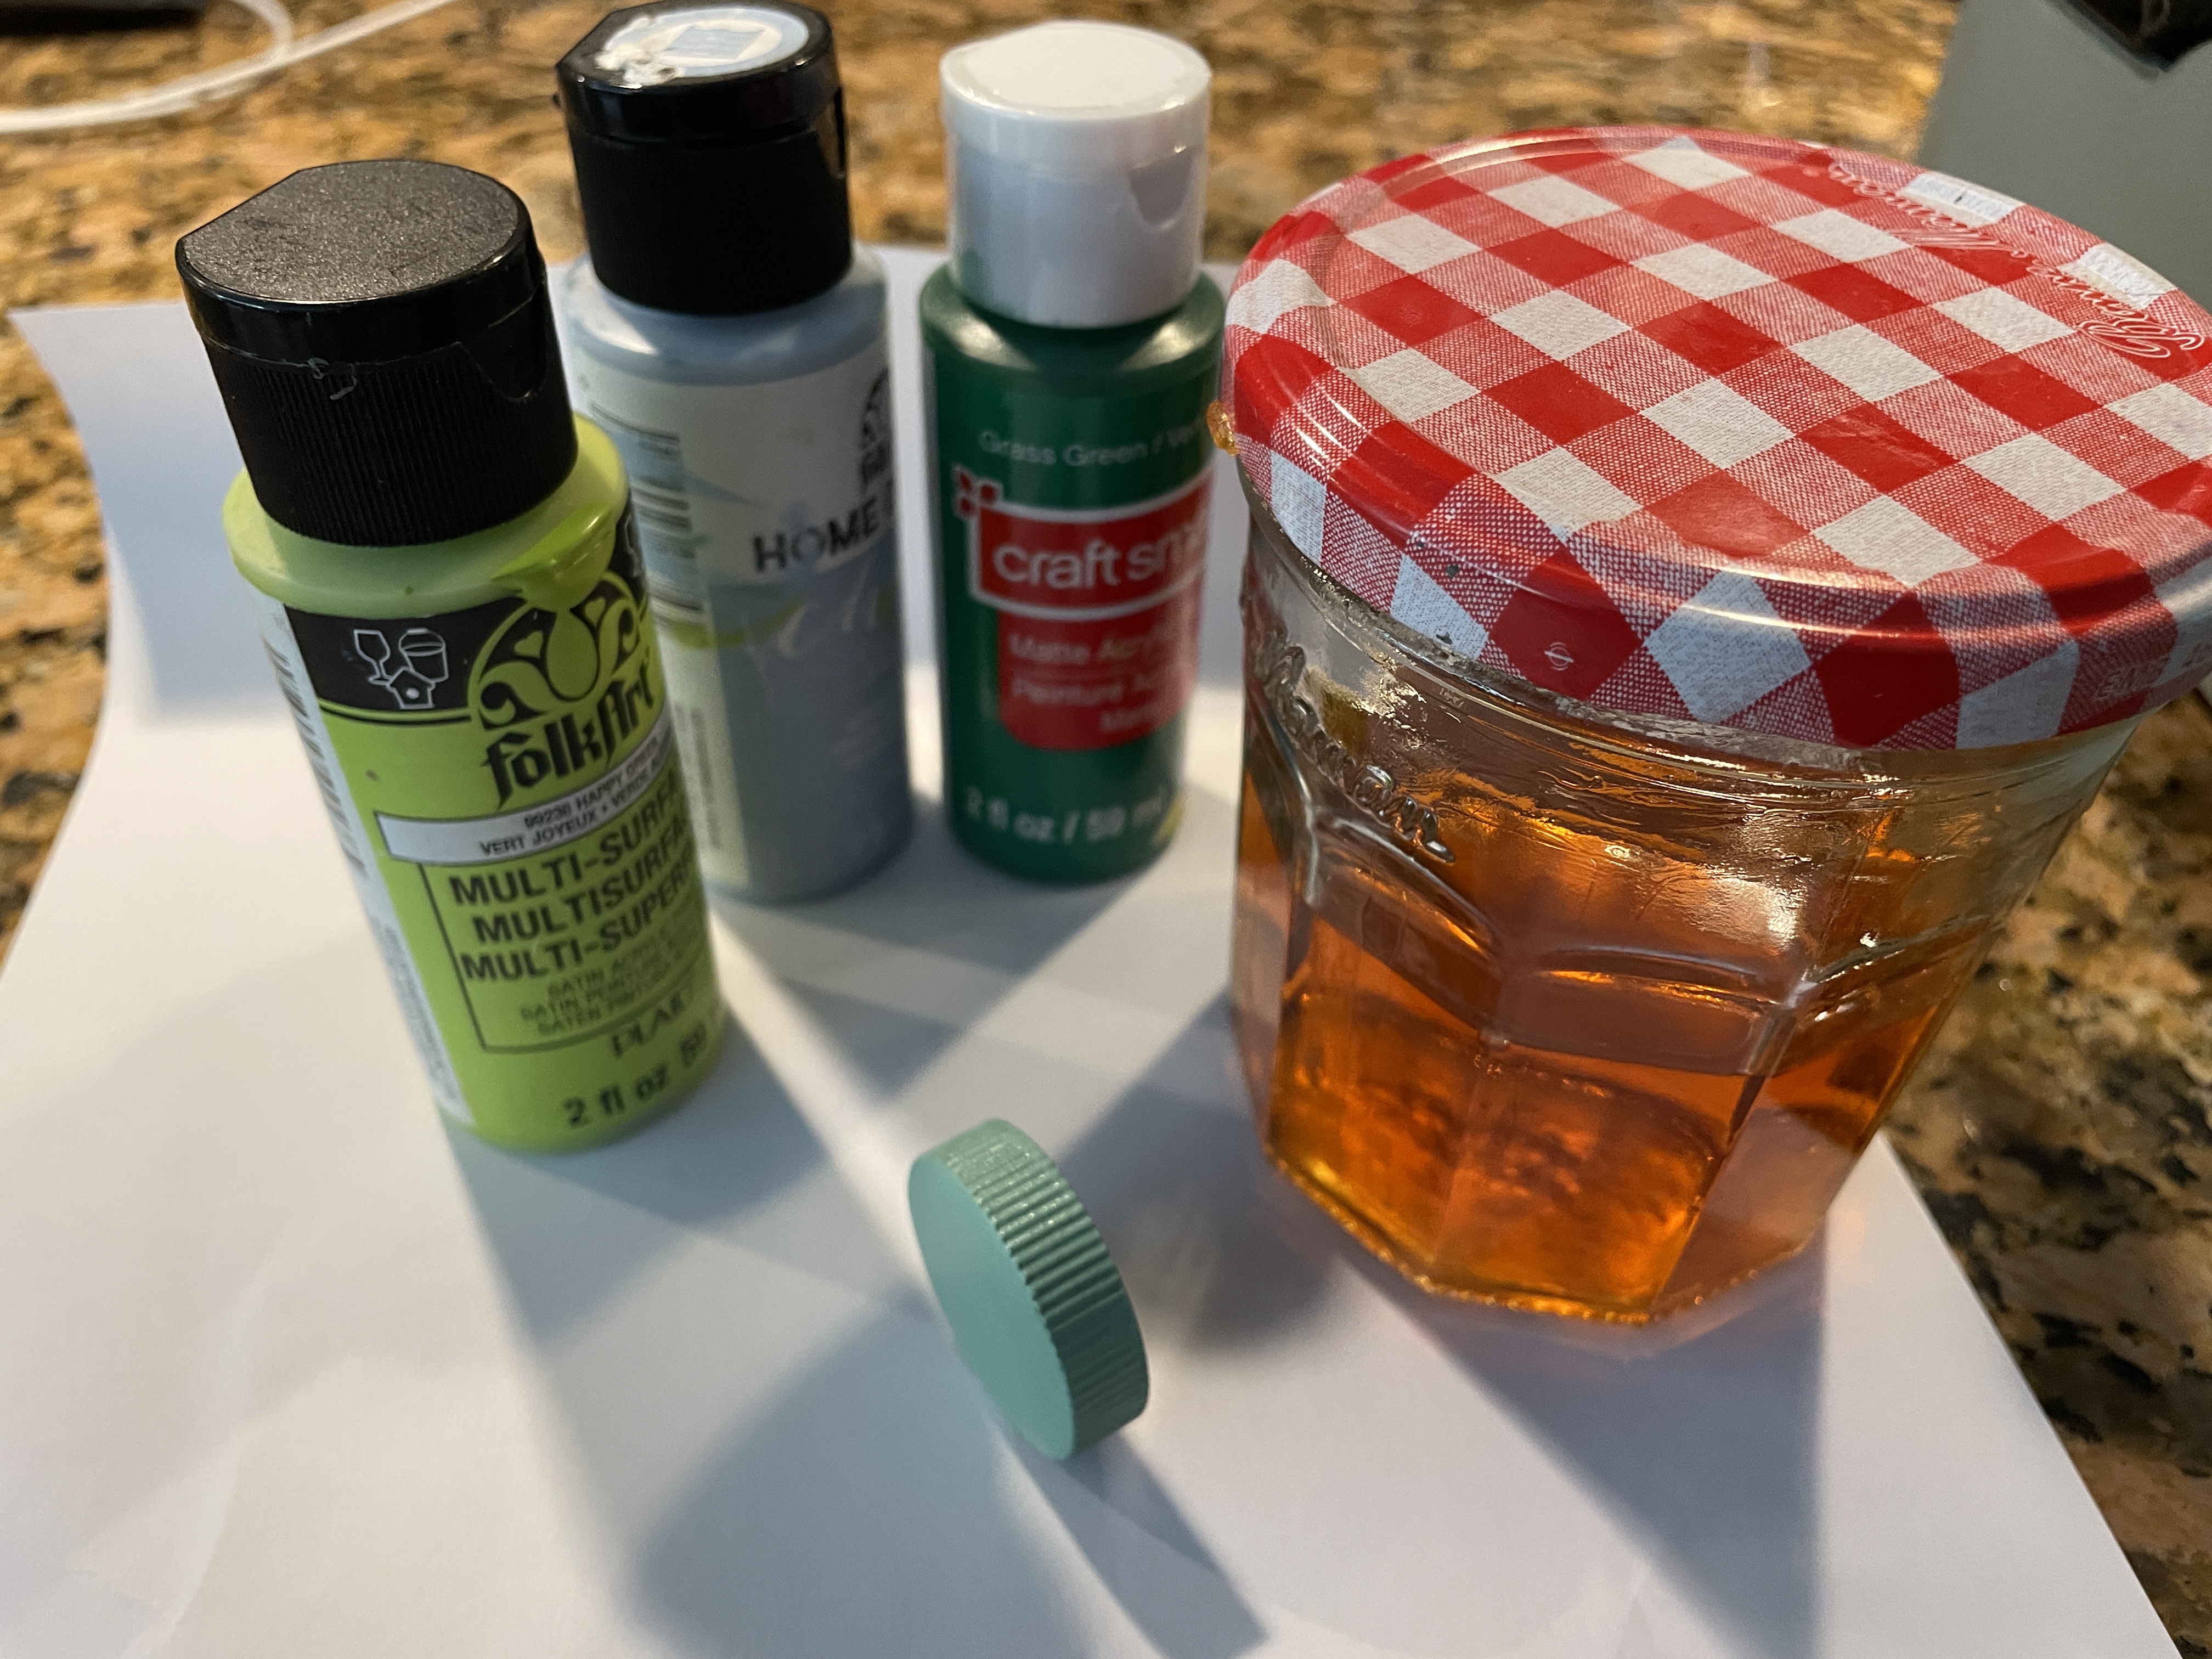
The local public library has 3D printers, so I submitted a printing request and got a rough PLA knob which required some sanding to produce a smooth, curved bulge on the outside of the knob. I then painted it with blue and green acrylic craft paint that I mixed to match the Hermes sea foam green. I threw a couple coats of shellac I had laying around from a previous project as a protective clear coat.
It was a nice tight fit, so I tapped the knob on (no glue) and it’s good and stuck now.

The platen knob is functional and looks pretty good. I know that there are better 3D-printed platen knobs out there, but I’m happy with this.
One thing I noticed during testing was that the tab set and clear functions weren’t working. The tab setter/clearer in the back of the machine was laterally misaligned with the tab rack so that it wasn’t hitting the tab stops.

The machine had taken a hard hit at some time in its past. Besides the broken off platen knob, a corner piece of the frame had chipped off (which I glued back on). This makes me think that the tab rack had been slammed sideways causing the misalignment.

I dug through the manual for the Hermes 3000, but didn’t come away with any fixes. If anyone out there has ideas to correct the lateral misalignment, let me know in the comments.
It’s always nice to work on new-to-me typewriters. Even better is if I have a repair manual at my side. These two gals are feeling and looking great. Here’s a shot of the mother and child reunion. The Rocket is a bit more sociable now that her line-lock is disengaged. She even got her mom flowers for Mother’s Day.


Very nice! I was about to recommend TBWP for the spare part, but you were way ahead of me.
LikeLike
Love, love, love TB Writers Plus.
Greg F’s The Antikey Chop storefront on eBay is also a good source for typewriter parts, especially the older, more unusual ones:
https://www.ebay.com/str/typeitup
LikeLike
Bent linespace levers on the Hermes Rocket (known in the UK as Hermes Baby) are very common. It is caused by owners forgetting to fold the linespace lever down before closing the carry case. I see this a lot. No wonder Hermes eventually changed the design. Your repairs continue to impress me. Far better than many so-called professionals ! I salute you 🙂
LikeLike
Thank you for kind thoughts. I learn something new with every machine, and this Hermes Rocket/Baby was a good one.
LikeLike
Awesome job on the replacement lever !
Very nice looking 3D print knob too – really captured the look and color. Finishing prints with painting/sanding really helps – makes them stronger and longer-lasting too, I’m starting to think.
As always enjoyable and inspiring to follow your repairs, thank you 🙂
LikeLike
So appreciate all your posts, and am now seeking advice. Something dreadful seems to have happened when I cleaned the typebasket of a 1956 Hermes Rocket. I cleaned it with mineral spirits and some isopropanol. By a few days later the typebars were completely immobile. I managed to free them with gentle loosening and rinsing with mineral spirits (take 1) , lacquer thinner (take 2), and Marvel Mystery Oil. It worked transiently, but it looks like the whole thing rusts – at least I end up trying again, and washing away rusty liquid. I fear I’ve chosen solvents especially unsuited for the Rocket’s typebasket. It now sits sadly frozen, as I am afraid to compound my sin with some new, worse, solution, and haven’t embraced my inner Sisyphus enough to keep trying the same method. Any thoughts or suggestions would be so welcome. In any case, will continue to find inspiration in your work. thank you!
LikeLike
Hi Katy – I don’t think you’ve done anything wrong. I just think that your Hermes Rocket needs another cleaning pass or two. I have had typewriters I’ve cleaned gum up overnight and require repeated cleanings. It’s very frustrating. You think it’s completely clean and then after 24 hours, it’s all sticky again. Sometimes a cleaning will just loosen up the gunk, but won’t actually remove it. I have seen this a lot with Olympias which seem to get gunked up with a sticky orange substance that’s probably just old congealed oil.
My recommendations:
I hope this helps!
LikeLike