Cleaning up a dirty typewriter is so satisfying. When I wipe away the yellow scum of ancient goo and expose a gleaming chromed surface, I feel a transformative, shimmering joy. The typewriter is transformed. I am transformed.
I wish I could put this kind of enthusiasm and effort into housework, but housework is an infinite loop, a Groundhog Day of toilets and dirty laundry. Dishes immediately fill a clean sink. Crushed Cheerios litter a freshly swept floor. But a clean typewriter stays clean for its careful user.
A local enthusiast named Rob bought a very dirty Olympia SM4 from a key chopper for $30 to save it from being chopped. Who chops plastic keys?? From an Olympia SM?? Who sells an Olympia for $30?? I have so many questions. Anyhoo, Rob had too many projects on his bench and gave it to me.
It was not bad on arrival. Olympias of this ilk clean up so nice, and this one was typing (in a crotchety way) but typing pretty well.
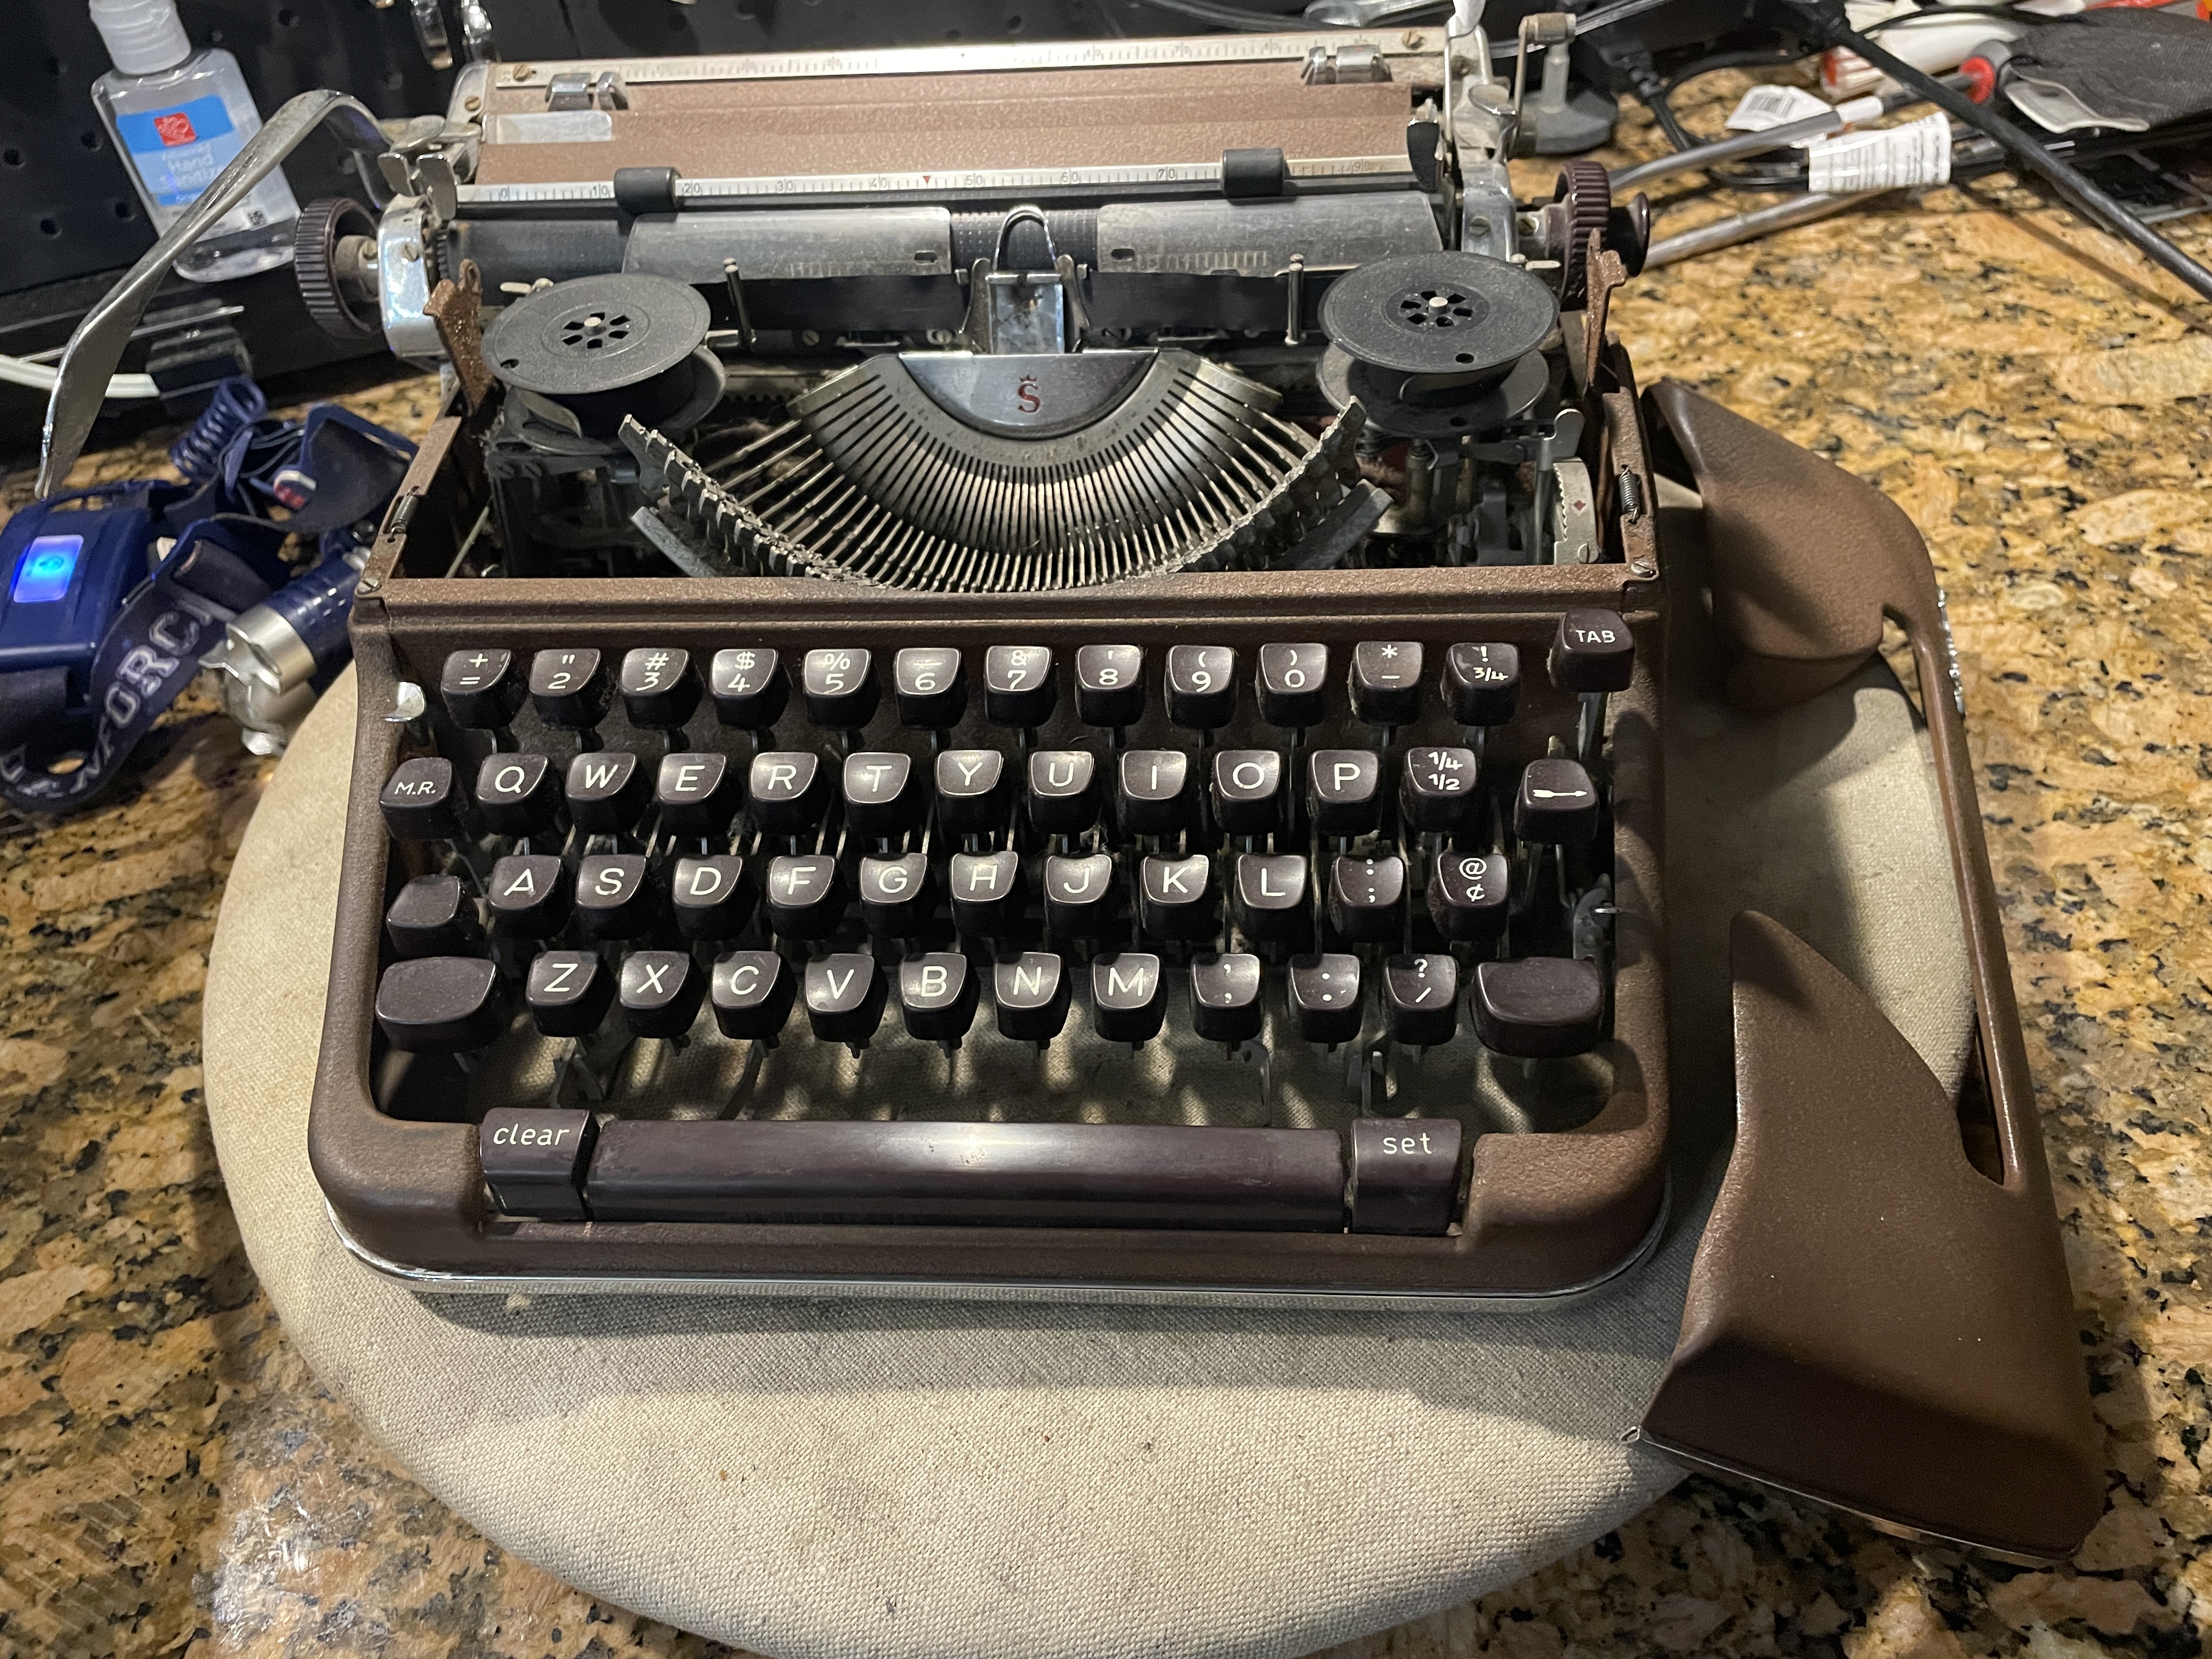
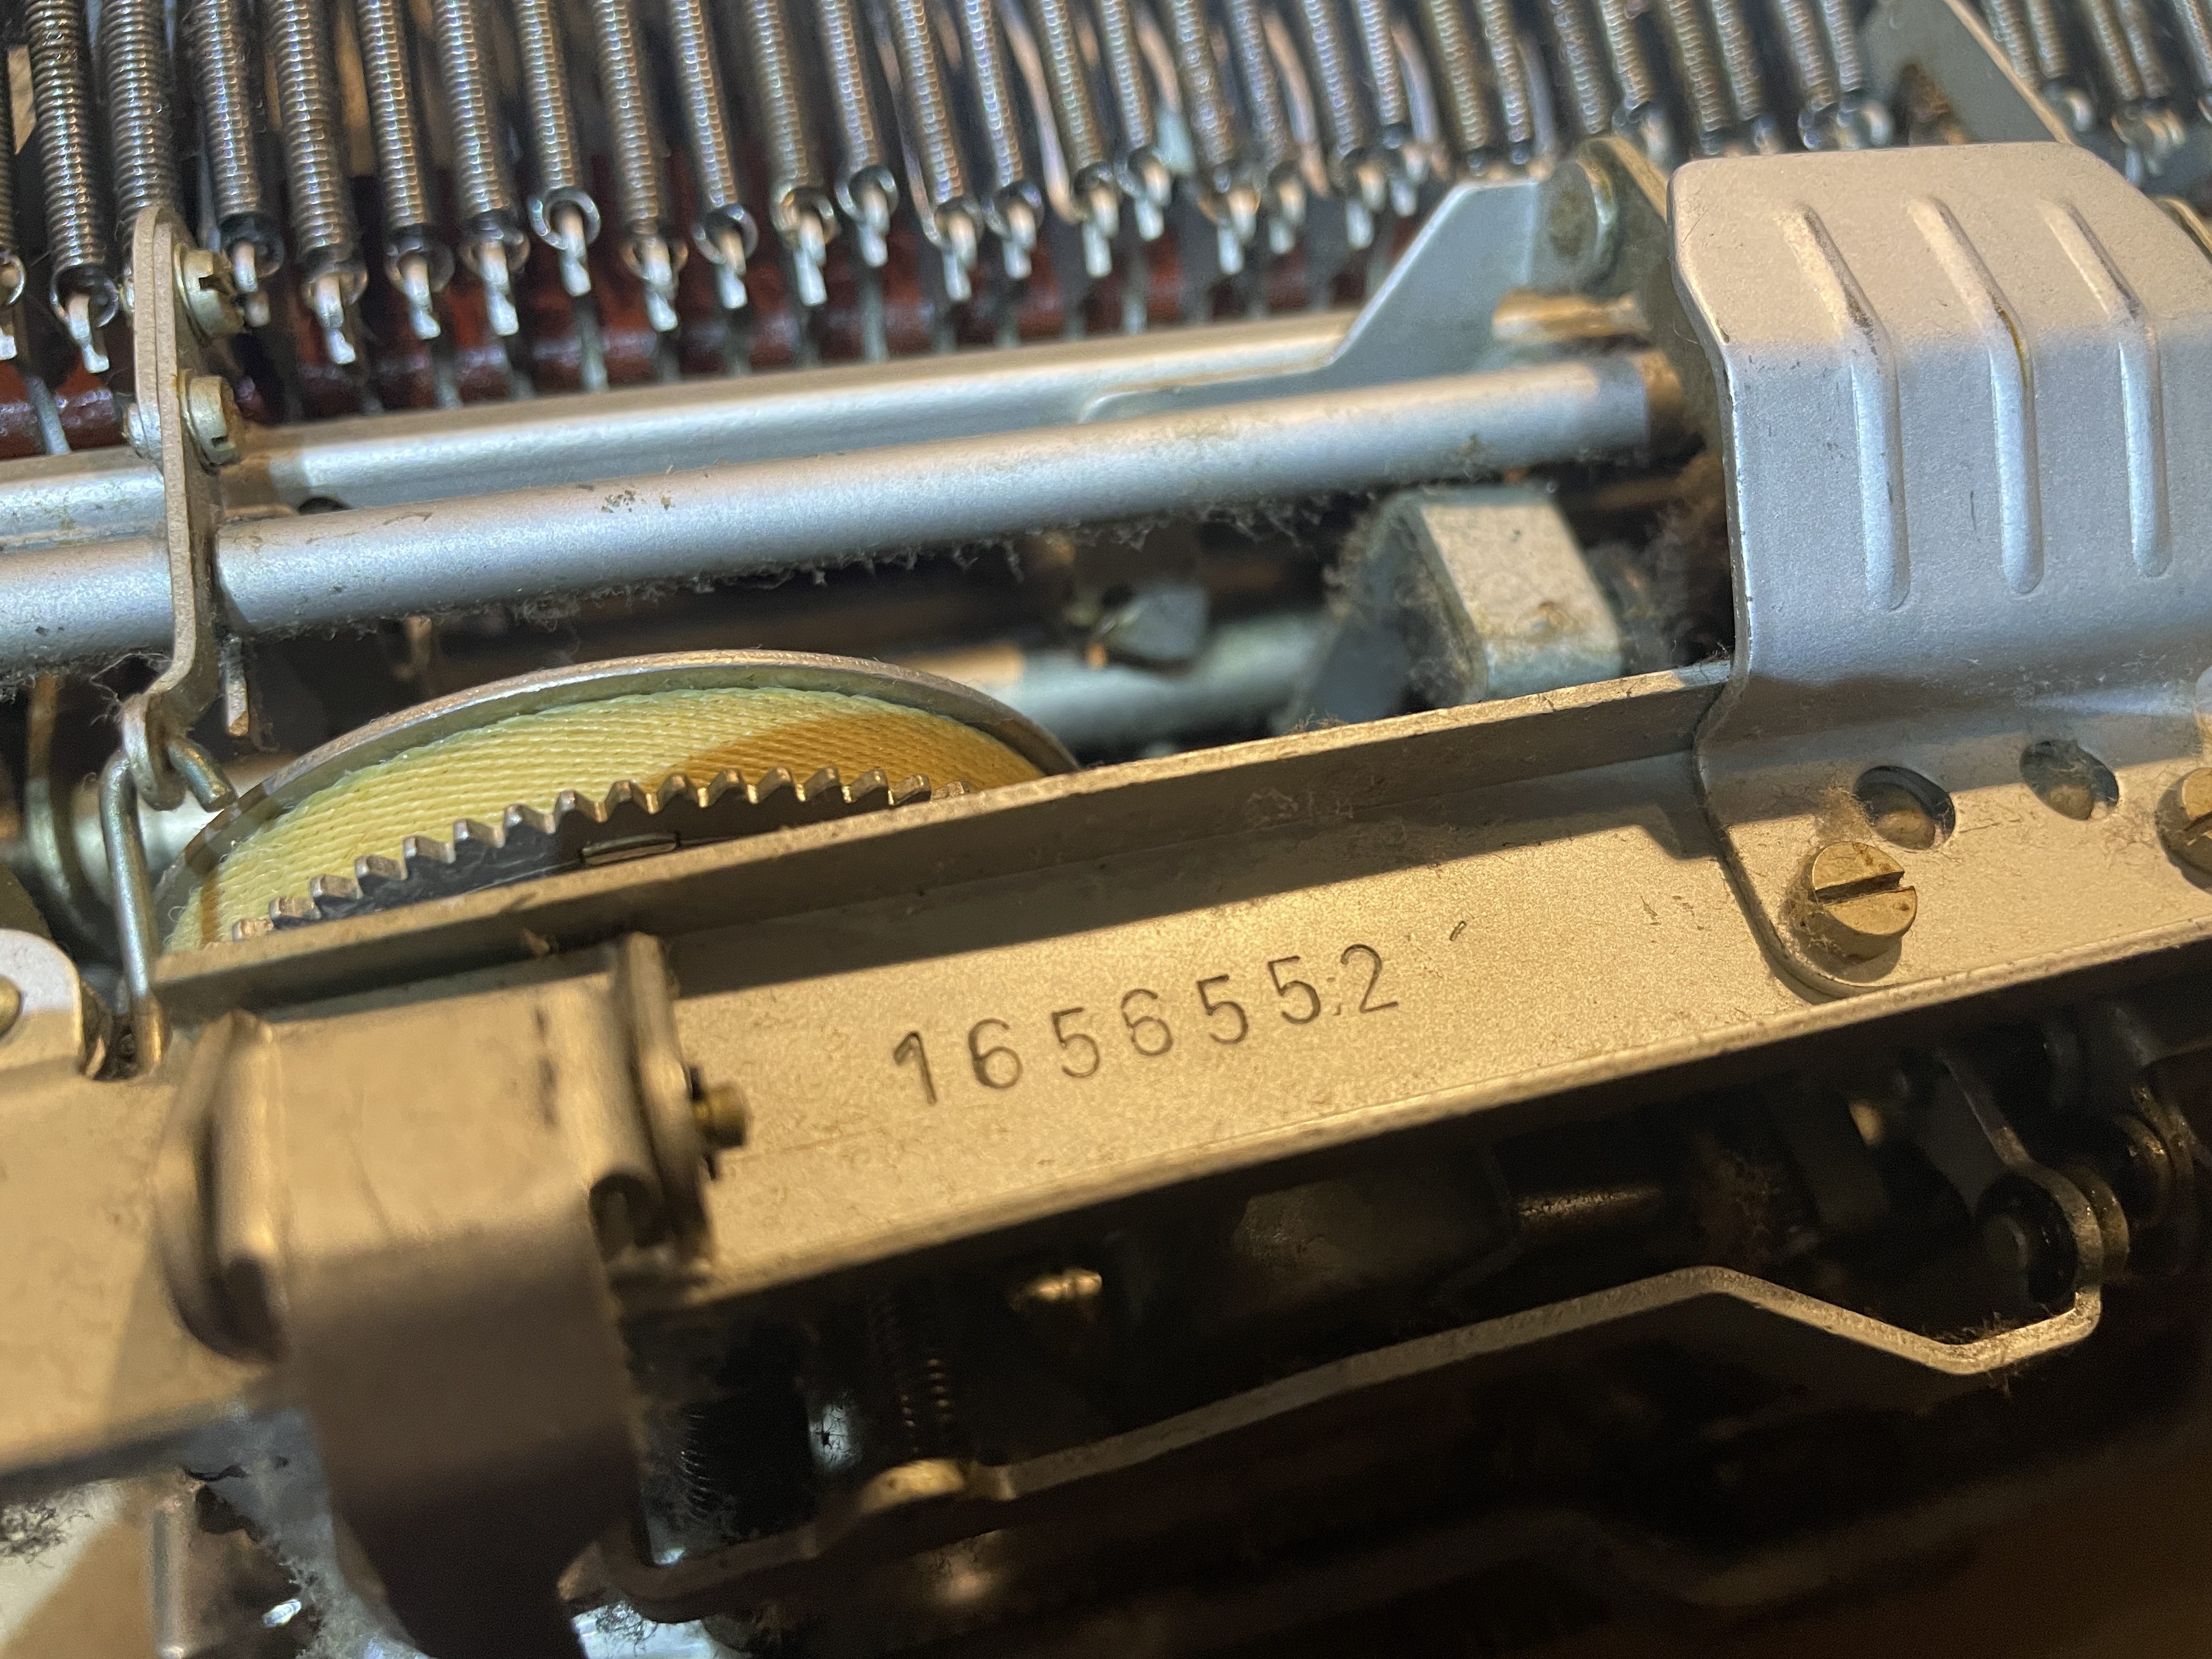
It’s a 1960 Olympia SM4 by serial number 1656552.
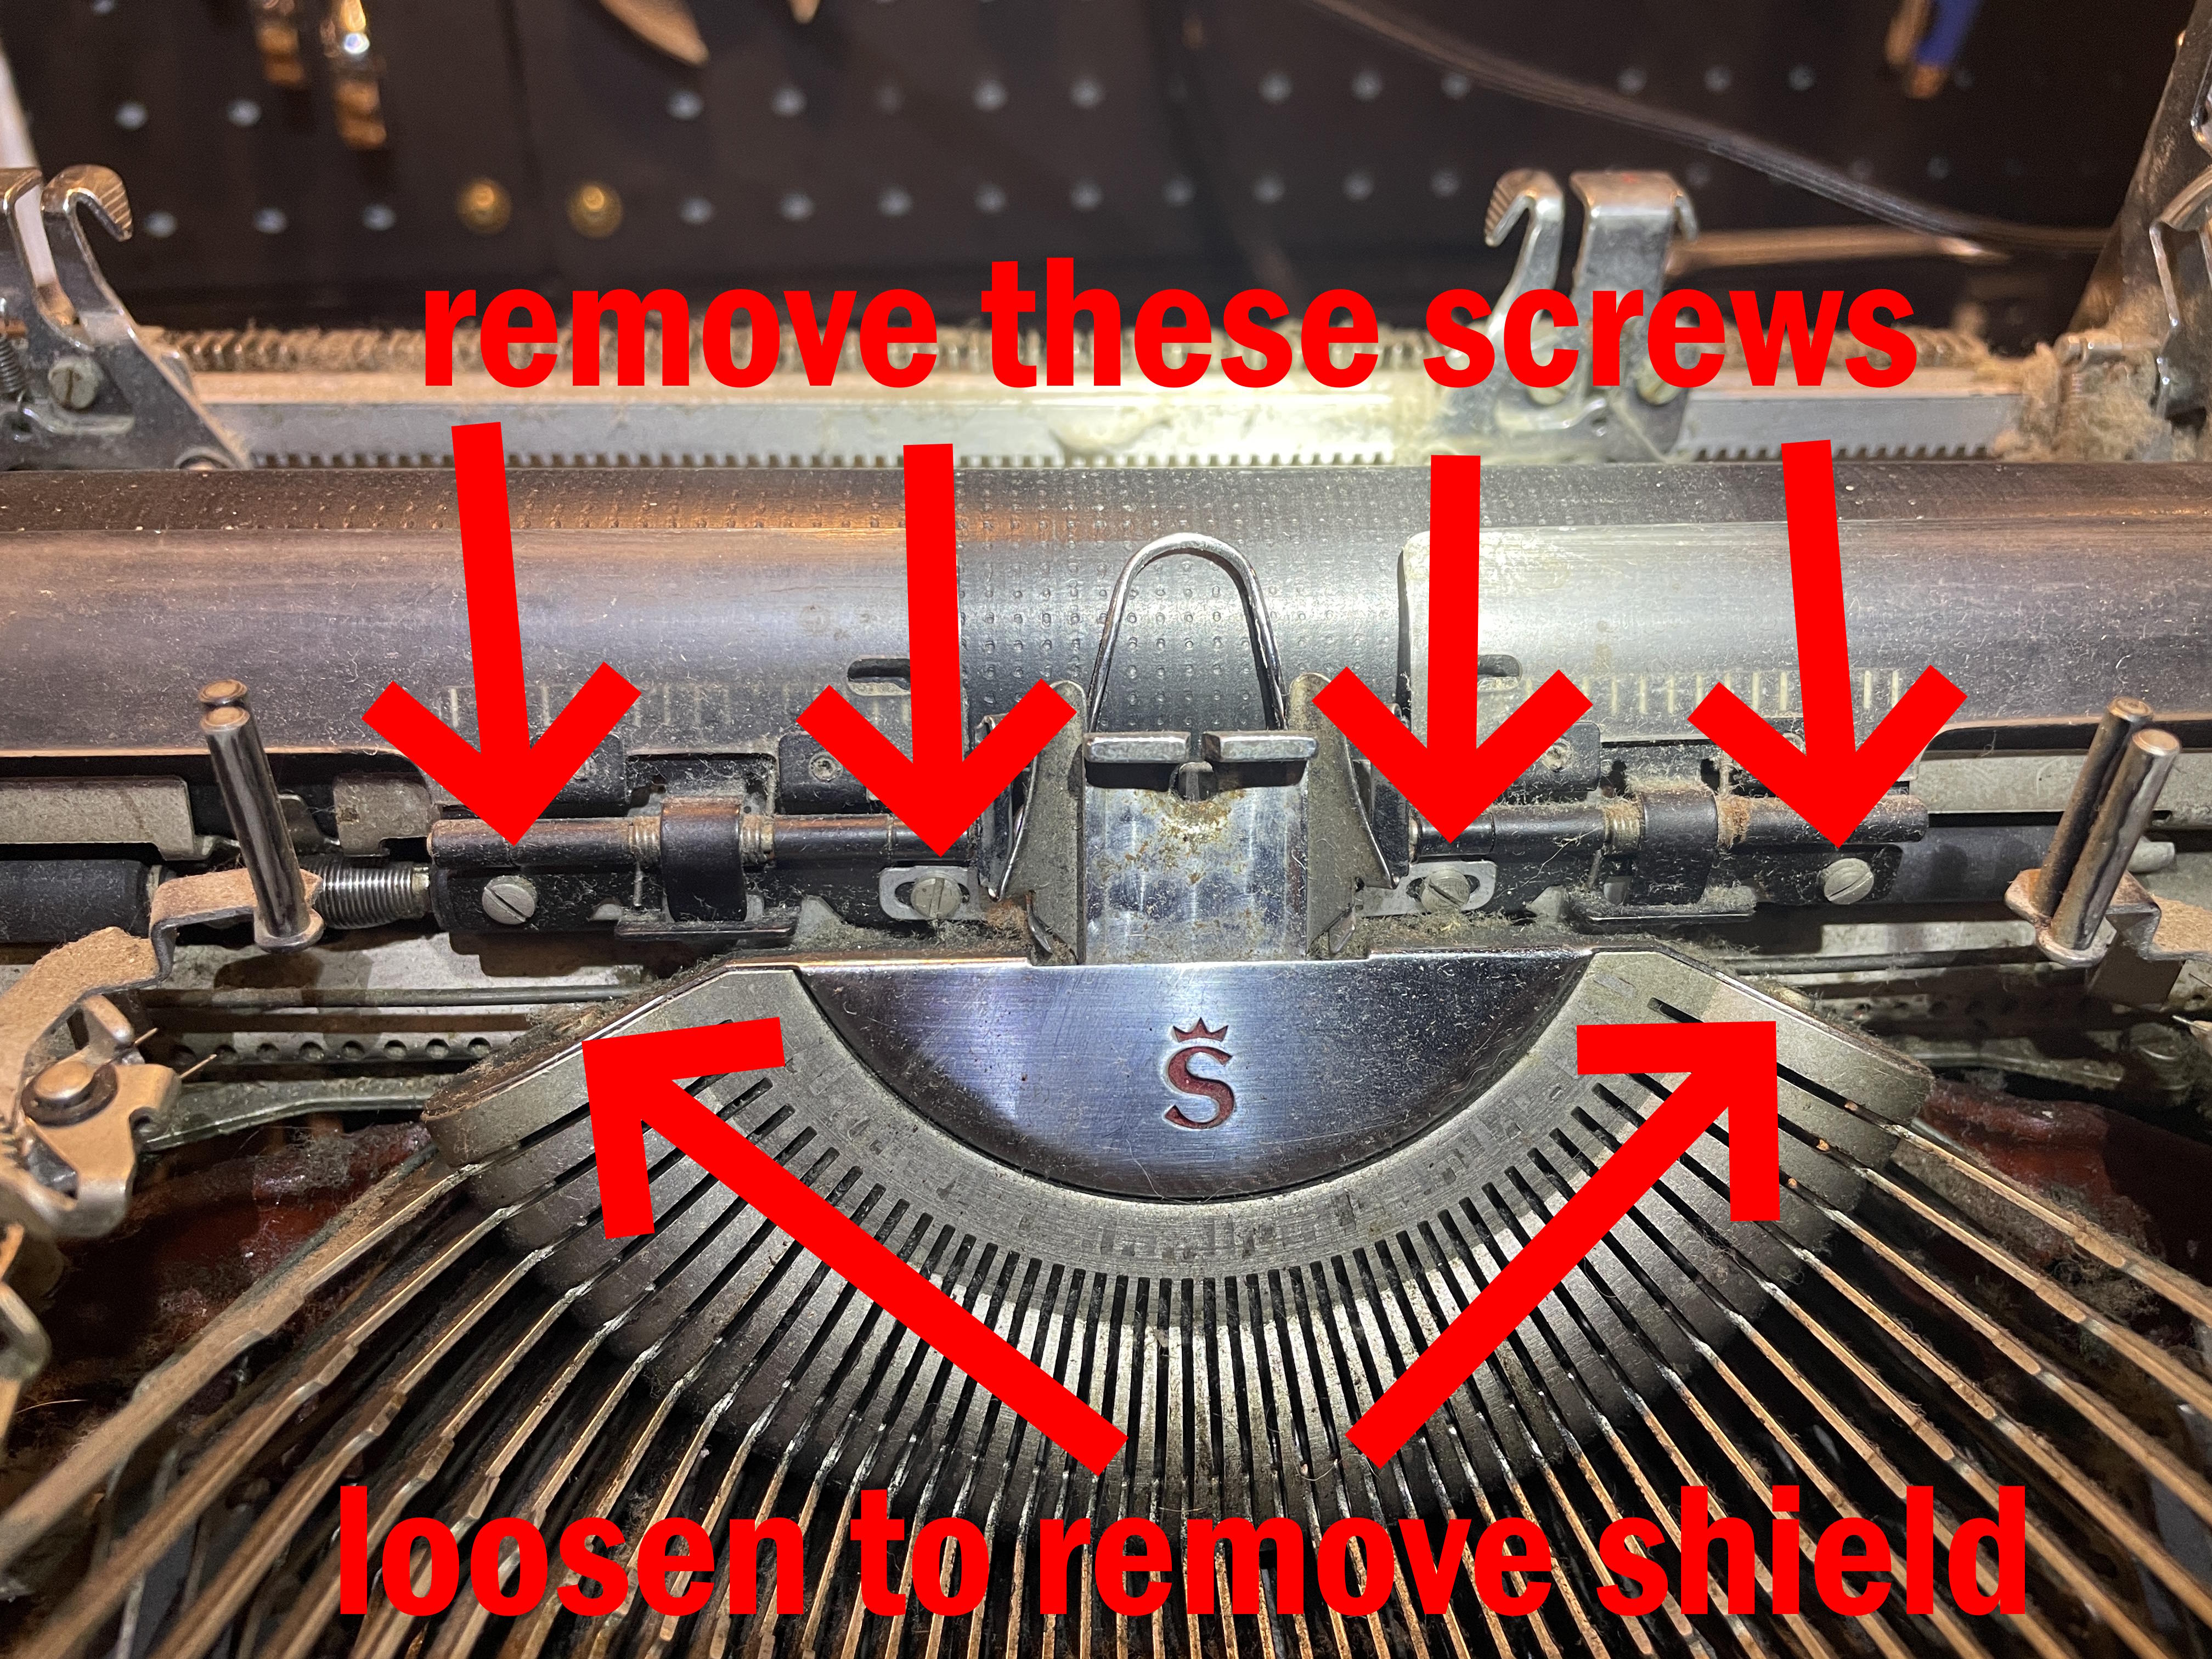
Gerren from HotRod Typewriter has a good video on dismantling SMs:
I removed the segment dust cover plate with the crowned “S”, plastic aligning scales, and card guide to prevent them them getting splattered with solvent. I chose lacquer thinner since the machine seemed pretty gummy.
I was impressed by the thick layers of greasy fur throughout the machine that were revealed as I dismantled.
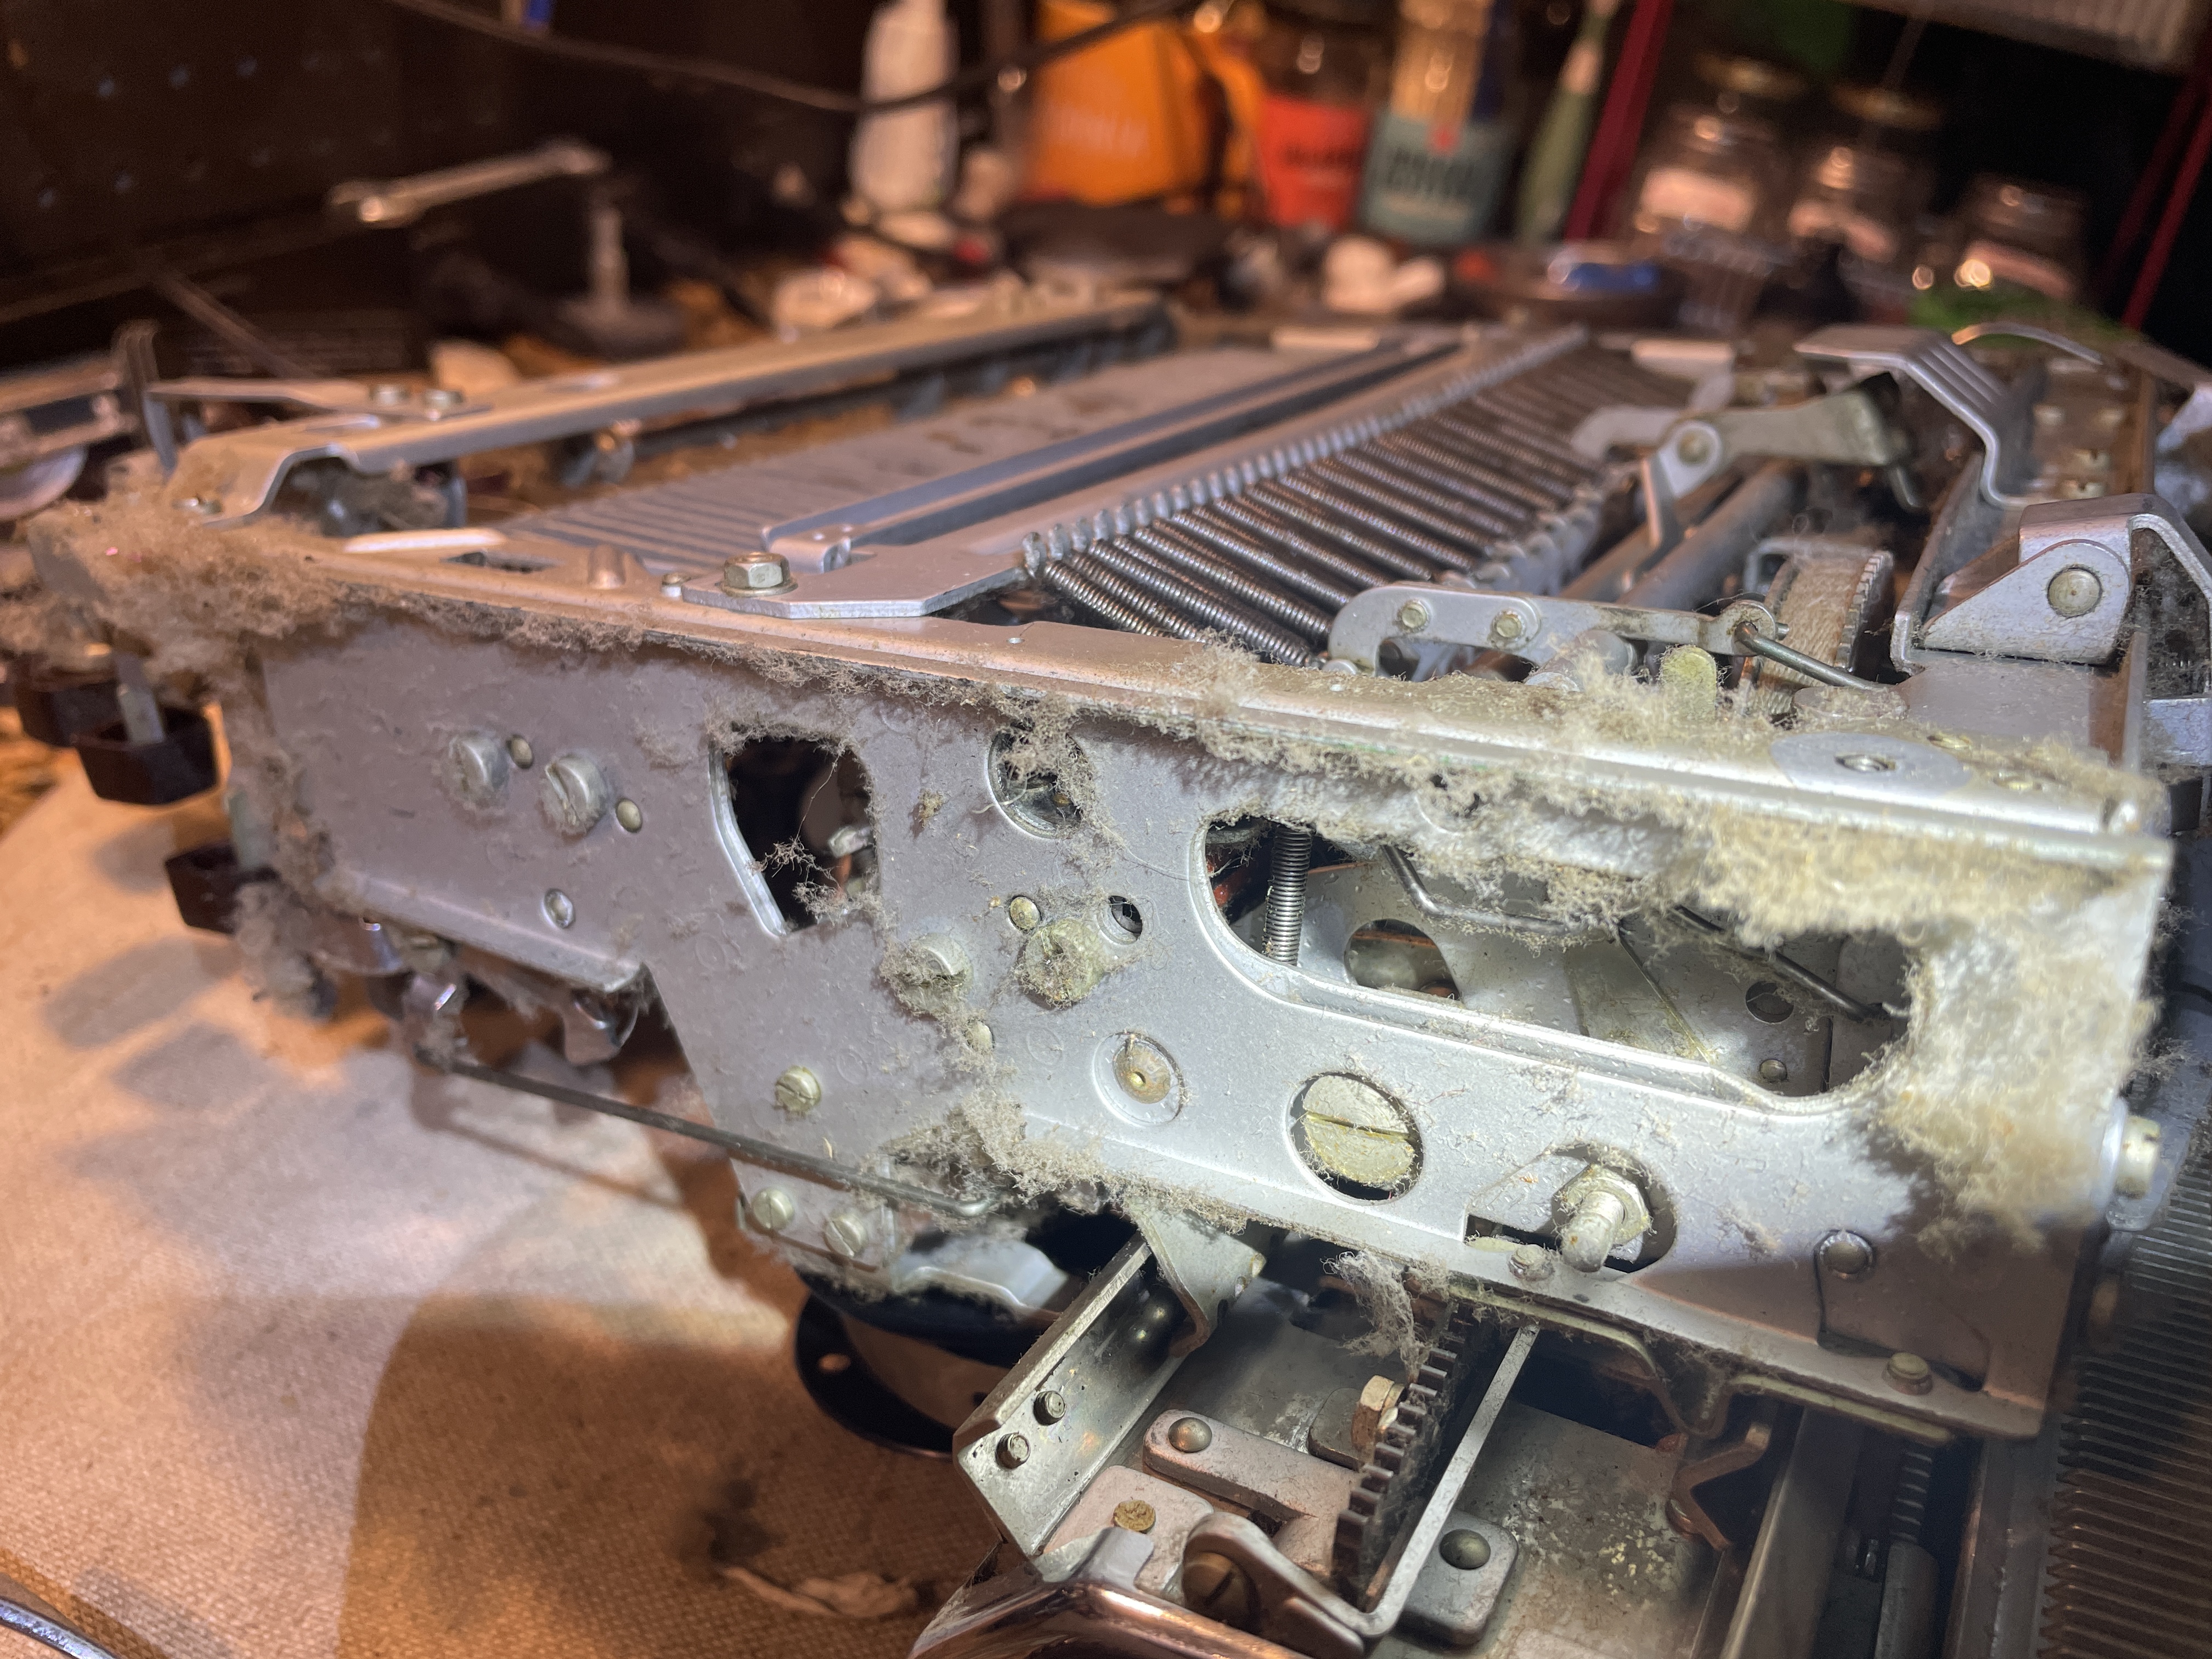
I popped the platen out and saw a magical forest of fluff. How was this thing, this precision typing instrument, typing at all?
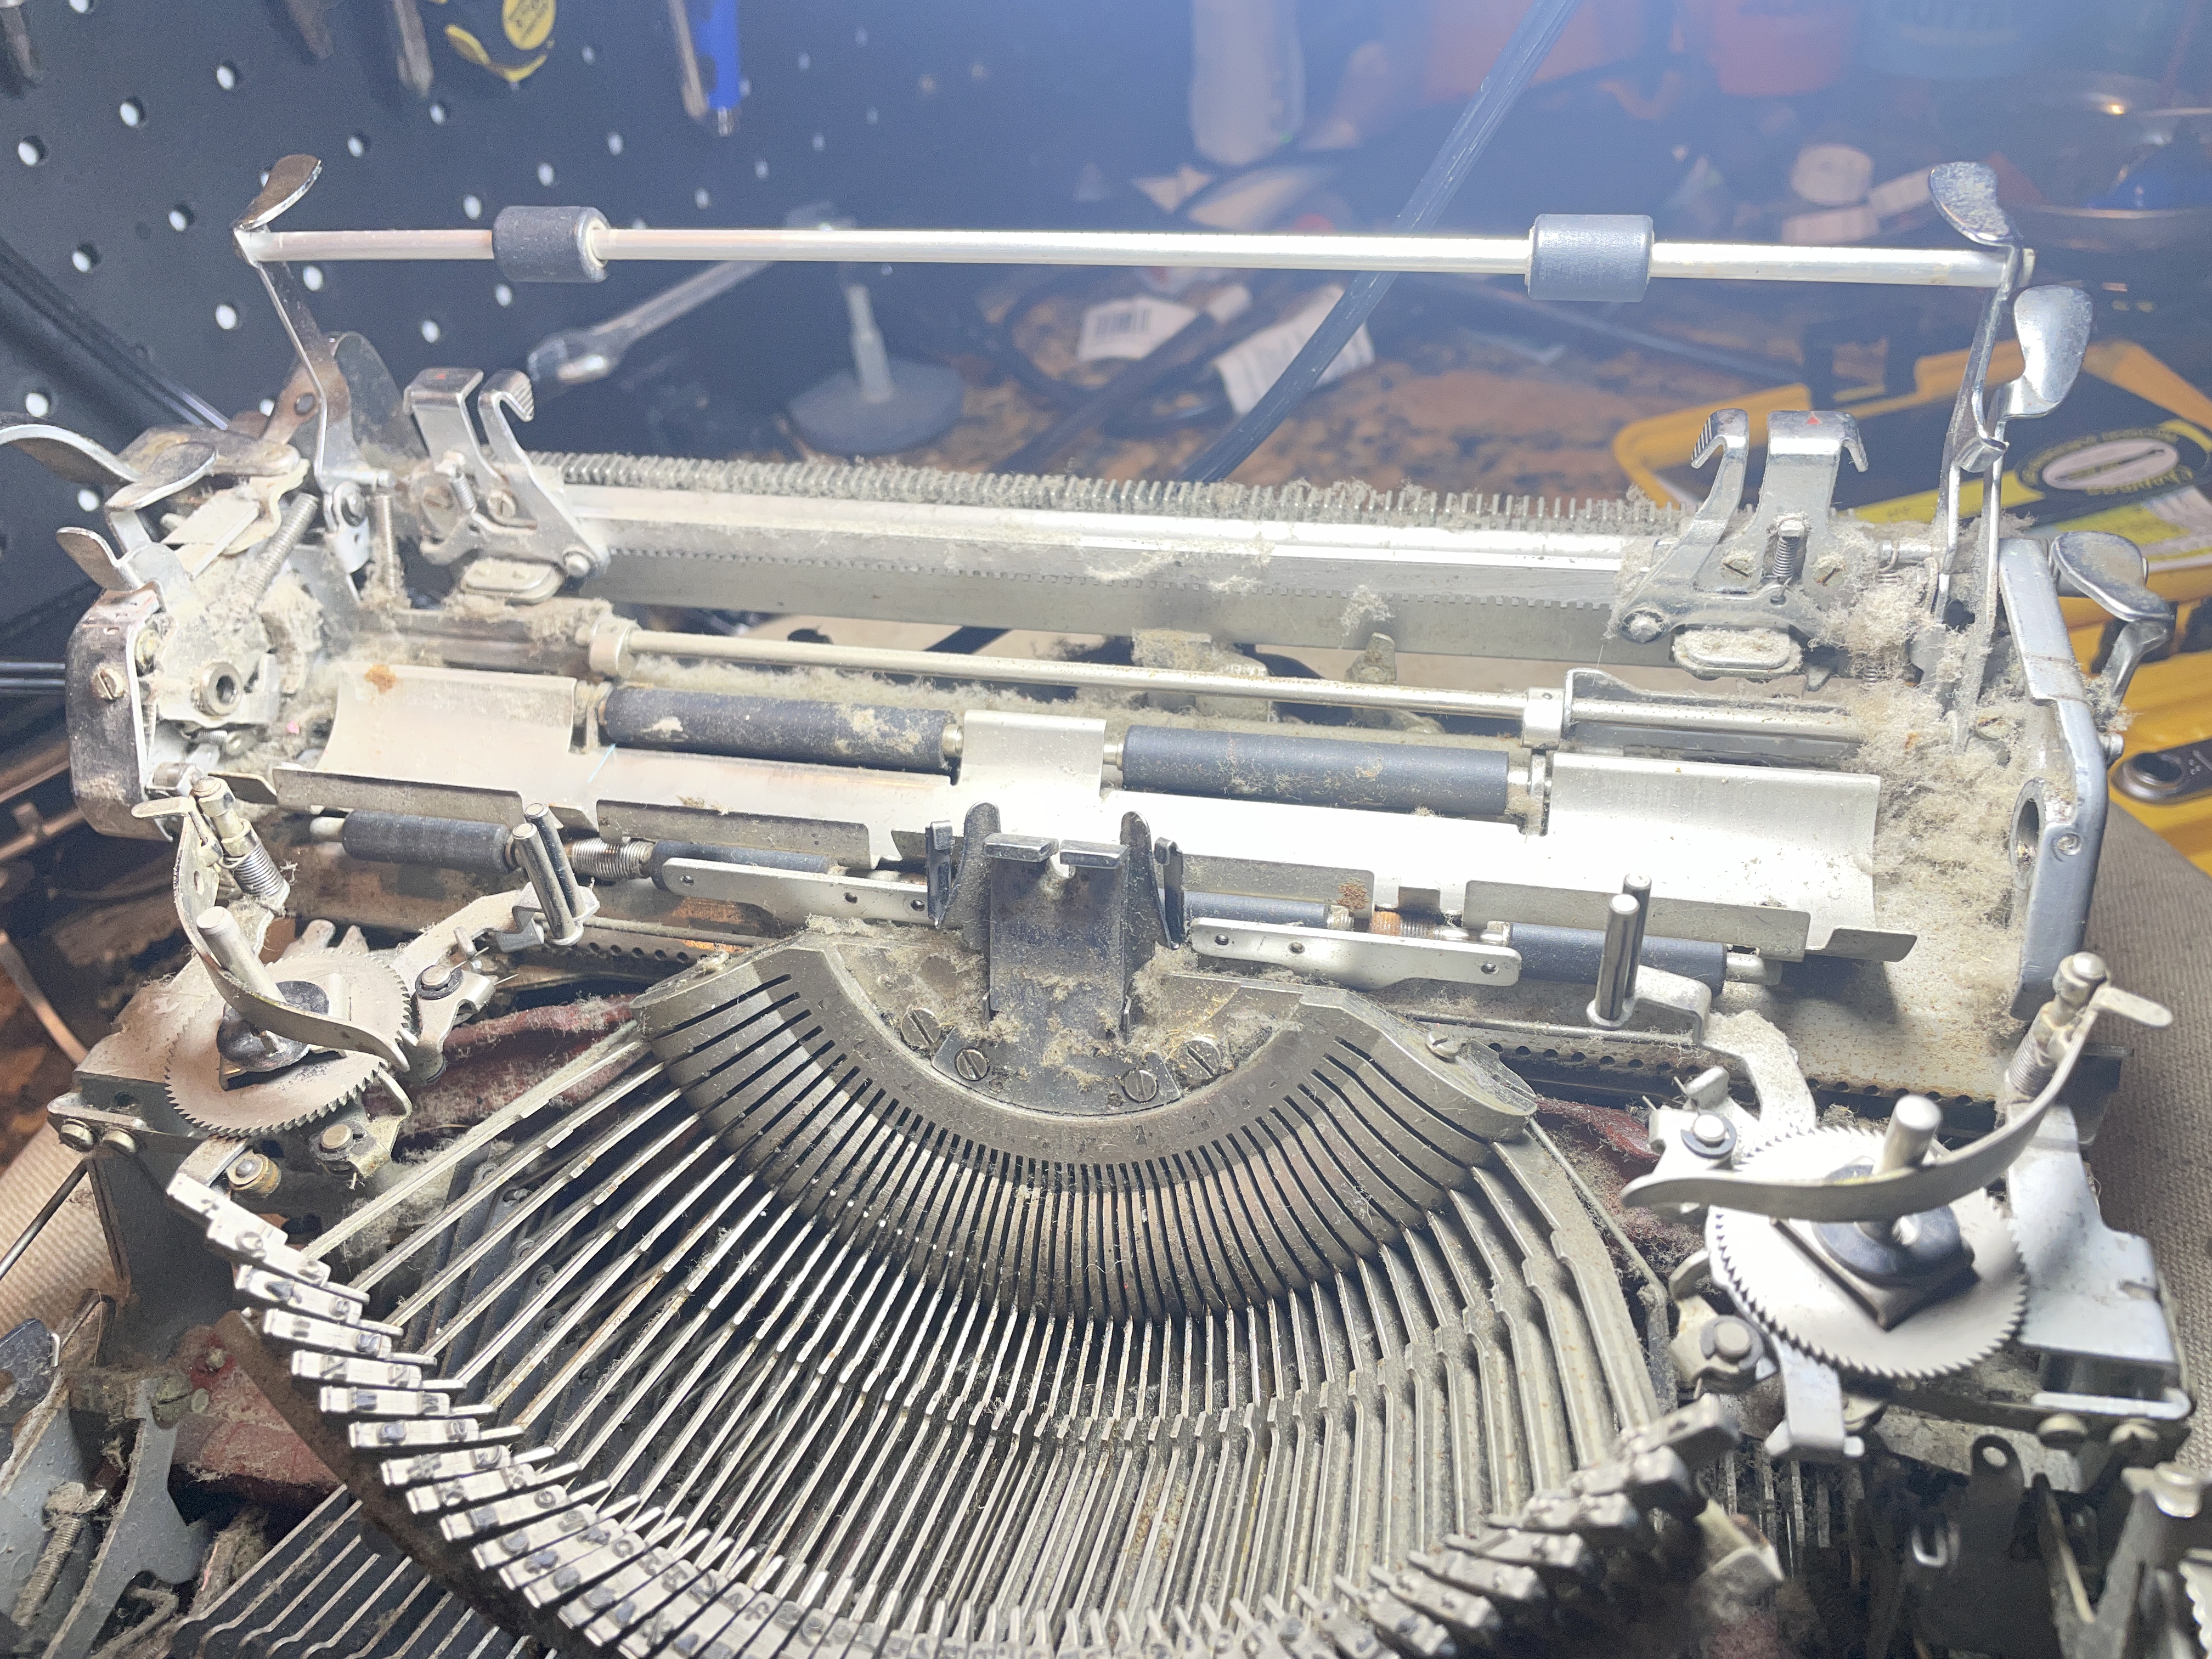
It was at this point I had a WWJD moment. Should I remove the carriage? It was so, so, so dirty, BUT it was typing. I don’t like it when people remove carriages for “cleaning” because the carriage often stays removed. However, I’m fairly comfortable with Olympia carriages, so off it came. I repeat: don’t take carriages off typewriters unless you do it a lot (and successfully replace them).
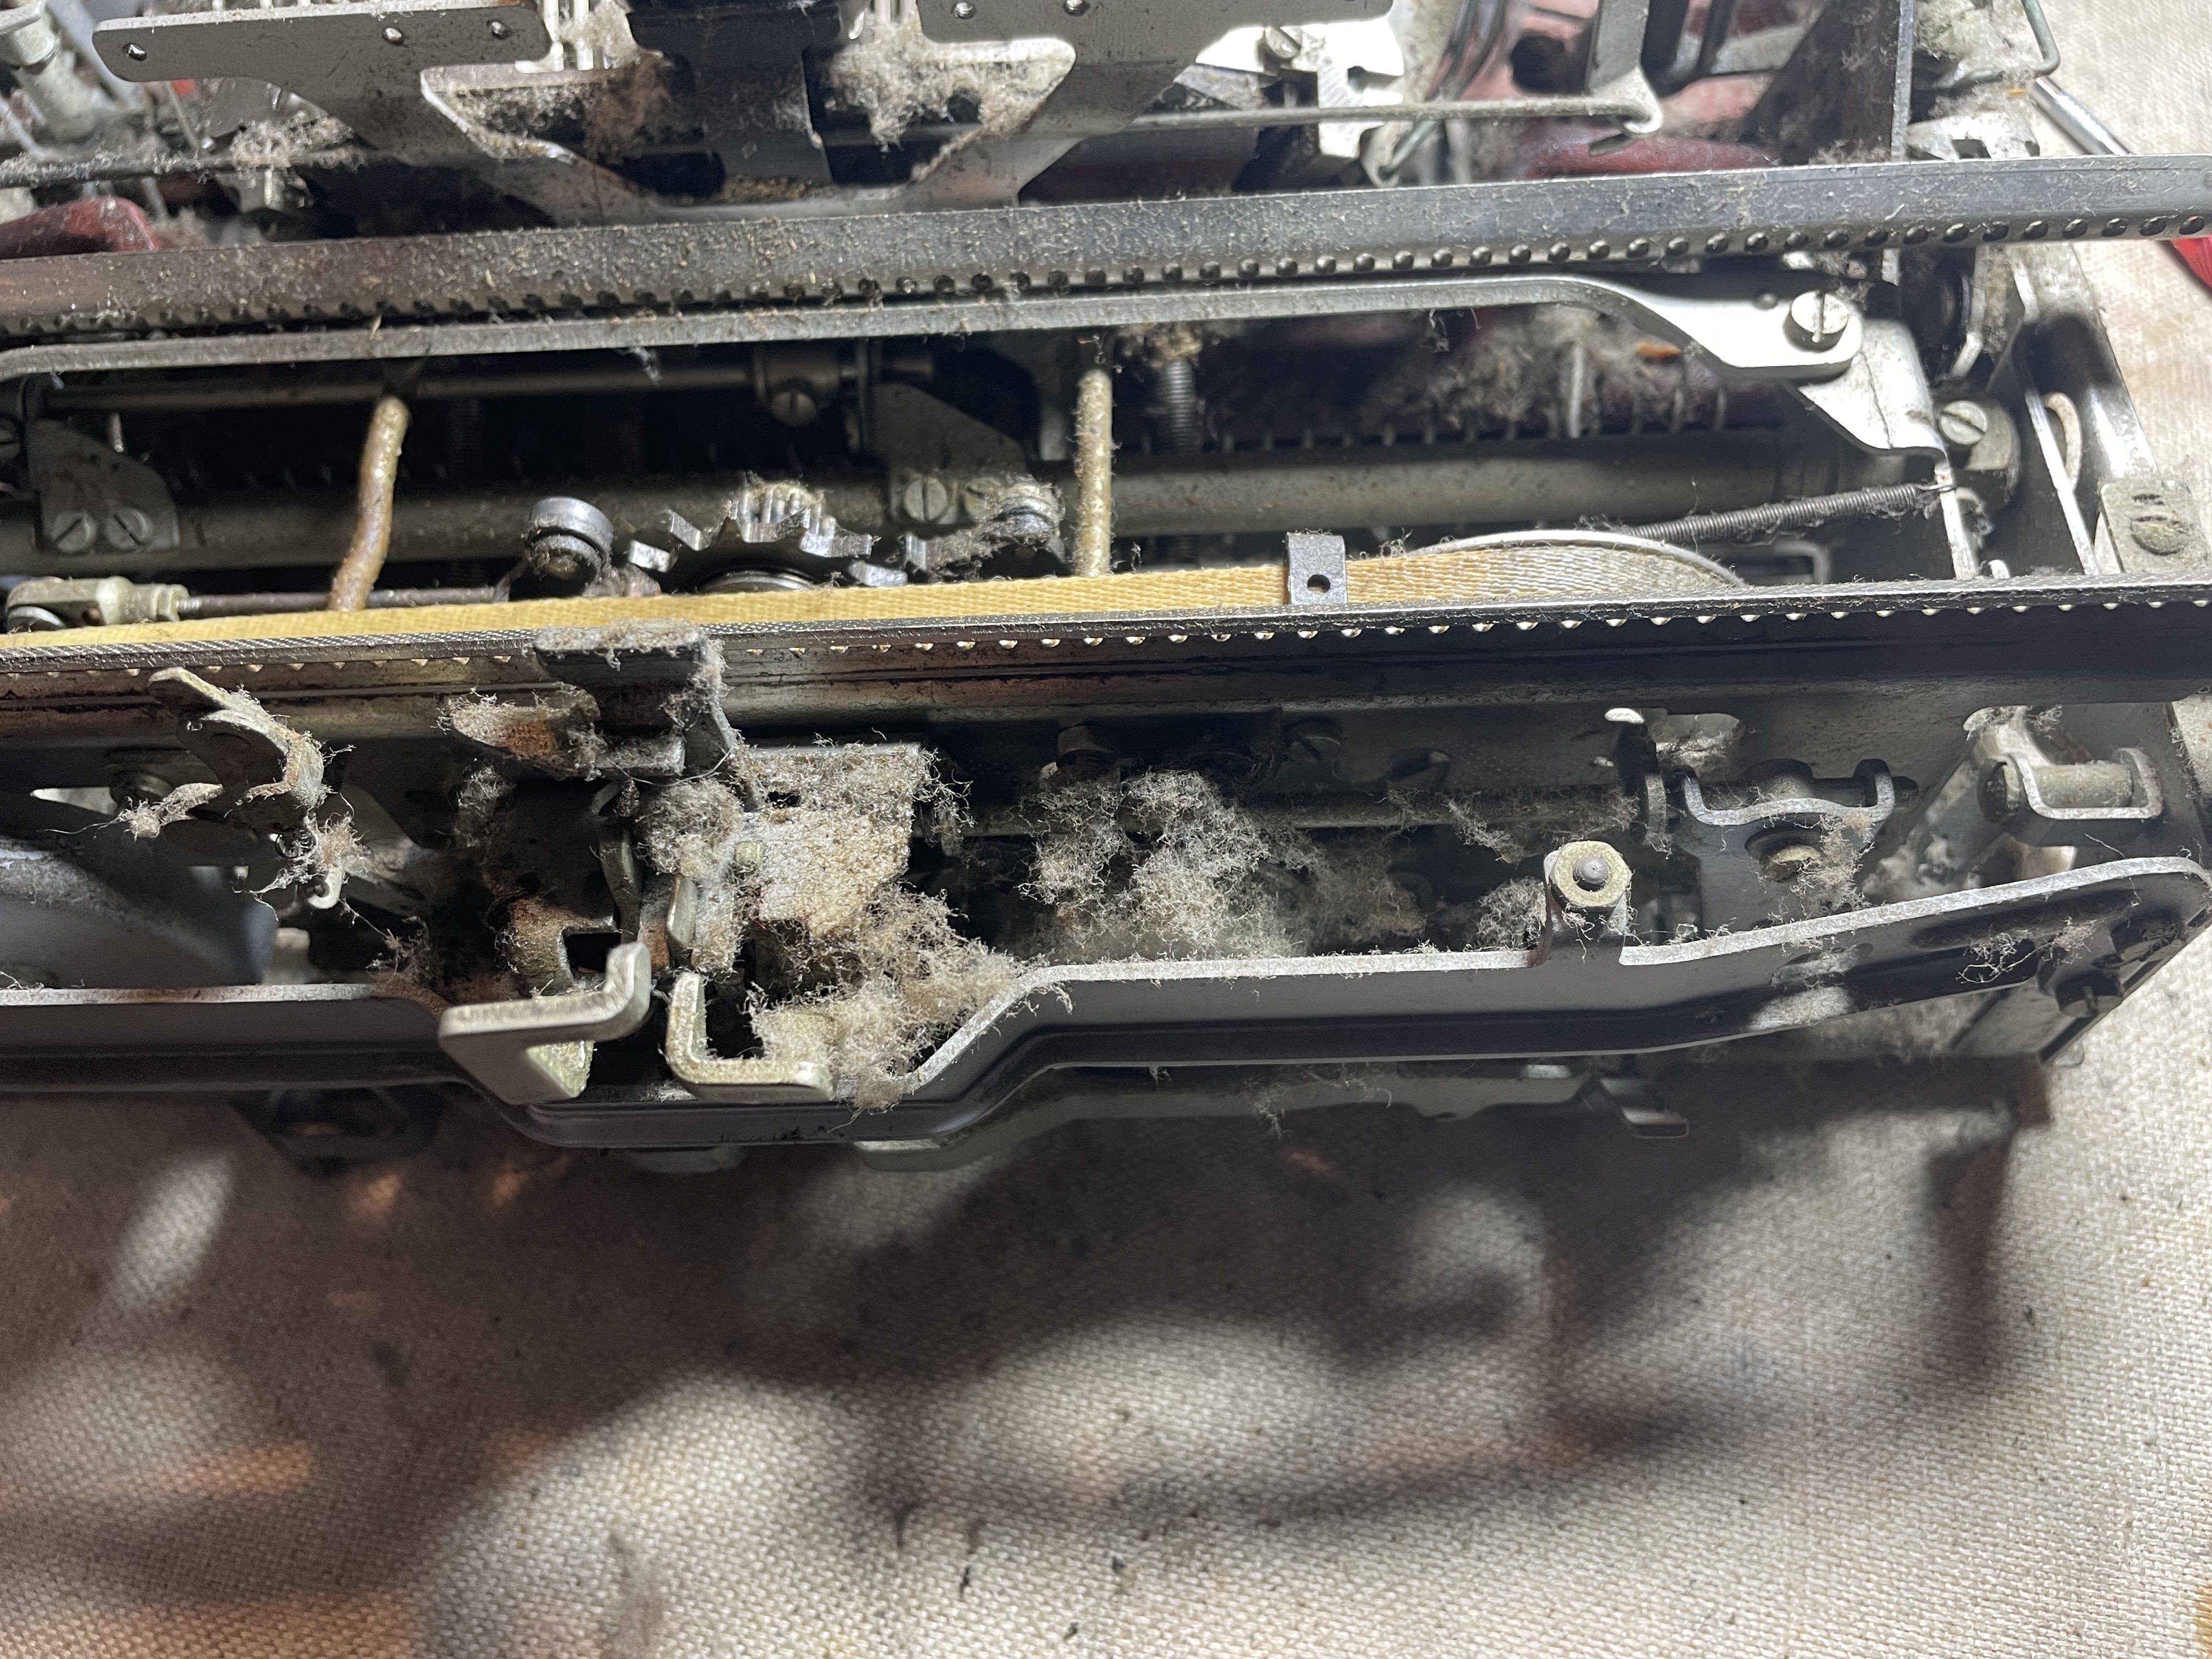
The debris did not blow out easily. It was a gummy mat of fur that clung tenaciously. I scrubbed at it, all the while dreaming of something like this:
I don’t know what’s going on in the video above, but I want it. I got this Olympia very clean with a brush, lacquer thinner, and an air compressor, but I can still see clinging scum in the guts. What if I could put it into a steaming ultrasonic vat of whatever Trevor has in that video? After summer is over, I want to pile up a carload of partially-dismantled typewriters and use the spa facilities at TB Writers Plus in Ohio. It’s an eight hour drive, but I want to check out their operation. They have a DYI service that sounds great to me.
I typed out a long letter to a correspondent, the Olympia cracking along like a machine gun. I wanted to reach for my ear protection but I had to keep an ear out for the baby who was napping. I worried that I would wake the sleeping babe with the CRACK-SNACK-CRACK-CRACK-SNACK-CRACK. Typing on this platen was like typing on the skull of a shrunken head.
The typed words seemed somewhat light despite my heavy typing technique. If I typed like a normal person, it was way too light:

I guess that over the years the platen rubber had hardened and shrunk. Some ring and cylinder adjustments were in order. Here’s an explanation of ring and cylinder:
And Gerren from HotRod Typewriter shows how to make the adjustment starting at 11:12 in this video:
I made adjustments by loosening the collars on both sides and rotating them so that the platen (“cylinder”) moved closer to the anvil (“ring”). I had to actually move one of the screws in the collar to get correct placement.
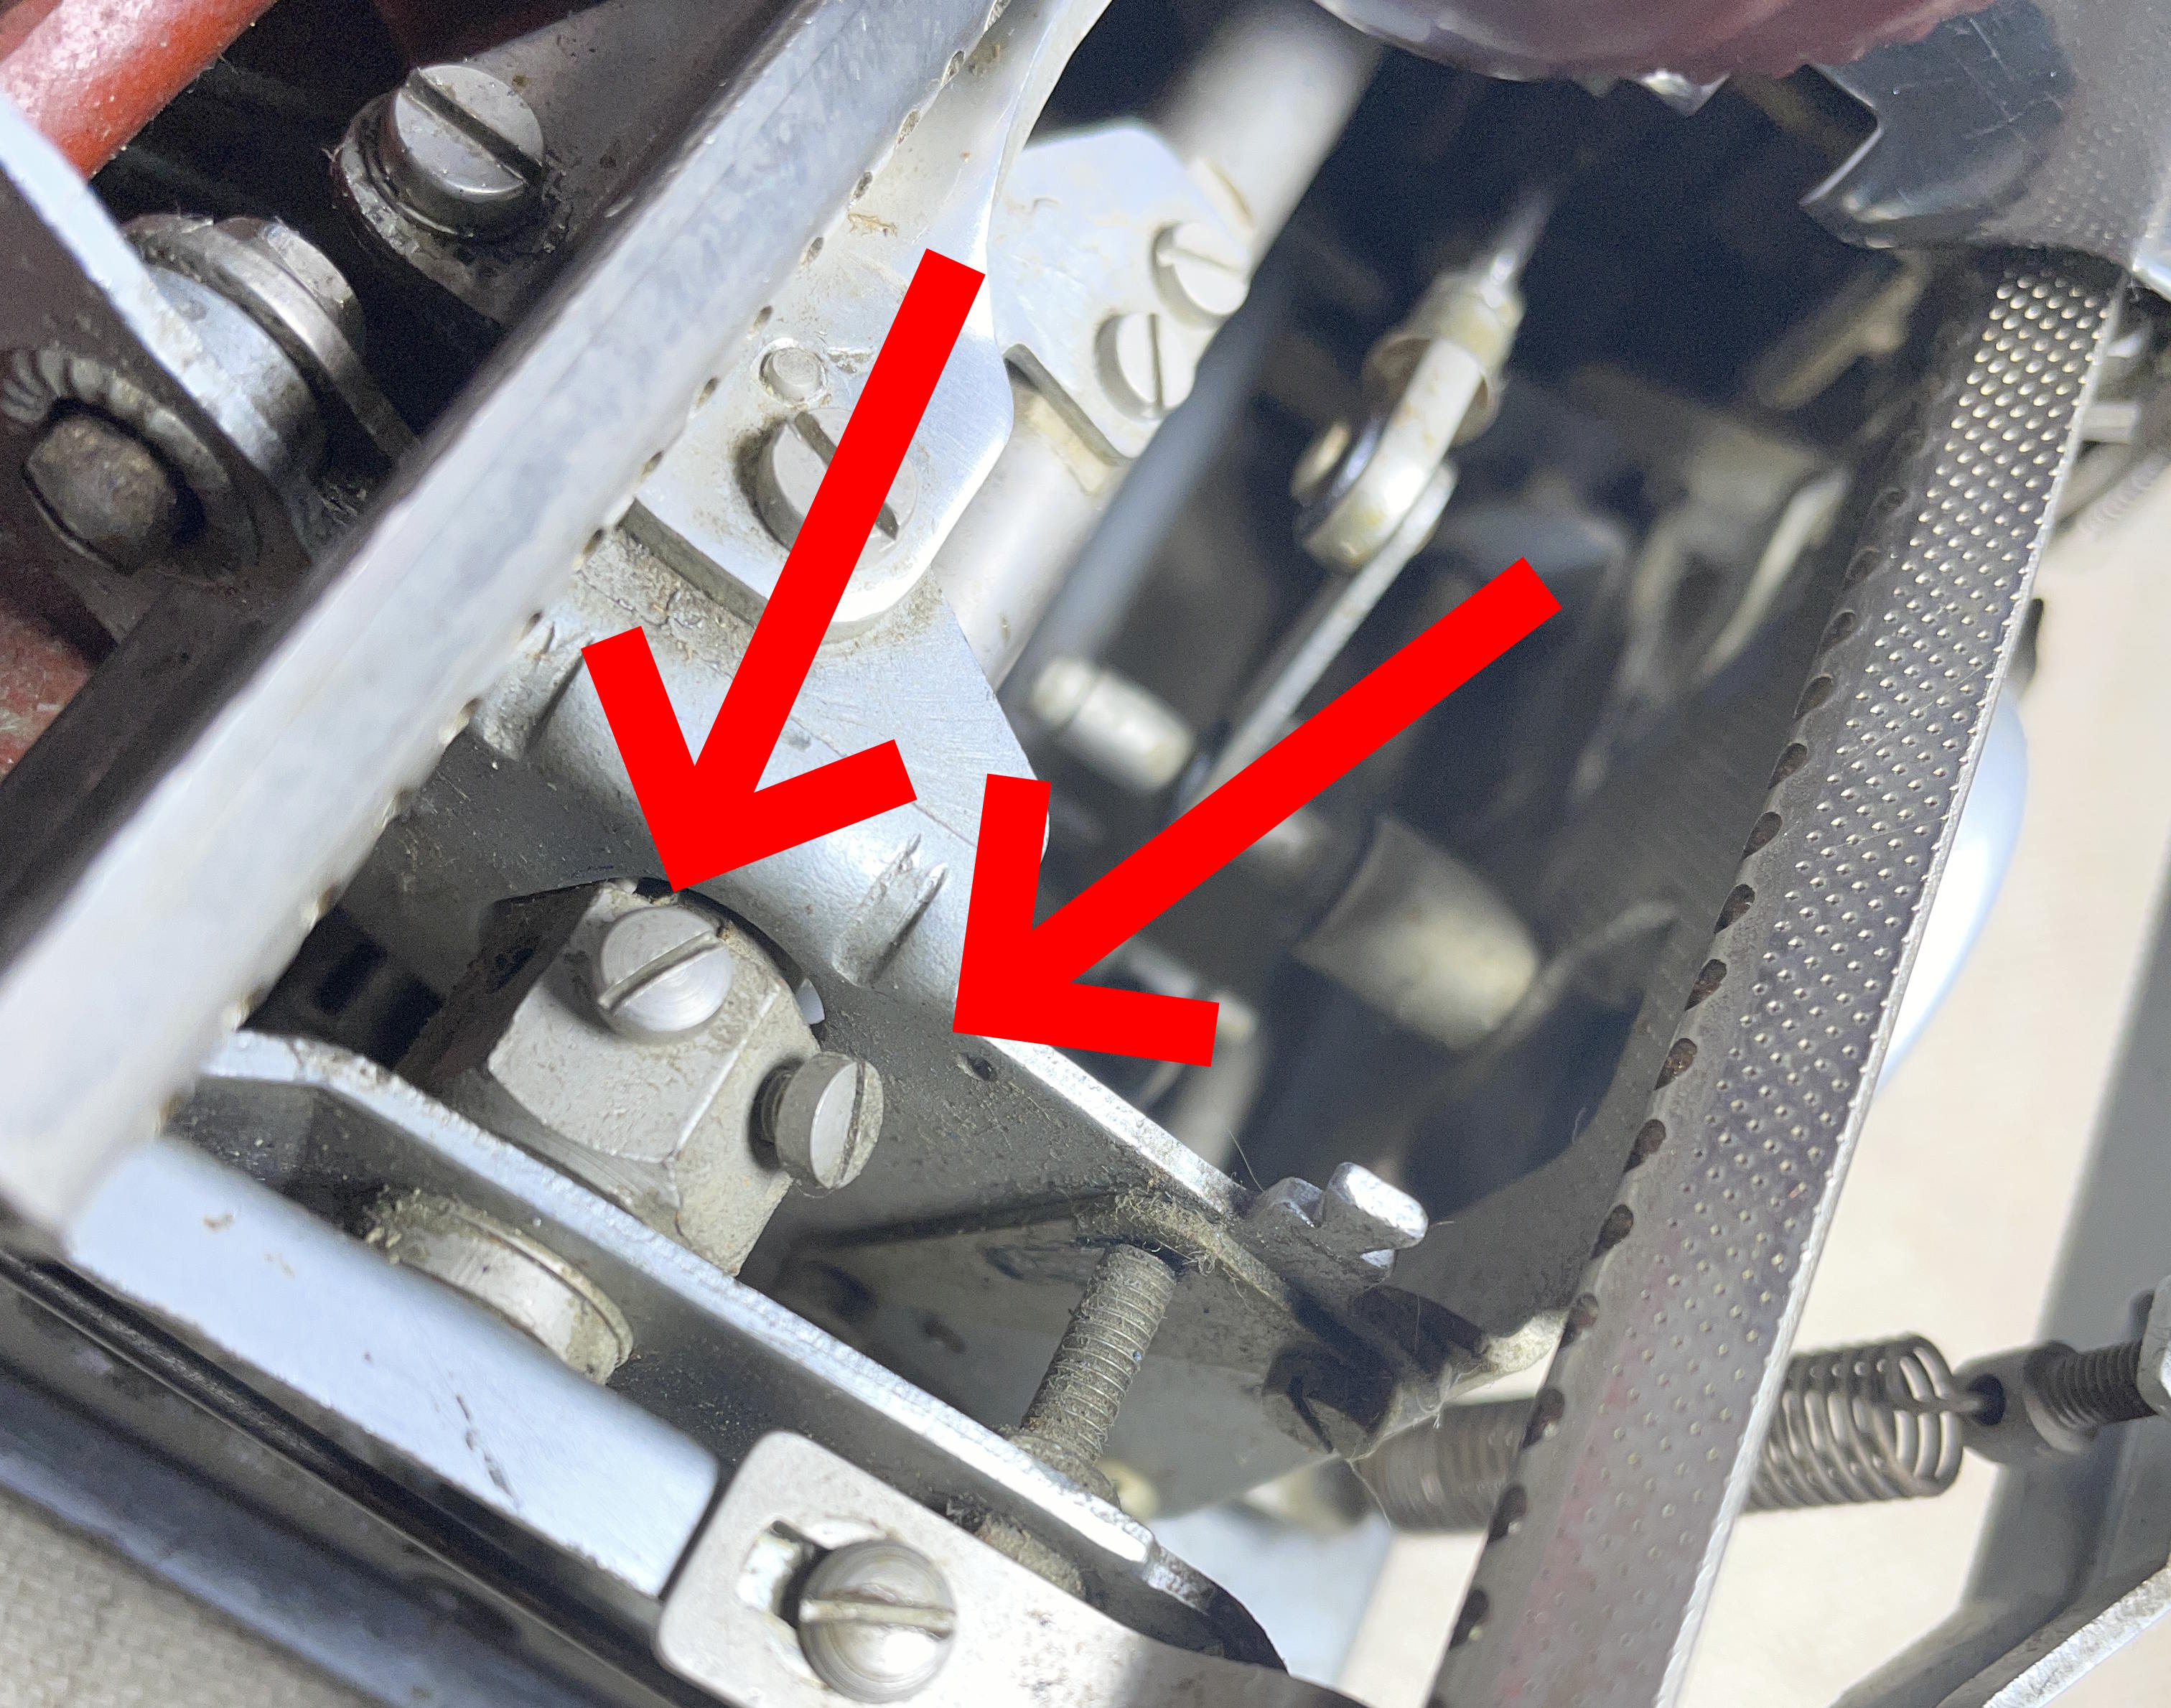
How far is enough? At the Facebook Antique Typewriter Maintenance Group, a former typewriter technician said that you want some drag of the typebar on the platen.

After adjustment, I got a good imprint and a good smudge:
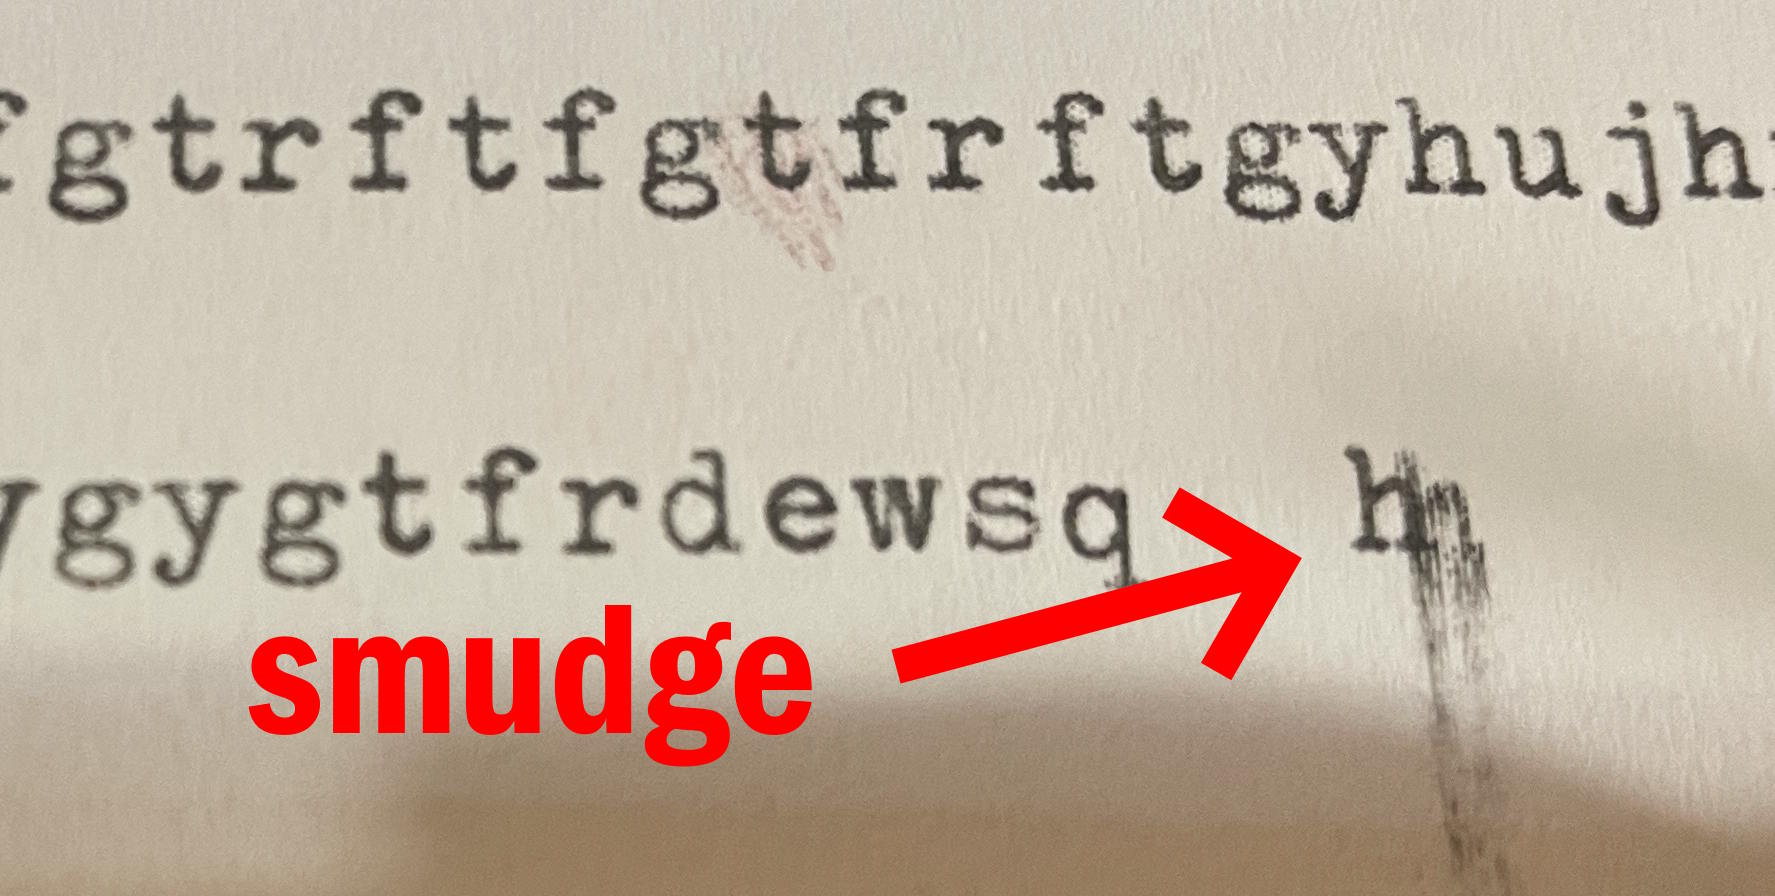
If you make adjustments to the ring and cylinder, you’ll probably need to make “on feet” and “motion” adjustments afterwards. Here’s Gerren again showing where to make those adjustments.
I needed to bring the capital letters down a smidge:
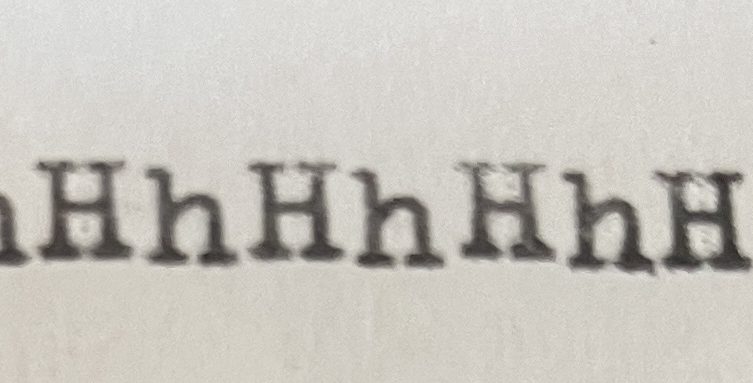
There. All good.

Since this is MY machine, I made all the little adjustments that I like to make it feel good under my fingers such as lightening the shift and lightening the touch.
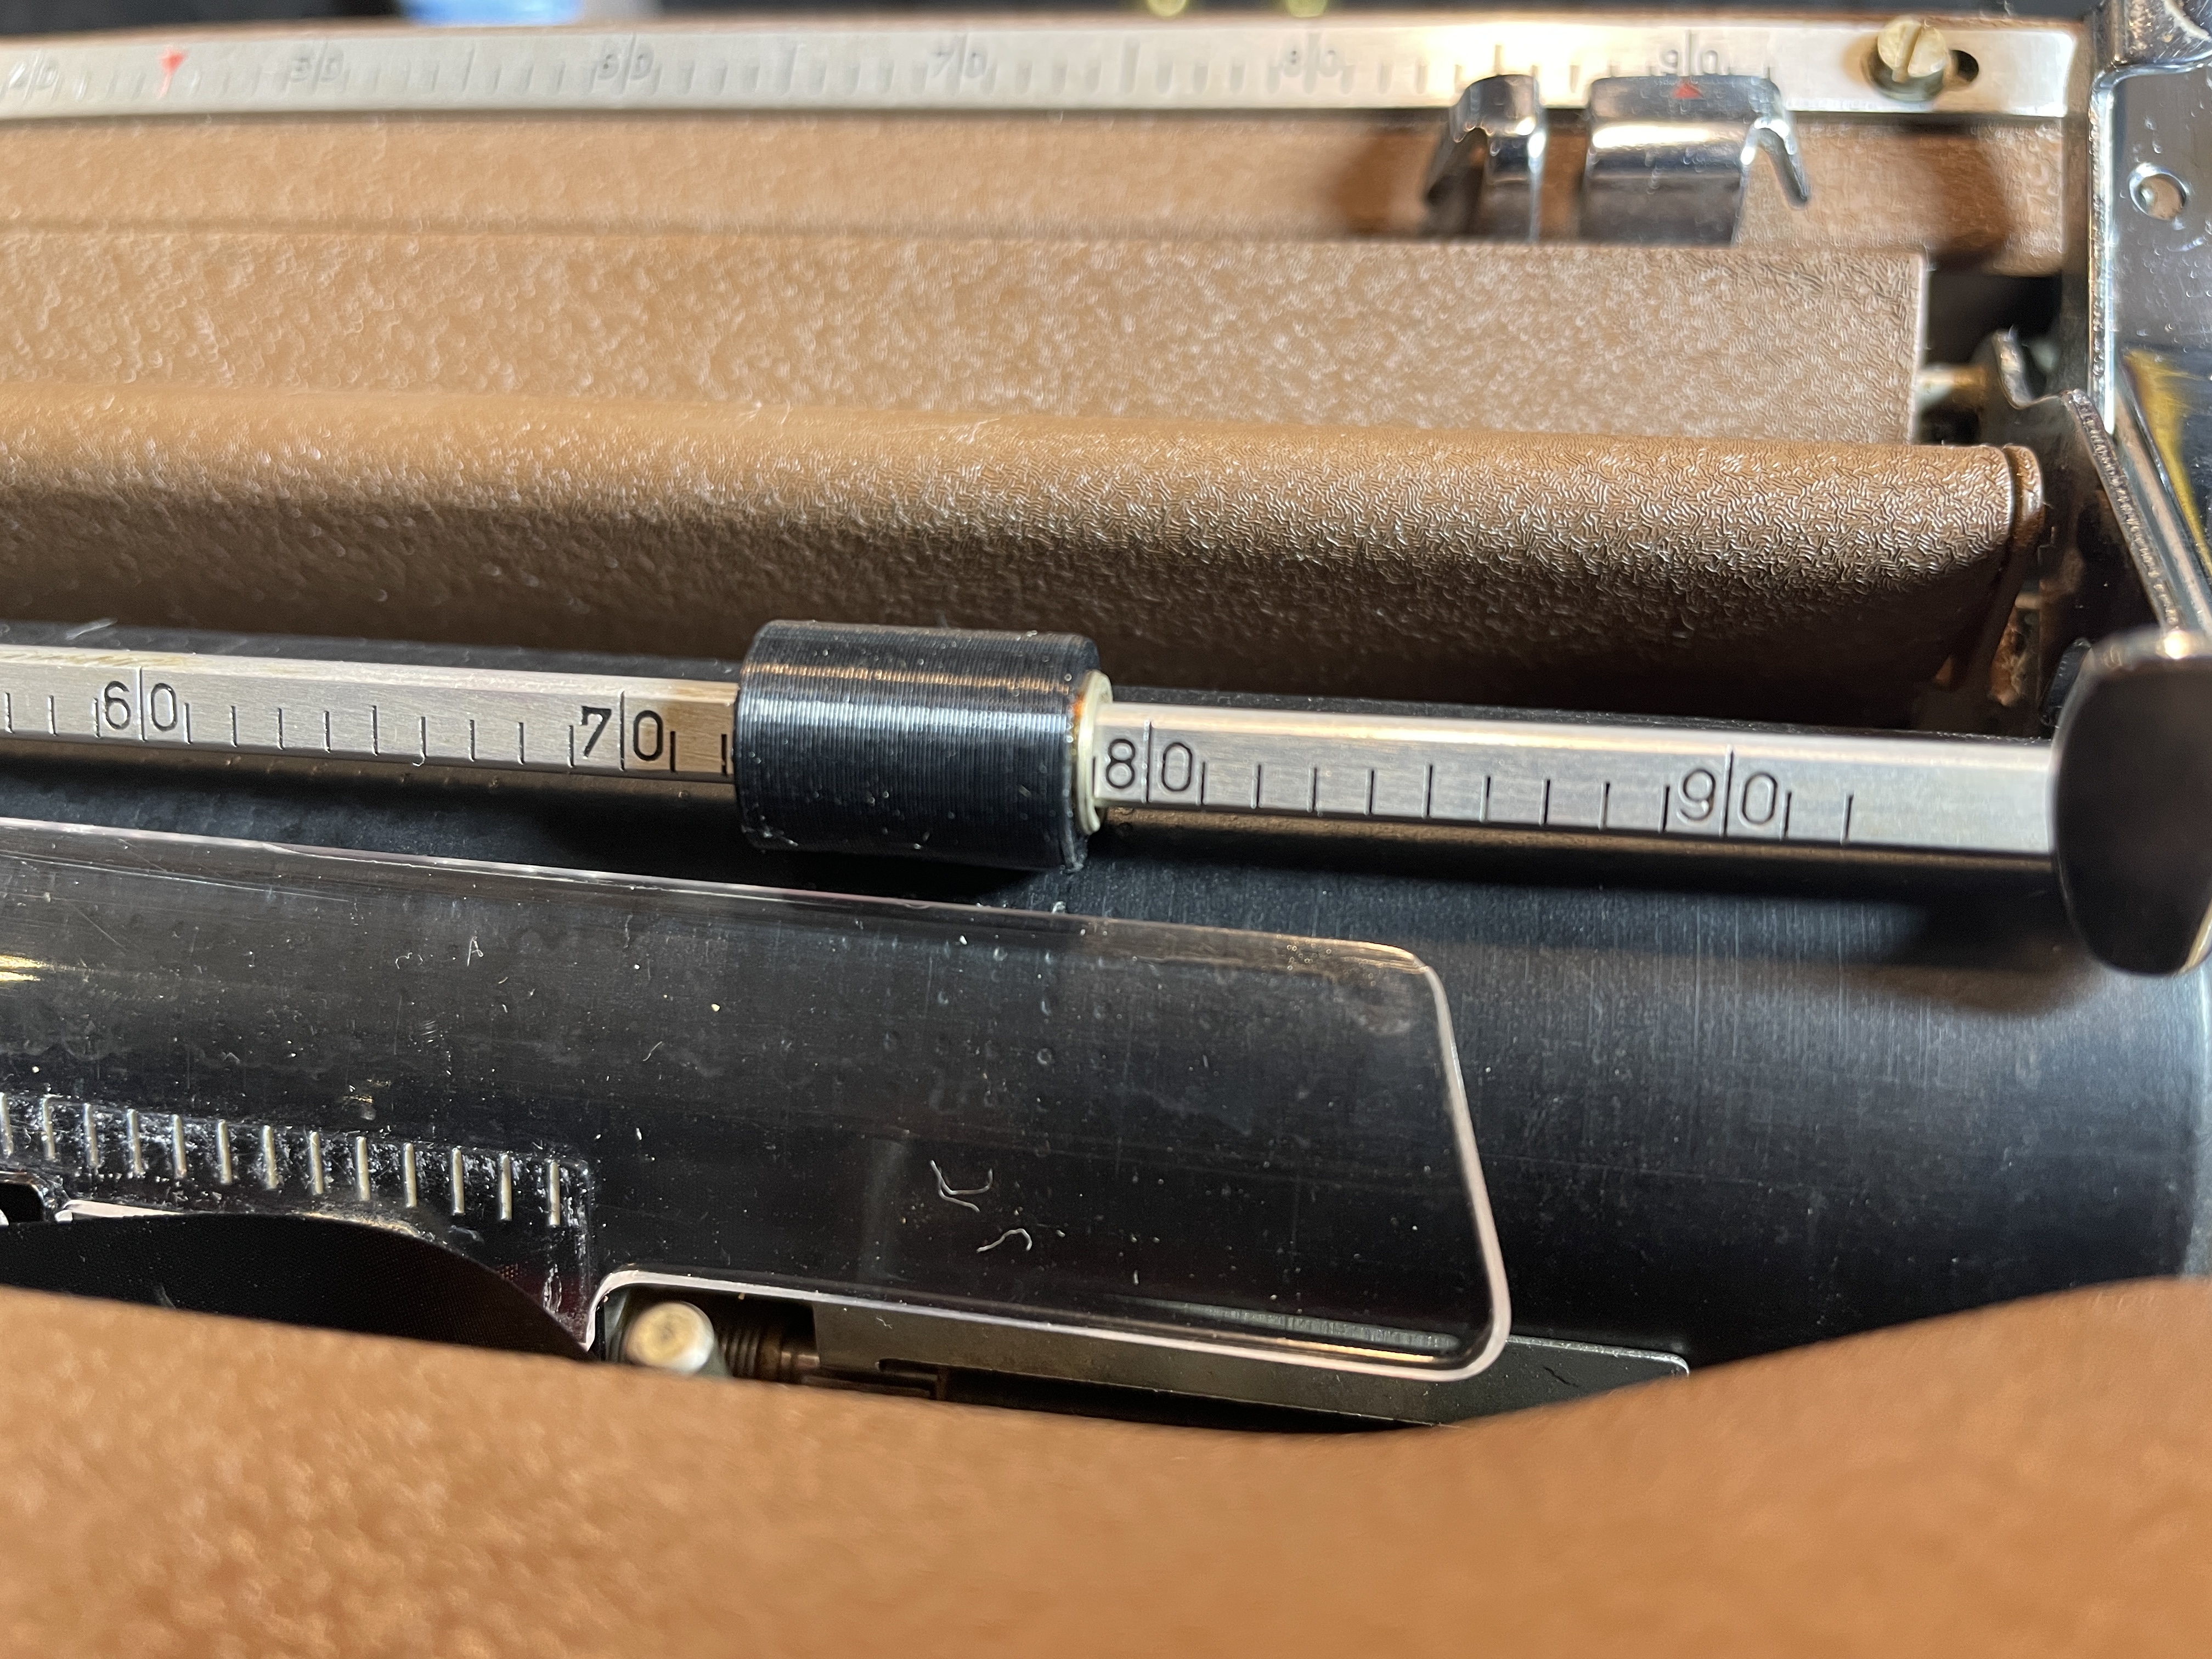
I put the typewriter back together after cleaning the cover plates with diluted Simple Green. I inserted new 3D printed spacers because the originals were pools of black goo.
She’s a yummy box of chocolates! These SMs always clean up sooo nice.
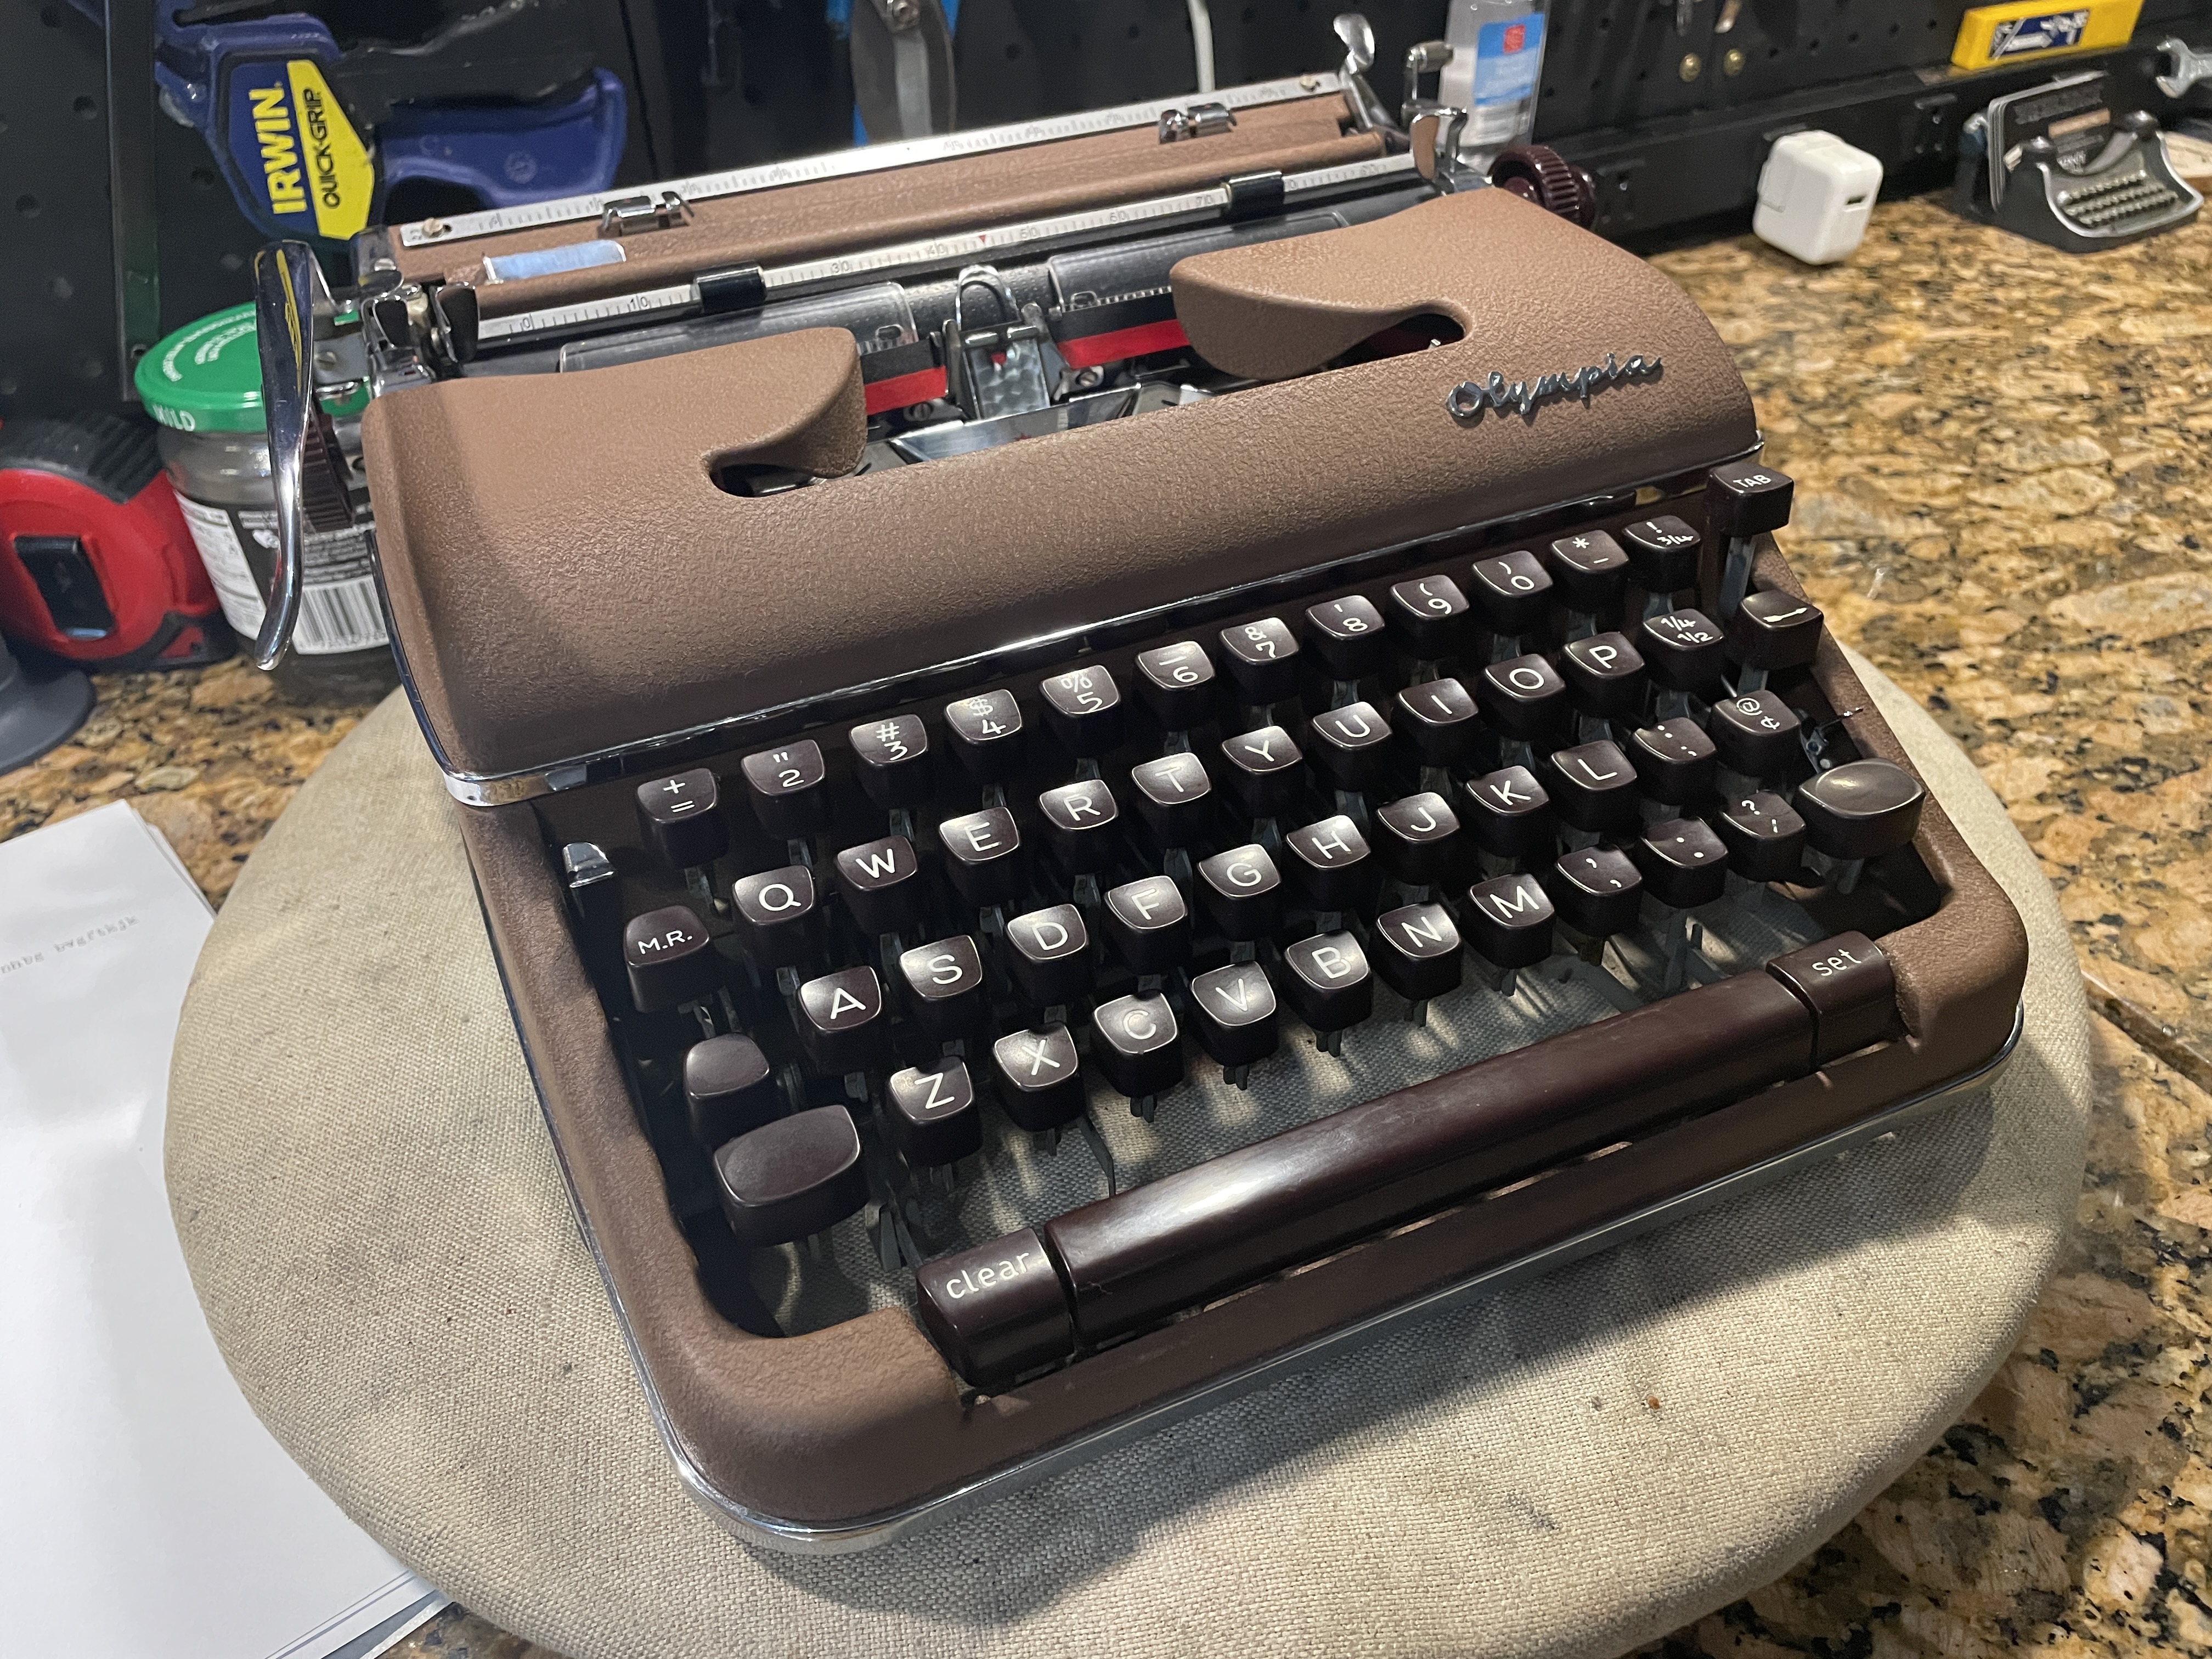
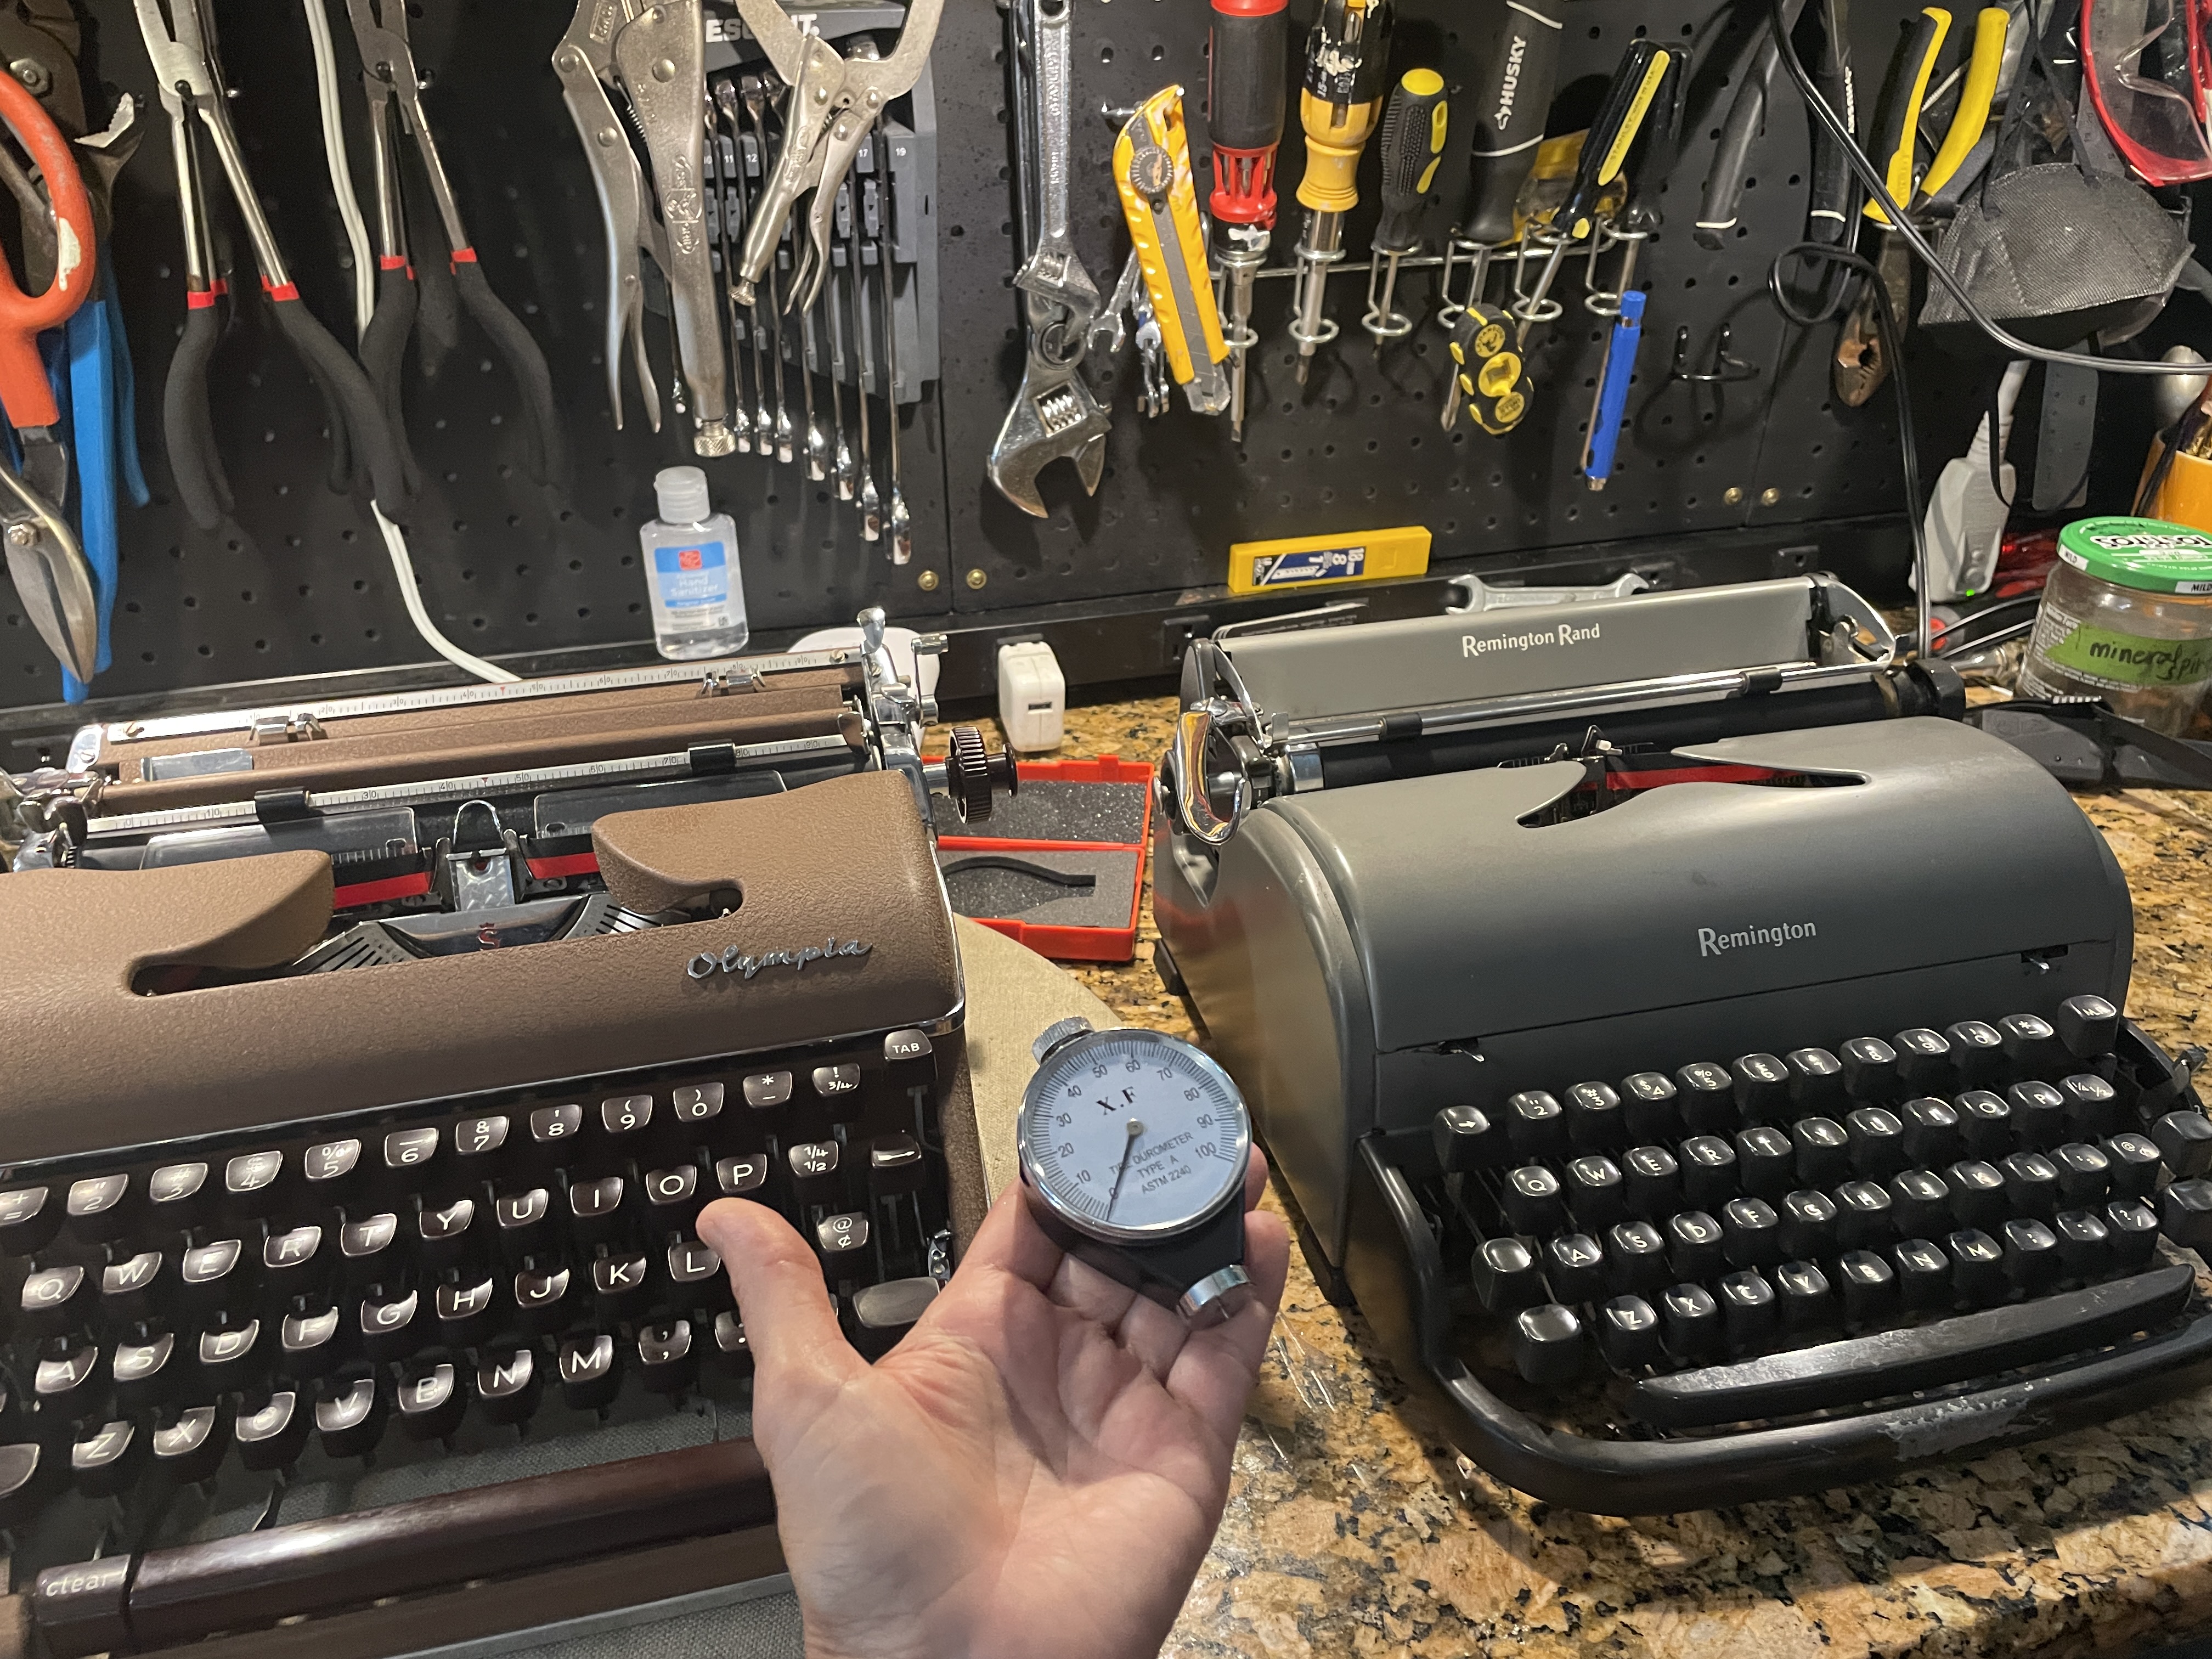
I was getting a good imprint from the Olympia but it was SO DAMN LOUD. CRACK-SNACK-CRACK-CRACK-SNACK-CRACK. I compared durometer readings of the Remington All-New which I recently worked on (nice, soft, quiet platen) and this SM4. All-New platen = Shore 94A and Olympia = Shore 100A.
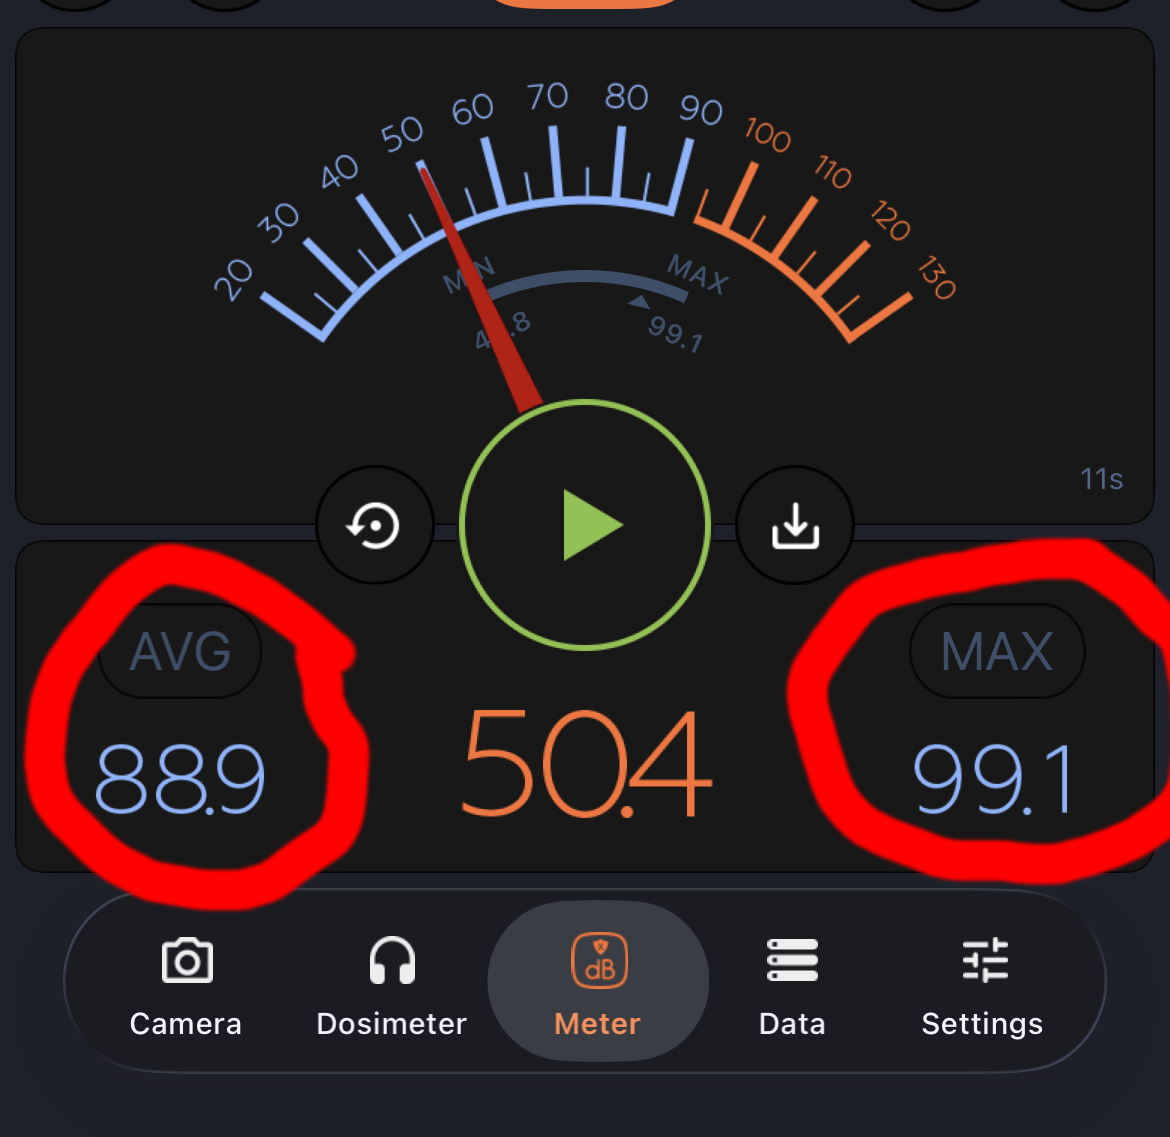
I downloaded a decibel meter app. No wonder using this Olympia was ear-splittingly painful!
I shook my head. This Olympia deserves a new platen. A classy platen. I’ve done heat shrink recoverings on broken platens and they’re great, but
- people are super judgey about heat-shrink.
- Also, the polyolefin I use is kind of hard.
- And layers of heat shrink give you a “close-enough” final diameter, but it’s not perfect. I read of someone trying to turn heat shrink on a metal lathe, but he had problems with the heat shrink ripping and stripping off.
This time I am doing something I haven’t done before: I’m sending this one into JJ Short. I popped out the Olympia’s platen. Don’t lose those spacer washers on the right.
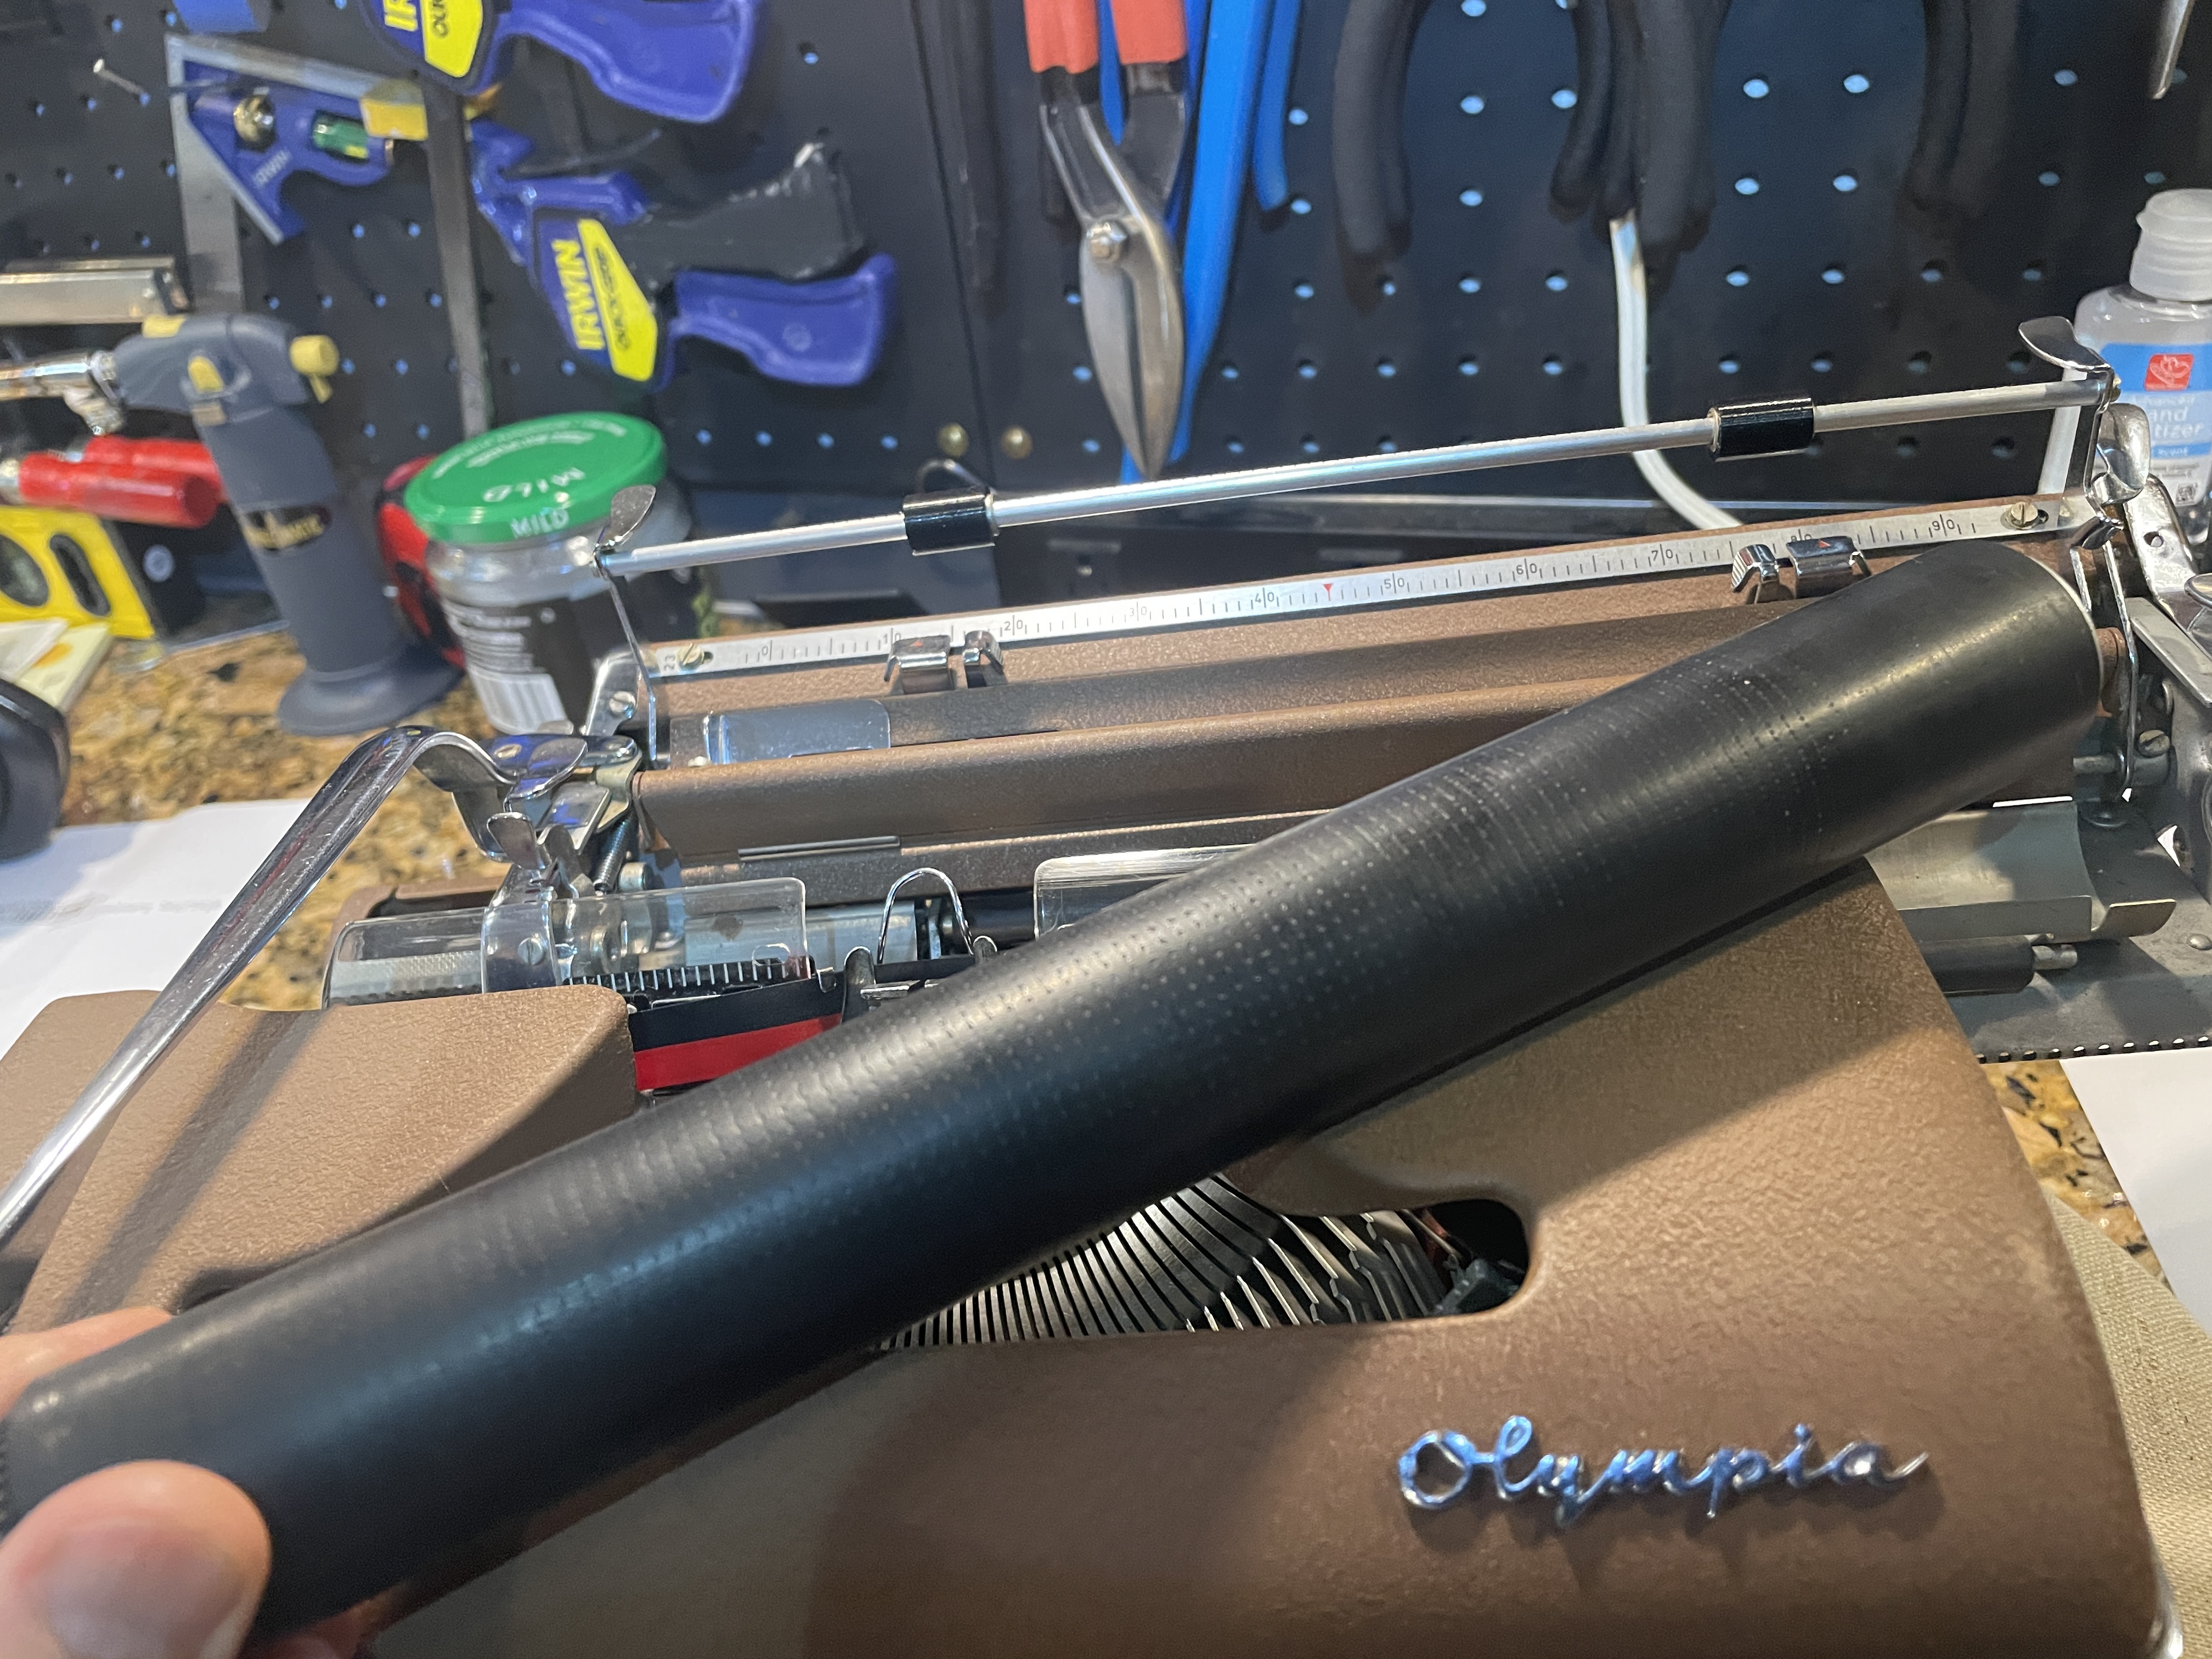
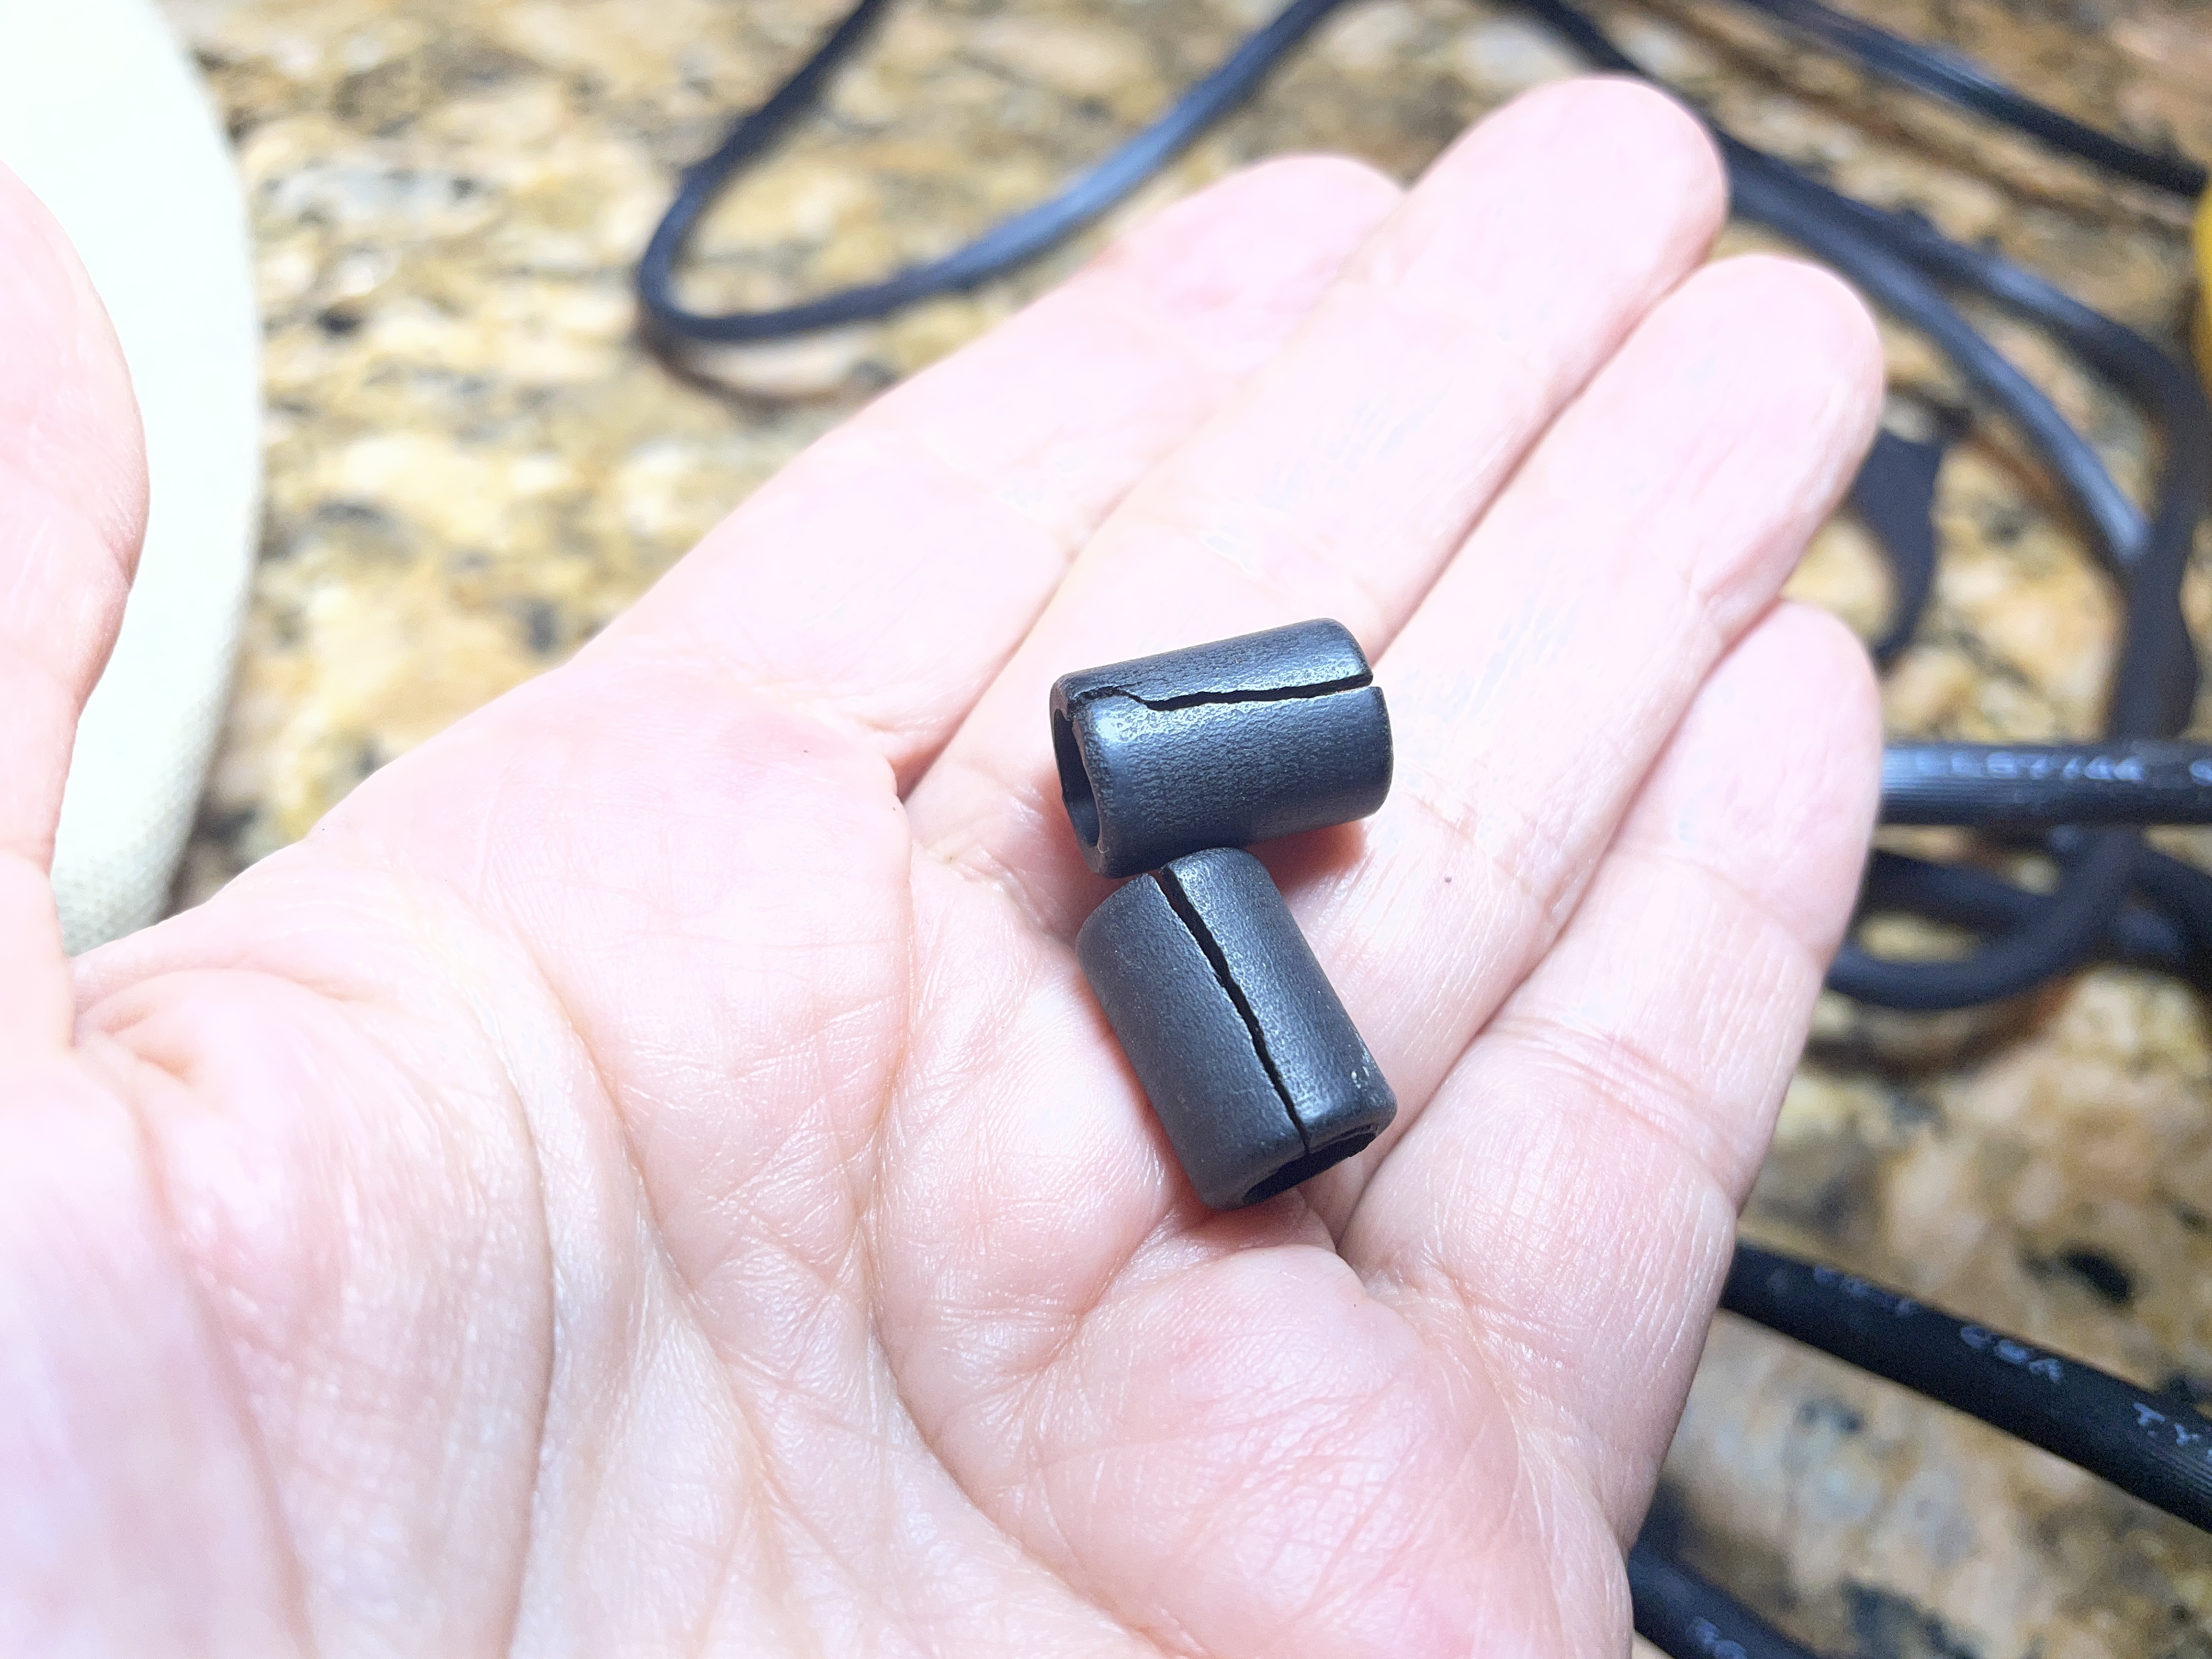
The paper bail rollers were split, so I printed out temporary bail rollers in TPU which worked fine, but real rubber might look nicer.
I know that I will need to make ring and cylinder adjustments after I get my soft, plumpy platen back from JJ Short (and on feet and on motion adjustments too, probably).
So I sent off a request for an estimate. Unfortunately, JJ Short has a big backlog of typewriter platens, and I can’t send in the platen until the end of the month. I am happy to hear that JJ Short is getting plenty of business, but now that I’ve slowed my roll, I’m considering options.
I’m getting lathe-curious.
So while I waited for the end of the month to roll around, I bought a 5 ft length of Neoprene tubing. I recall that Steve Dade (R.I.P.) used custom extruded Neoprene tubing to recover platens. Time to put on my lab coat and experiment.
Odds and Ends and Updates
Remington All-New Update
The Remington All-New’s chin plate was all banged up and it bugged me.
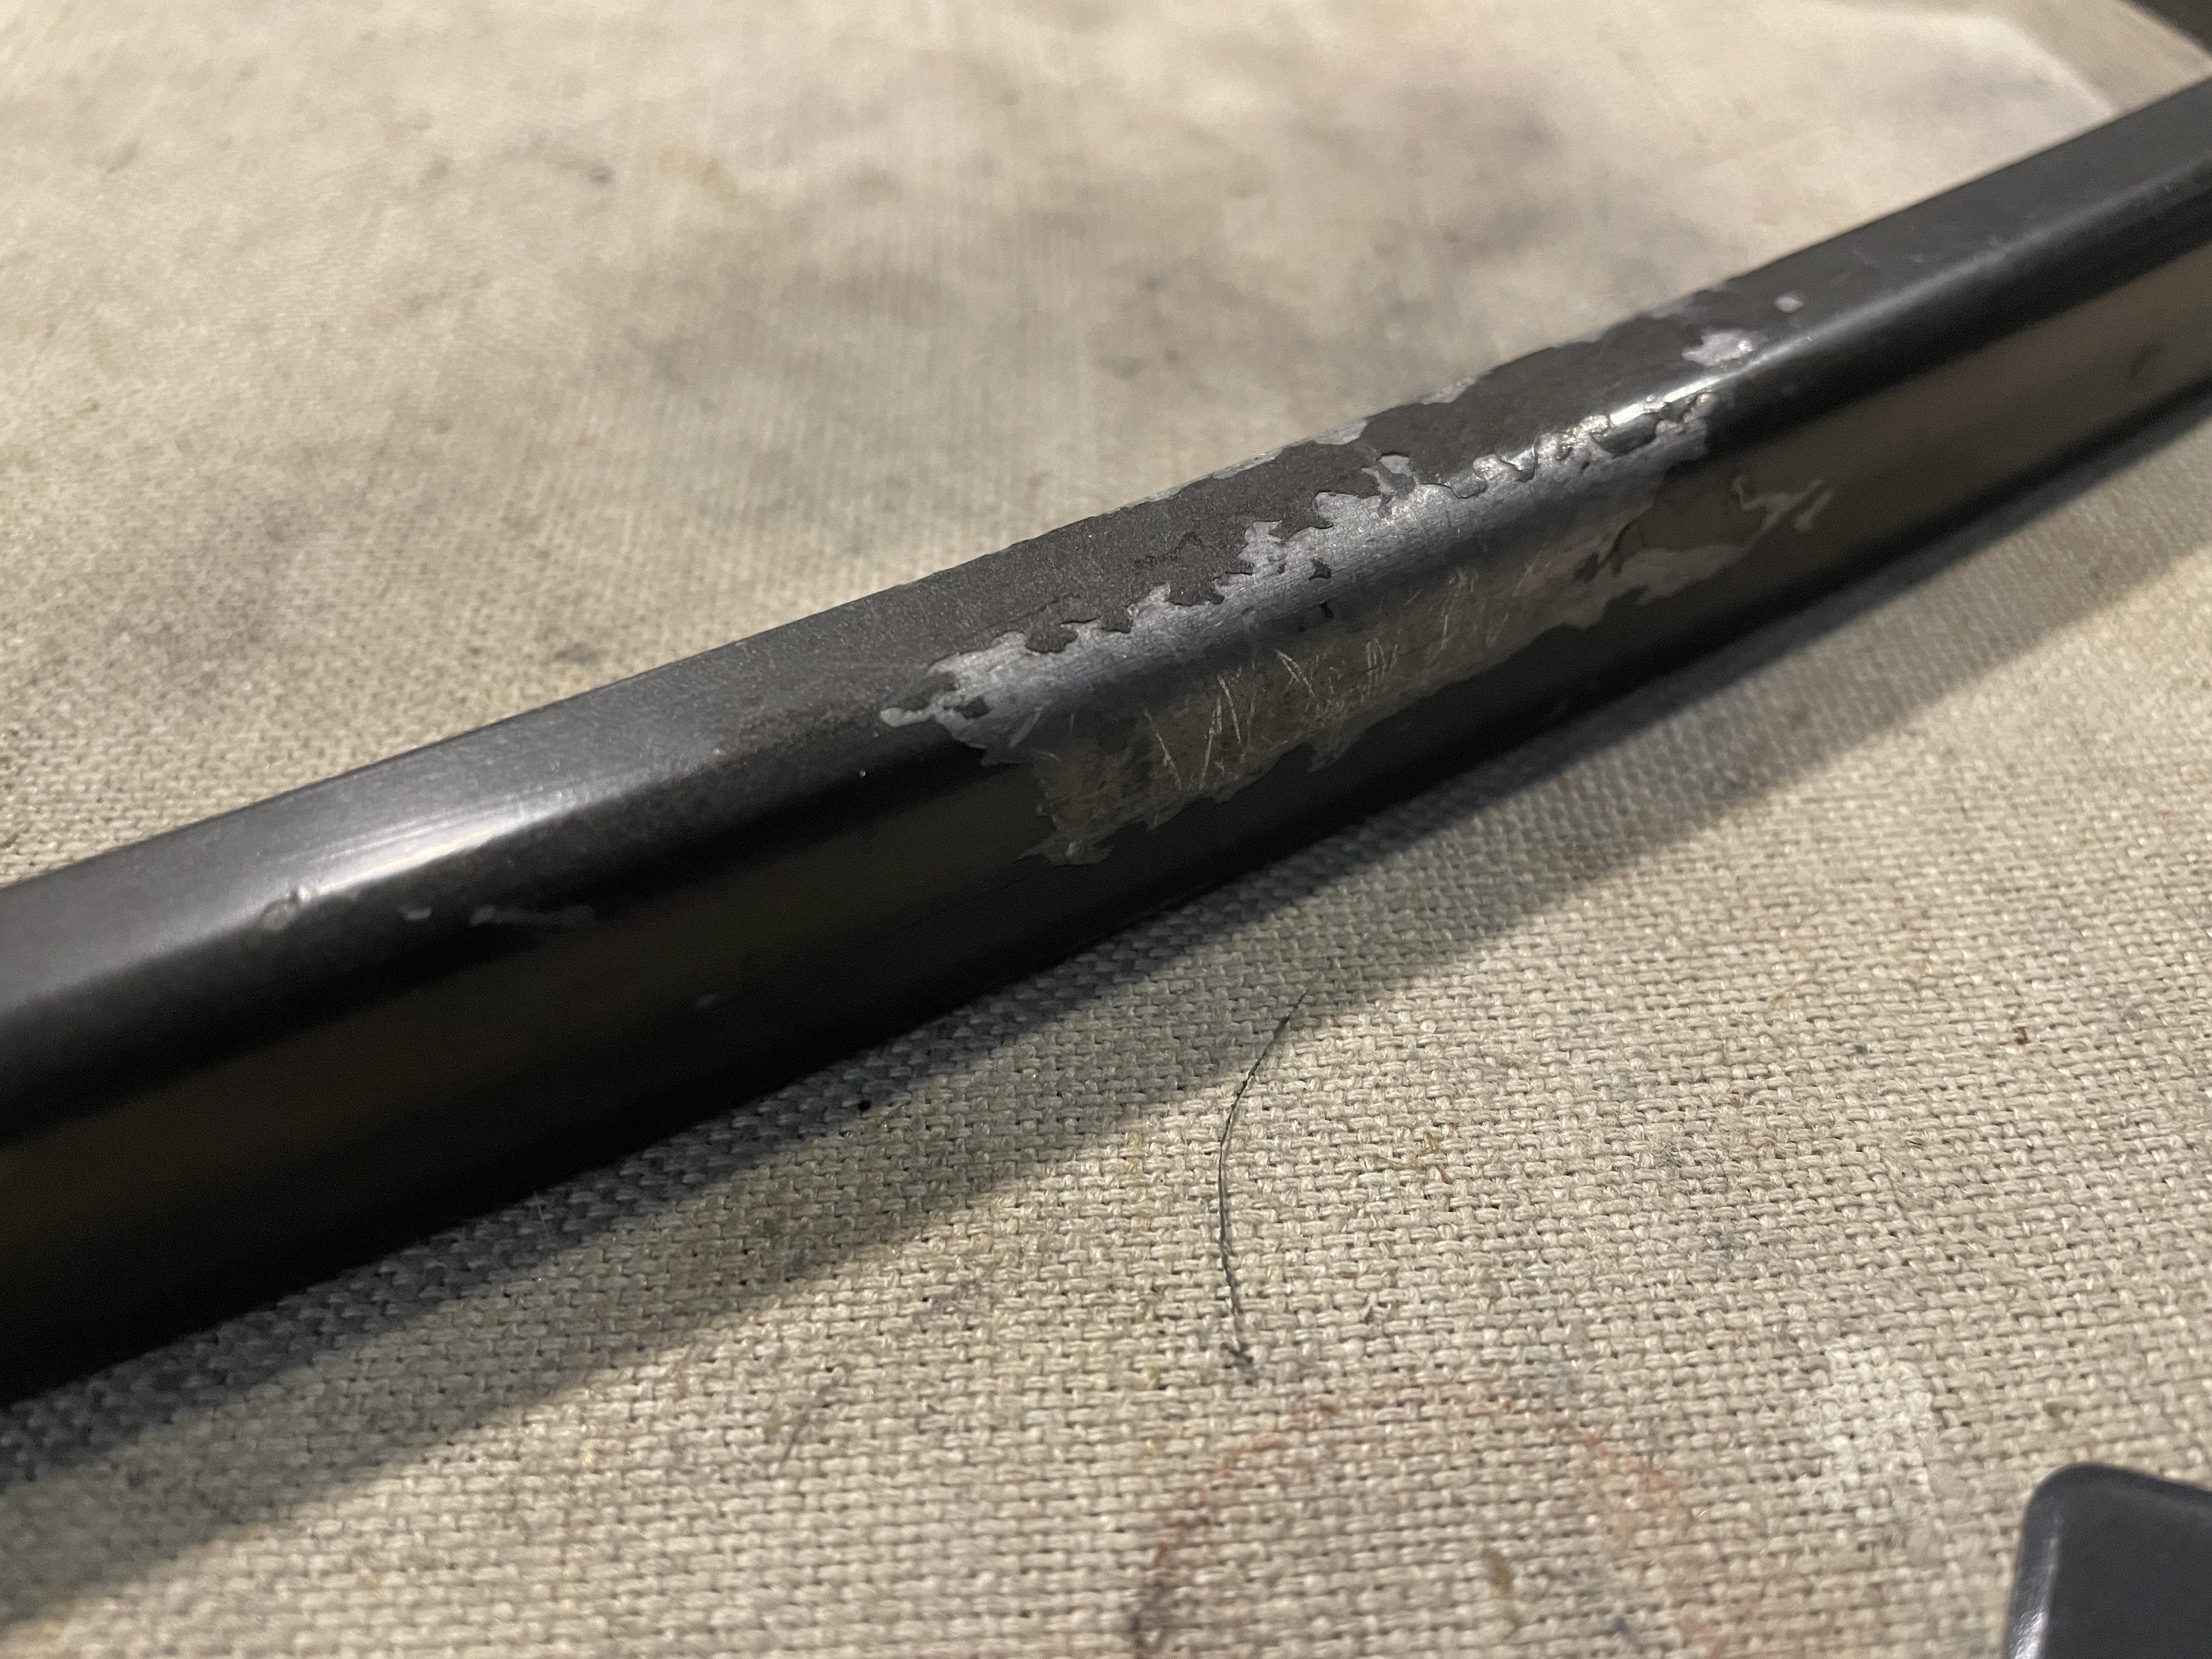
I ordered powder coat paint samples from Prismatic Powders and picked out a color. I chose Fired Charcoal since it’s closest to the chin plate color. Shipping from Prismatic Powders was very fast.
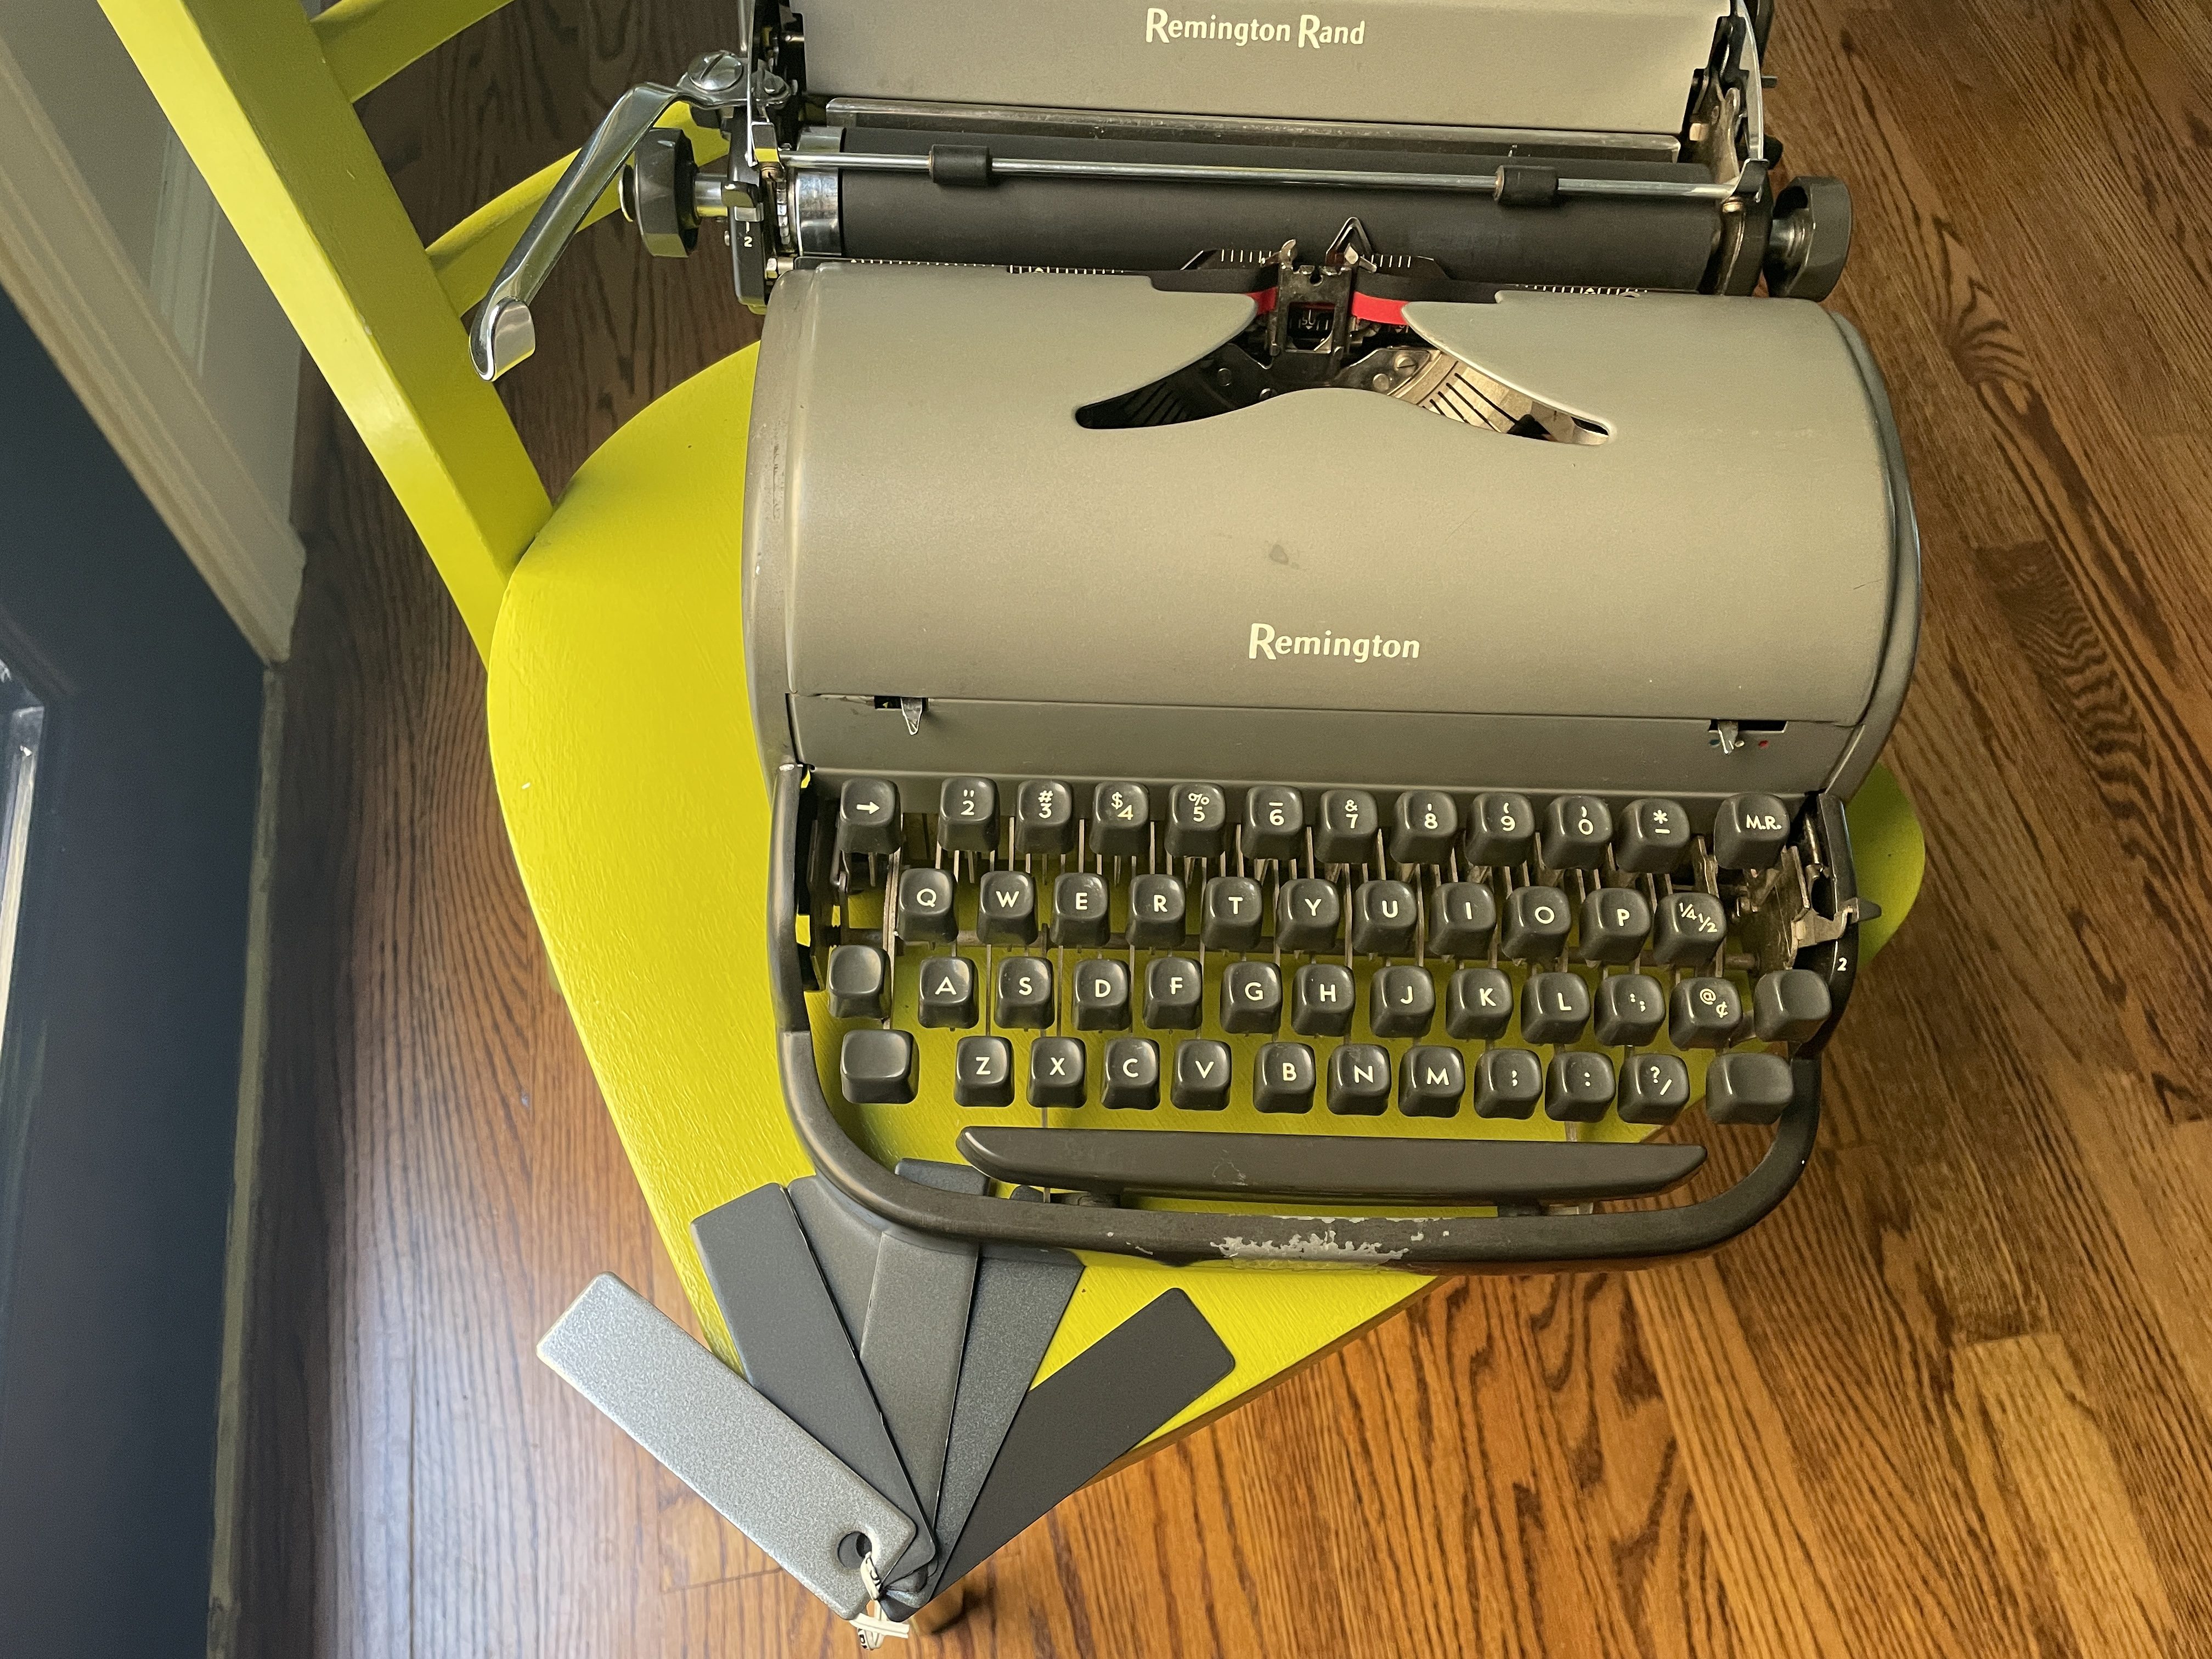
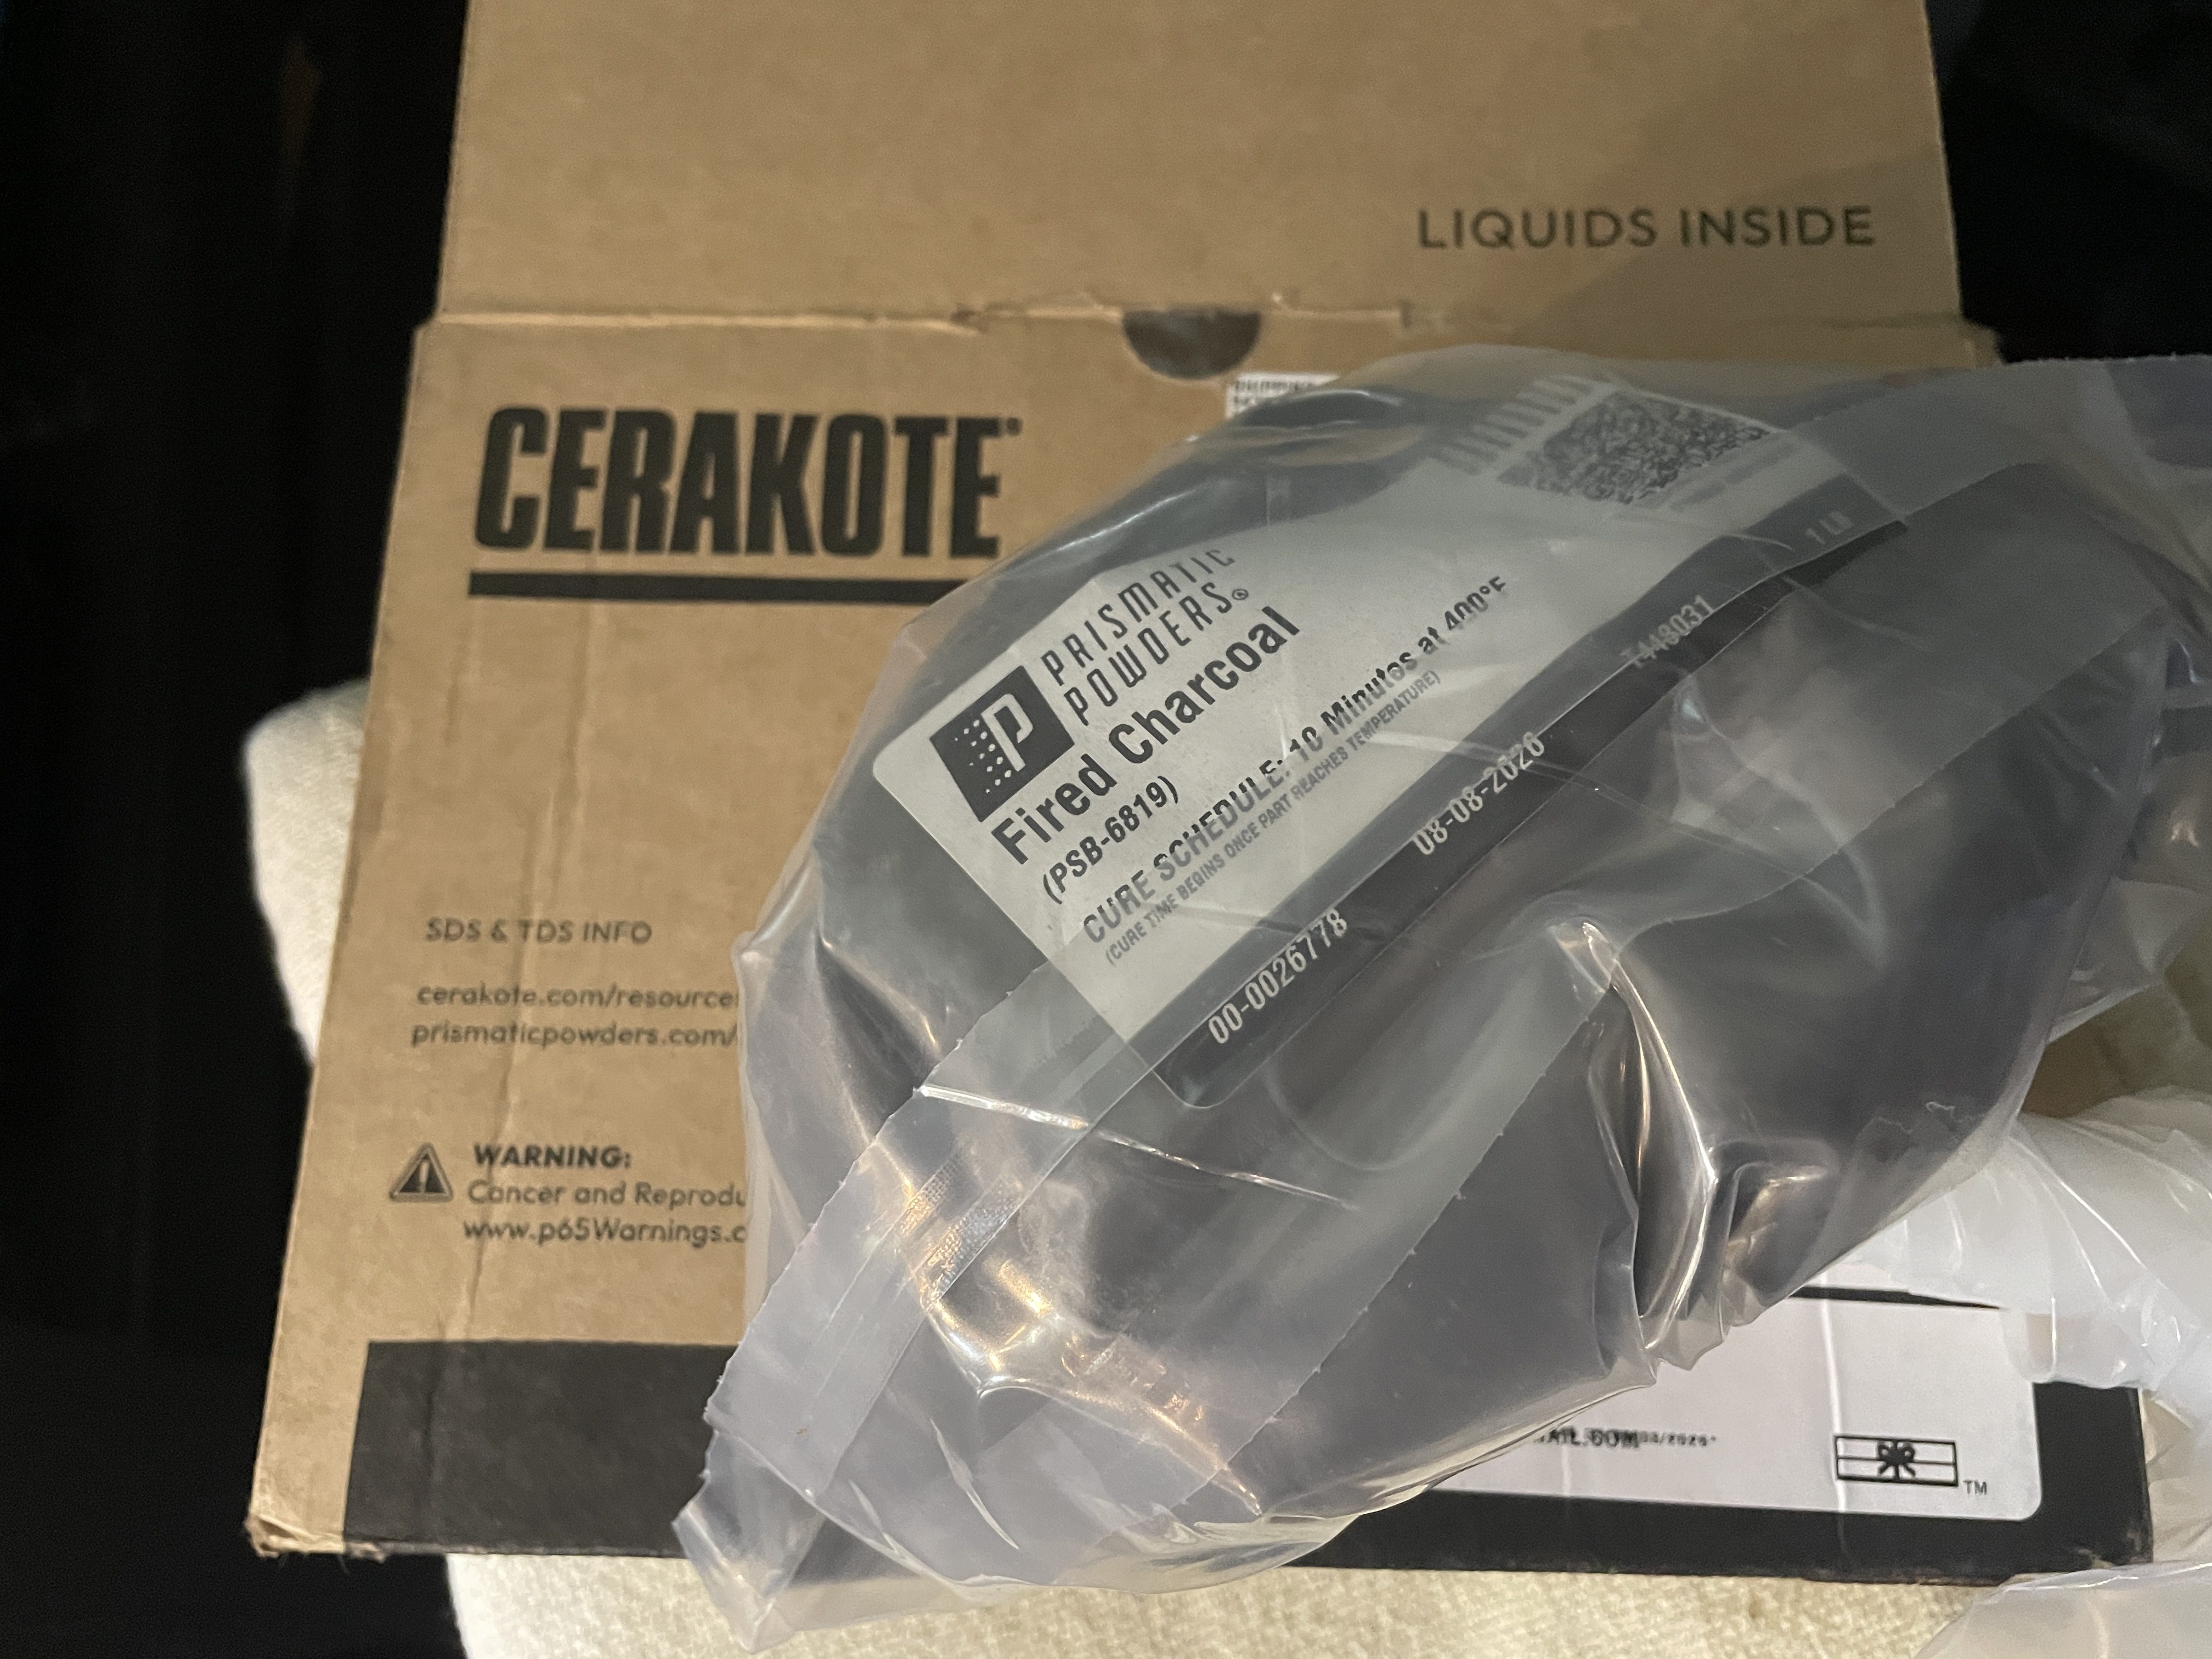
I’ve joined a local makerspace, Nova Labs, so that I can do media blasting and powder coating there. Full report to follow.
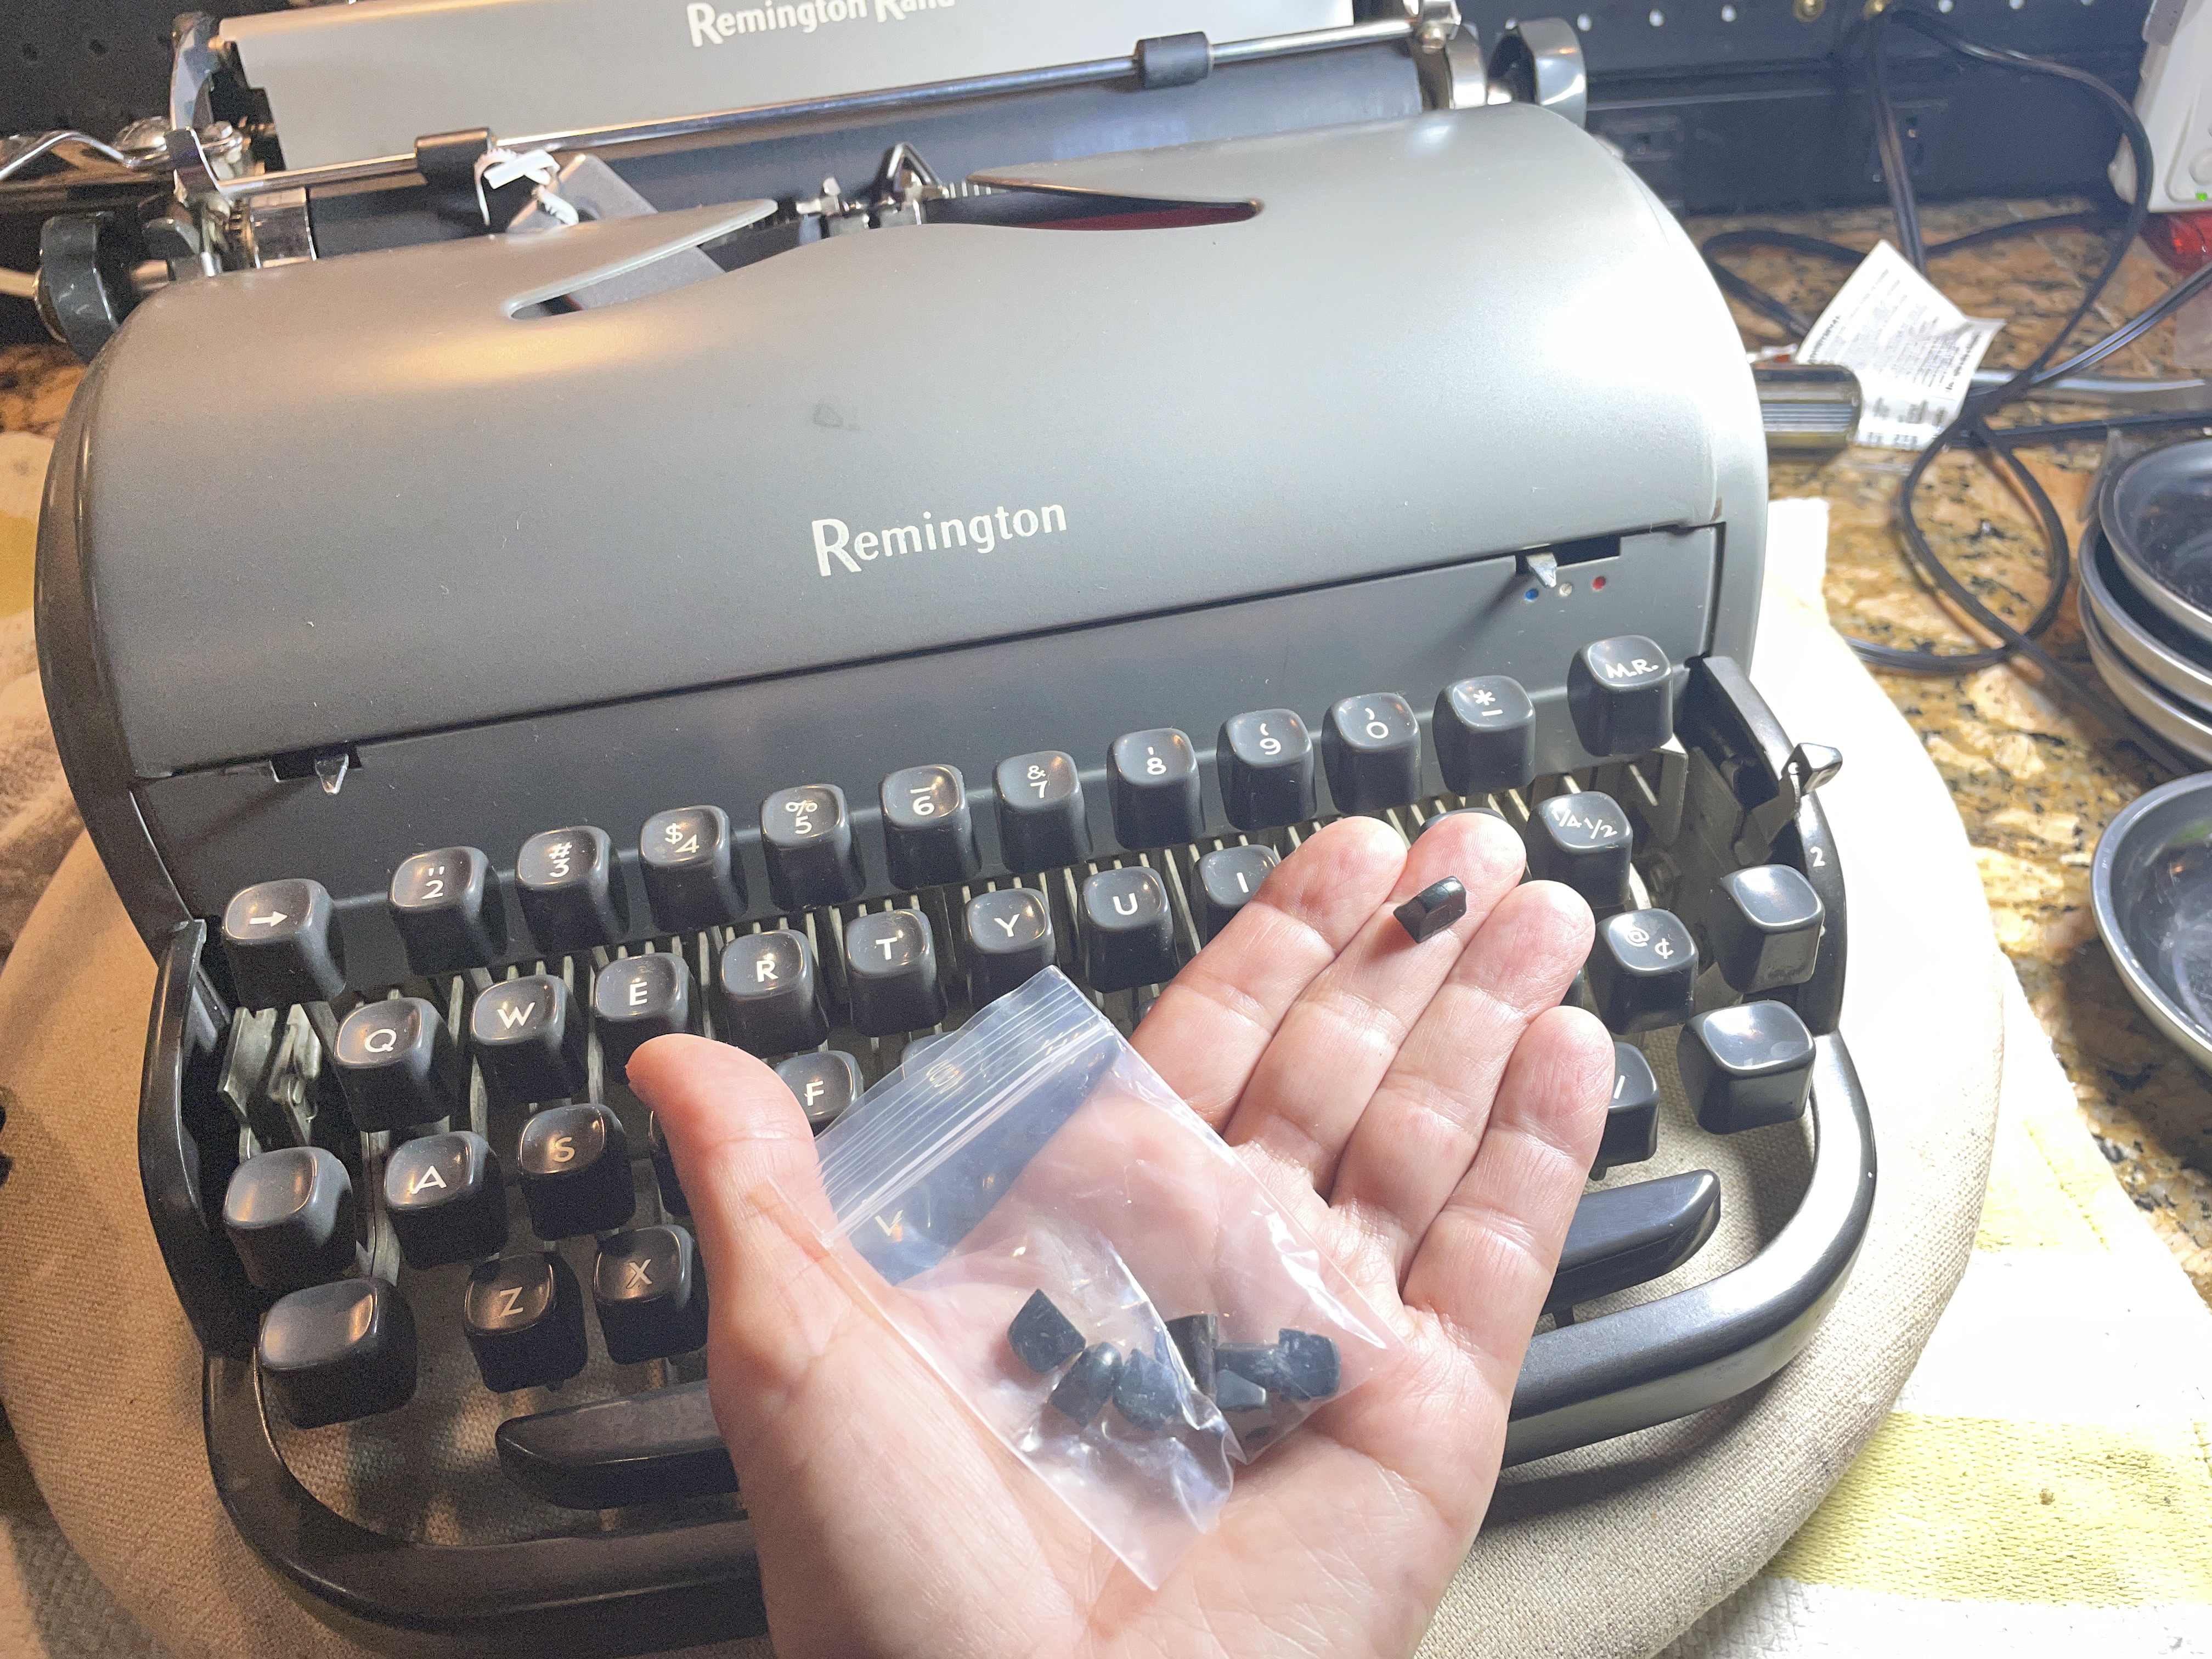
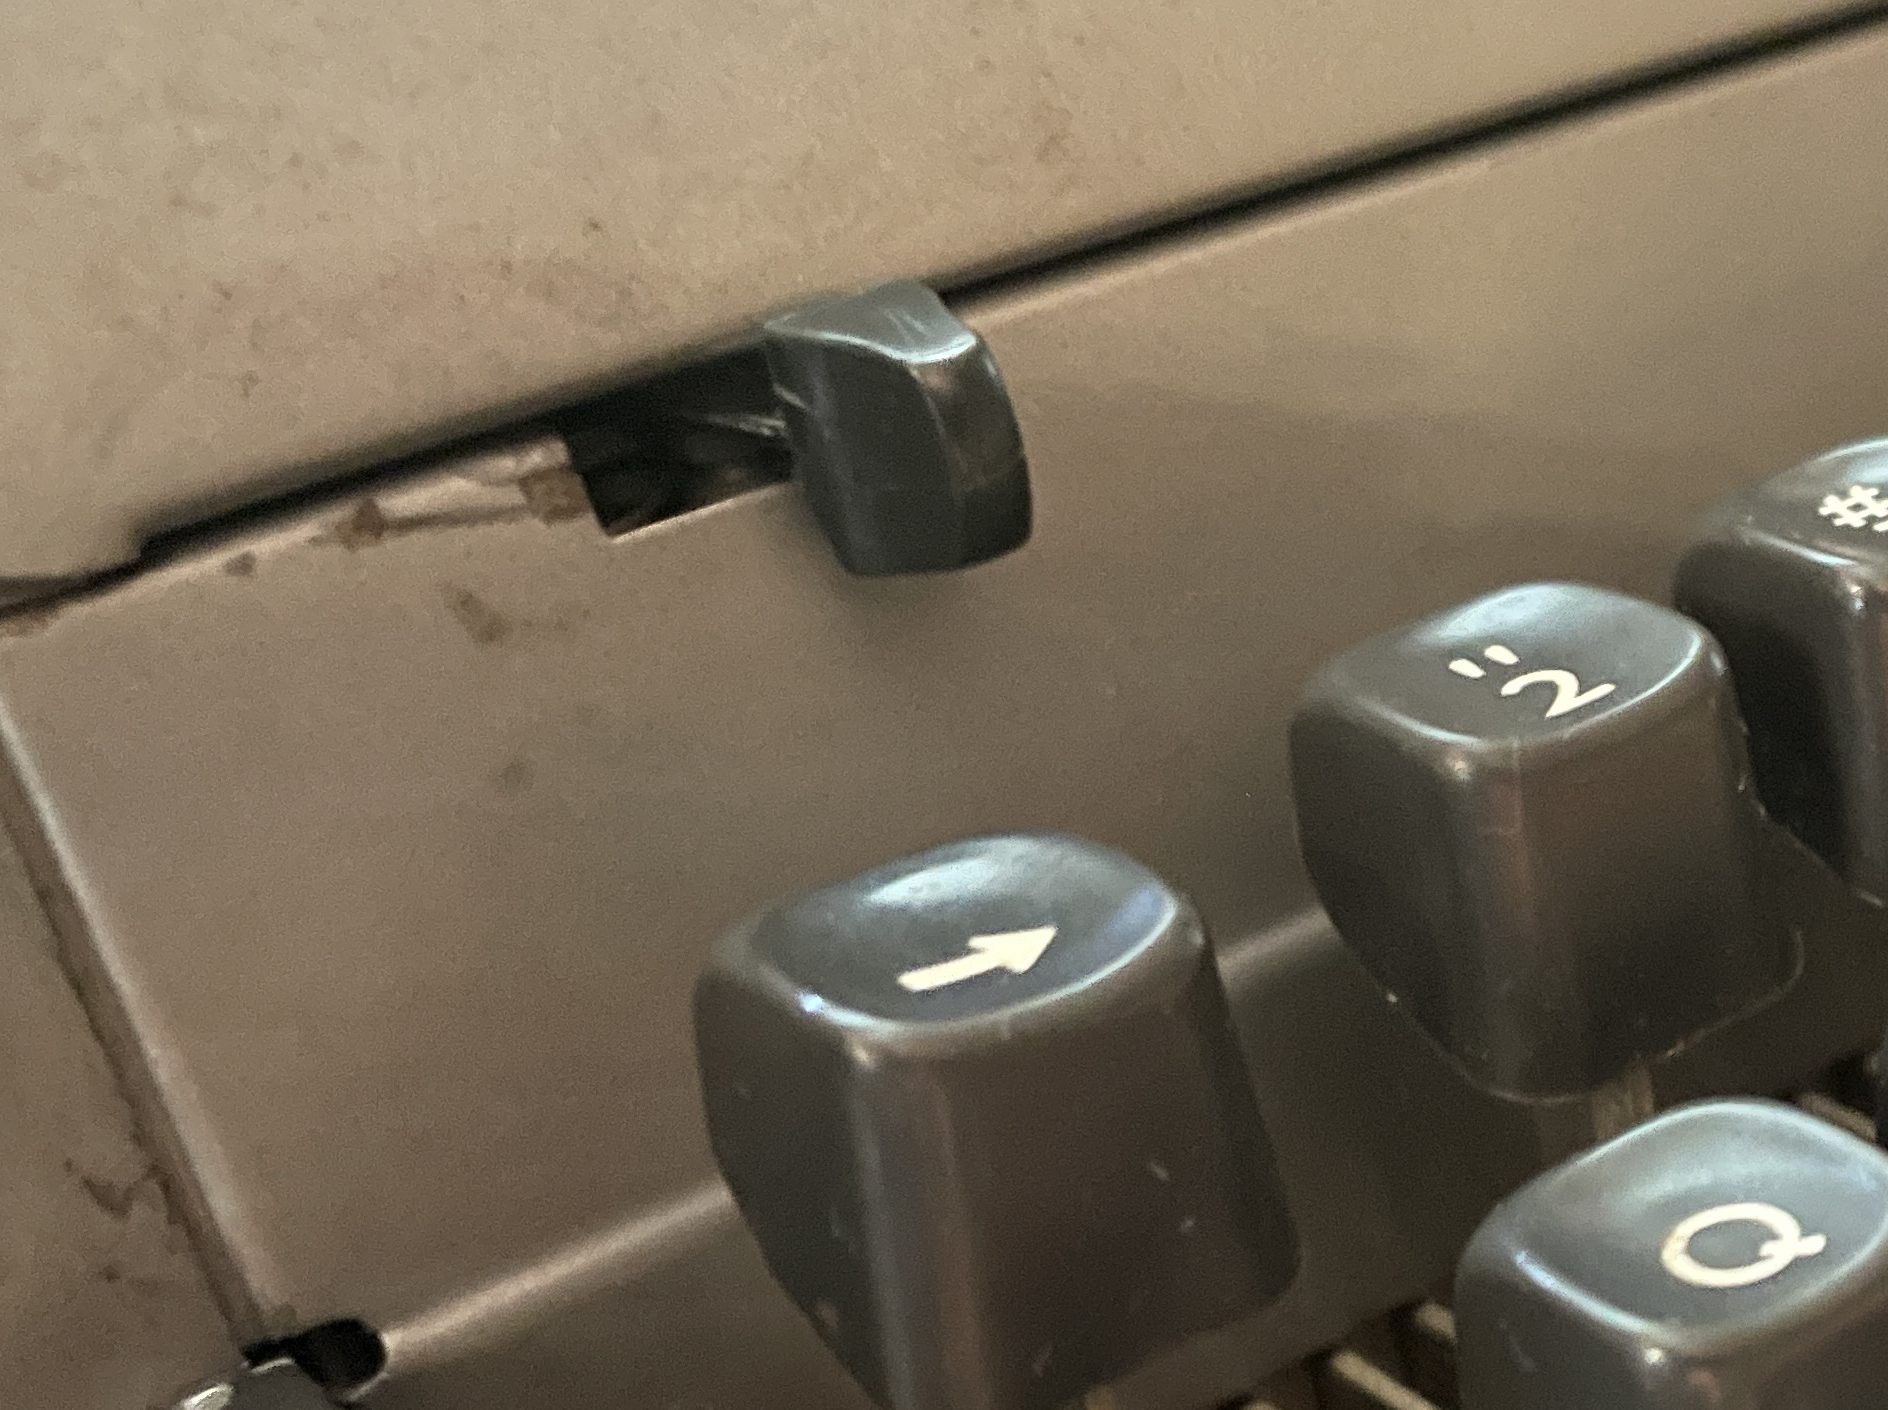
I also received the Remington portable lever finger pads from TB Writers Plus in the original “brownish gray” and they are excellent: perfect shape and color.
Underwood De Luxe Quiet Tab Update
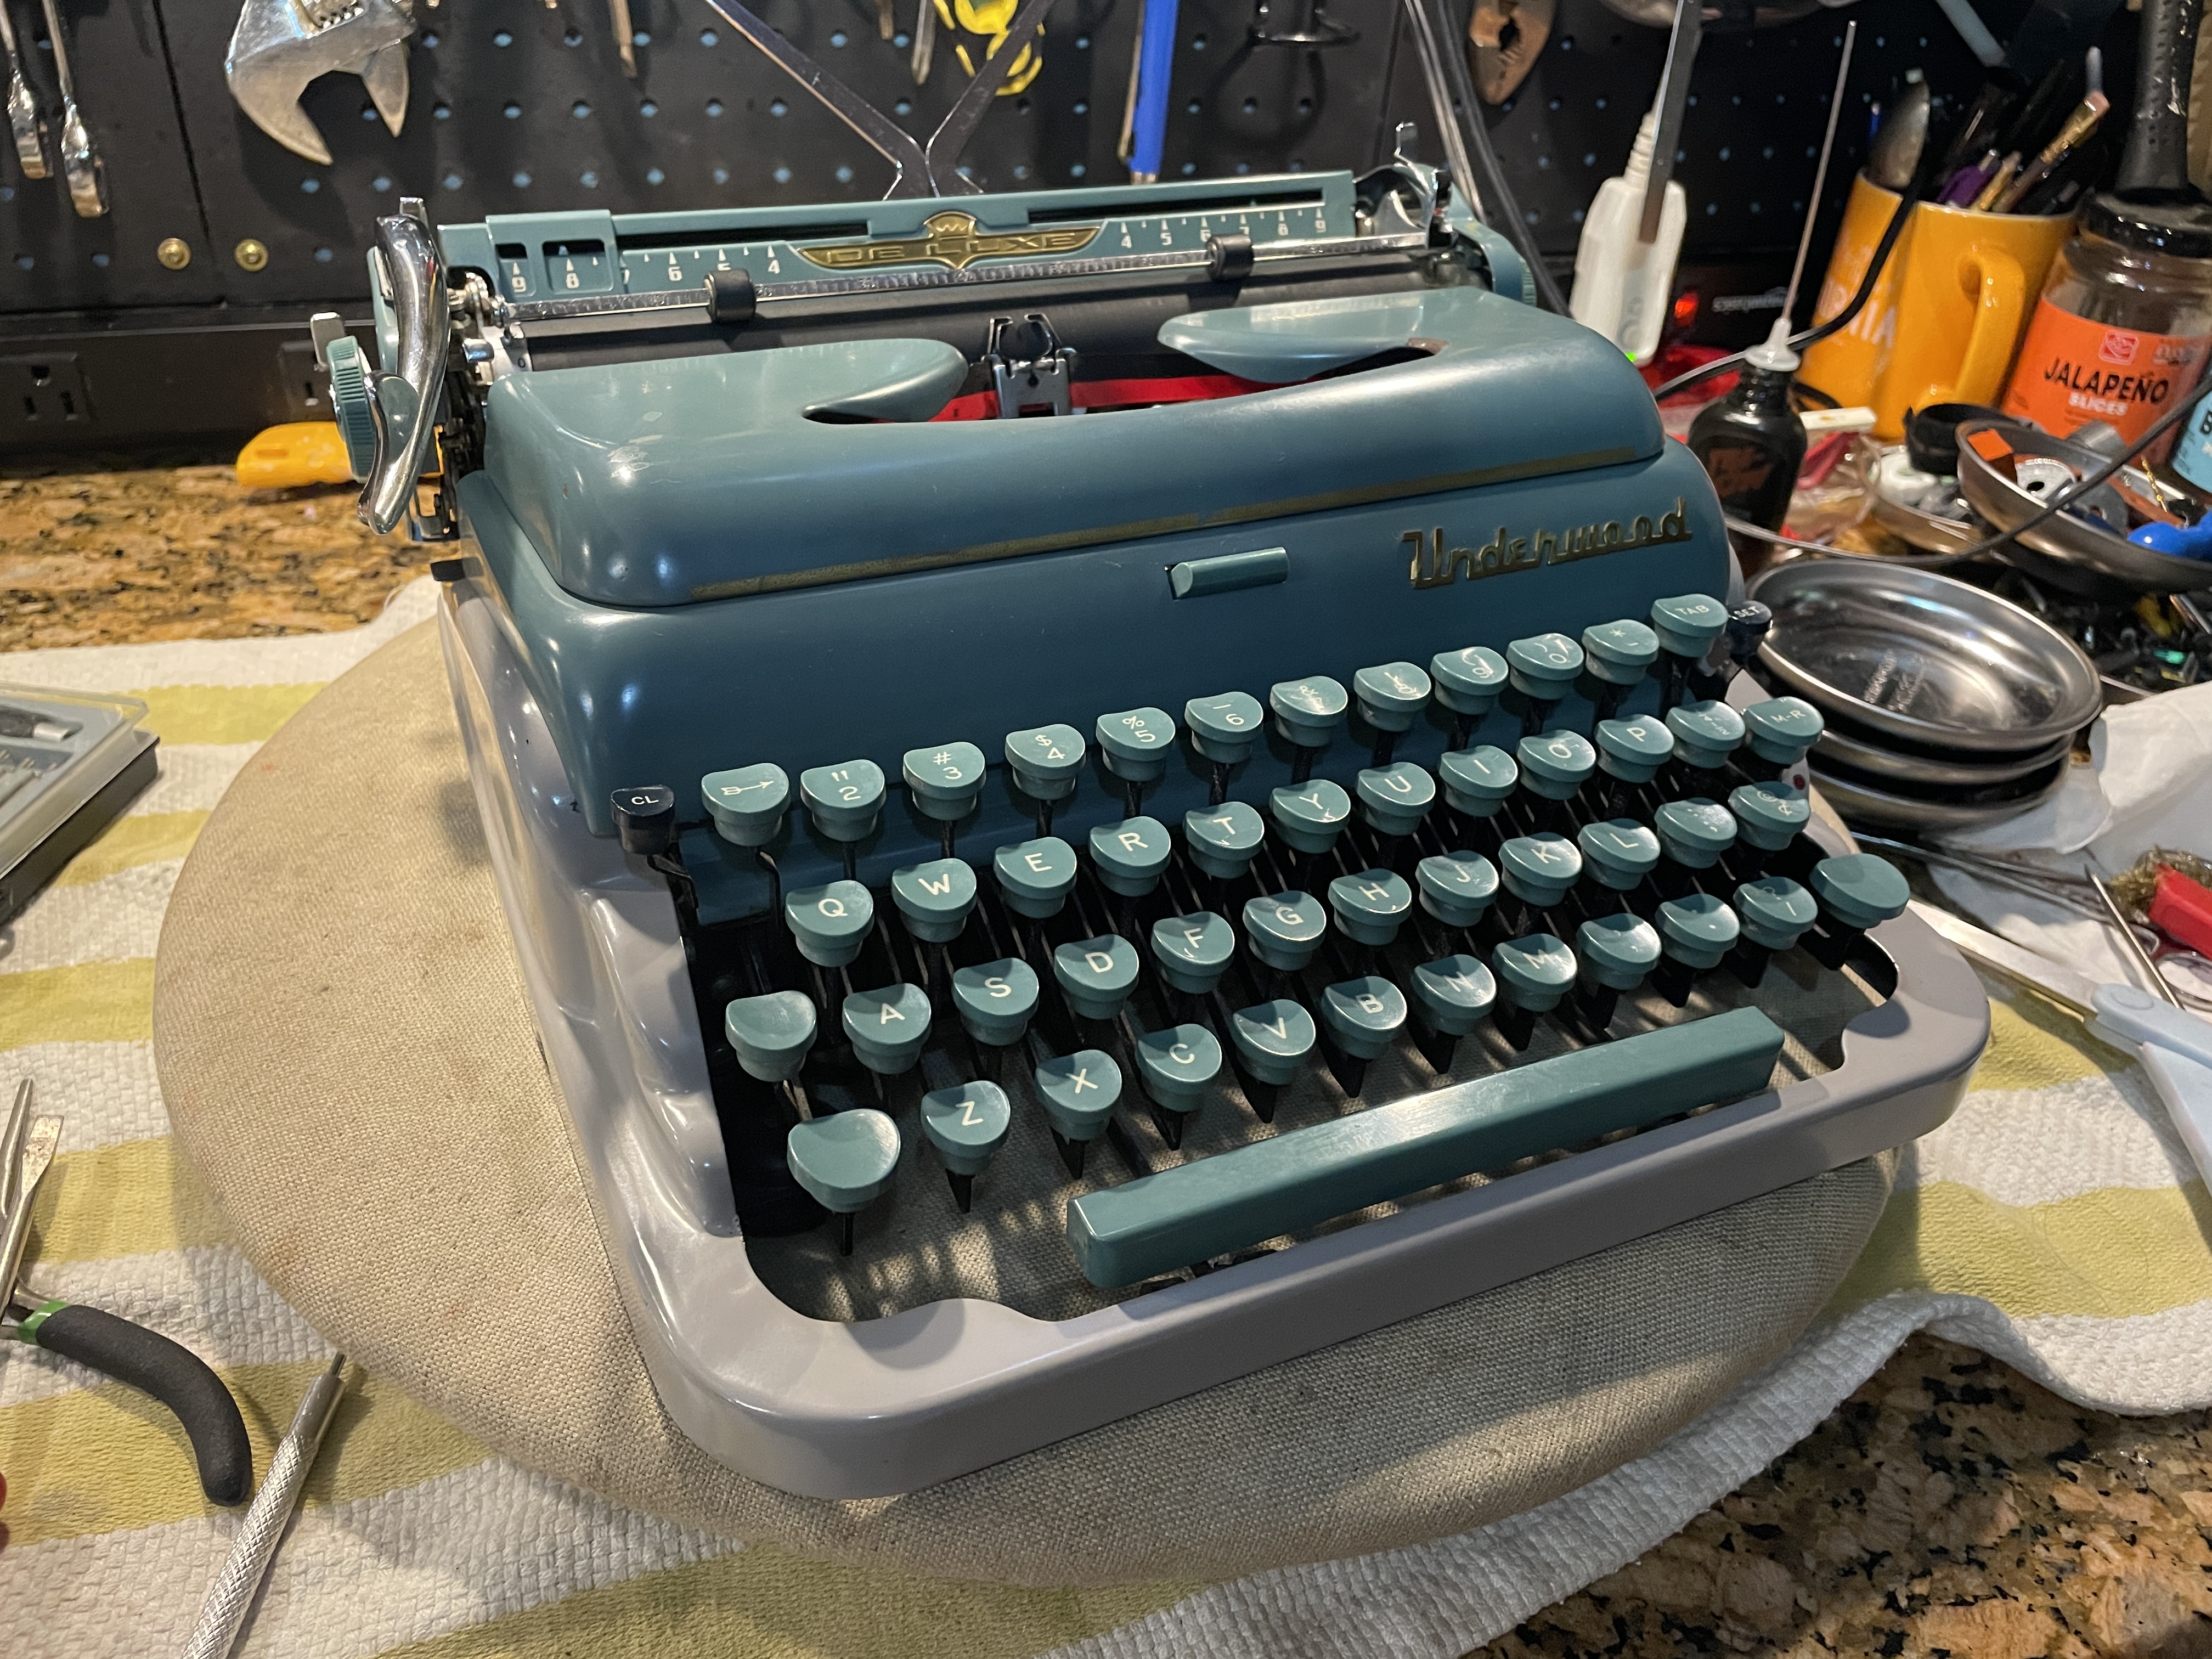
I finally, finally got my Underwood De Luxe Quiet Tab running perfectly. It is a creature that started with an escapement problem that I tried to fix with JB Weld and 3D printing. I had then swapped in an escapement assembly that Brendan at Old School Typewriters sent me, but I had persistent problems with a mainspring that kept slipping.
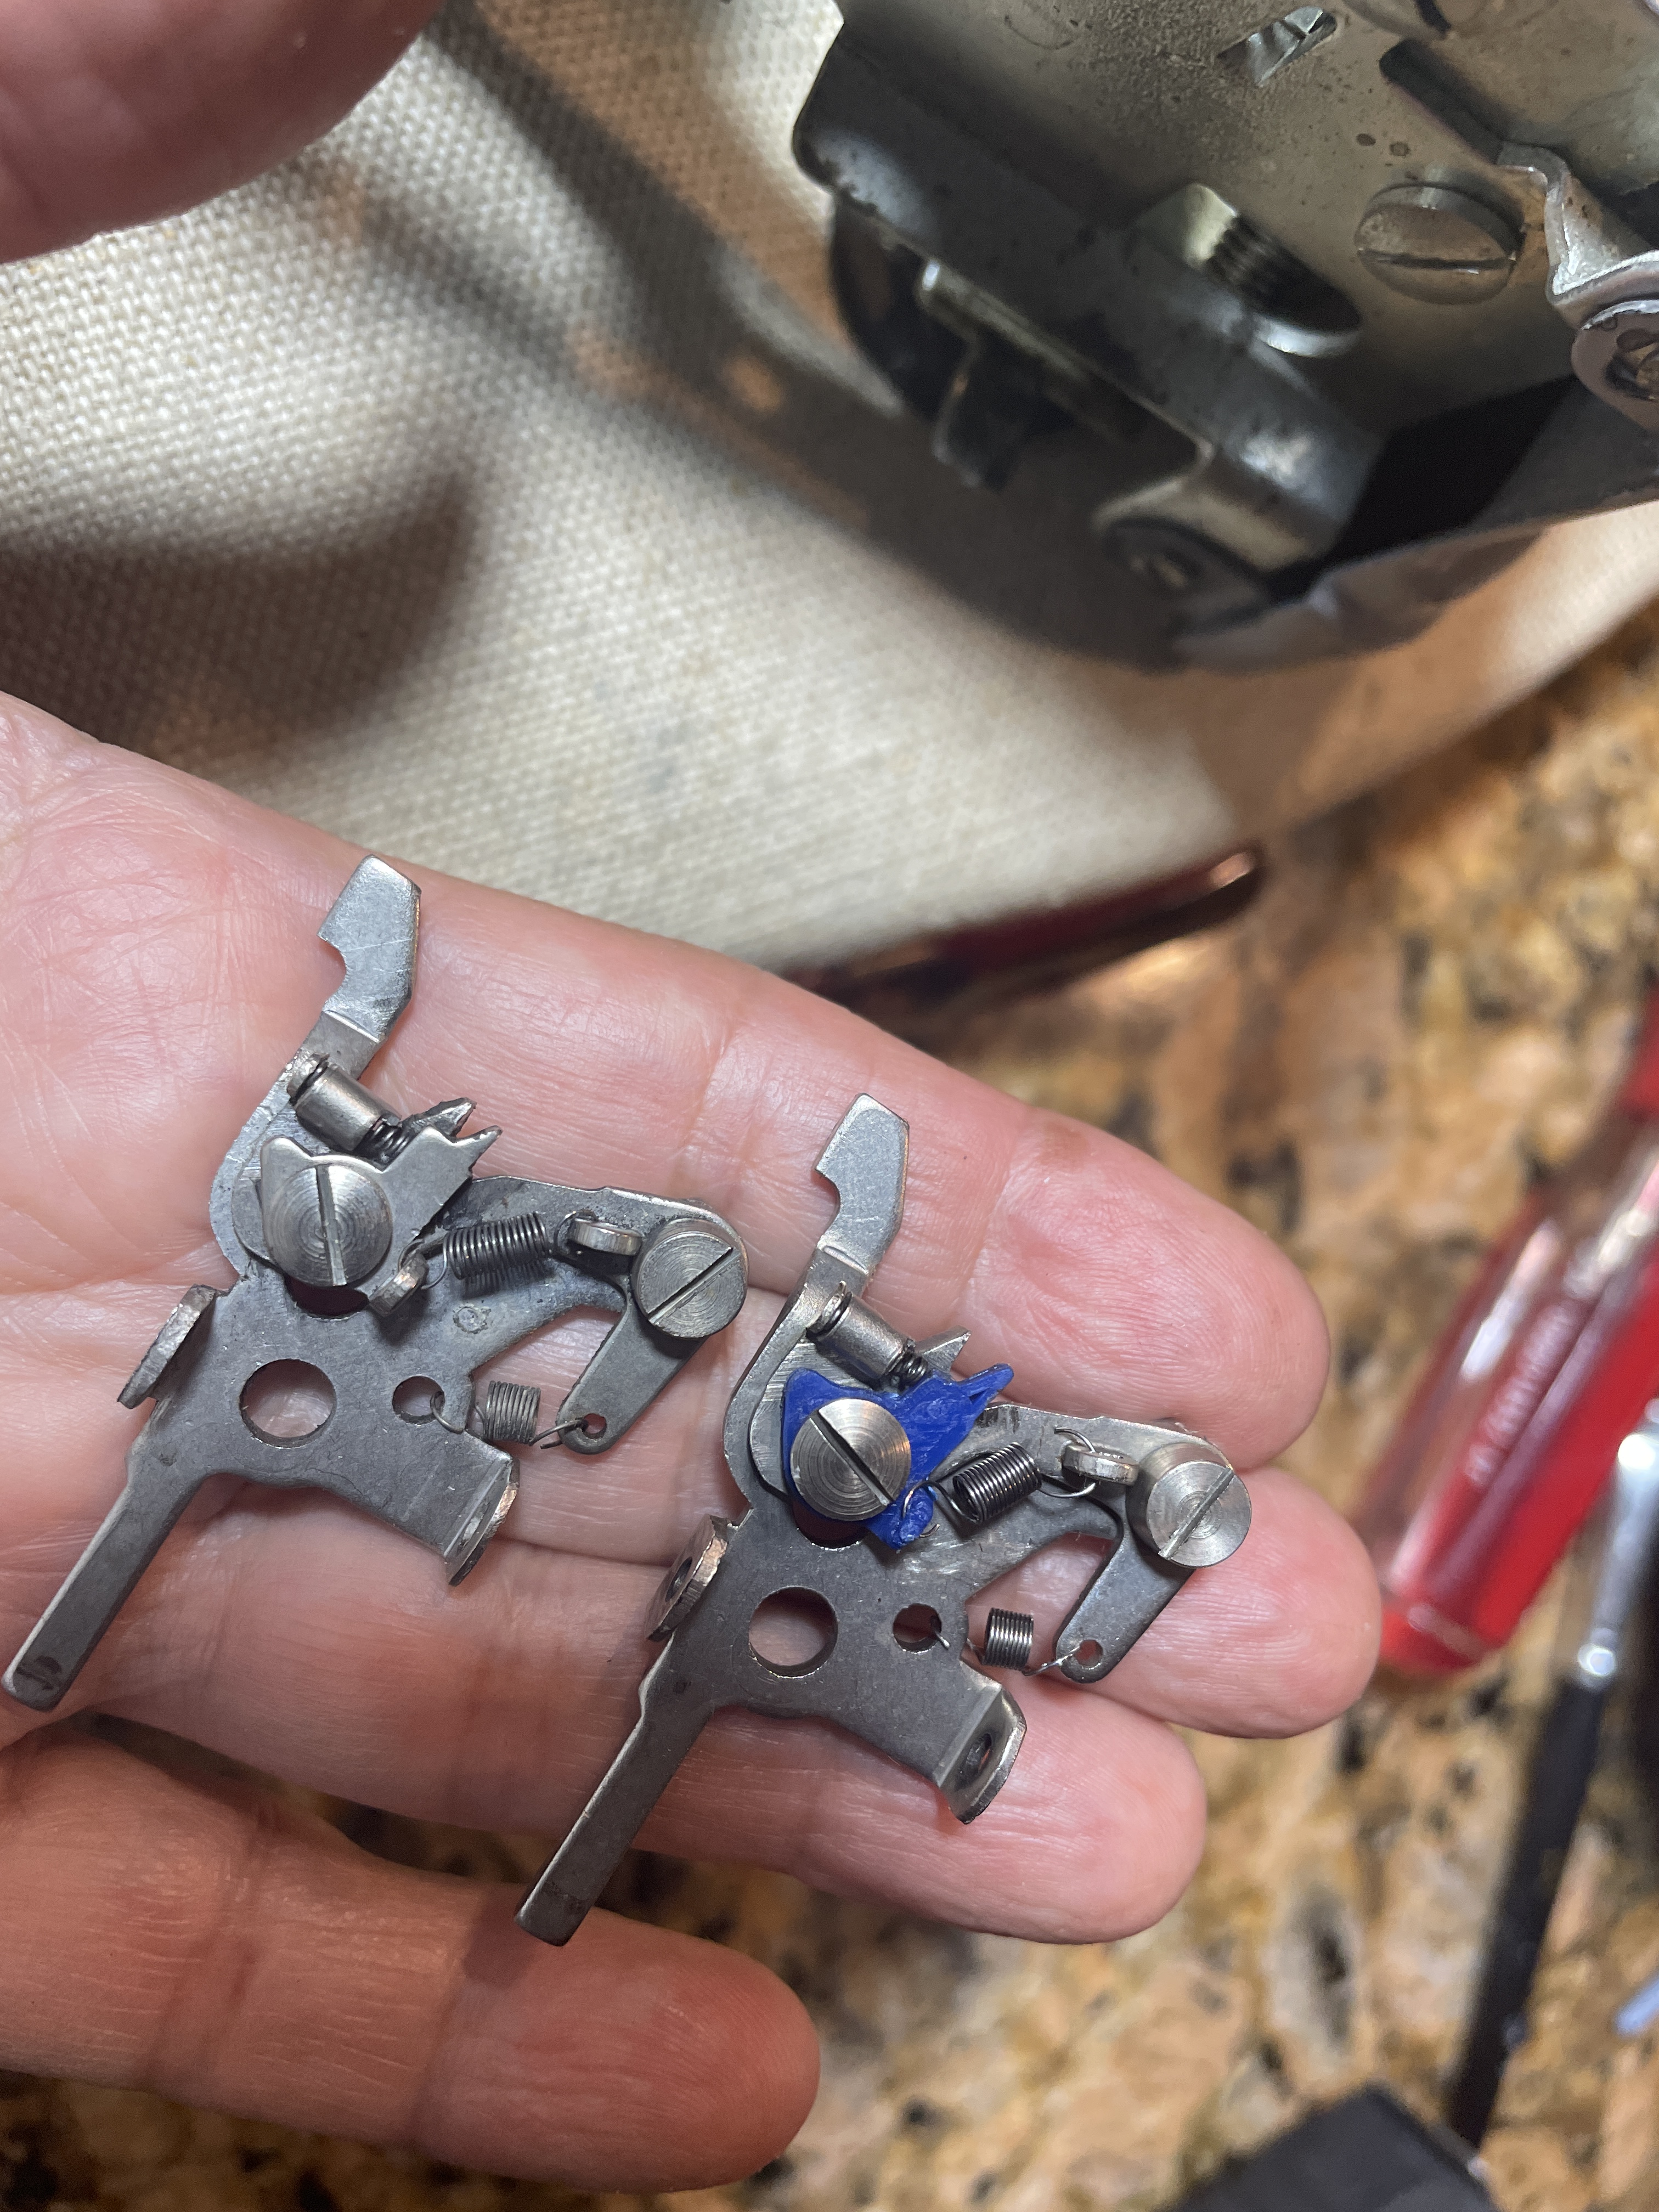
I knew I had to remove the carriage (for the zillionth time) to get into that mainspring. This was not something I wanted to do because this Underwood portable uses the independent ball and pinion system in the carriage rails. Anyhoo, I bit the bullet and took the carriage off and opened the mainspring. I think the center spindle was worn. It would wind and slip and wind and slip.
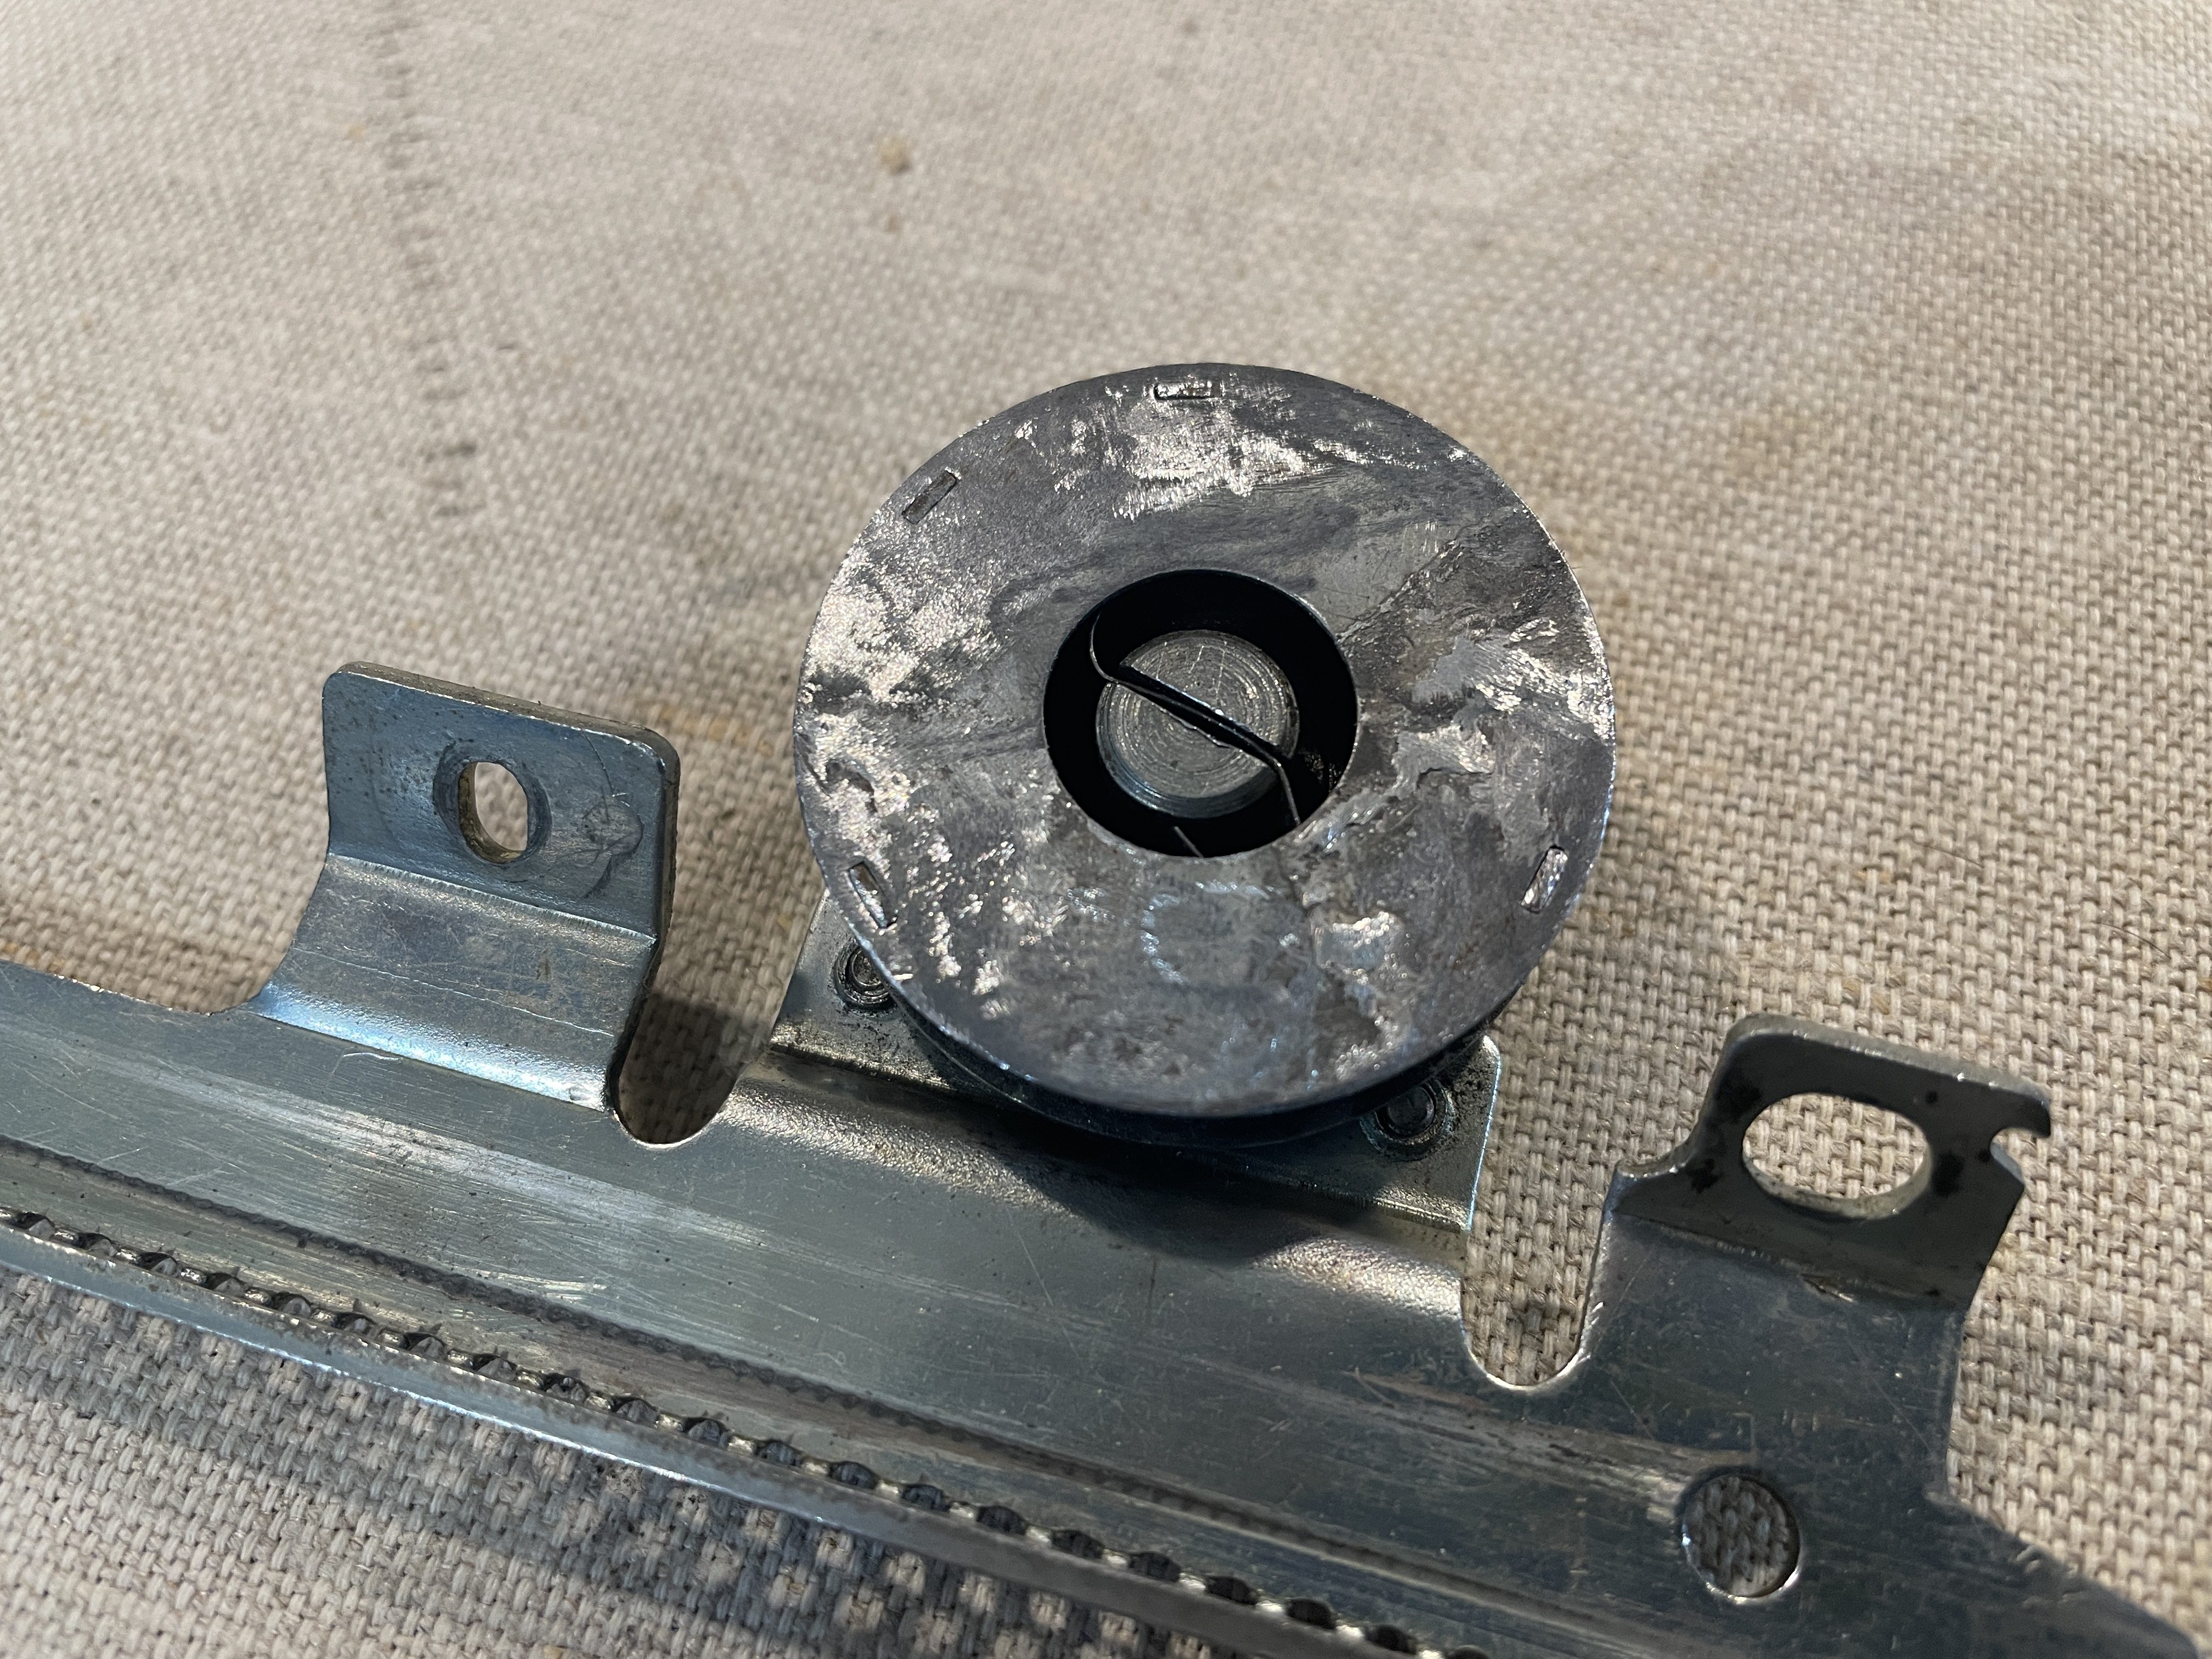
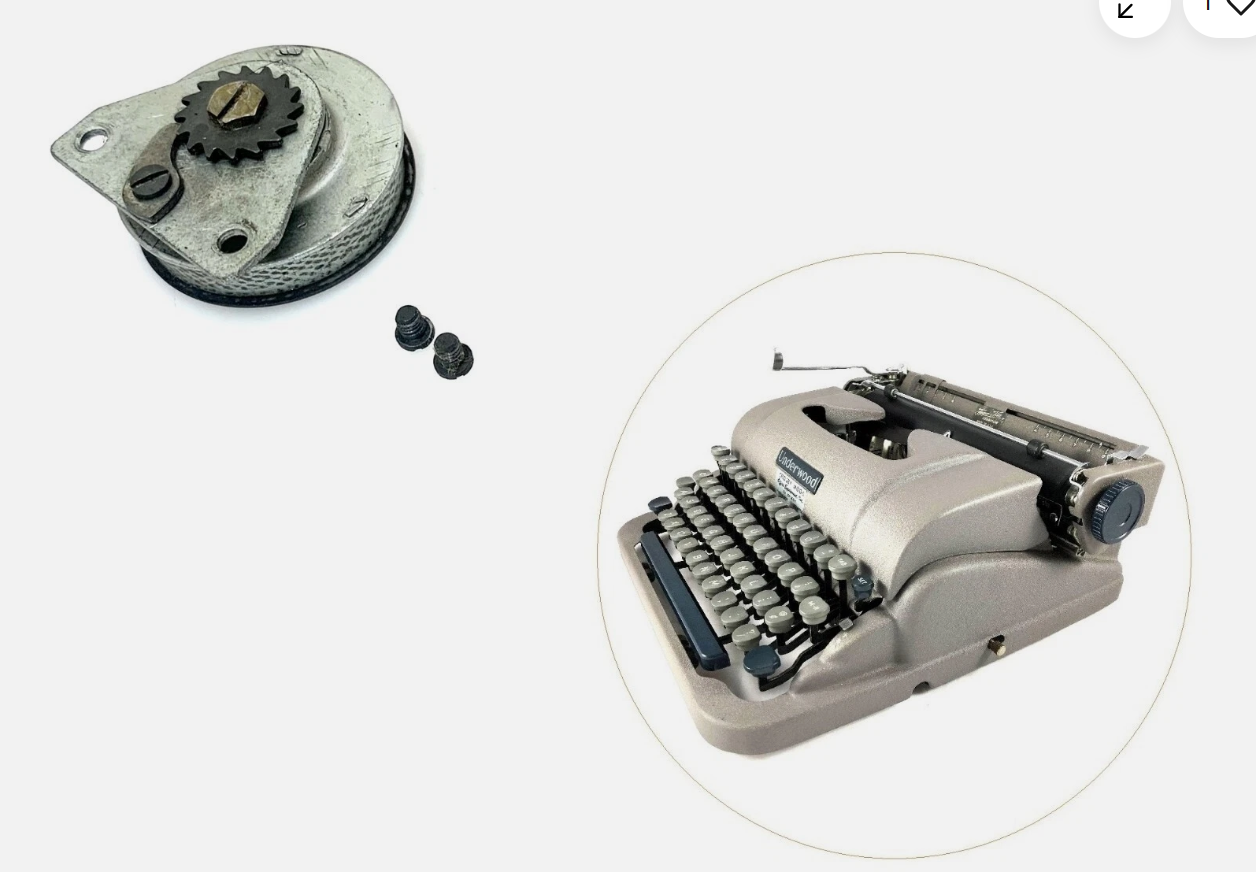
I decided to just buy a “new” mainspring from Greg at Antikey Chop. He’s super nice and ships super fast.
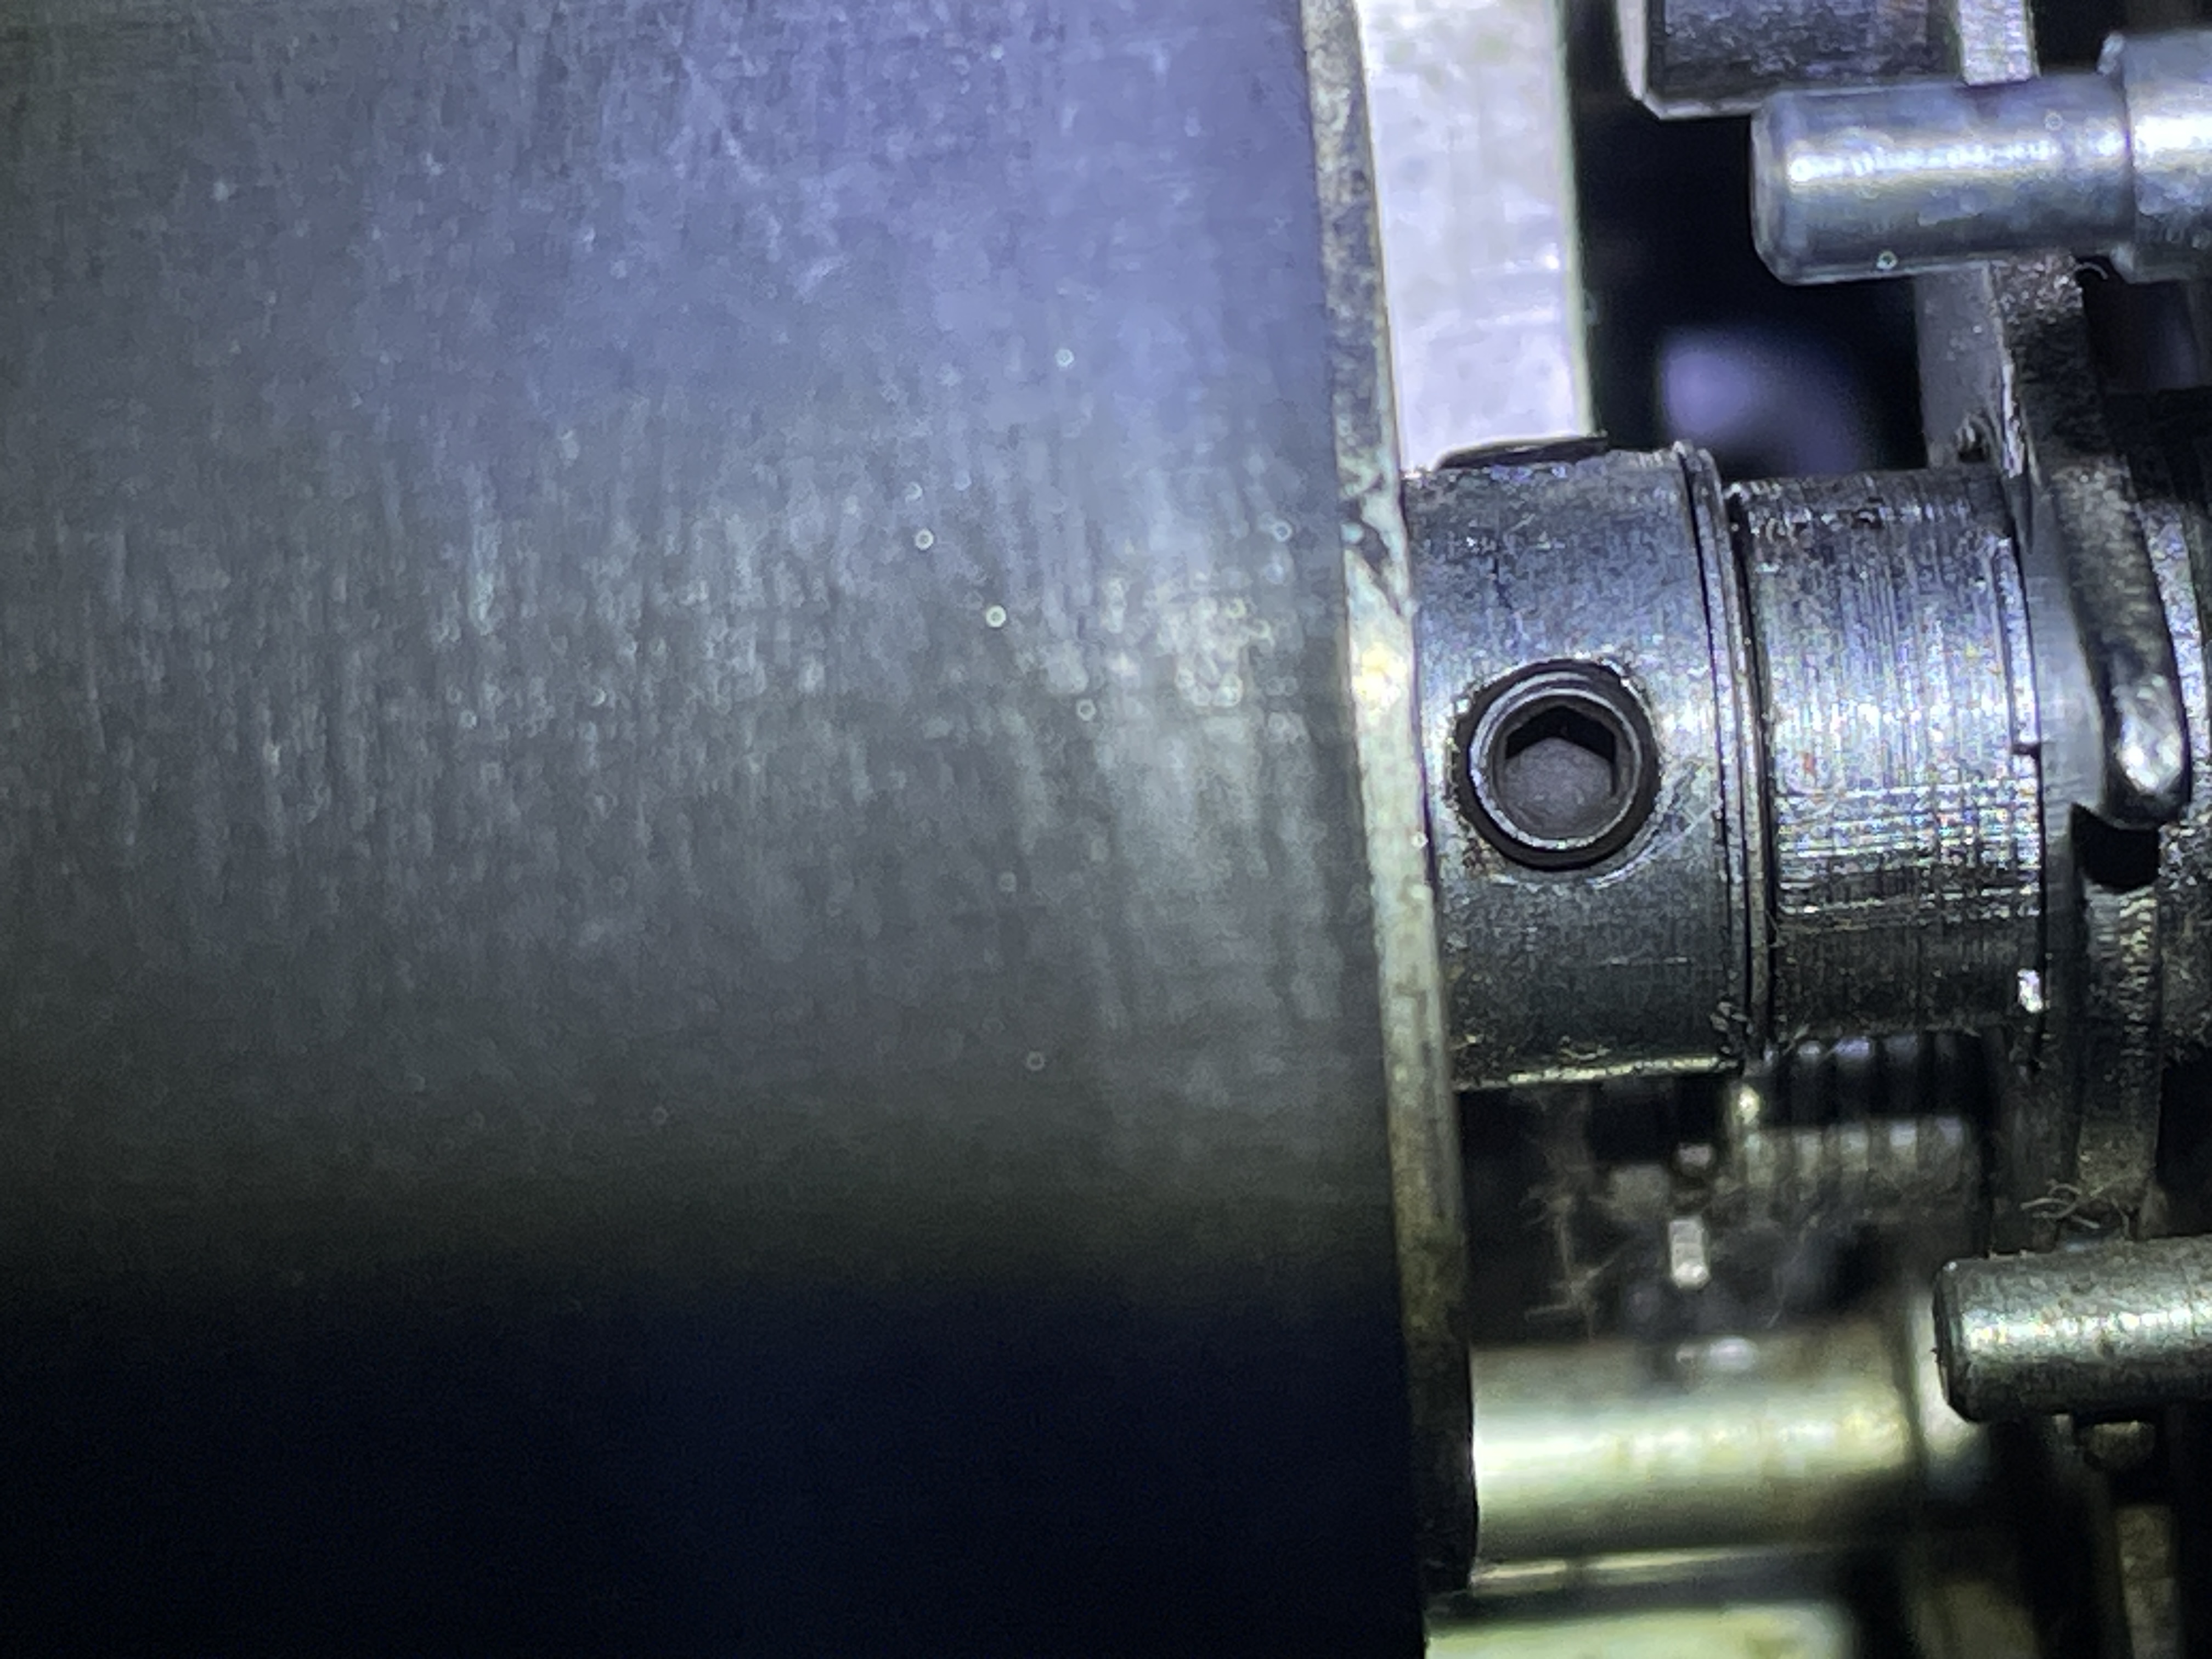
I also bought replacement set screws for the Underwood’s platen knobs. The rusty 4-spline Bristol set screws were beating the hell out of me since I don’t have Bristol wrenches. Every time I had to remove the platen knobs, I groaned when confronted with those 4-spline Bristol set screws. I looked through the Ames parts catalog and saw that I needed 5-40 set screws.

I found some 1/8″ 5-40 set screws online with hex heads.
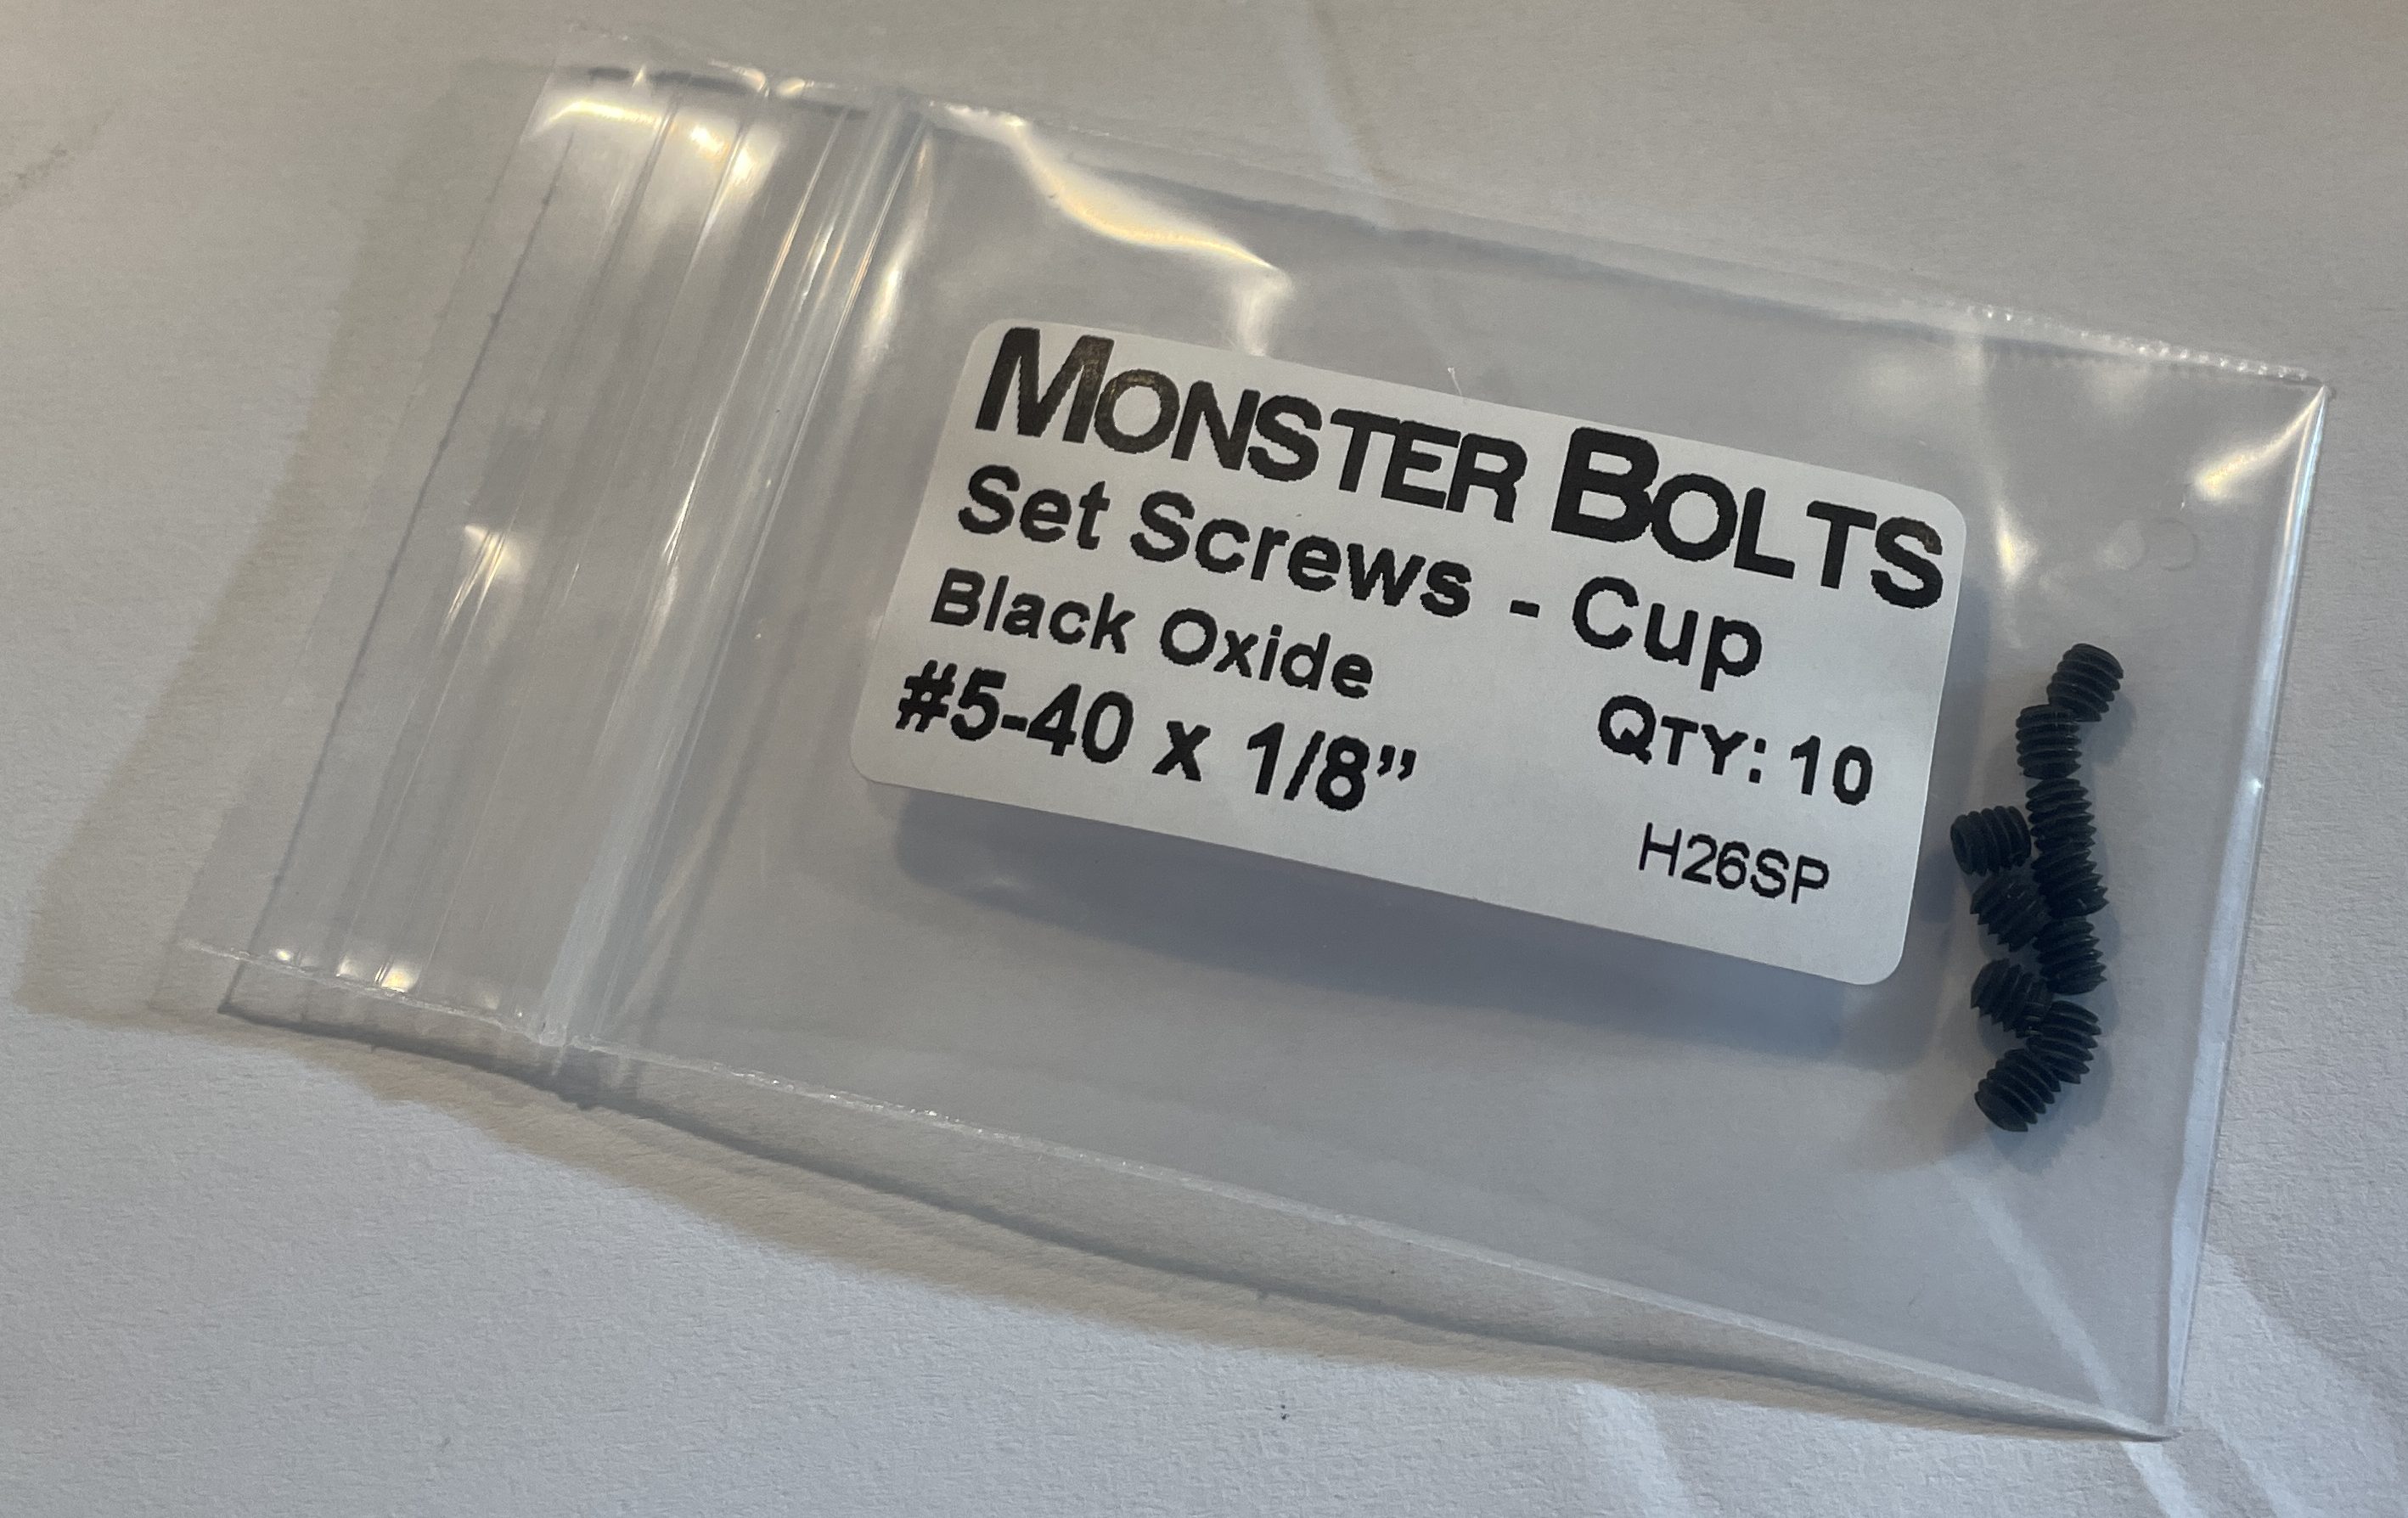
Talk about an improvement in Quality of Life. I will never dread taking those platen knobs off again.
You’re sitting pretty Underwood De Luxe Quiet Tab. It took me two years to swap out your mainspring, but you are finally 100% DONE. I need to find you a home now that you are all better.
R.C. Allen VisOmatic Update
The VisOmatic is mechanically good-to-go, but has some serious cosmetic problems. It got mangled in the mail, so I have been watching hammer and dolly videos. After a very careful chemical strip (lead paint), I have been smoothing its surface. Once again, full report to follow.
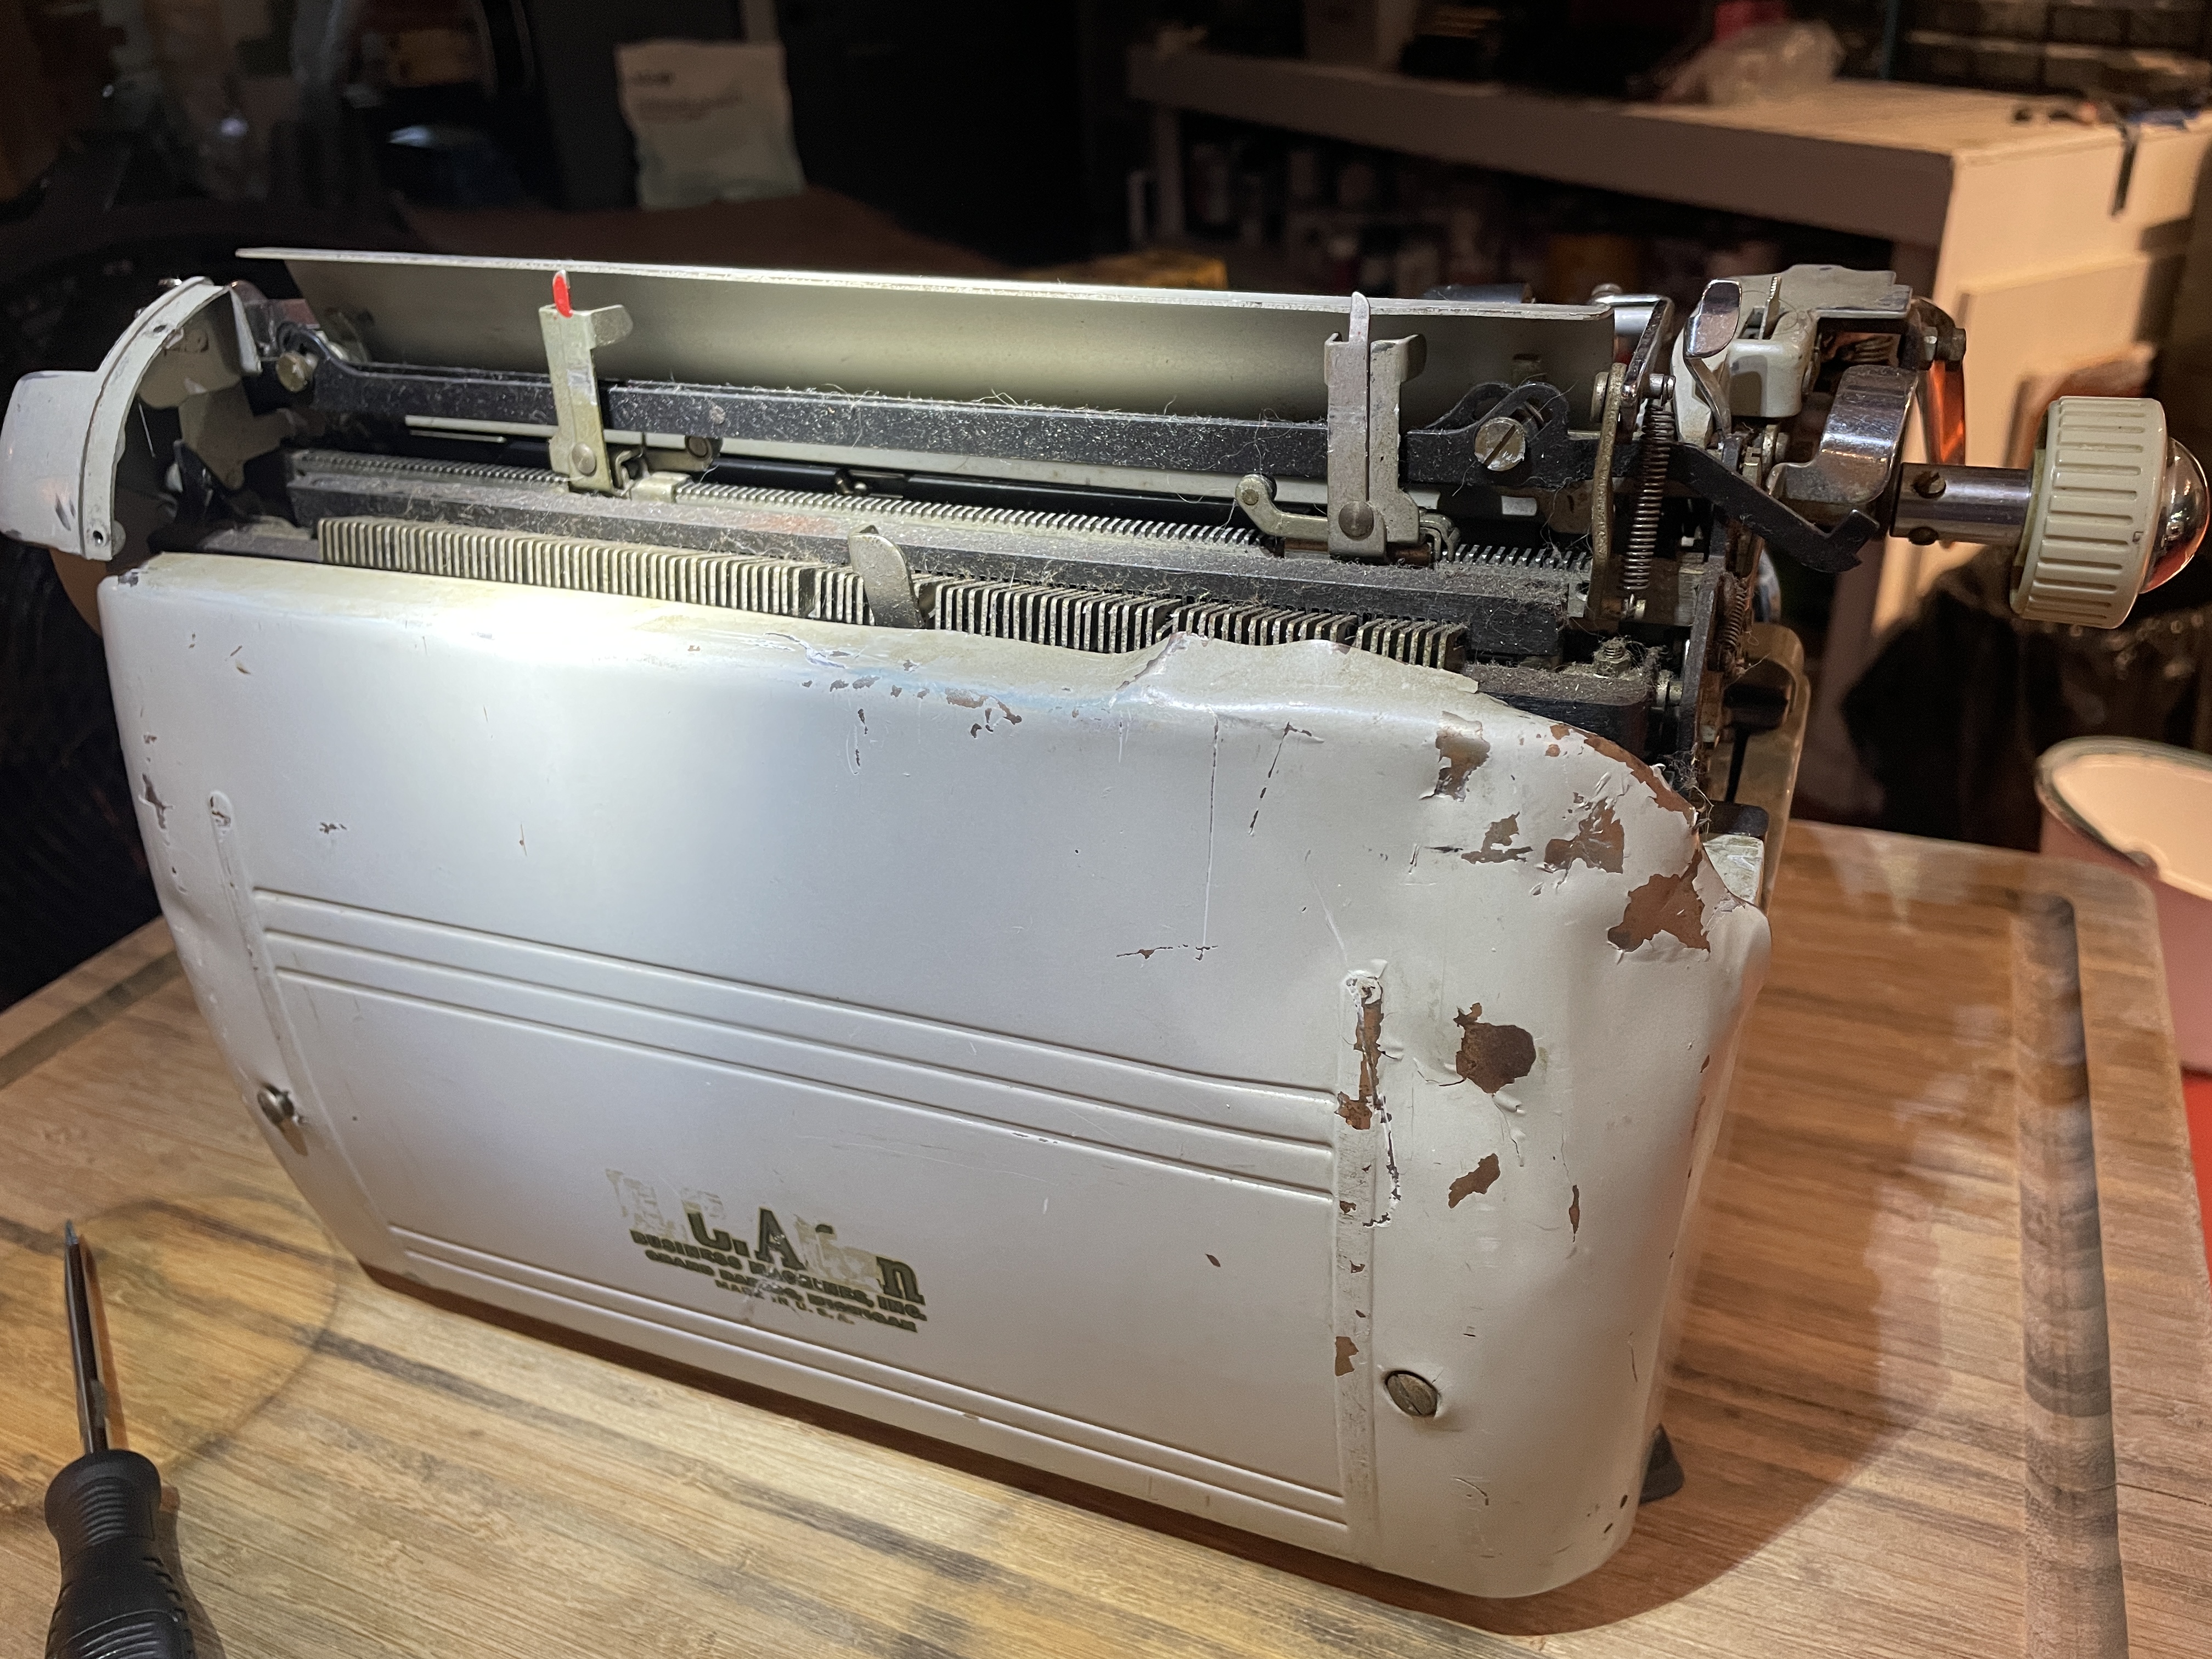
I have a lot of projects cooking at the same time. Every burner has a pot simmering on it, and I’m typing through write-ups of my experimental successes and failures. Stay tuned.


Best of luck and skill on all those worthy projects! I anticipate your findings on lathe and sleeve experiments! (:
LikeLike
Congratulations on all those projects.
I have been able to sand down hard platens on a metal lathe, but cutting them or heatshrink will not work, too gummy and soft. Sanding works, but it will make a mess because unlike platen grinders, there is no easy method to draw dust away without making a dust collection hood.
I bought one of those Harbor Freight $99 parts cleaners and modified it to clean typewriters after I left Florida. I use the same aviation parts cleaner we used in the shop in FL. I know it is still not as good as an ultrasonic.
A huge ultrasonic like Trevor has would be great. The cost though unless a working one could be found from army surplus or a university surplus sale is quite high.
Keep on enjoying your typewriter fixin’ journey.
LikeLike
Thanks, Bill. I’ve been immersing myself in YouTube videos of people turning rubber on metal lathes. It looks like a very dirty process when grinding/sanding and I see some holding a vacuum hose next to the work piece. Some are able to cut rubber using razor sharp custom tools.
Regarding Trevor’s ultrasonic, I am seriously considering a long road trip to Ohio with a car load of partially dismantled machines to clean. He has this DIY service that lets people use the equipment at his shop. Sounds intriguing.
LikeLike
That’s quite a lot of projects on the bench! Looking forward to hearing how the fresh platen turns out, because I have a couple I should send to JJ Short. Sorry to hear he has a backlog, but also glad because it means that a lot of people are fixing up typewriters and willing to invest in quality repair.
LikeLike
Platen experiments continue. My bench is getting fuller – and that very rusty SM3 from Florida showed up today. That one is a doozy. 😀
LikeLike