Halloween is just around the corner, and now is the time of monsters and robots (the old world is dying, and the new world struggles to be born, etc). Fall is the perfect time for handicrafts! It’s an opportunity to unplug and step away from the slick and easy artificial charms of the online world and settle into activities that are slow and hard and messy and human. I like stuff I can do with my hands. Stuff I can talk to other people about.
My typewriter repair hobby suits me as it can be a solitary endeavor, a social one, or both. I love tinkering in solitude, staring in silence for hours at a recalcitrant mechanism, doing deep dives into documentation, slowly cleaning, cleaning, cleaning. However, I occasionally come out of my cave craving connection with other enthusiasts, people whose eyes won’t glaze over when discussing platen diameters. If you find your people, it adds a richness and texture to any hobby.
I recently joined Nova Labs, a makerspace in Fairfax, VA with several shops and studios. Typewriter rehabilitation sometimes requires metal, rubber, and plastic parts repair and fabrication, so I am excited to explore all the shops.
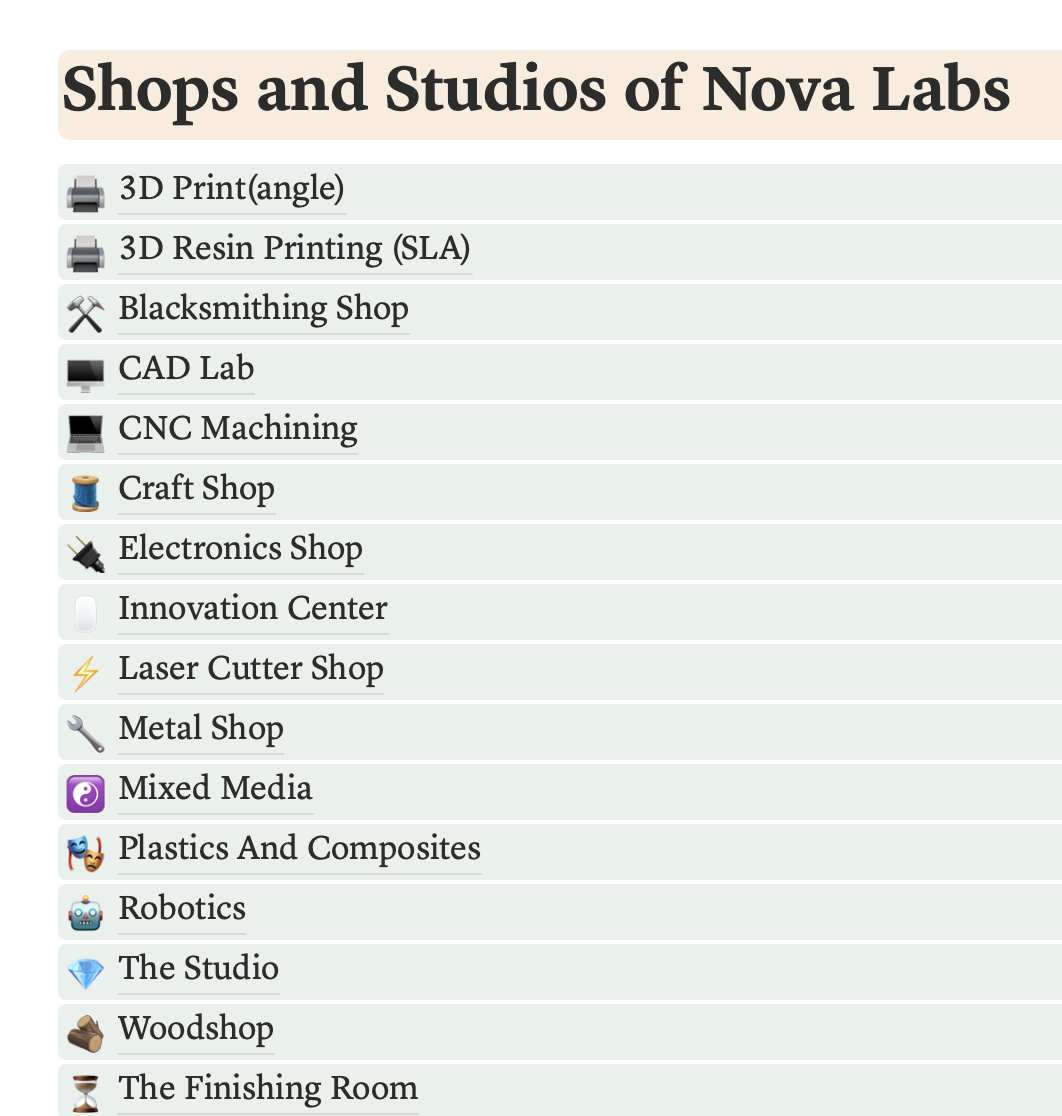
Nova Labs is run by its members and almost all its upkeep is the responsibility of member volunteers. I’ve been putting in volunteer hours on the weekend, cleaning and rehabbing a space for new classrooms and workshops, getting to know the makerspace and the other members better. They are good people.
If you are looking for a makerspace near you, I found an online directory of makerspaces worldwide at Makerspace.com.
In July, I took the powder coating sign-off class at Nova Labs, and to test my class retention, I brought in the battered chin piece of the Remington All-New I recently worked on to powder coat it.
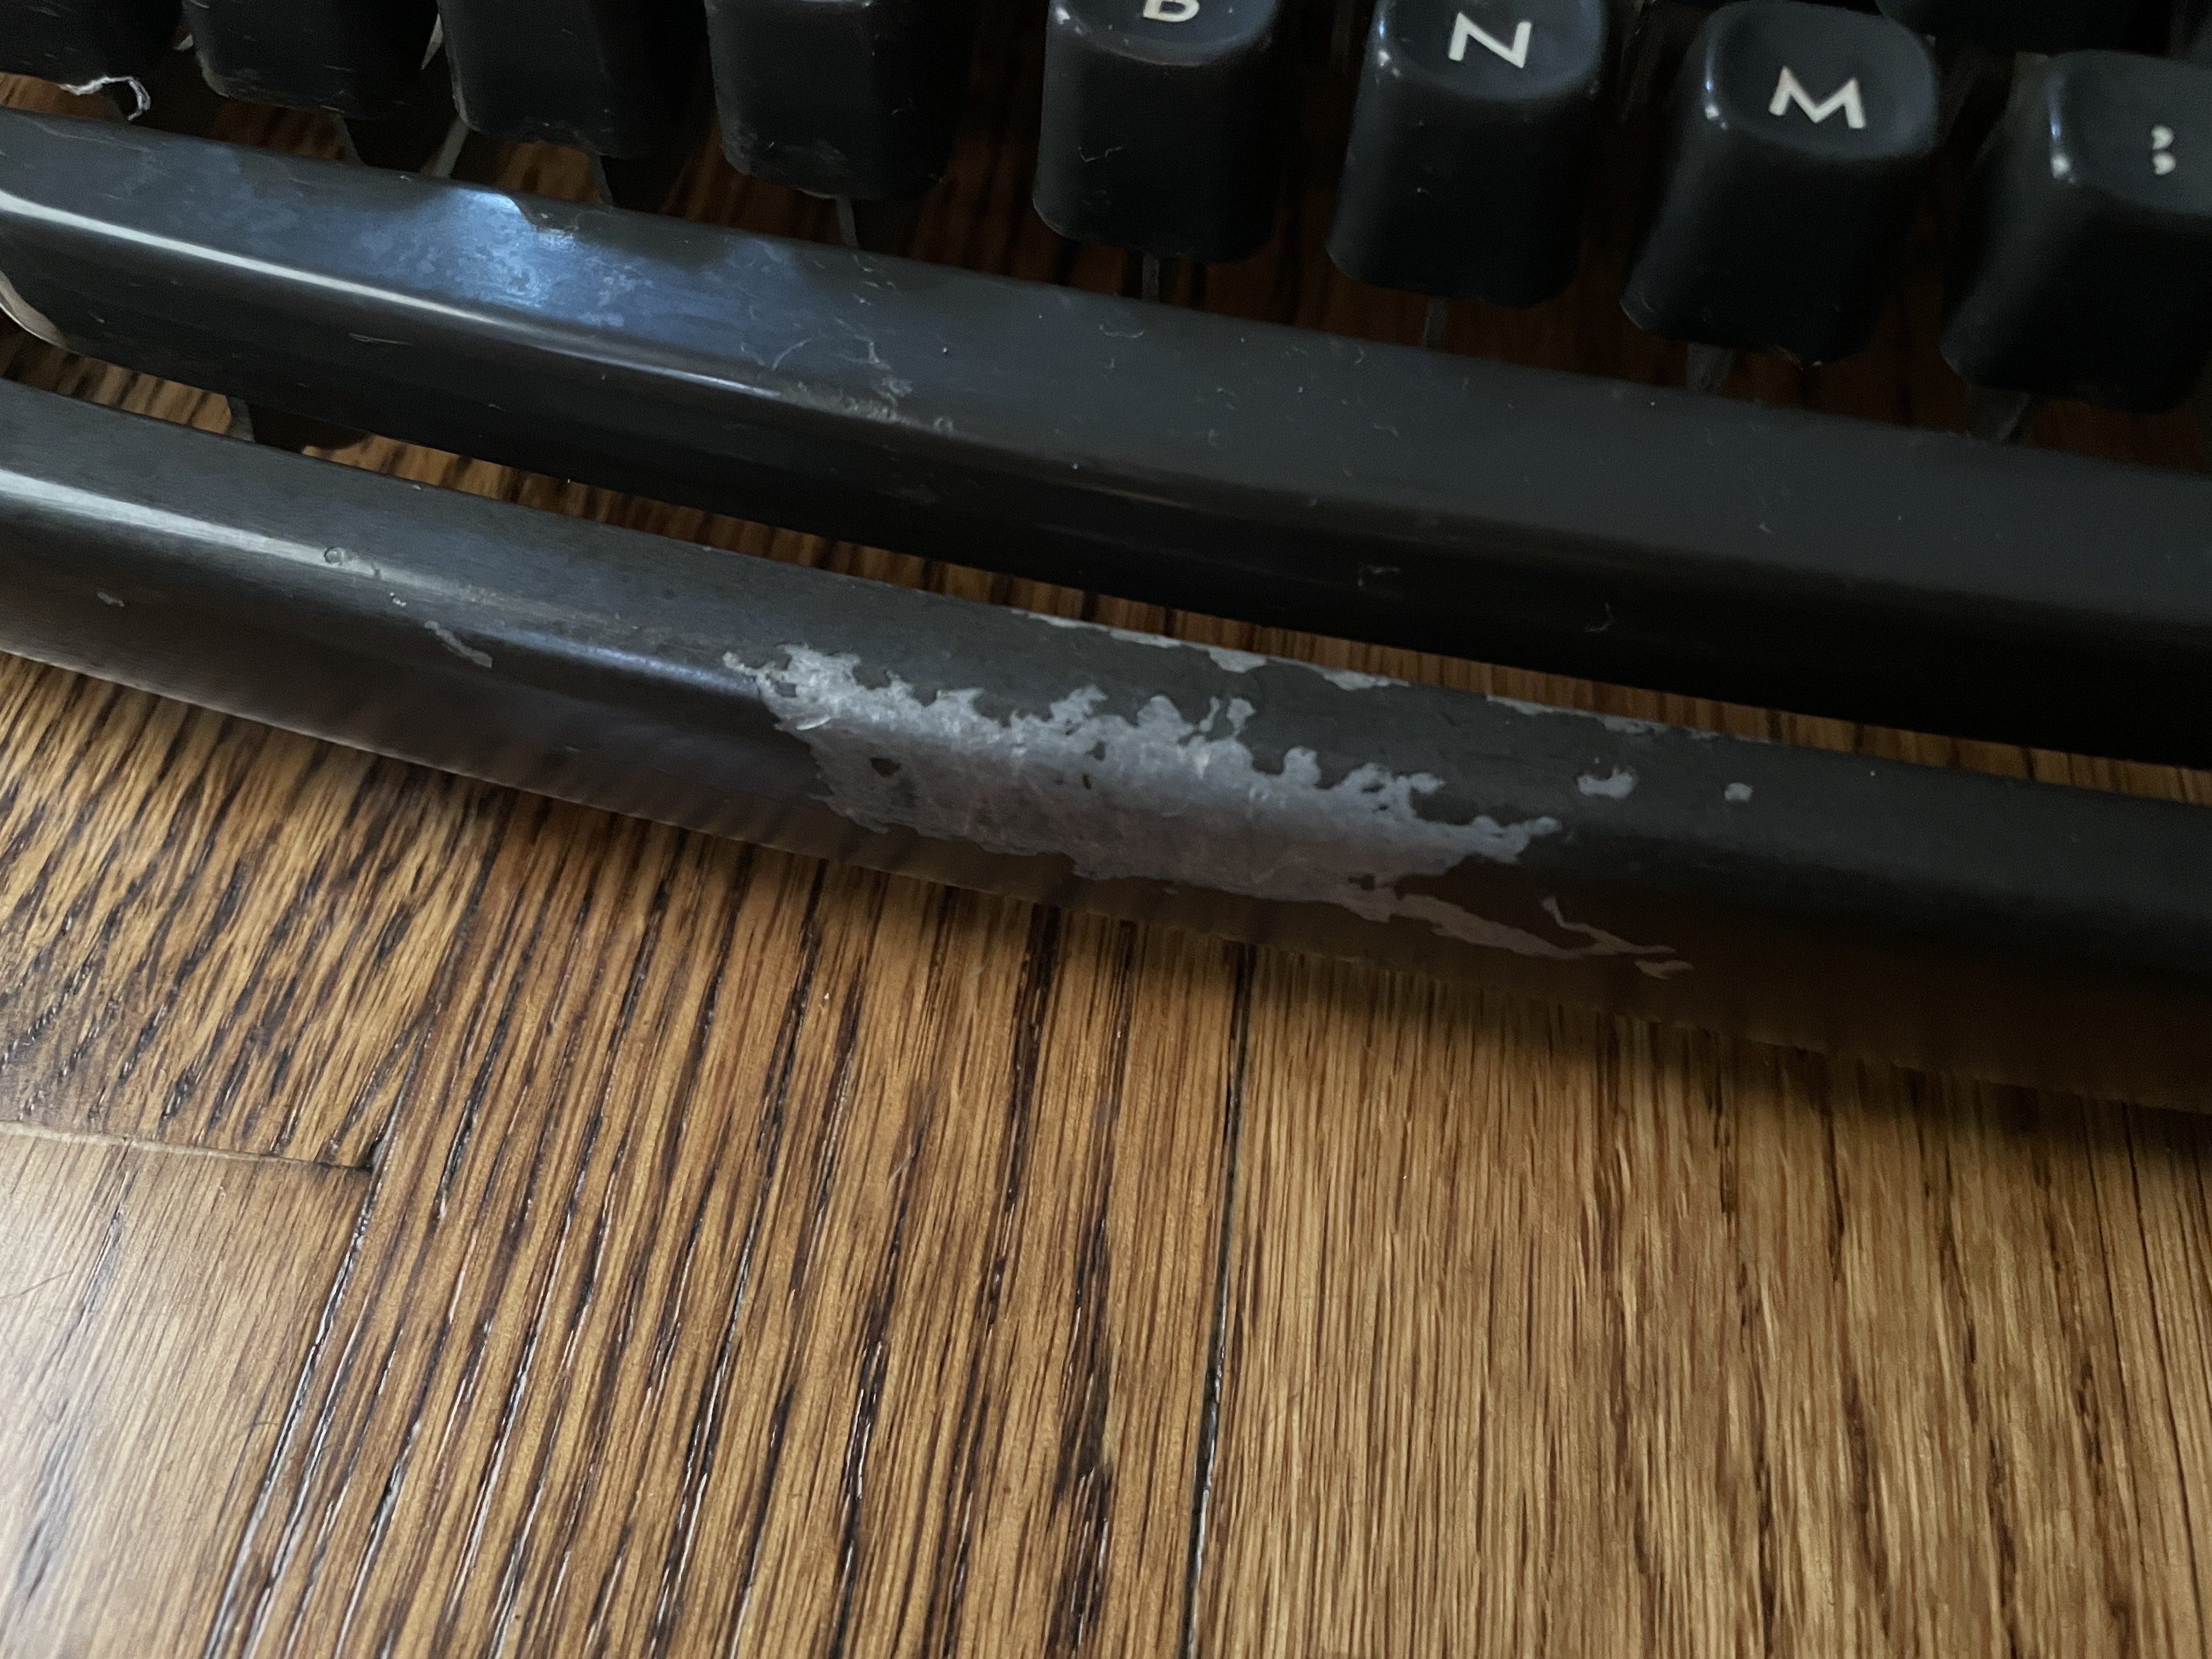
Powder coating is the process of applying dry powdered resins and pigments to metal pieces using an electrostatic charge. After coating, the metal pieces are baked in an oven until the powder melts and fuses with the metal surface producing a smooth, durable coating.
For the Remington All-New, I chose “Fired Charcoal” from Prismatic Powders since it seemed a closest match to the chin piece’s original color.
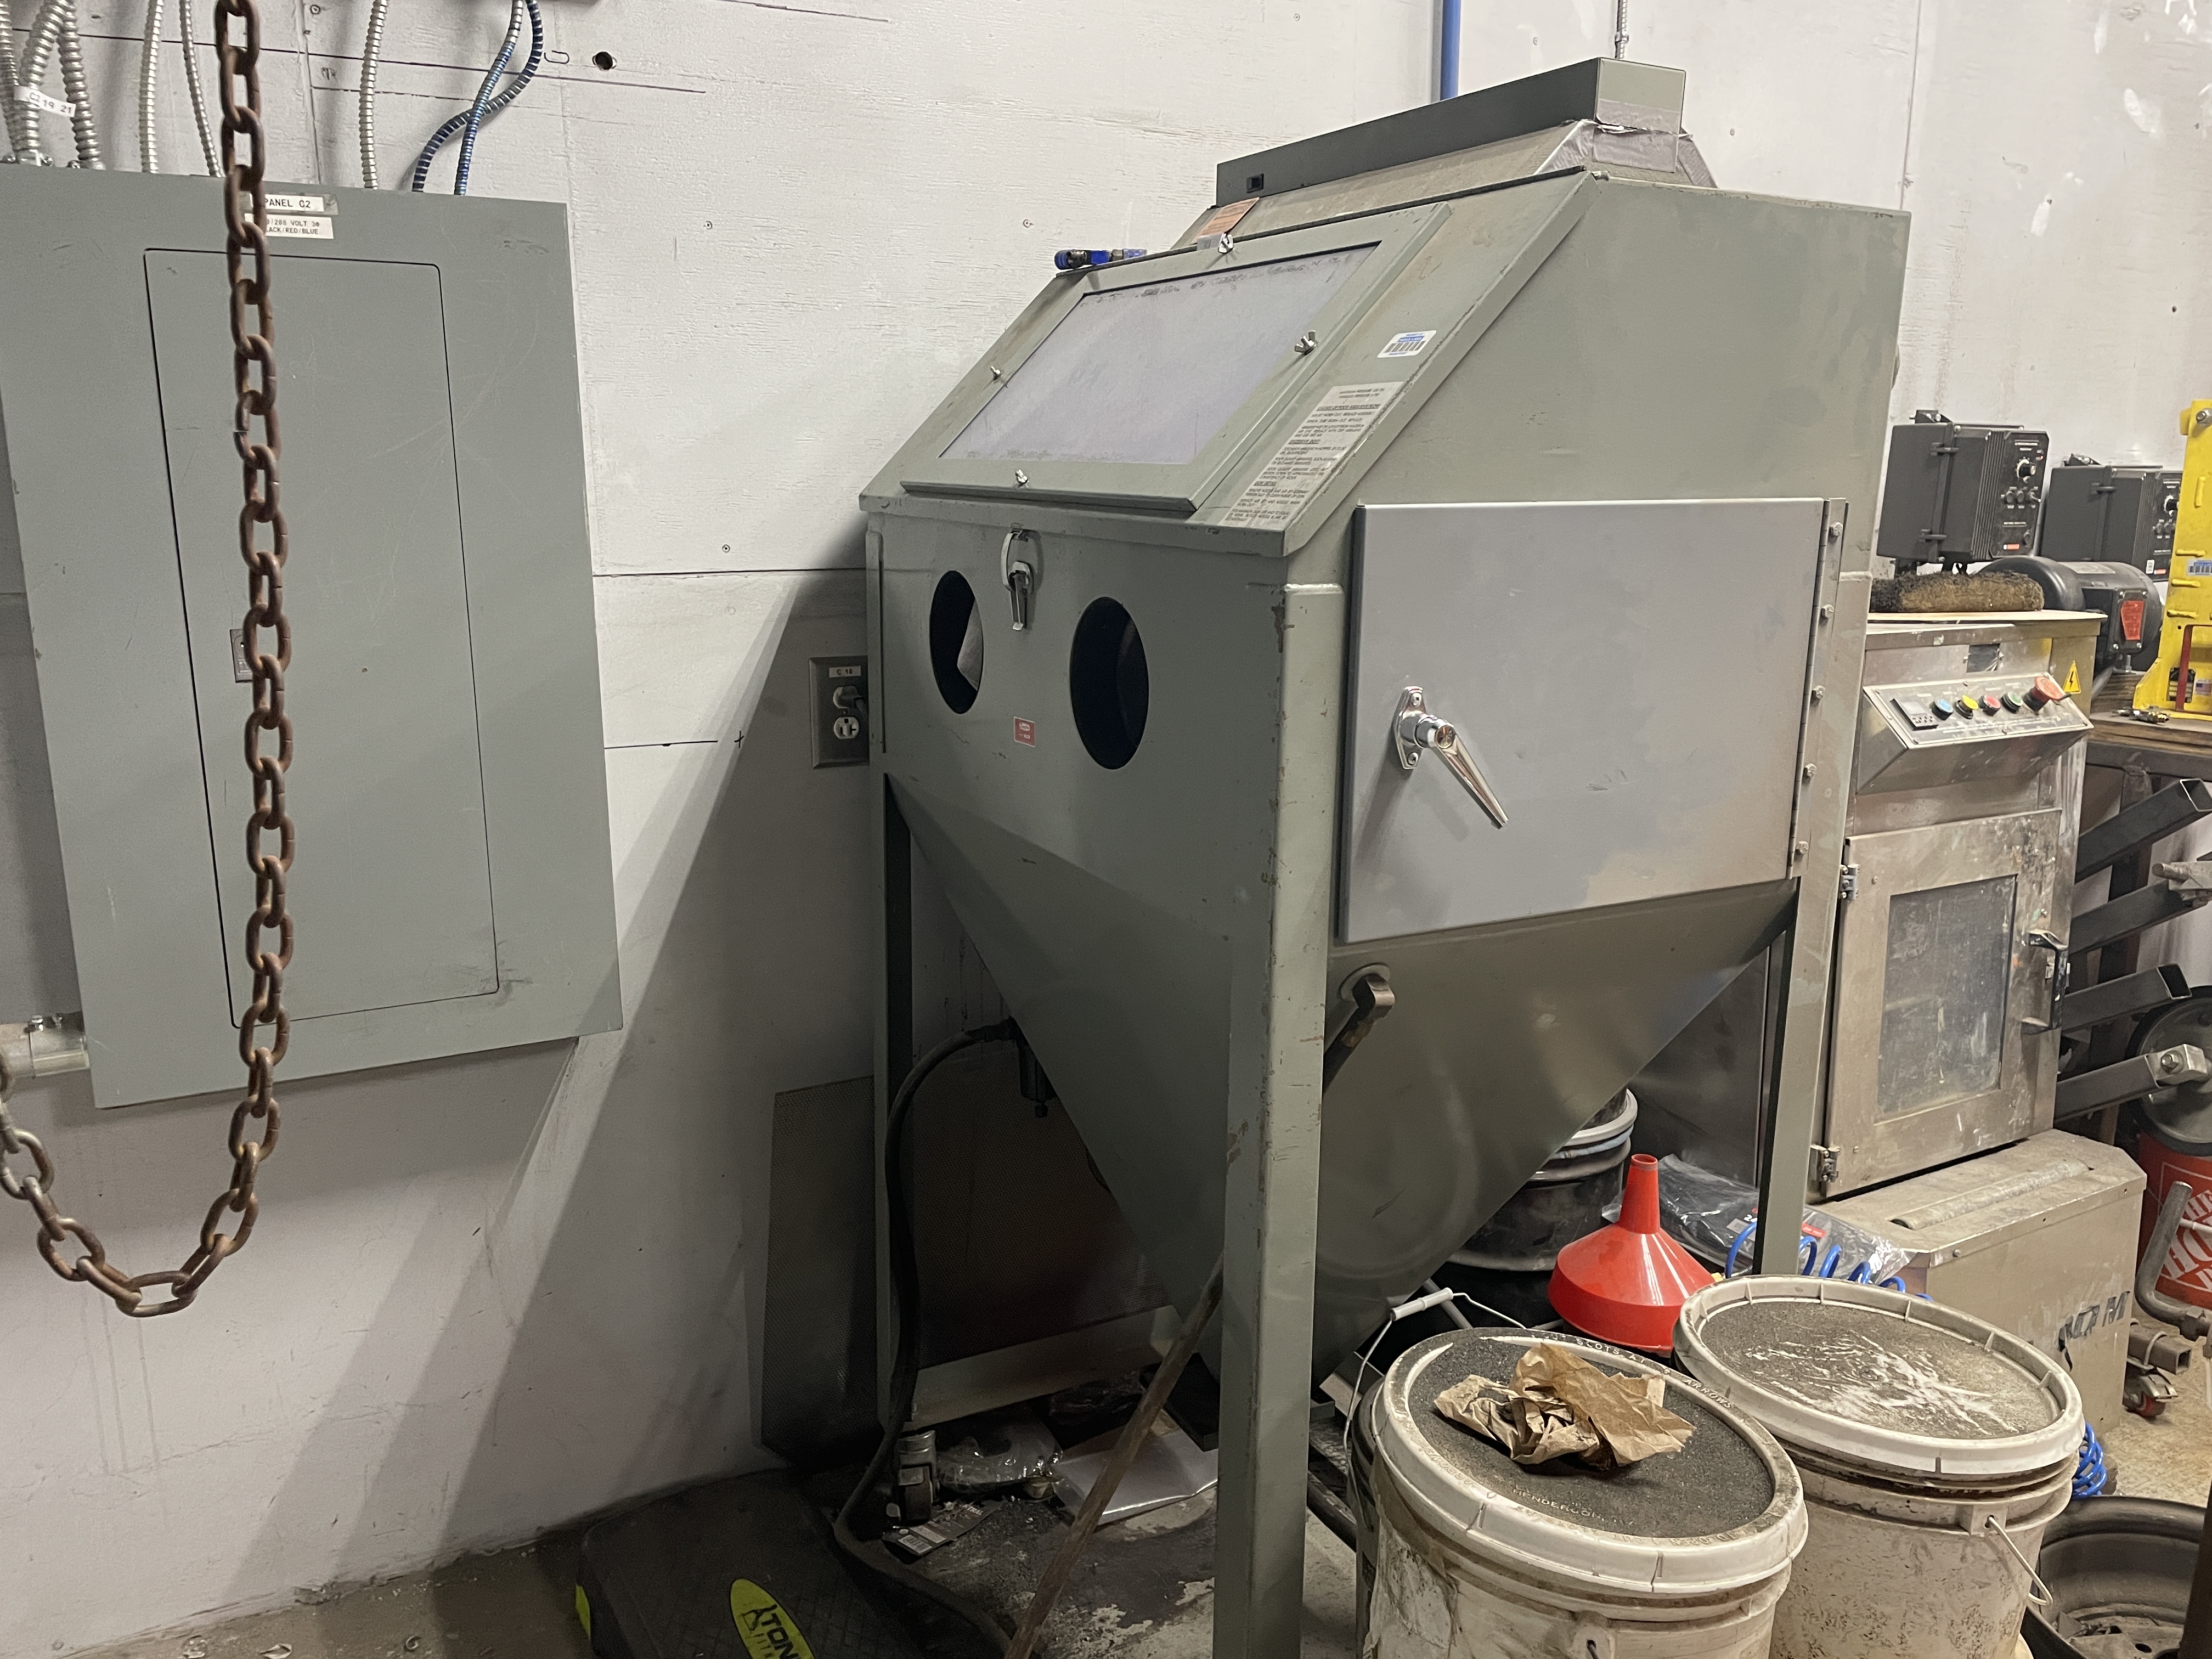
I chemically stripped the chin piece and then finished it off in the media cabinet at Nova Labs. The powder coating process is not that hard, but careful prep is key. You’ll need to remove all the old paint. Media blasting creates an ideal surface for powder coating.
Nova Labs has a huge spray booth with a back wall exhaust fan and three guns to choose from. I chose the Royal Coats RC-2 gun.
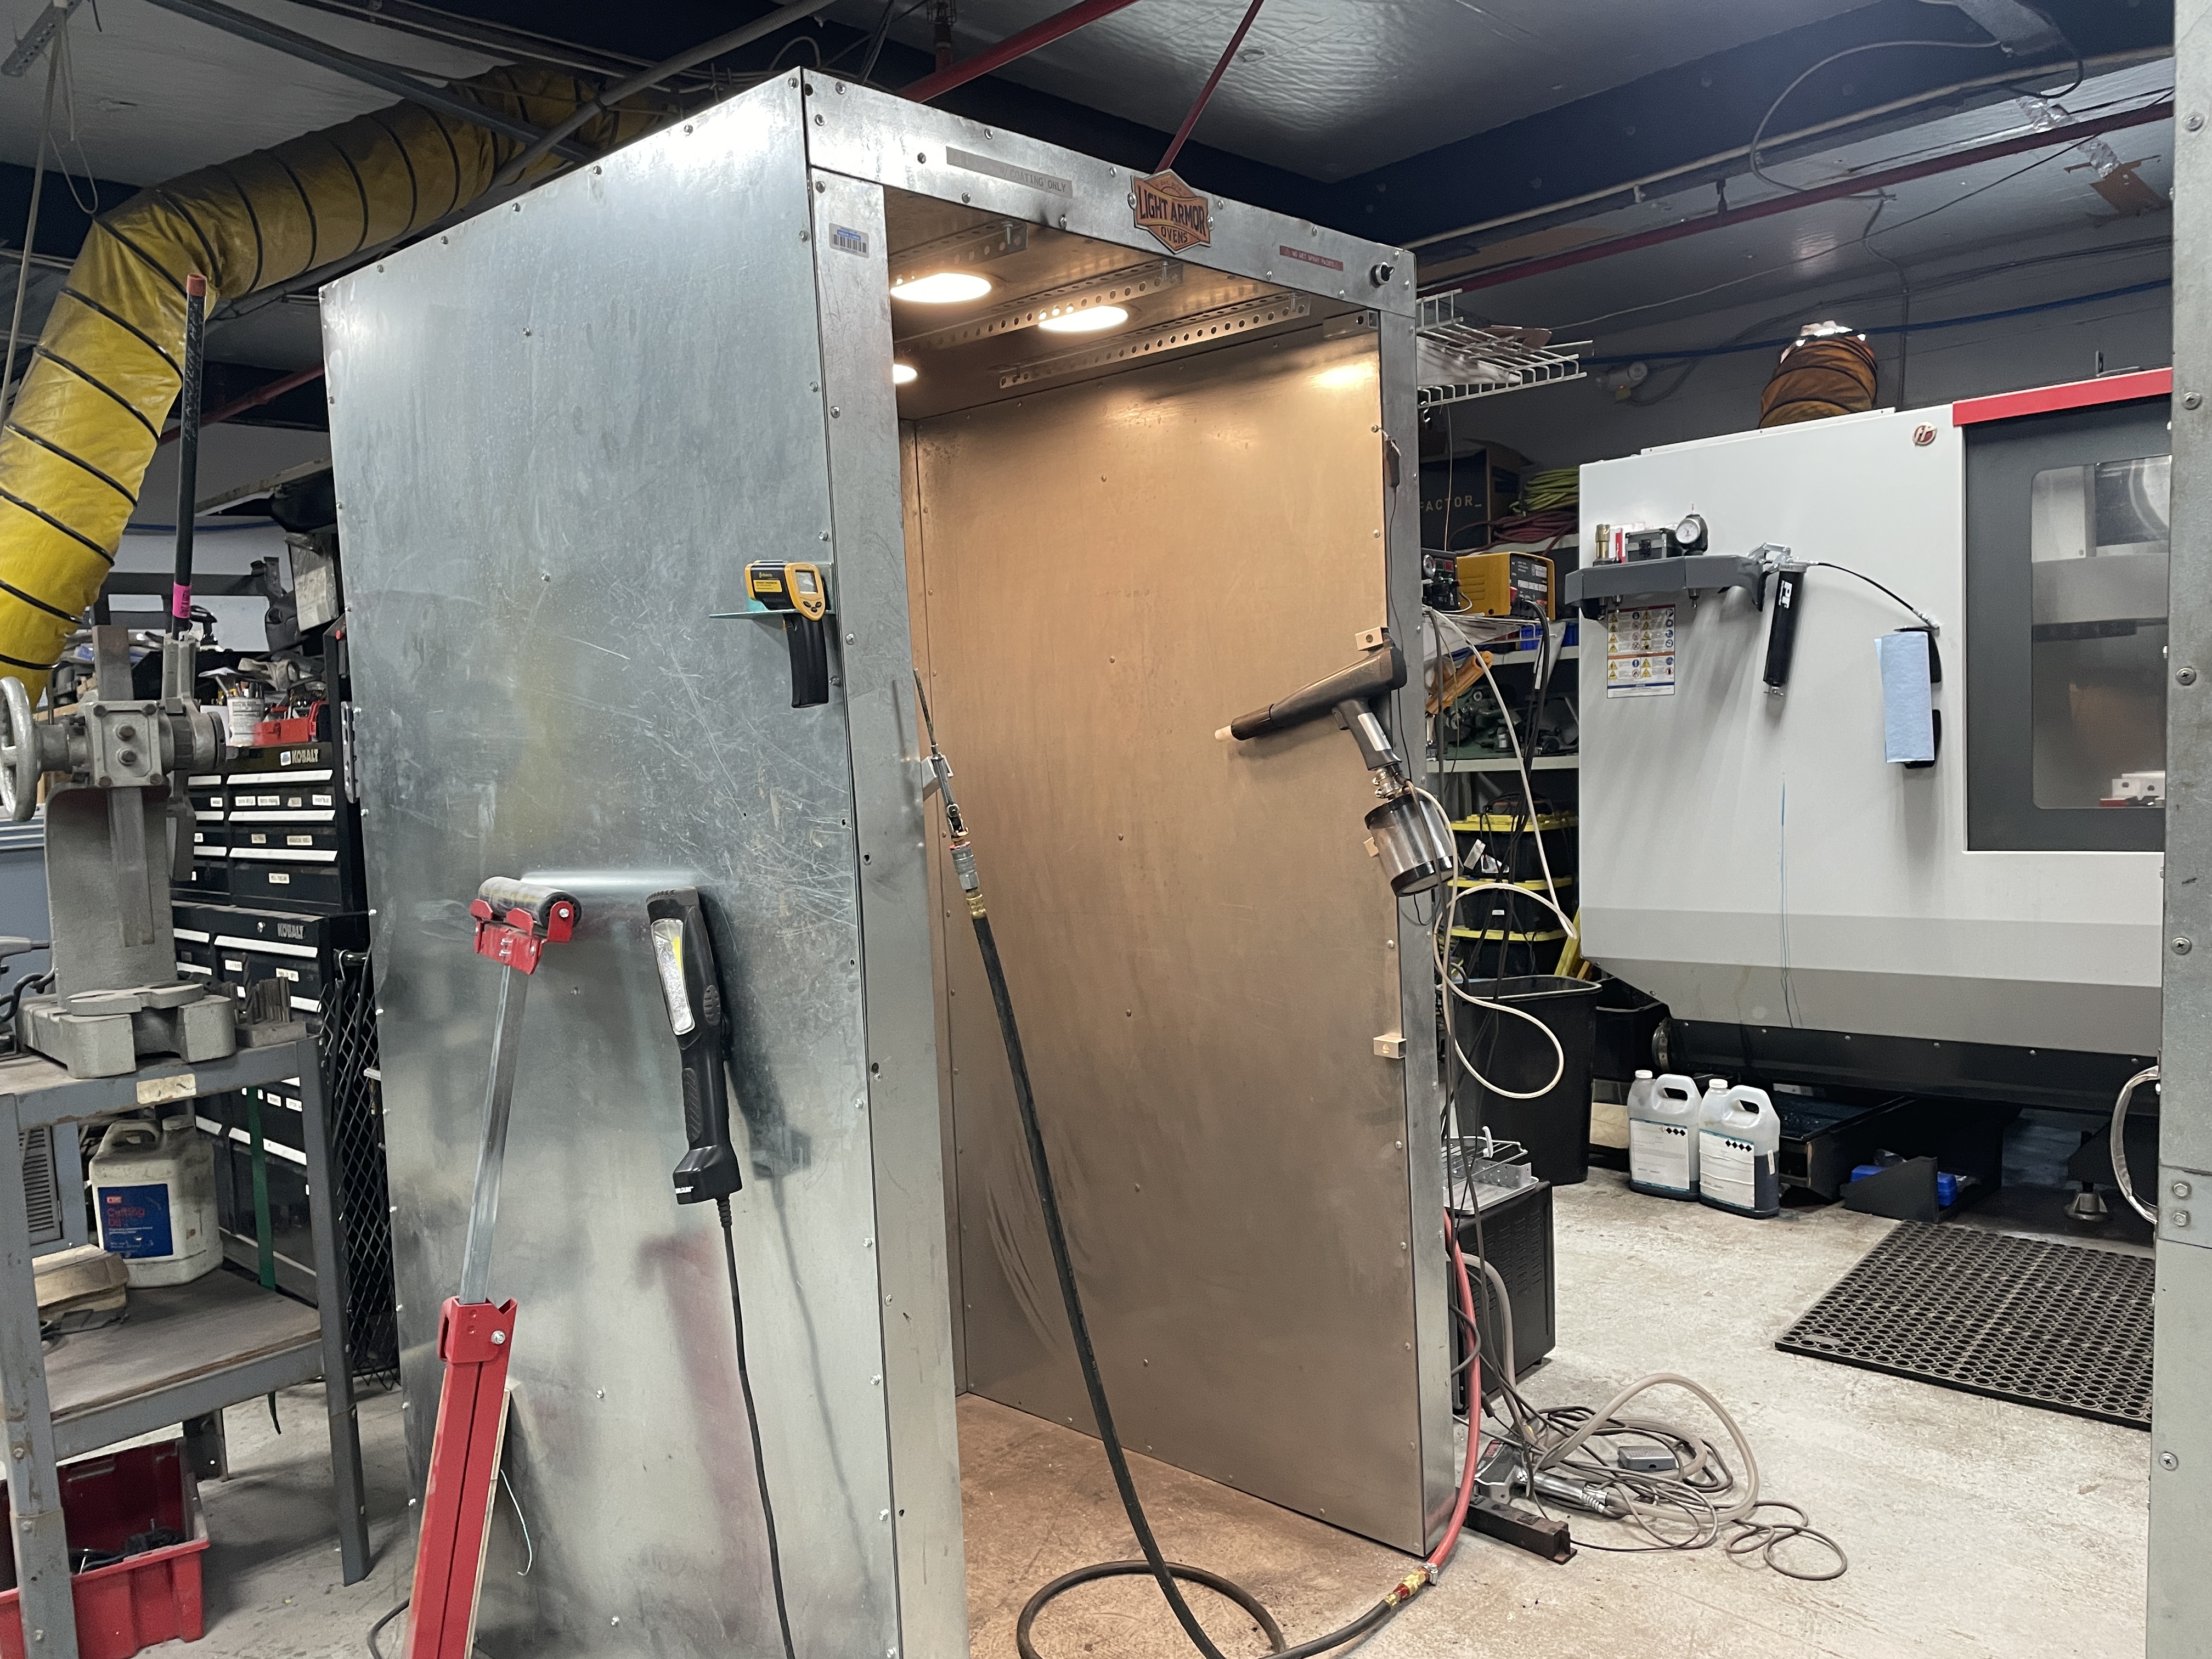
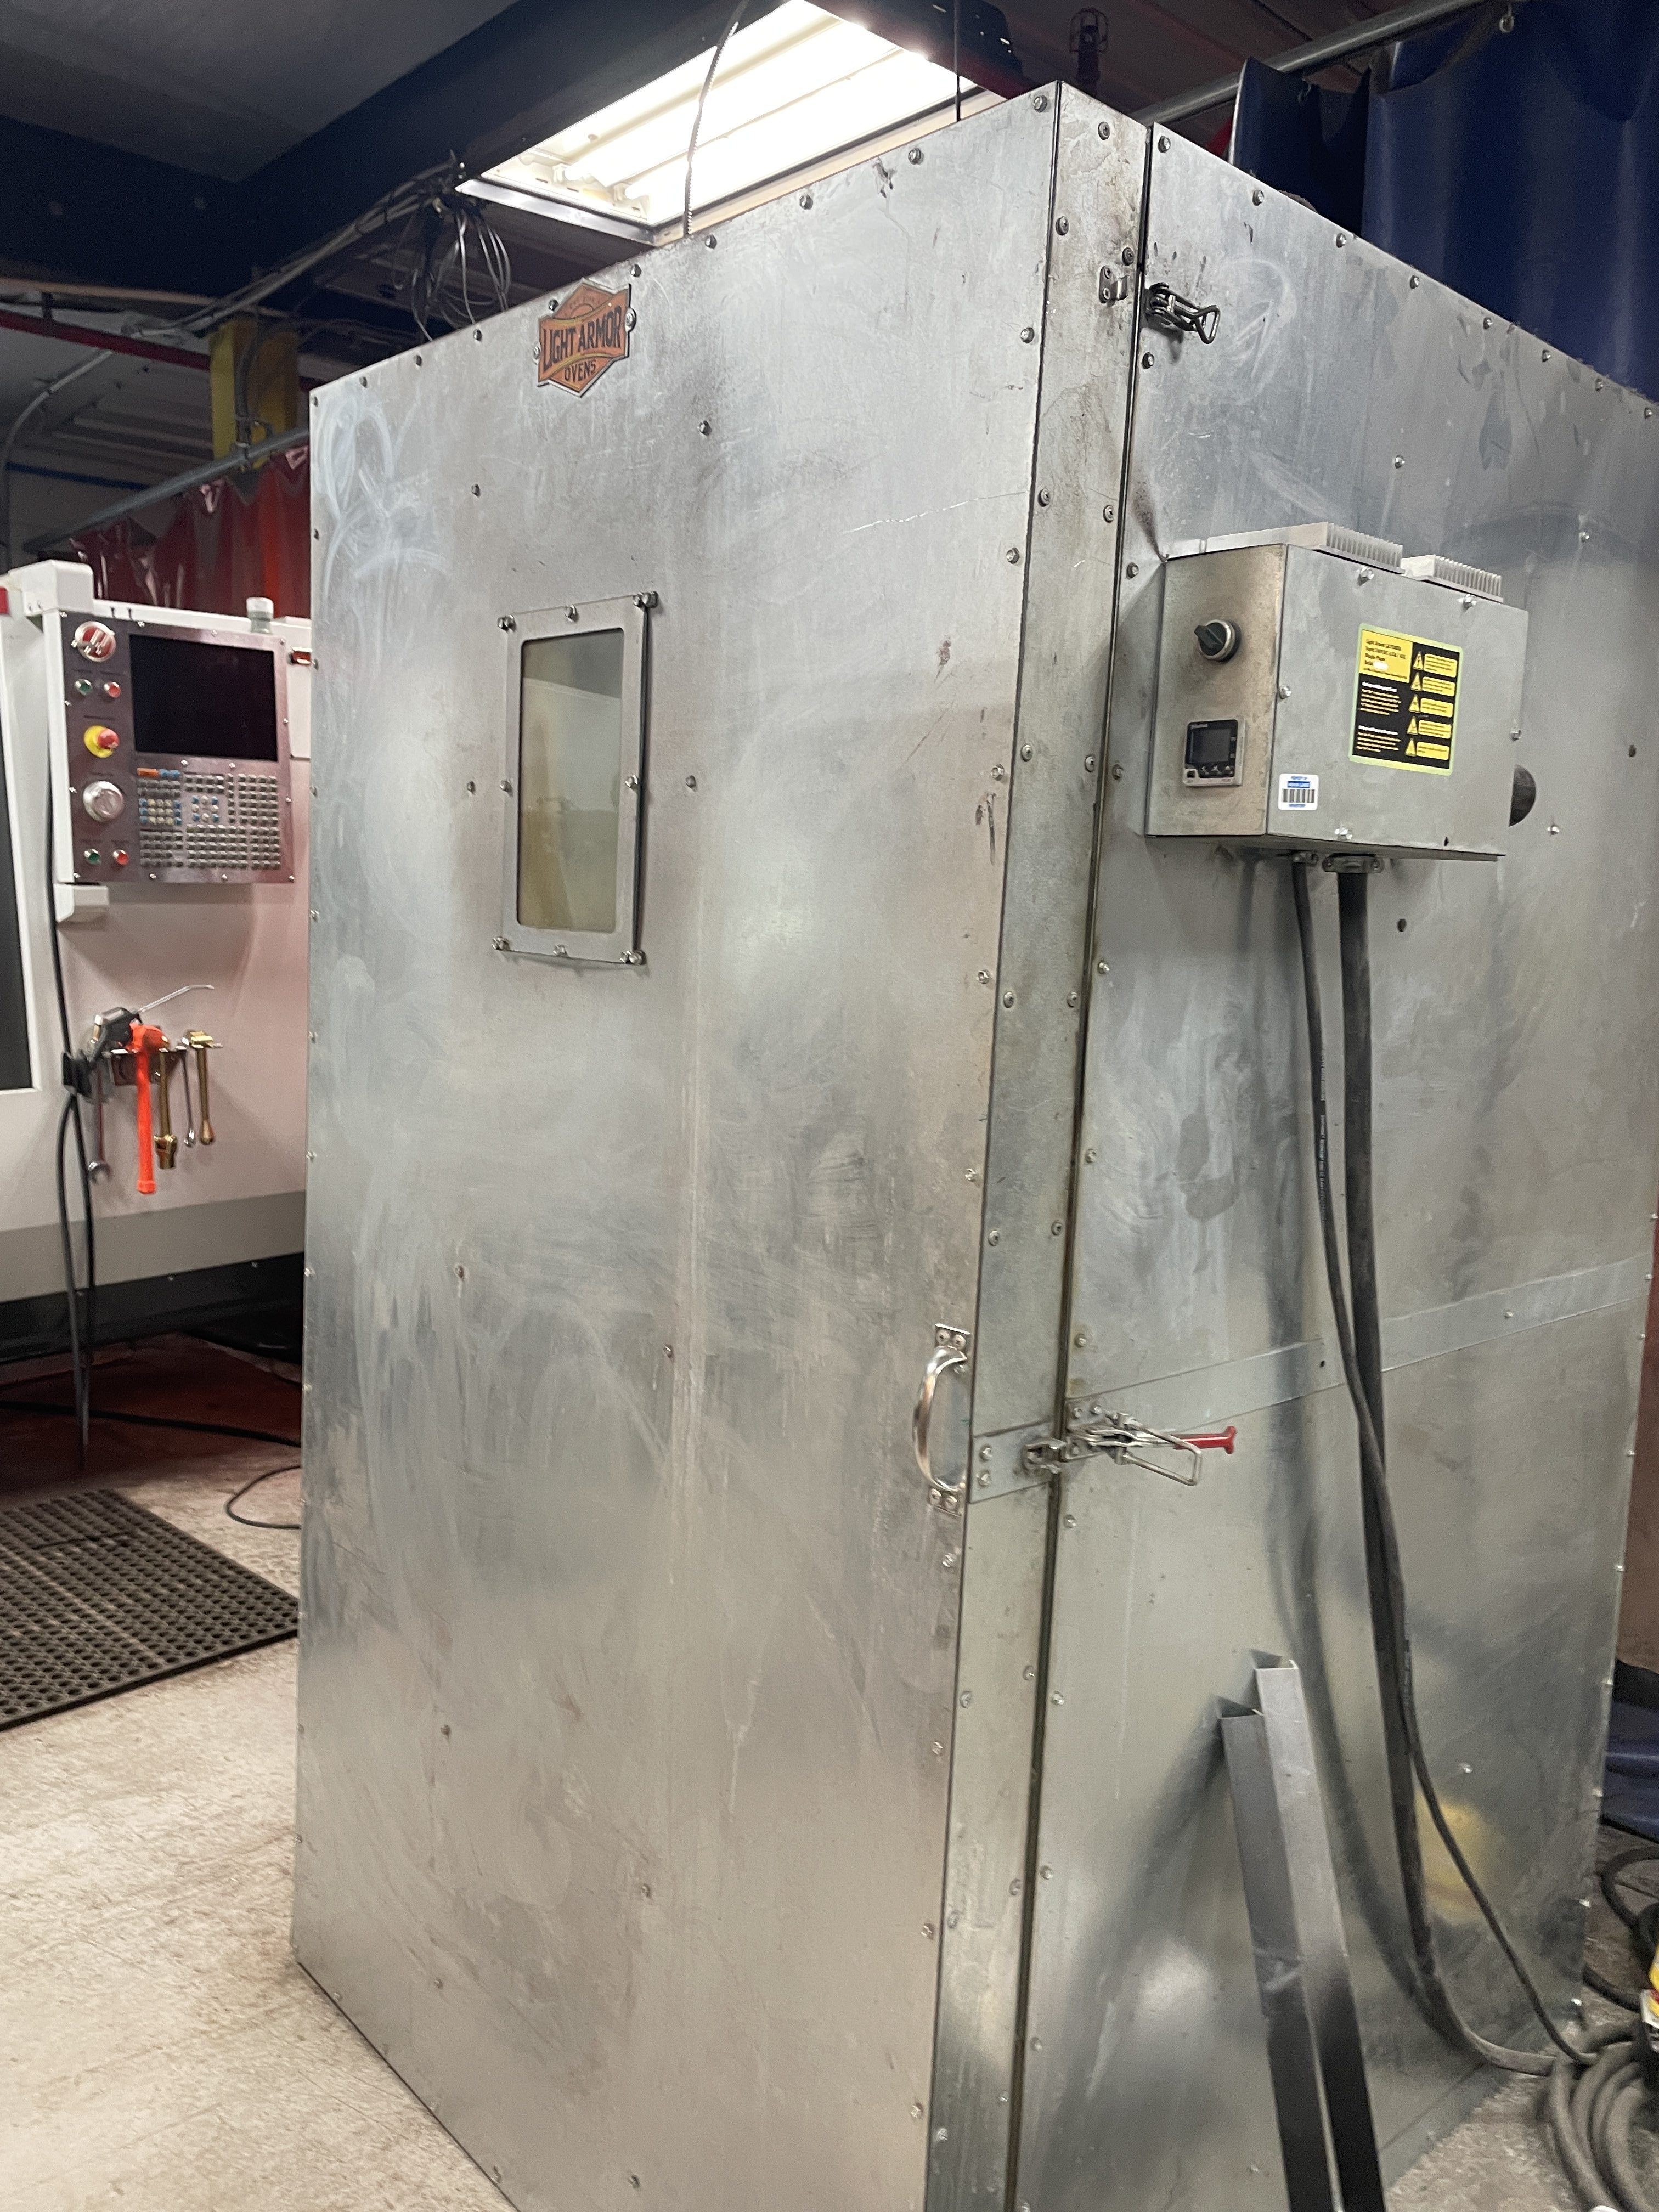
After masking off the screw holes with heat-resistant tape to prevent them from filling with pigment, I sprayed the part with powder and moved it to a pre-heated oven. Nova Labs has a large, scary oven.
I opted to use the smaller toaster oven since the chin piece was smallish.
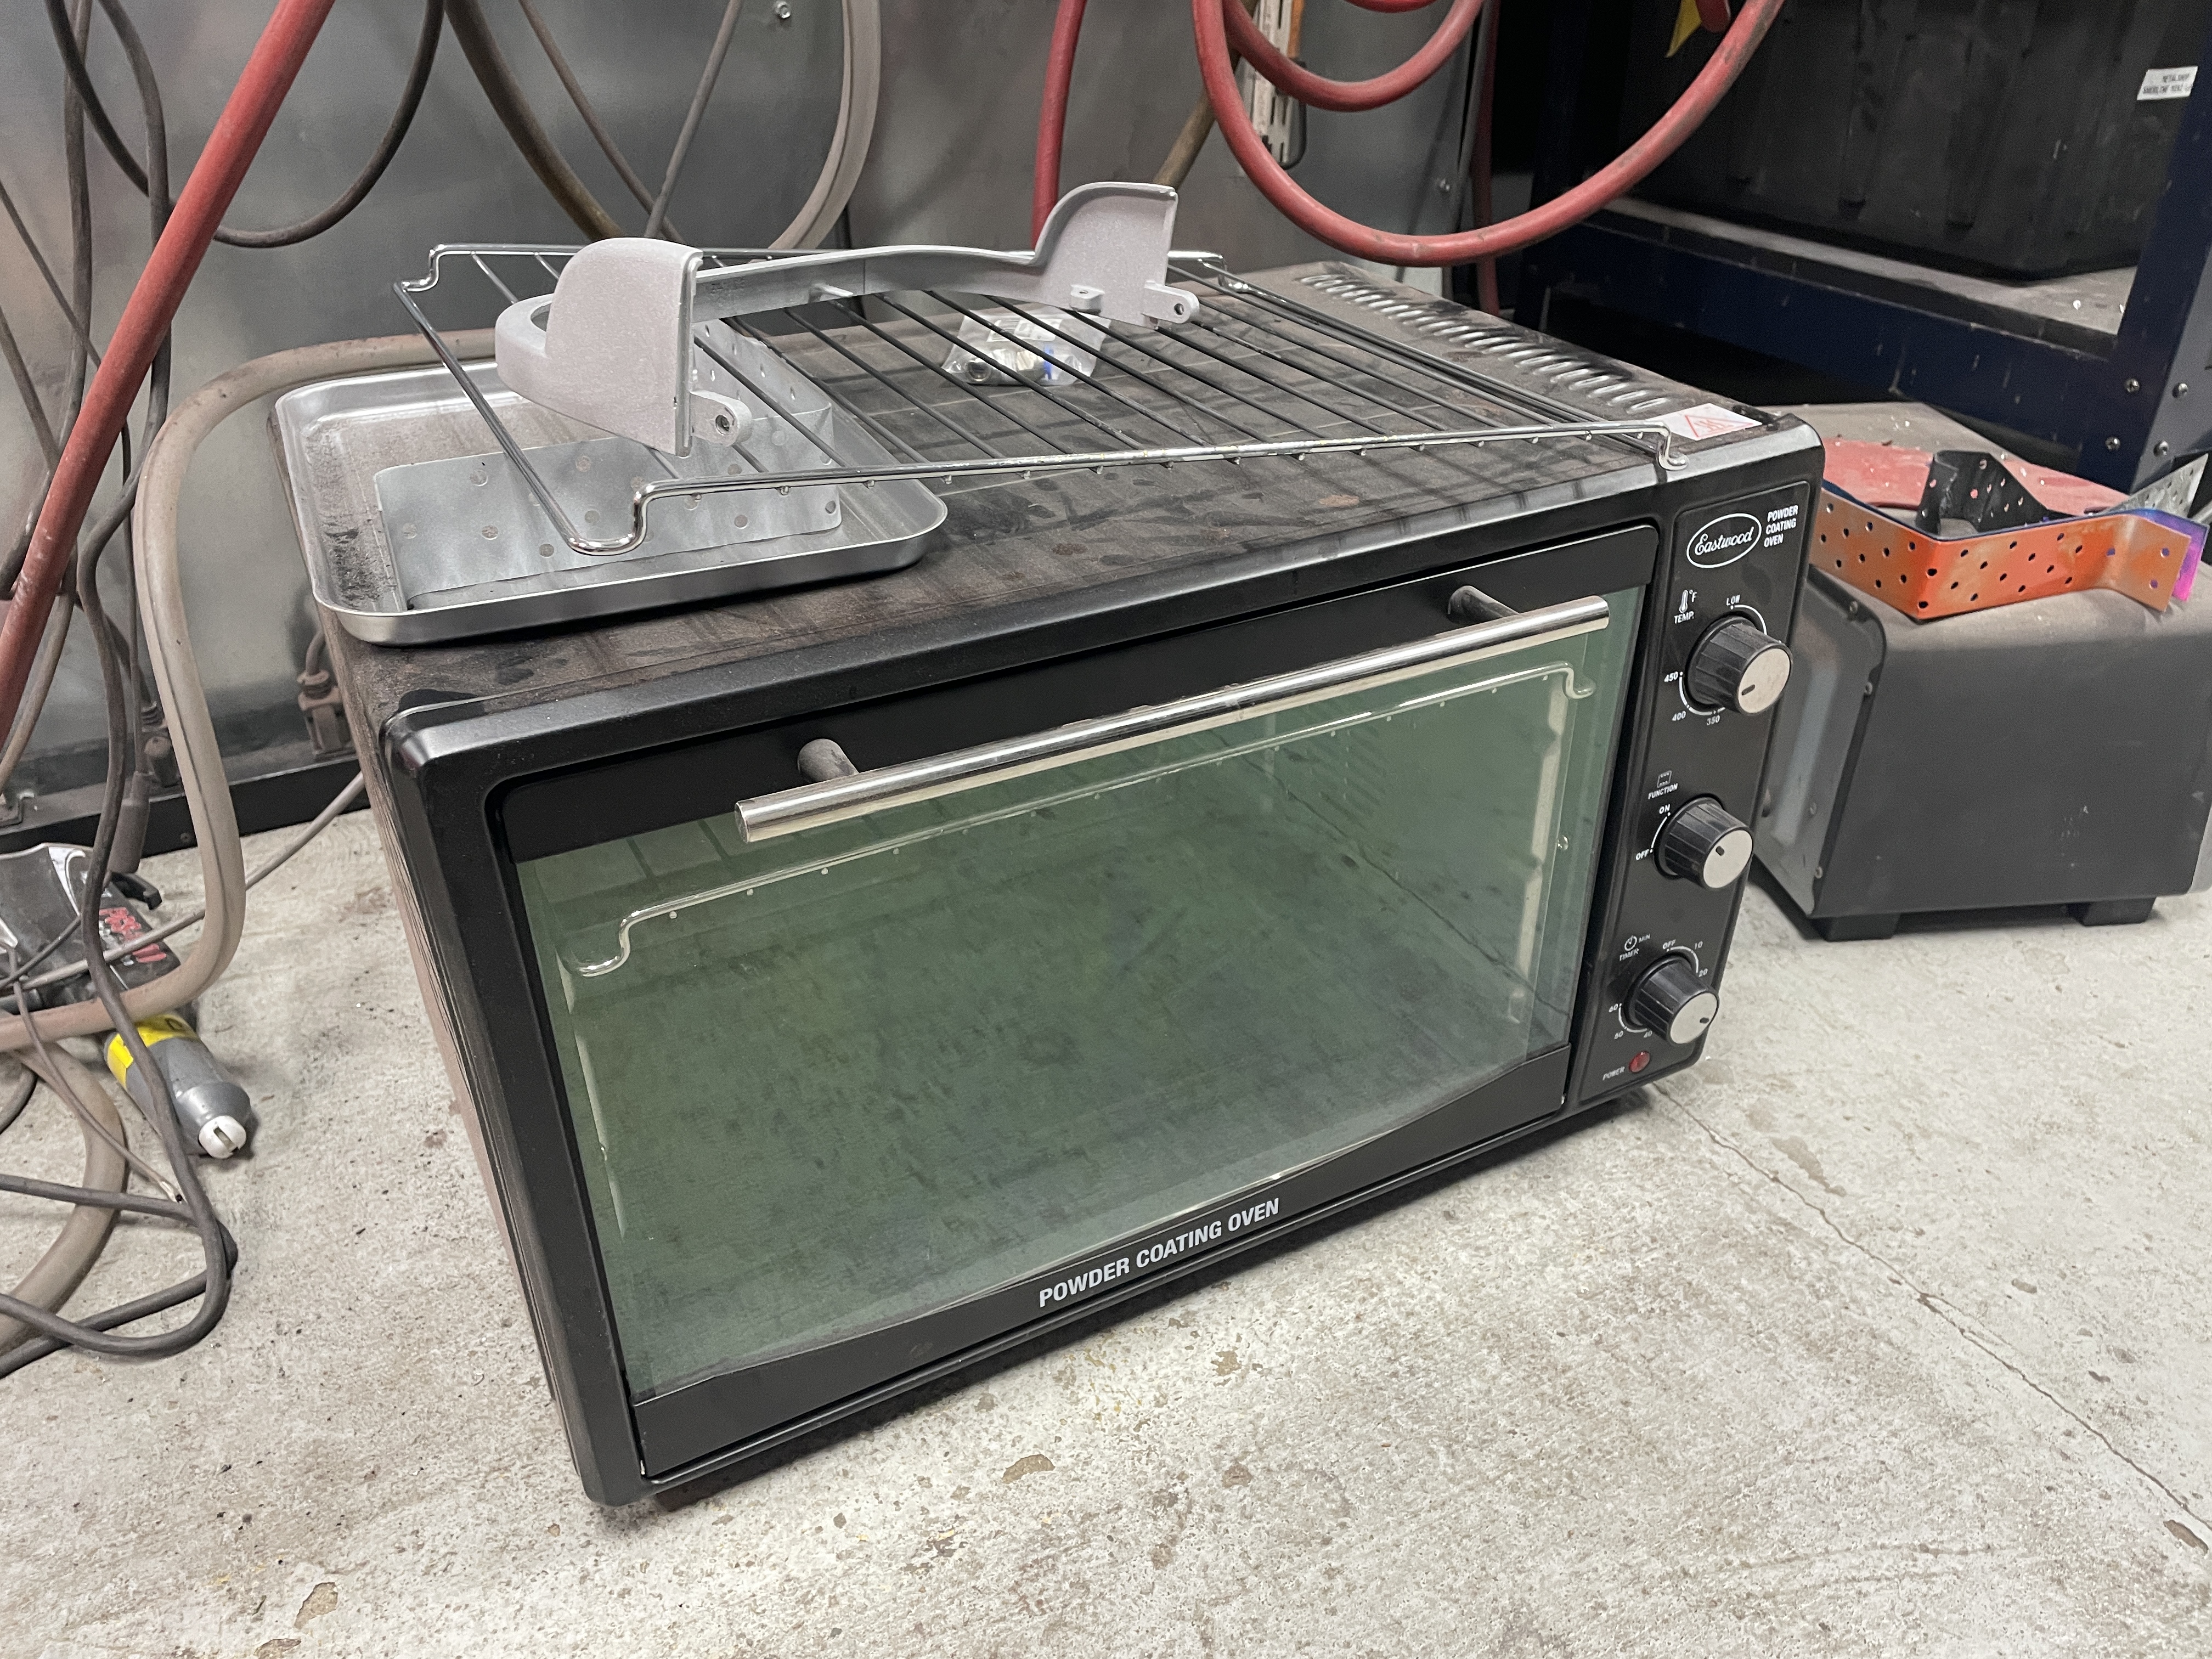
The trickiest part is that you can’t touch or bump the piece before it’s cured. I needed about four hands getting it into a small oven. If you do bump a piece before it cooks, you’ll need to spray off the powder with an air gun and start over.
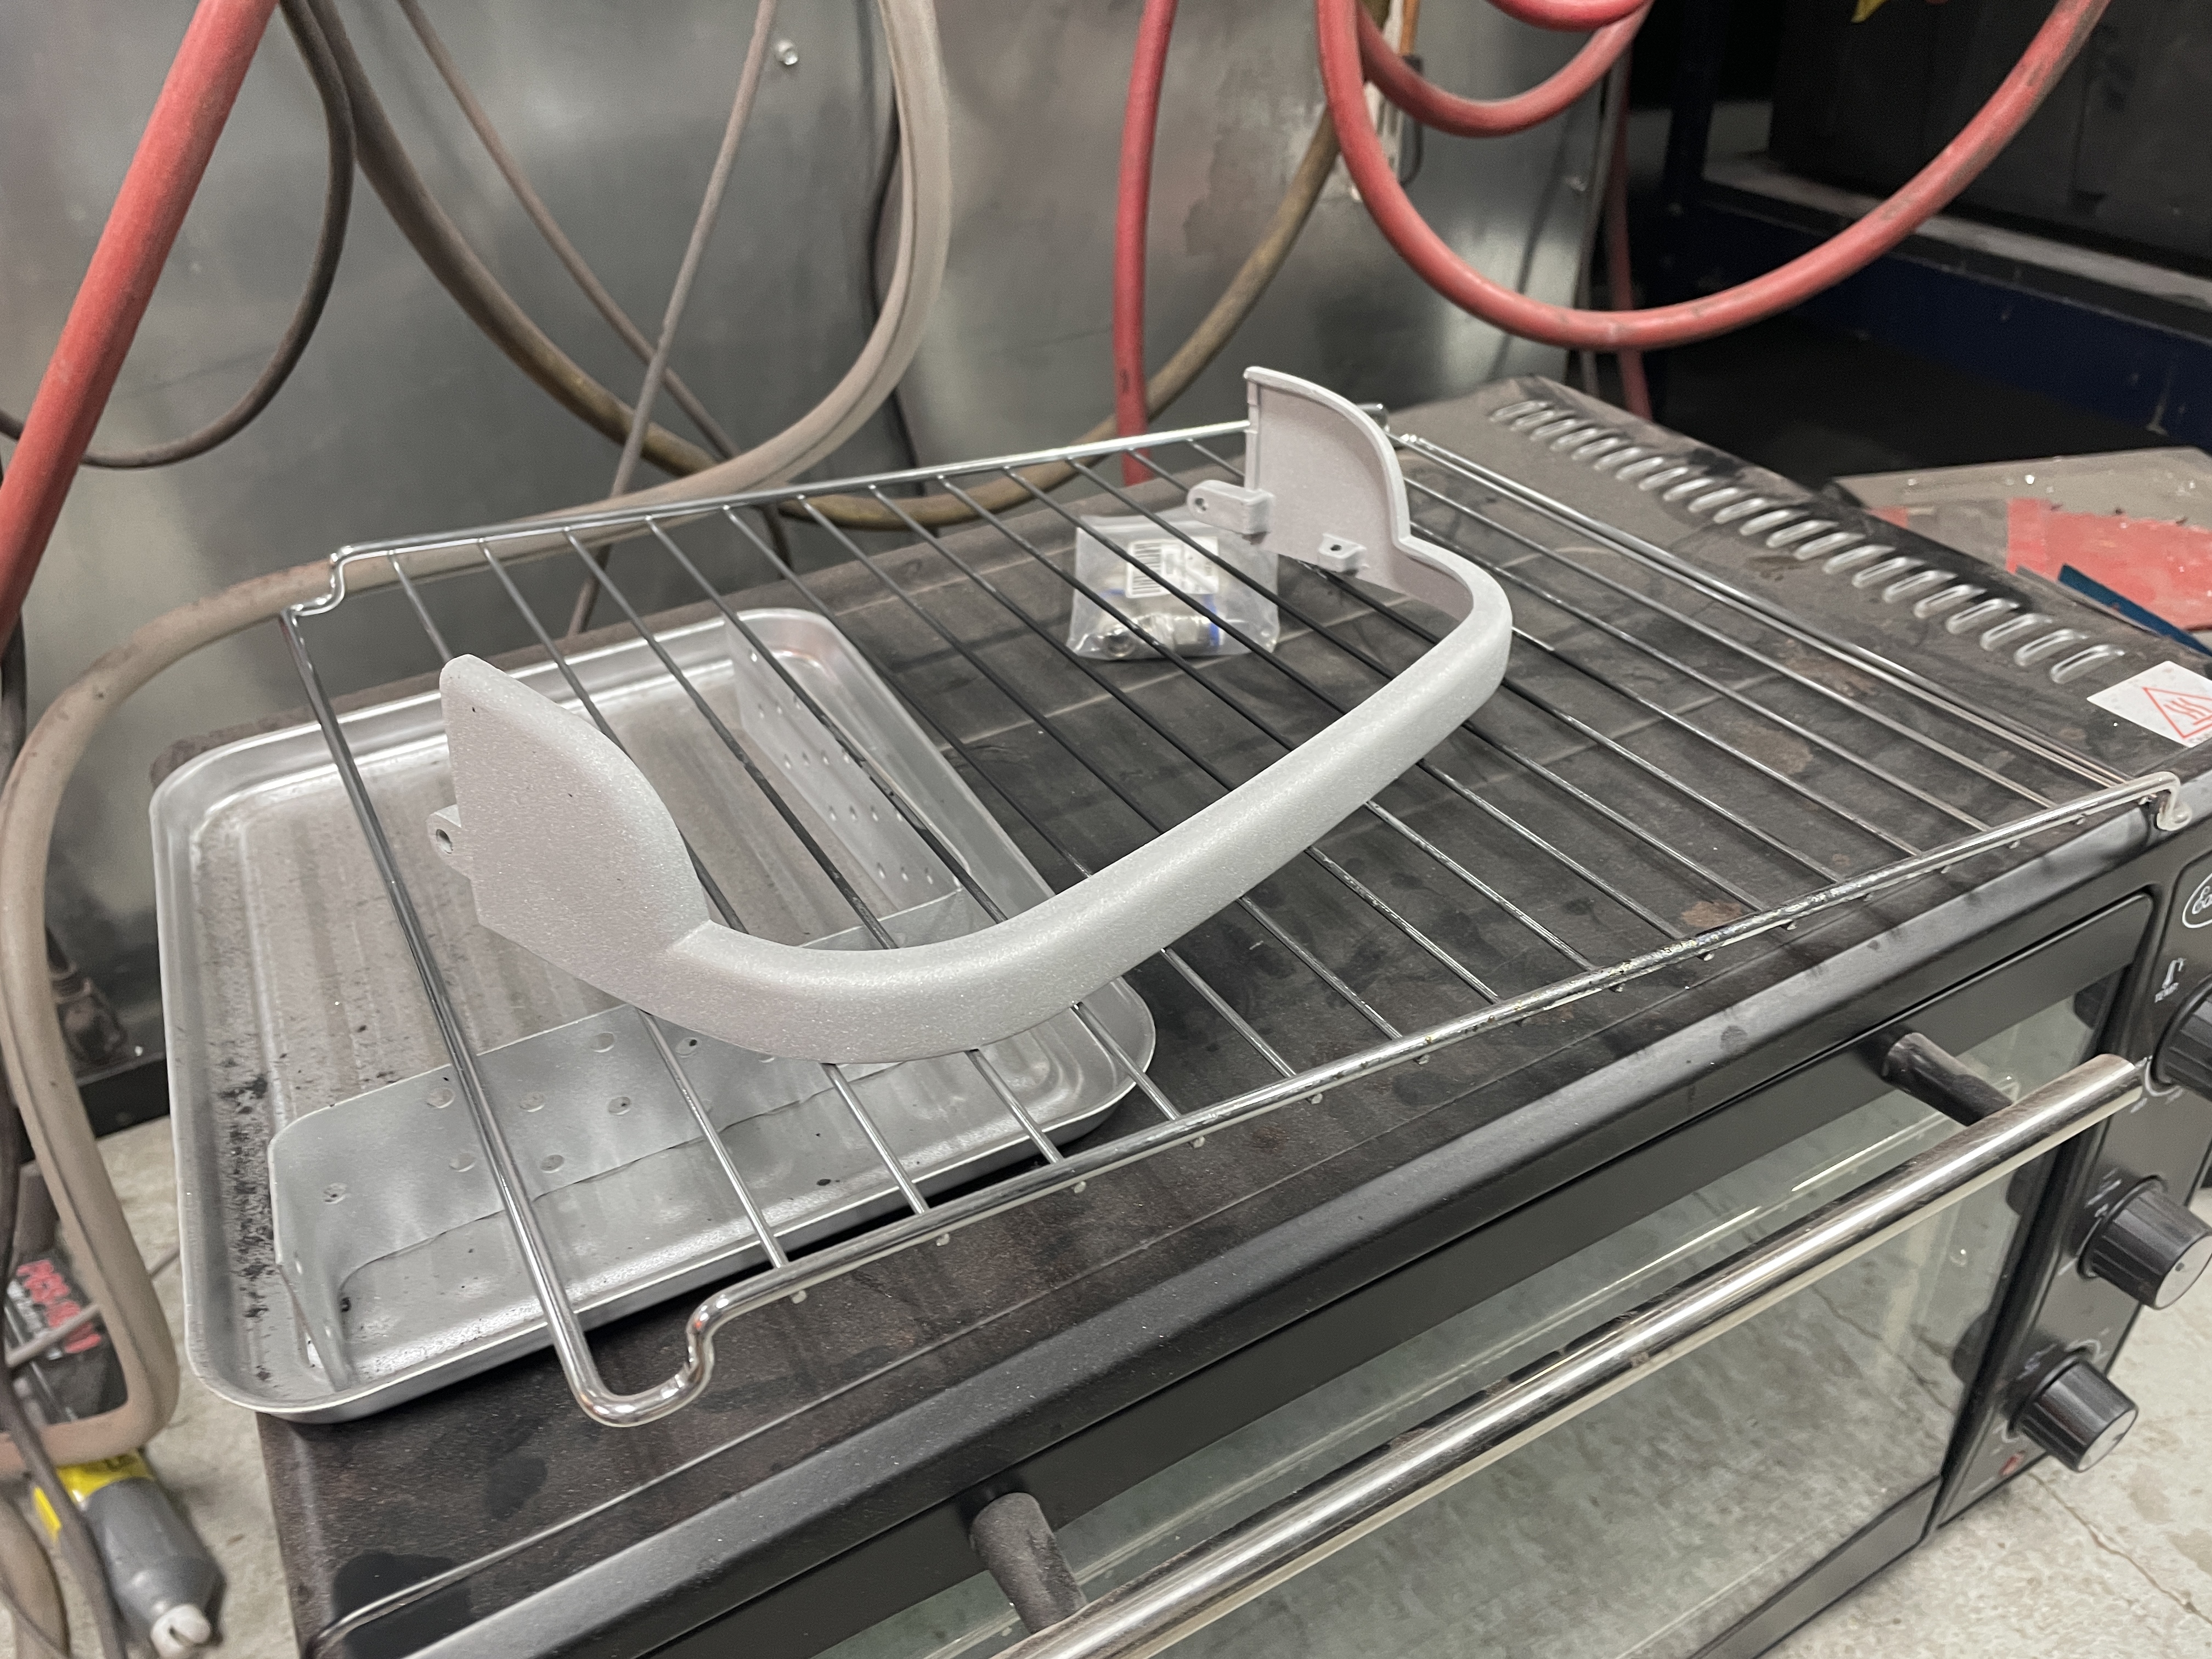
I very carefully hung it inside the toaster oven to cure. For this powder, the part must reach 400° and stay there for 20 minutes. I had an infrared thermometer to check the part’s temperature.
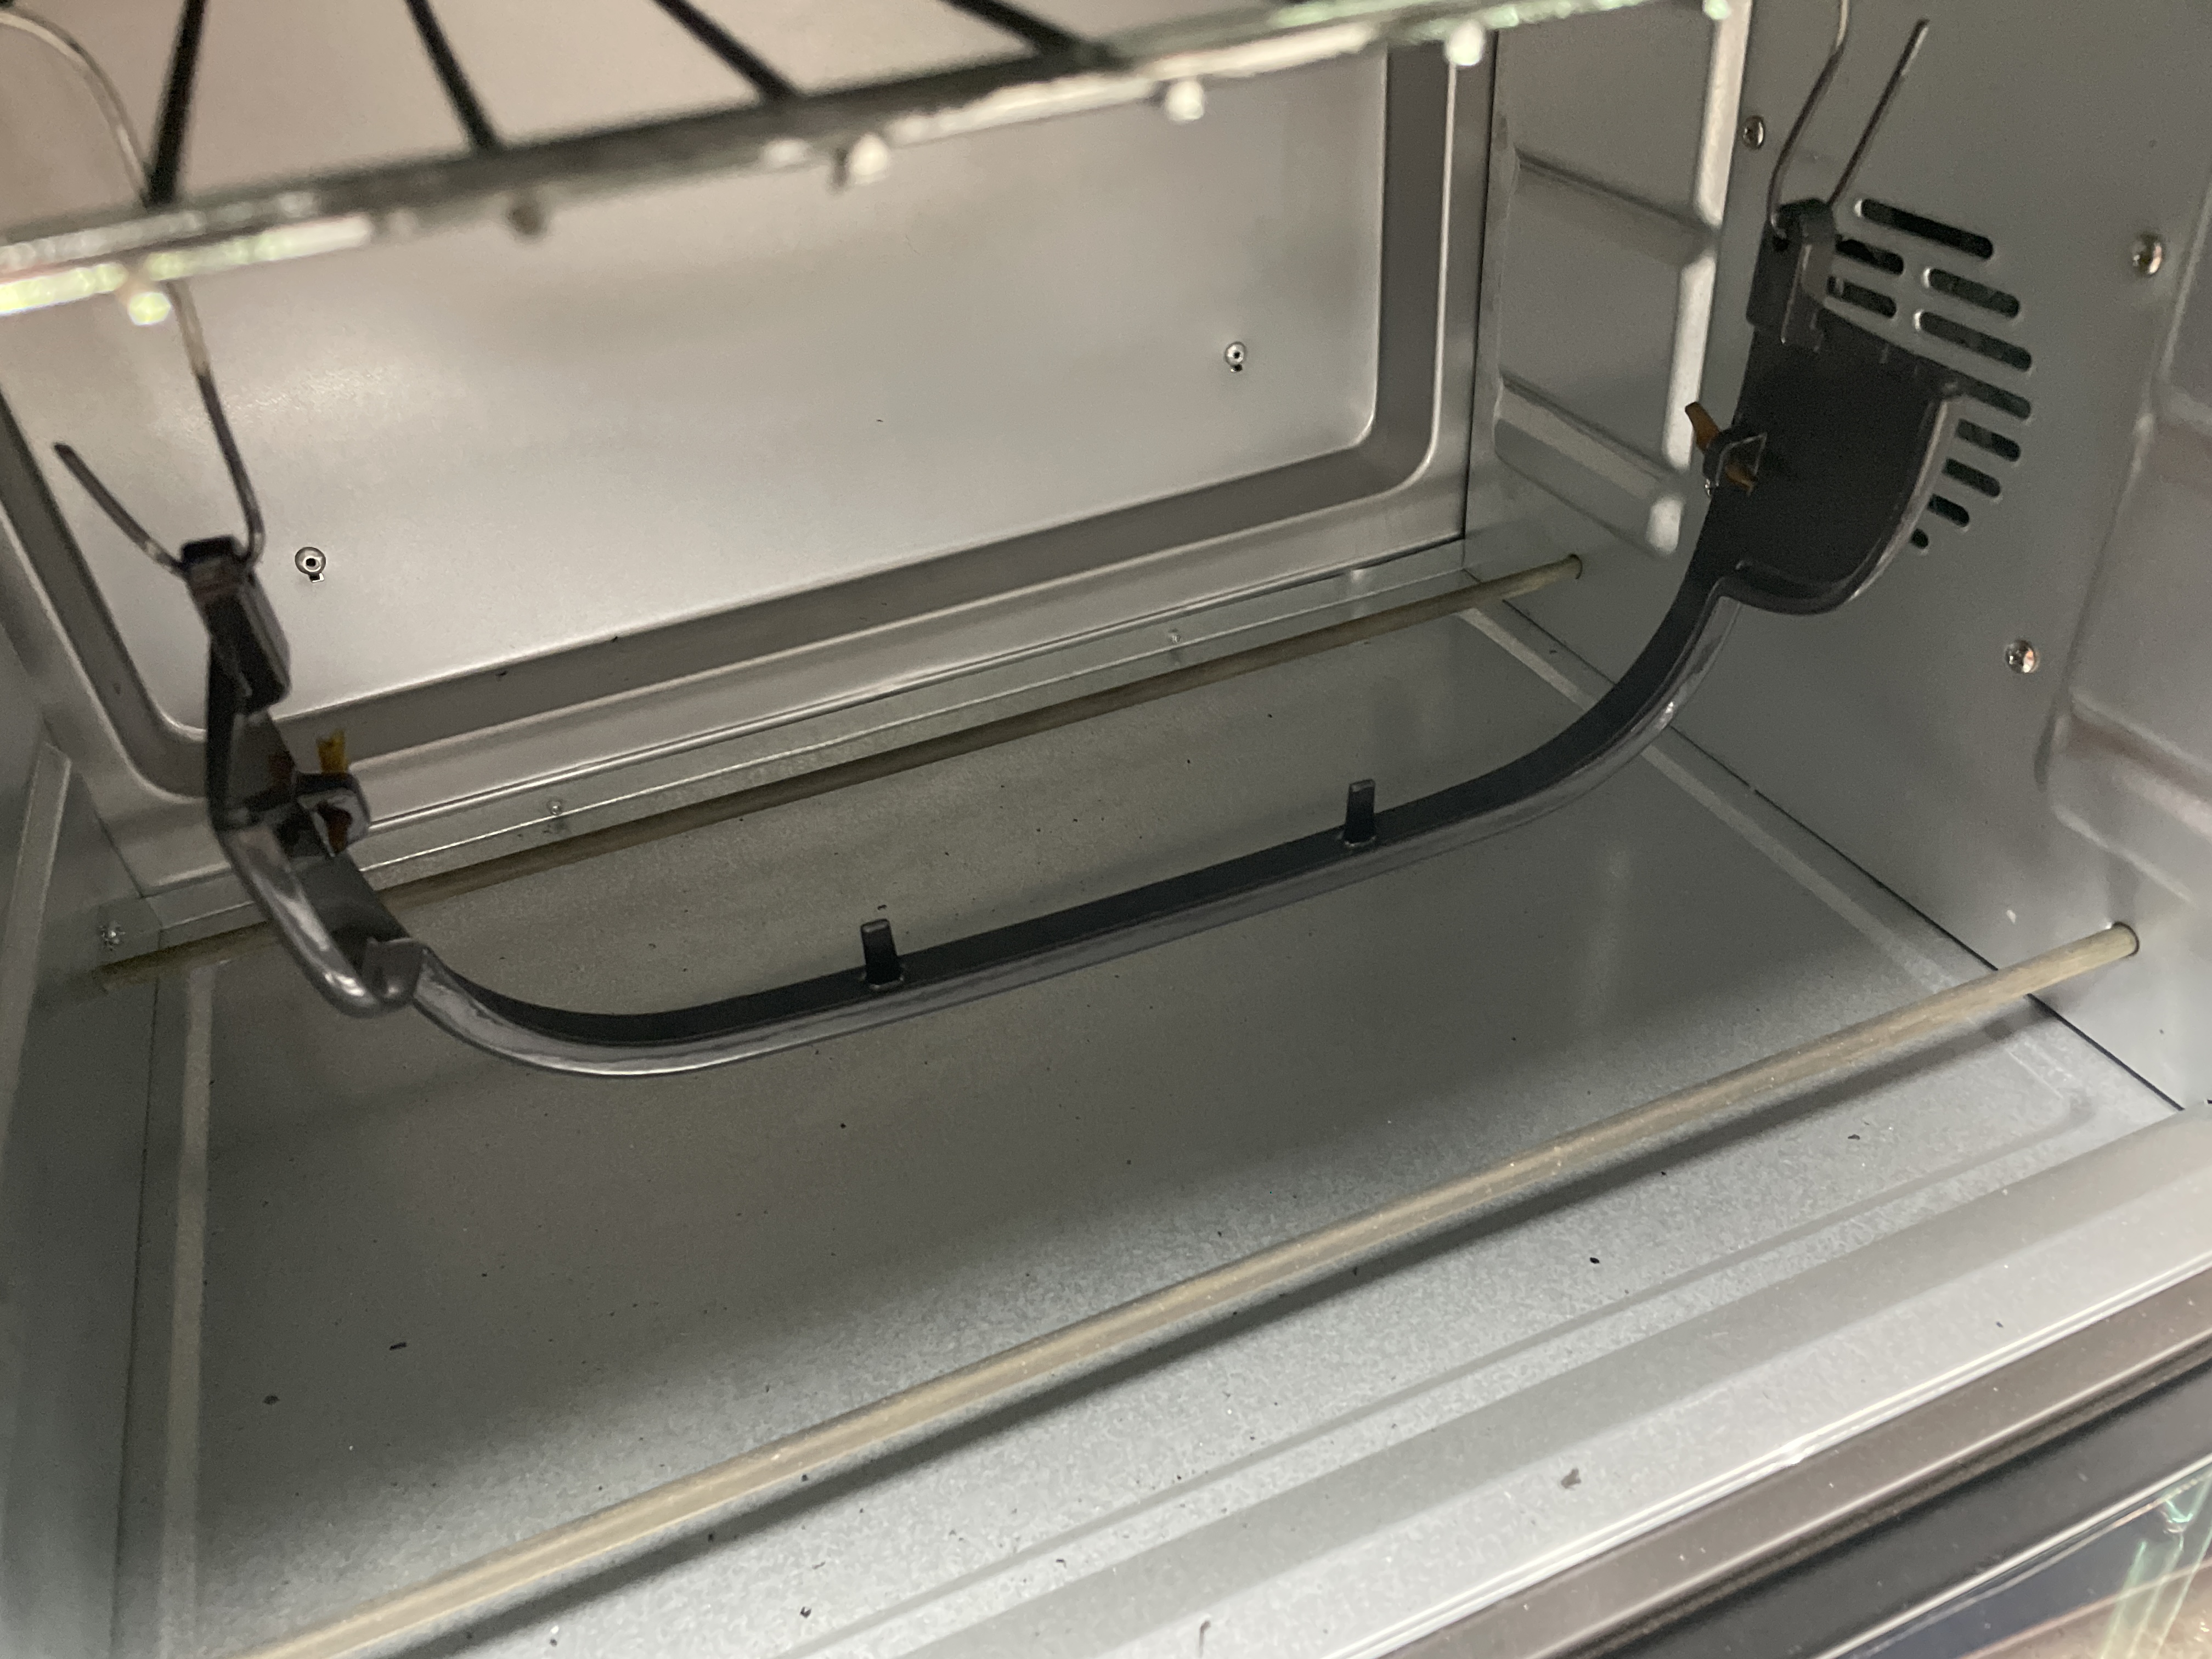
Typewriter part baking inside toaster oven after powder coating.
Once it finished baking, I let it cool. It turned out beautifully. It’s a perfectly smooth, hard surface.
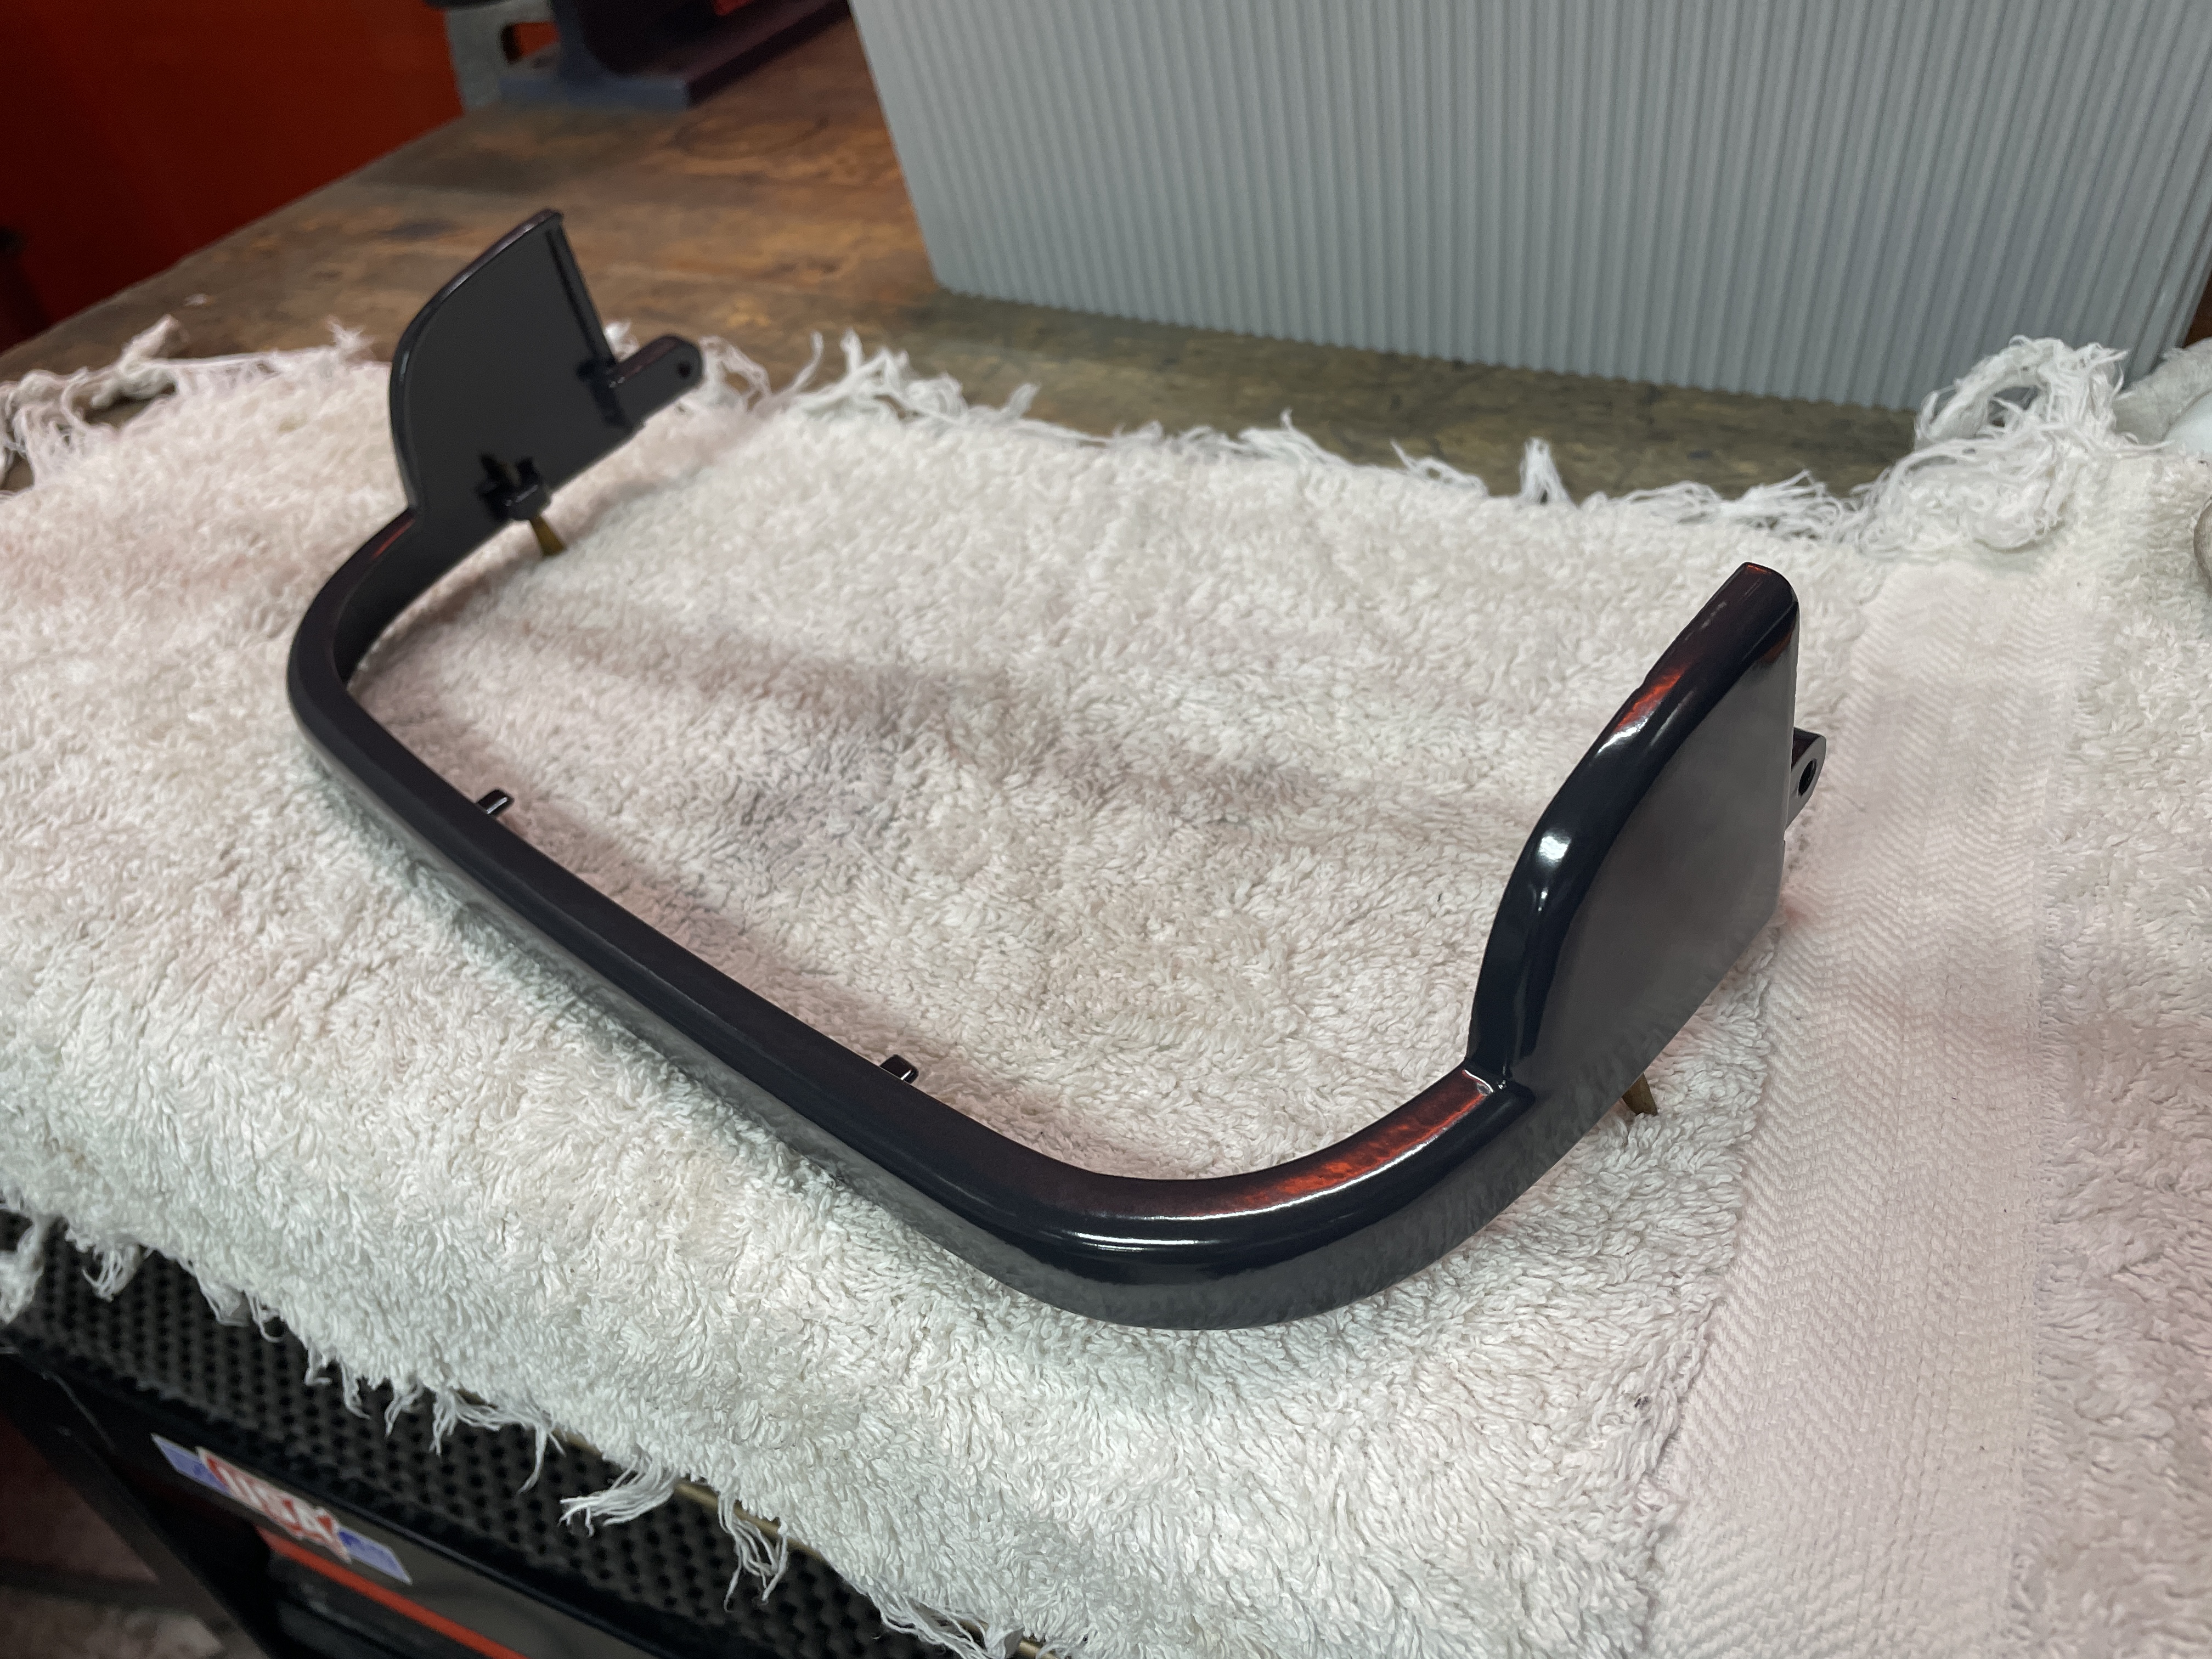
I’m very happy with the way this test piece turned out.
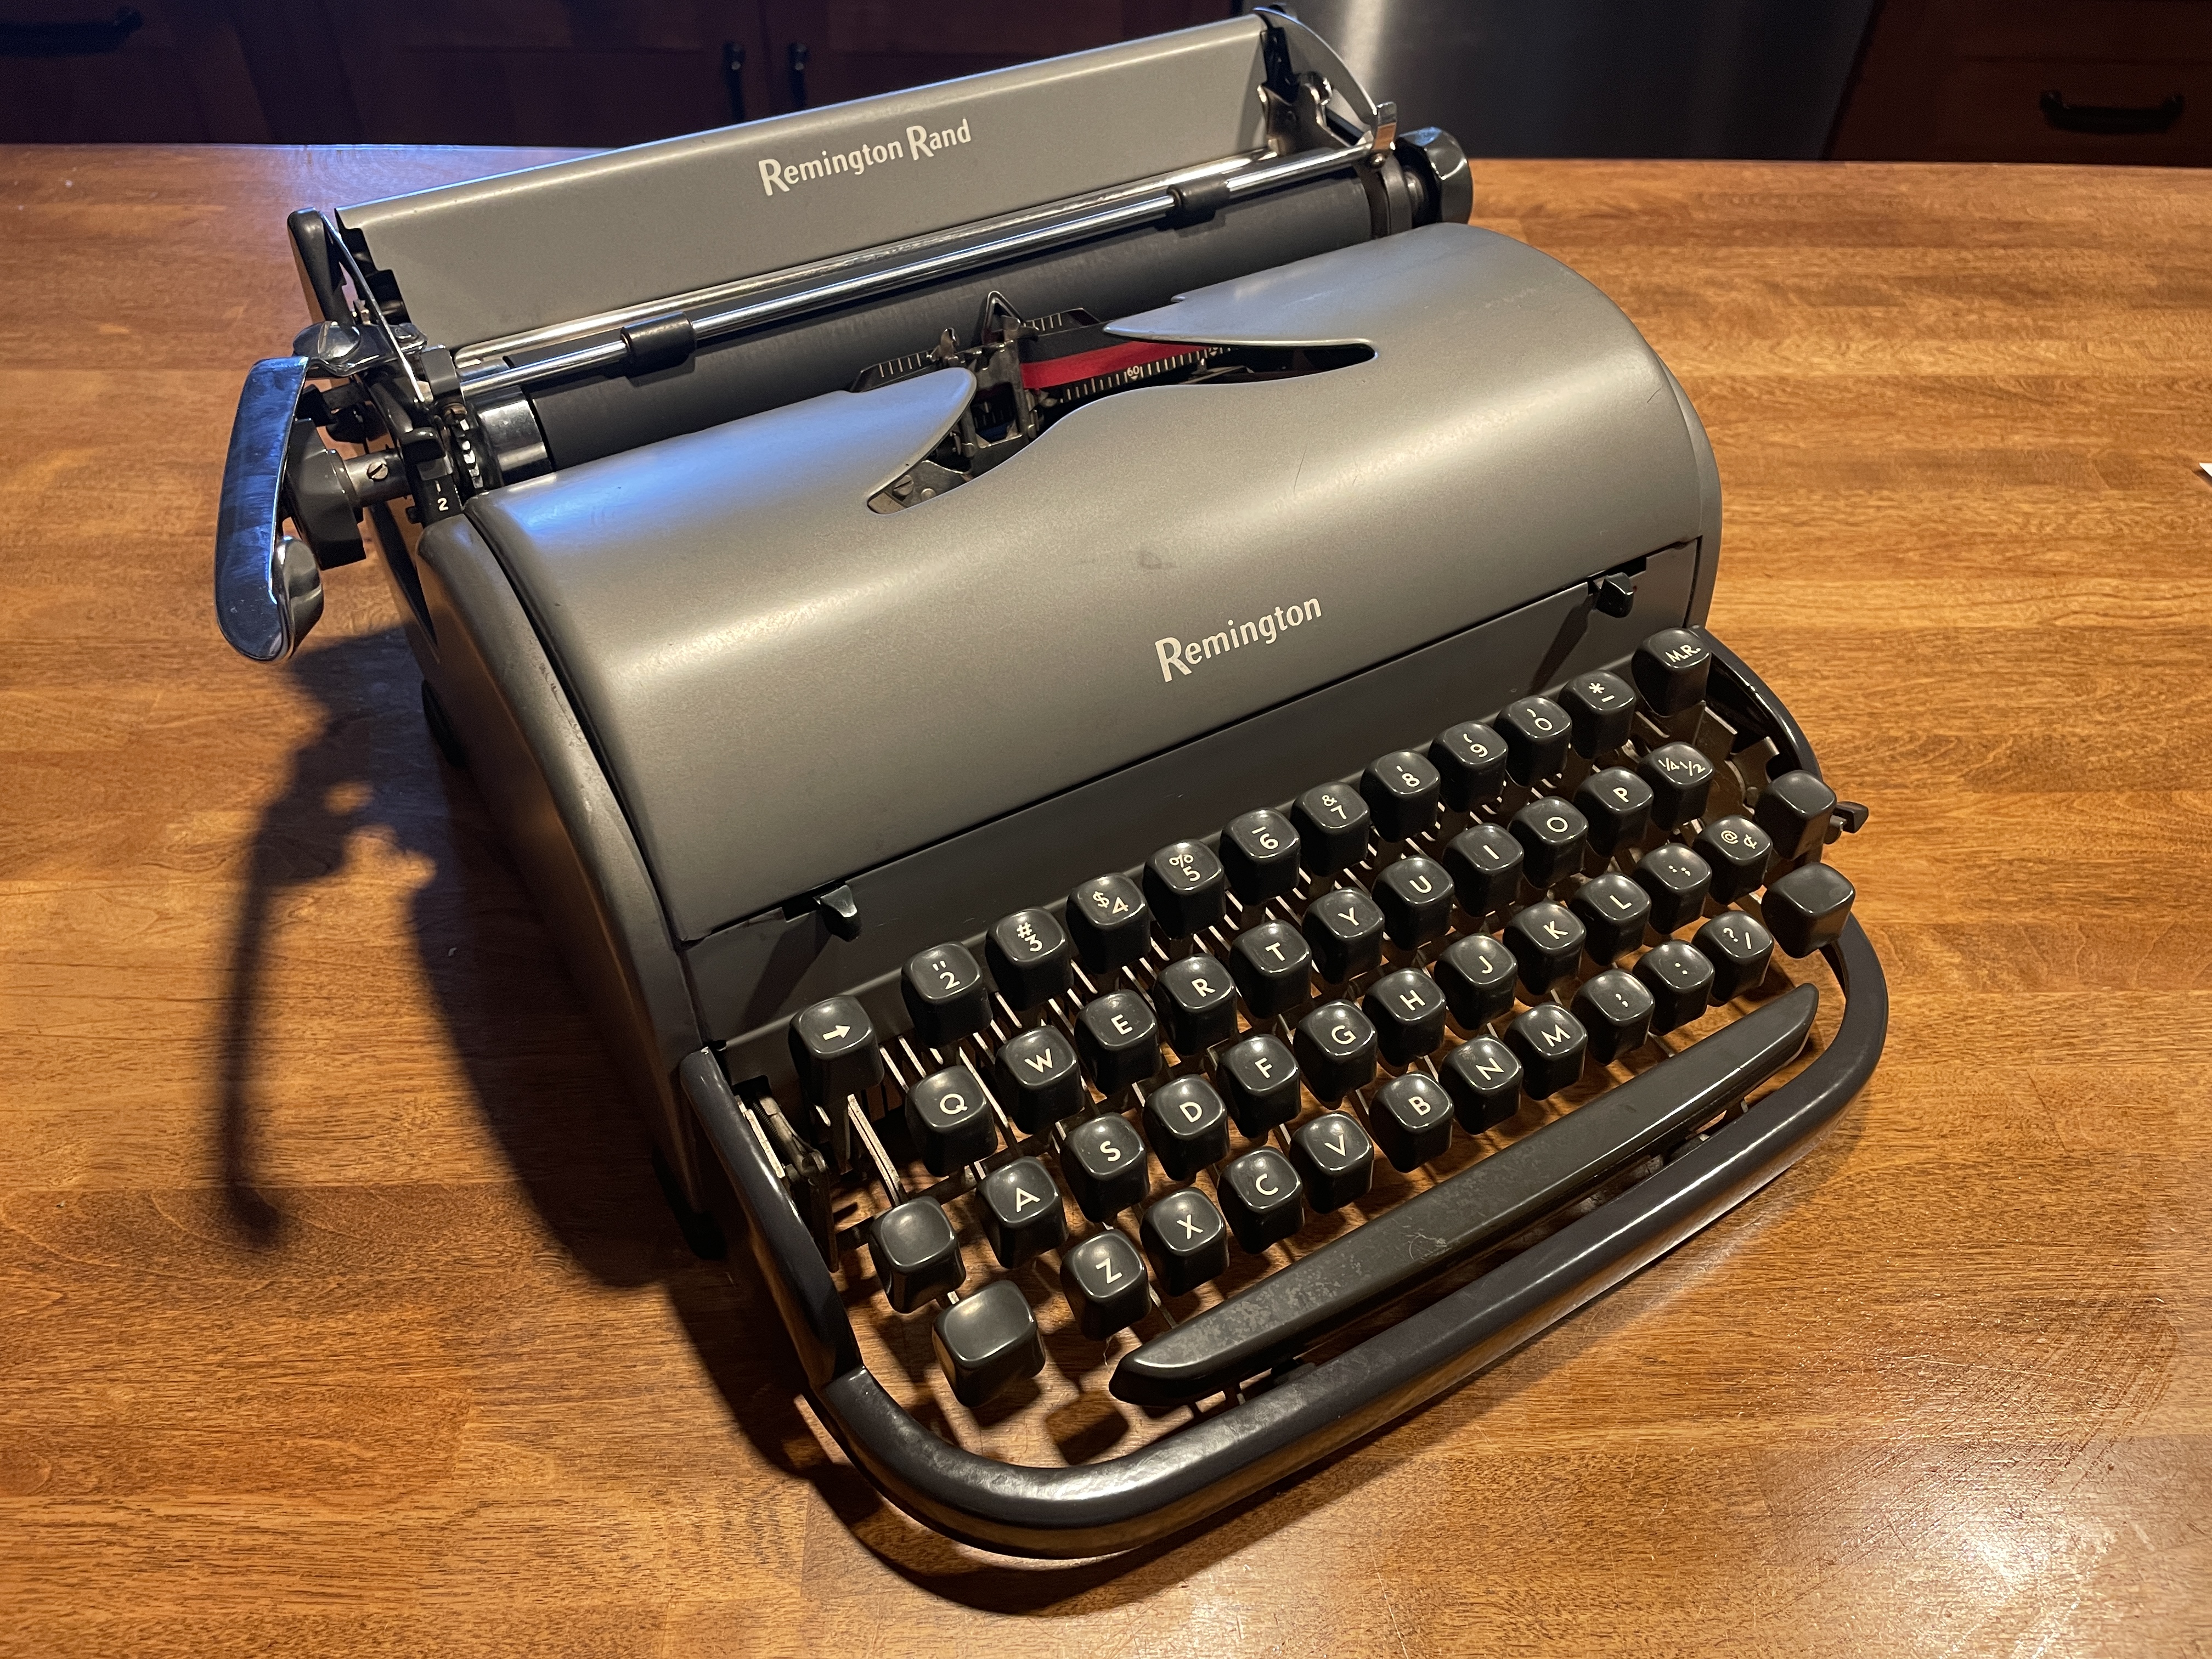
My greasy fingerprints are all over the chin piece 🙂
Two local enthusiasts, Monica and Stephen, hosted a public type-in at a library in Alexandria in September that was extremely well-attended. 158 people drifted through, and our little repair group gave away several typewriters to young people. The beautiful All-New found a home with a young man who couldn’t get enough of it. Fare-thee-well, little All-New!
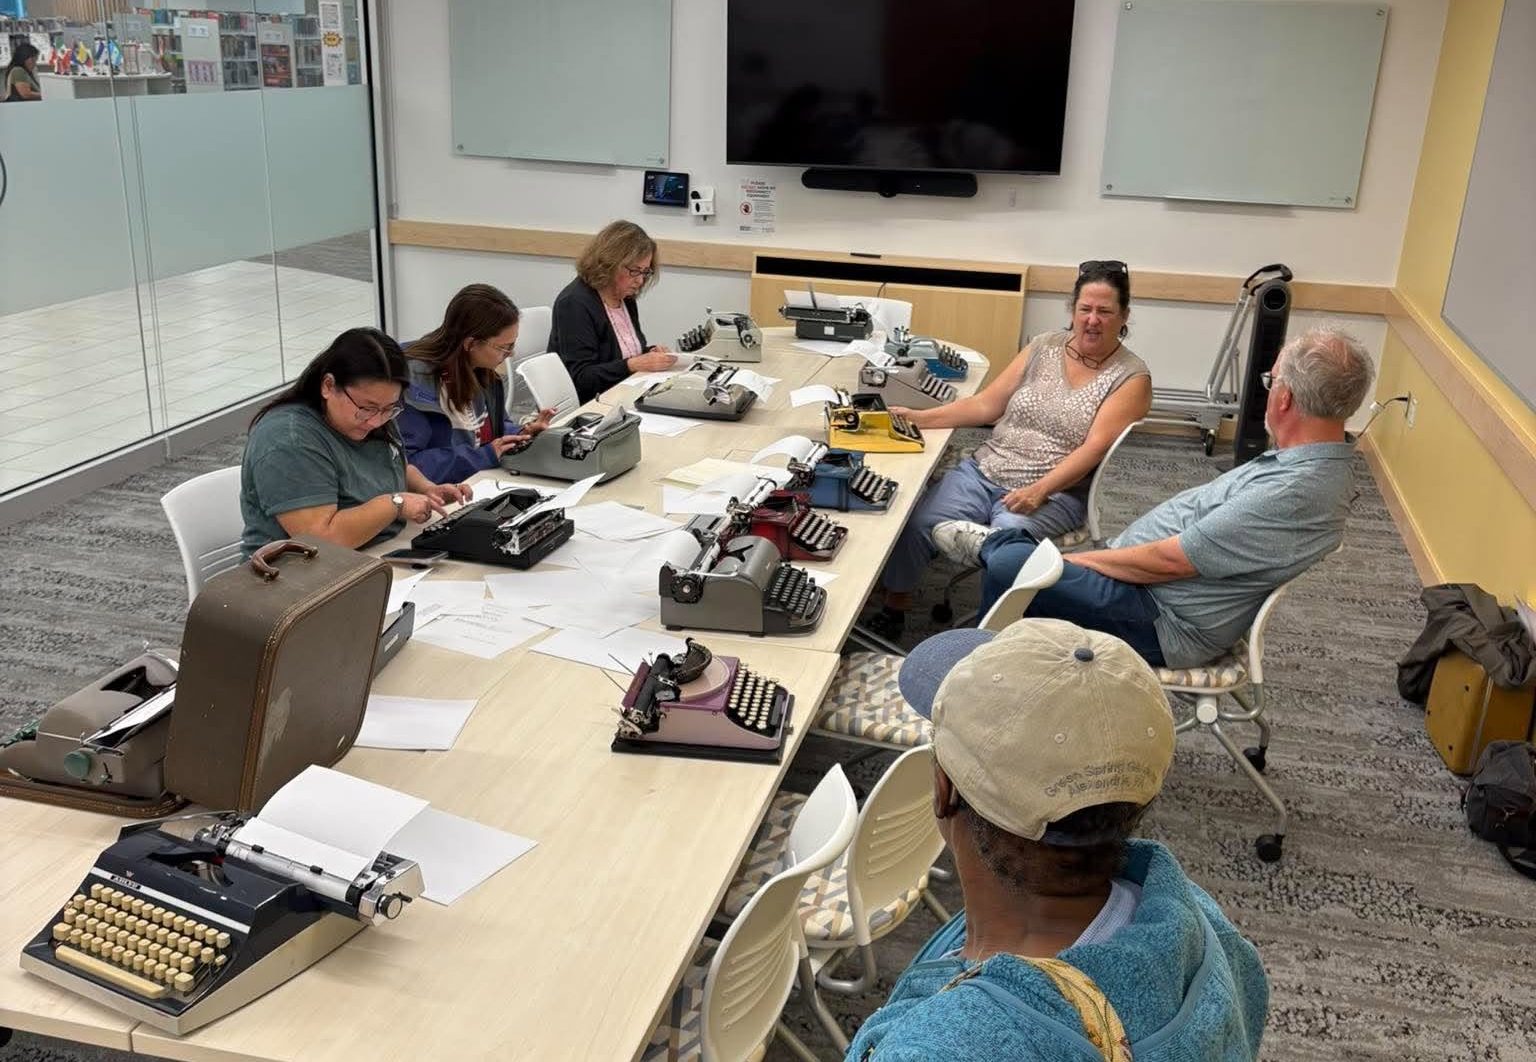
The next weekend, I had a small group of repair hobbyists over to the garage to do tinkering on project machines. This included a Nova Labs member I ran into at the Alexandria type-in. Small world! The vibe was happy and relaxed.
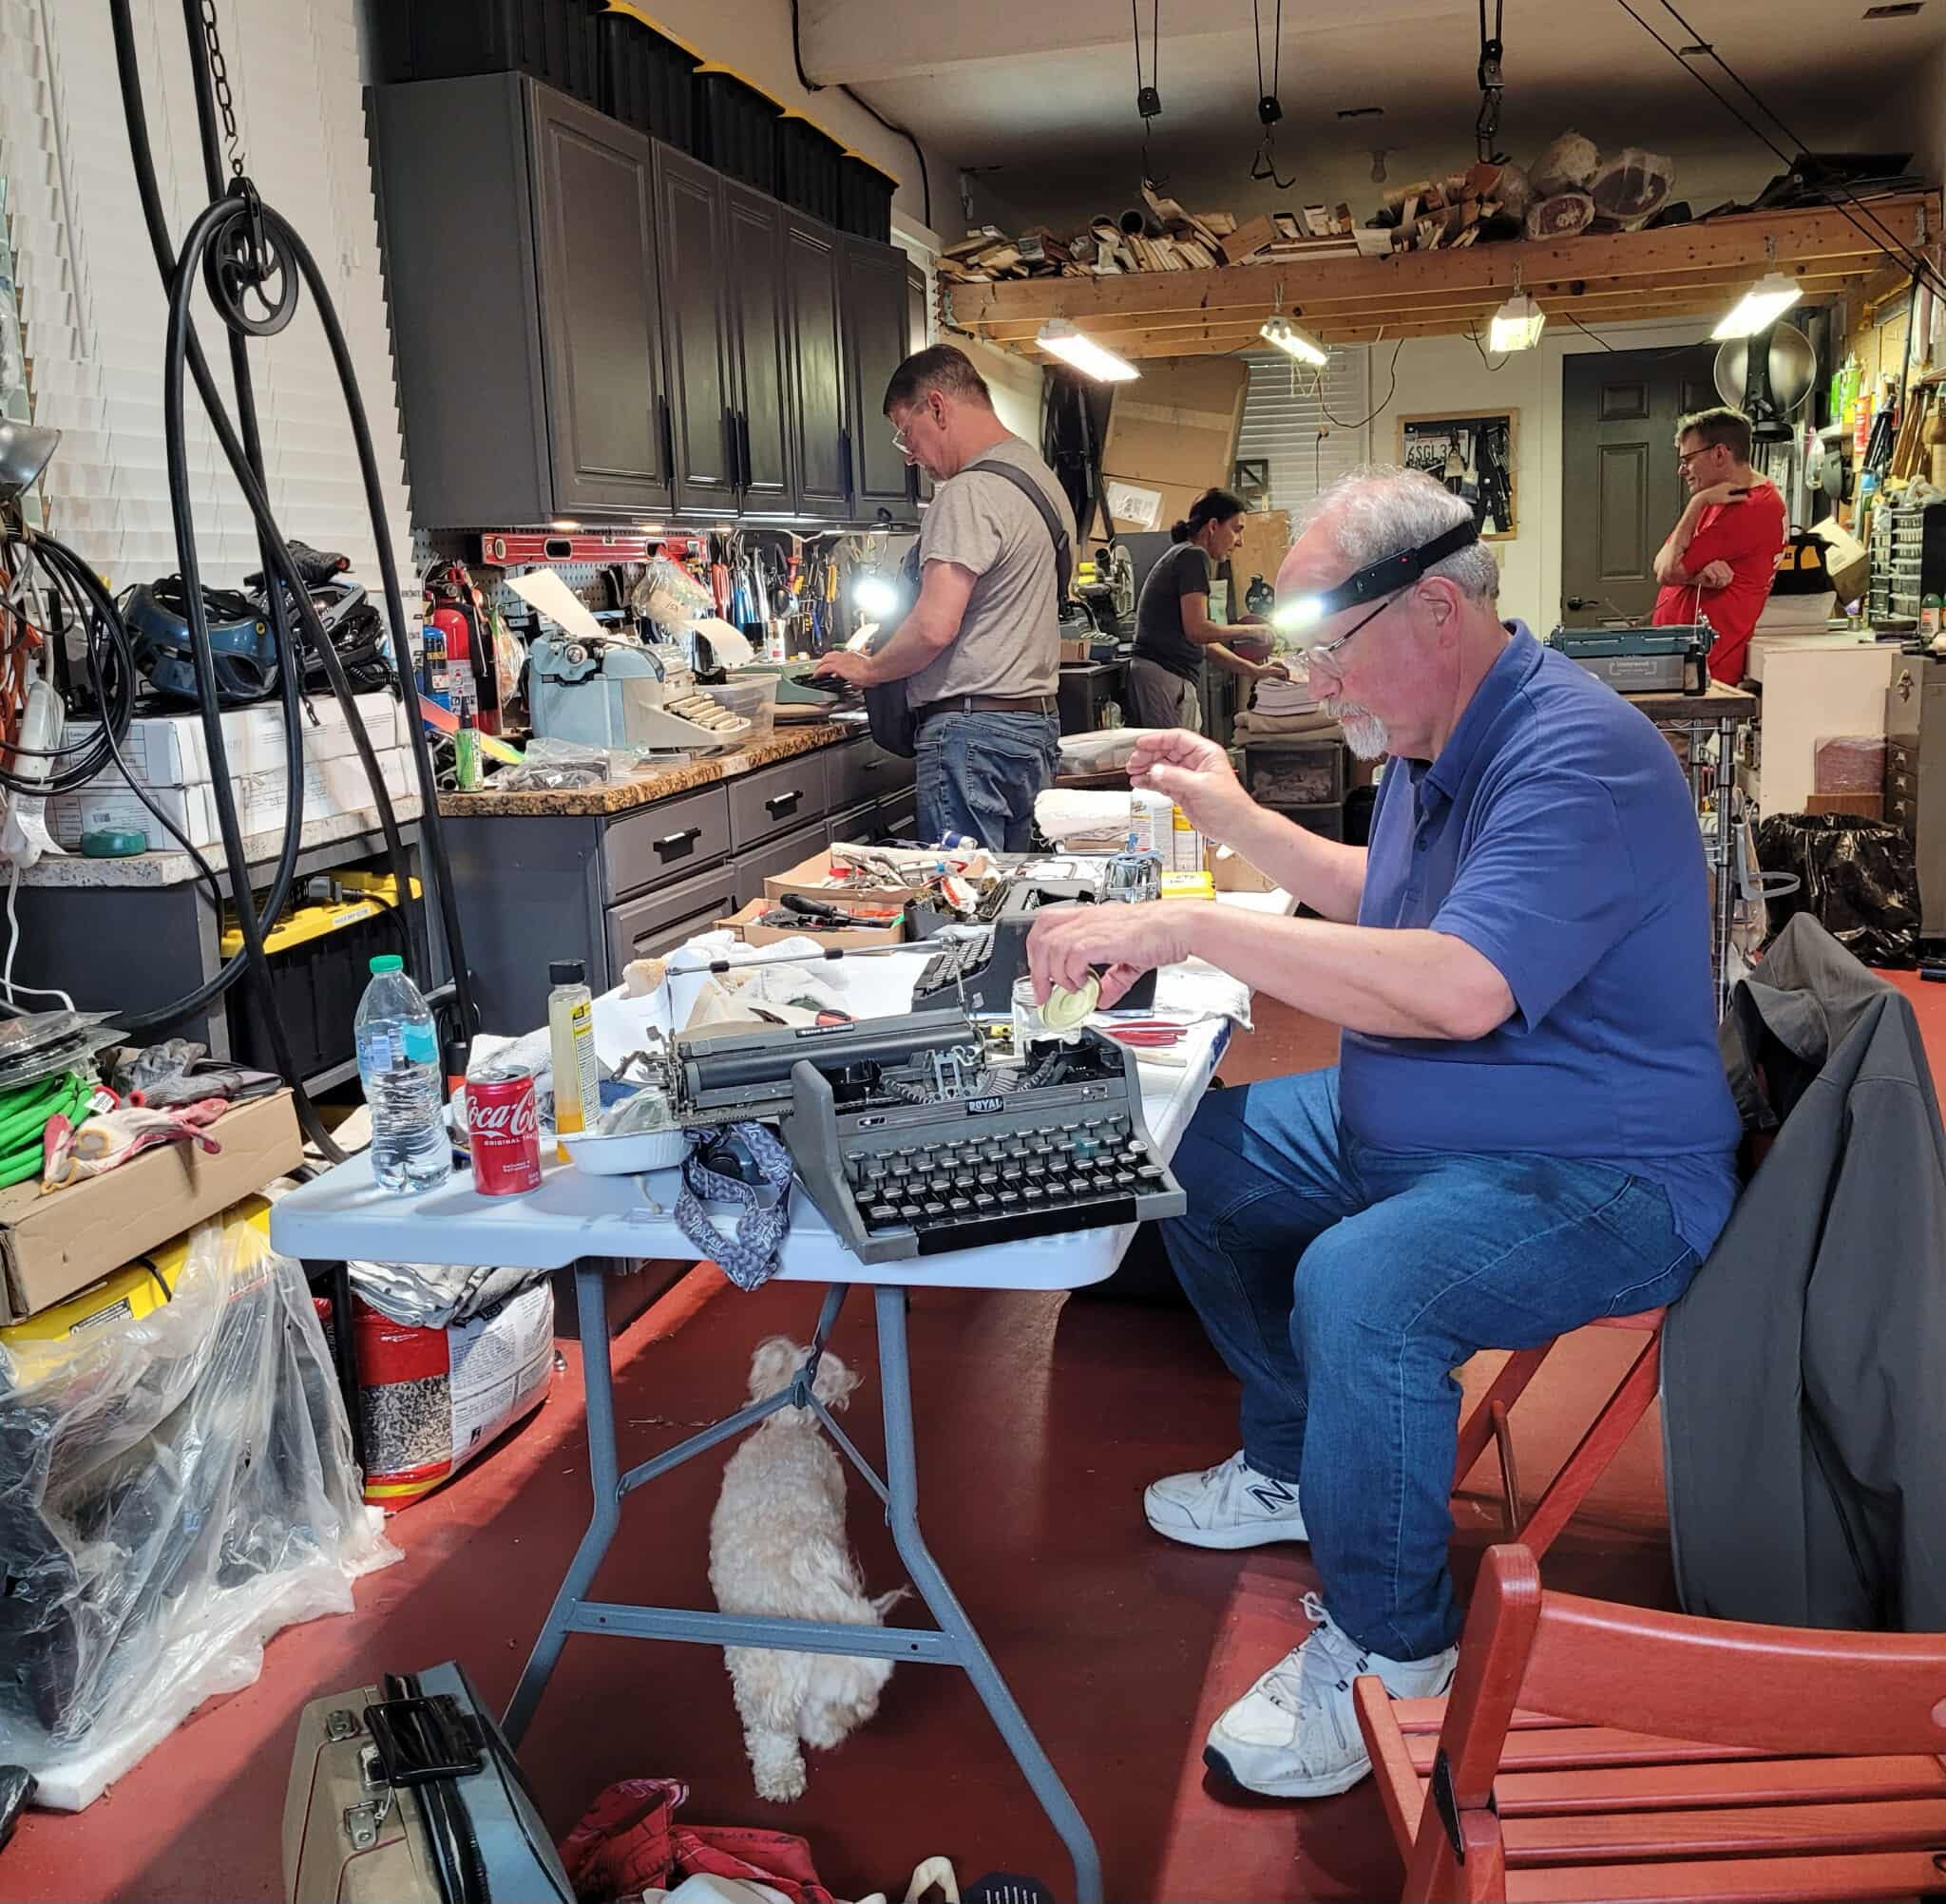
Monica had brought a cute little QDL which she had named “Mae Jemison” after the NASA astronaut. It had sticky keys and a nonfunctional space bar. We quickly sorted that out. It turns out the space bar stop was improperly installed.
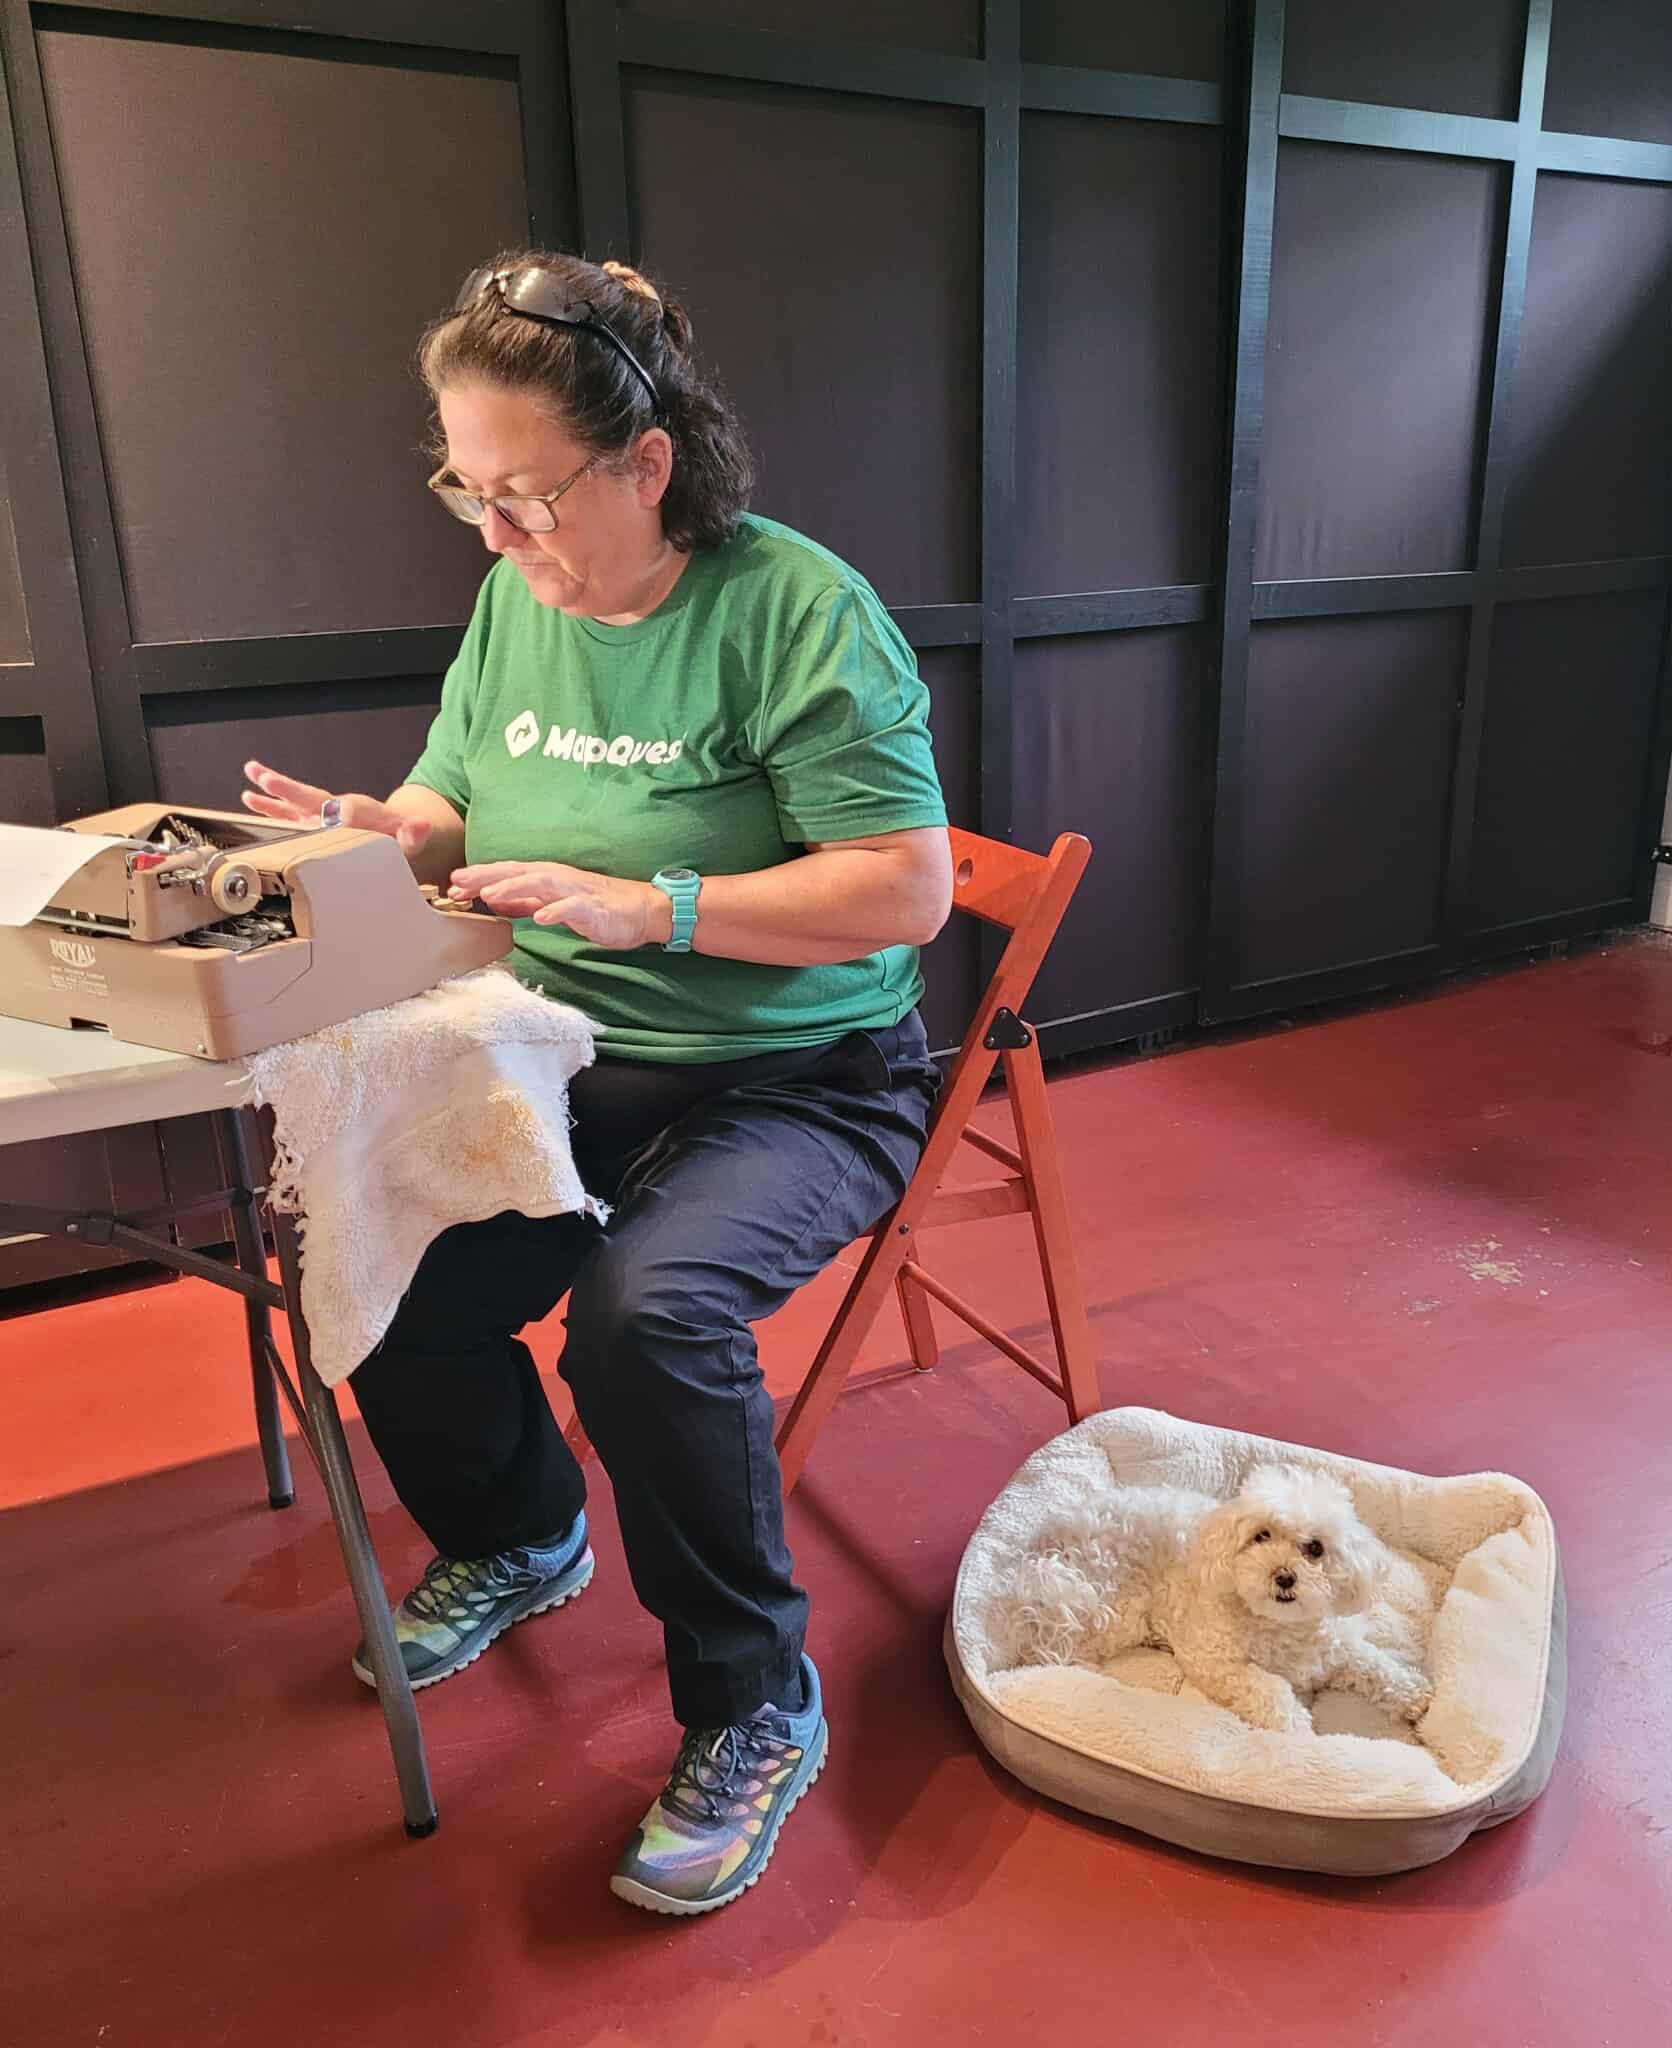
Hi Rikku!
Monica and her husband Stephen have been on the hunt for a pink typewriter for their little granddaughter. I suggested a powder coat re-paint of a typewriter already in their collection, and the more time we spent looking at this QDL, the more interesting it became as the possible candidate for powder coating.
If you feel typewriter re-paints are the grossest form of perversion, stop reading now and close your browser. I don’t want to make your blood pressure go up. However, if you’re curious, read on.
First up, before a re-paint, you’ll have to take off all the cover panels and remove the badges and other small metal pieces. Here’s Hot Rod Typewriter showing how it’s done with this model of QDL:
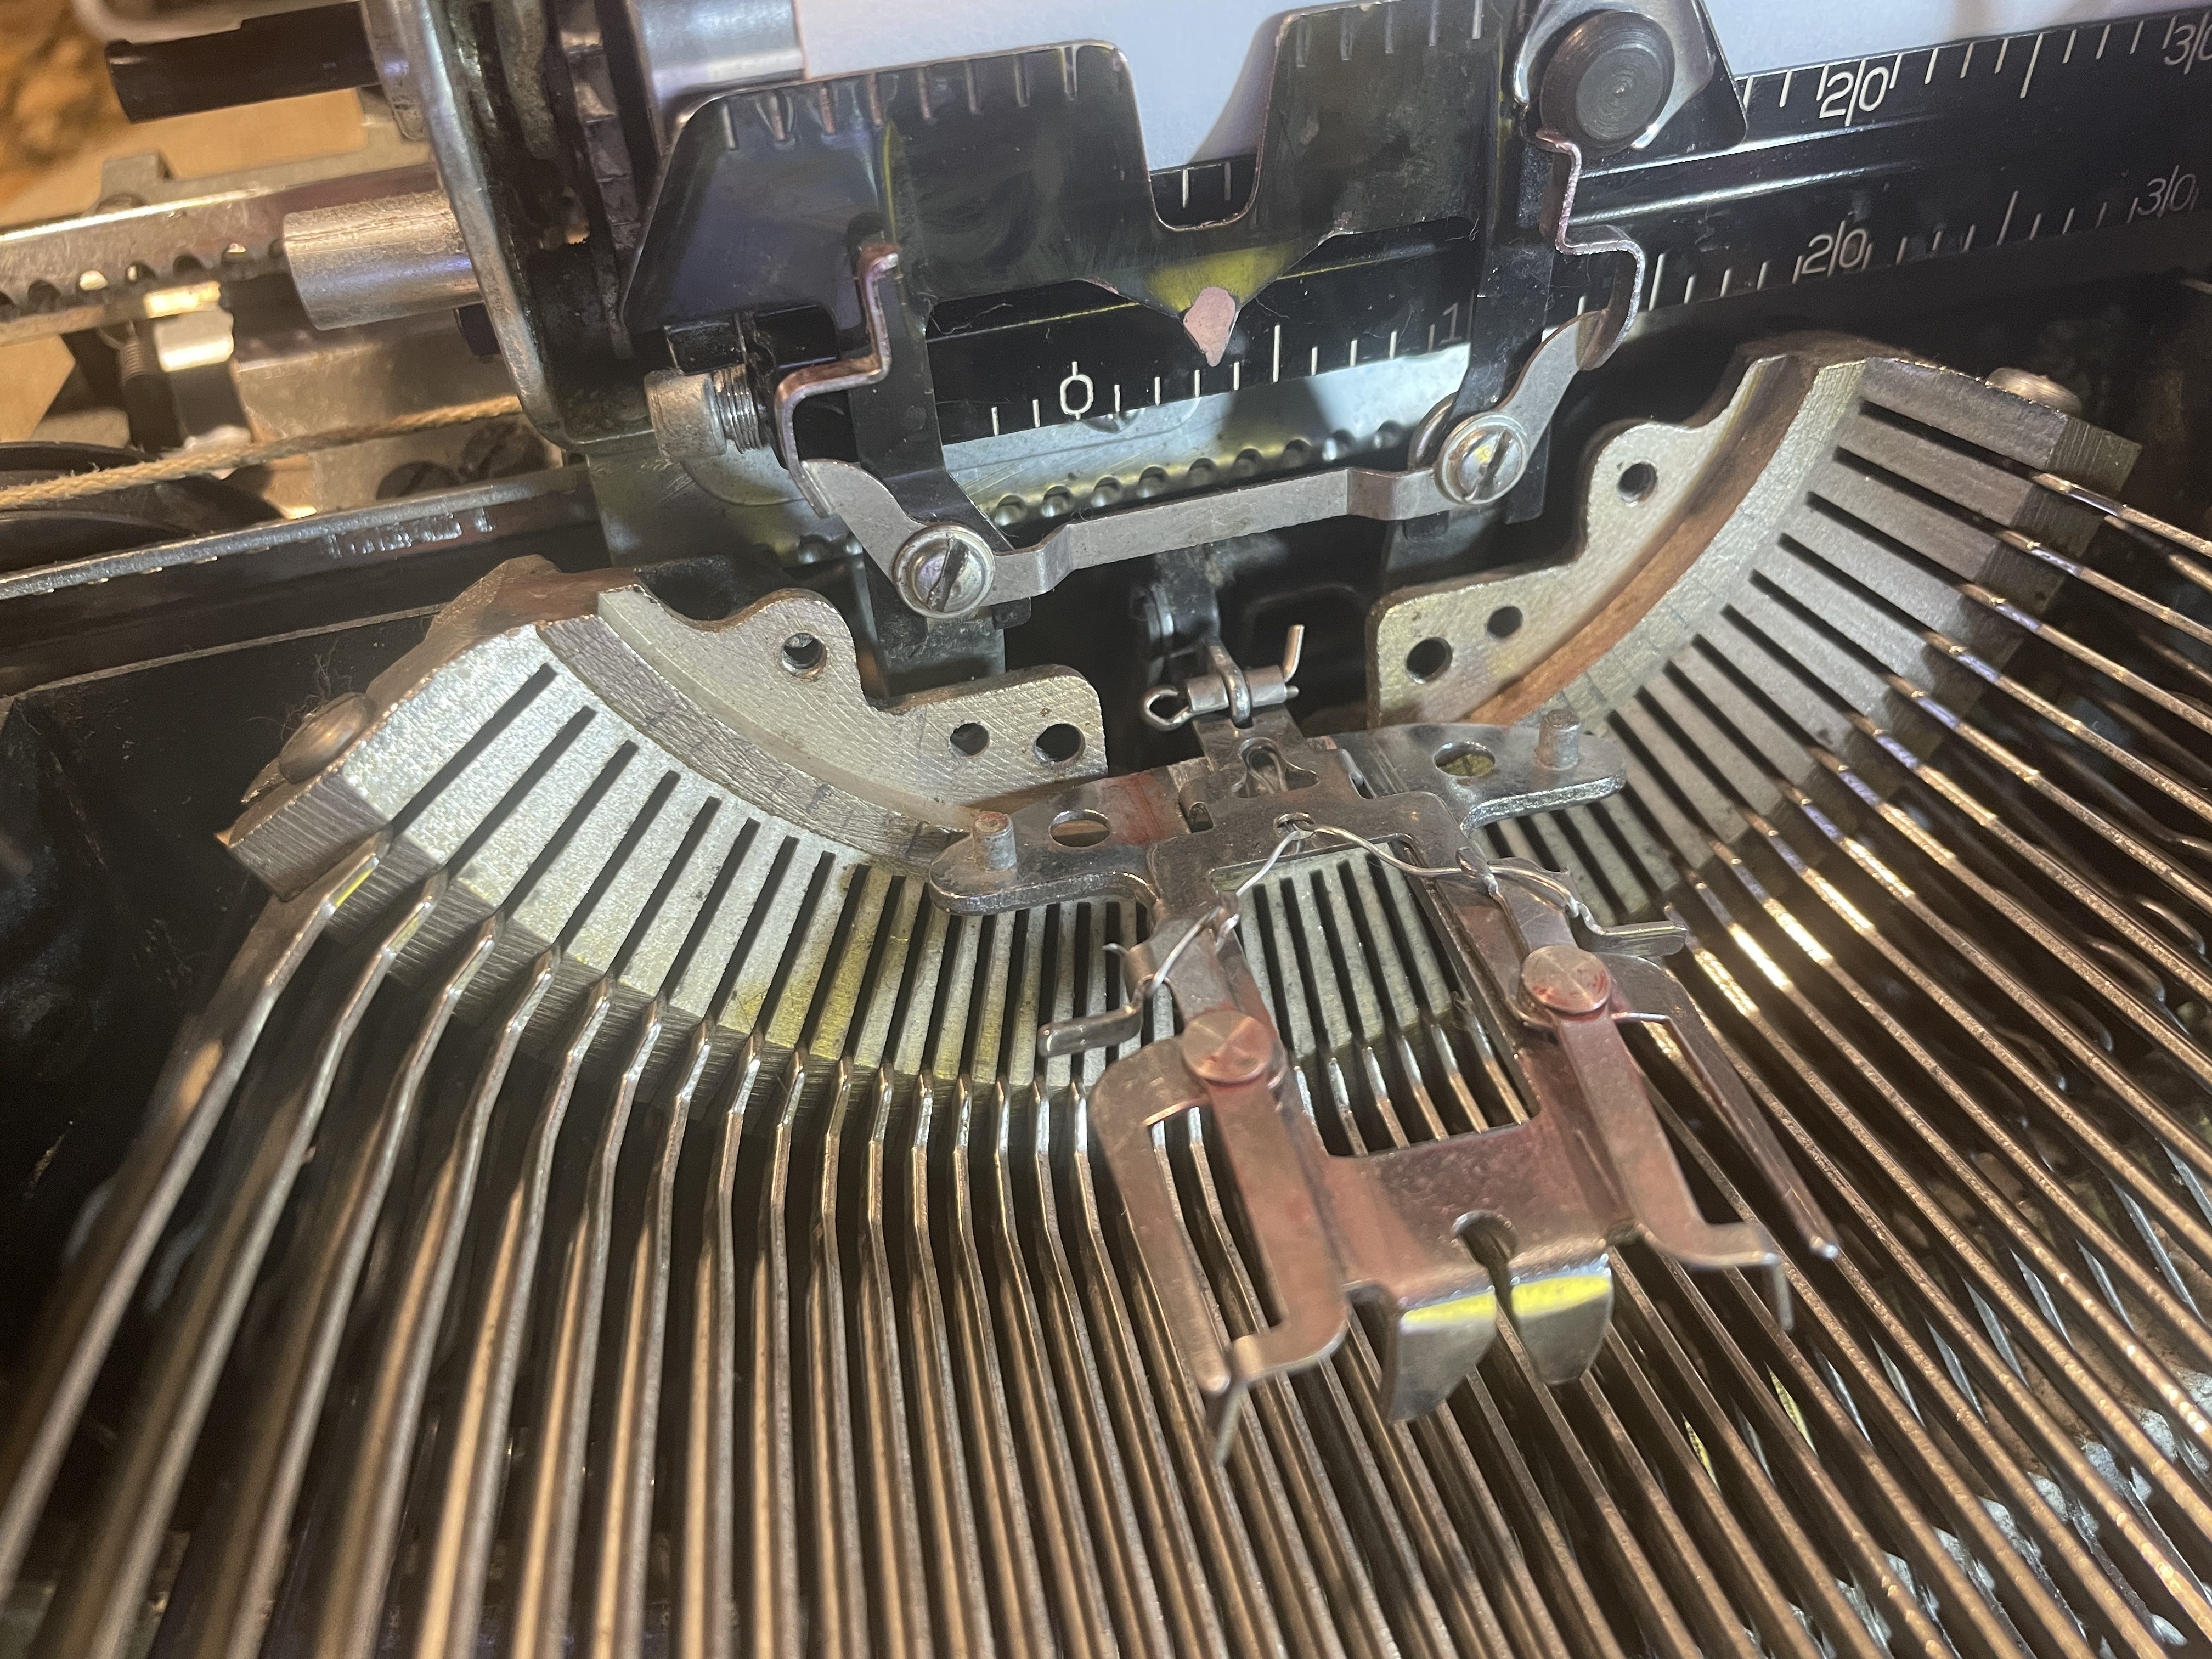
Once all the cover plates were off, I cleaned the machine mechanics thoroughly and tested all its functions. It was sweet and snappy. The only issue was that it was missing that cursed little Y-shaped spring in the ribbon vibrator. The little arms of the ribbon vibrator flopped around and wouldn’t hold a ribbon. I’ve dealt with the missing spring on a Royal portable before. Because of the wonky anchoring set up, those Y-shaped springs fall out frequently.
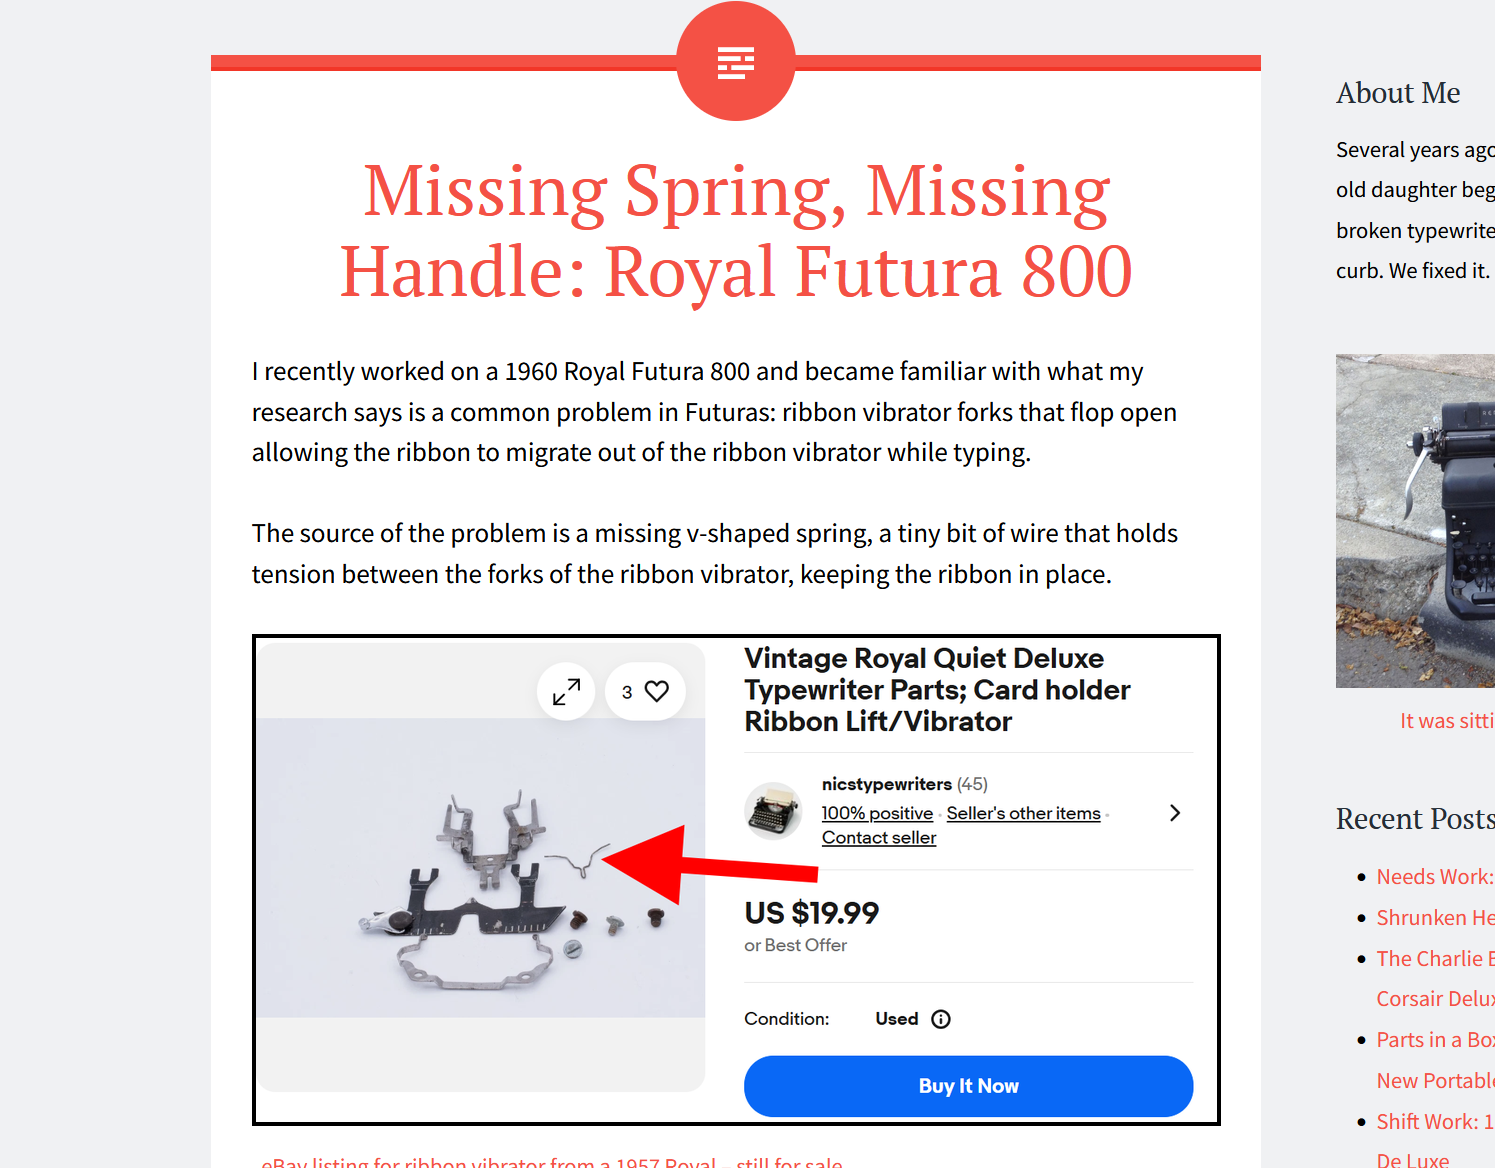
You can insert a small spring between the ribbon vibrator arms like Duane does here, but I opted for a hillbilly kludge with some thin florist wire.
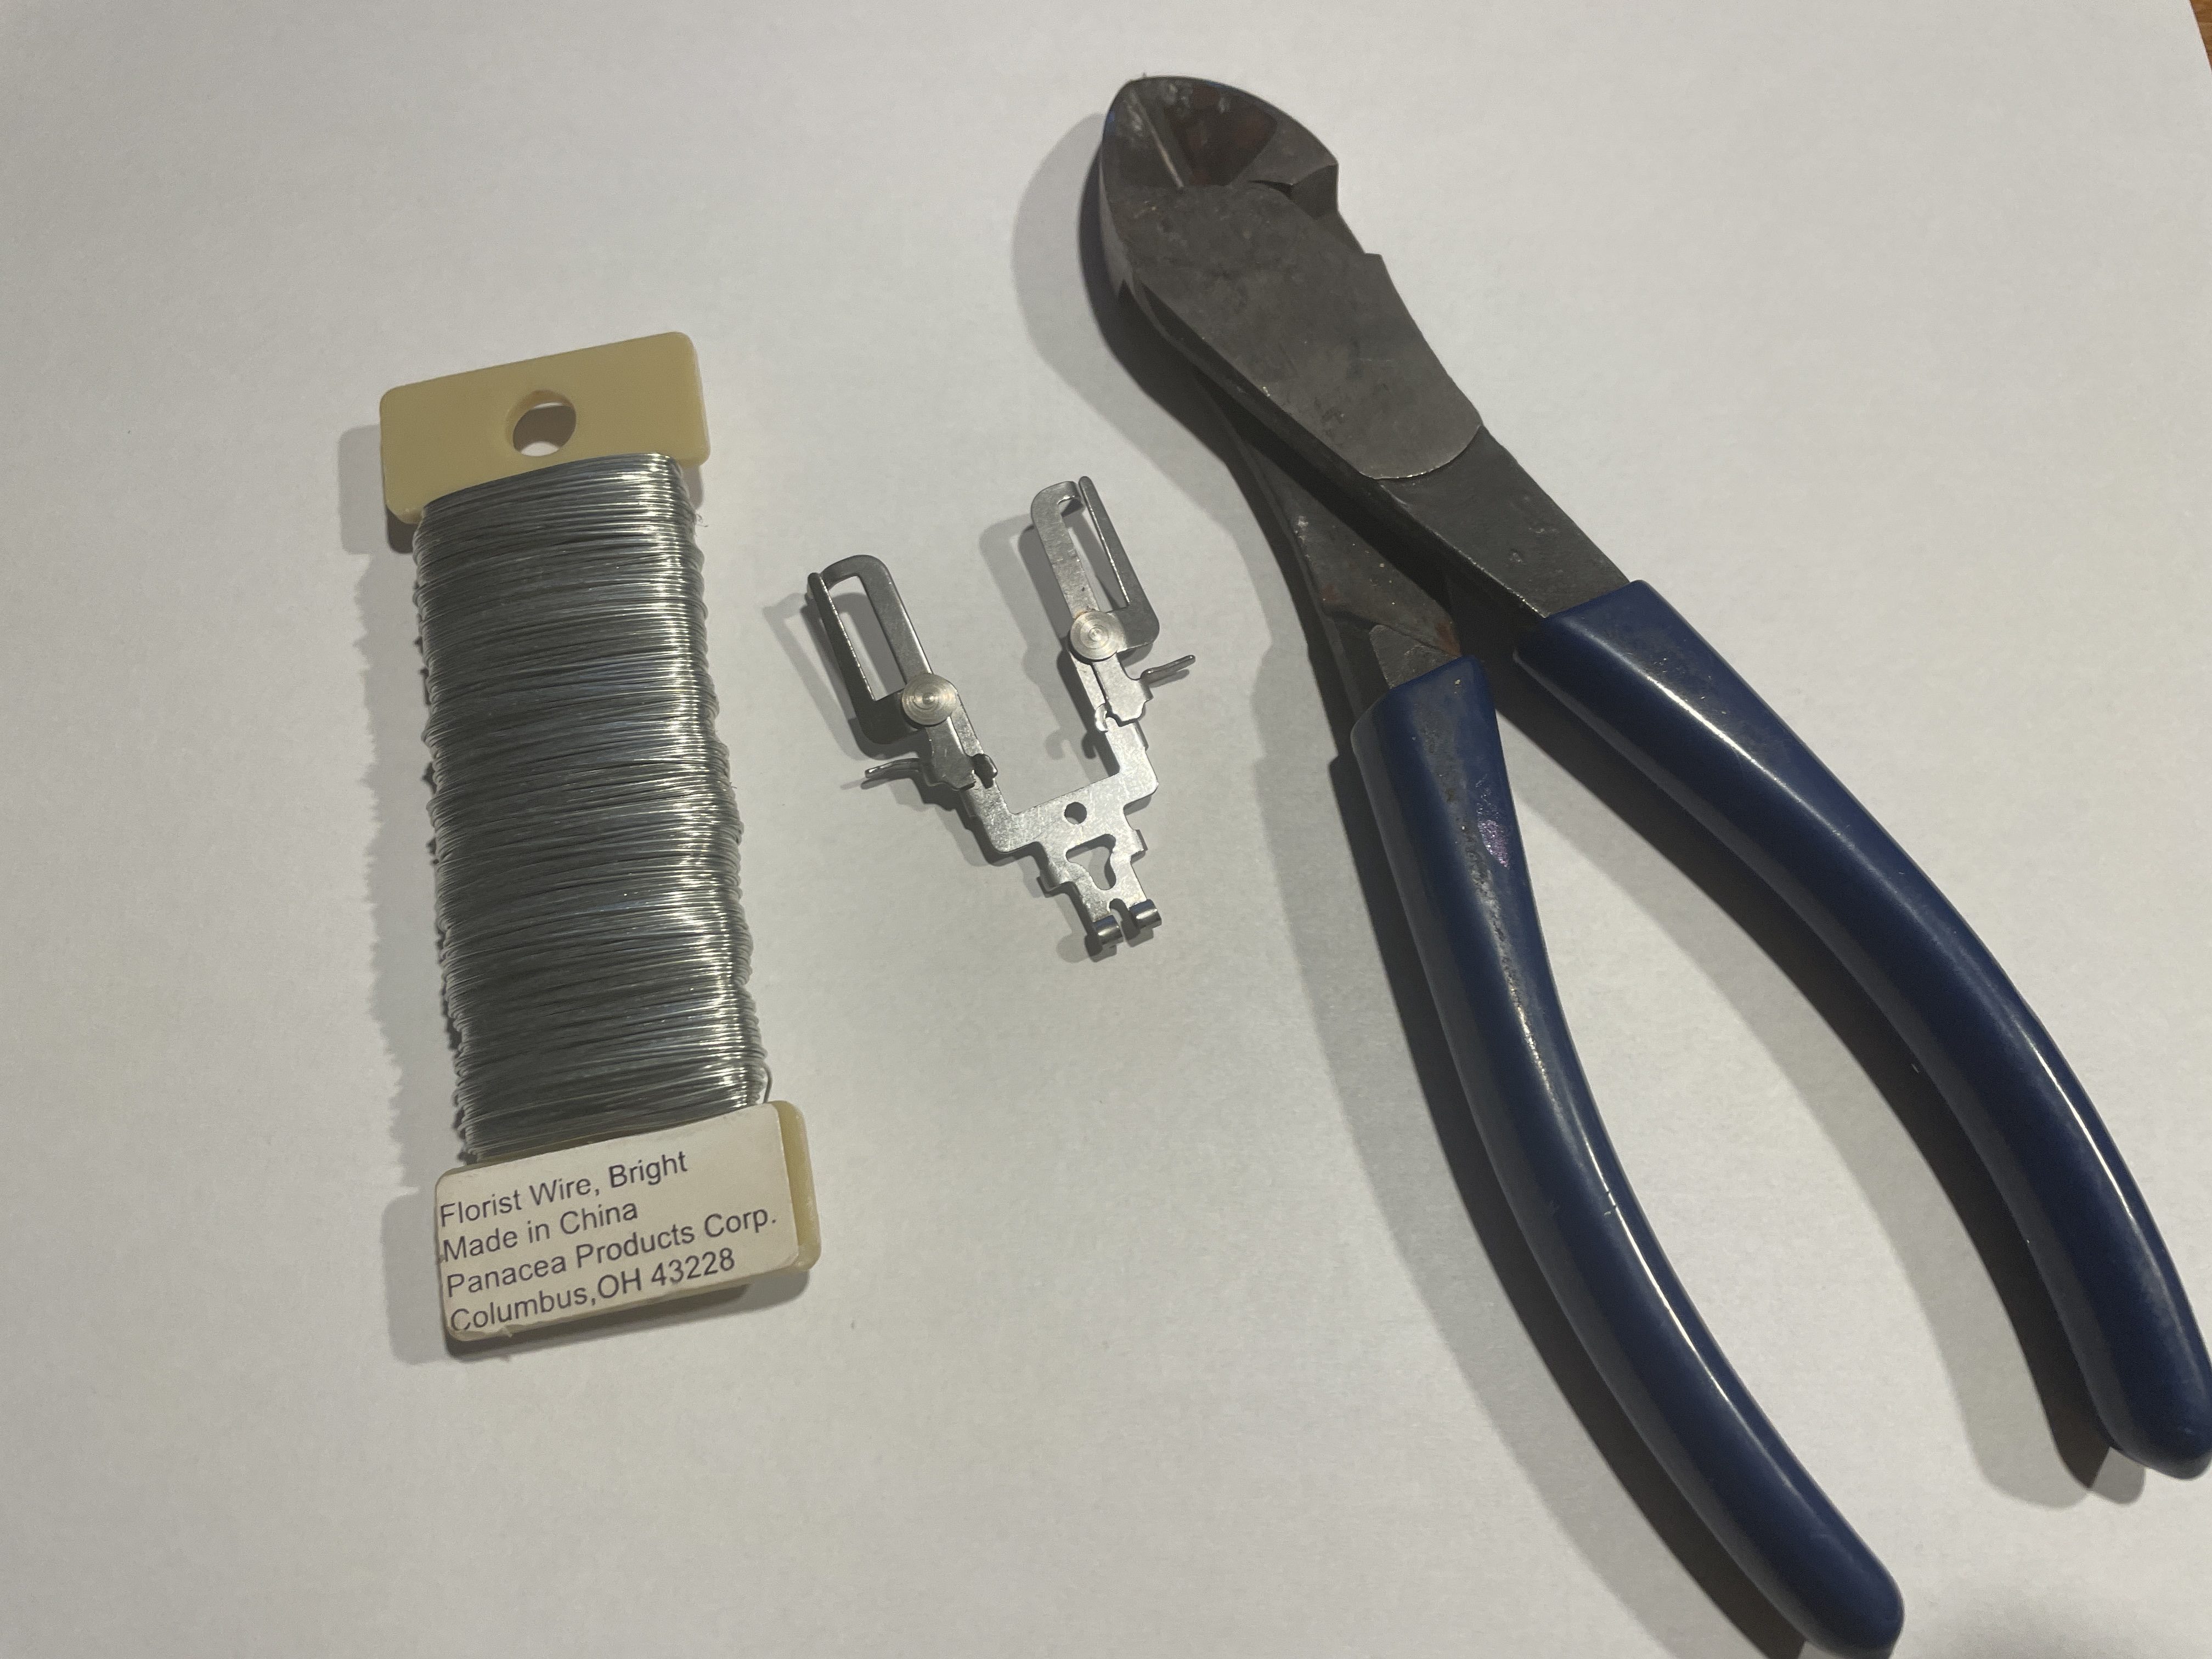


I hooked the wire around the top ears of the ribbon vibrator. There is no spring action, but that wire is not going anywhere, and though you can still thread a ribbon through it, the wire keeps the arms closed.
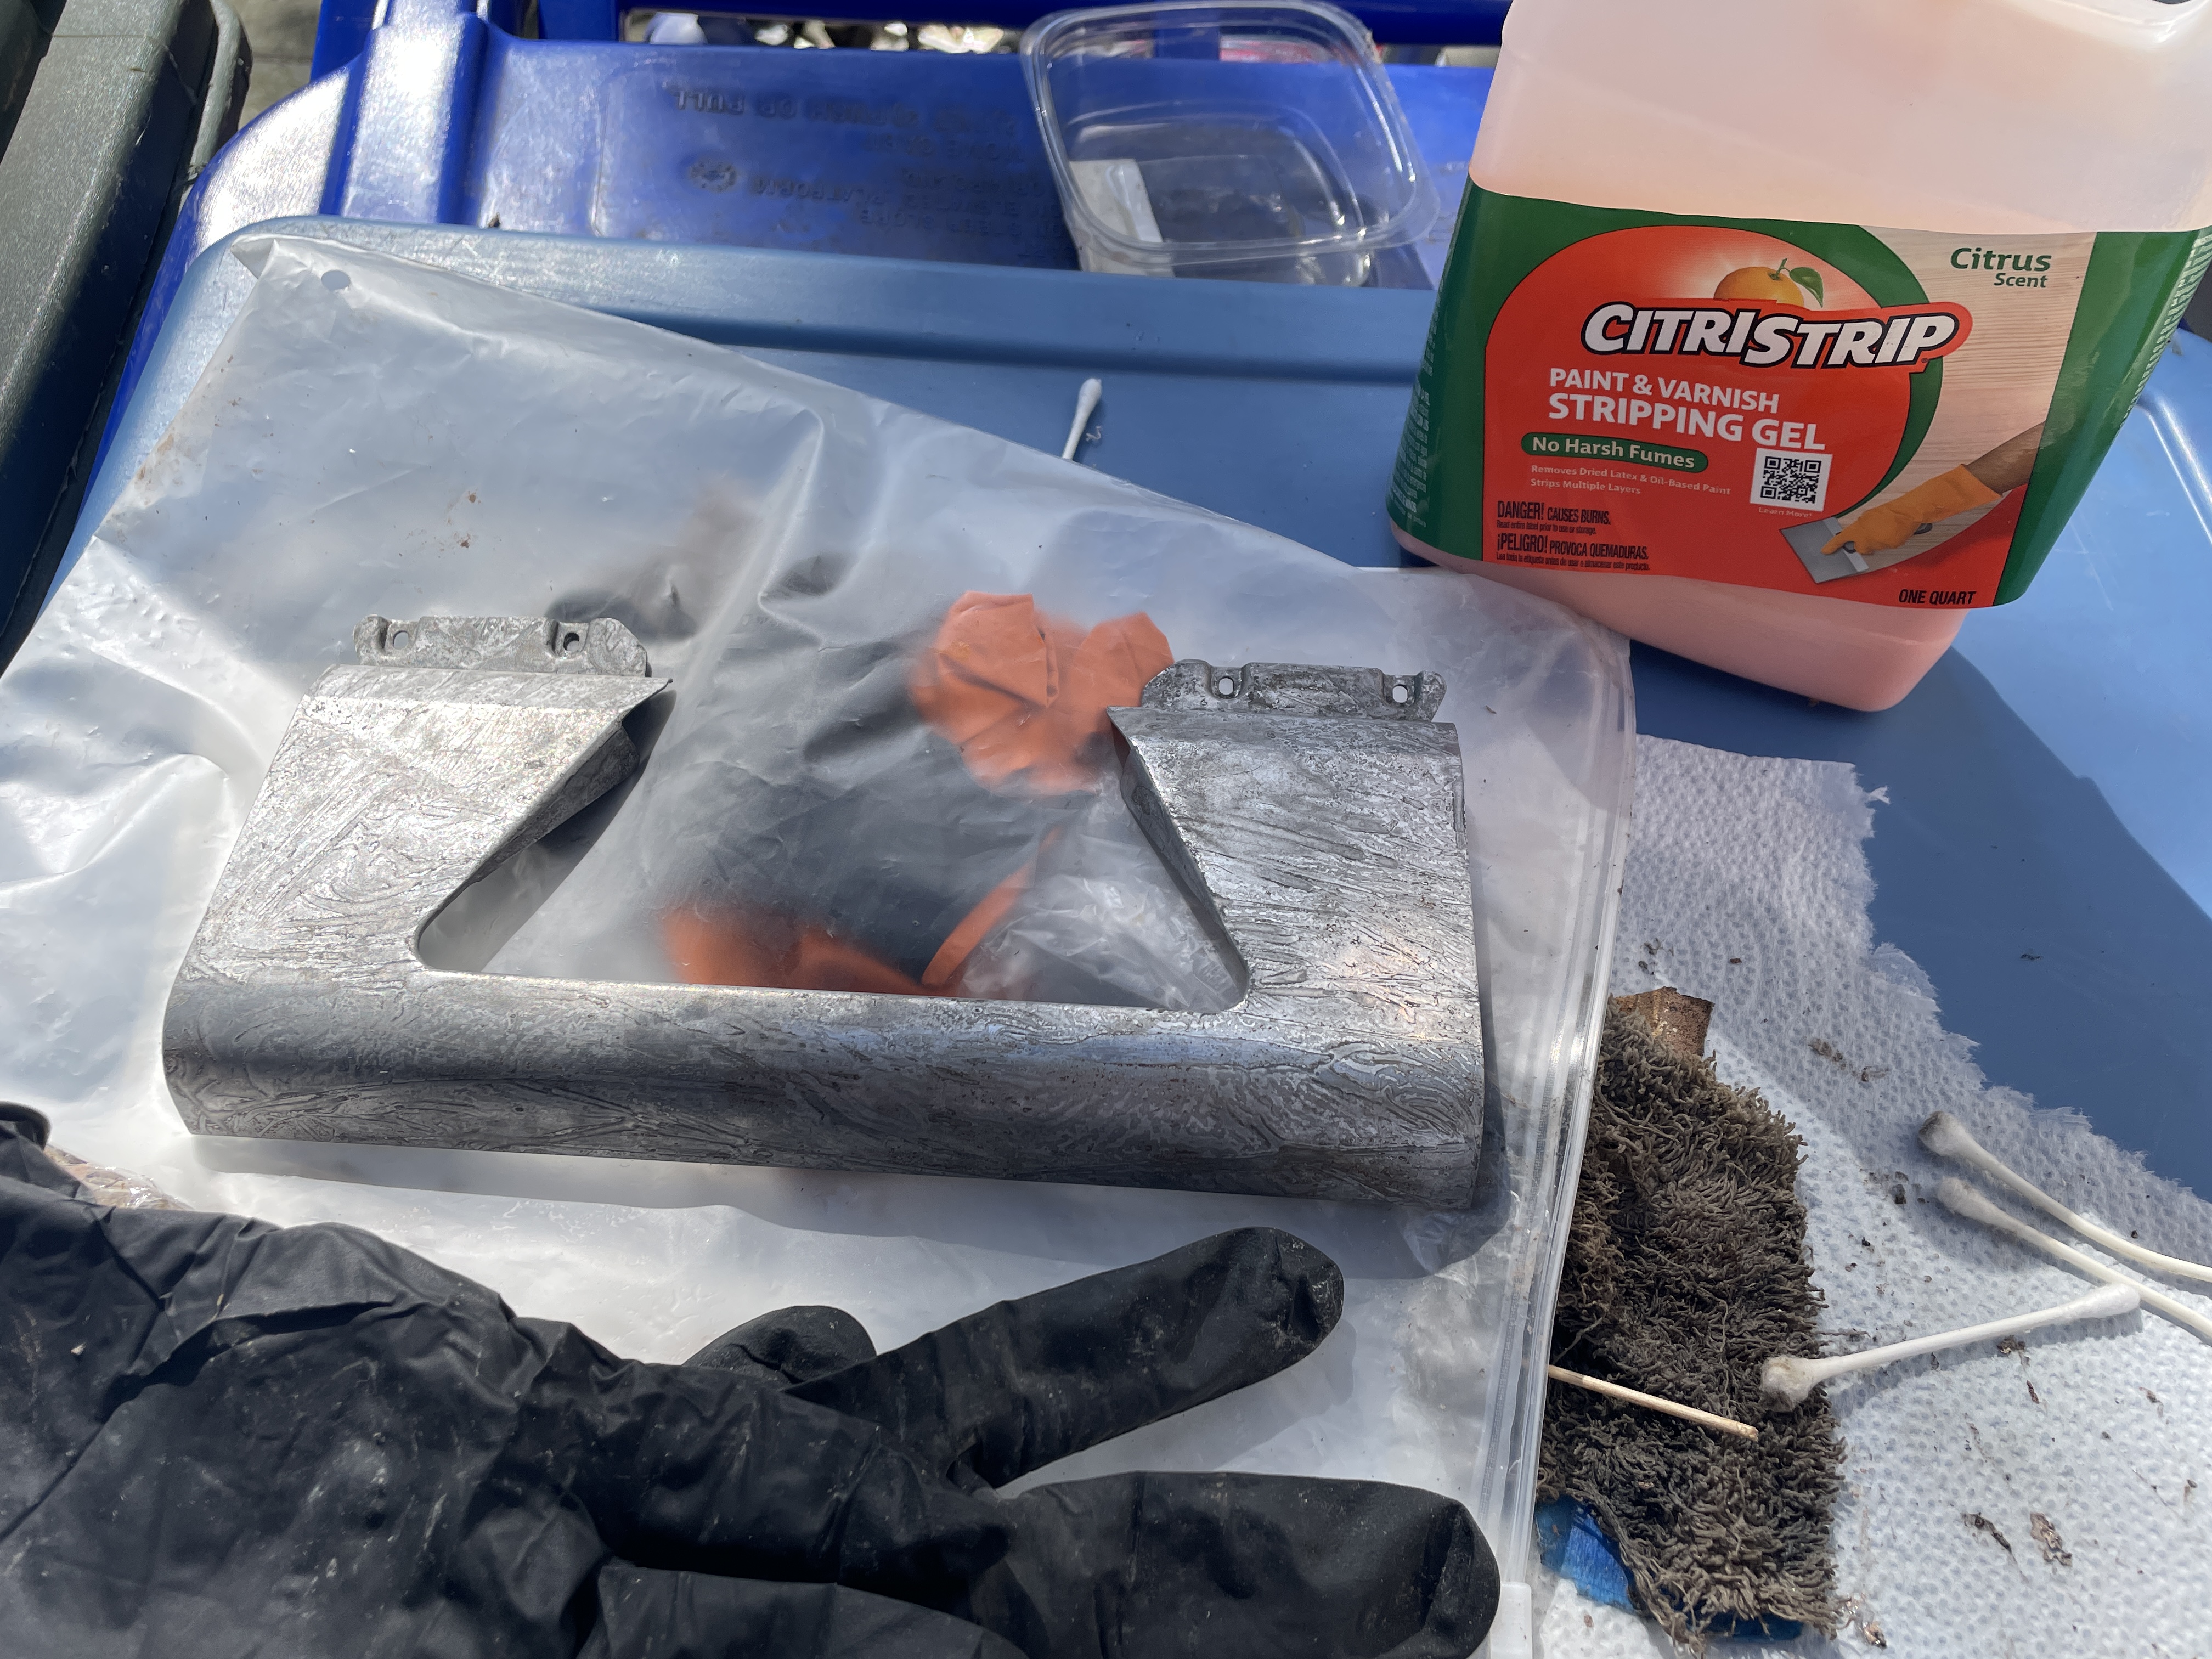
Now onto stripping the body panels of the original paint. I did a swab lead test, and it seemed like the paint was lead-negative, but I wasn’t taking any chances. I have a small child underfoot. I moved the typewriter parts outside and stripped them very carefully using a chemical stripper. I removed all the springs and rods and badges so that I would get the very best painted result.
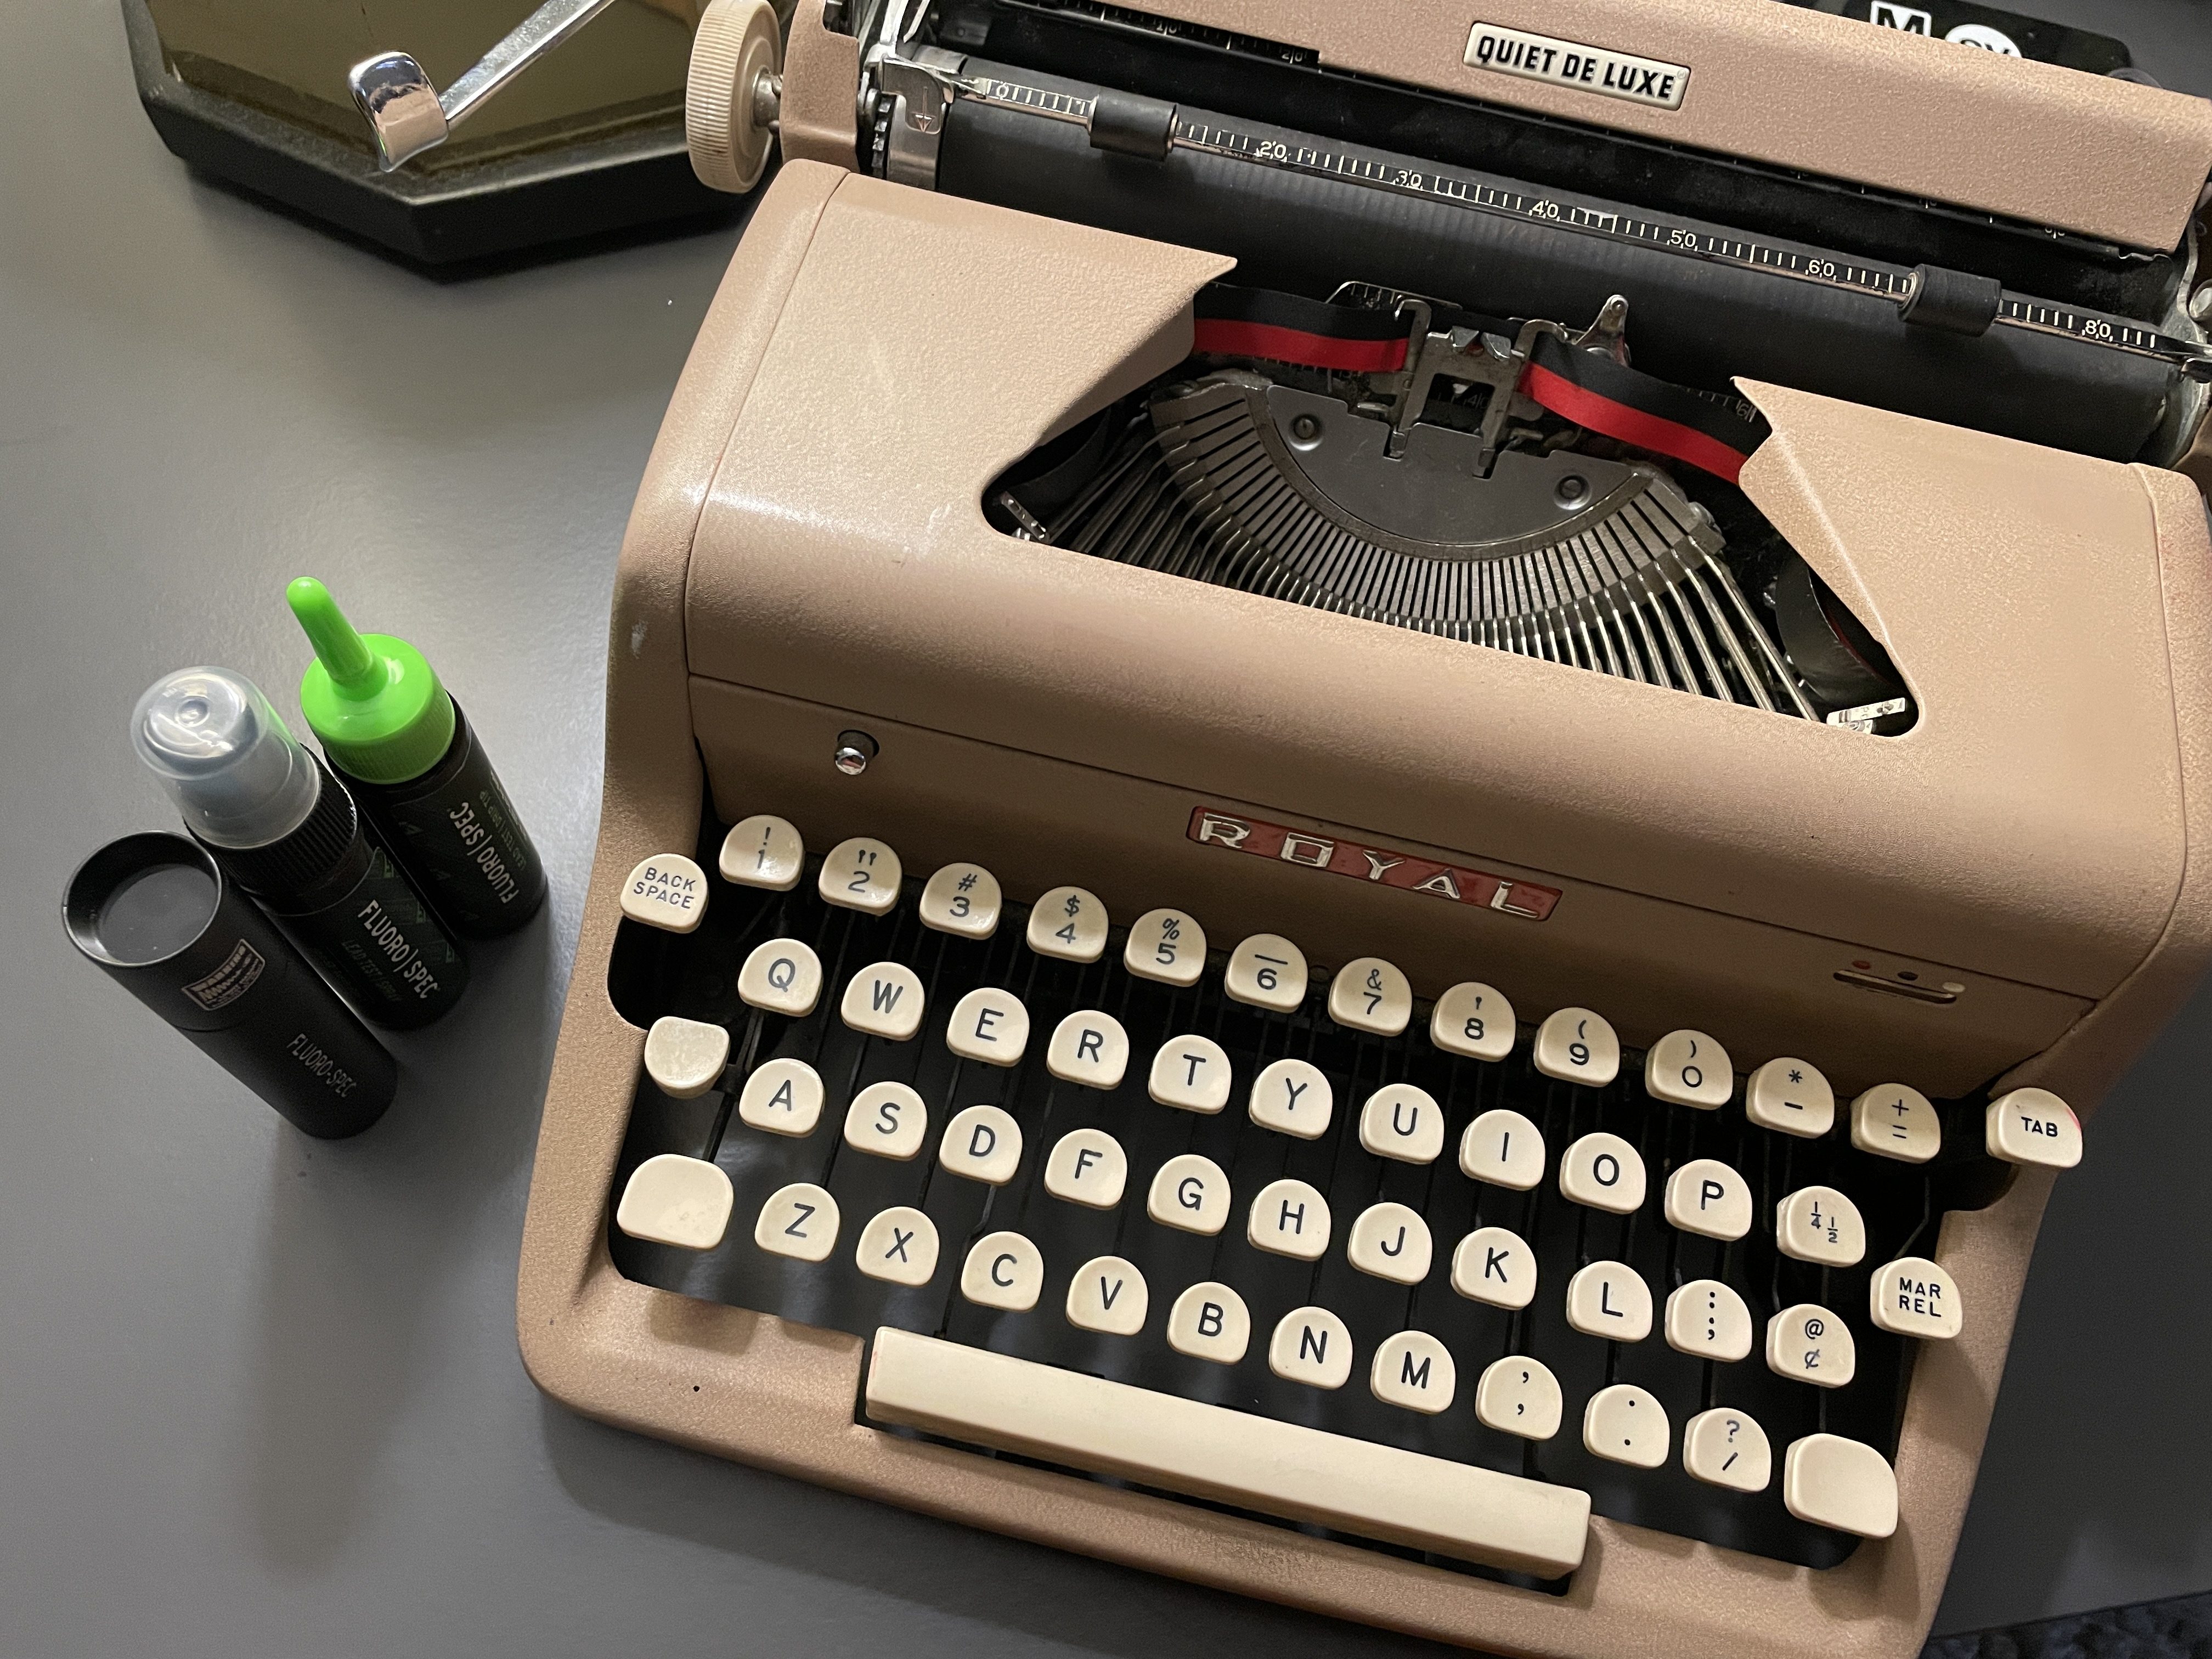
Lead swab tests are sometimes difficult to interpret and are notorious for returning false positives. I just purchased a photoluminescent lead test kit from Fluoro-Spec and did scrape testing on Adobe Rose East (a twin to Monica and Stephen’s QDL). I got another negative lead result. The science behind lead testing with this method seems solid. The Fluoro-Spec kit, as expected, identified lead in some of my lead crystal serving pieces and vintage china. I just ordered a similar photoluminescent lead test kit from another brand, Lumetallix (which was featured in a NYT Wirecutter article), and will compare test results.
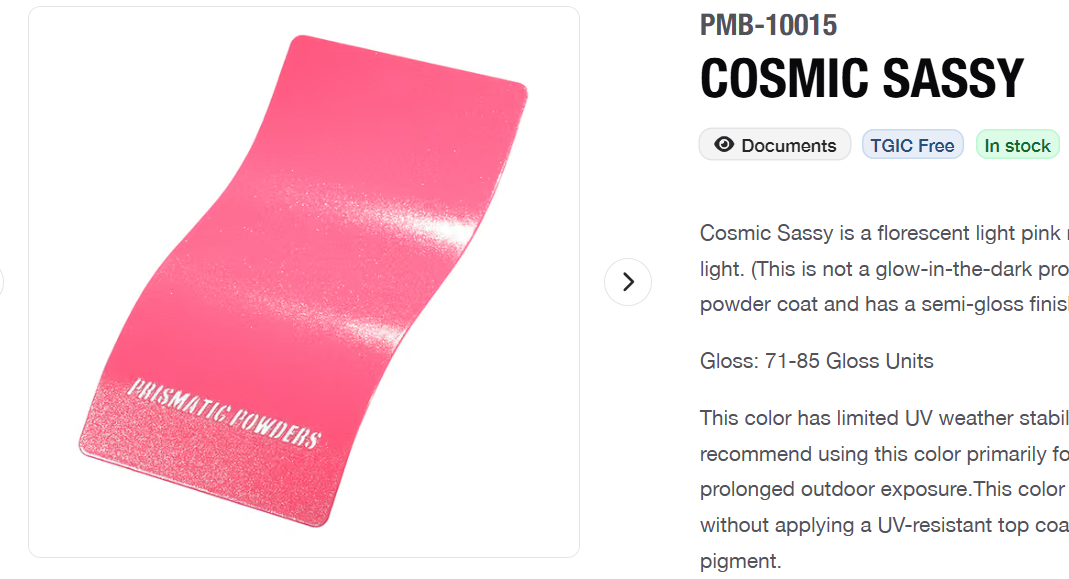
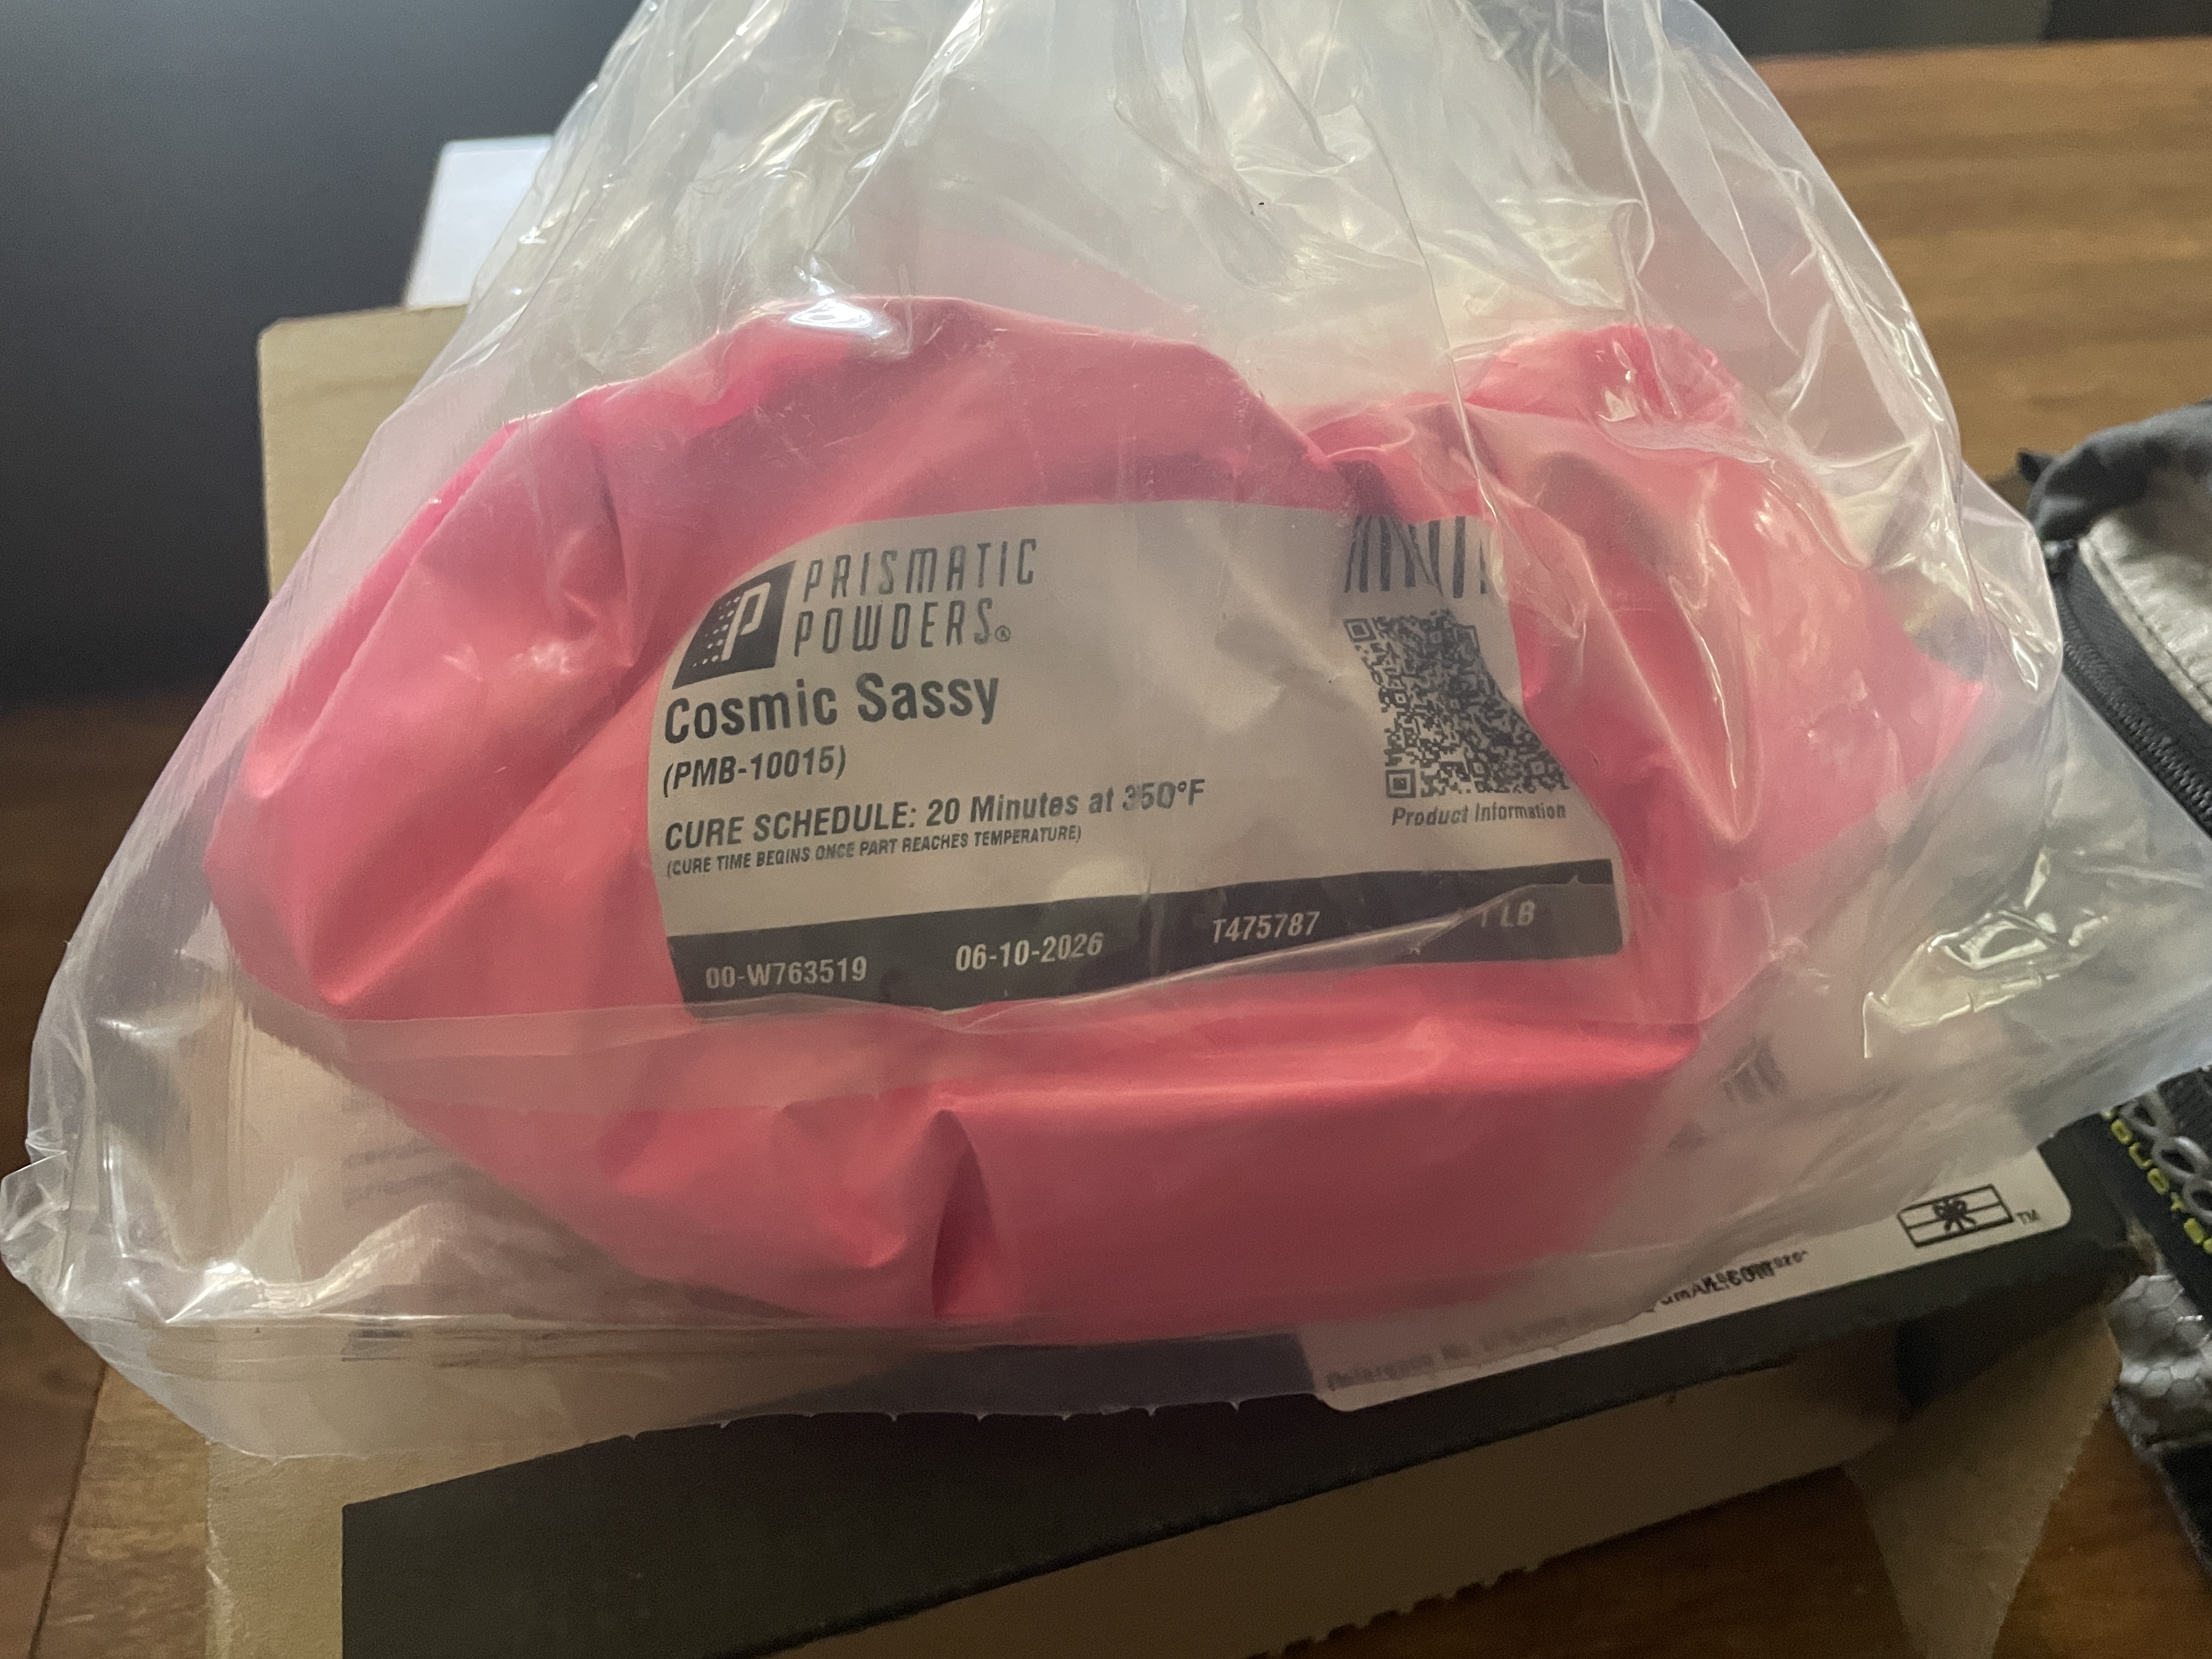
Back to the painting: Monica had chosen a spicy hot pink called Cosmic Sassy from Prismatic Powders for her color:
I needed to prepare the parts for Cosmic Sassy, so after my careful chemical strip, I media blasted them.
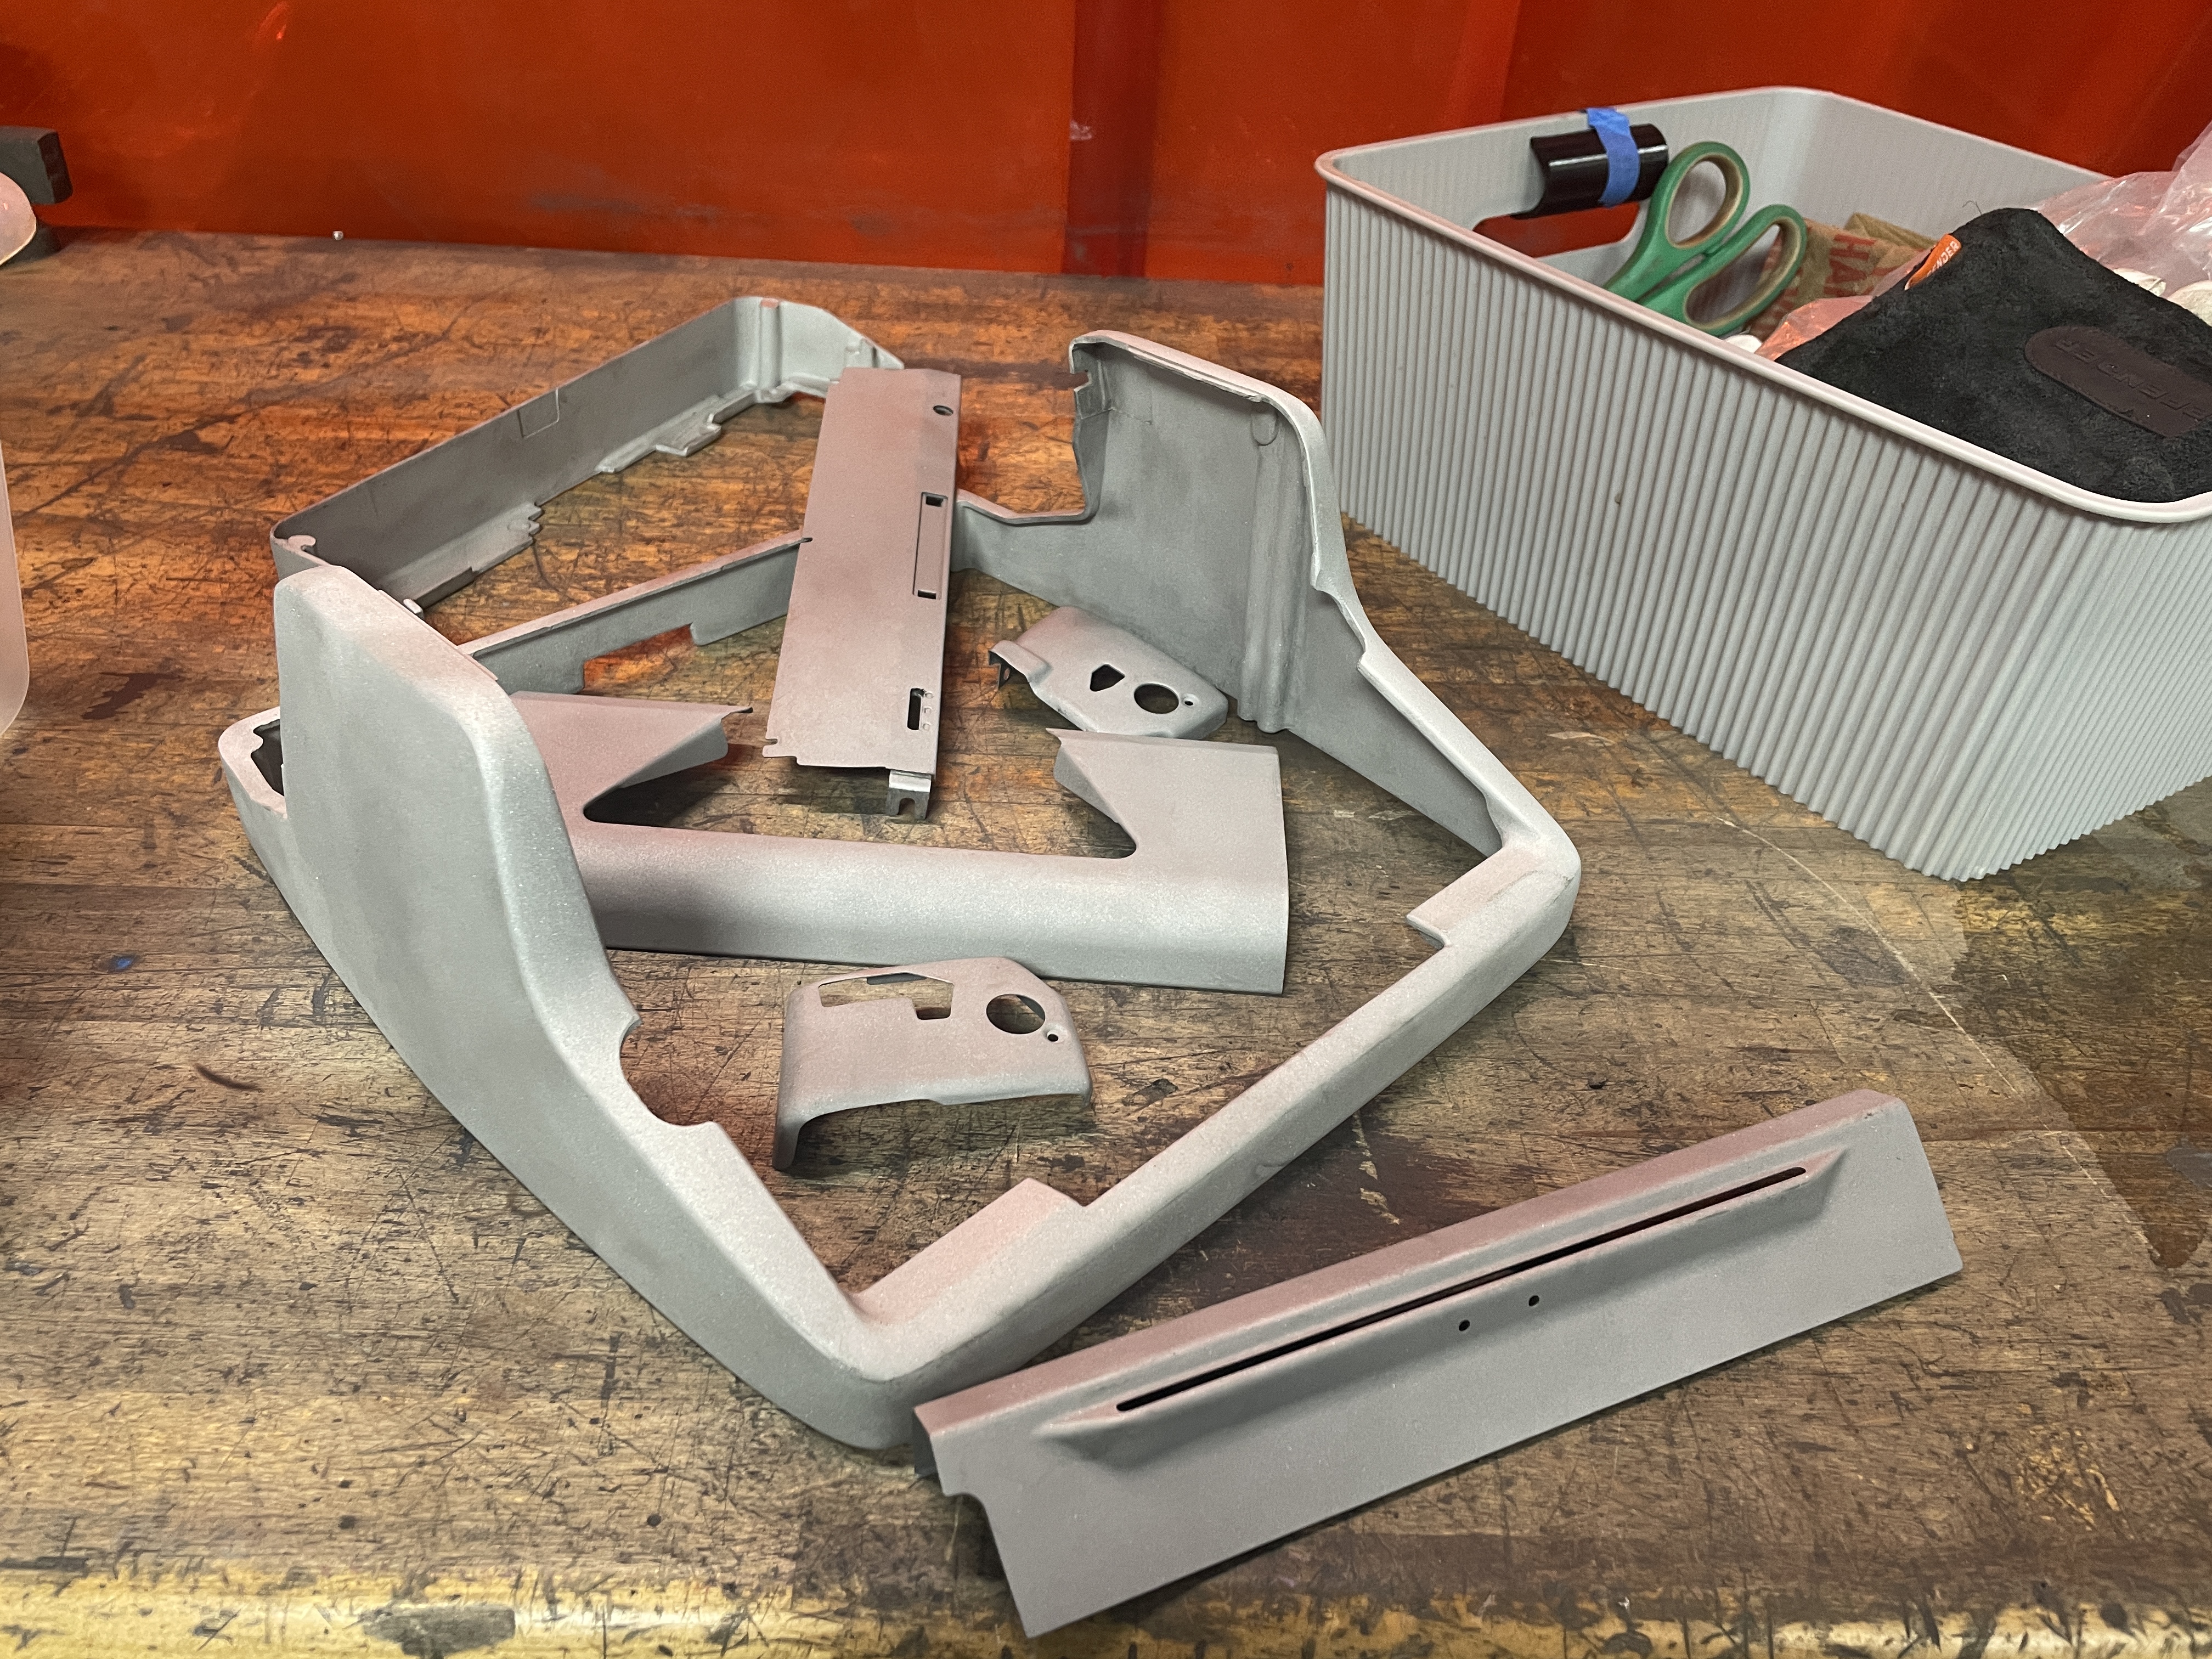
I then threw the parts into the big oven for 30 minutes at 450° to allow the parts to outgas. I should have done this before media blasting, but live and learn. A couple of the parts are some kind of non-ferrous die cast alloy that I’ve read is porous and prone to trapping moisture and contaminants.
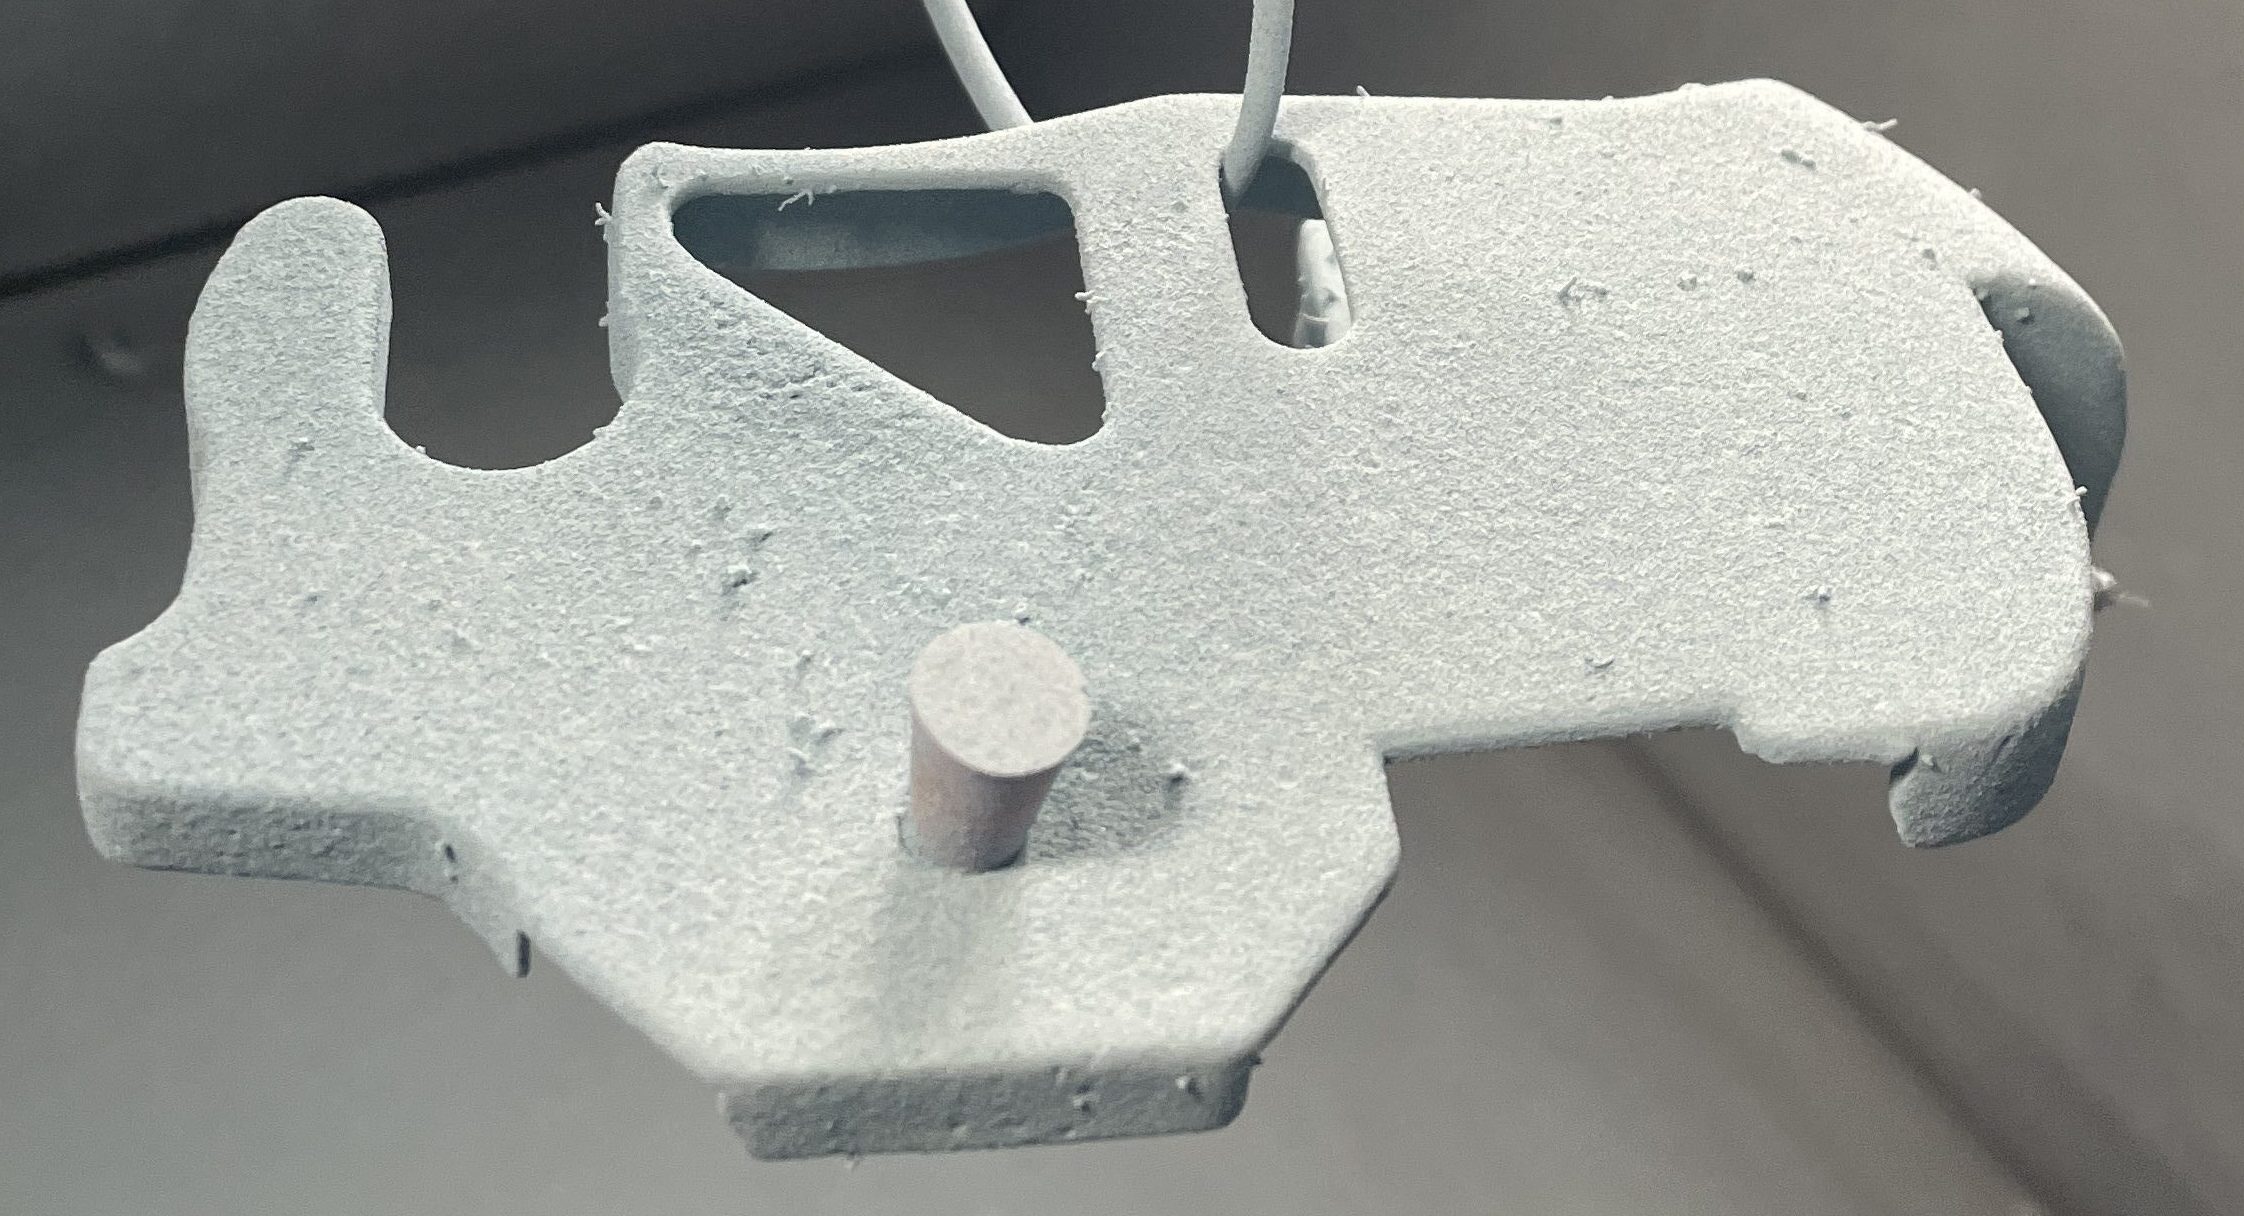
After pre-baking, it was back to the media blaster for another quick blast. I blew off the parts with compressed air, and I was ready for powder coating. Some sources recommend a wipe-down with acetone, but I found that wipe-downs introduce lint. Here’s a previous test with significant lint issues from a shop towel pre-cure:
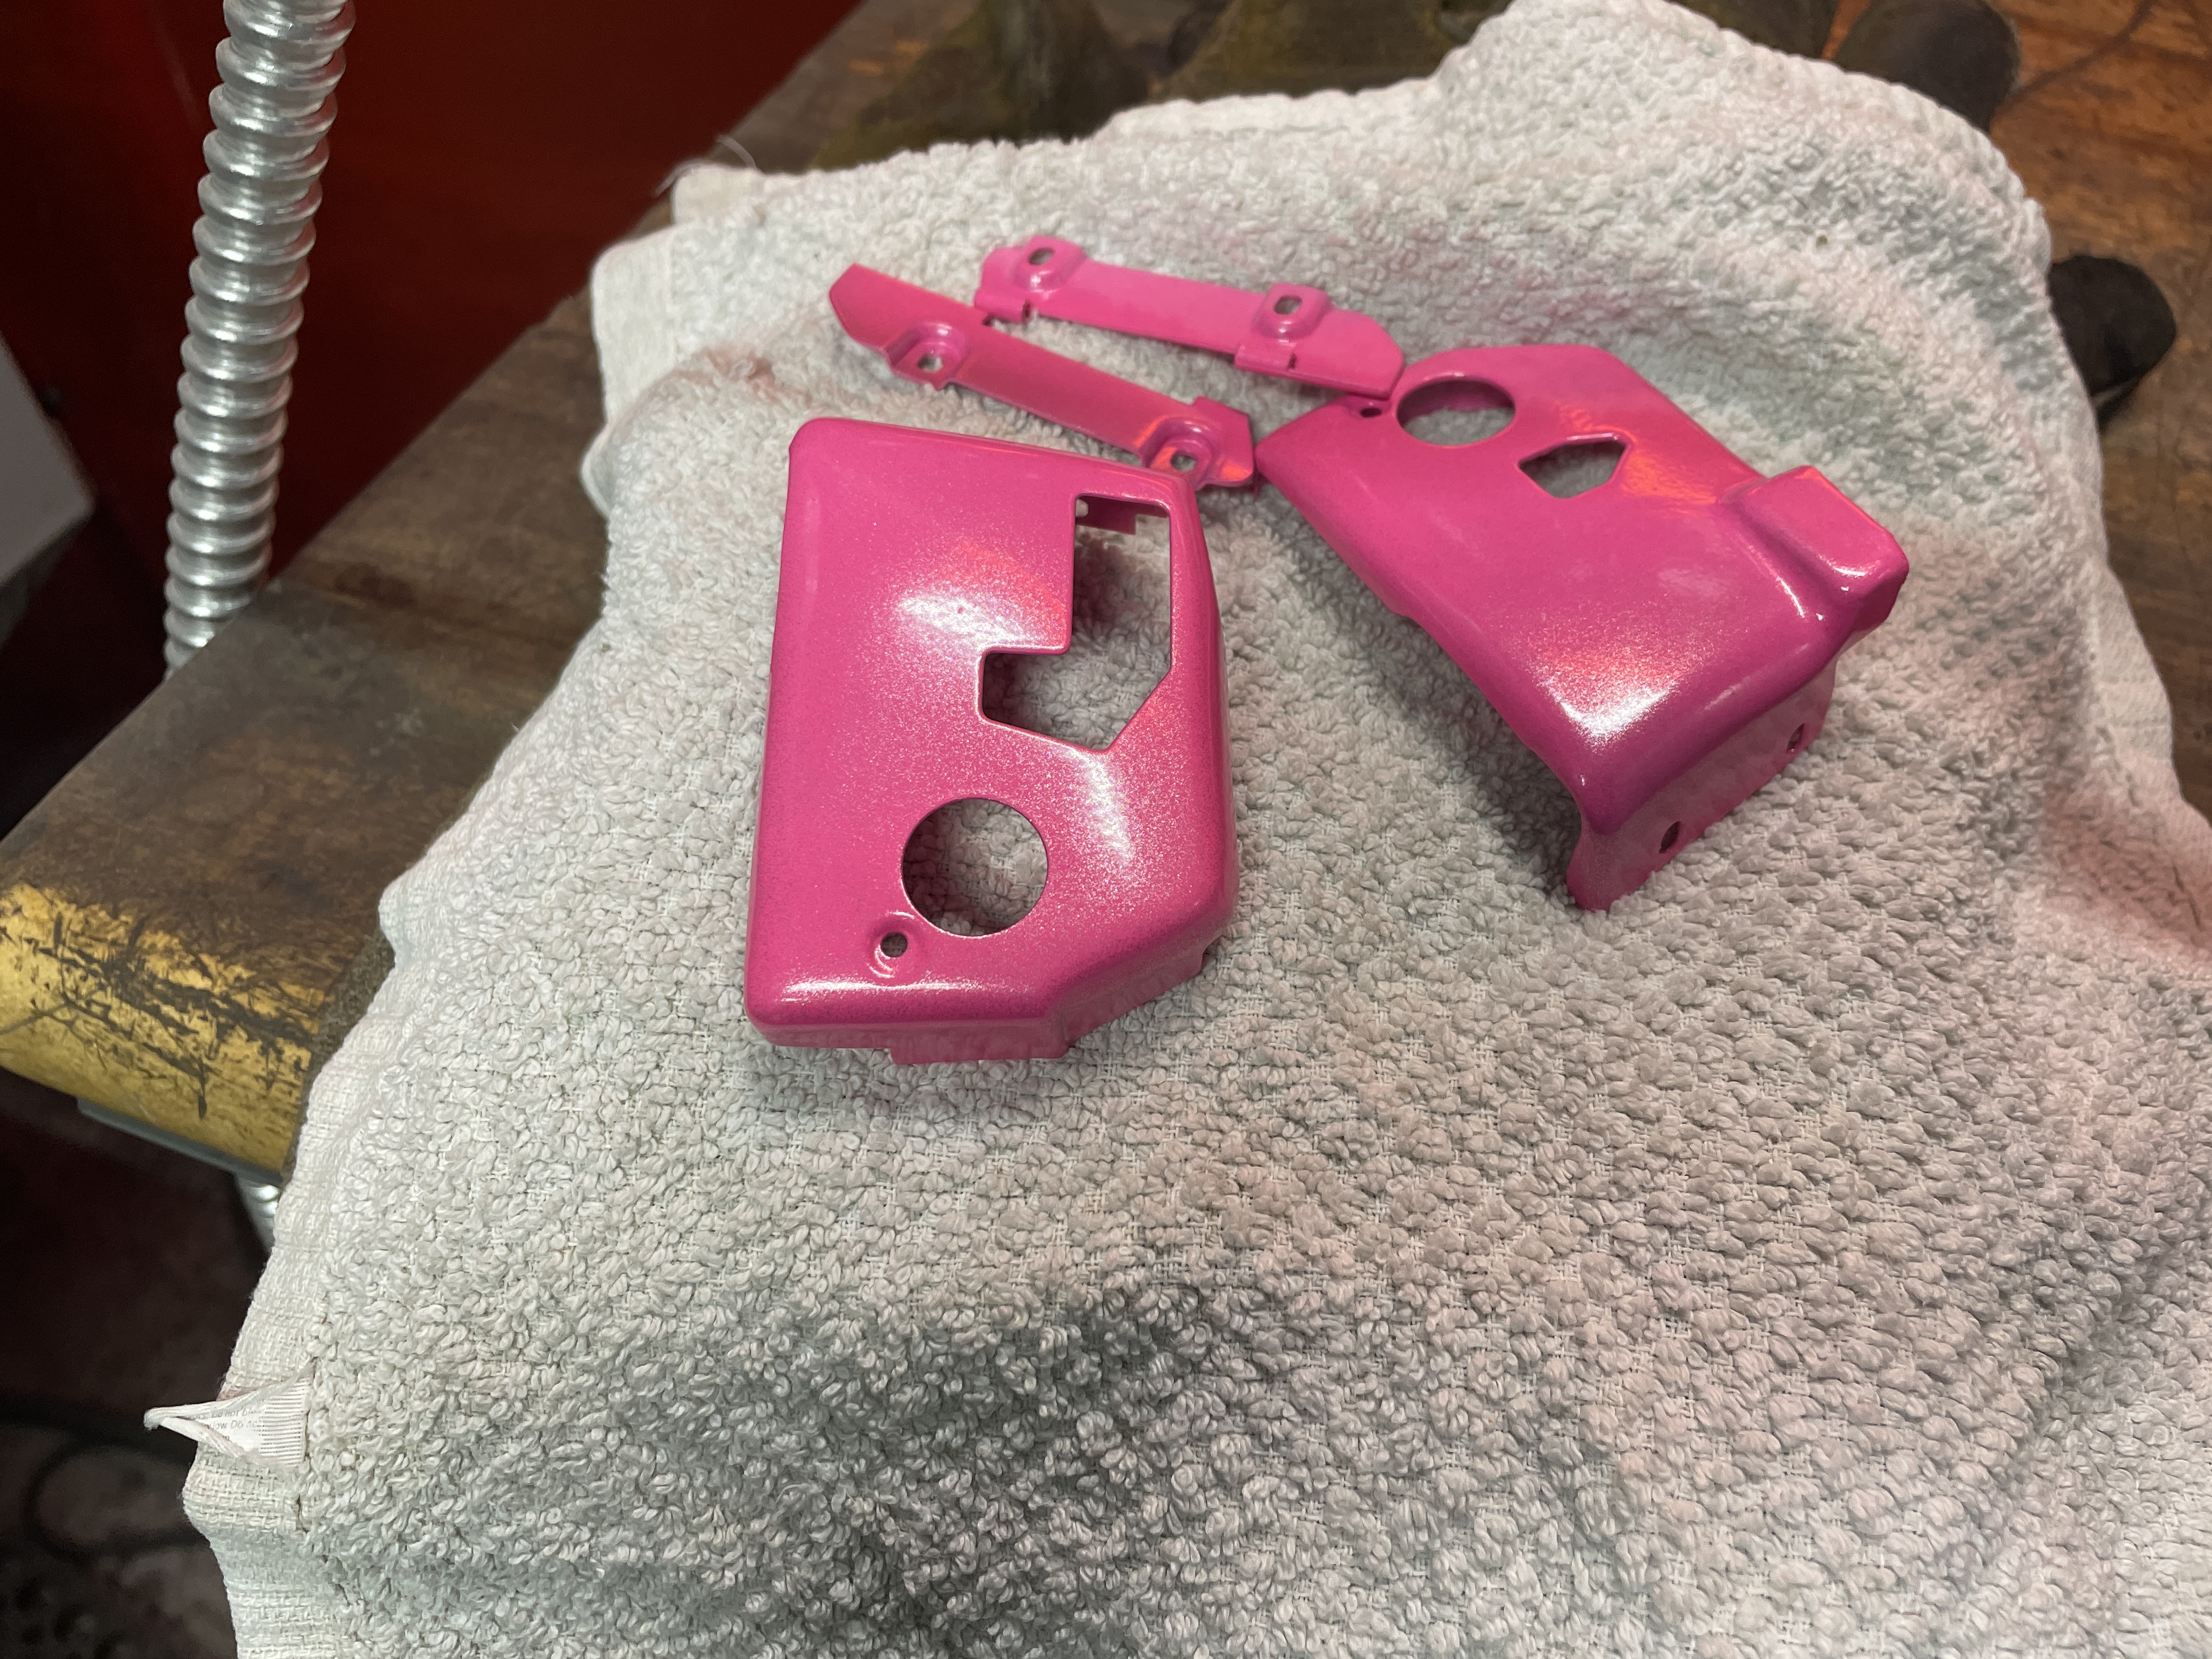
I sprayed my parts and baked them in the big oven. Whoa, Nellie! That’s a sassy pink. It’s got purple undertones and bit of glitter to it. Wowie. SPICY.
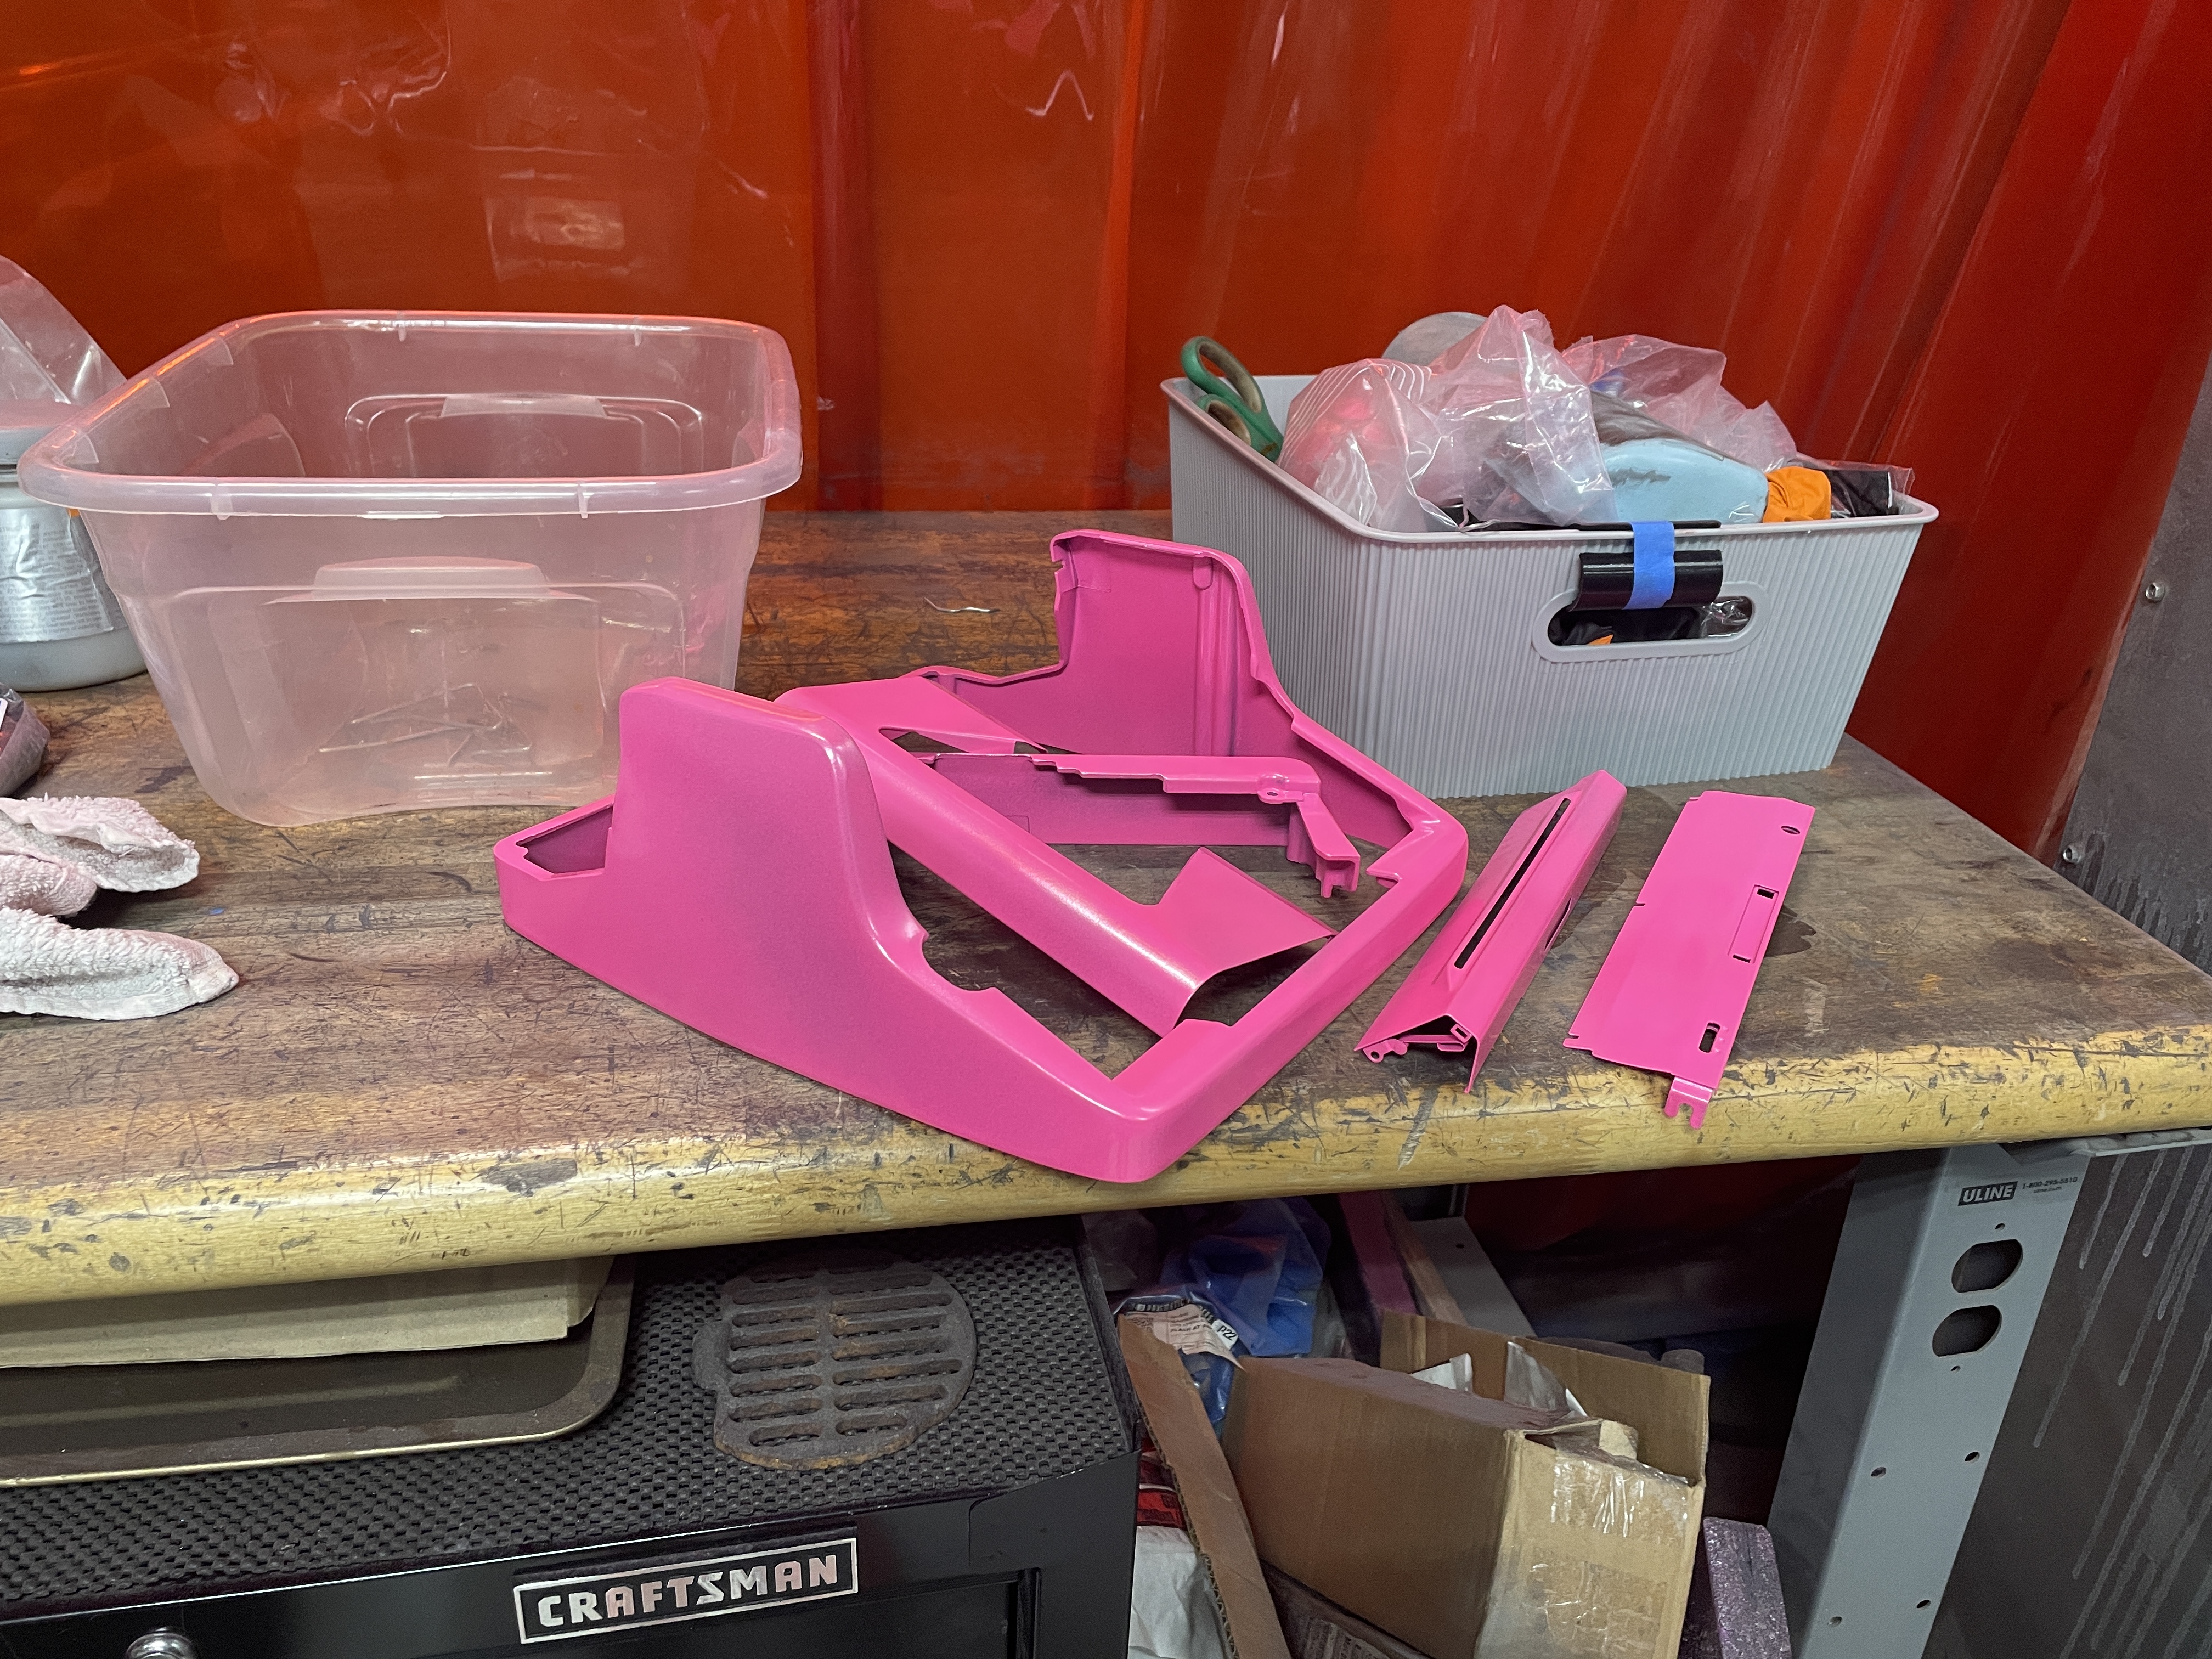
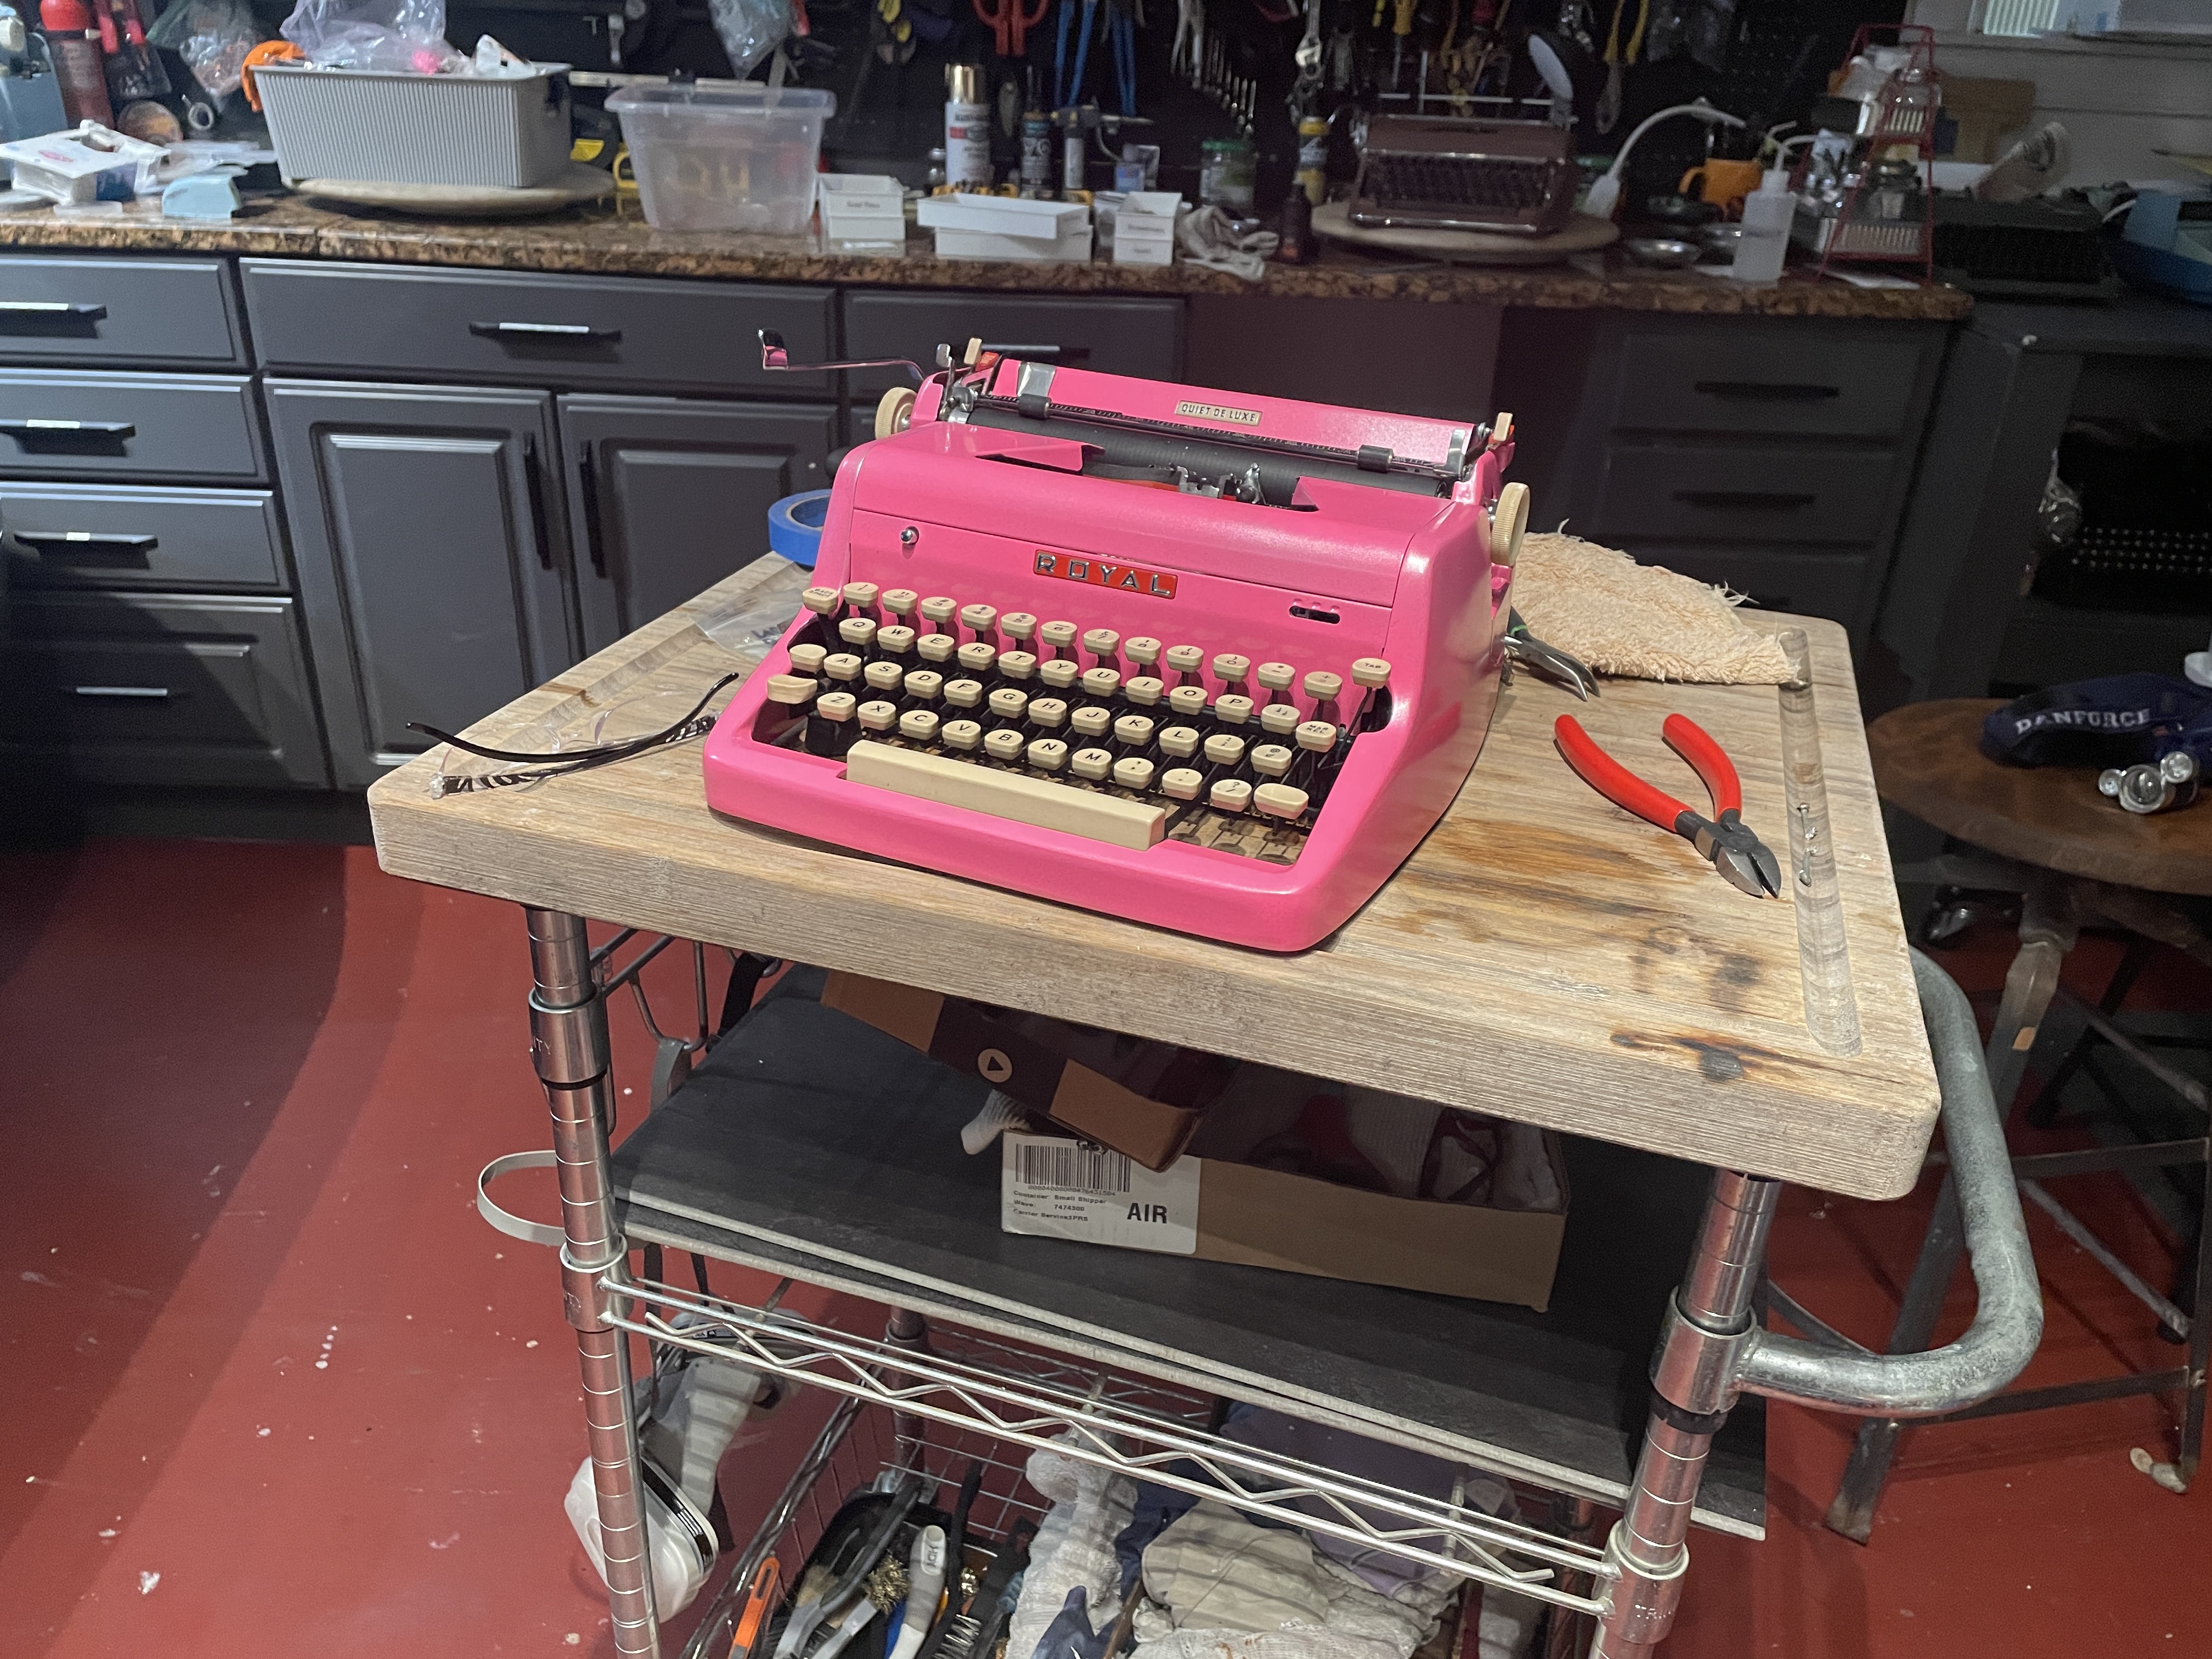
After I got all the cover plates back on, I noticed that the capital letters were printing a little bit light on the bottoms, so I dug up Phoenix Typewriter’s video of on-feet and motion adjustments on QDLs.
Note: I used a 7/32 nut driver to loosen the lock nuts for this adjustment.
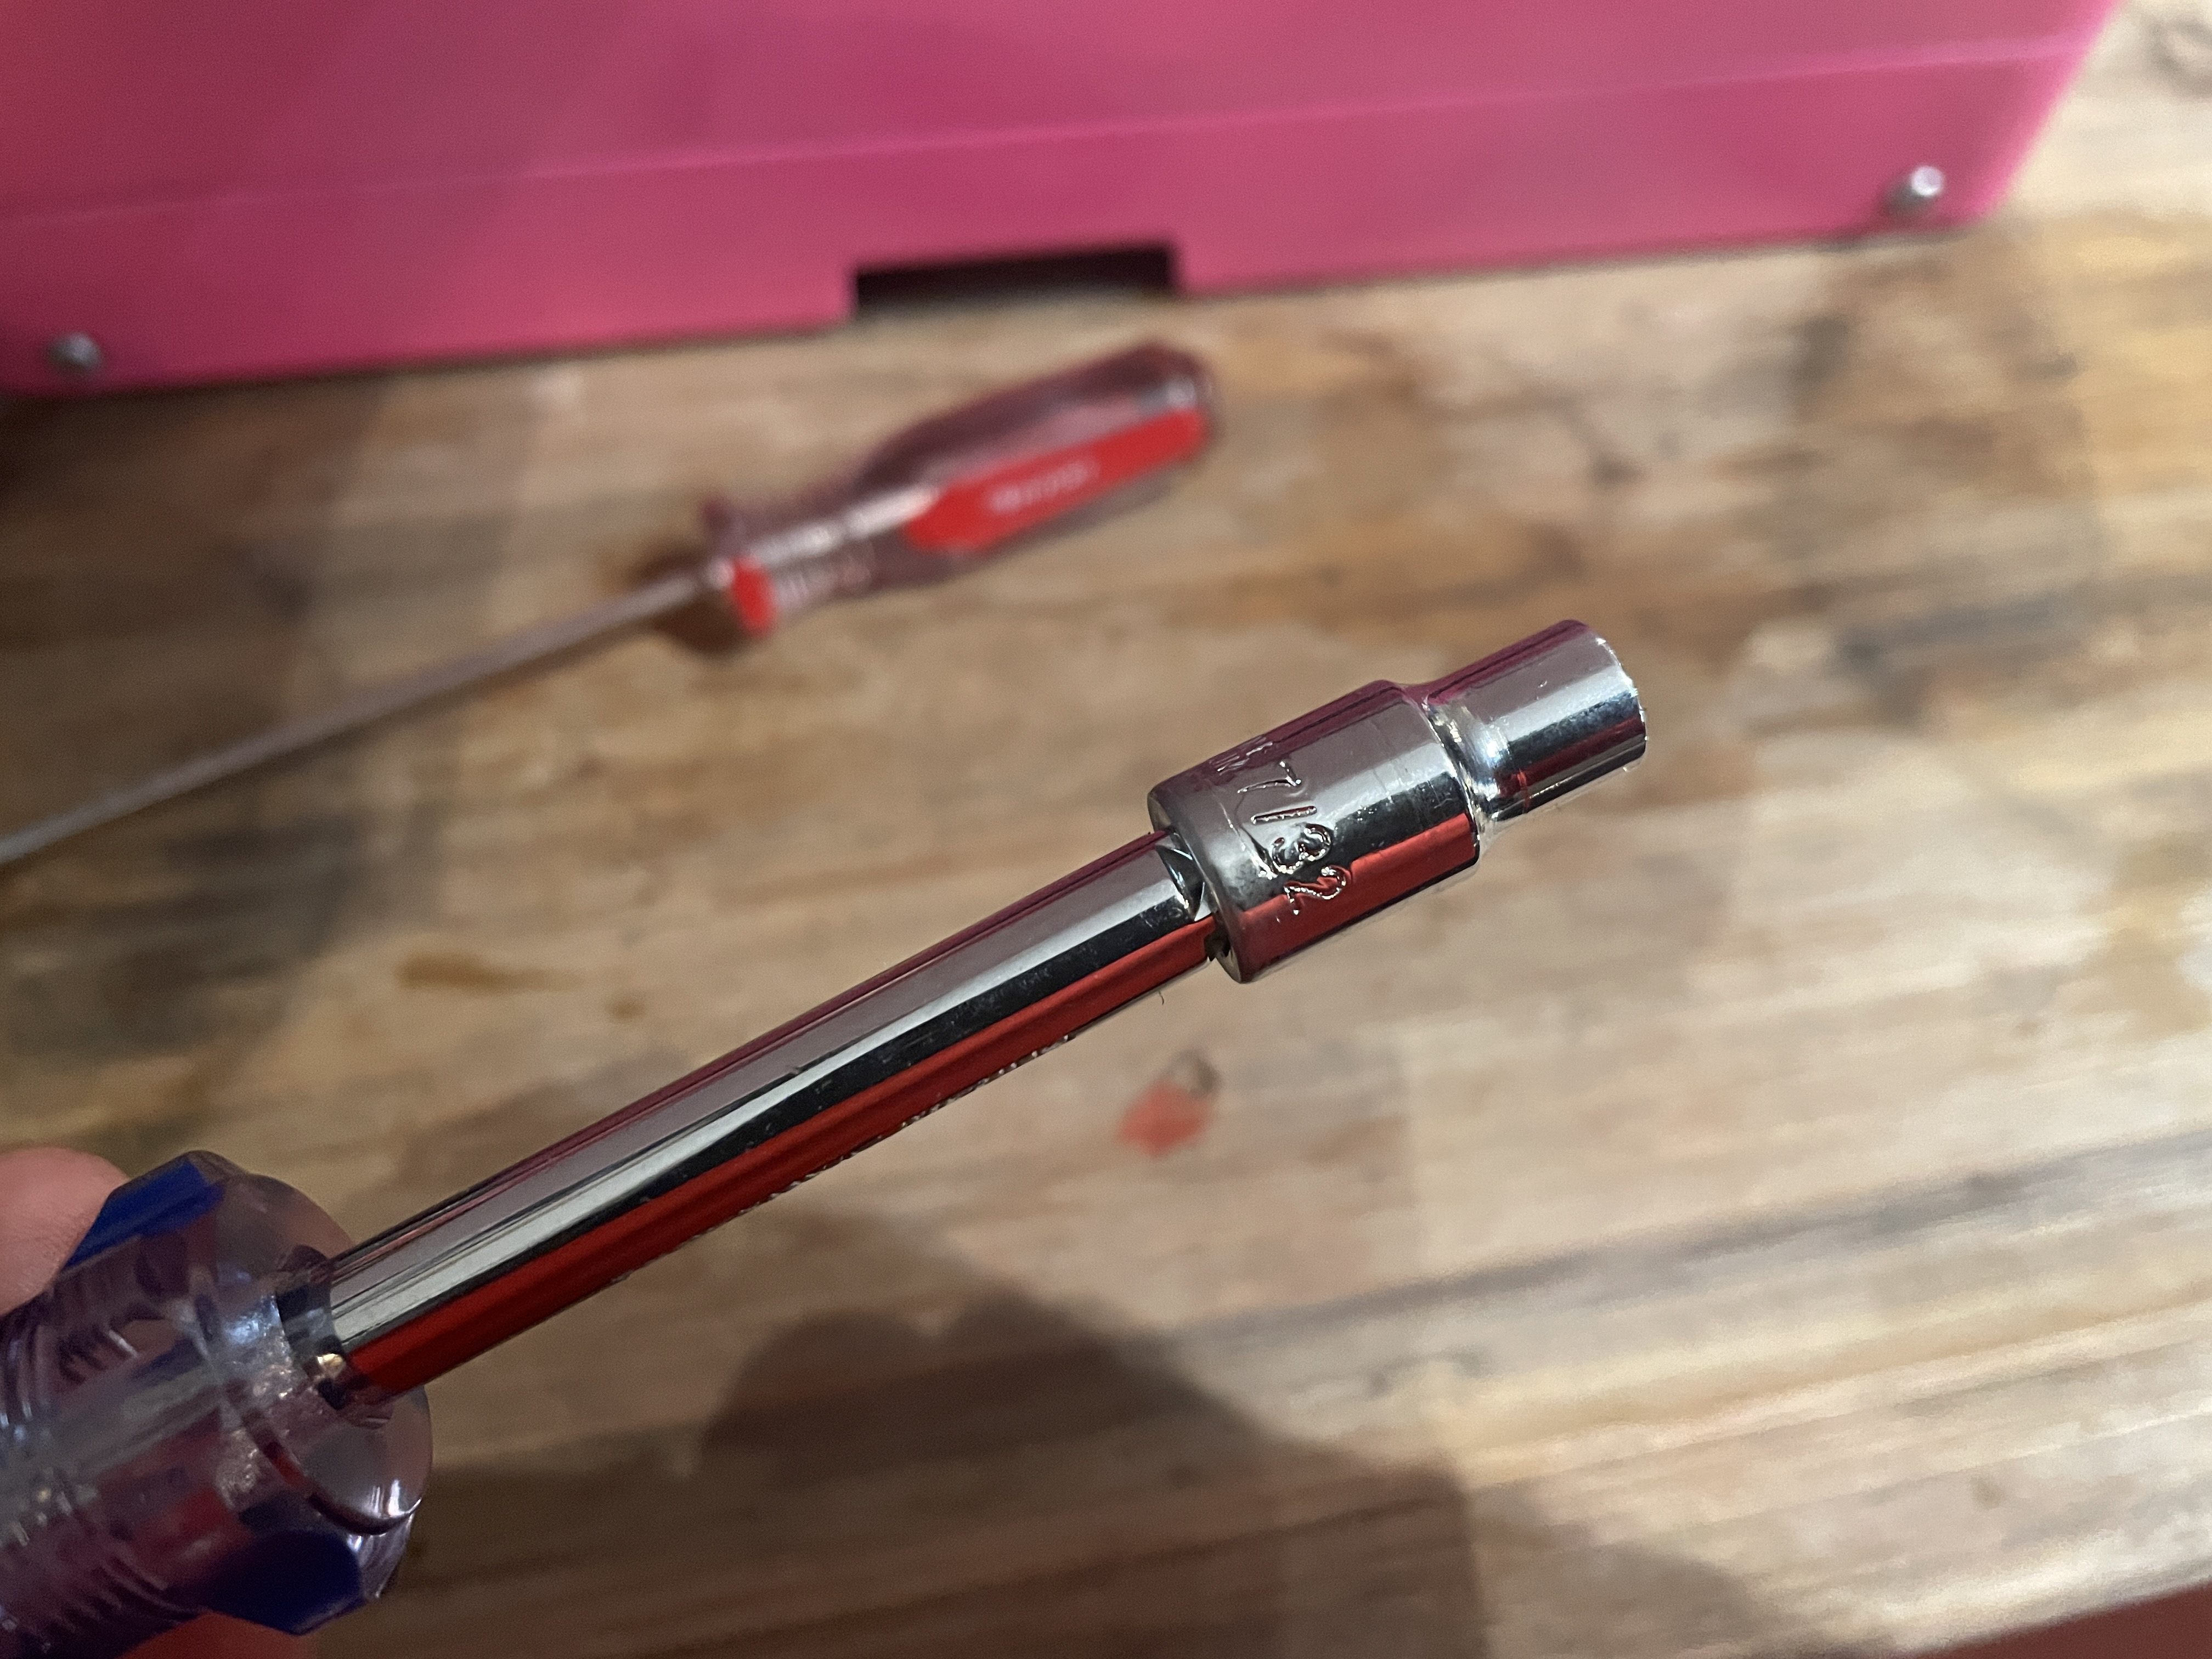
Made the adjustments and all good!
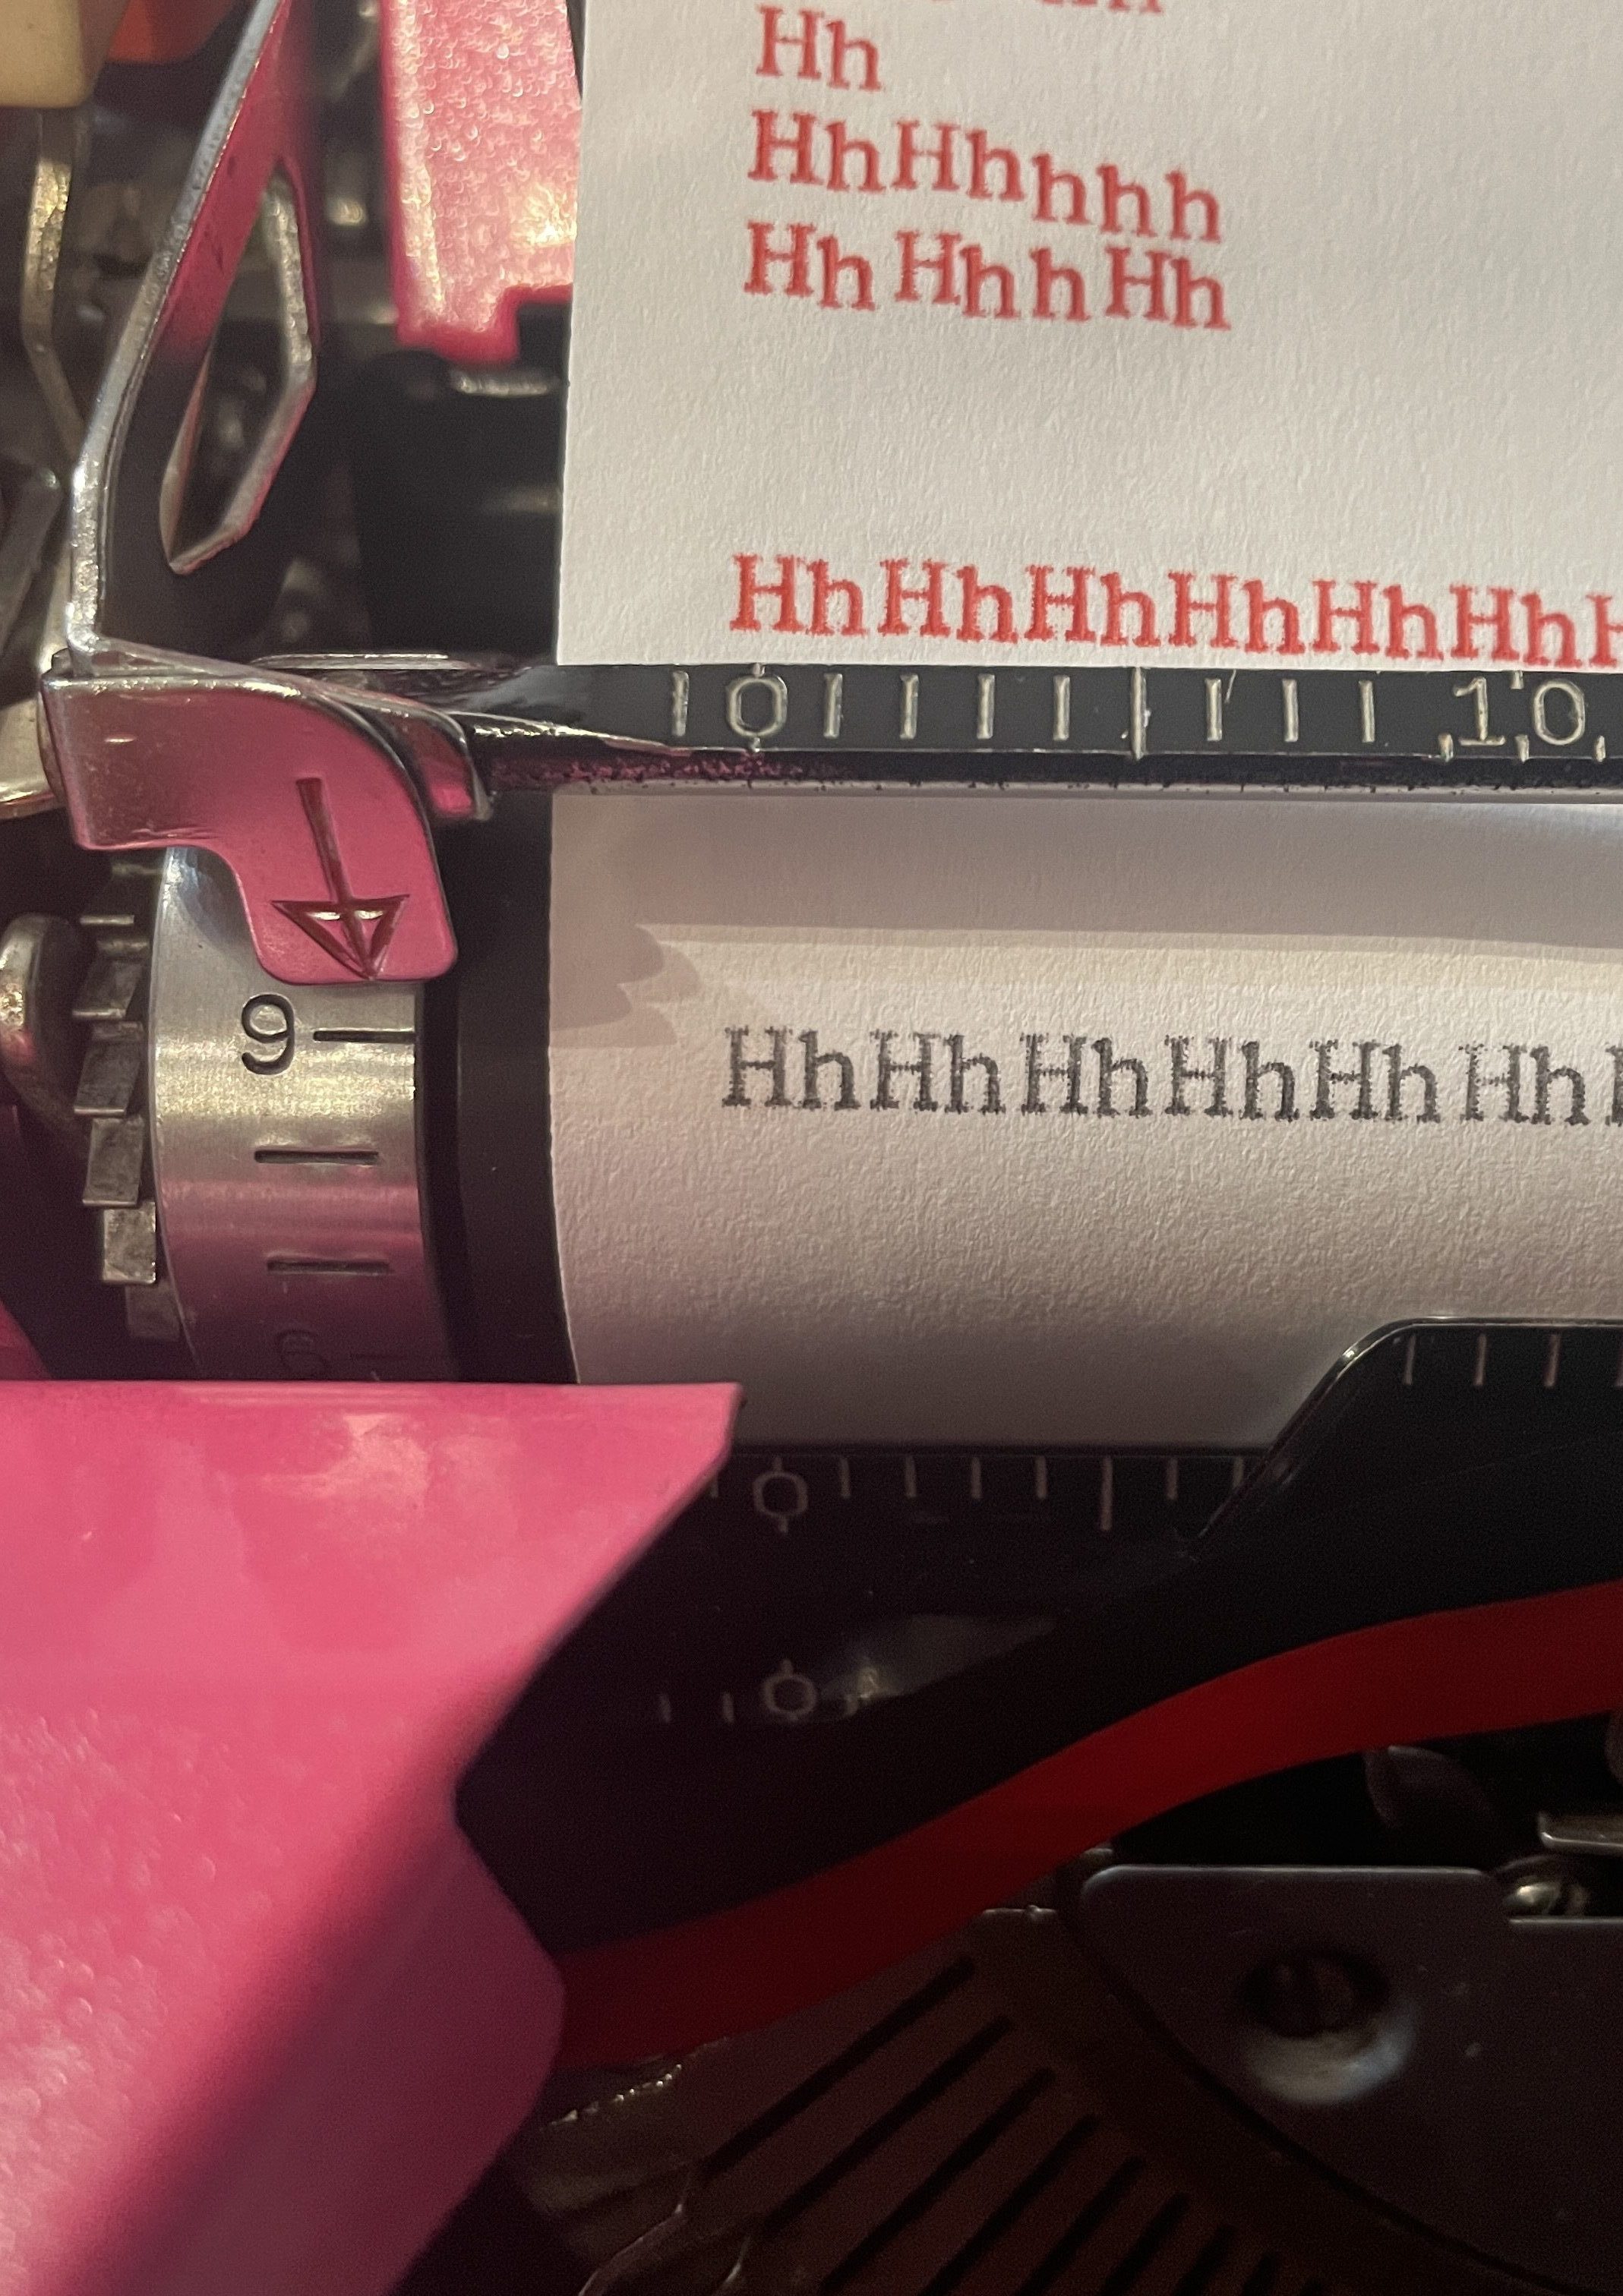
The machine has a pretty Canterbury Pica typeface which many QDLs of this vintage have.
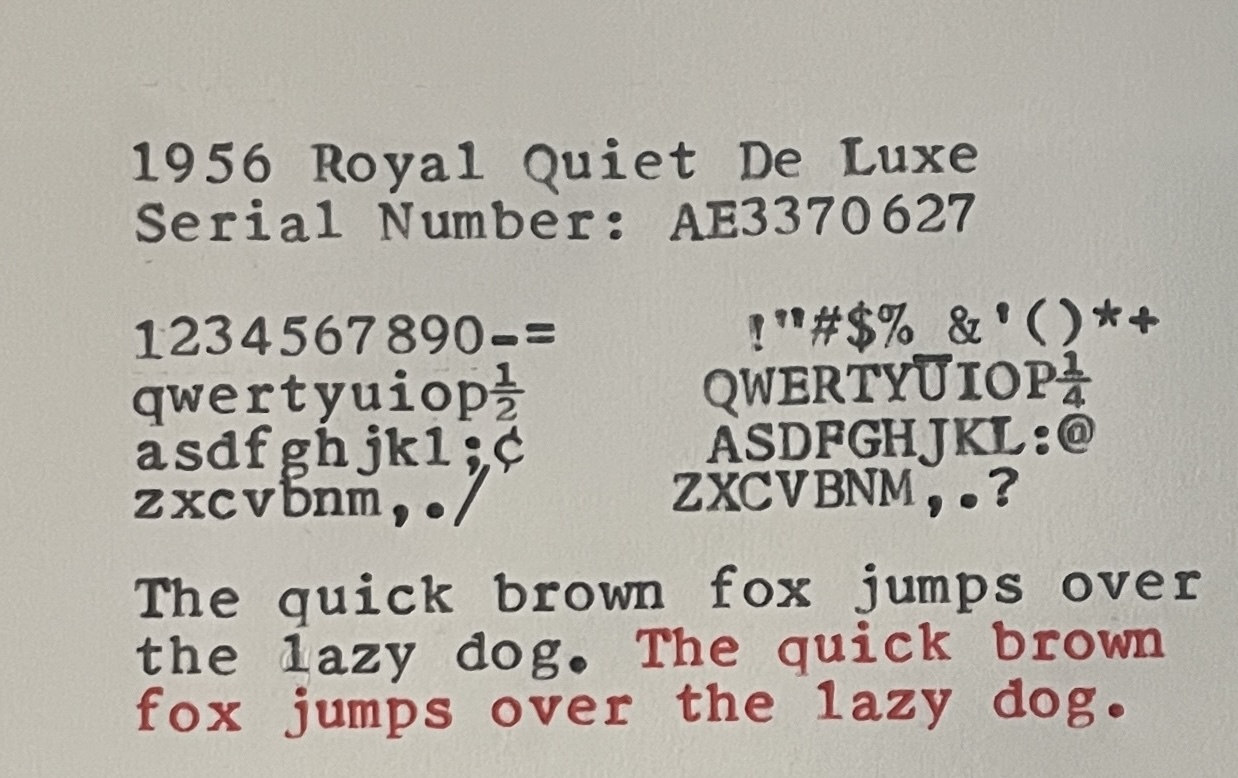
And here’s that phat and sassy little typer for a sweet little girl.
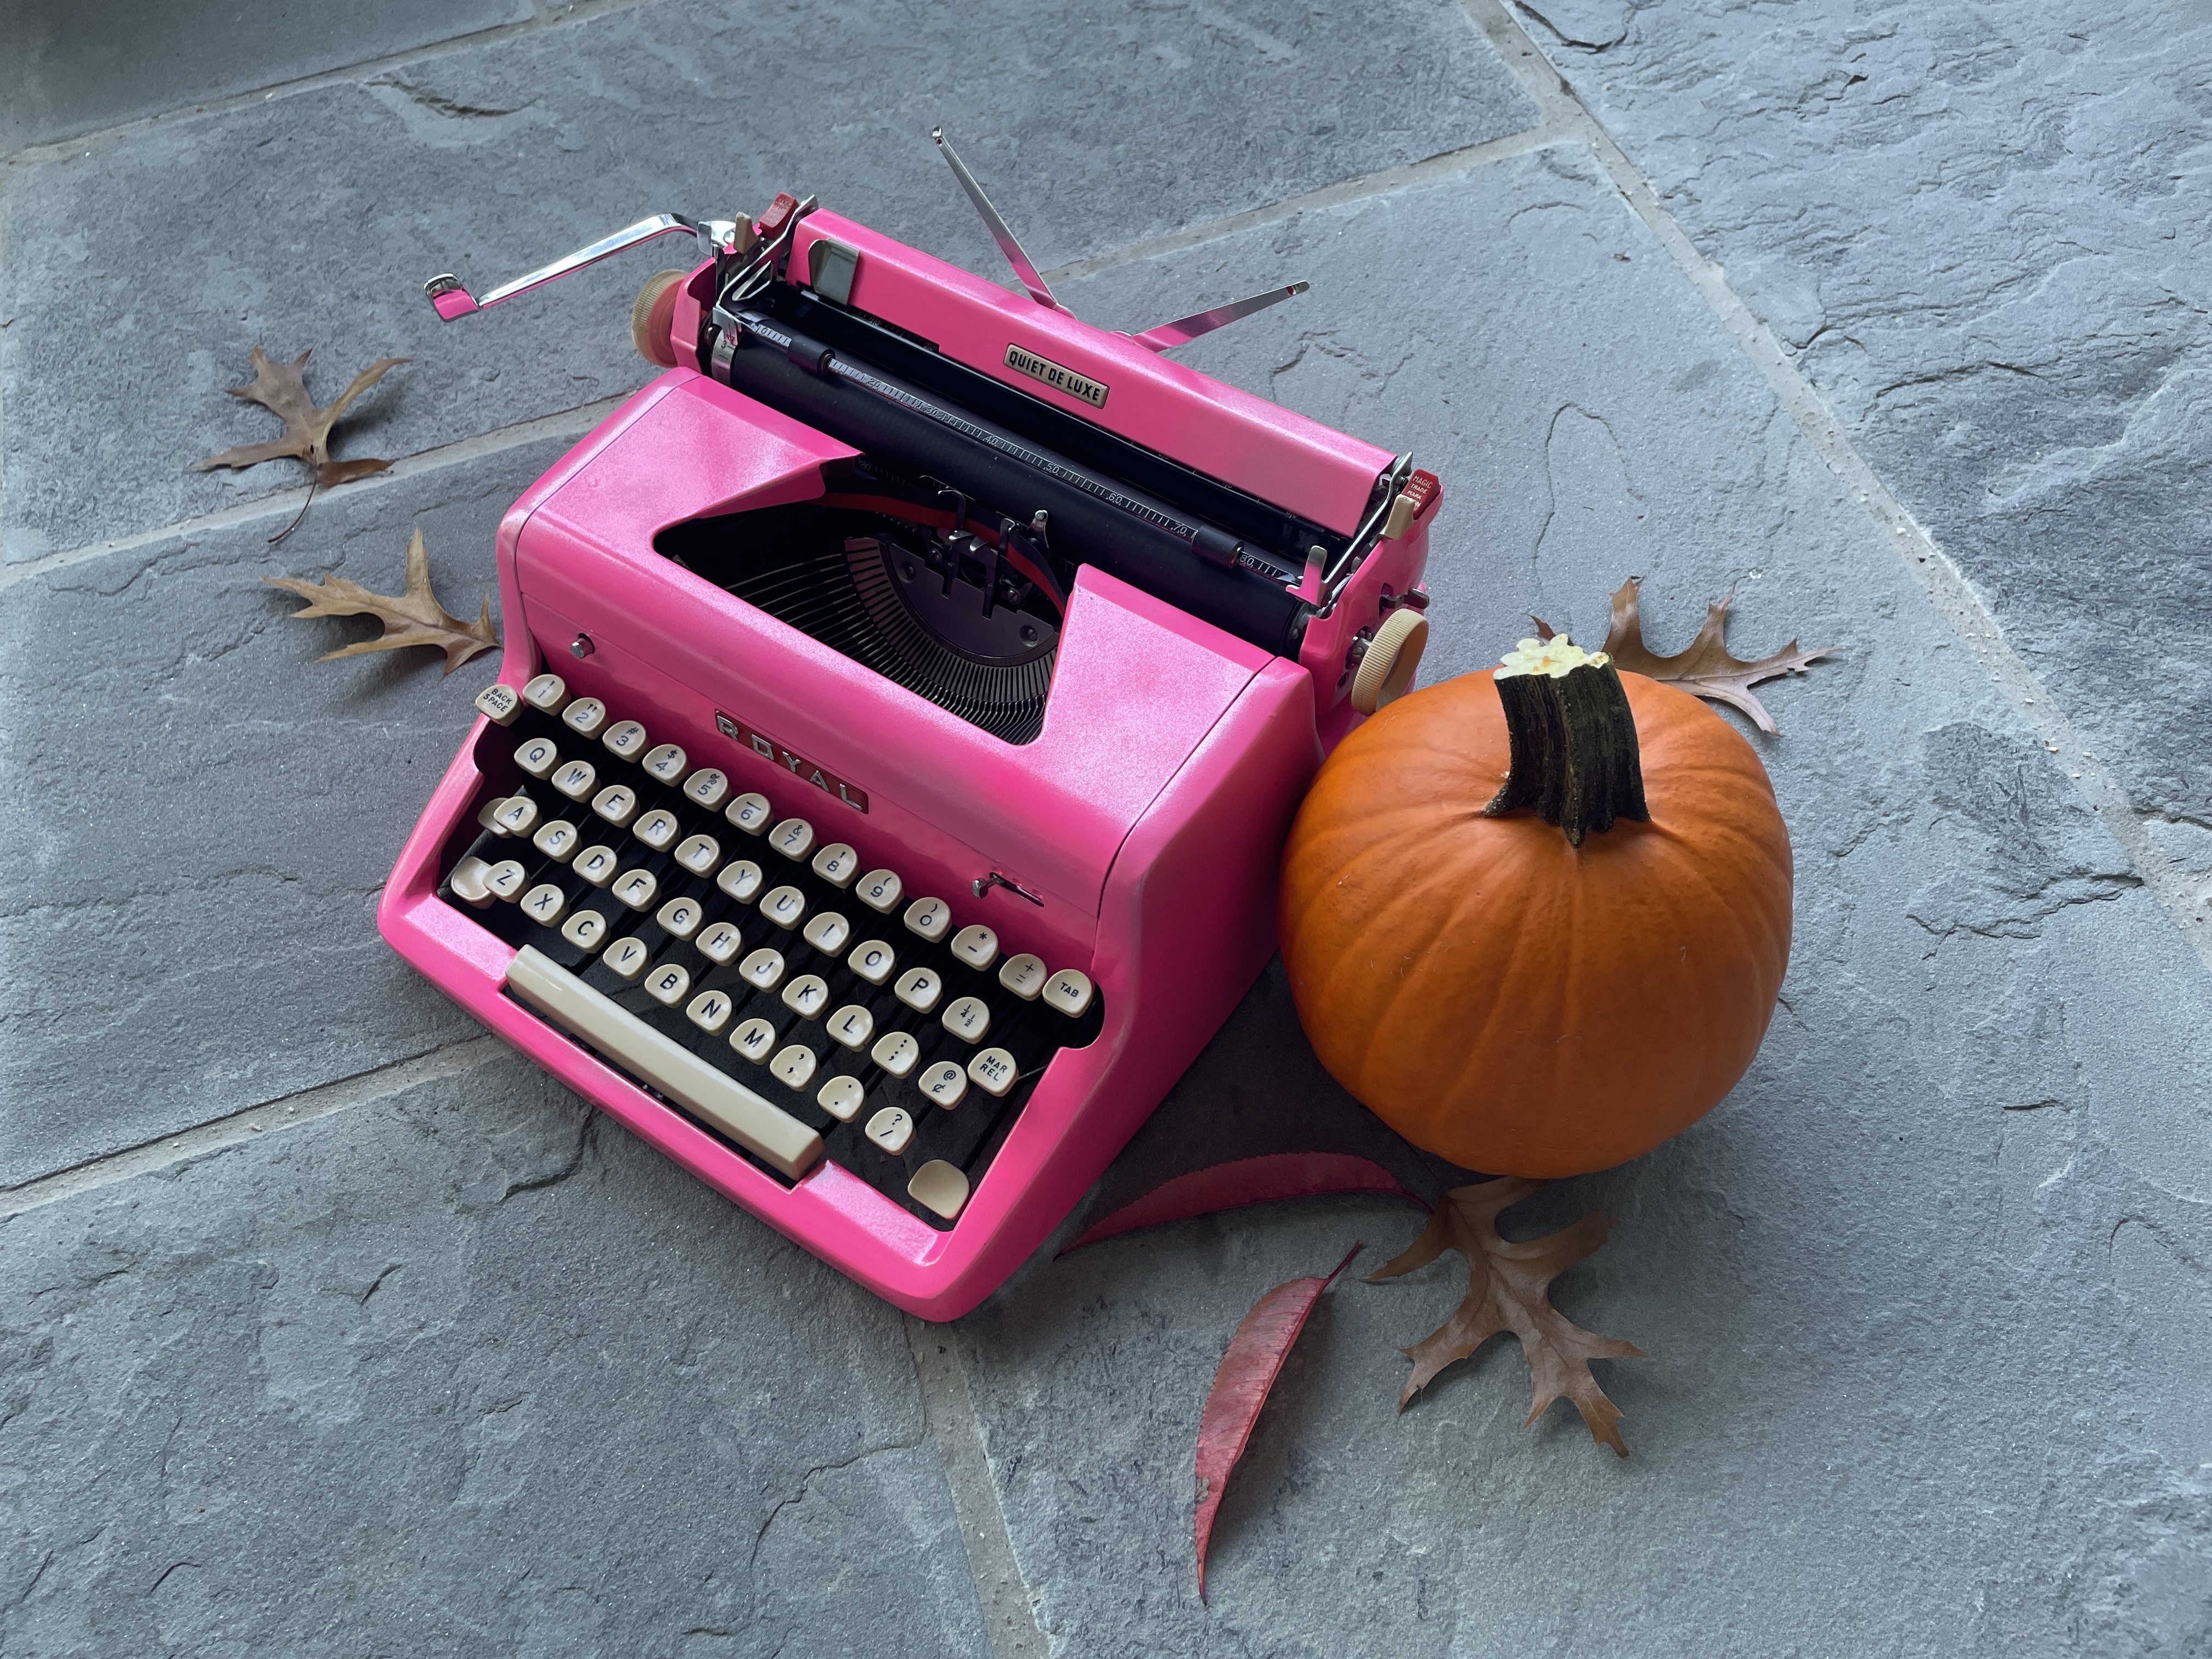
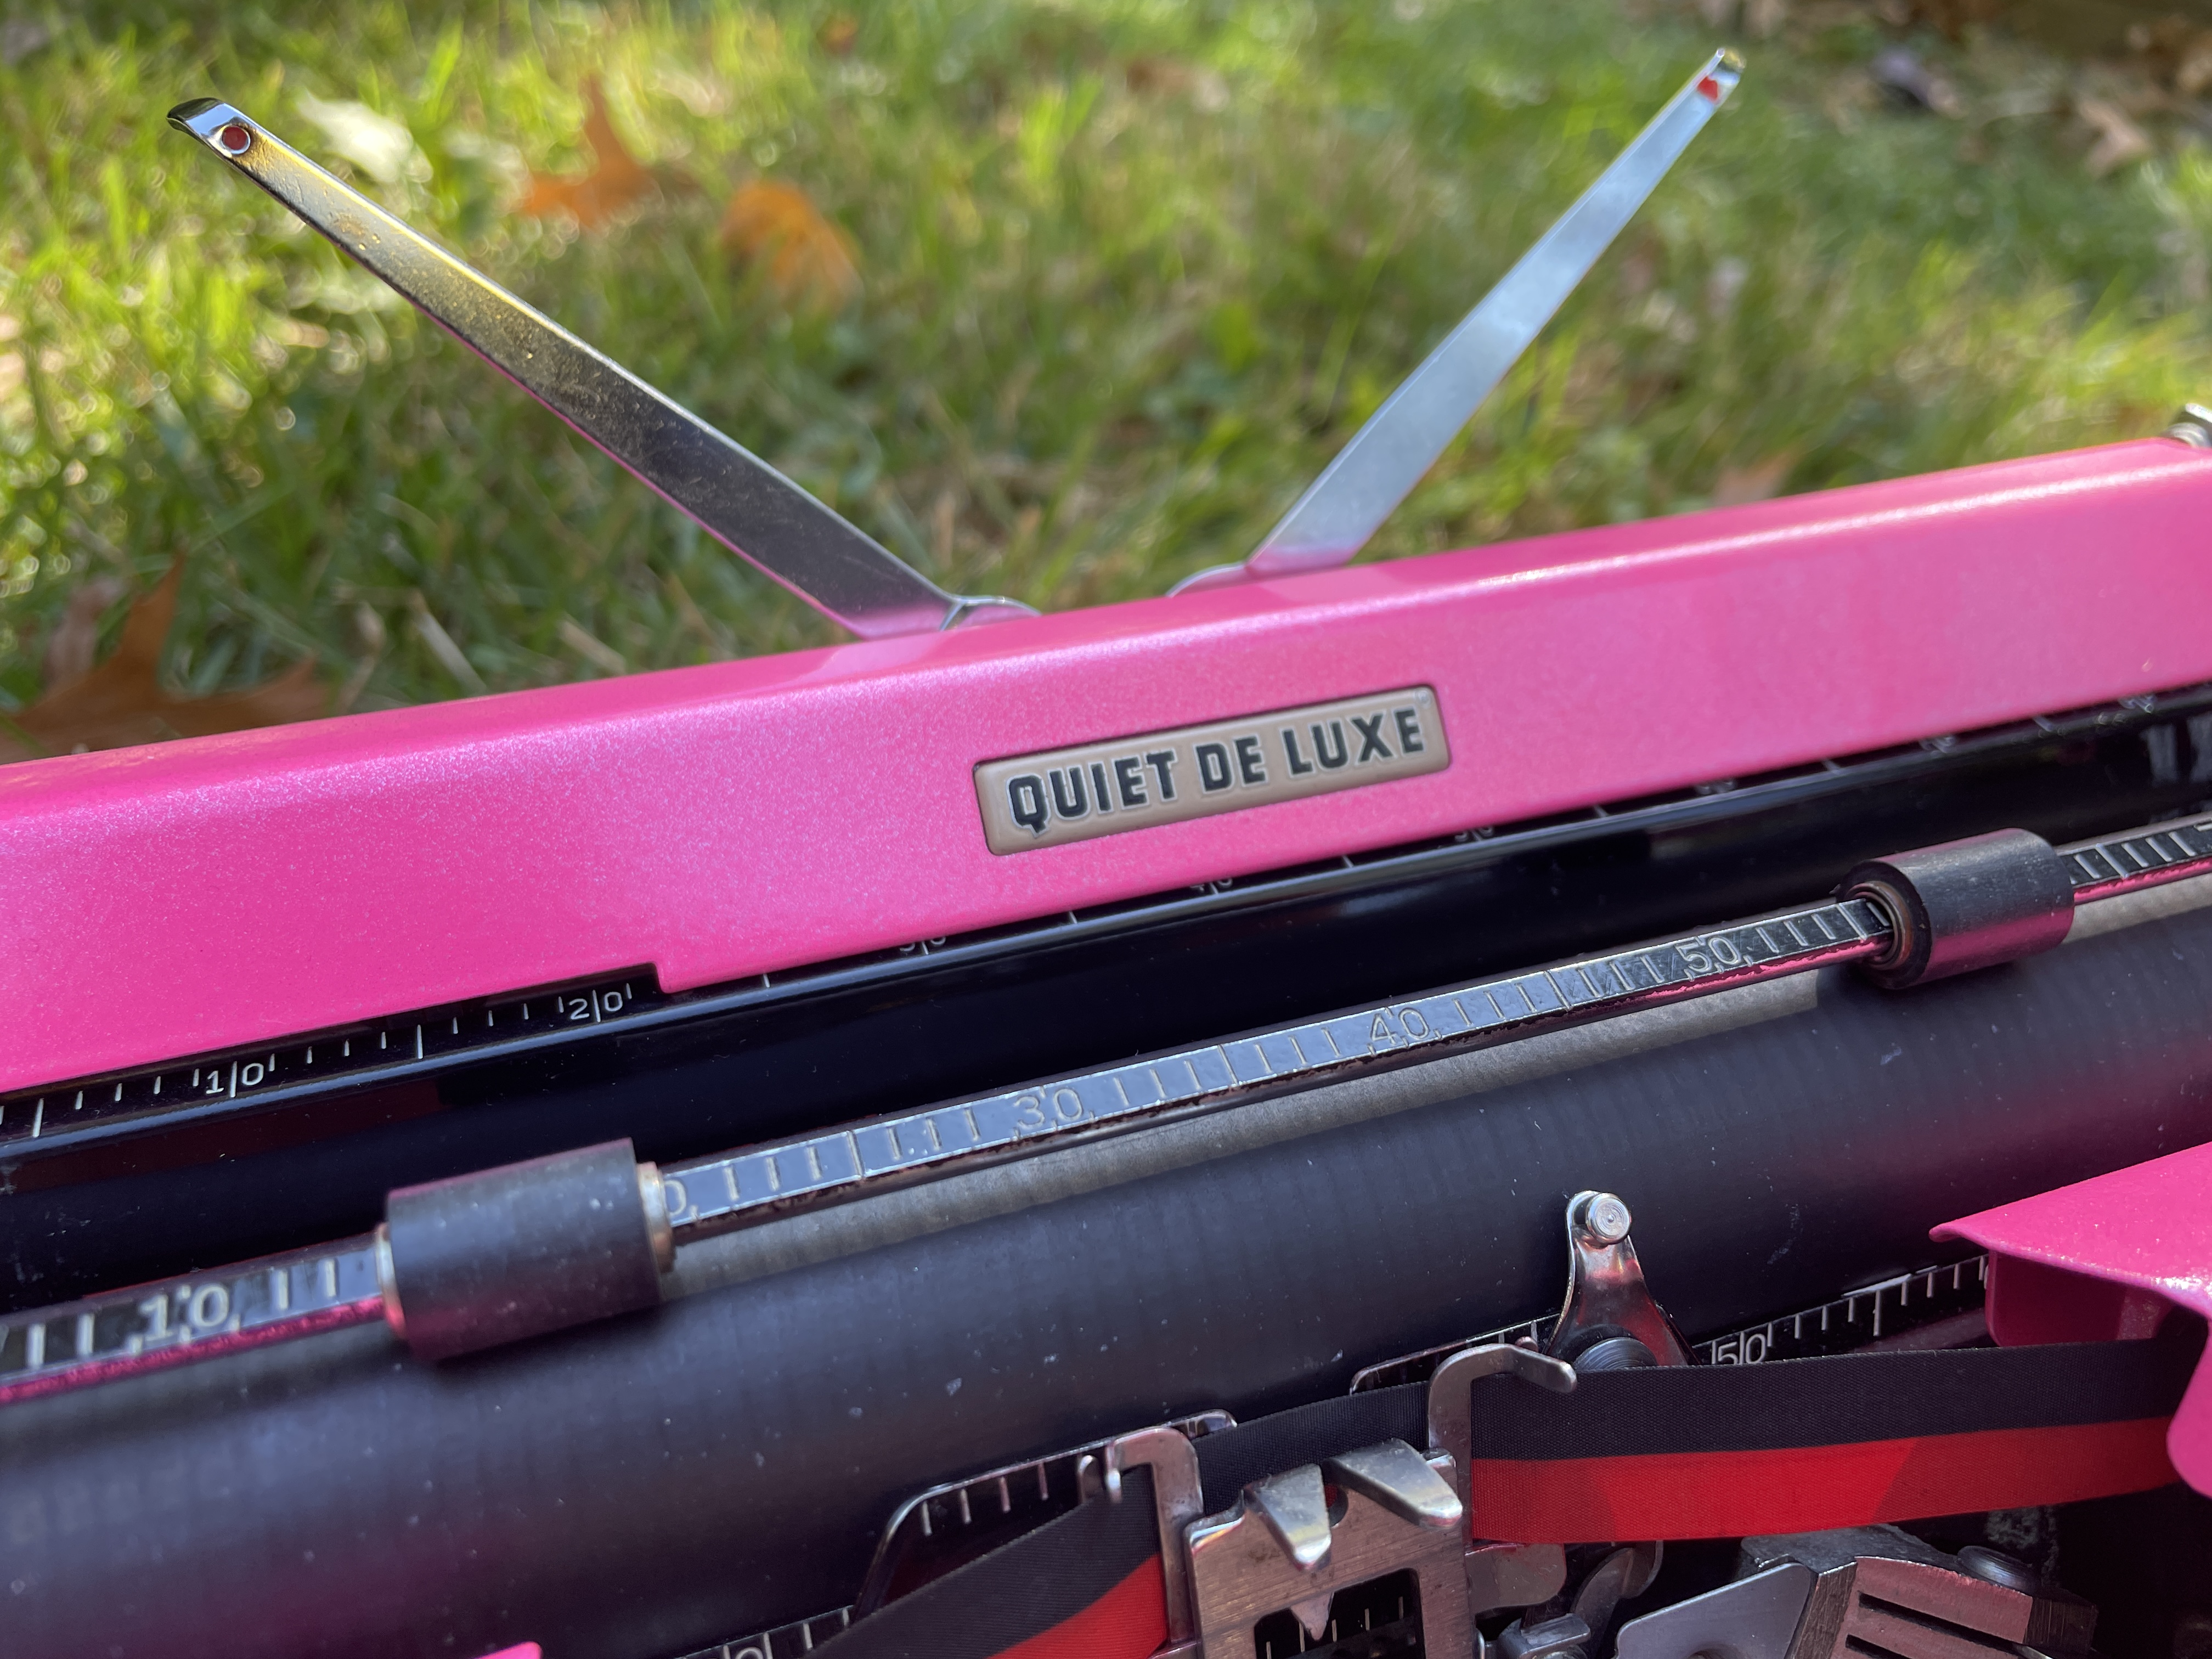
It’s not perfect. The coating seemed just a hair thin in spots. Perhaps I didn’t have enough voltage when I sprayed the powder. Or, it may be that the cast alloy body took the powder differently from the steel parts. I did a cold re-coat and cure and that evened out the paint. The coating has a shimmery, translucent effect so it’s not too noticeable. I’m considering another touch-up respray of one small area that it still slightly thin, but I’ll let Monica and Stephen make the call.
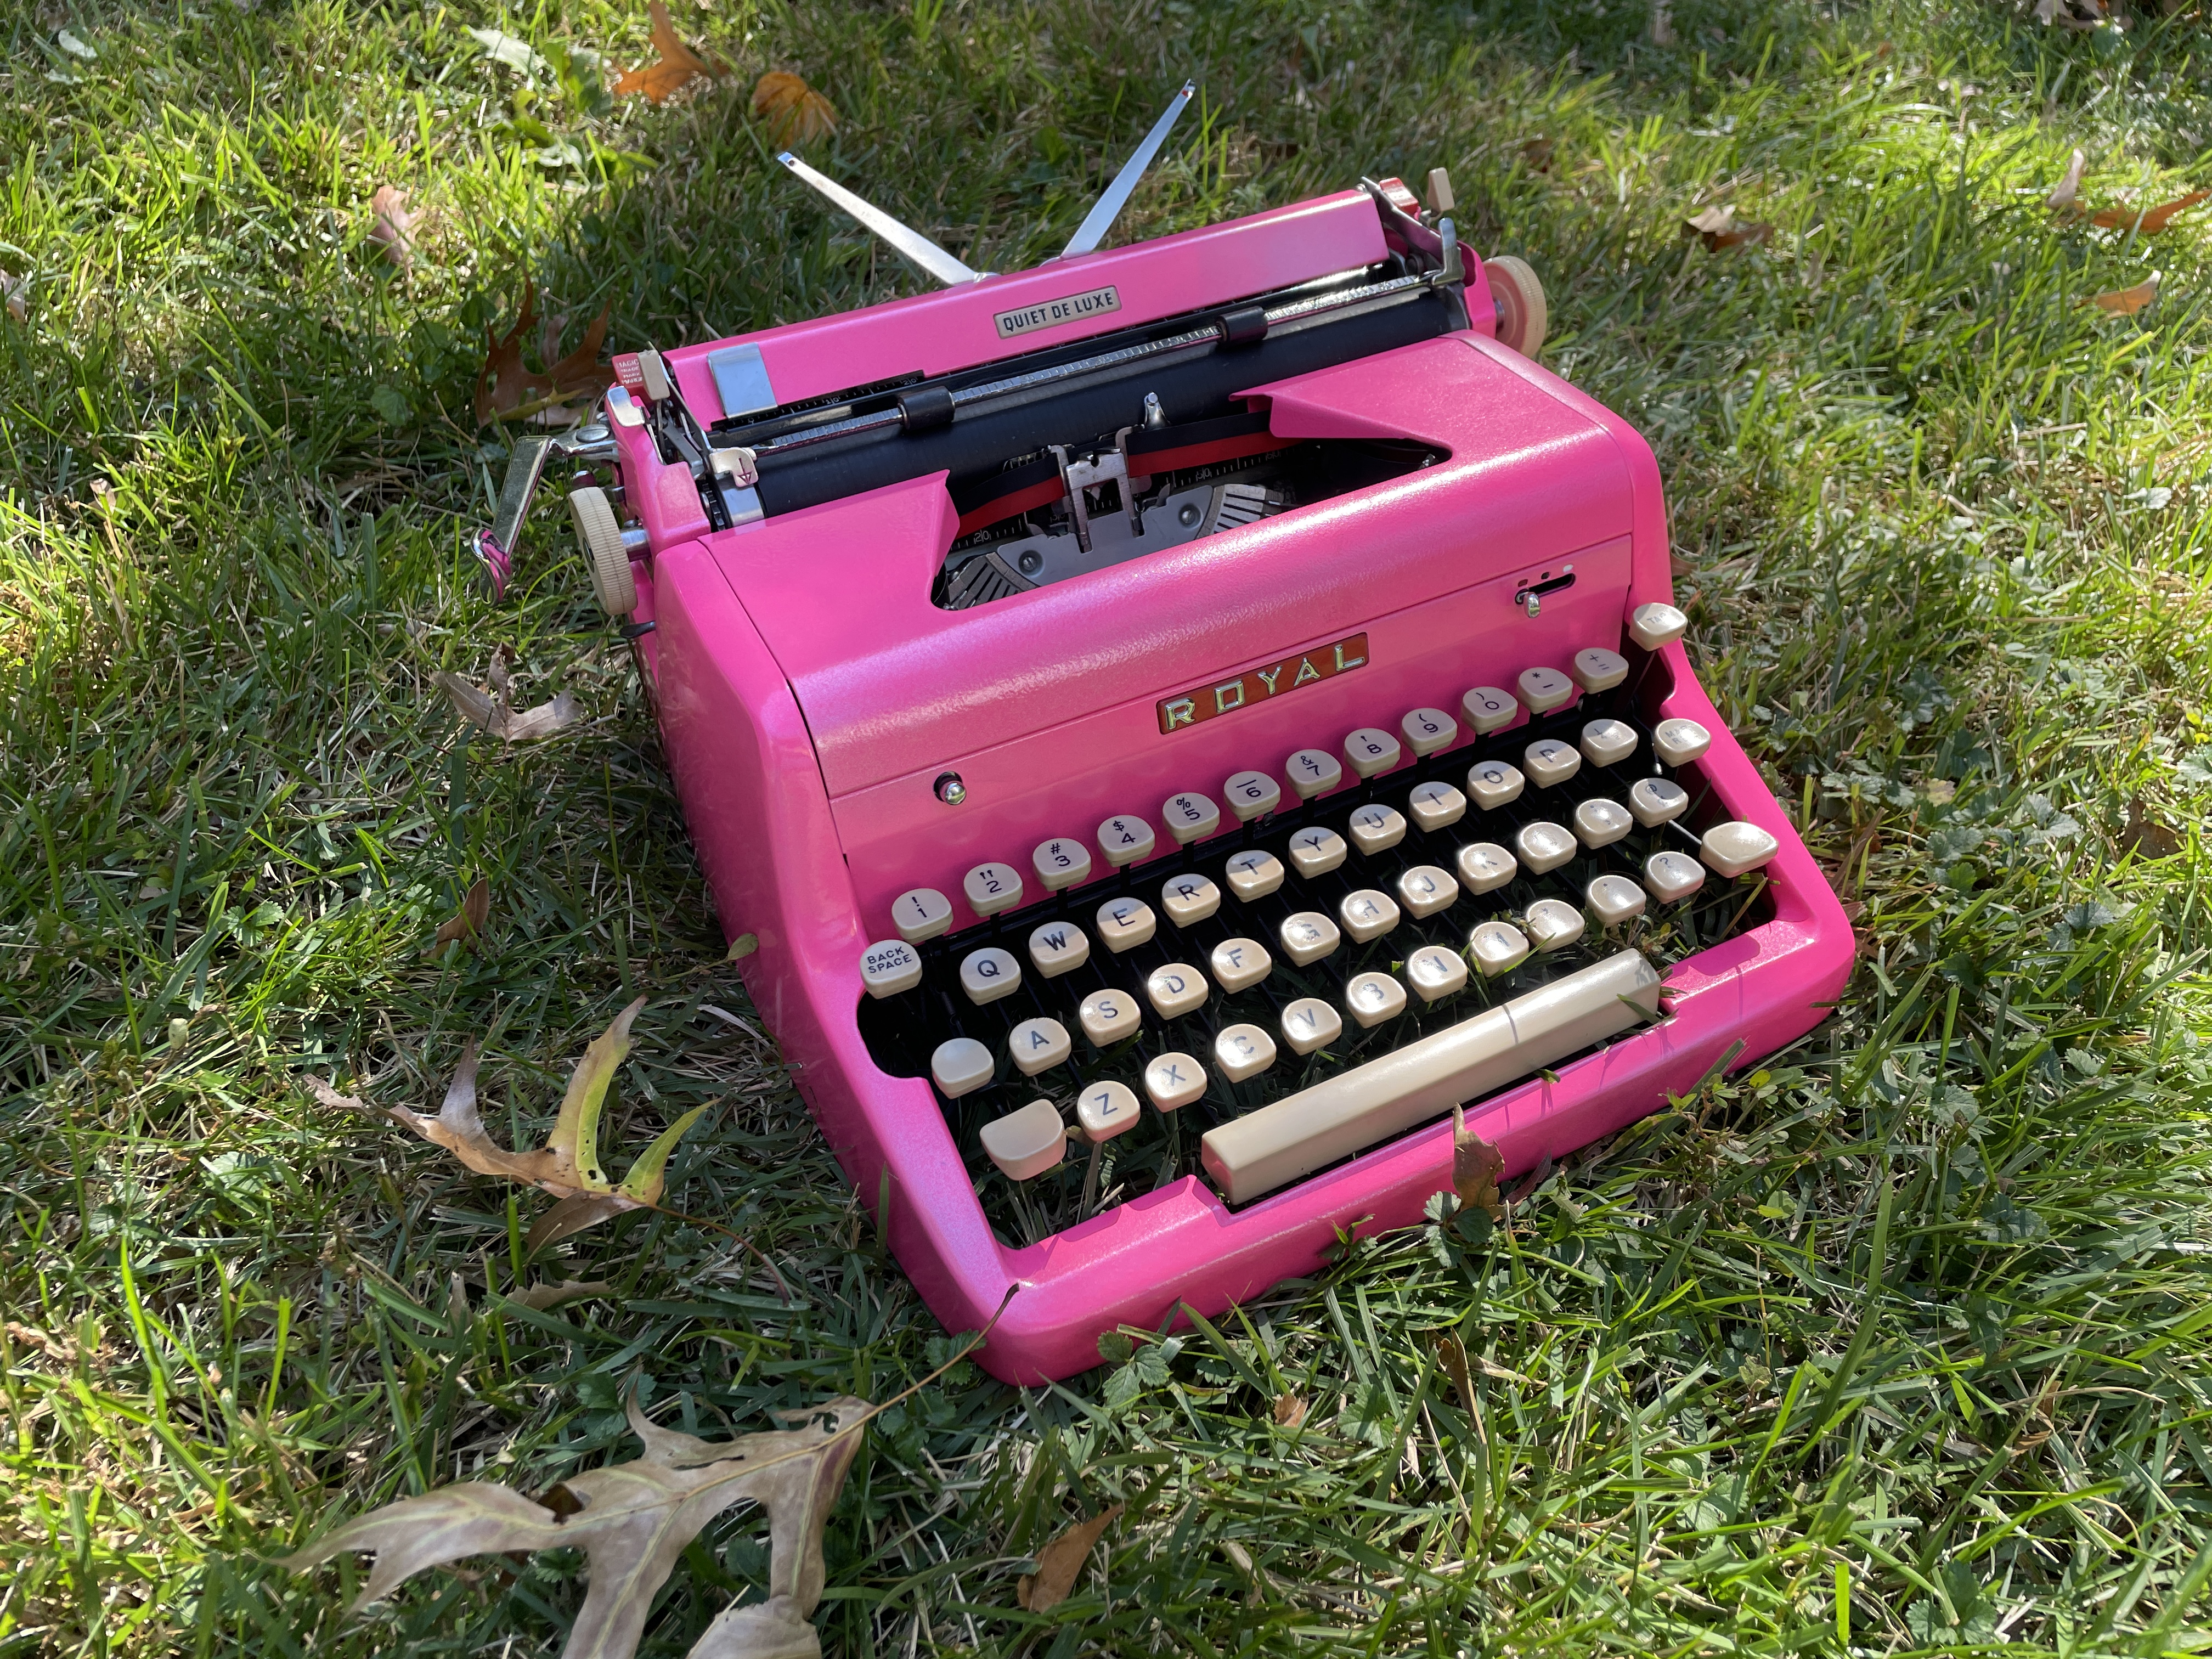
Cosmic Sassy Mae Jemison is sitting pretty in pink and soaking up the warmth of the autumn sun. She says: Hit reset. Get out there. Touch grass. Find your people.
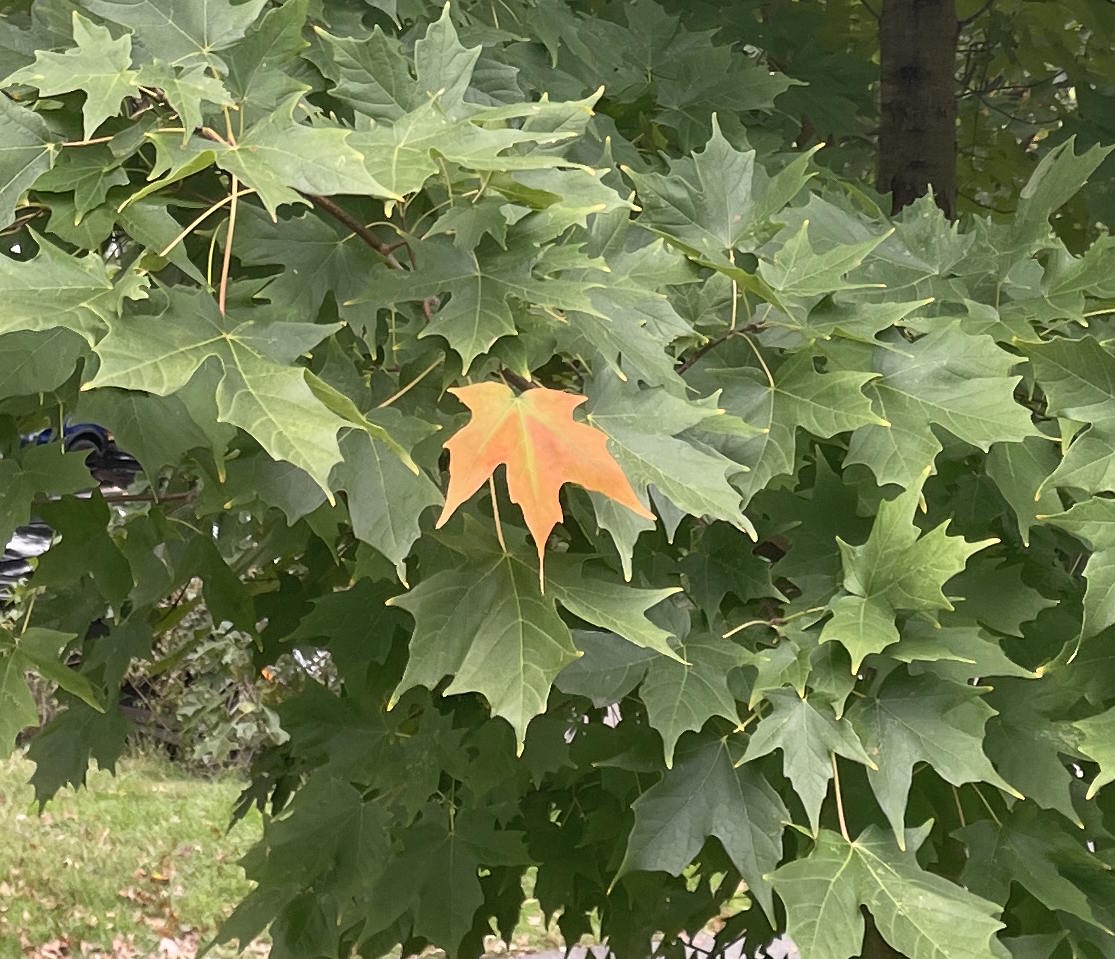
The first leaf of our maple tree has changed color. Fall is here.

