I’m very frugal, but I savor the little thrill I get from splurging on a deliciously awful junker typewriter. Typewriters are my hobby, my creative outlet. Sometimes you just have to live a little.
I recently bought a derelict 1957 Olympia SM3 from an eBay seller in Florida. It was $100. I know, but I really enjoy working on Olympia SMs. I have a theory that, like a Kalashnikov buried for years, they are almost indestructible. Built with high quality materials, Olympia SMs usually clean up beautifully. Since they are very common, there is a lot of documentation out there on them: service manuals, forums posts, YouTube videos.
At eBay, I told myself I was just looking for a case for the Olympia SM4 I recently cleaned up. Suddenly, I was looking at this beauty of an eBay listing and getting very excited:
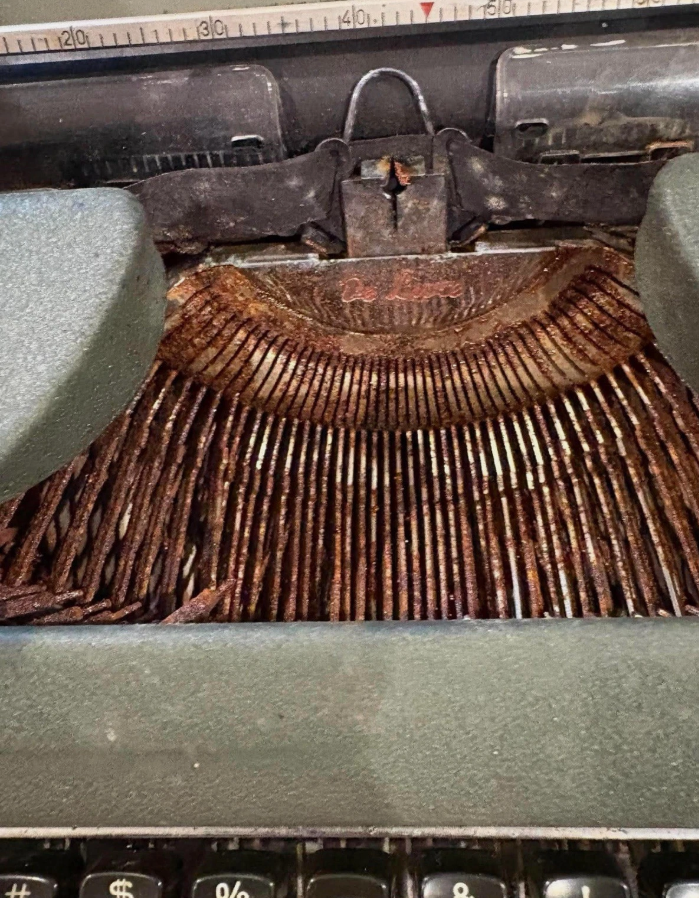
The seller was honest in the pithy description:

In its favor: a case with what appeared to be only very slight damage in the back right corner, intact plastic card guides, and a wealth of other Olympia SM parts . The machine was very rusty but looked complete, so I rolled the dice, pressed “Buy Now”, and waited for it to arrive.
It showed up in a box with two other boxes for packing materials.
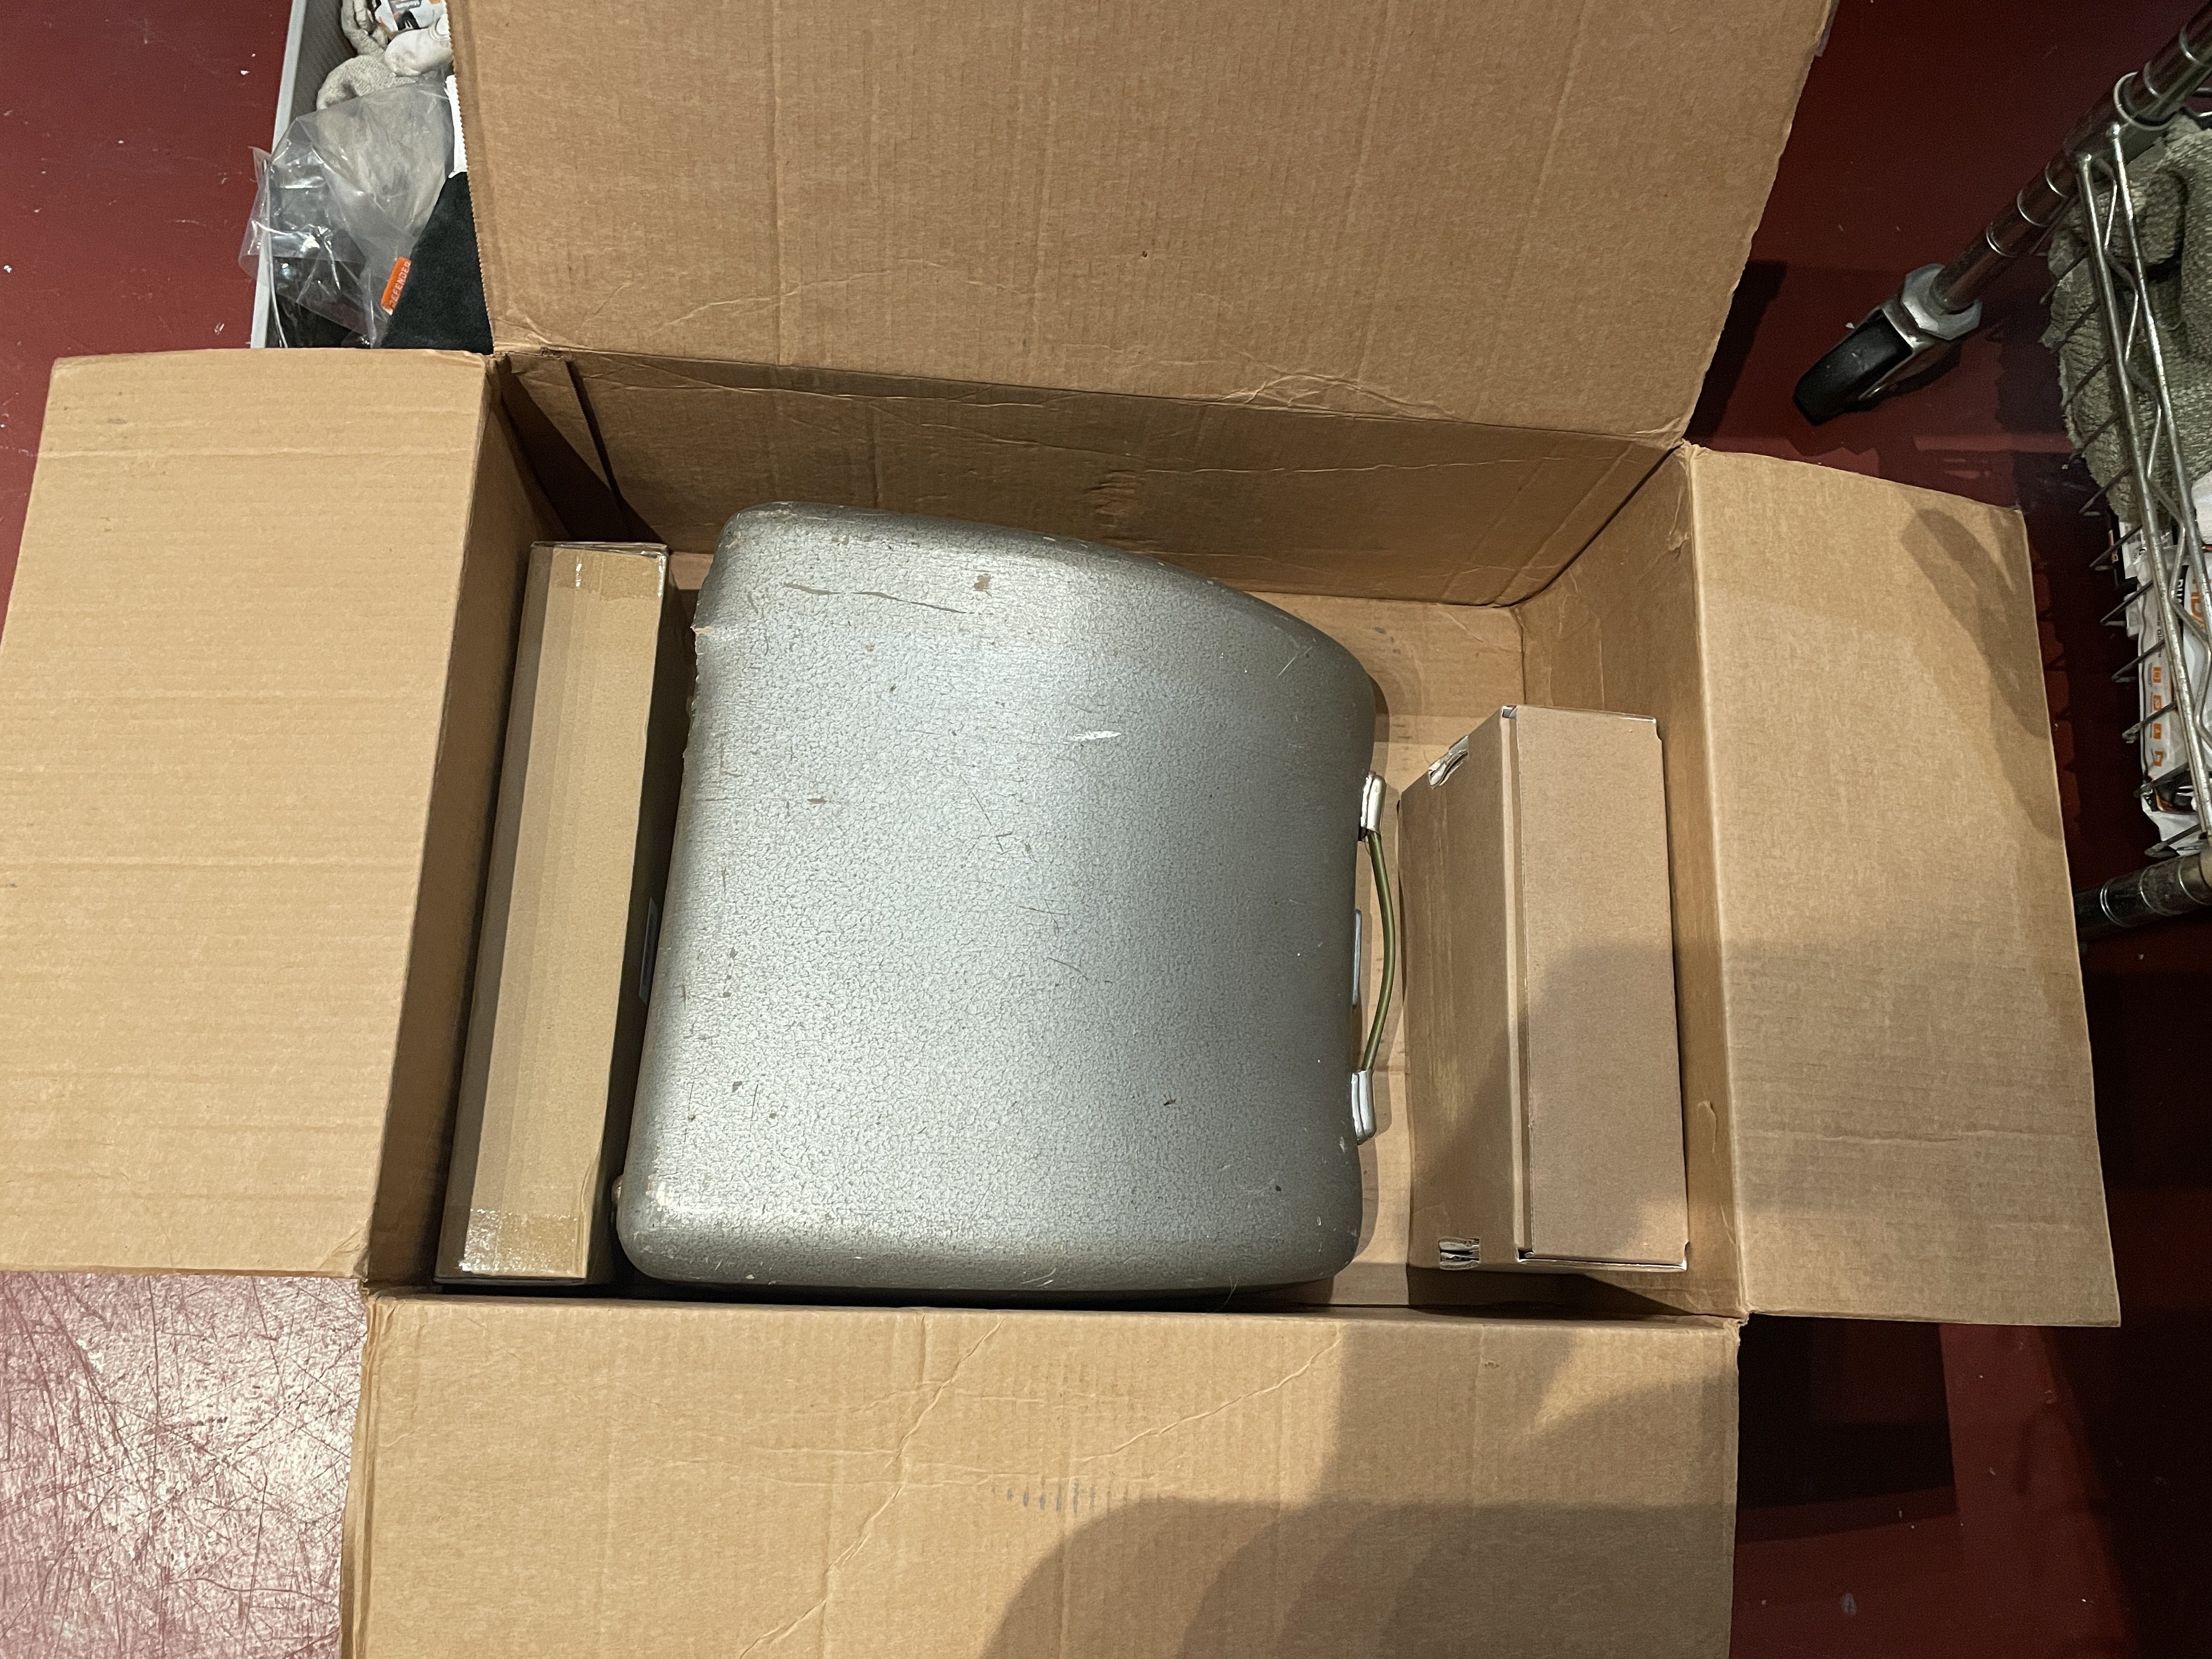
Amazingly, the machine was clipped into its case and perfectly fine—except that it was about to fall apart from rust.
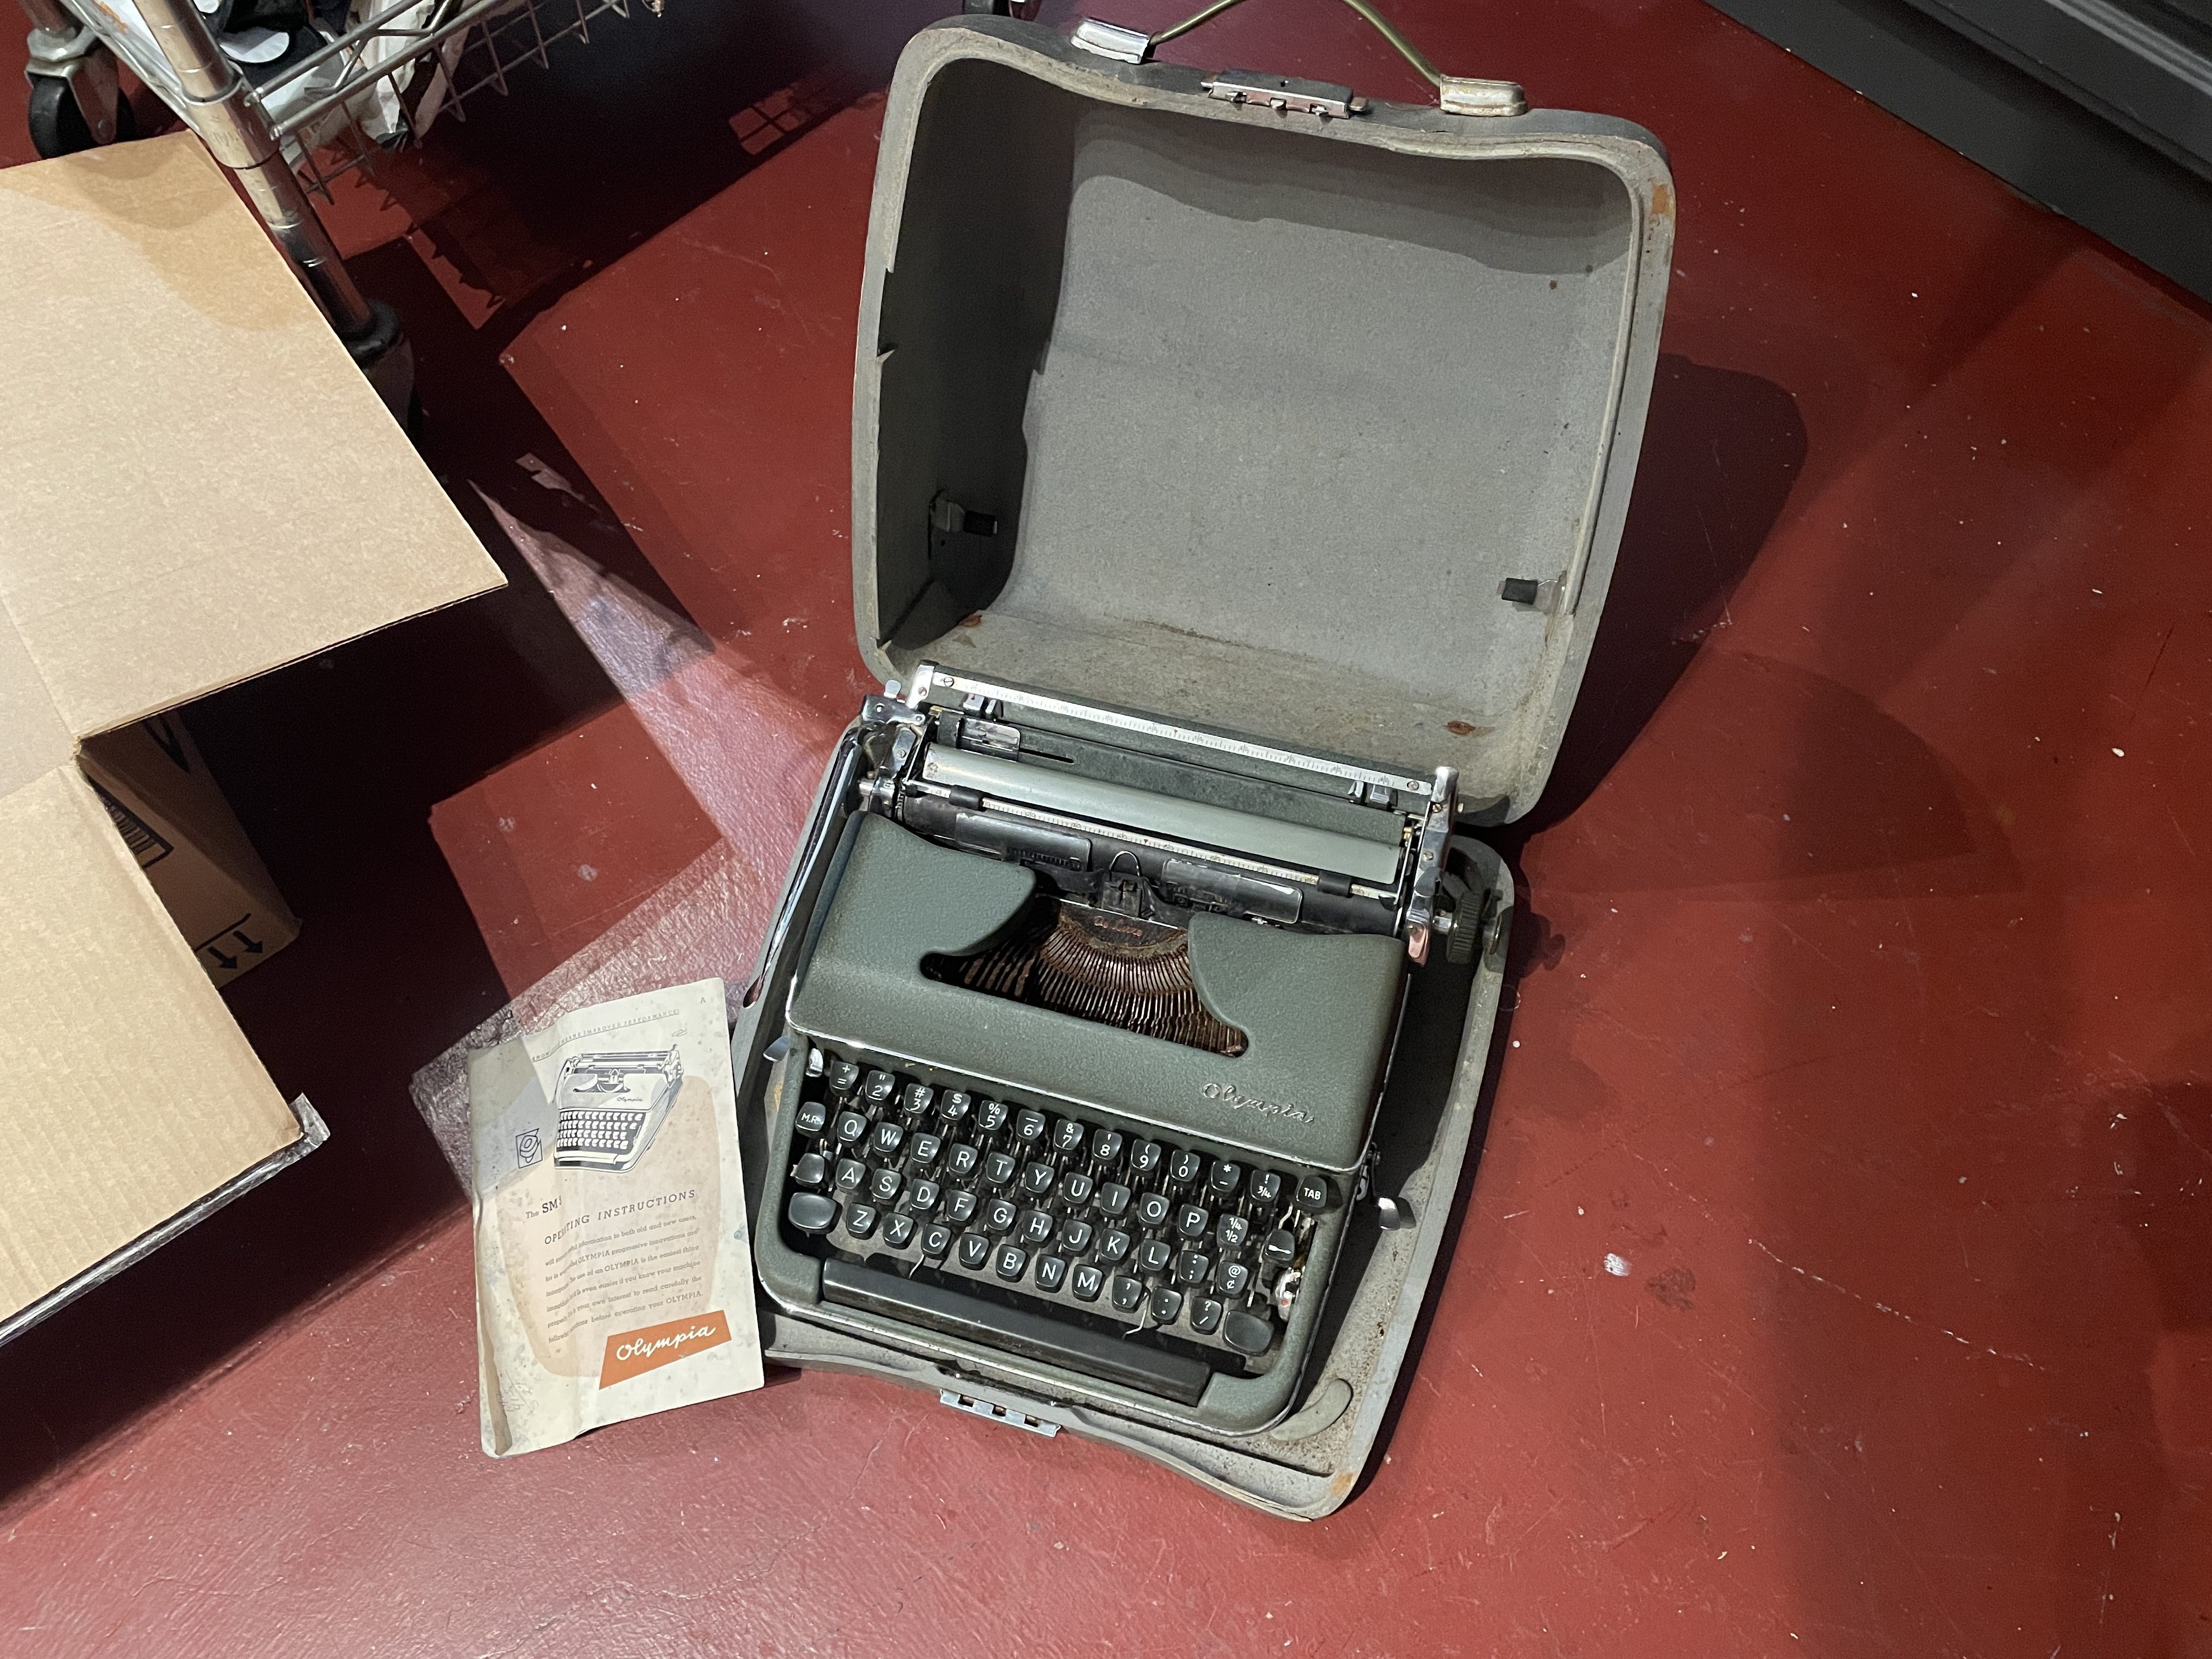
Wow. It was one crispy critter:
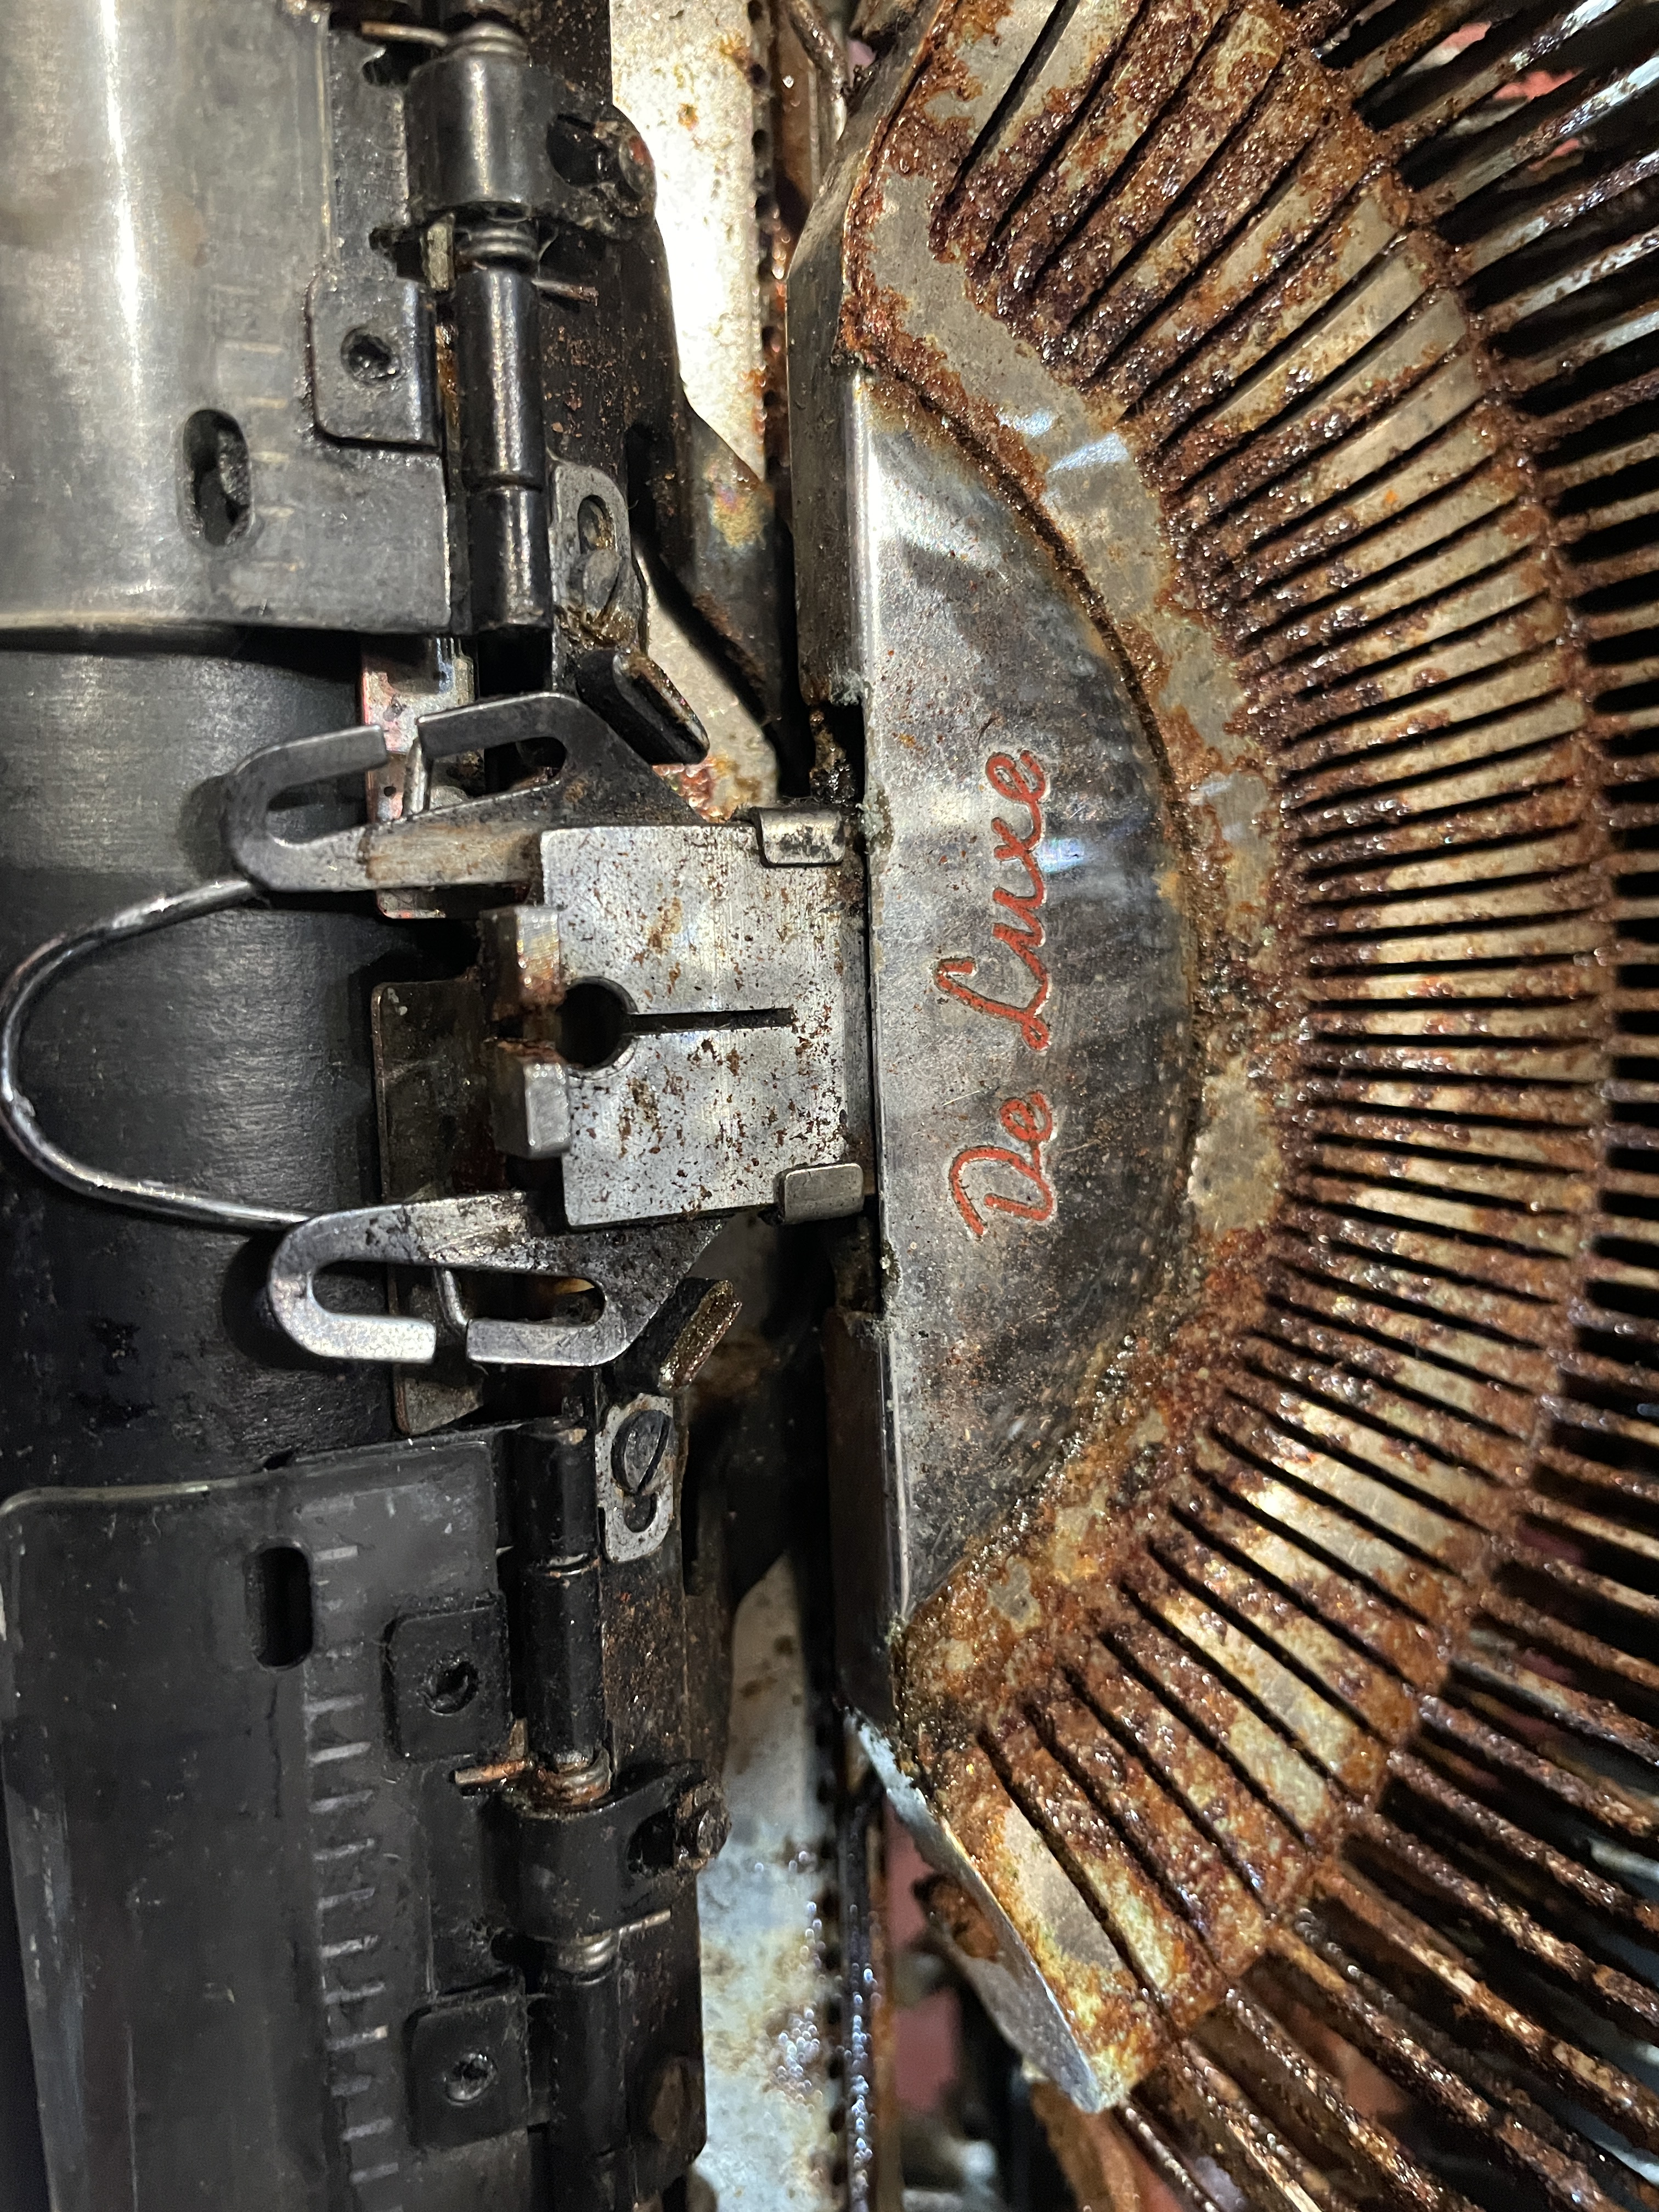
Weirdly, the green cover plates had very little rust on it. Perhaps the paint was protective.
I started dismantling immediately. Though all the typebars were frozen in place, the space bar worked a little:
That space bar gave me heart. This typewriter would type again! Besides the rust, the machine was fairly clean inside. There were, however, the bodies of dead potato bugs clinging to the guts. Blug. Skeeved out.
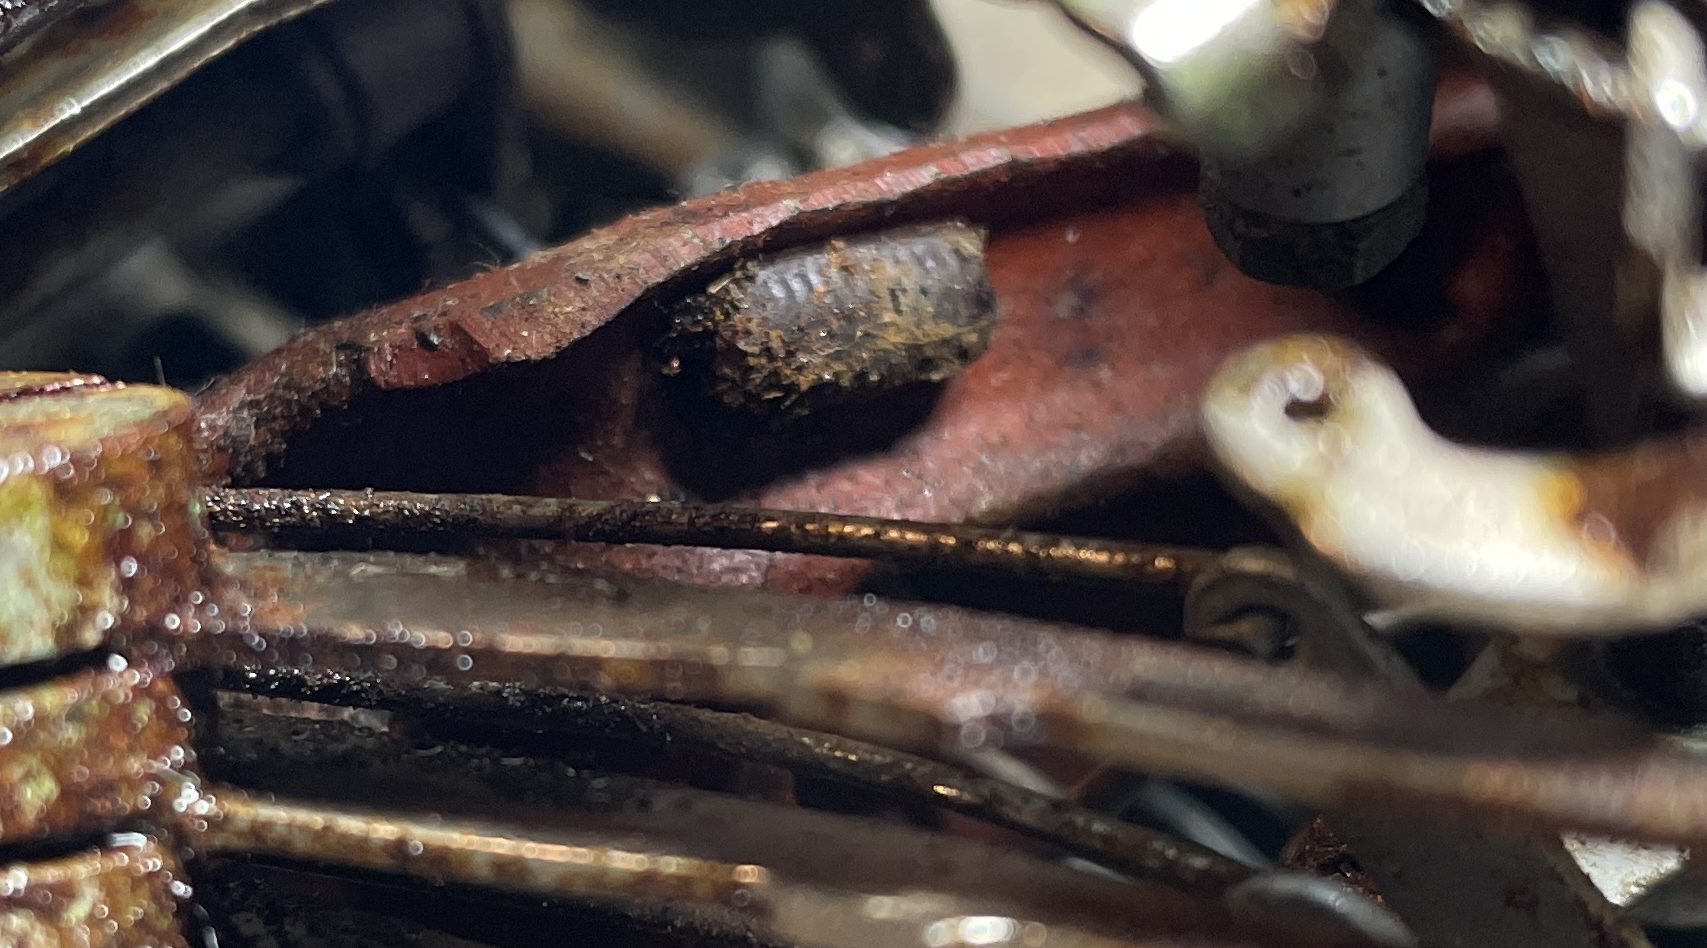
Tangent #1: a potato bug is the common name for a member of the Armadillidiidae family of woodlice, a terrestrial crustacean group.
Tangent #2: my use of the word “potato bug” is a give-away to my Pacific Northwest dialect origins. My family has been entertaining themselves this past weekend with the https://mydialect.us/ dialect quizzes.
Back to the story: the rust was baaad. It had eaten through many small springs. Note the potato bug corpse in this picture.
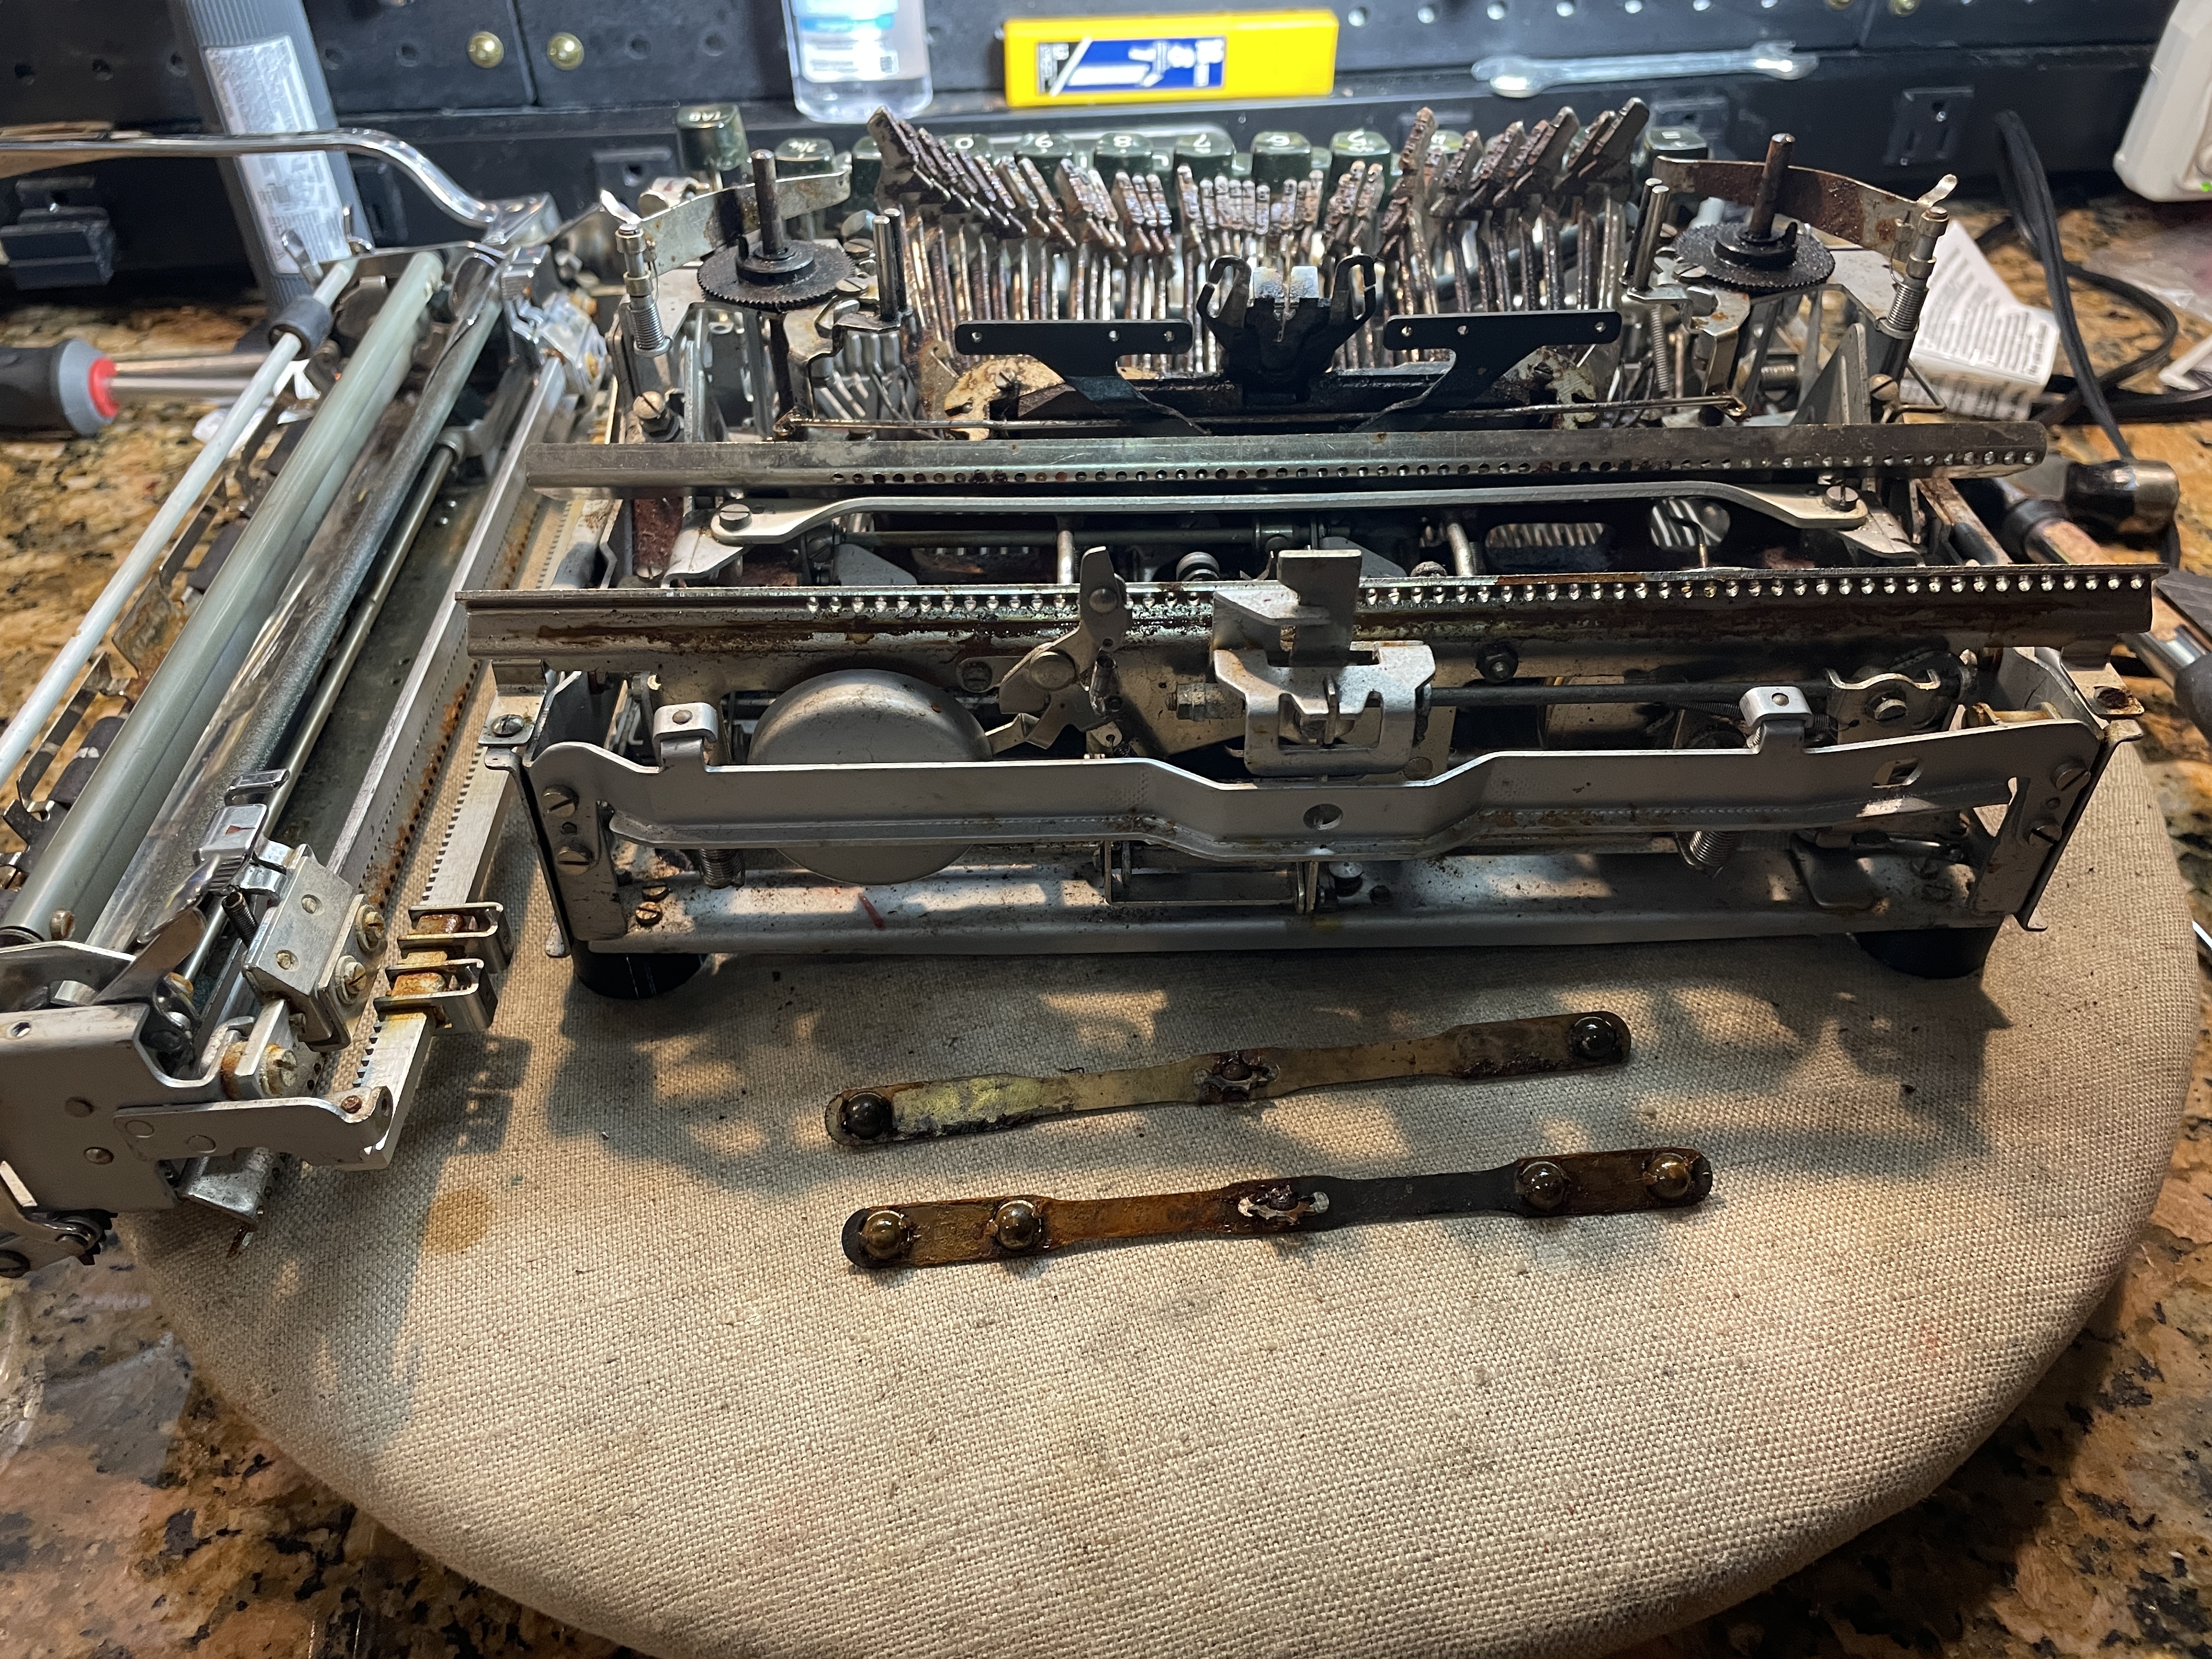
Getting the carriage off this rusty machine was a struggle. The rails and carriage bearings were gritty and stuck in spots. I eventually rolled the carriage off the rails with some effort.
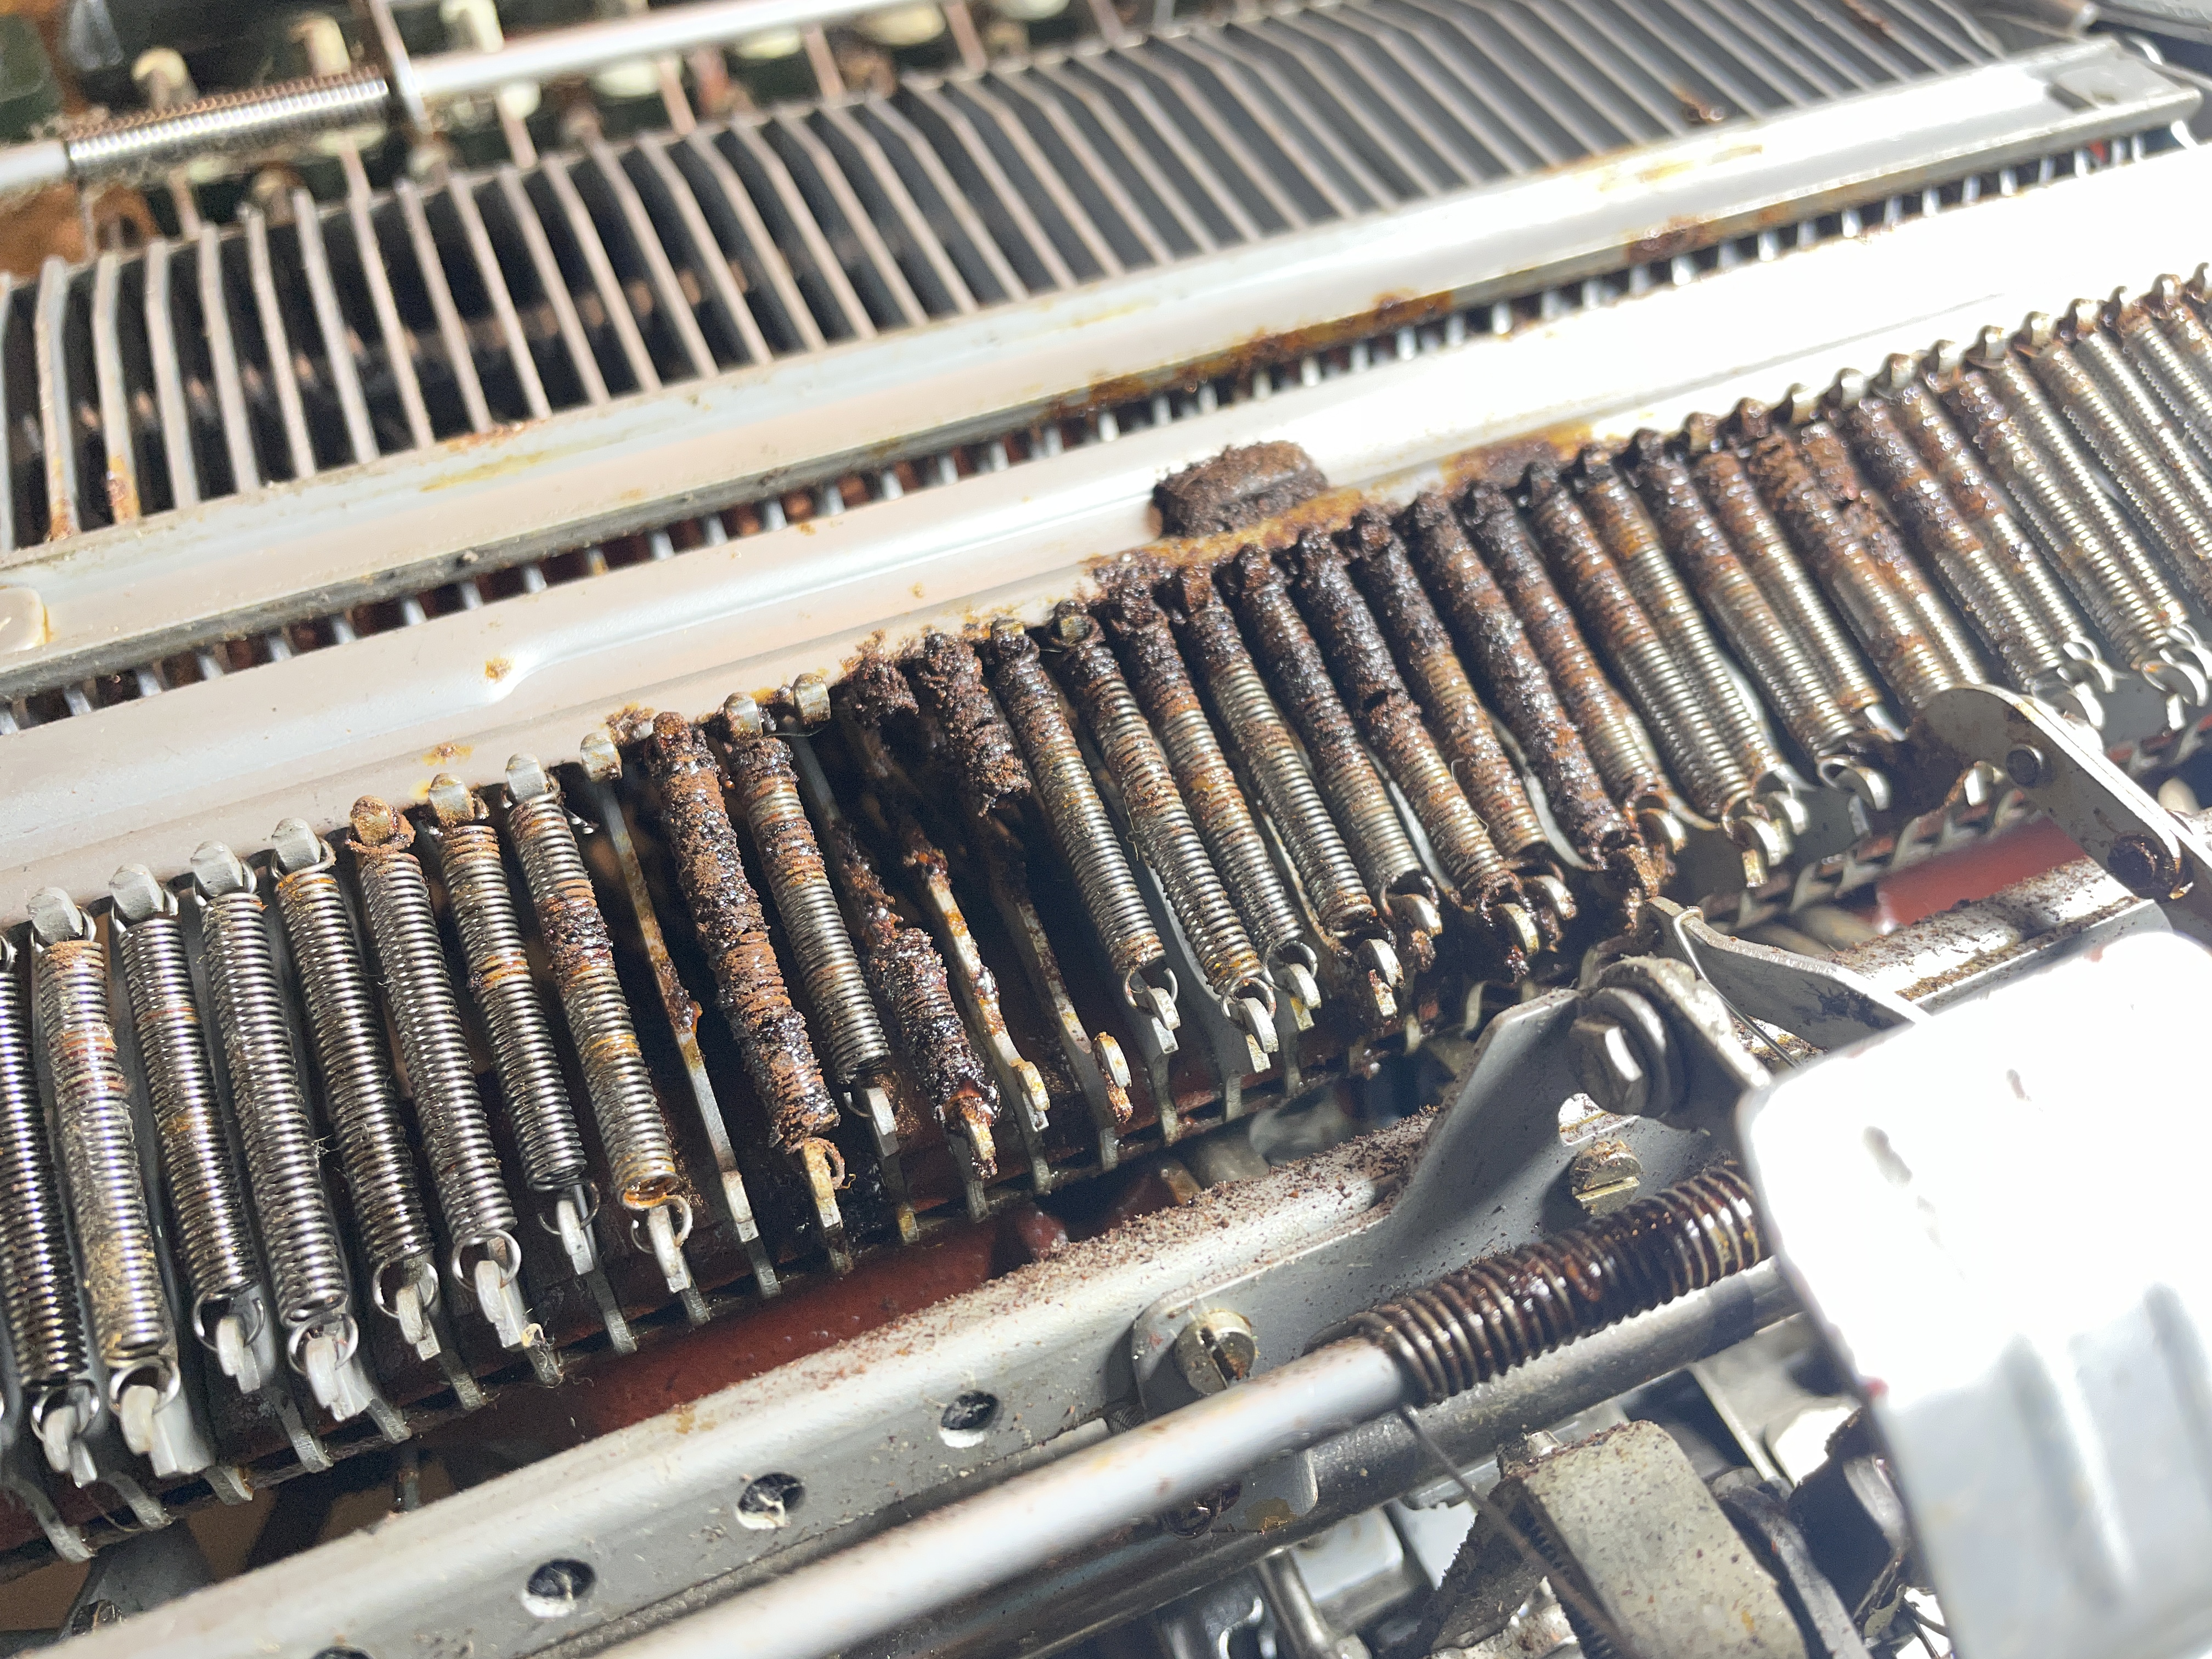
The rust was worst in the segment. I worked and worked with penetrating solvent and couldn’t get them to move. I tried an overnight saturation with PB B’laster. I got a headache from the smell, but no progress.
I then made the difficult decision to do a dunk soak of the segment in grocery store vinegar. I had watched a video about rust removal with vinegar and decided to try my luck. The typebars were a solid mass of rust. I worried that I might break them if I tried to force them.
Please know that I don’t condone dunk cleaning typewriters at home. But, come on, look at what I started with:
I first washed out the machine with diluted Simple Green and Dawn dish detergent in steaming water. The bodies of dead potato bugs floated up. Skeevy. Fortunately, the smell of PB B’laster rinsed out.
I then went to the grocery and got a couple gallons of 5% vinegar.
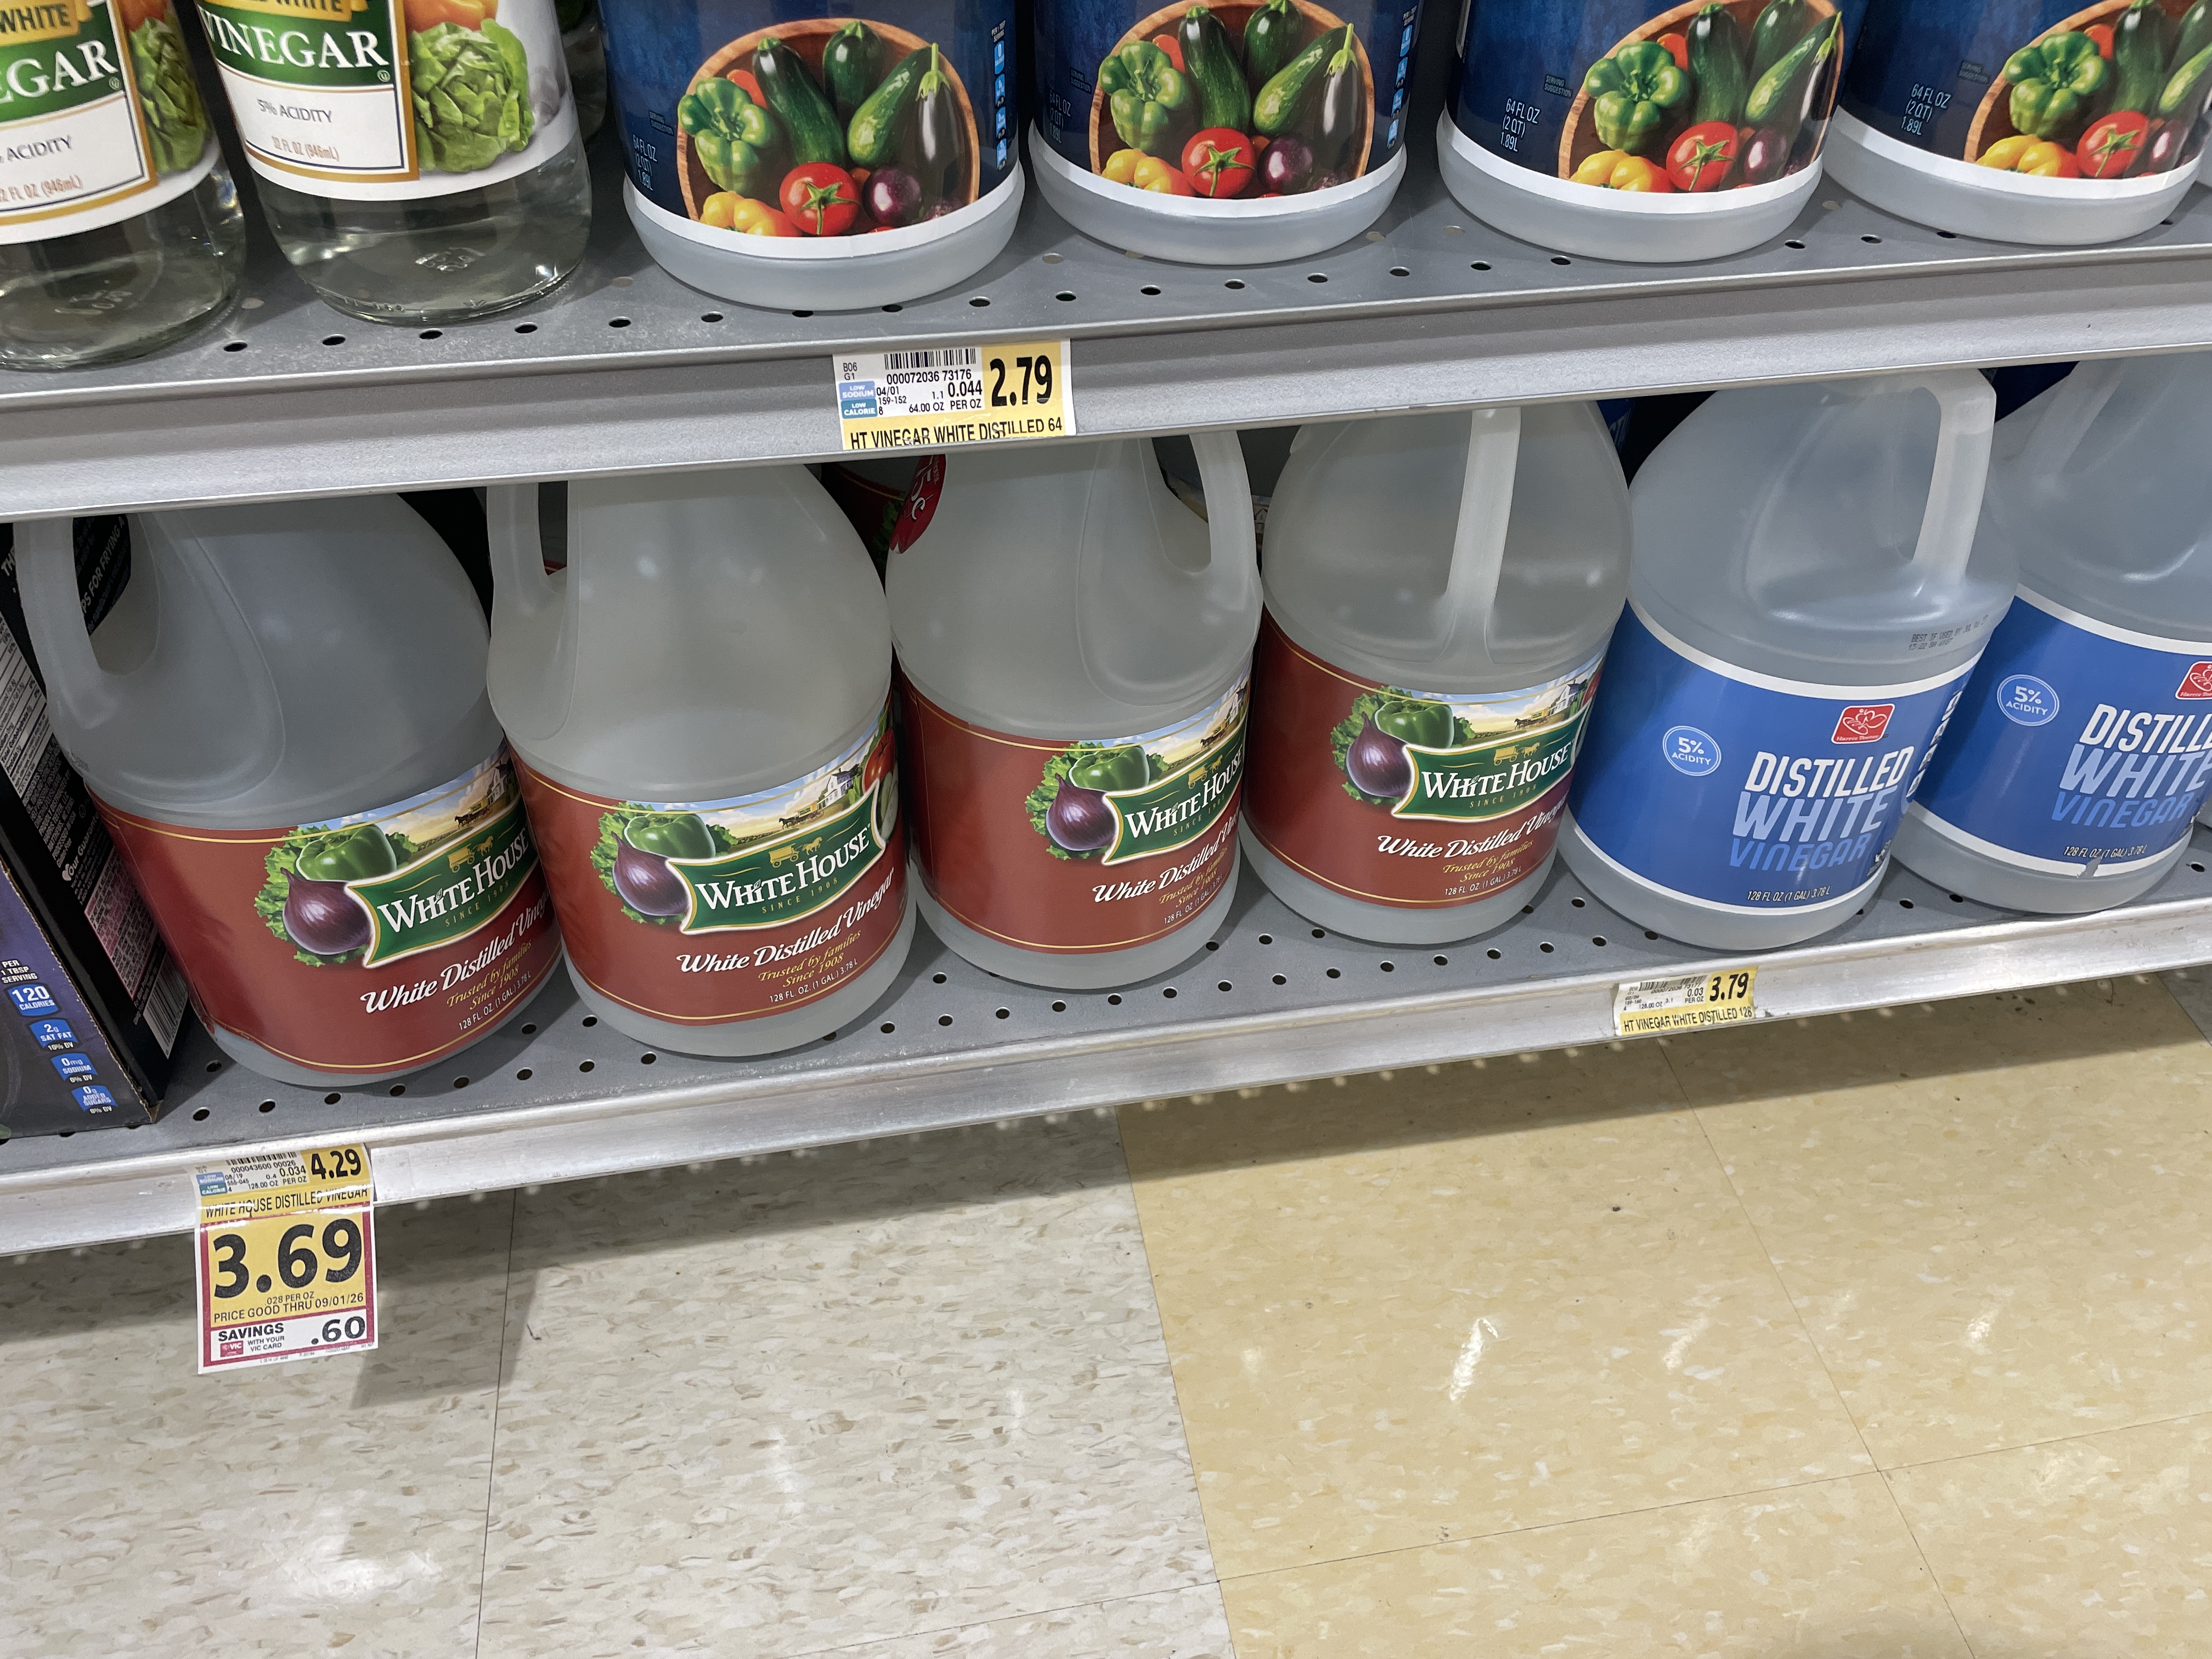
I heated the vinegar on the stove (I understand that it’s more effective when warmed) and poured it over the carriage-less body, covering the segment.
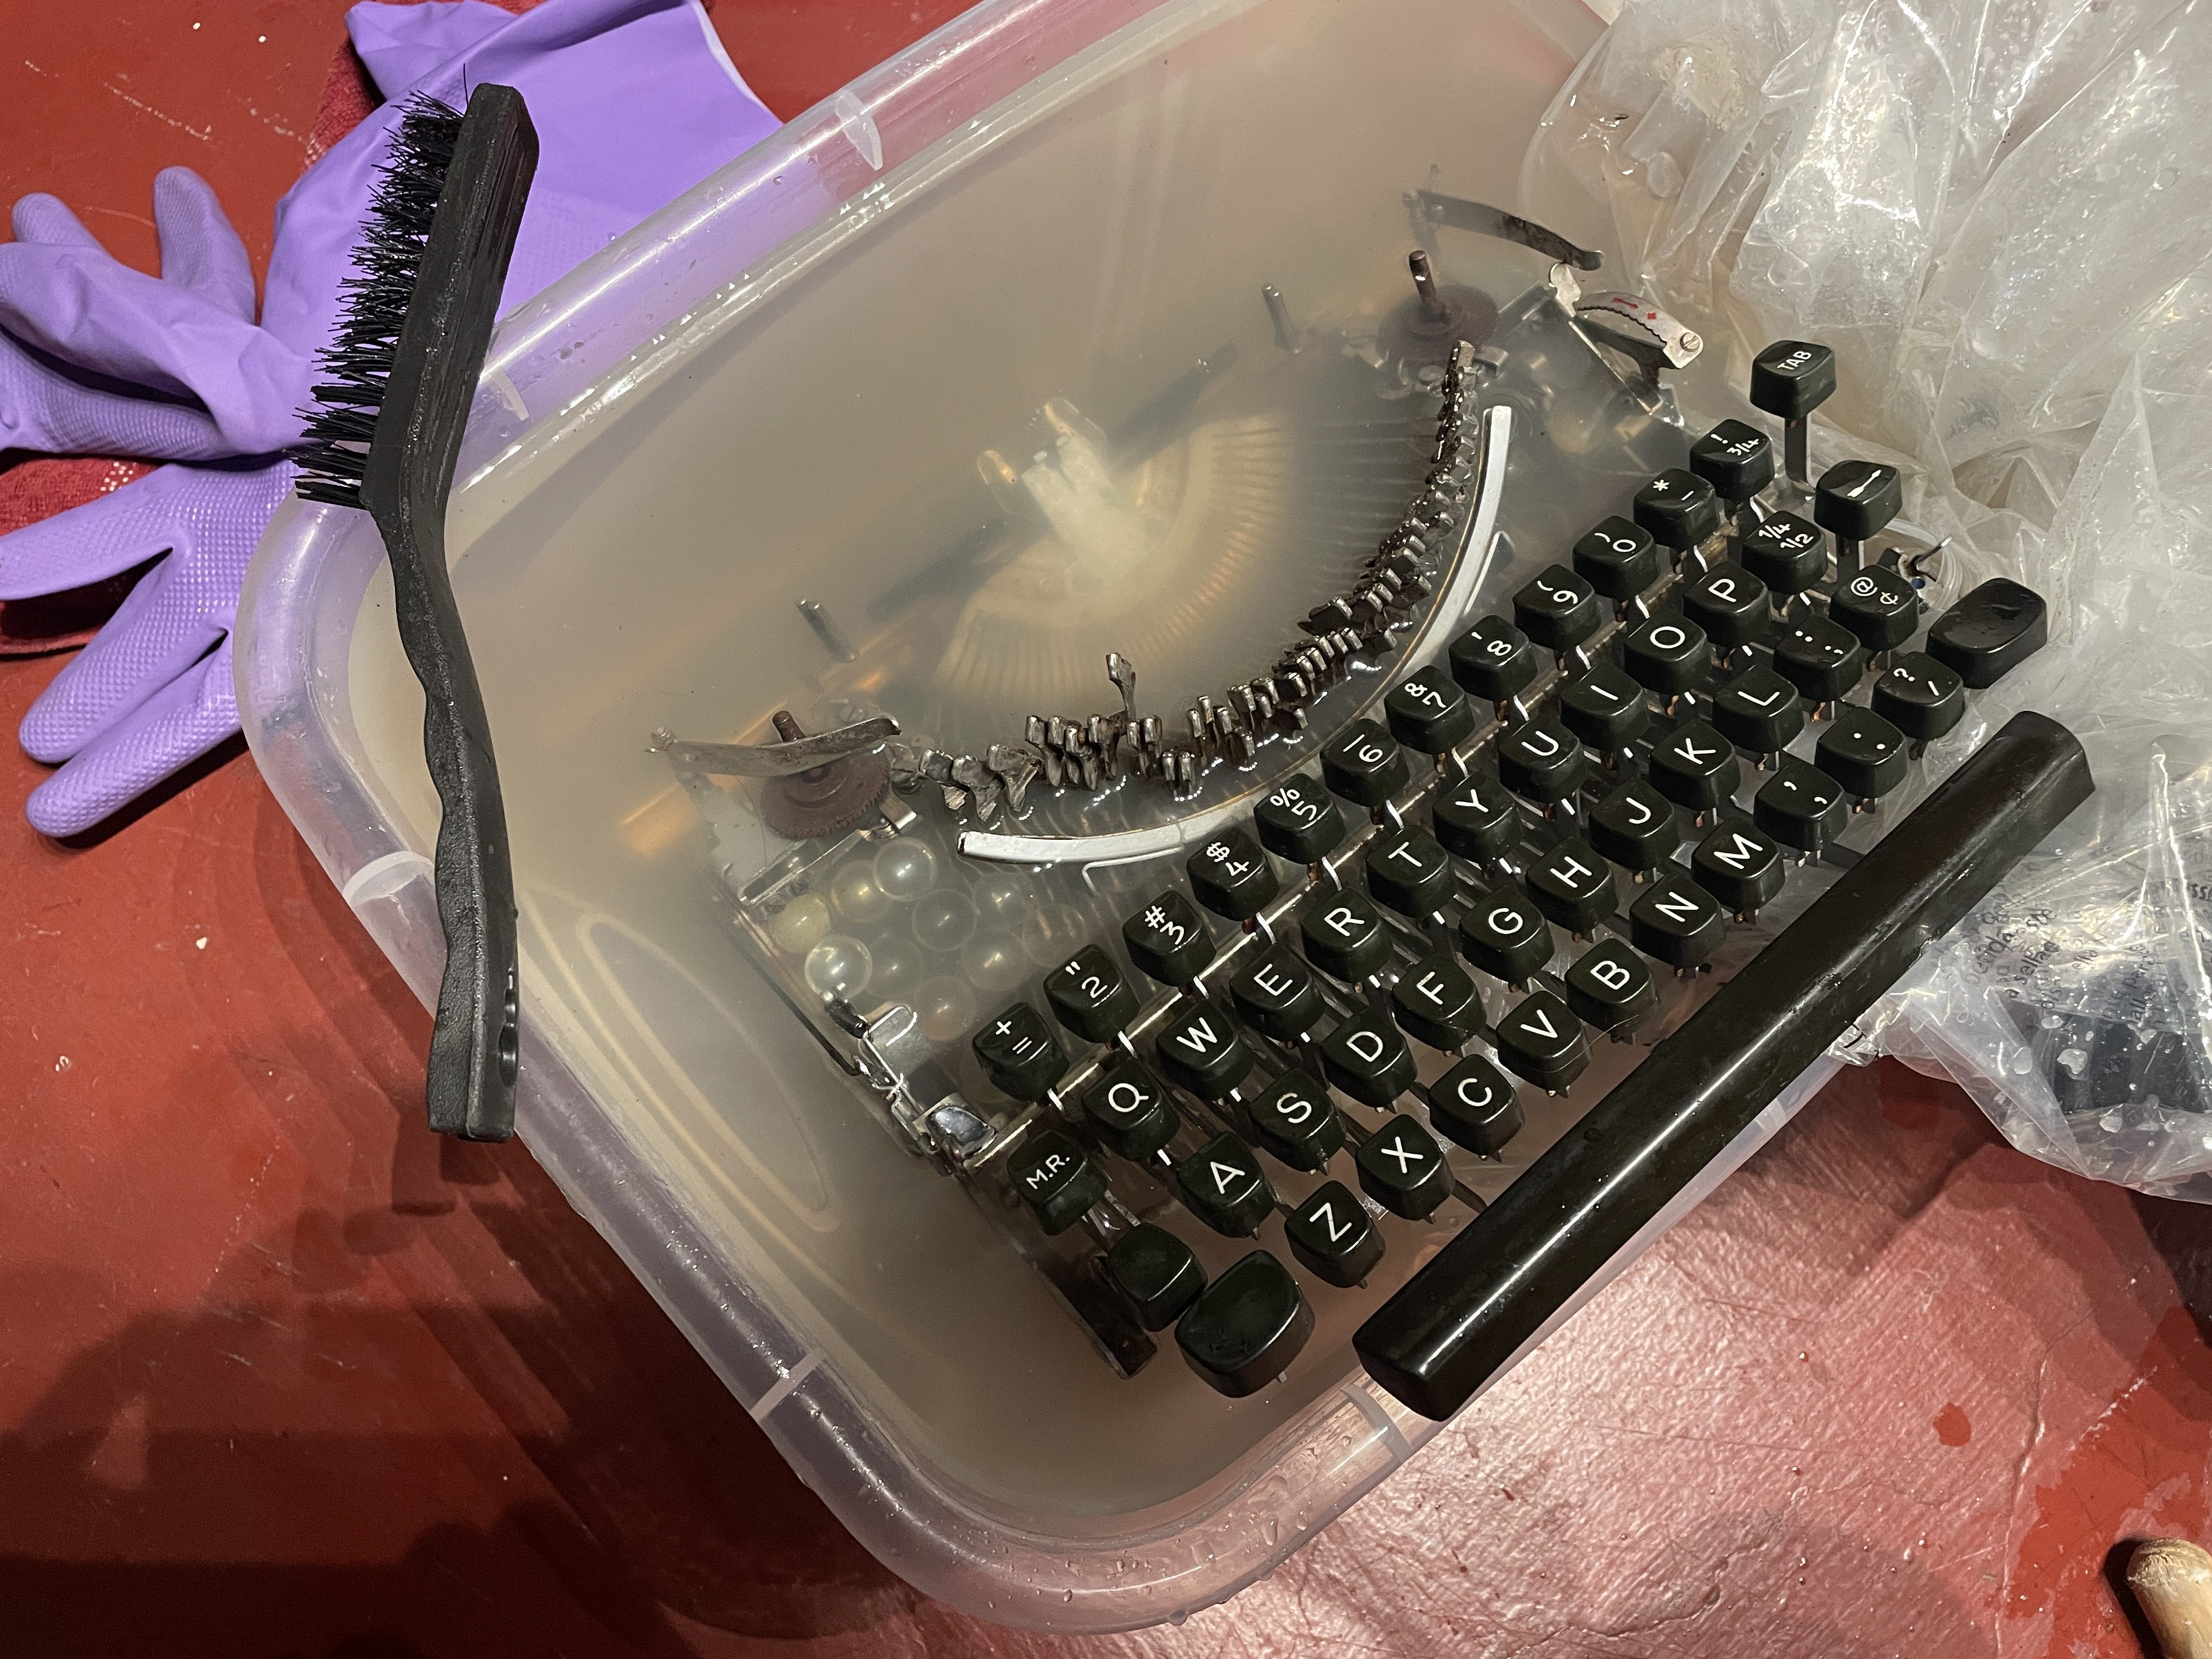
I could see it working.
I checked after a couple hours of soaking. The rust was lifting away, but there was no progress in moving the typebars. Four hours. Nothing. Eight hours. Nothing moving. I decided to go to bed and let it sit overnight.
In the morning, I could barely, just barely move some keys on the outer segment. I pulled the machine from its vinegar bath, rinsed in water, dunked it into a baking soda and water bath to neutralize the vinegar (two cups baking soda in two gallons water), rinsed it again, blew out the moisture with my air compressor, and set it in the sun of the driveway to cook. I sprayed it all over with WD-40 so it wouldn’t flash rust on me. Don’t worry, I’ll chase all that WD-40 out later.
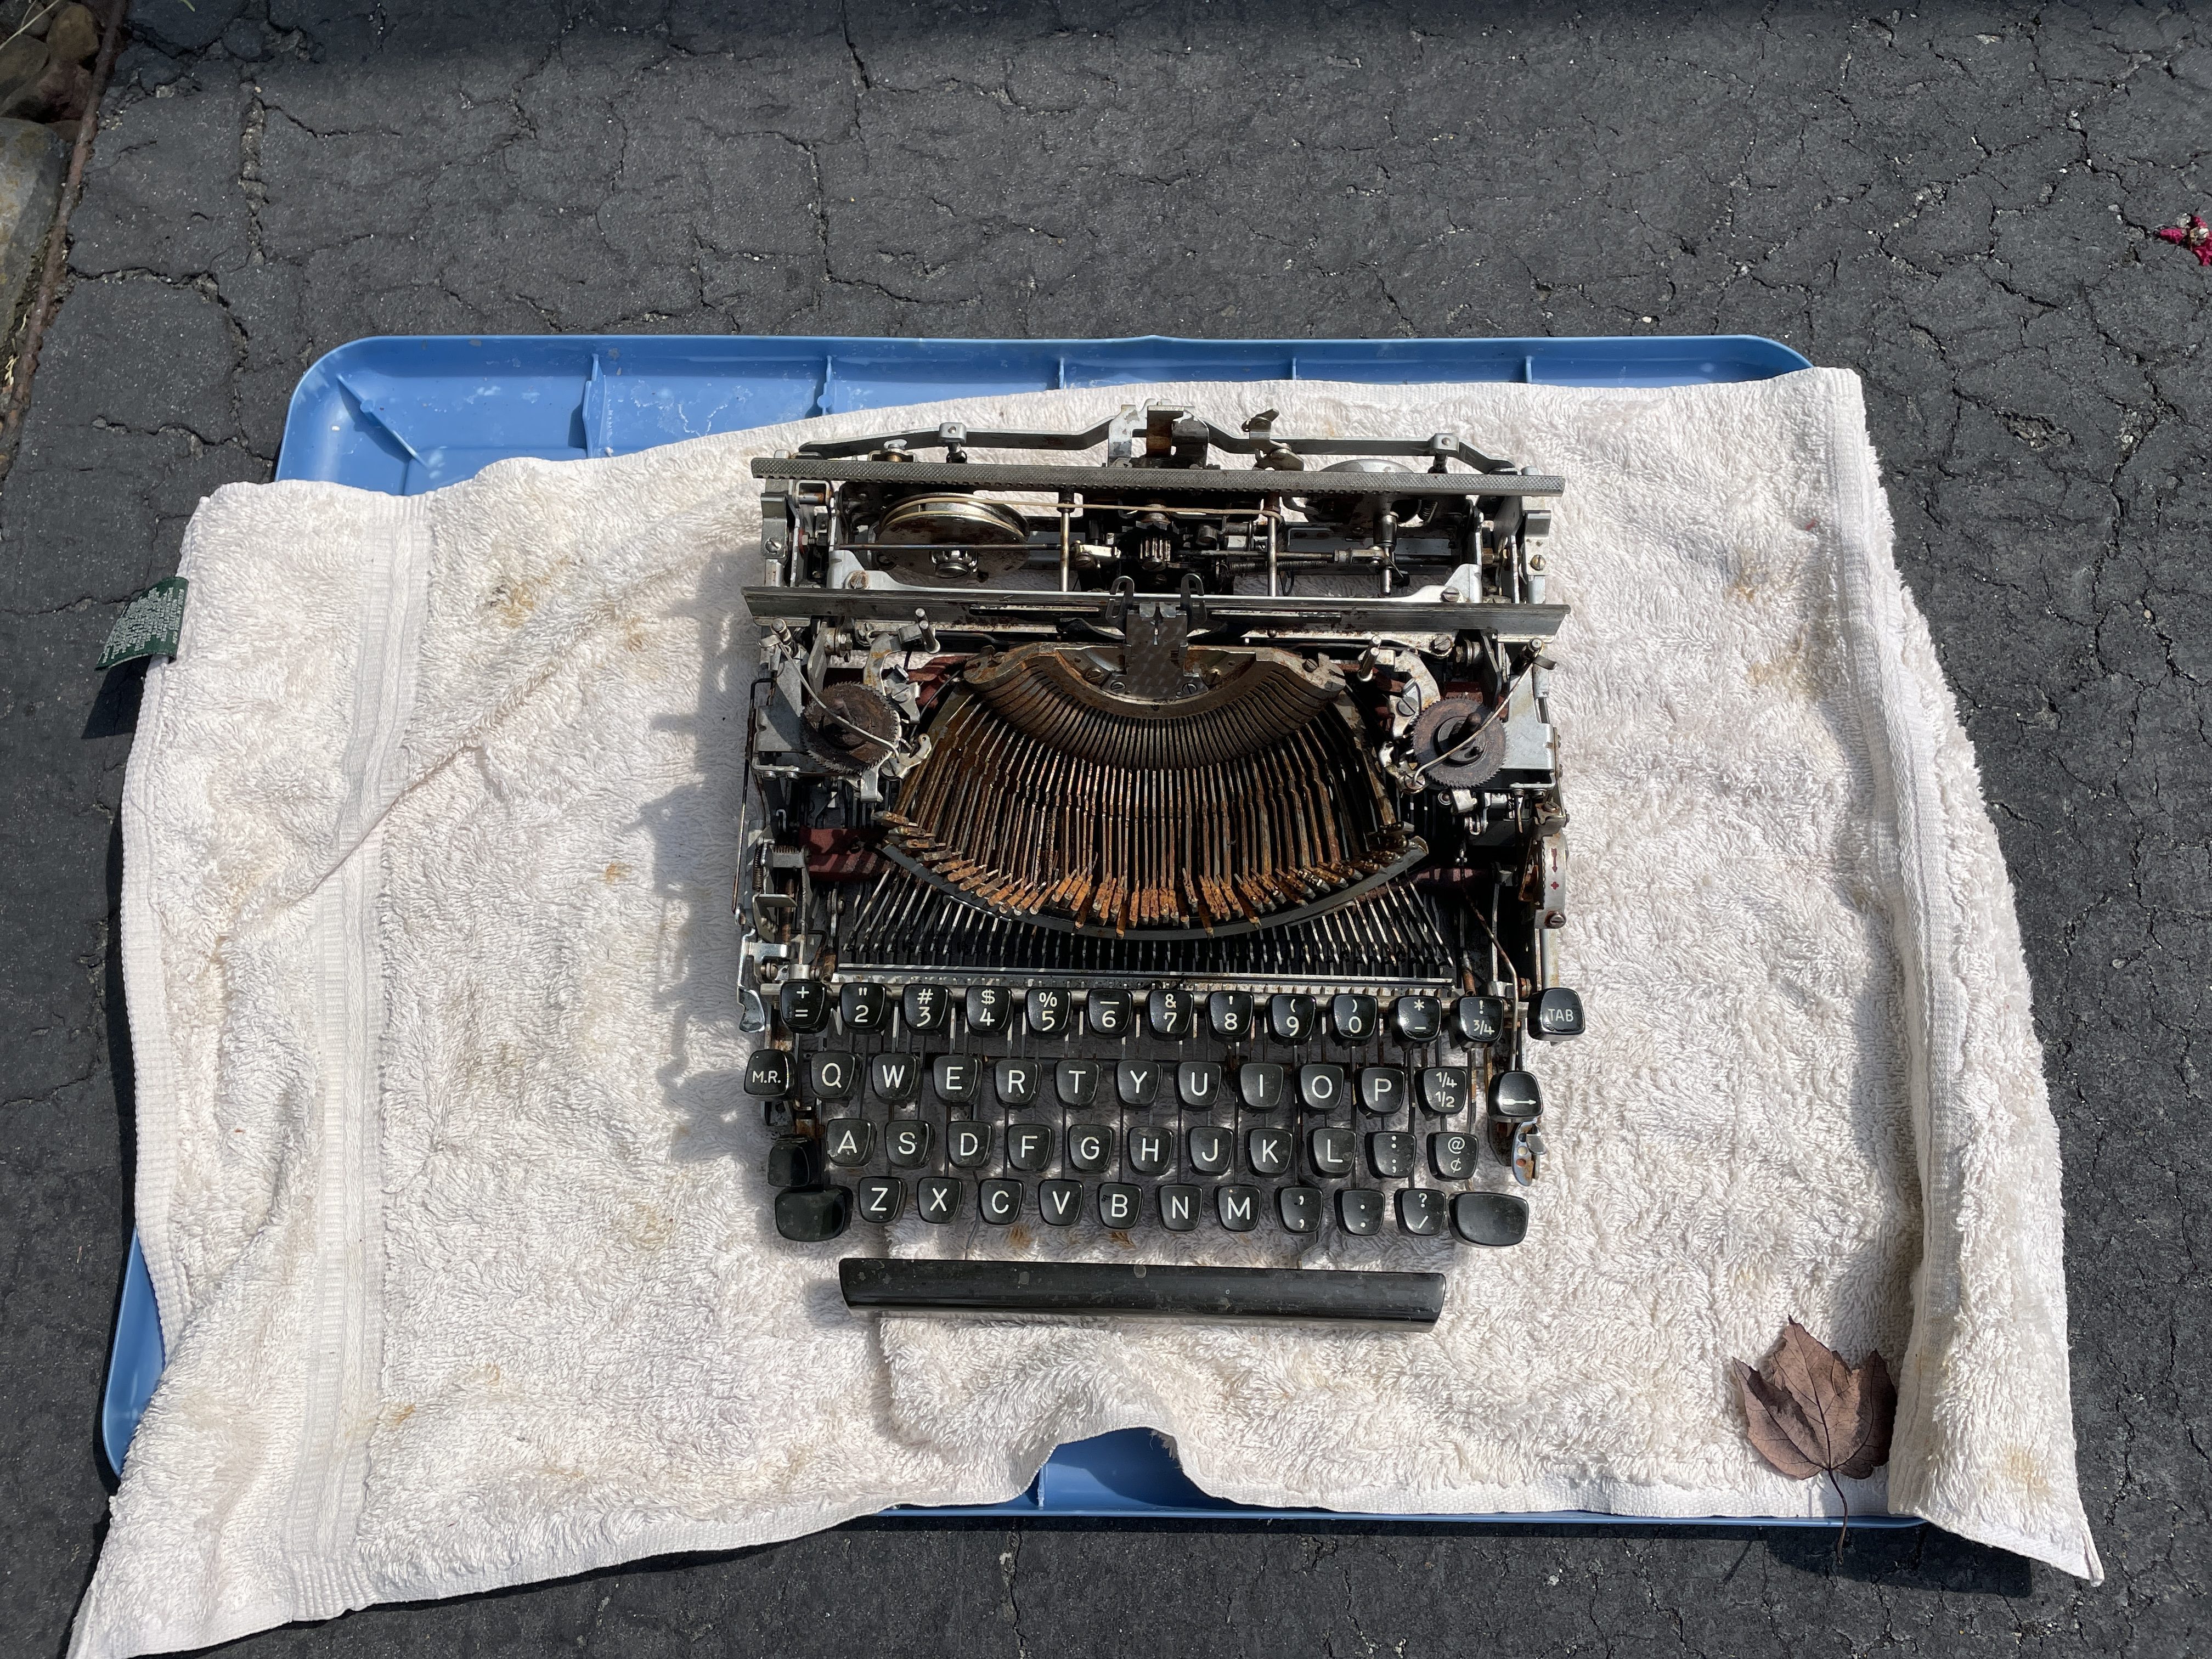
After cooking to crispy on the driveway, I went through the long slow process of releasing each typebar from the grip of rust. Took a while. Here’s a picture of working from the outsides in after about an hour. The rust wiped off at this point but left a flaking nickle plate and pitted metal beneath.
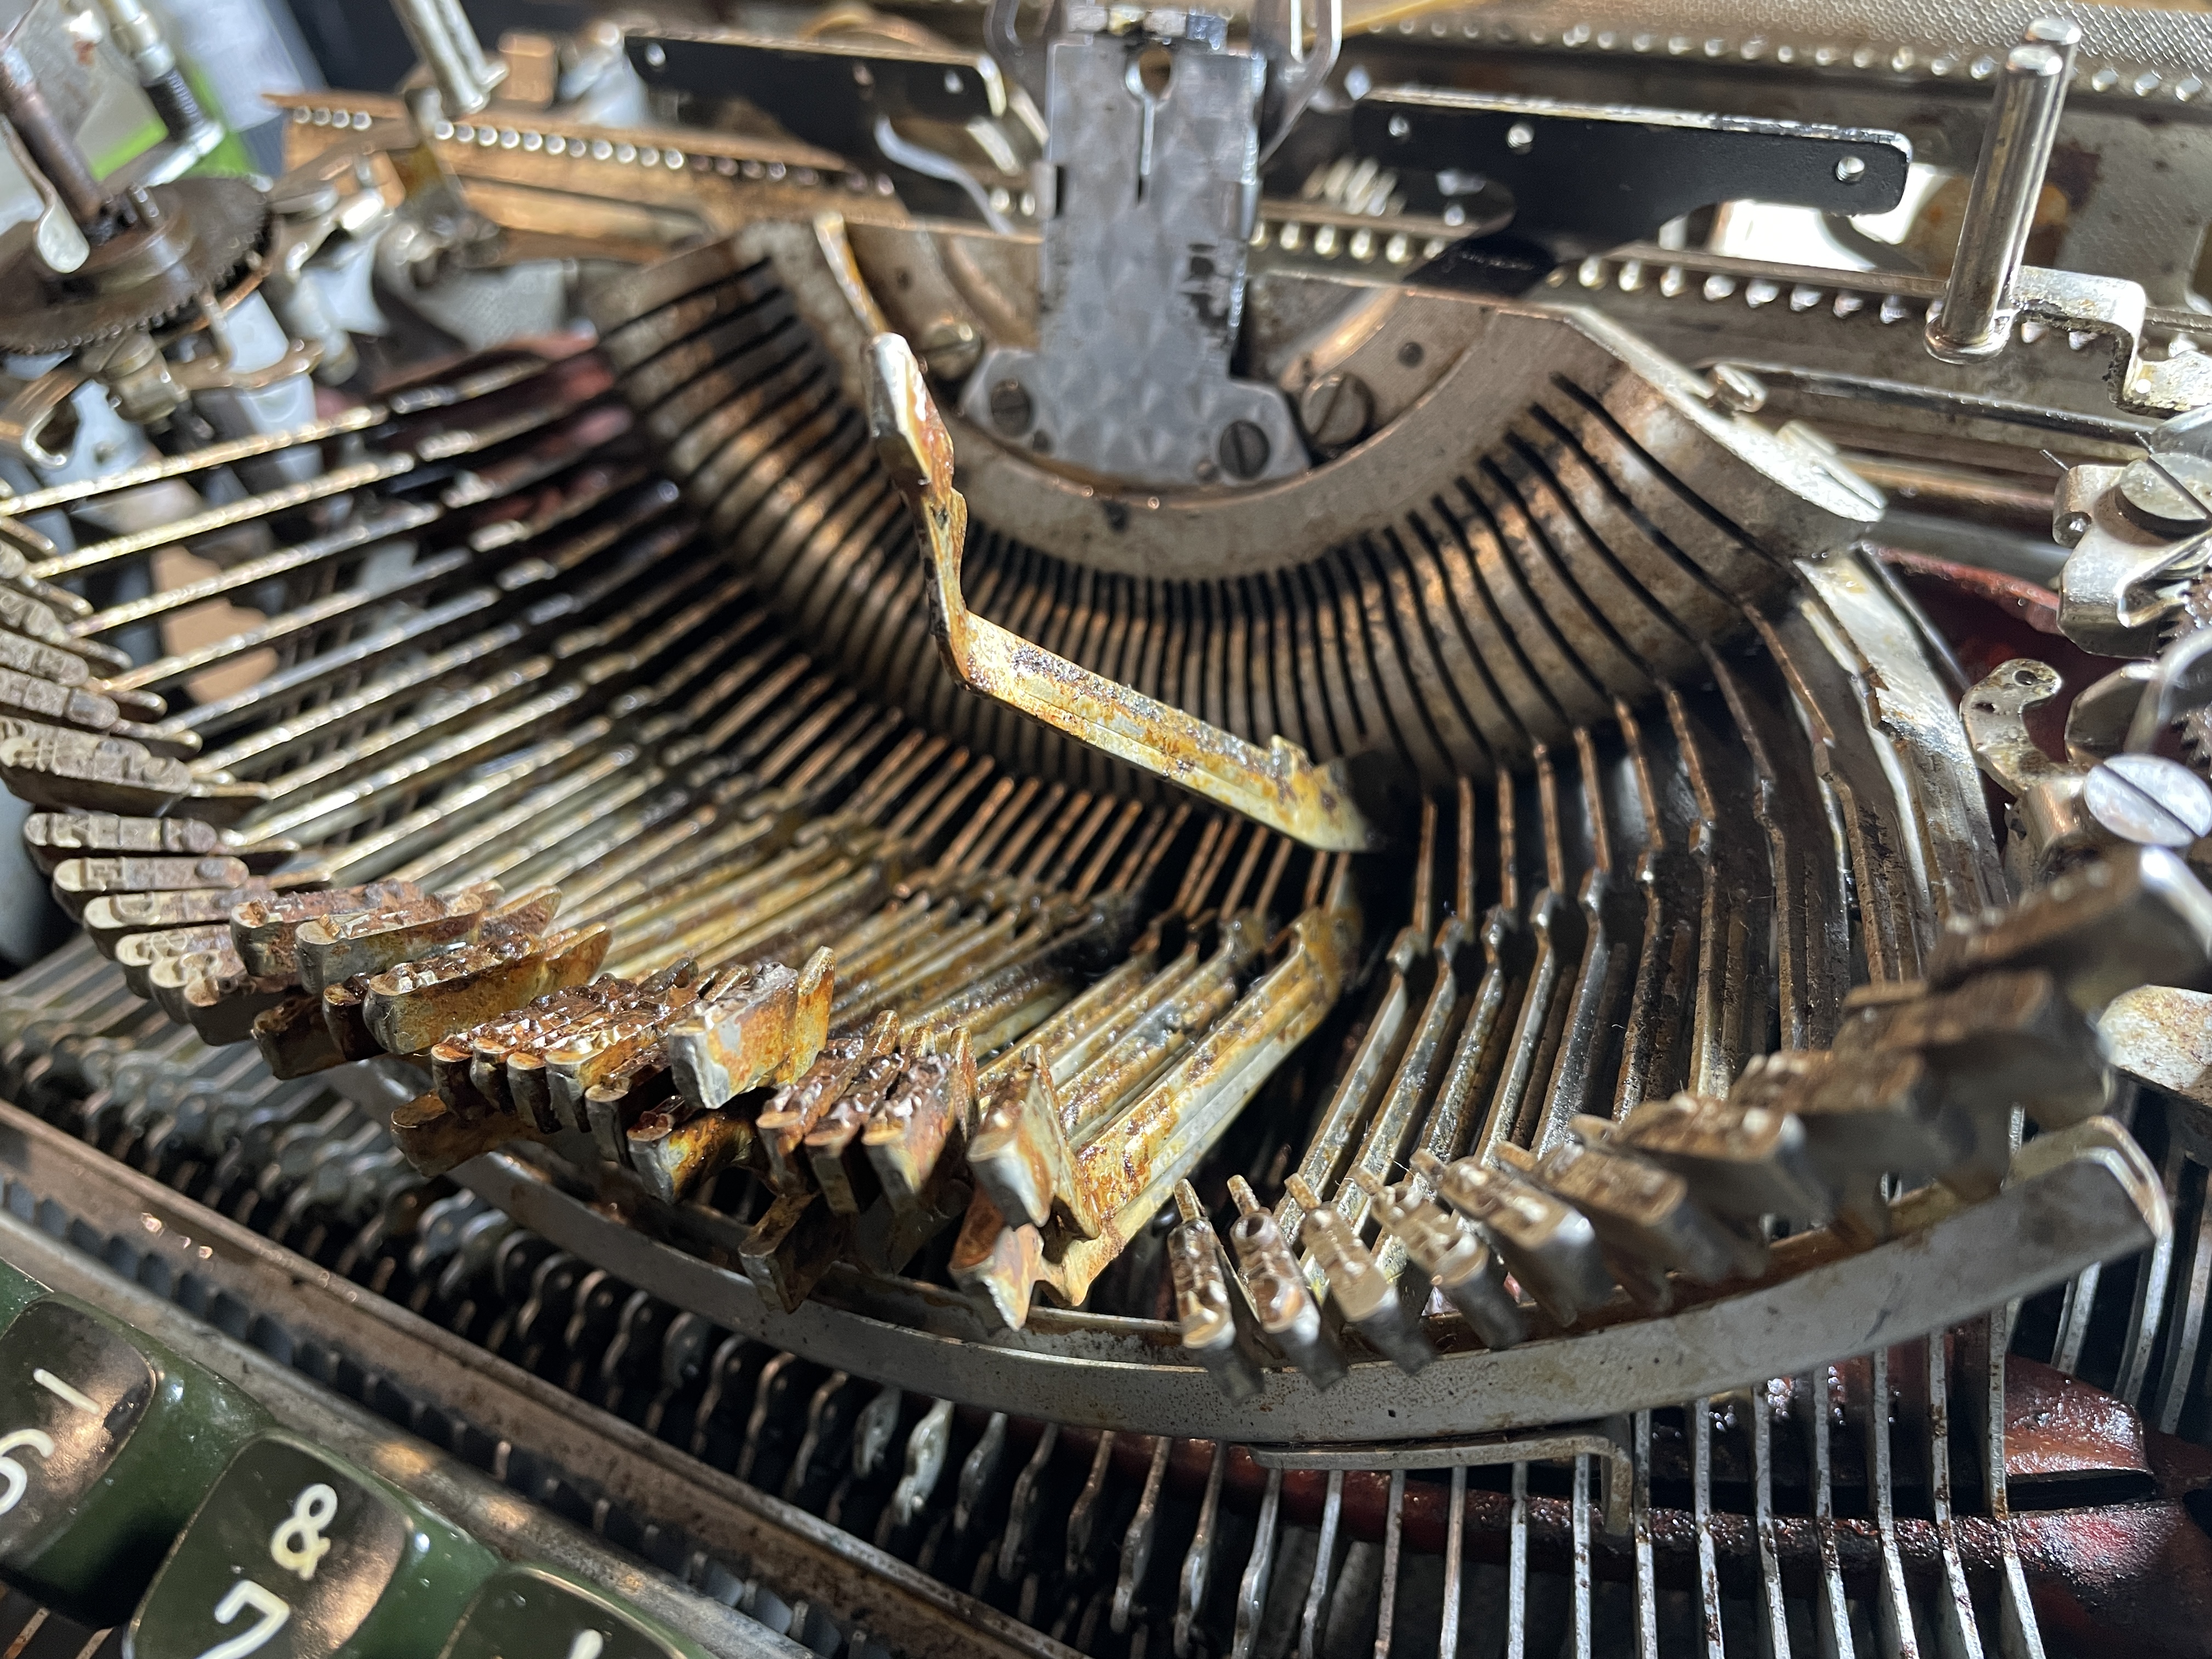
Once I got the typebars free, I tried to get the segment fulcrum wire moving with a thin punch and hammer. No luck. I added more penetrant to the fulcrum wire hole. My plan is to remove each typebar one by one for cleaning.
Using a Dremel with a brass bristle brush, I clean off the scaly plate. The metal underneath is pitted but clean.
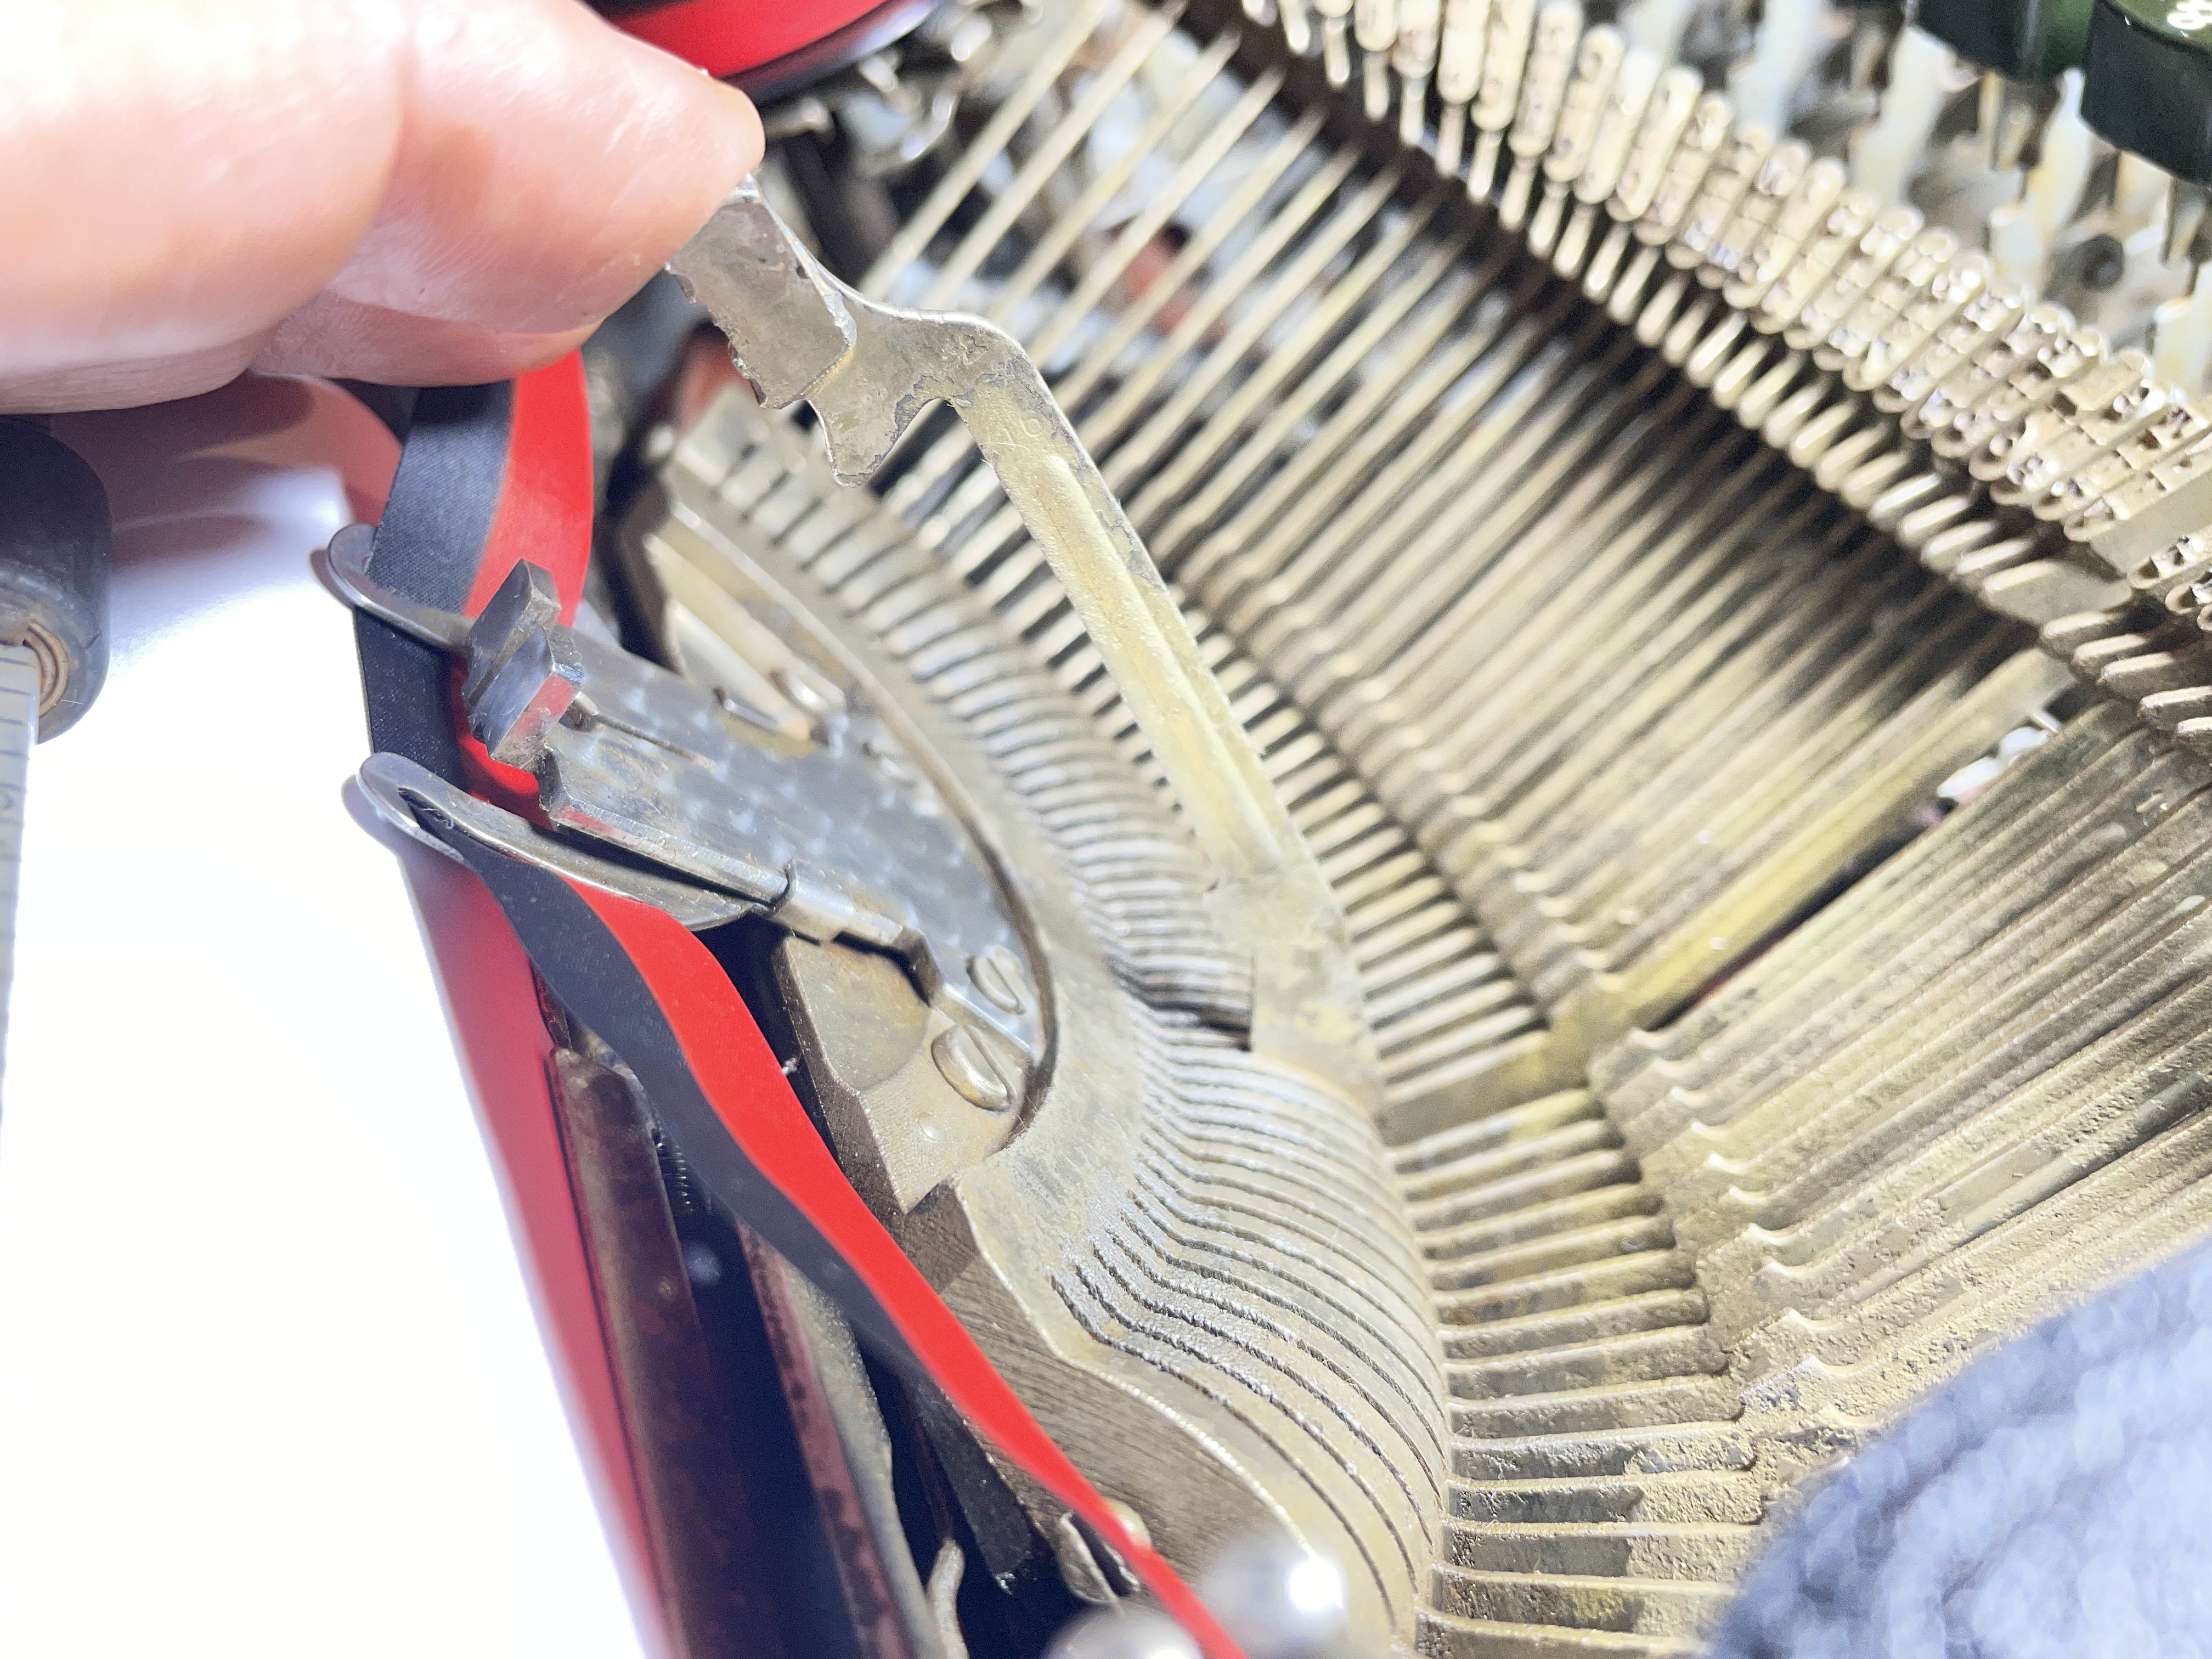
This Olympia was cleaning up really nicely. I put the carriage back on to test typing. It went on much easier than coming off, but I detected a gritty feel to the roll. I pulled out the carriage bearing retainers. The ball bearings were pitted and misshapen. They rolled like pieces of gravel.
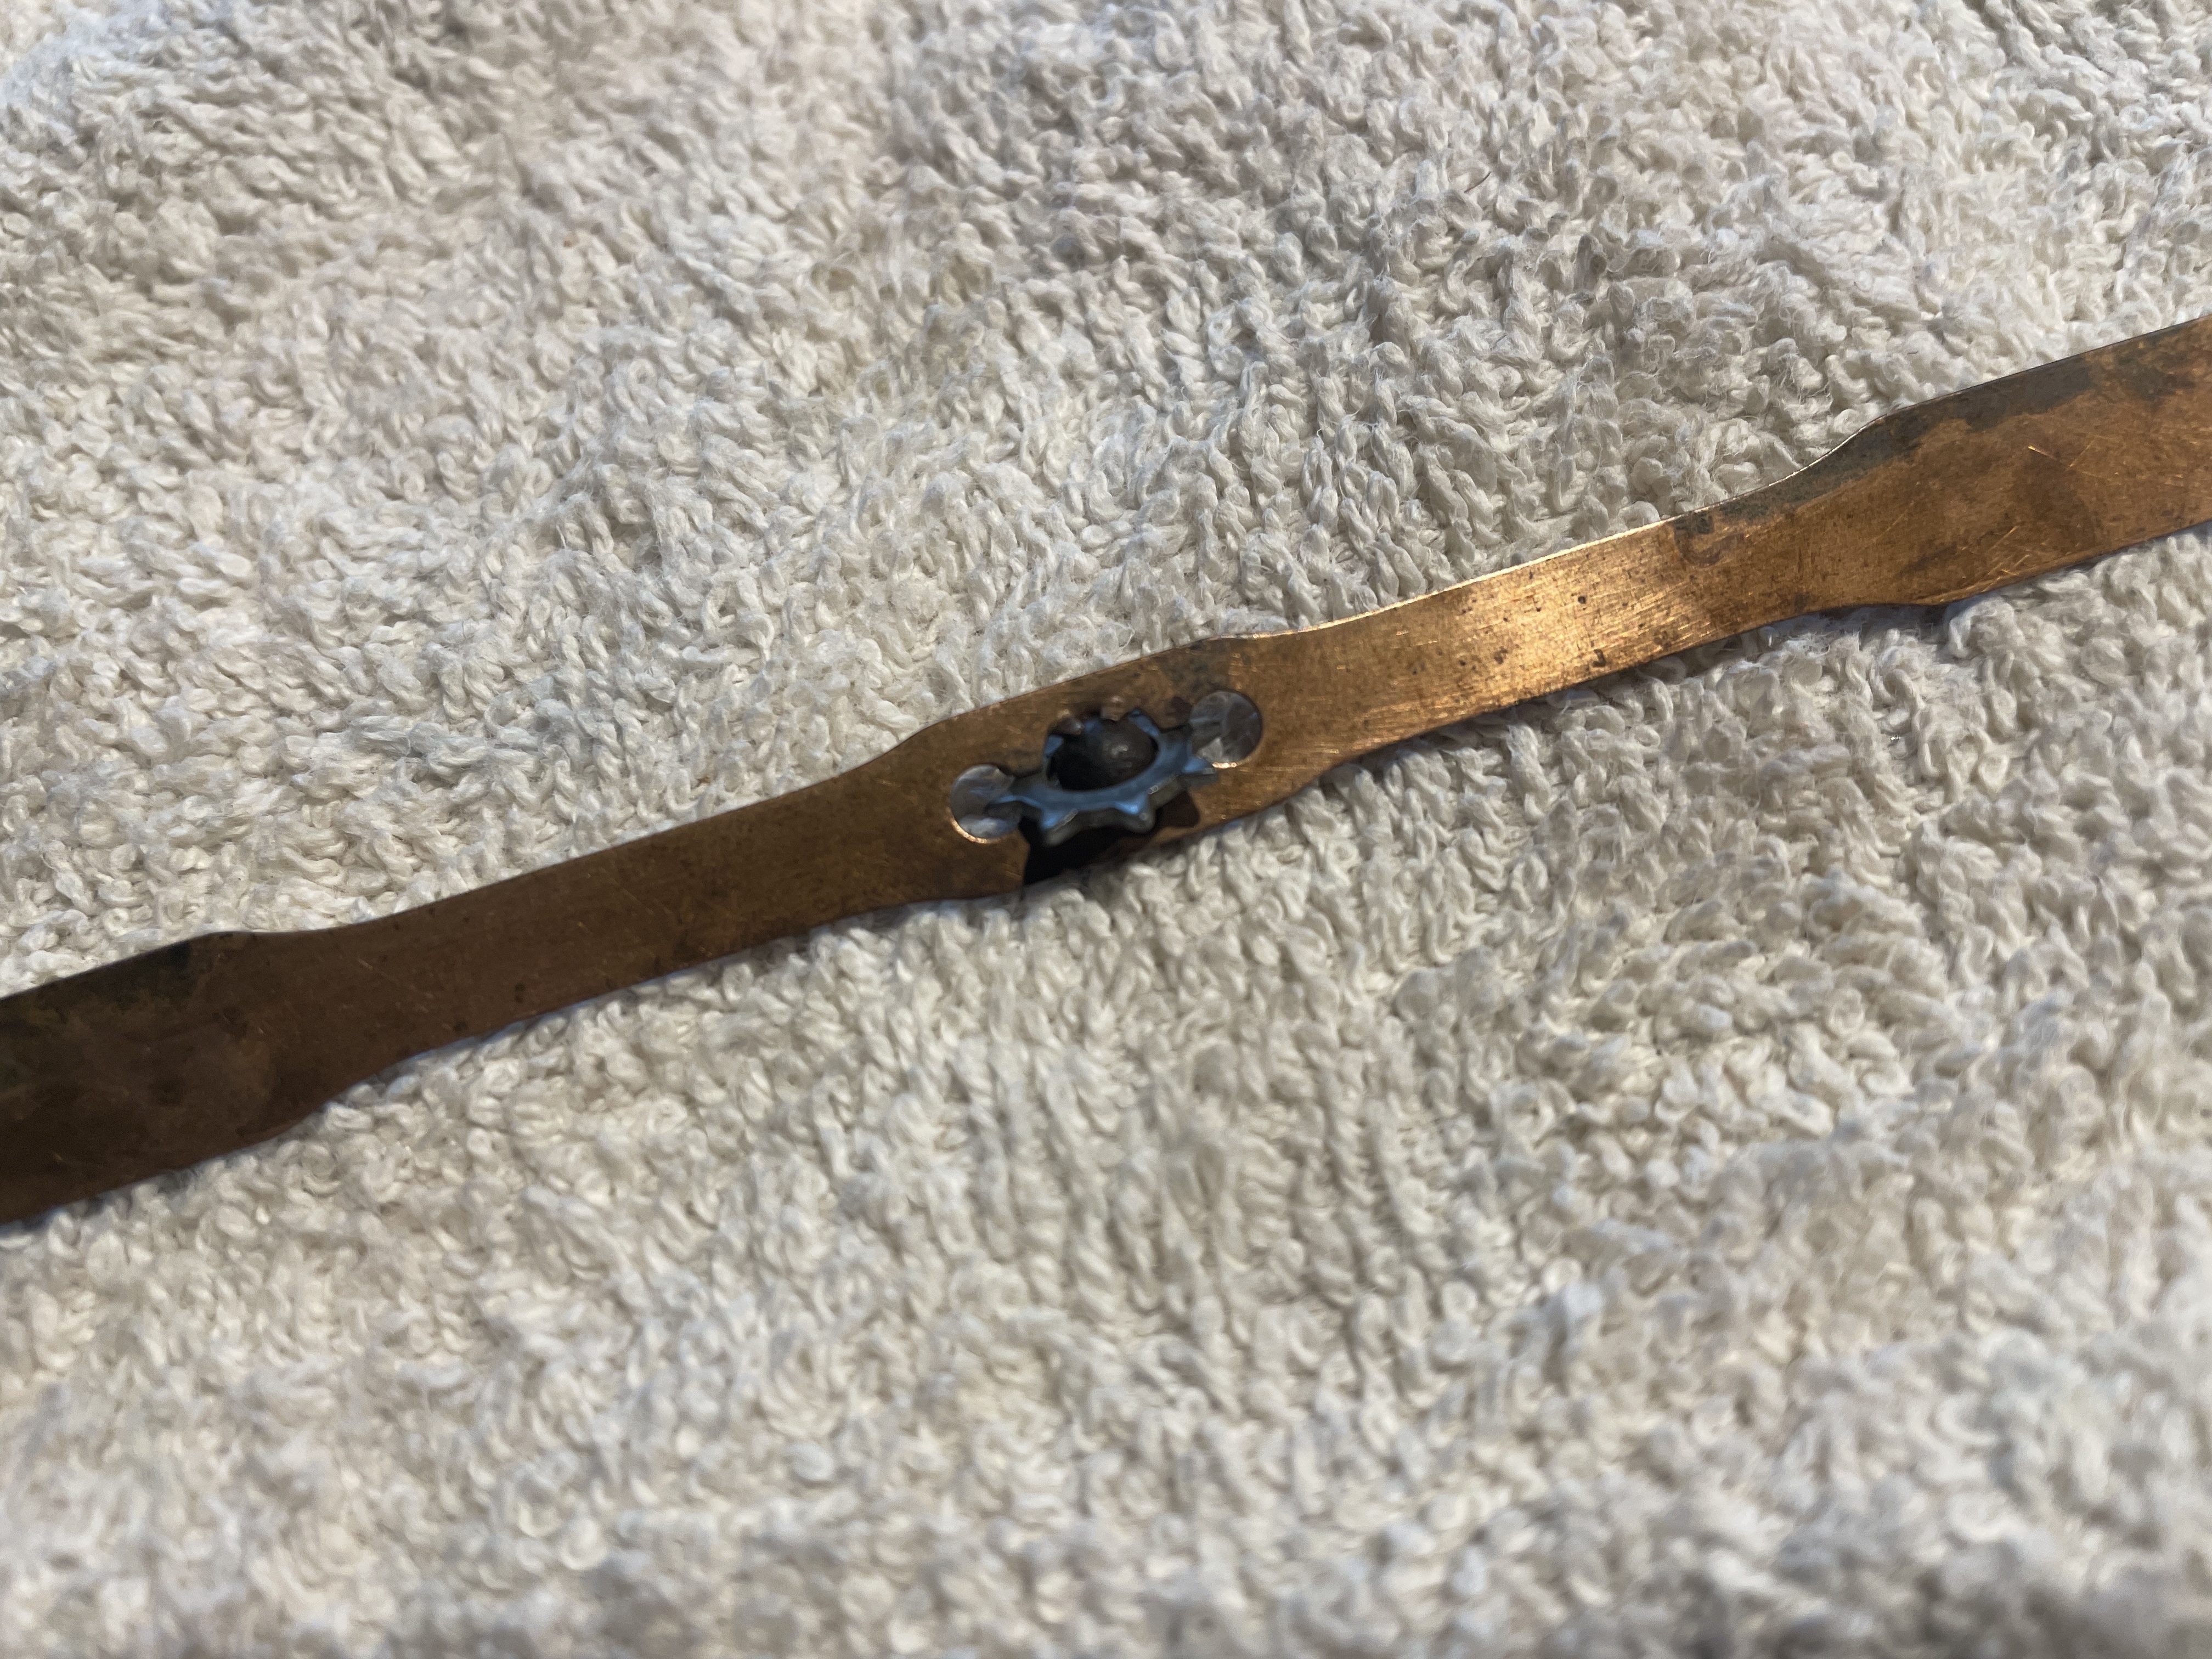
As a test, I pulled the bearing retainers from my “nice” SM4 and tested them in my SM3. They glided along smoothly in the SM3.
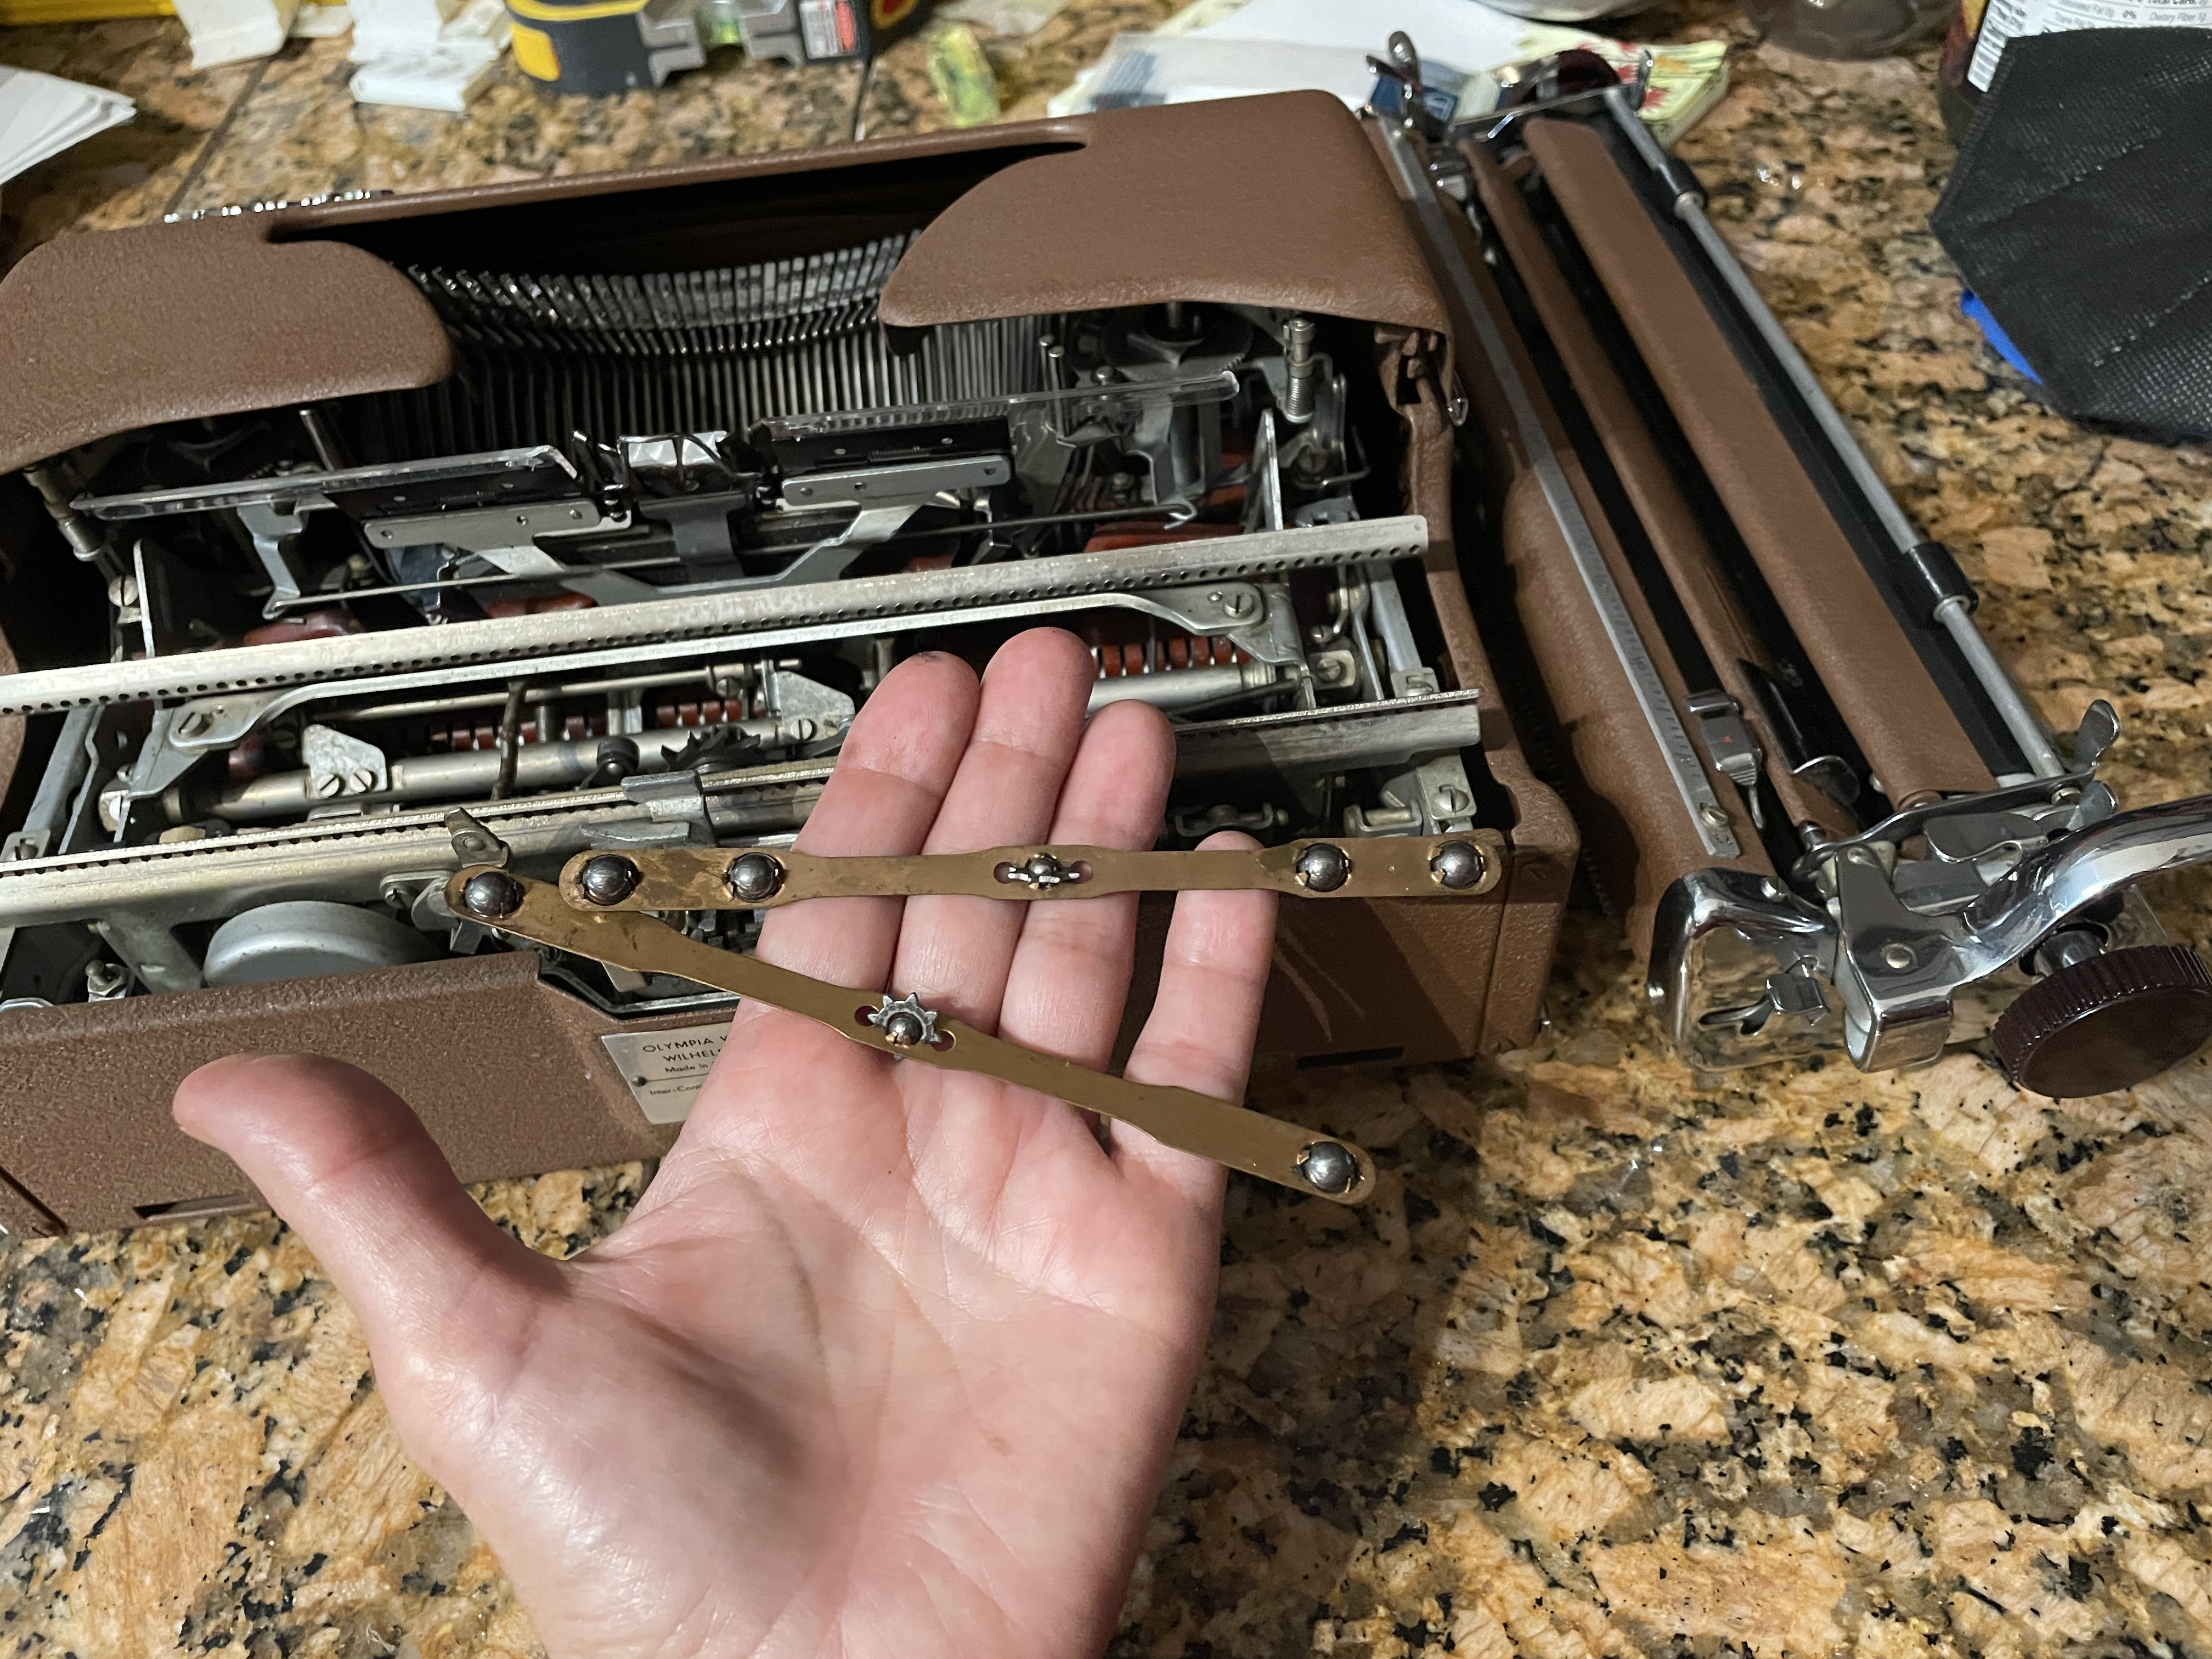
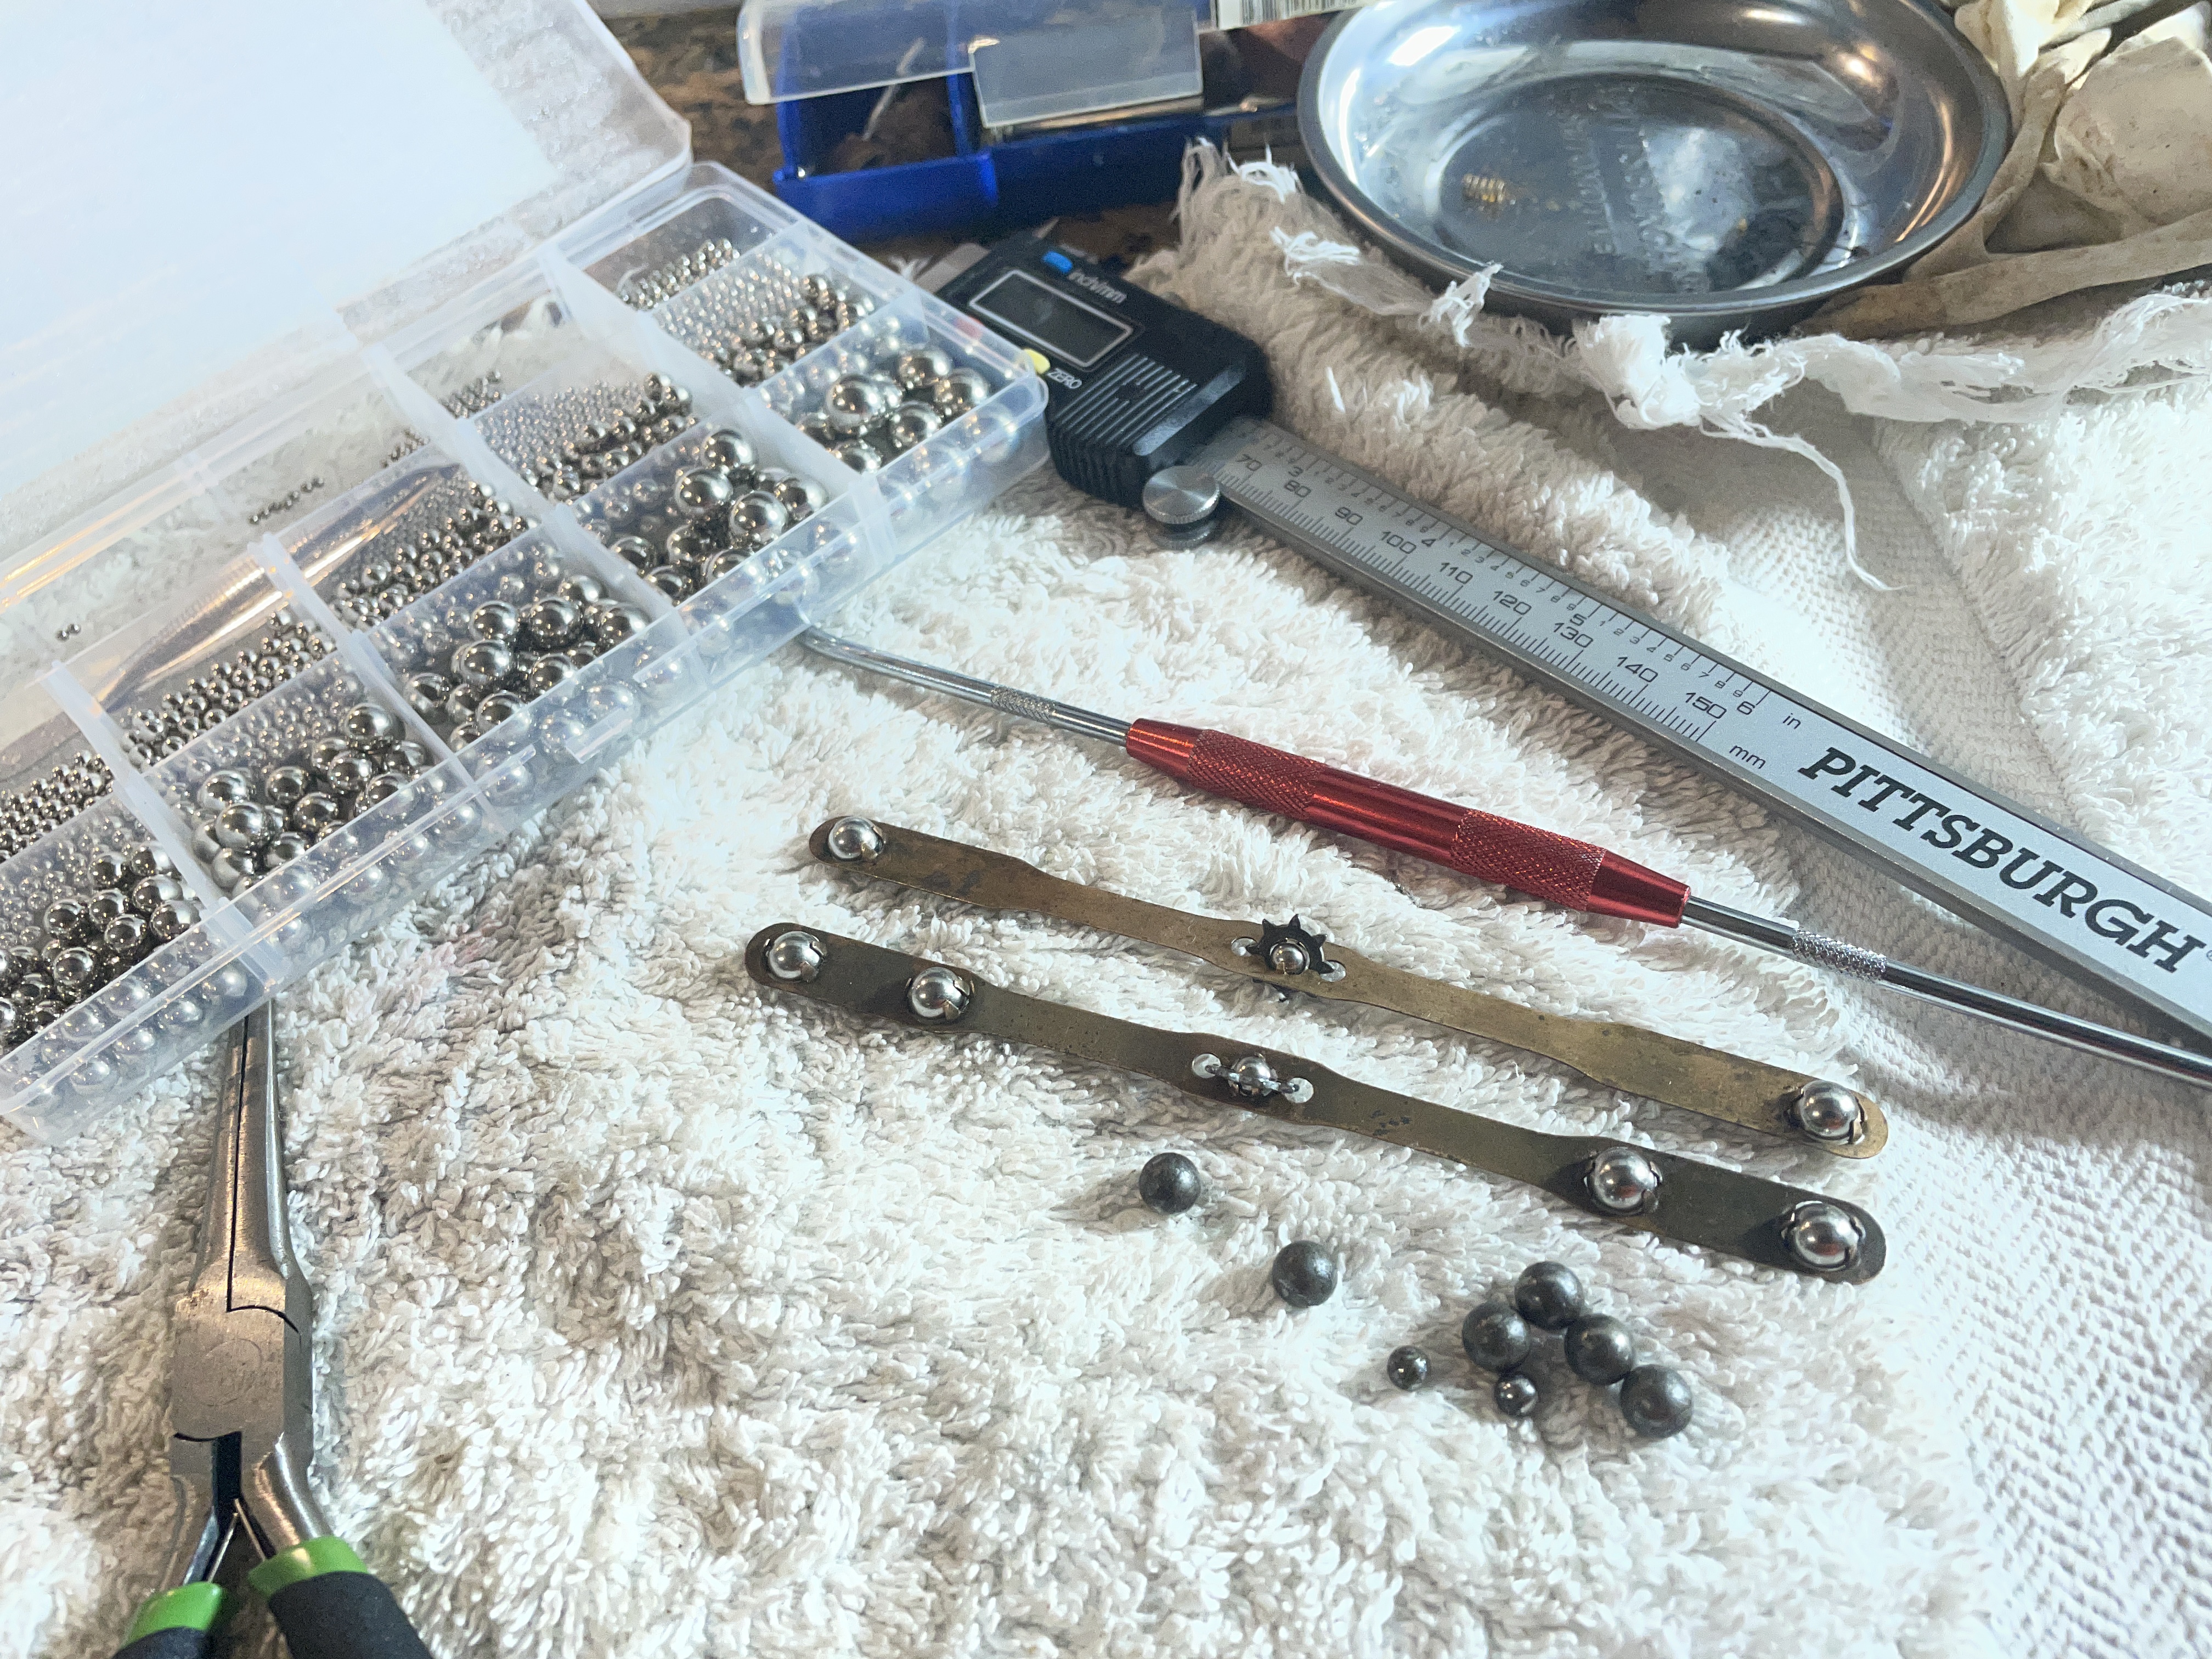
I bought a variety pack of metric ball bearings and replaced all the ball bearings in the retaining trucks. The small center bearing with the star-shaped pinion is 4.5mm in size and the larger bearings are 7mm in size.
With the new ball bearings, the carriage glides smoothly.
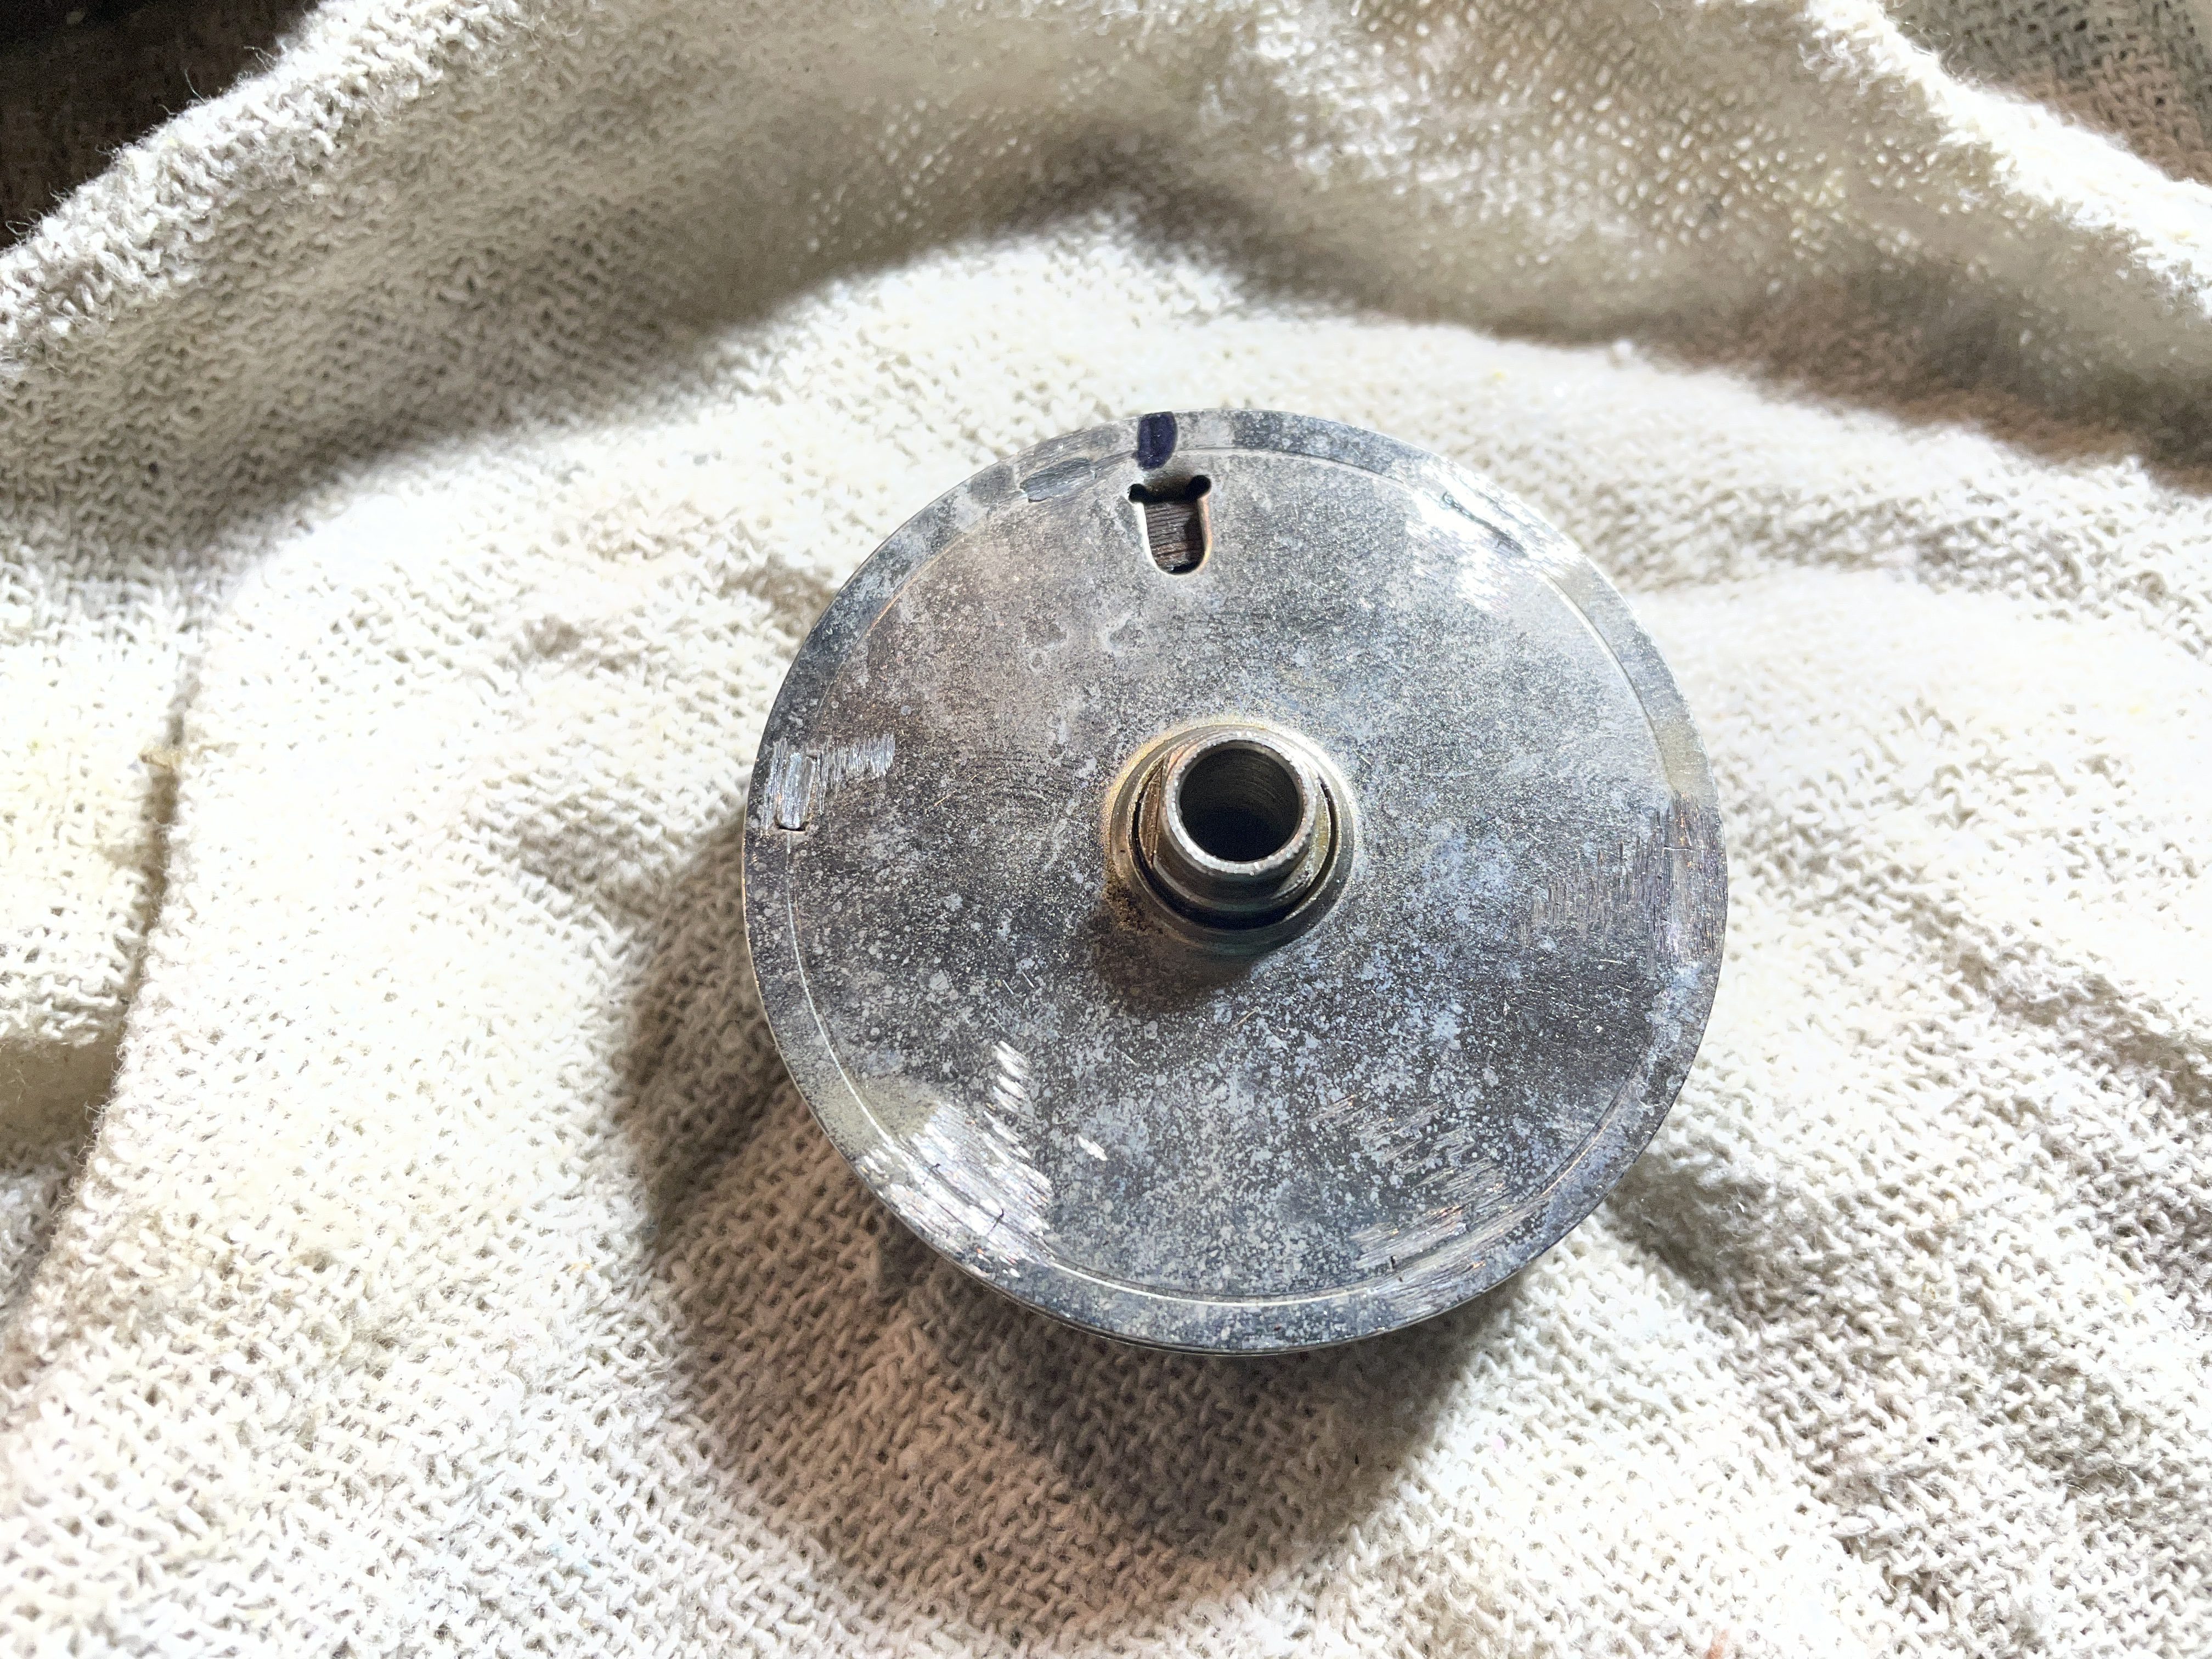
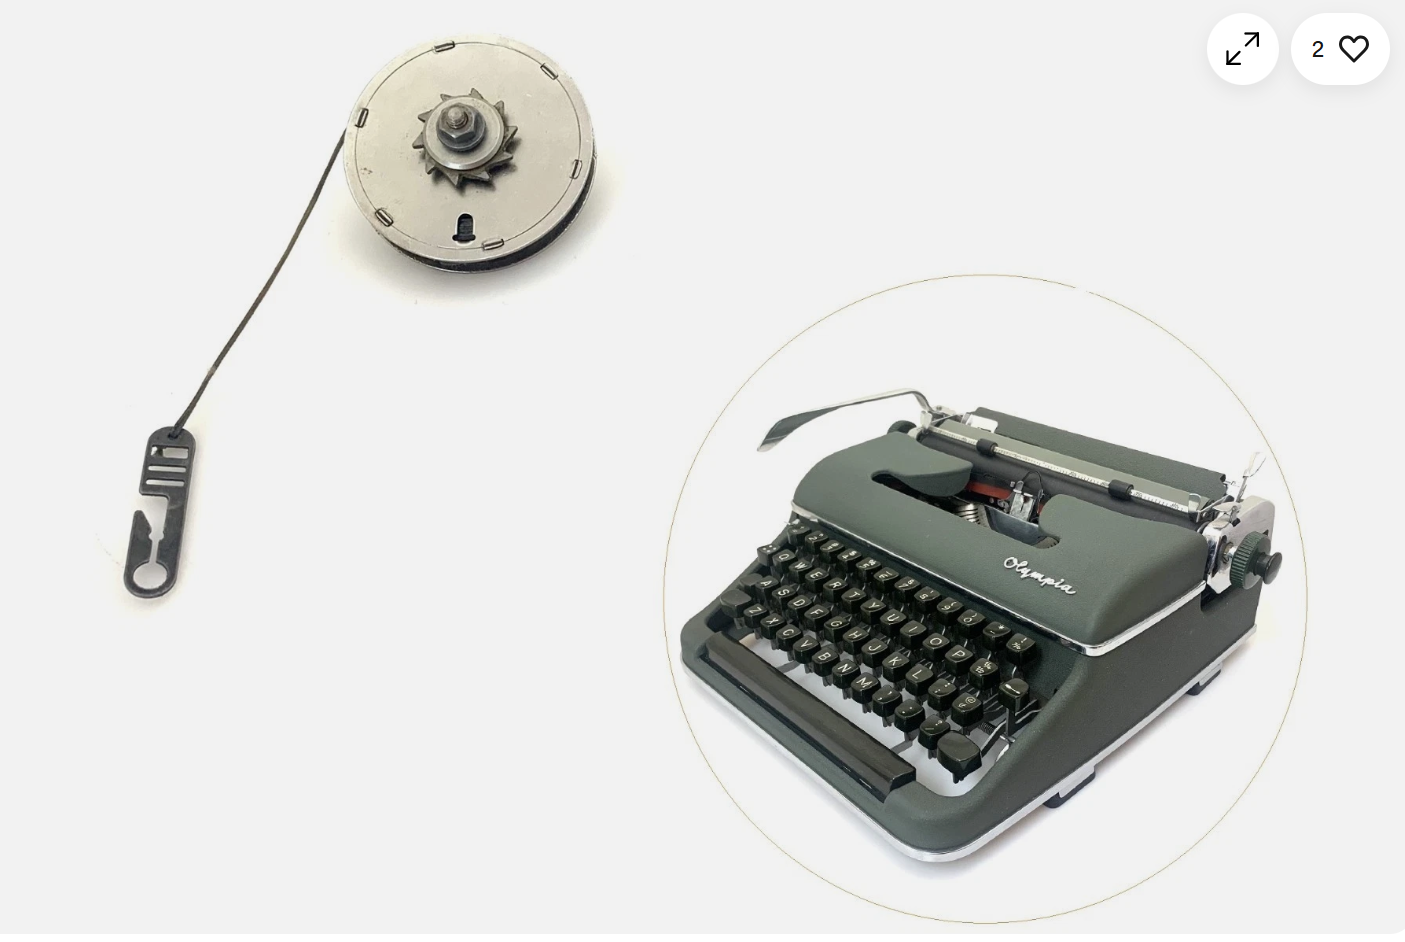
After I removed the SM3 from its vinegar bath, I had noticed that the mainspring was loose and jangley and the drawband detached.
On Olympias, you can wind the mainspring in a couple different ways. Here’s Duane from Phoenix Typewriter:
And here’s Gerren from HotRod Typewriter’s method:
I tried both methods and the mainspring was not holding. I got a sinking feeling that my extended vinegar soak had eaten through the last little bit of metal inside the mainspring.
I used my Dremel to grind off the tabs that hold the mainspring case together and popped the case open with a large screwdriver.
I carefully pulled out the mainspring. It was rusty, razor sharp, and in a million pieces:
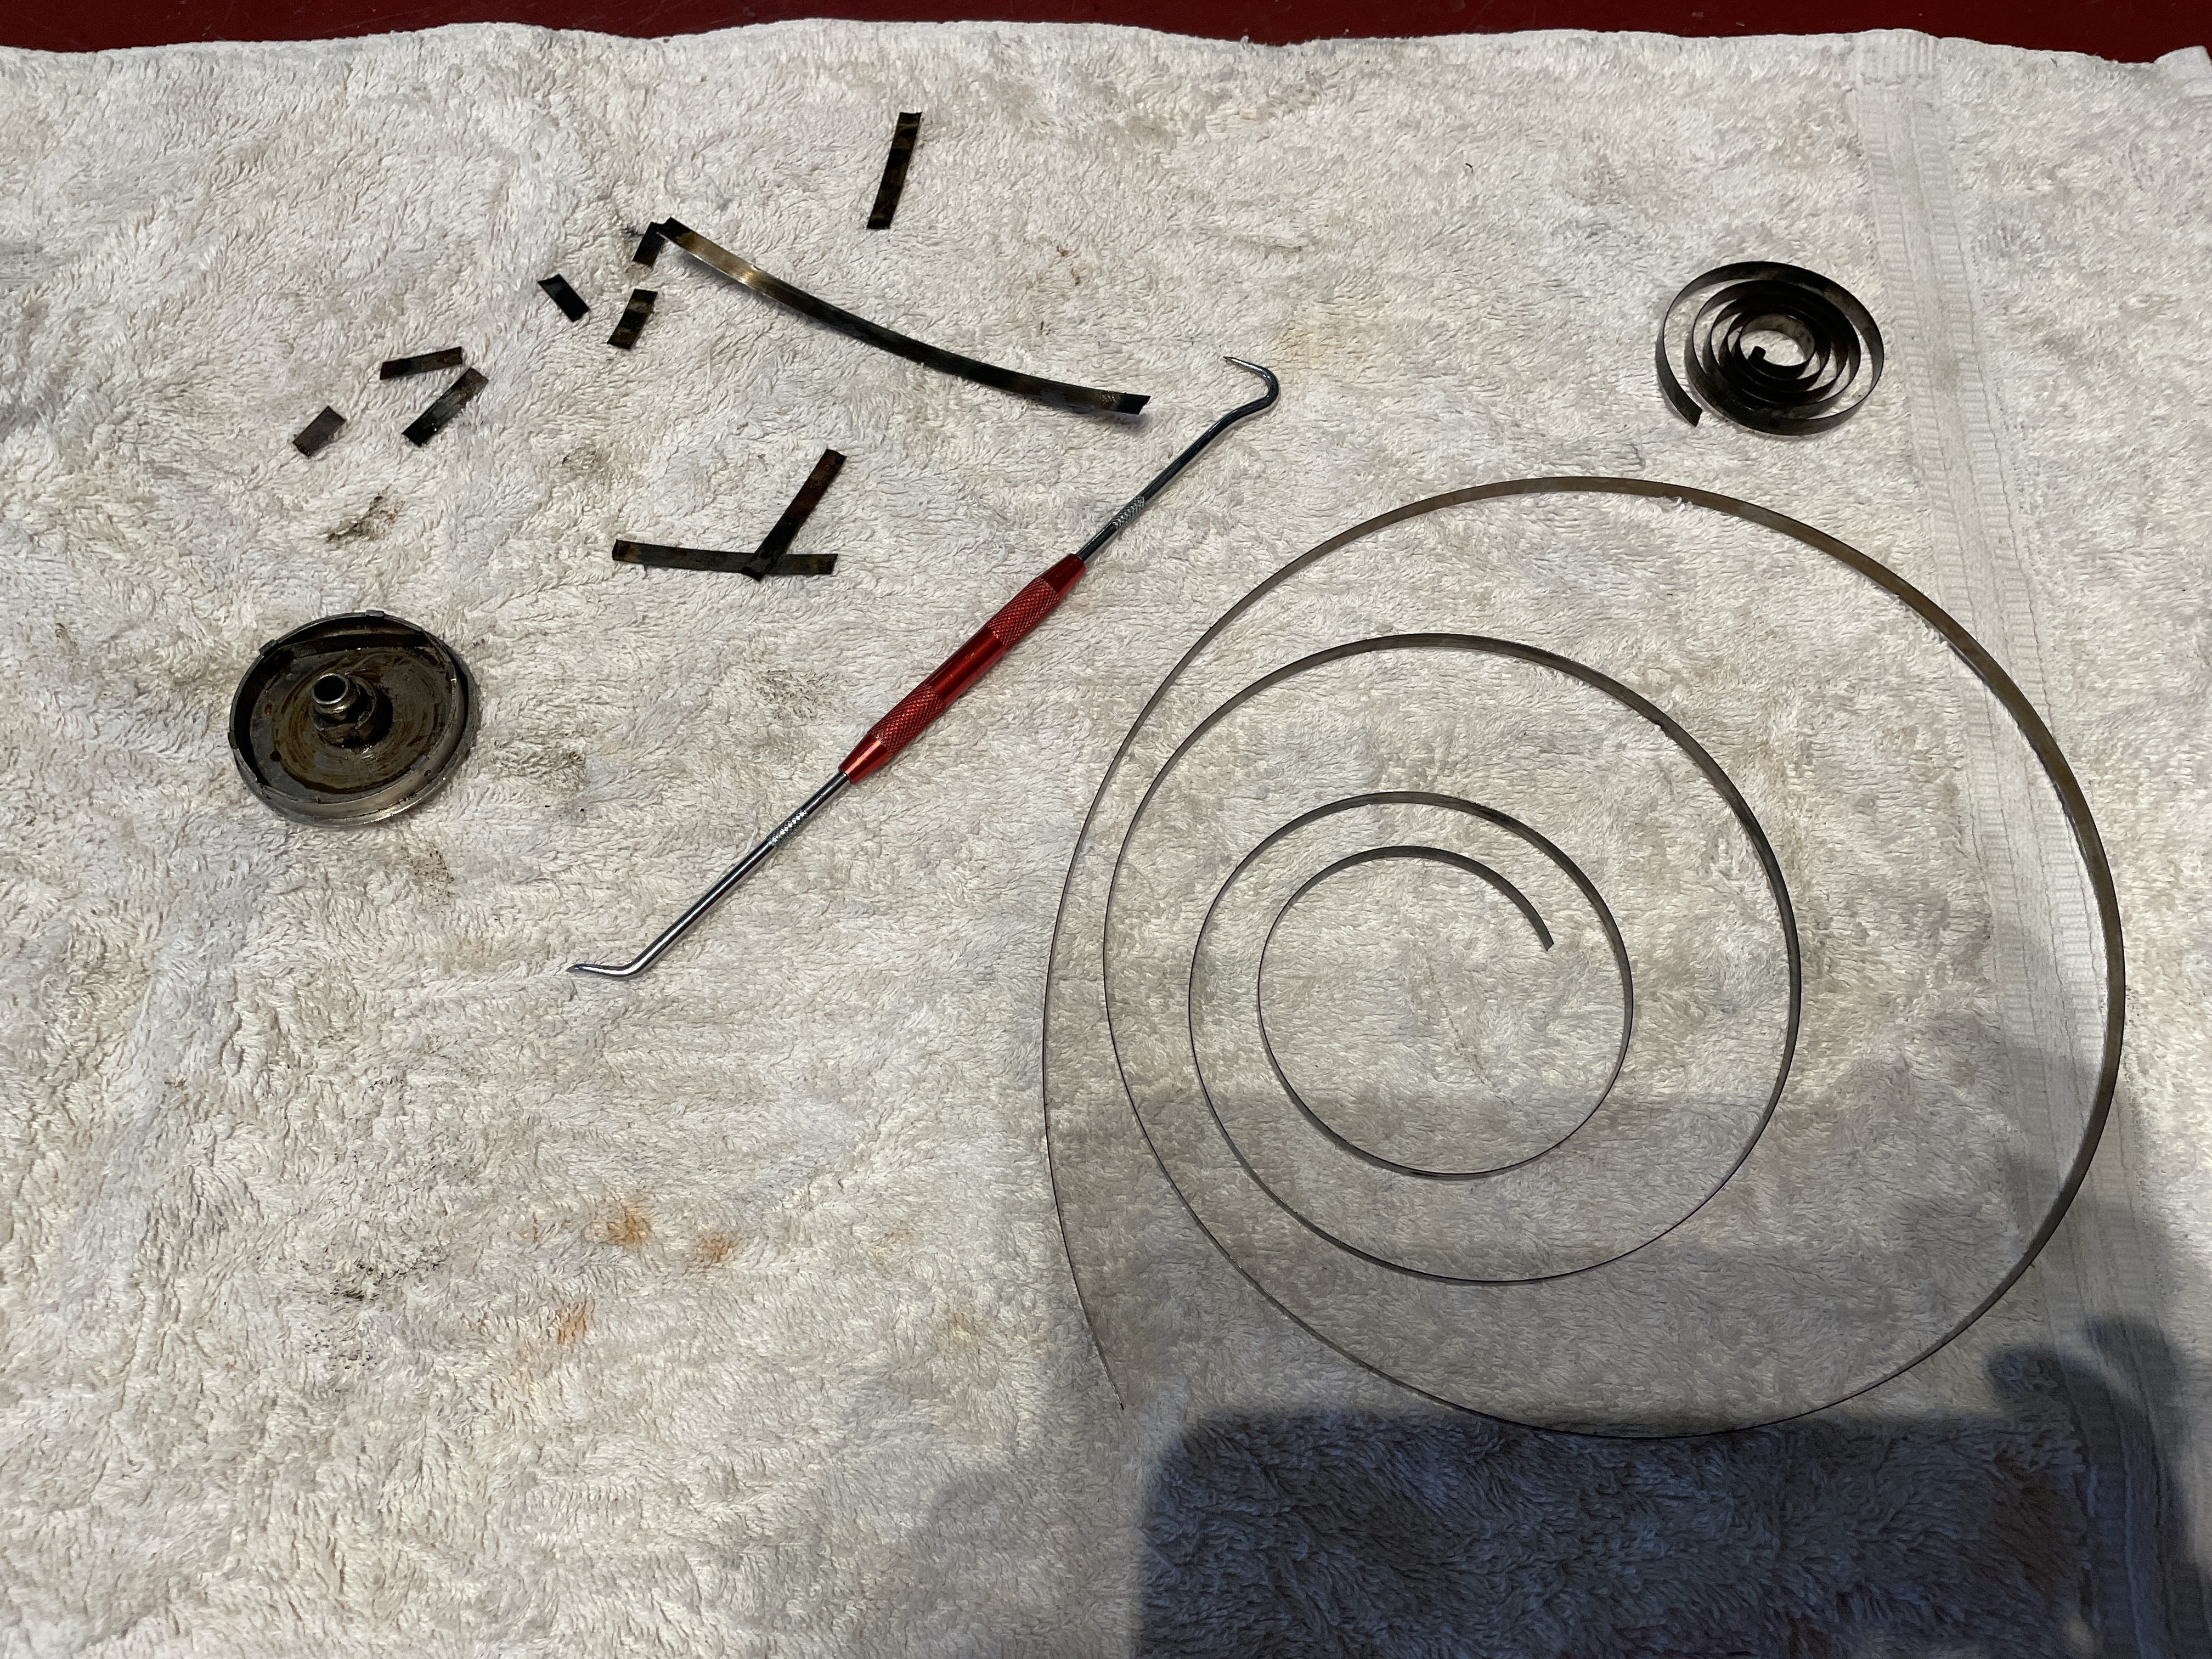
I hoped I had enough spring in the two larger pieces to make a workable mainspring, so I re-watched a favorite Duane video about the repair of a broken mainspring:
I used Muggy Weld Super Alloy 1 to solder the two large pieces of the mainspring together. I drilled a hole in the end on the spring, got the spring back into its case, sealed the mainspring case tabs with more Muggy Weld, and crossed my fingers.
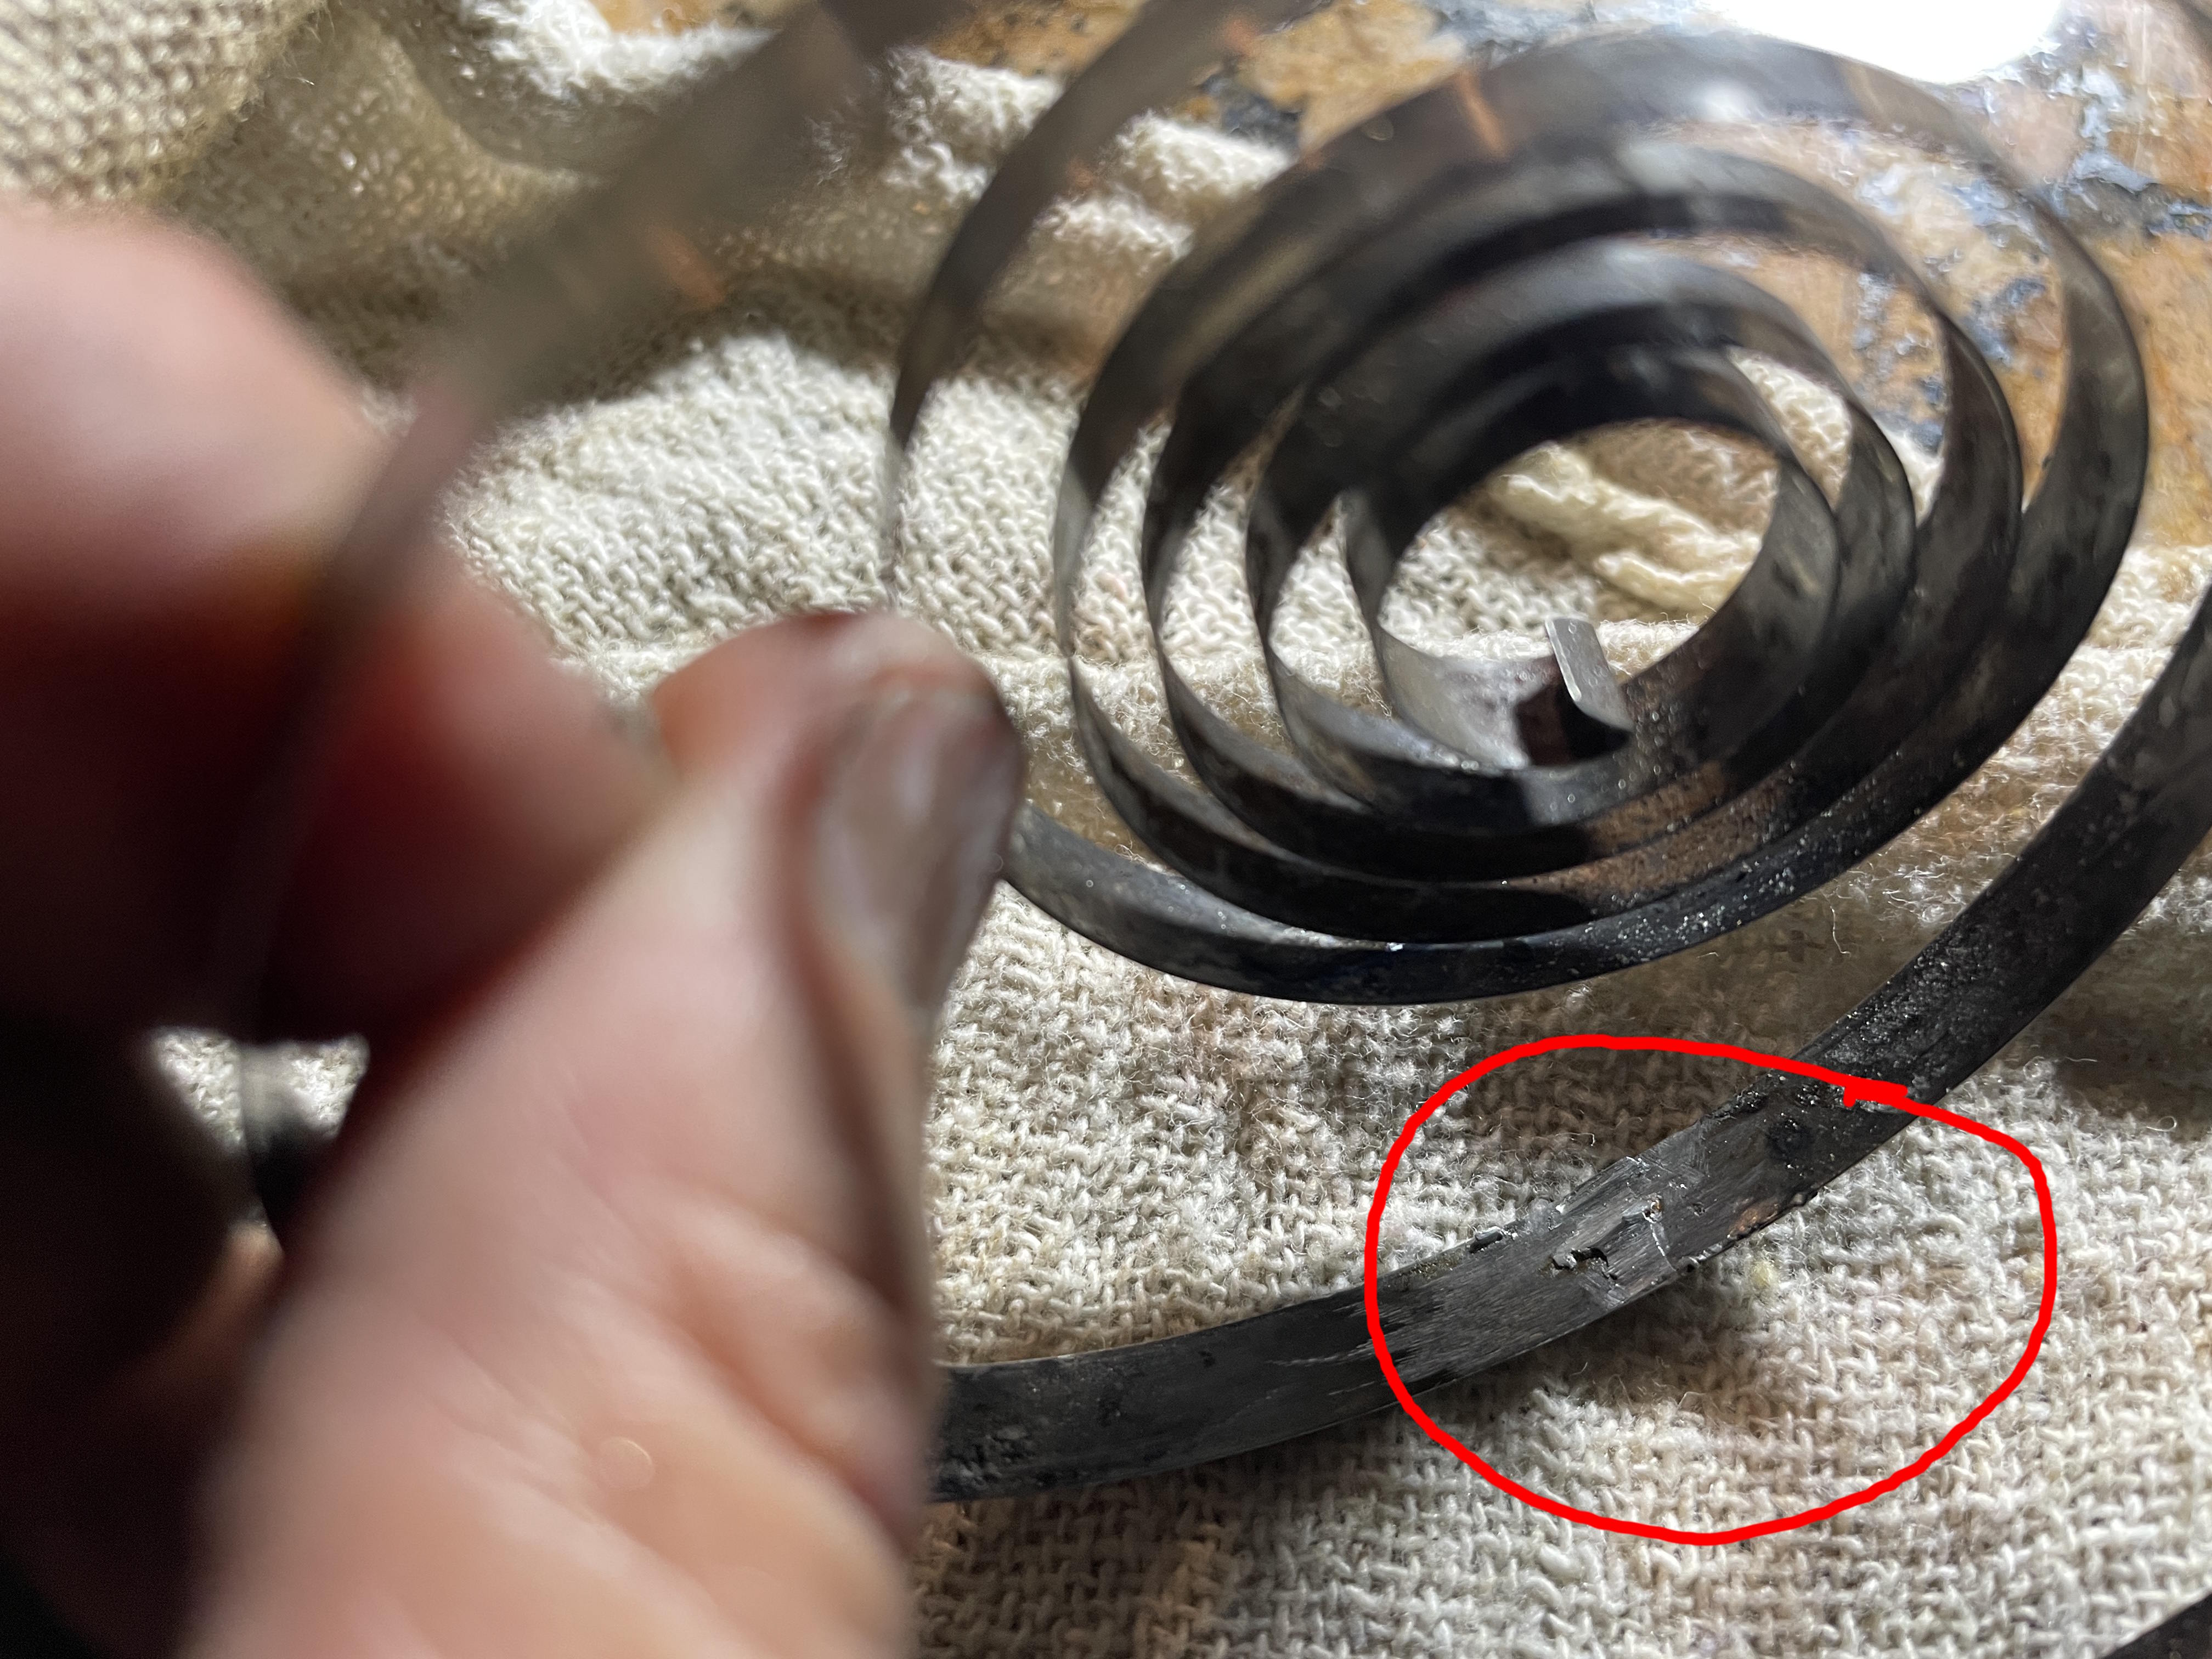
I know I should be wearing gloves but it’s almost impossible to work with these springs with them on
Working great! I have enough tension with the shorter mainspring, and my repair is holding. As insurance, I bought a “new” mainspring from Greg at Antikey Chop. He’s super nice and ships super fast.
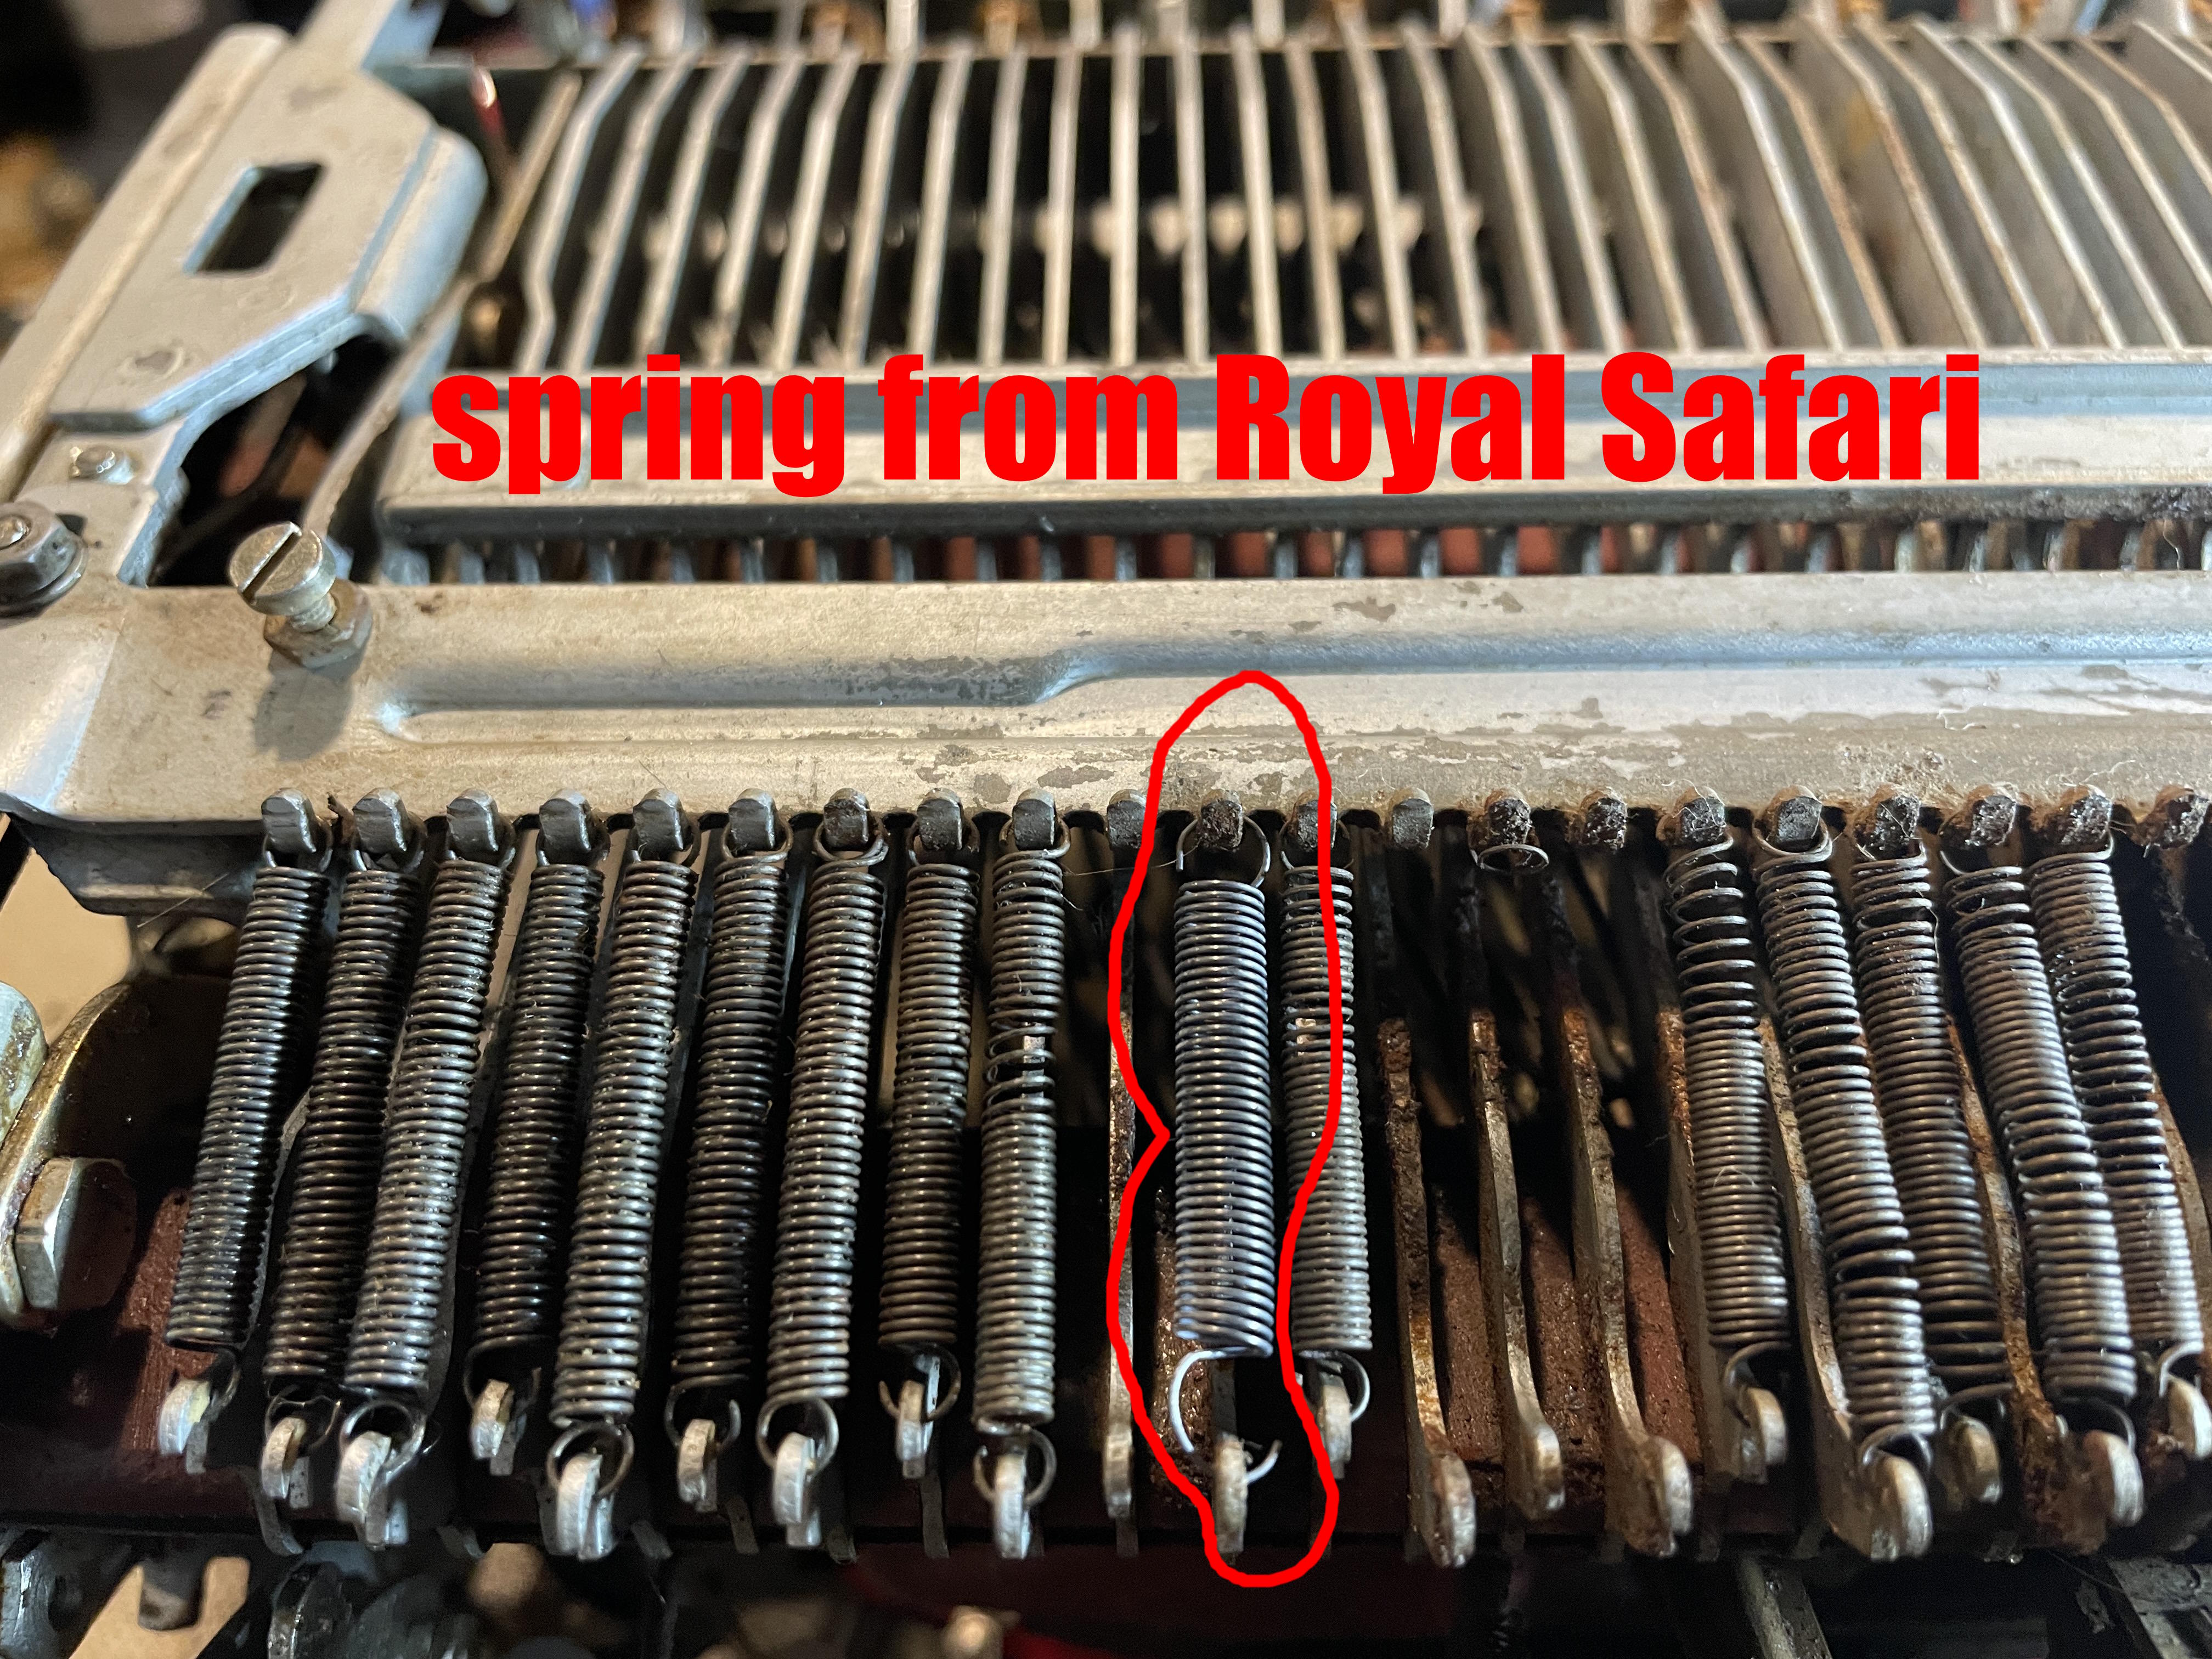
I had a bunch of missing tensioner springs under the machine. I scavenged a bunch from my Loyal Royal, the 1966 parts Safari, and they worked out great.
Olympia SMs have fancy spring-cushioned keytops that are the height of luxury. However, my rusty SM had cushions frozen with rust and white corrosion. The keyboard hadn’t been submerged in my vinegar soak. I decided to remove the keytops and clean each one individually.
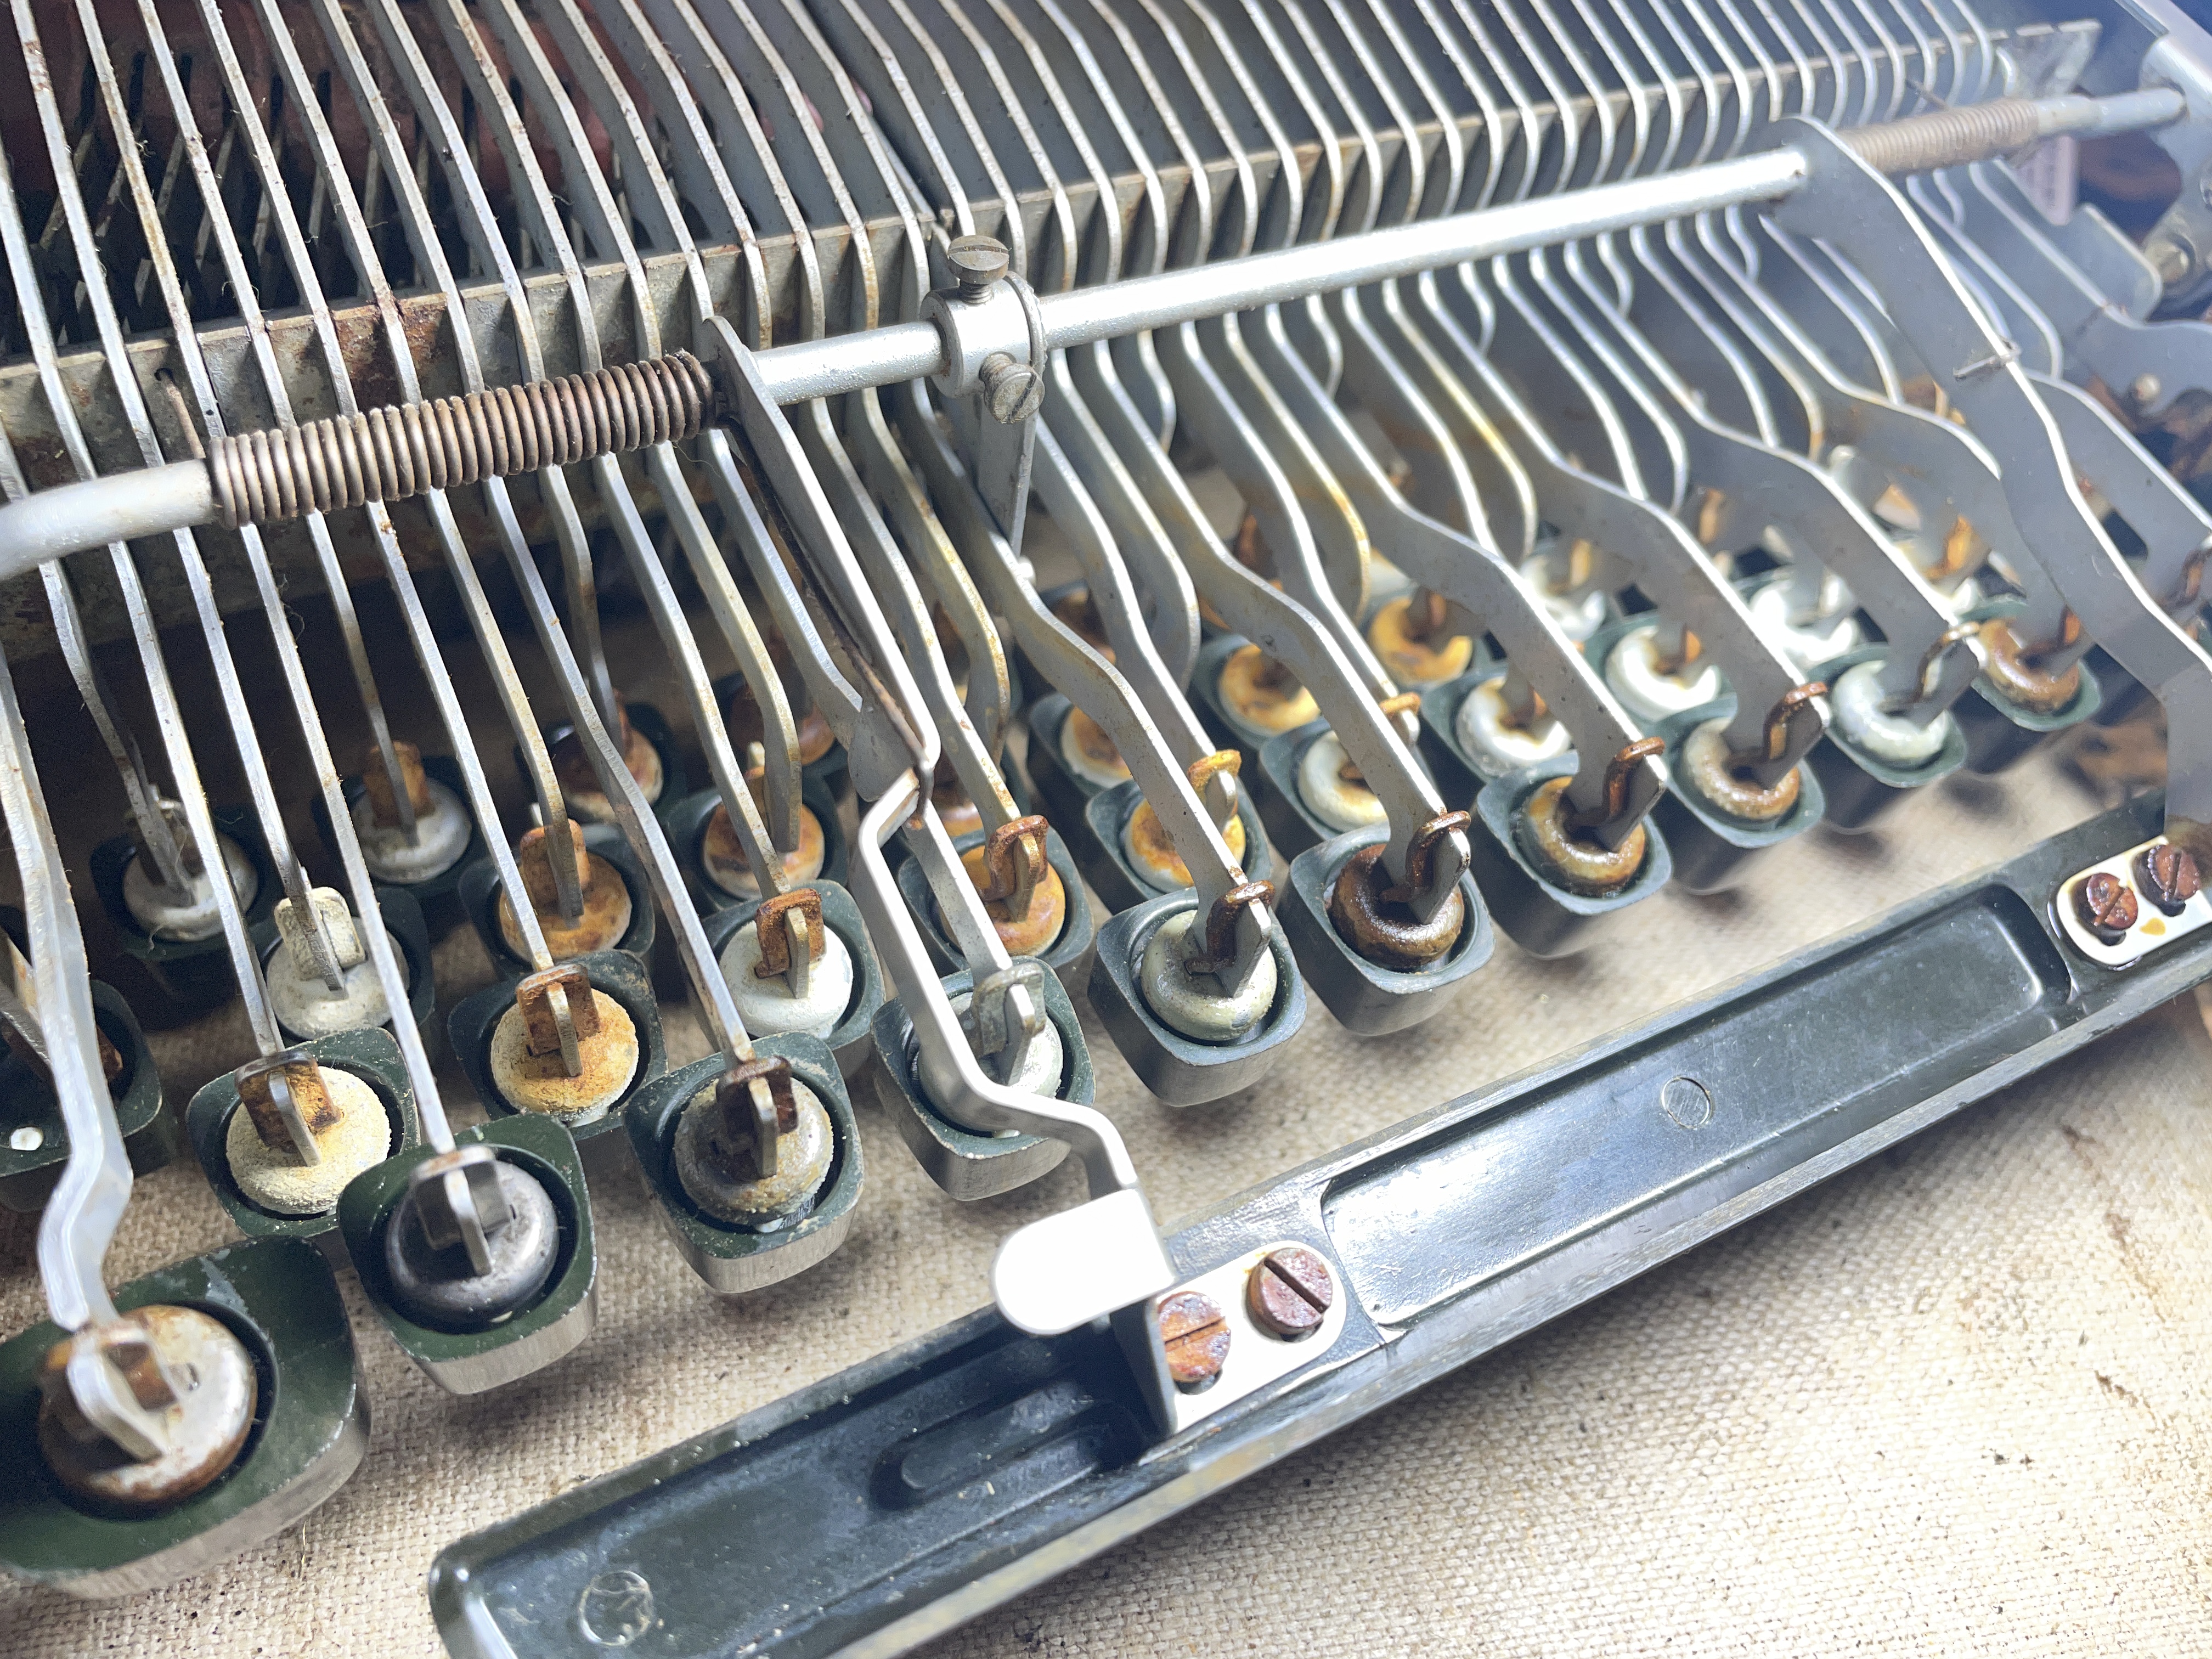
This video removing the keytops makes it look like a piece of cake:
If you are working with corroded or rusty keytop cushions, the process is more like this:
I watched this video and got a clearer idea of what I was up against—many thanks to Wayne from Type Tested who posted this very real video.
For me, it was a trembling, grunting, and sweaty struggle. As mentioned in the video, the bottom two rows are easiest (and they are not easy at all if they are crunchy with rust) and the top two rows are bears. I had to stop repeatedly, step back, breath deeply, contemplate my life choices—before heading back into the fray.
In retrospect, I should have dunked the keyboard in vinegar and let it soak a bit, but I ended up oiling up the keytops, working them with my hands before popping them off.
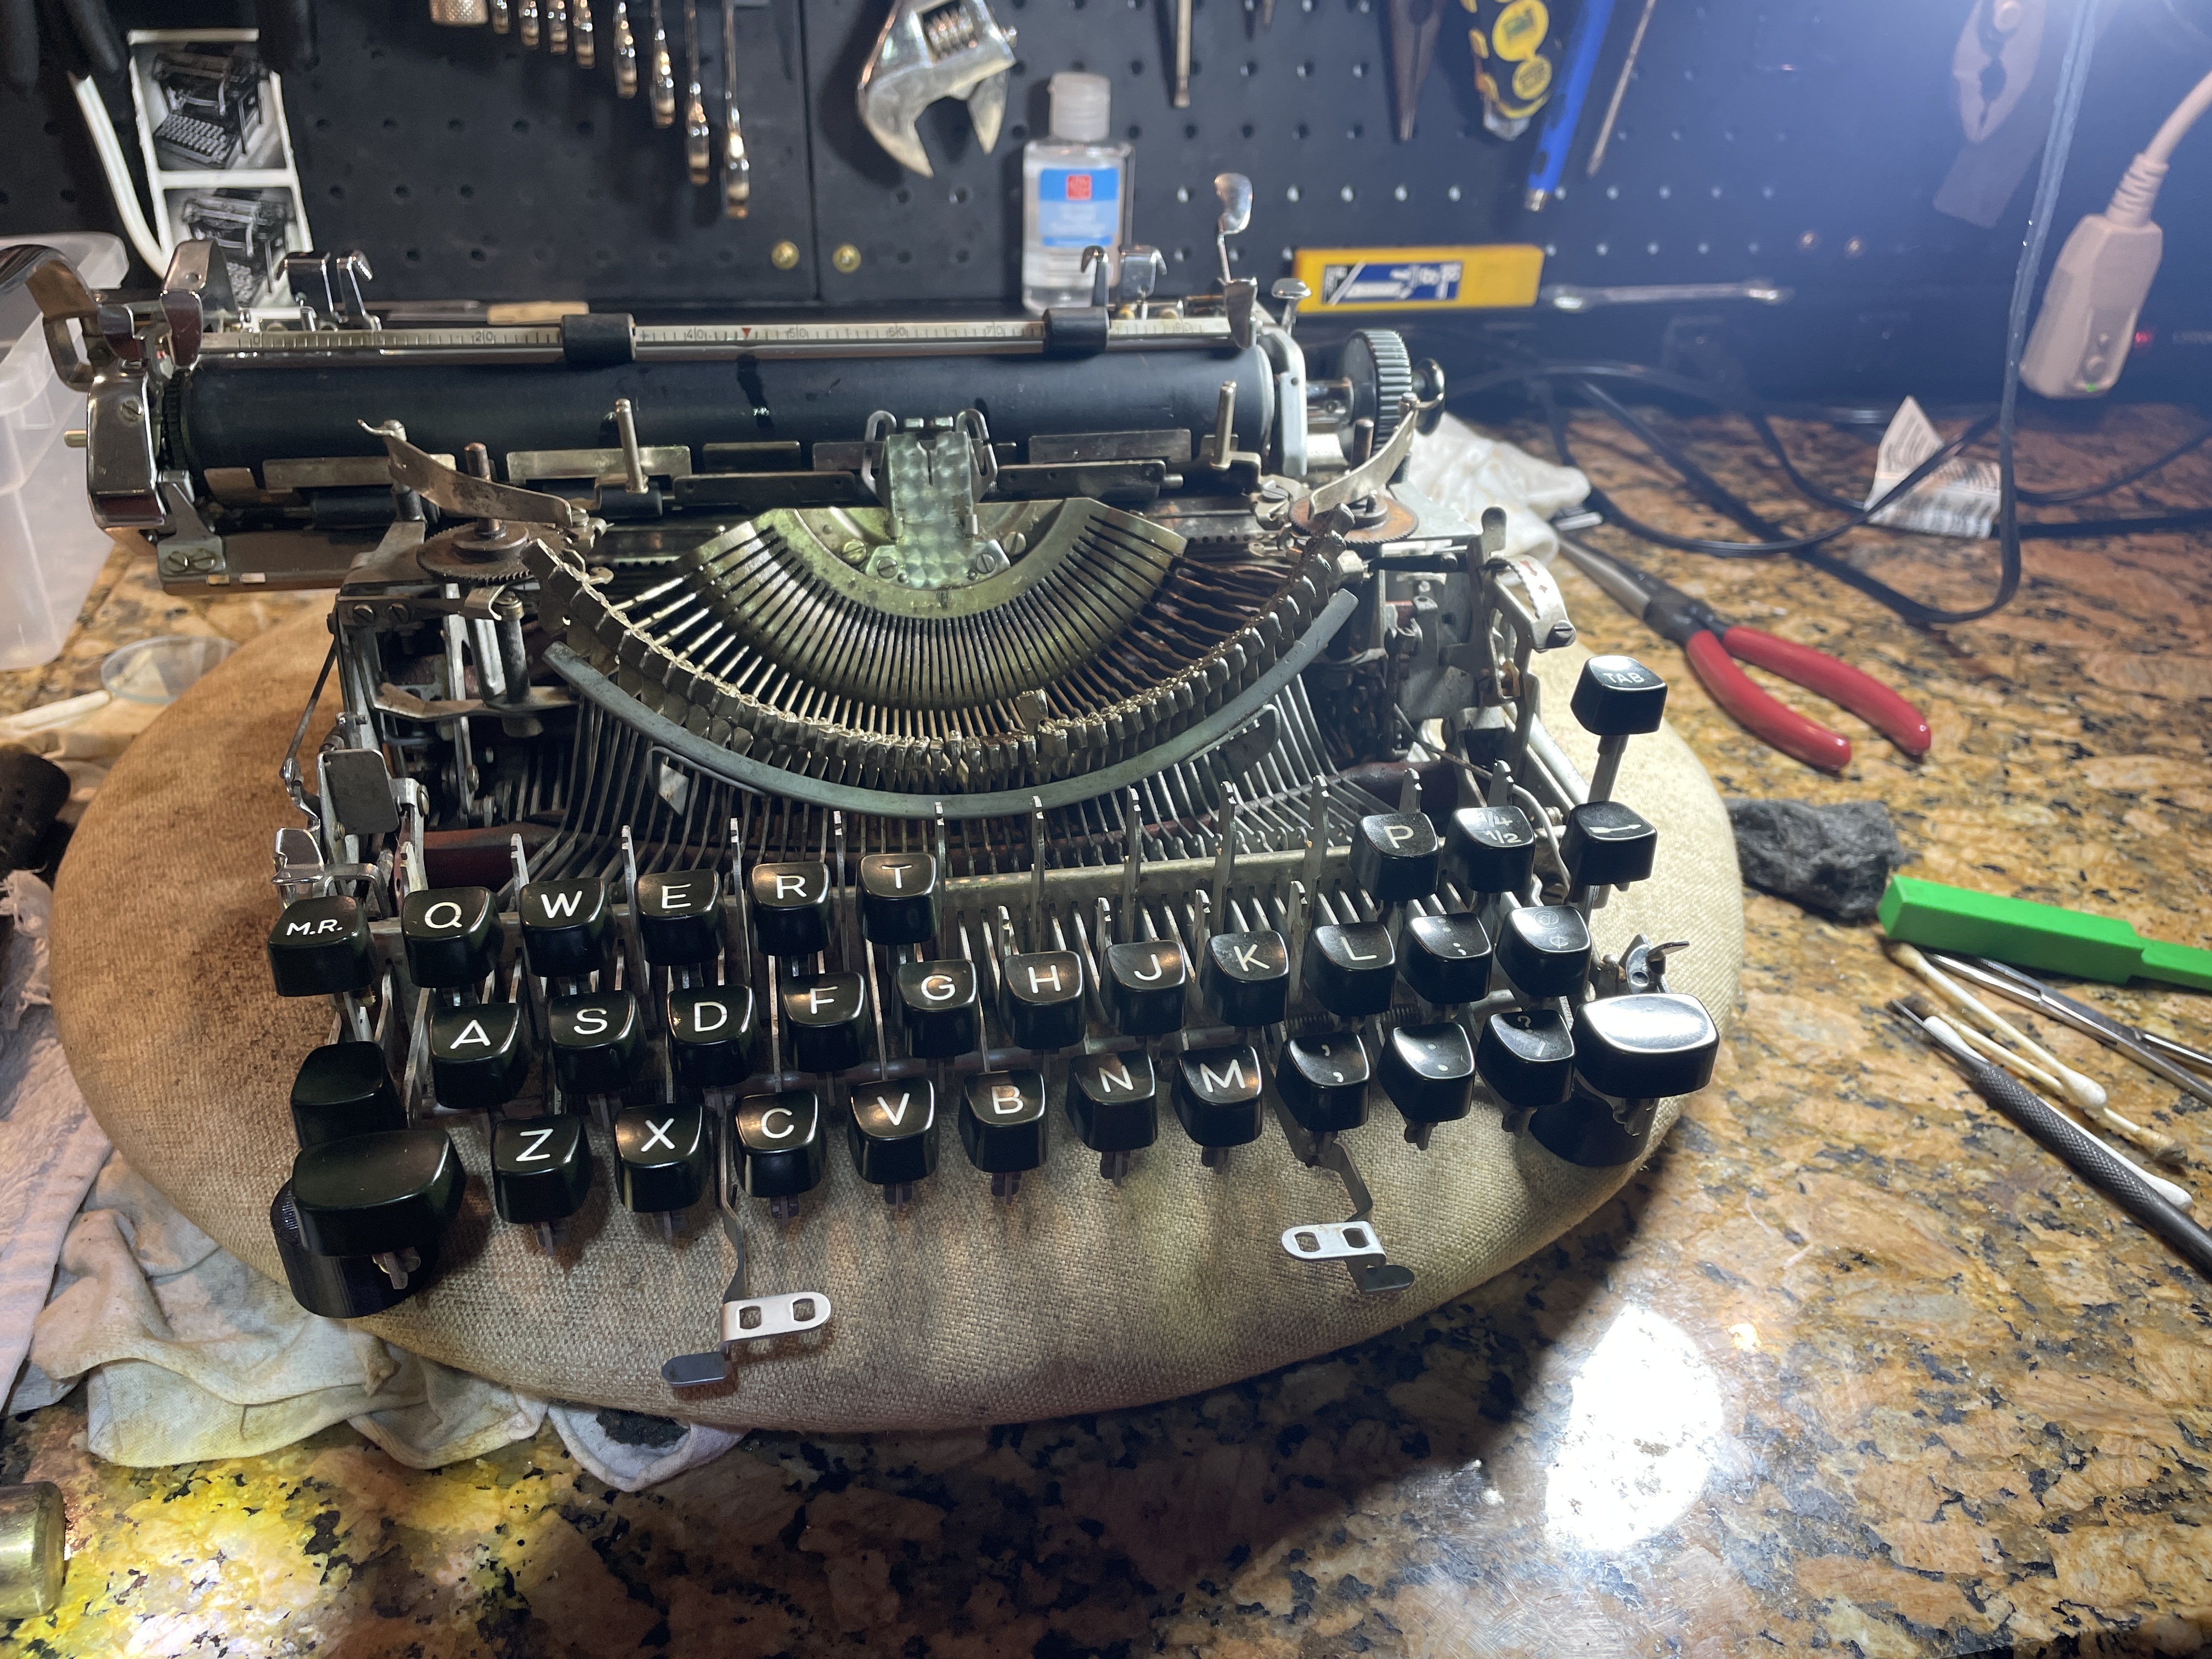
Eventually I got them all off, cleaned the rust and corrosion, polished them with steel wool, lubricated them with light oil, and reinstalled.
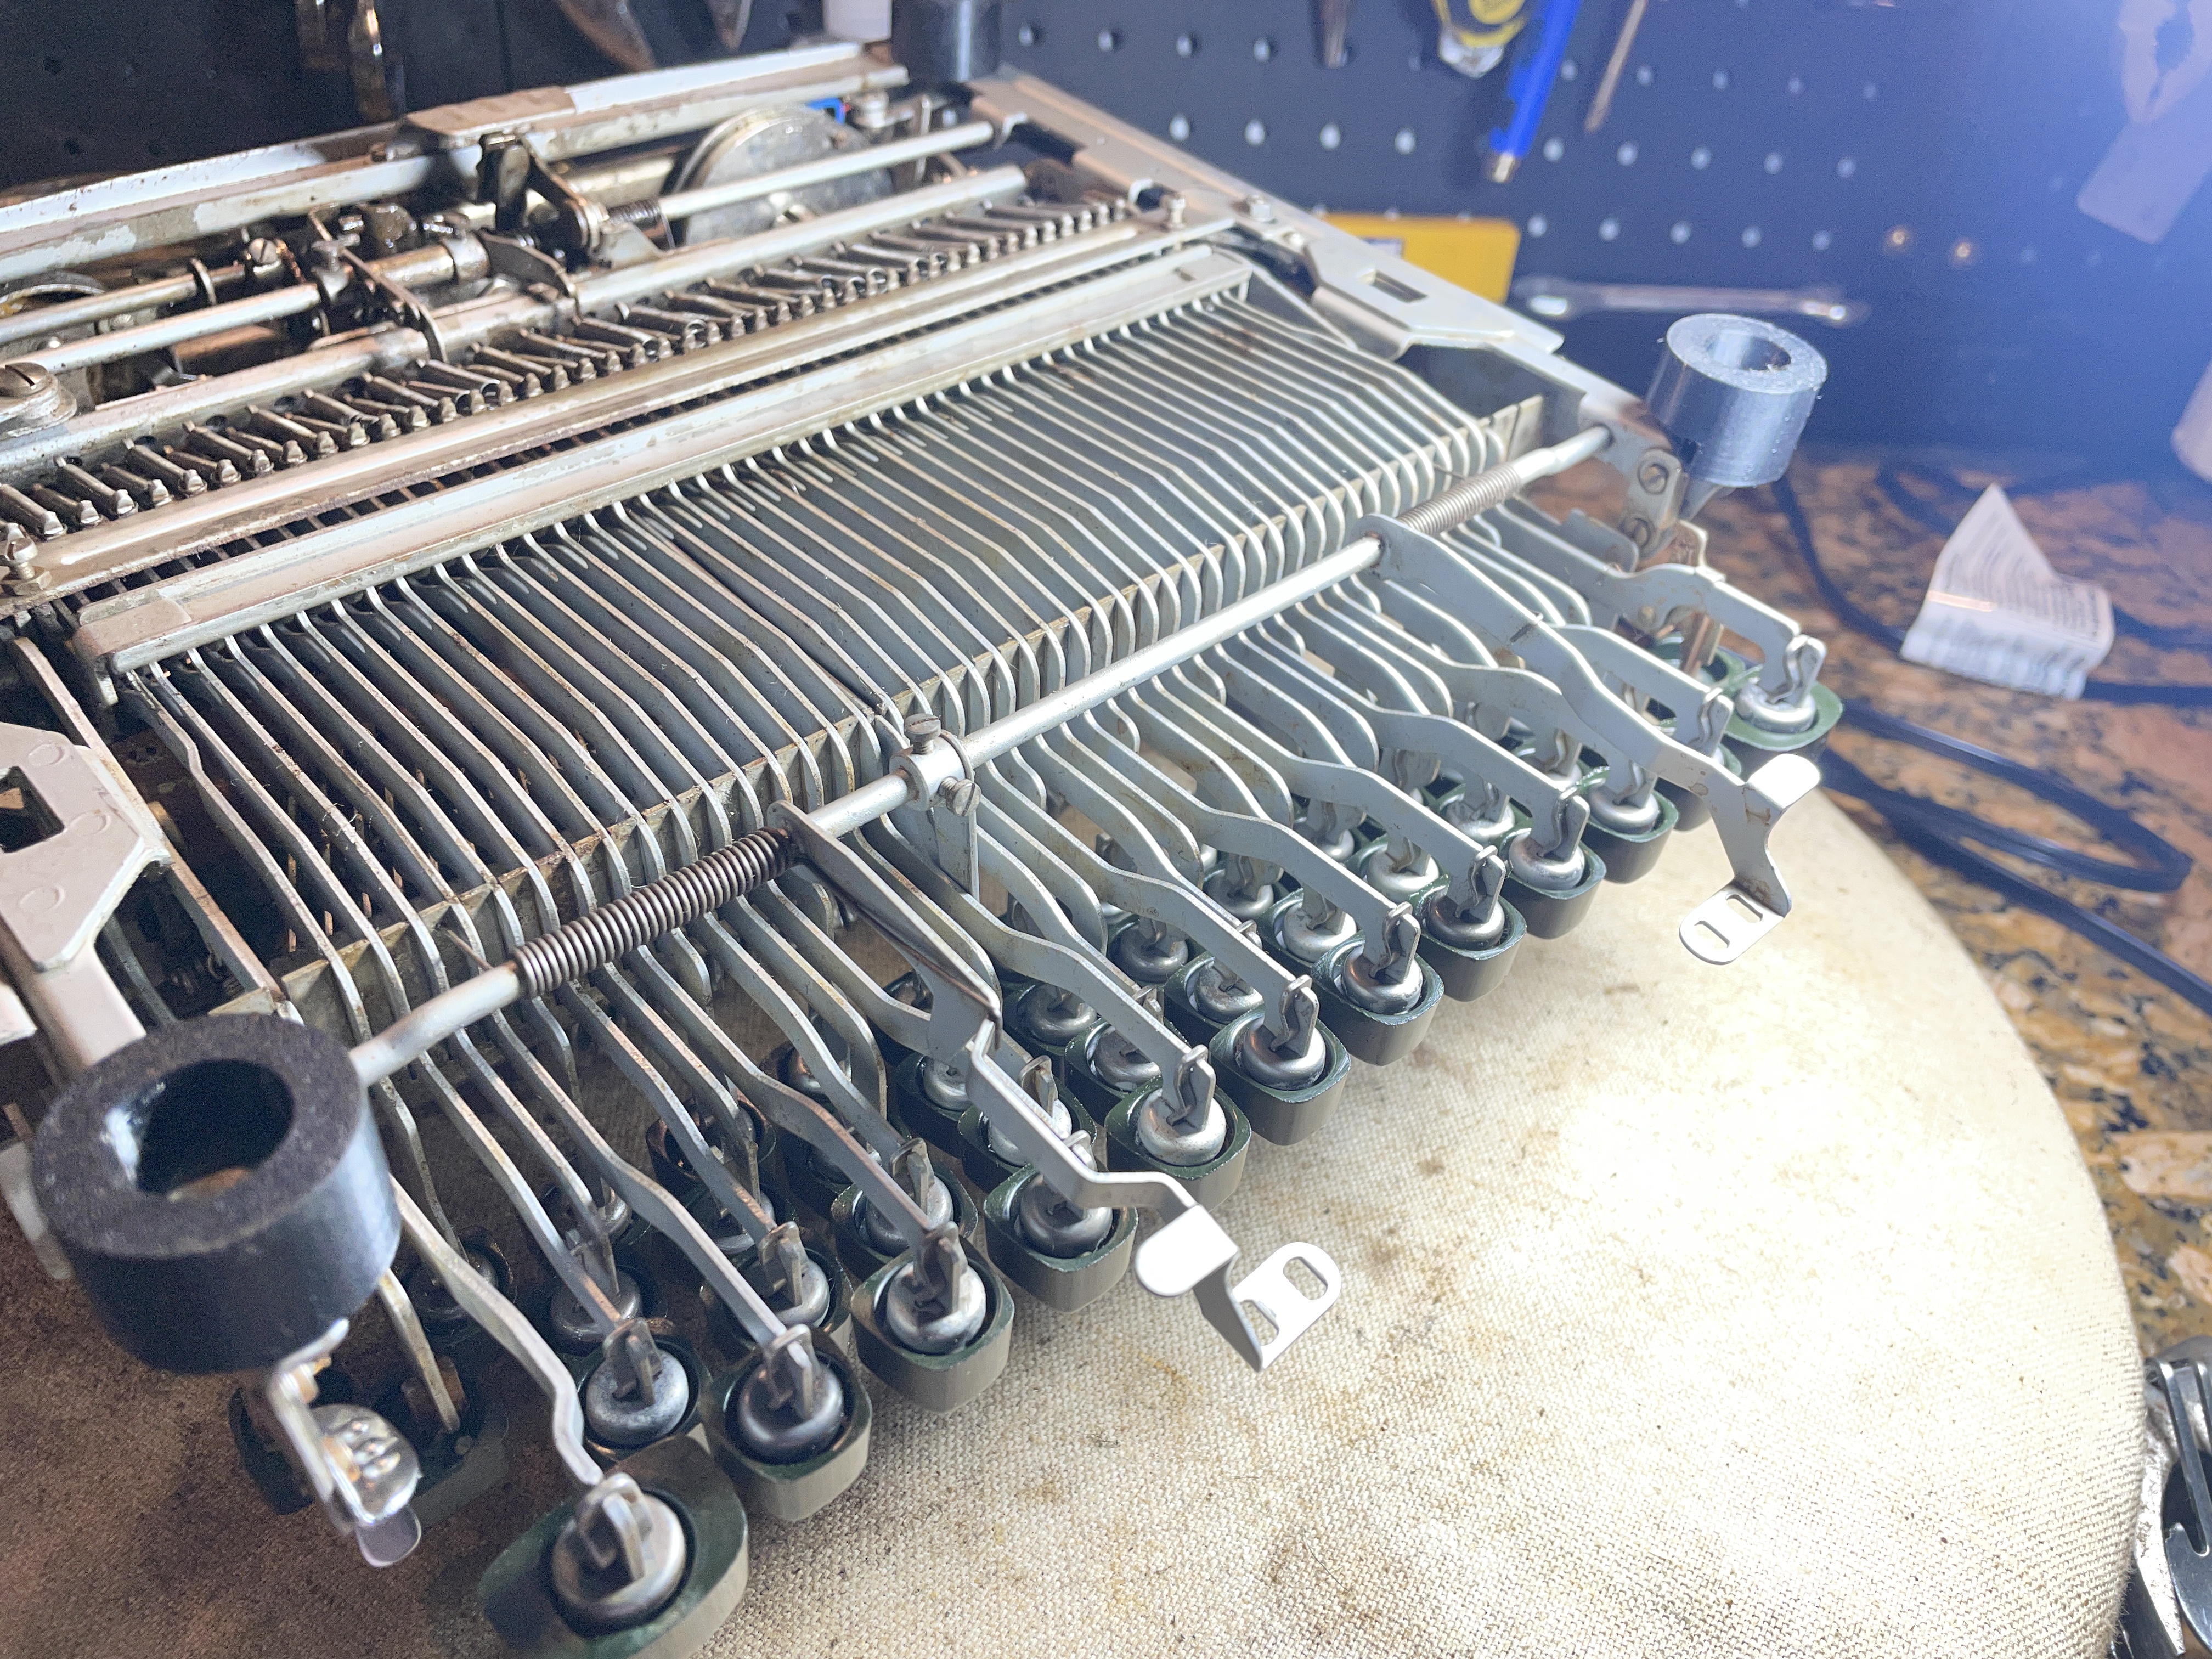
It was a harrowing process. I got little blisters on the inside of my index fingers.
There has to be an easier way. It got me thinking. Olympia made a specialized tool, the RW 99 or RW 100 for removing these cushioned keytops. I have never seen one in the flesh.
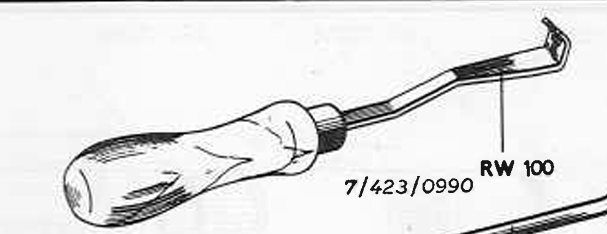
From Richard Polt’s manuals archive, Olympia SM1, SM2, and SM3 parts catalog and price list
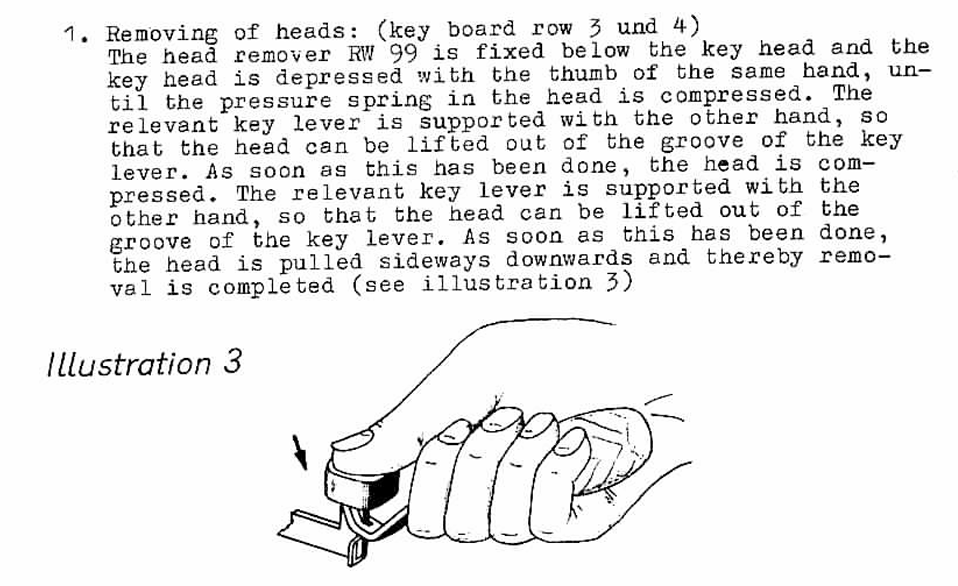
What if..?
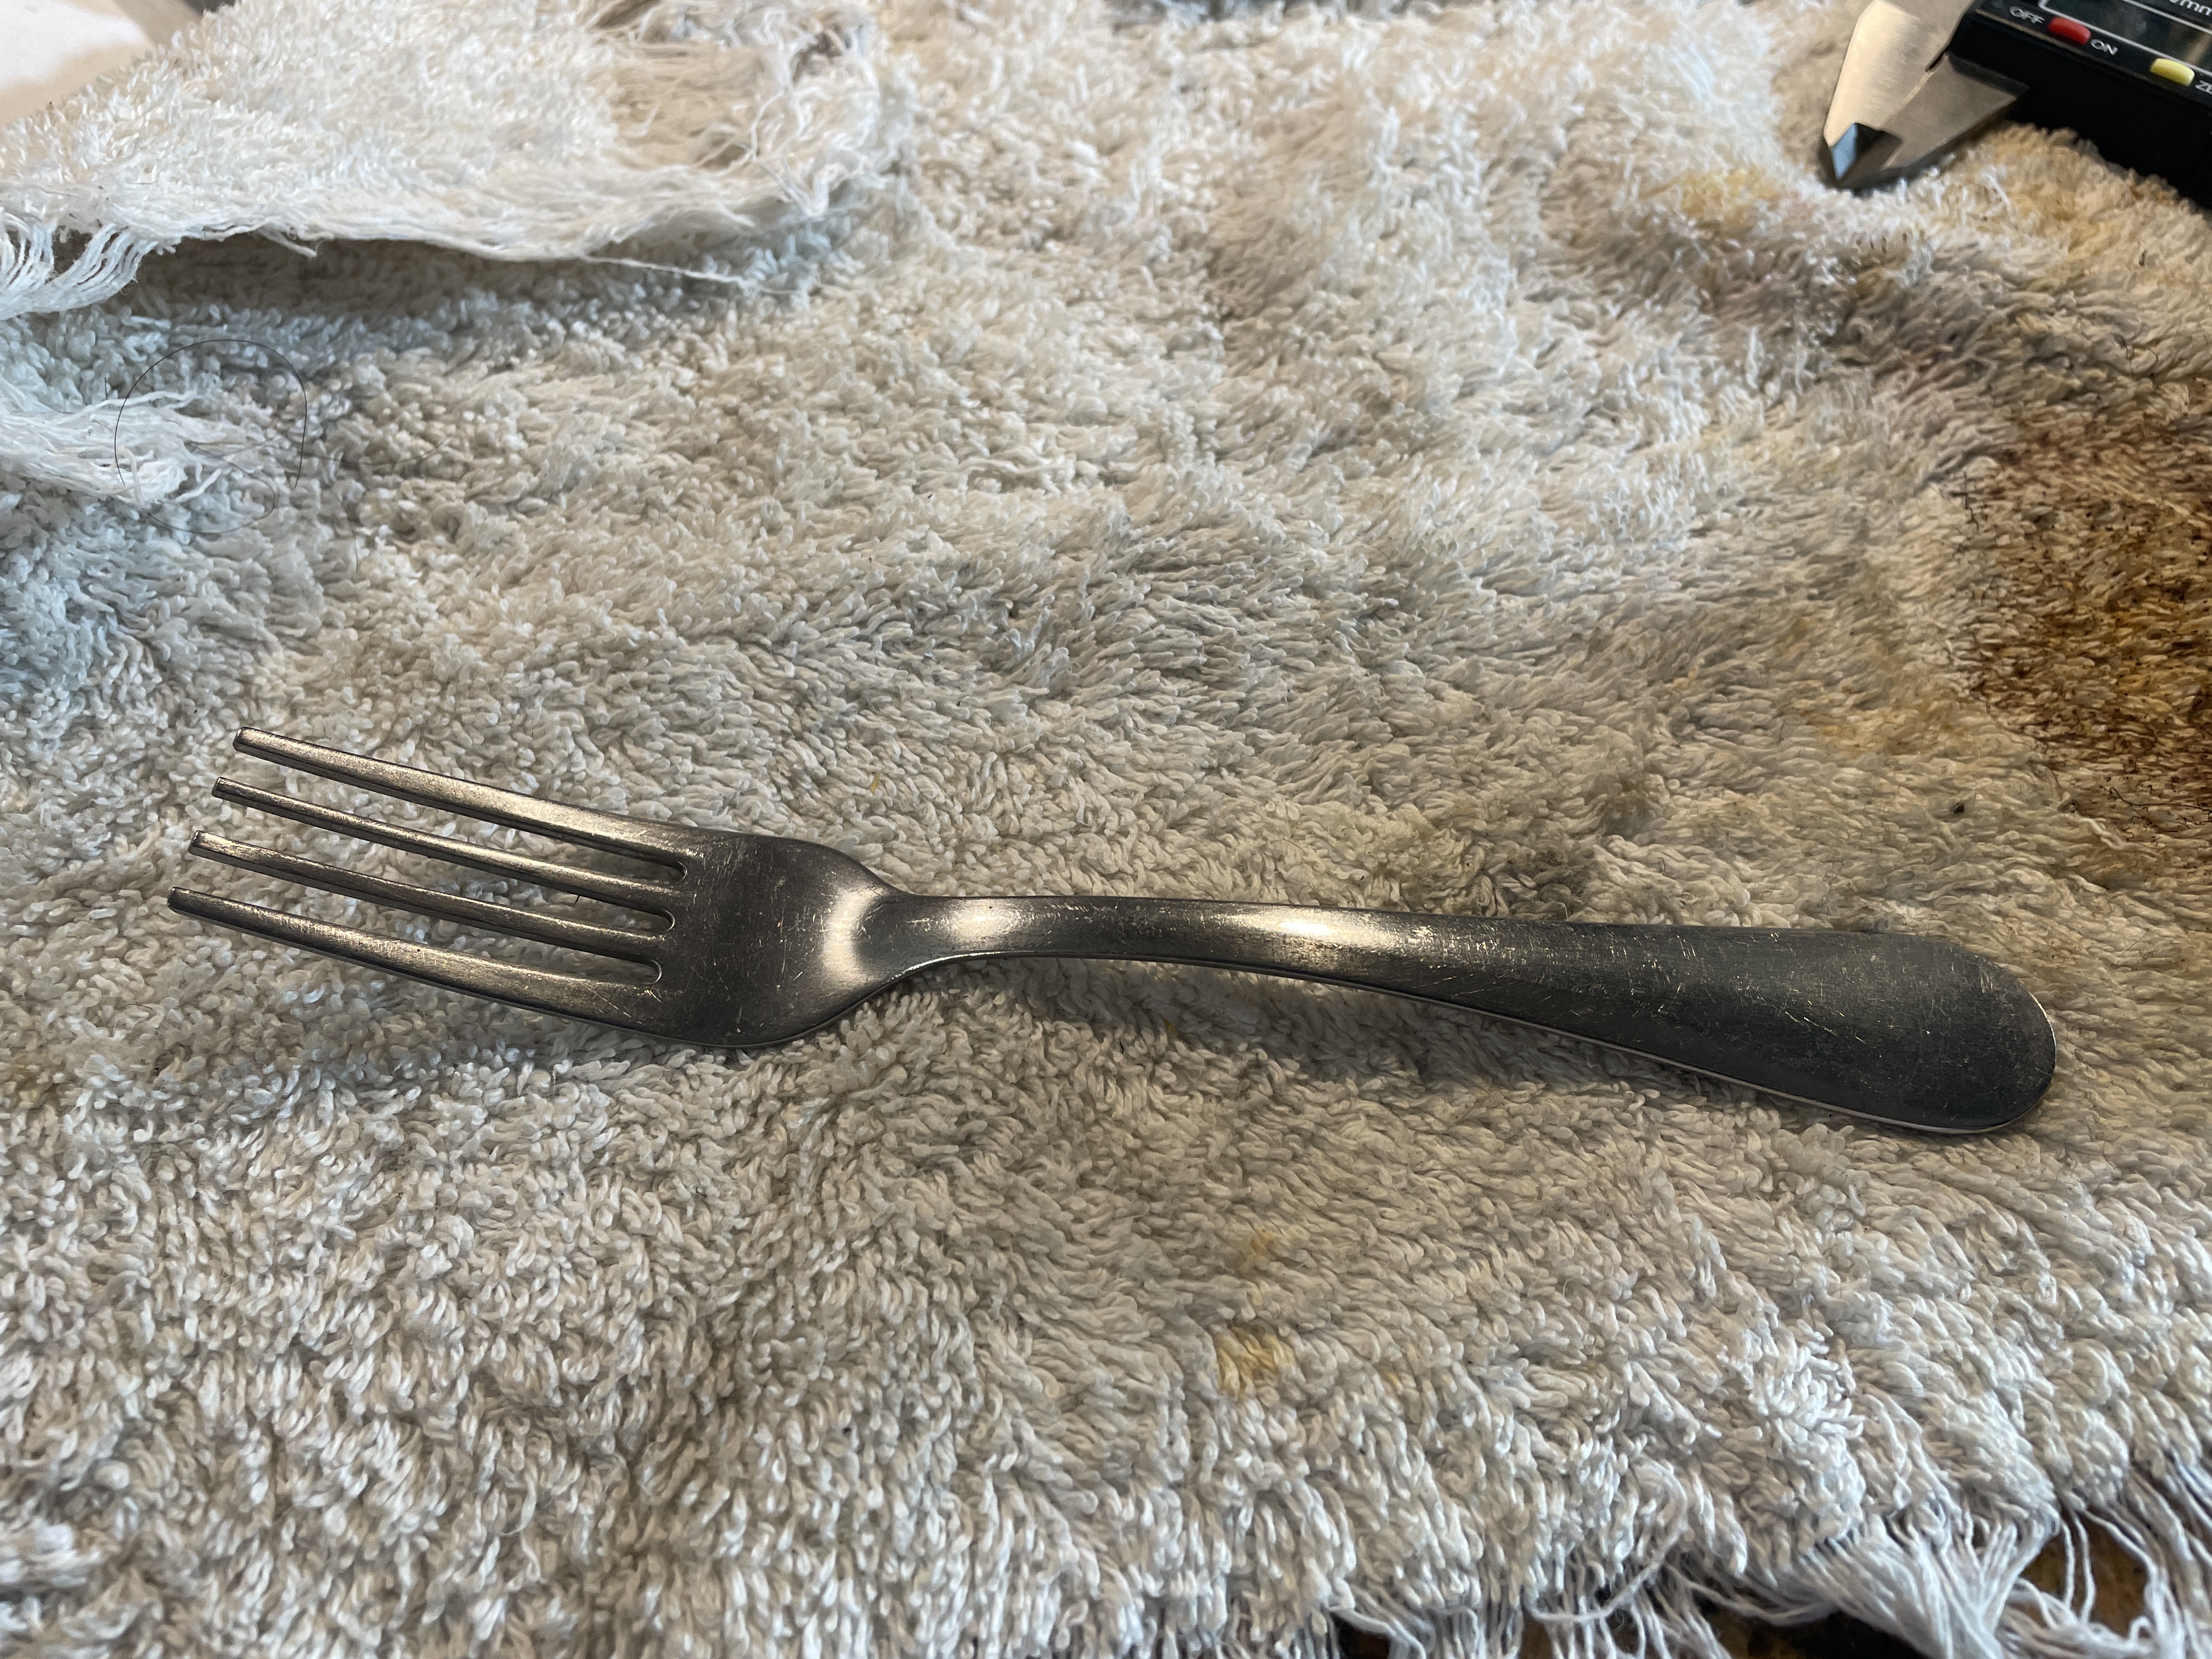
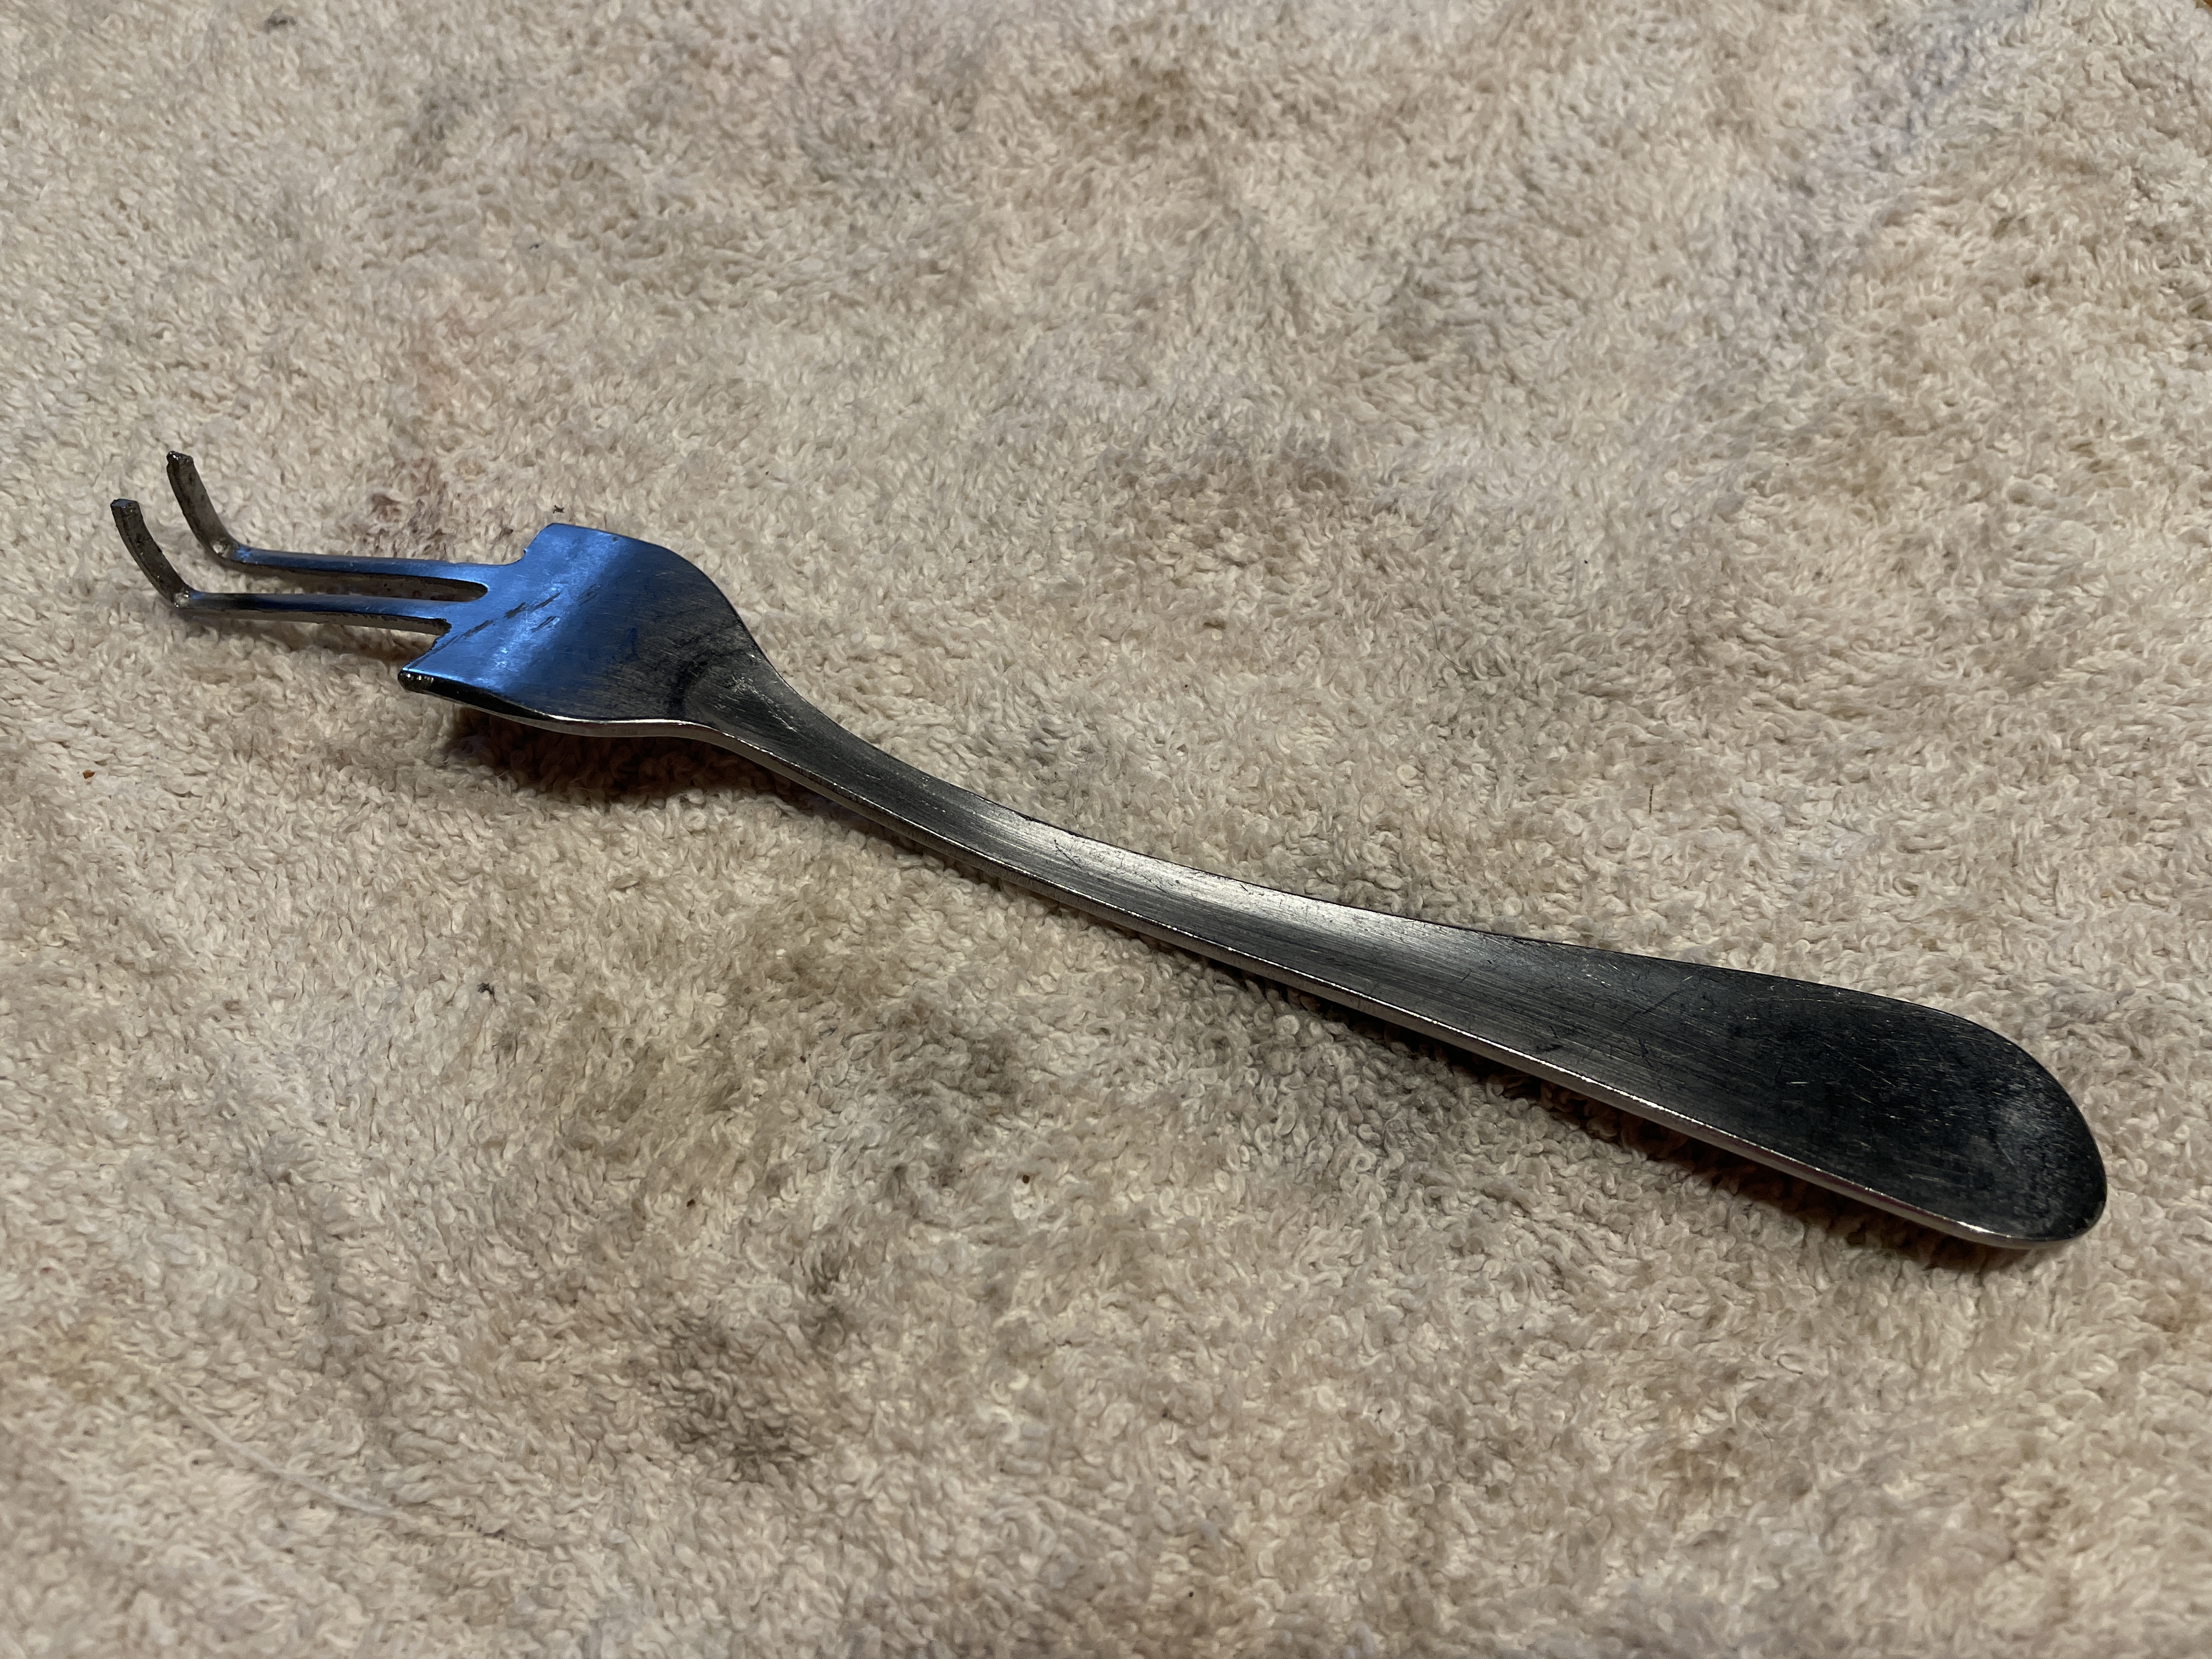
I used my Dremel with a cut-off attachment and ground off the outer two tines. I spread the center two tines slightly so that they would hug the center post on the keytop and then bent the tines at a 90° angle and curved the tips using a couple pairs of pliers. The two prongs project out about 3/8″.
With some sizing adjustment, I got an almost perfect tool. Here is the use on the bottom row of keytops (the easiest row):
The top two rows are most difficult to remove because you need to pivot the keytop perpendicular to the key lever before lifting upward. I got the keytops below the key I wanted to work on out of the way by jamming them together. You’ll also need to support the key lever you’re working on from below with a finger. Here’s removal:
And here is replacement:
This little SM3 is typing so well right now. All the keys are free and swinging with the exception of the letter Z/z. There is still some rust or debris (a potato bug?) in the segment slot or at the typebar pivot. I applied some PB B’laster to the segment fulcrum wire holes and will let that sit for a week. I want to get that fulcrum wire moving so I can pull that Z/z typebar.
Otherwise, this SM3 is looking pretty good. There’s a lot of bare metal in the type basket. I plan to polish up the typebars and segment a bit more.
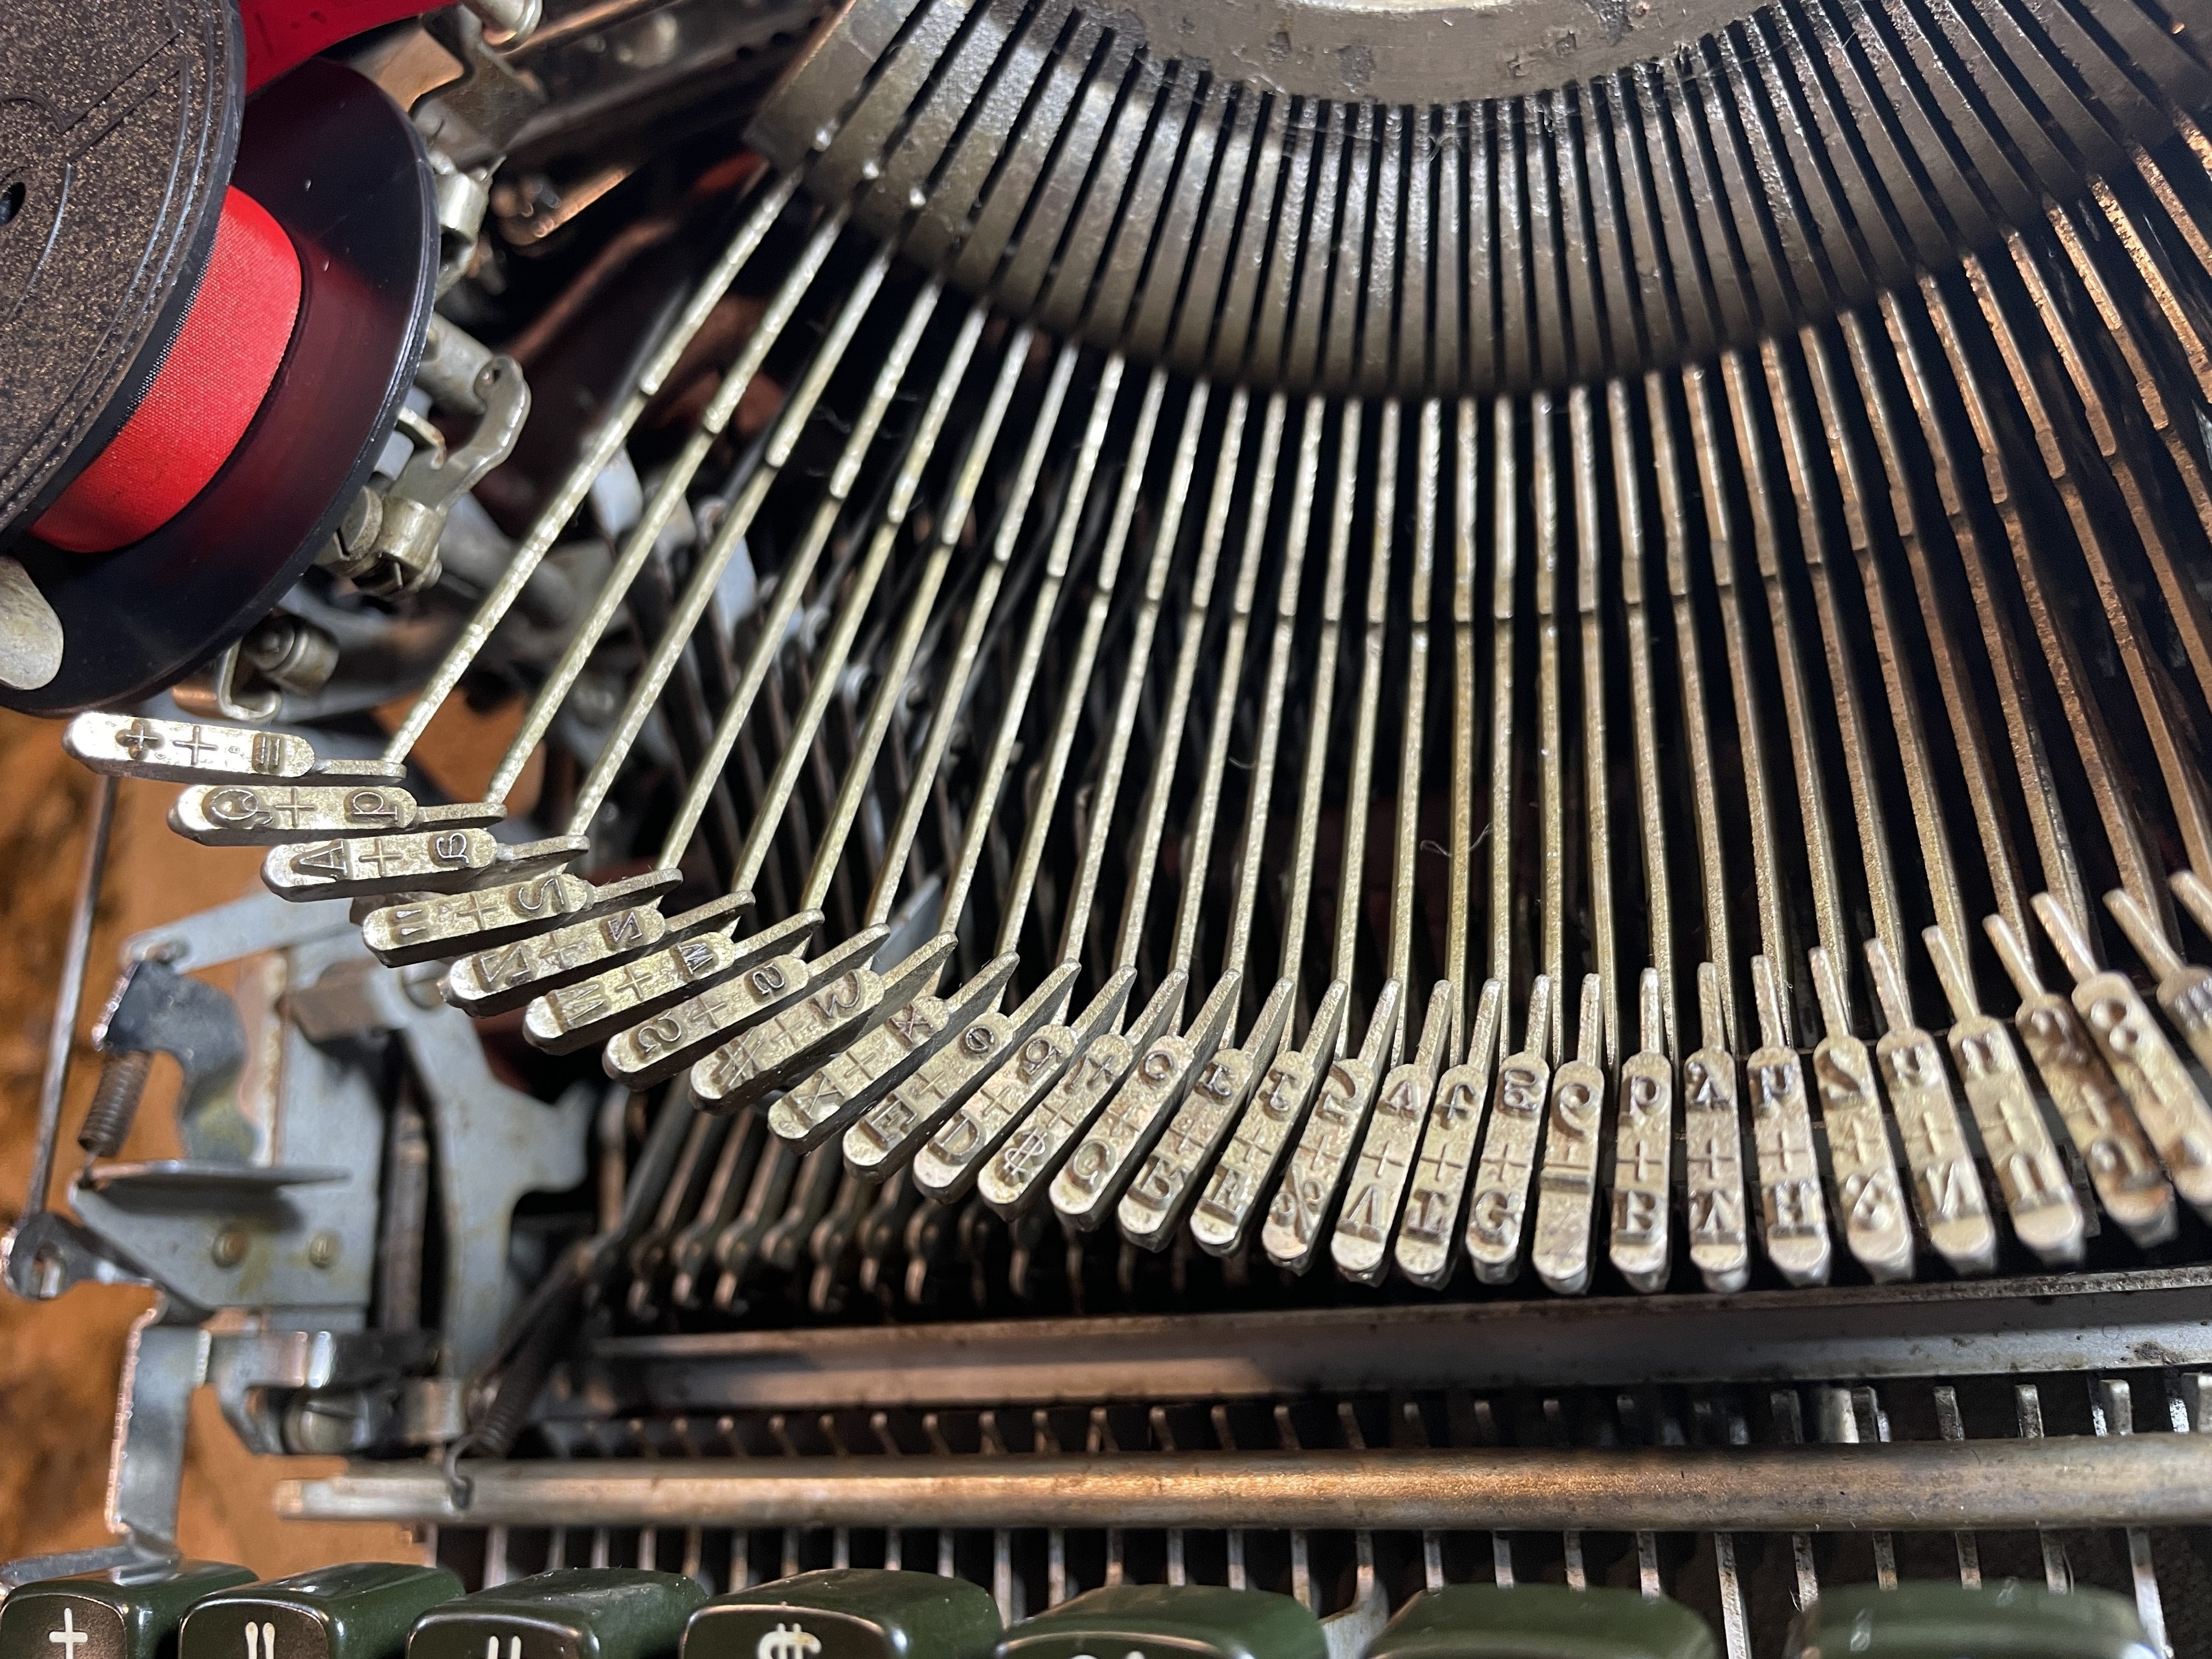
I couldn’t be happier with the way it’s typing. It feels great and the platen is nice and soft.
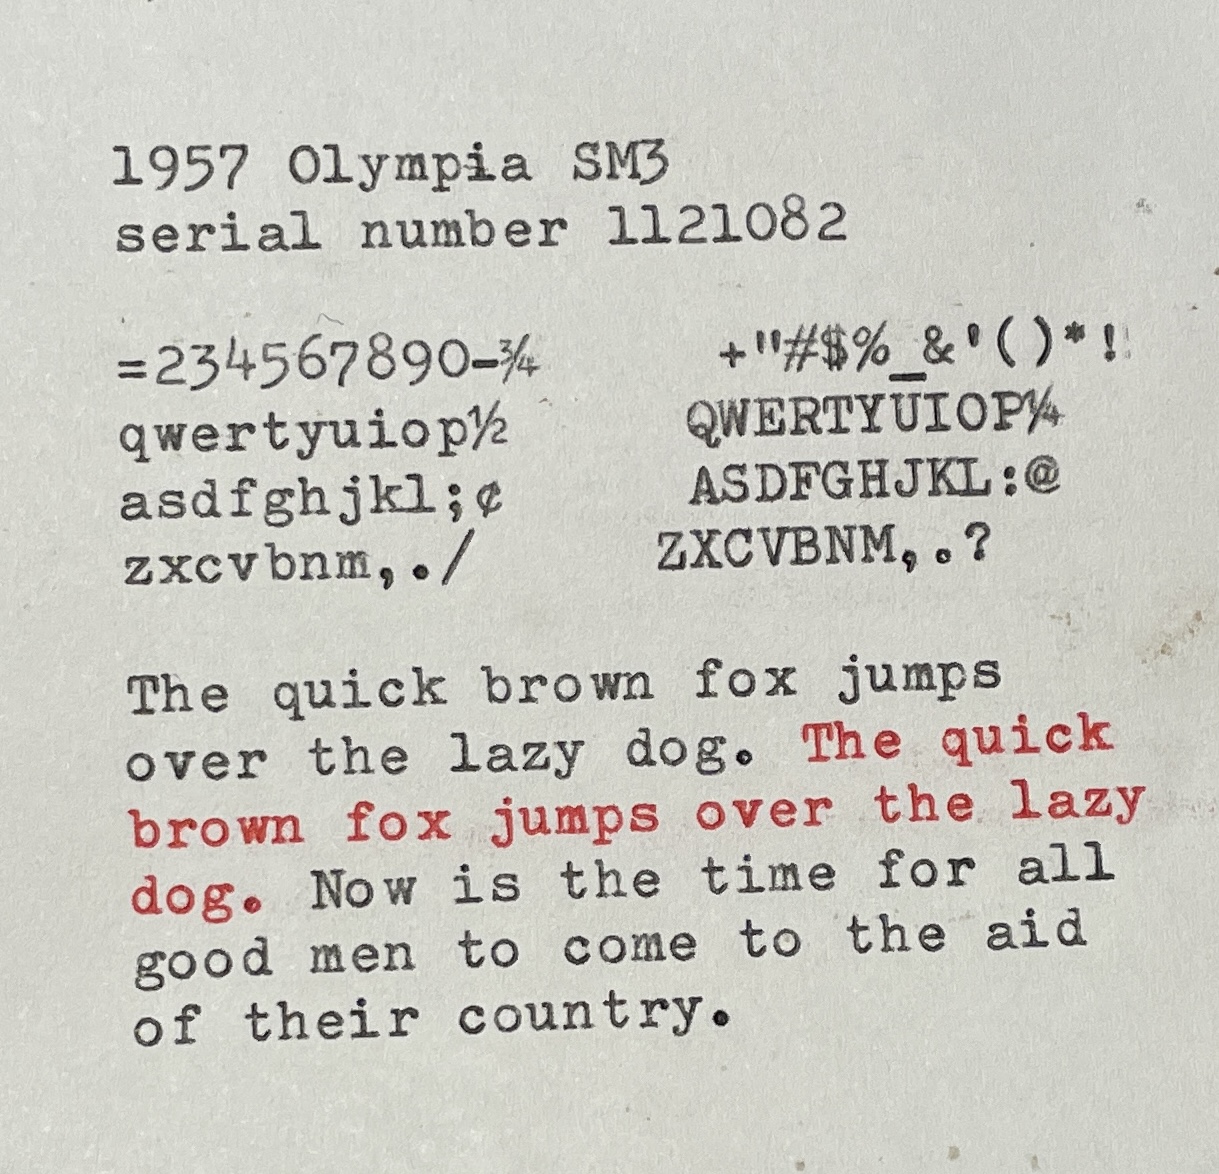
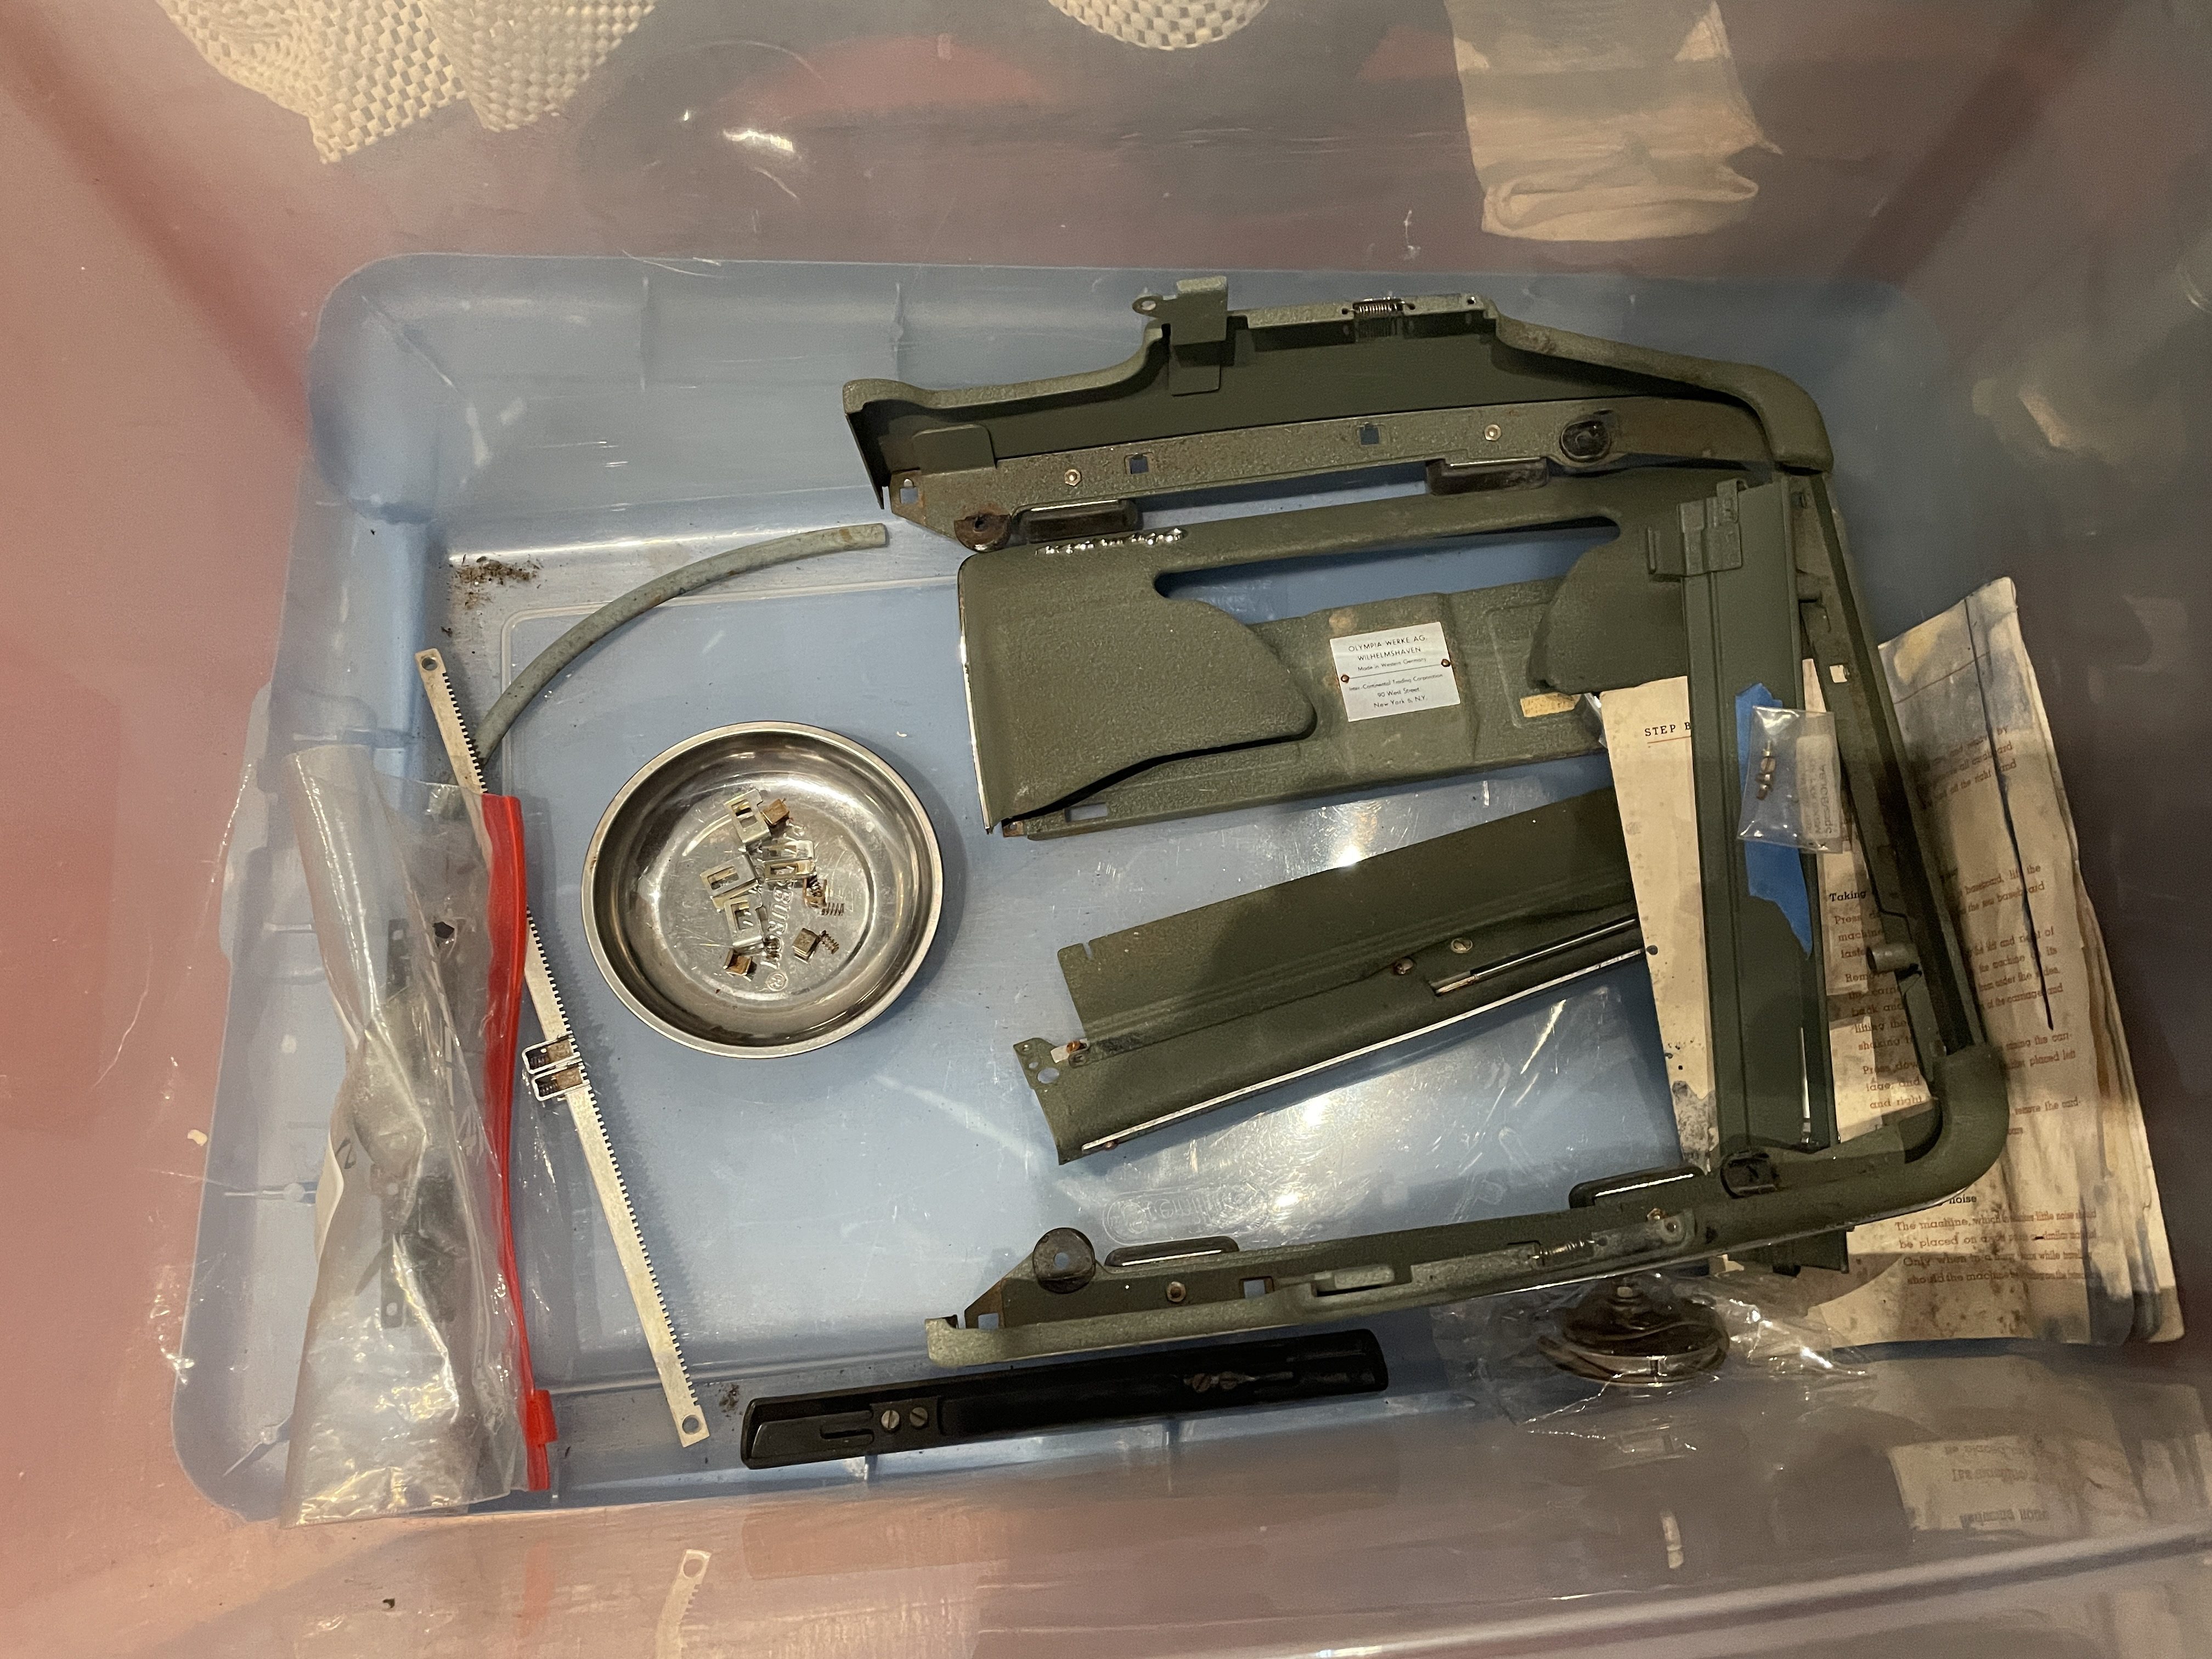
As I mentioned before, there is very little rust on the cover plates of the Olympia. I’ll just clean them up with a little diluted Simple Green and re-install.
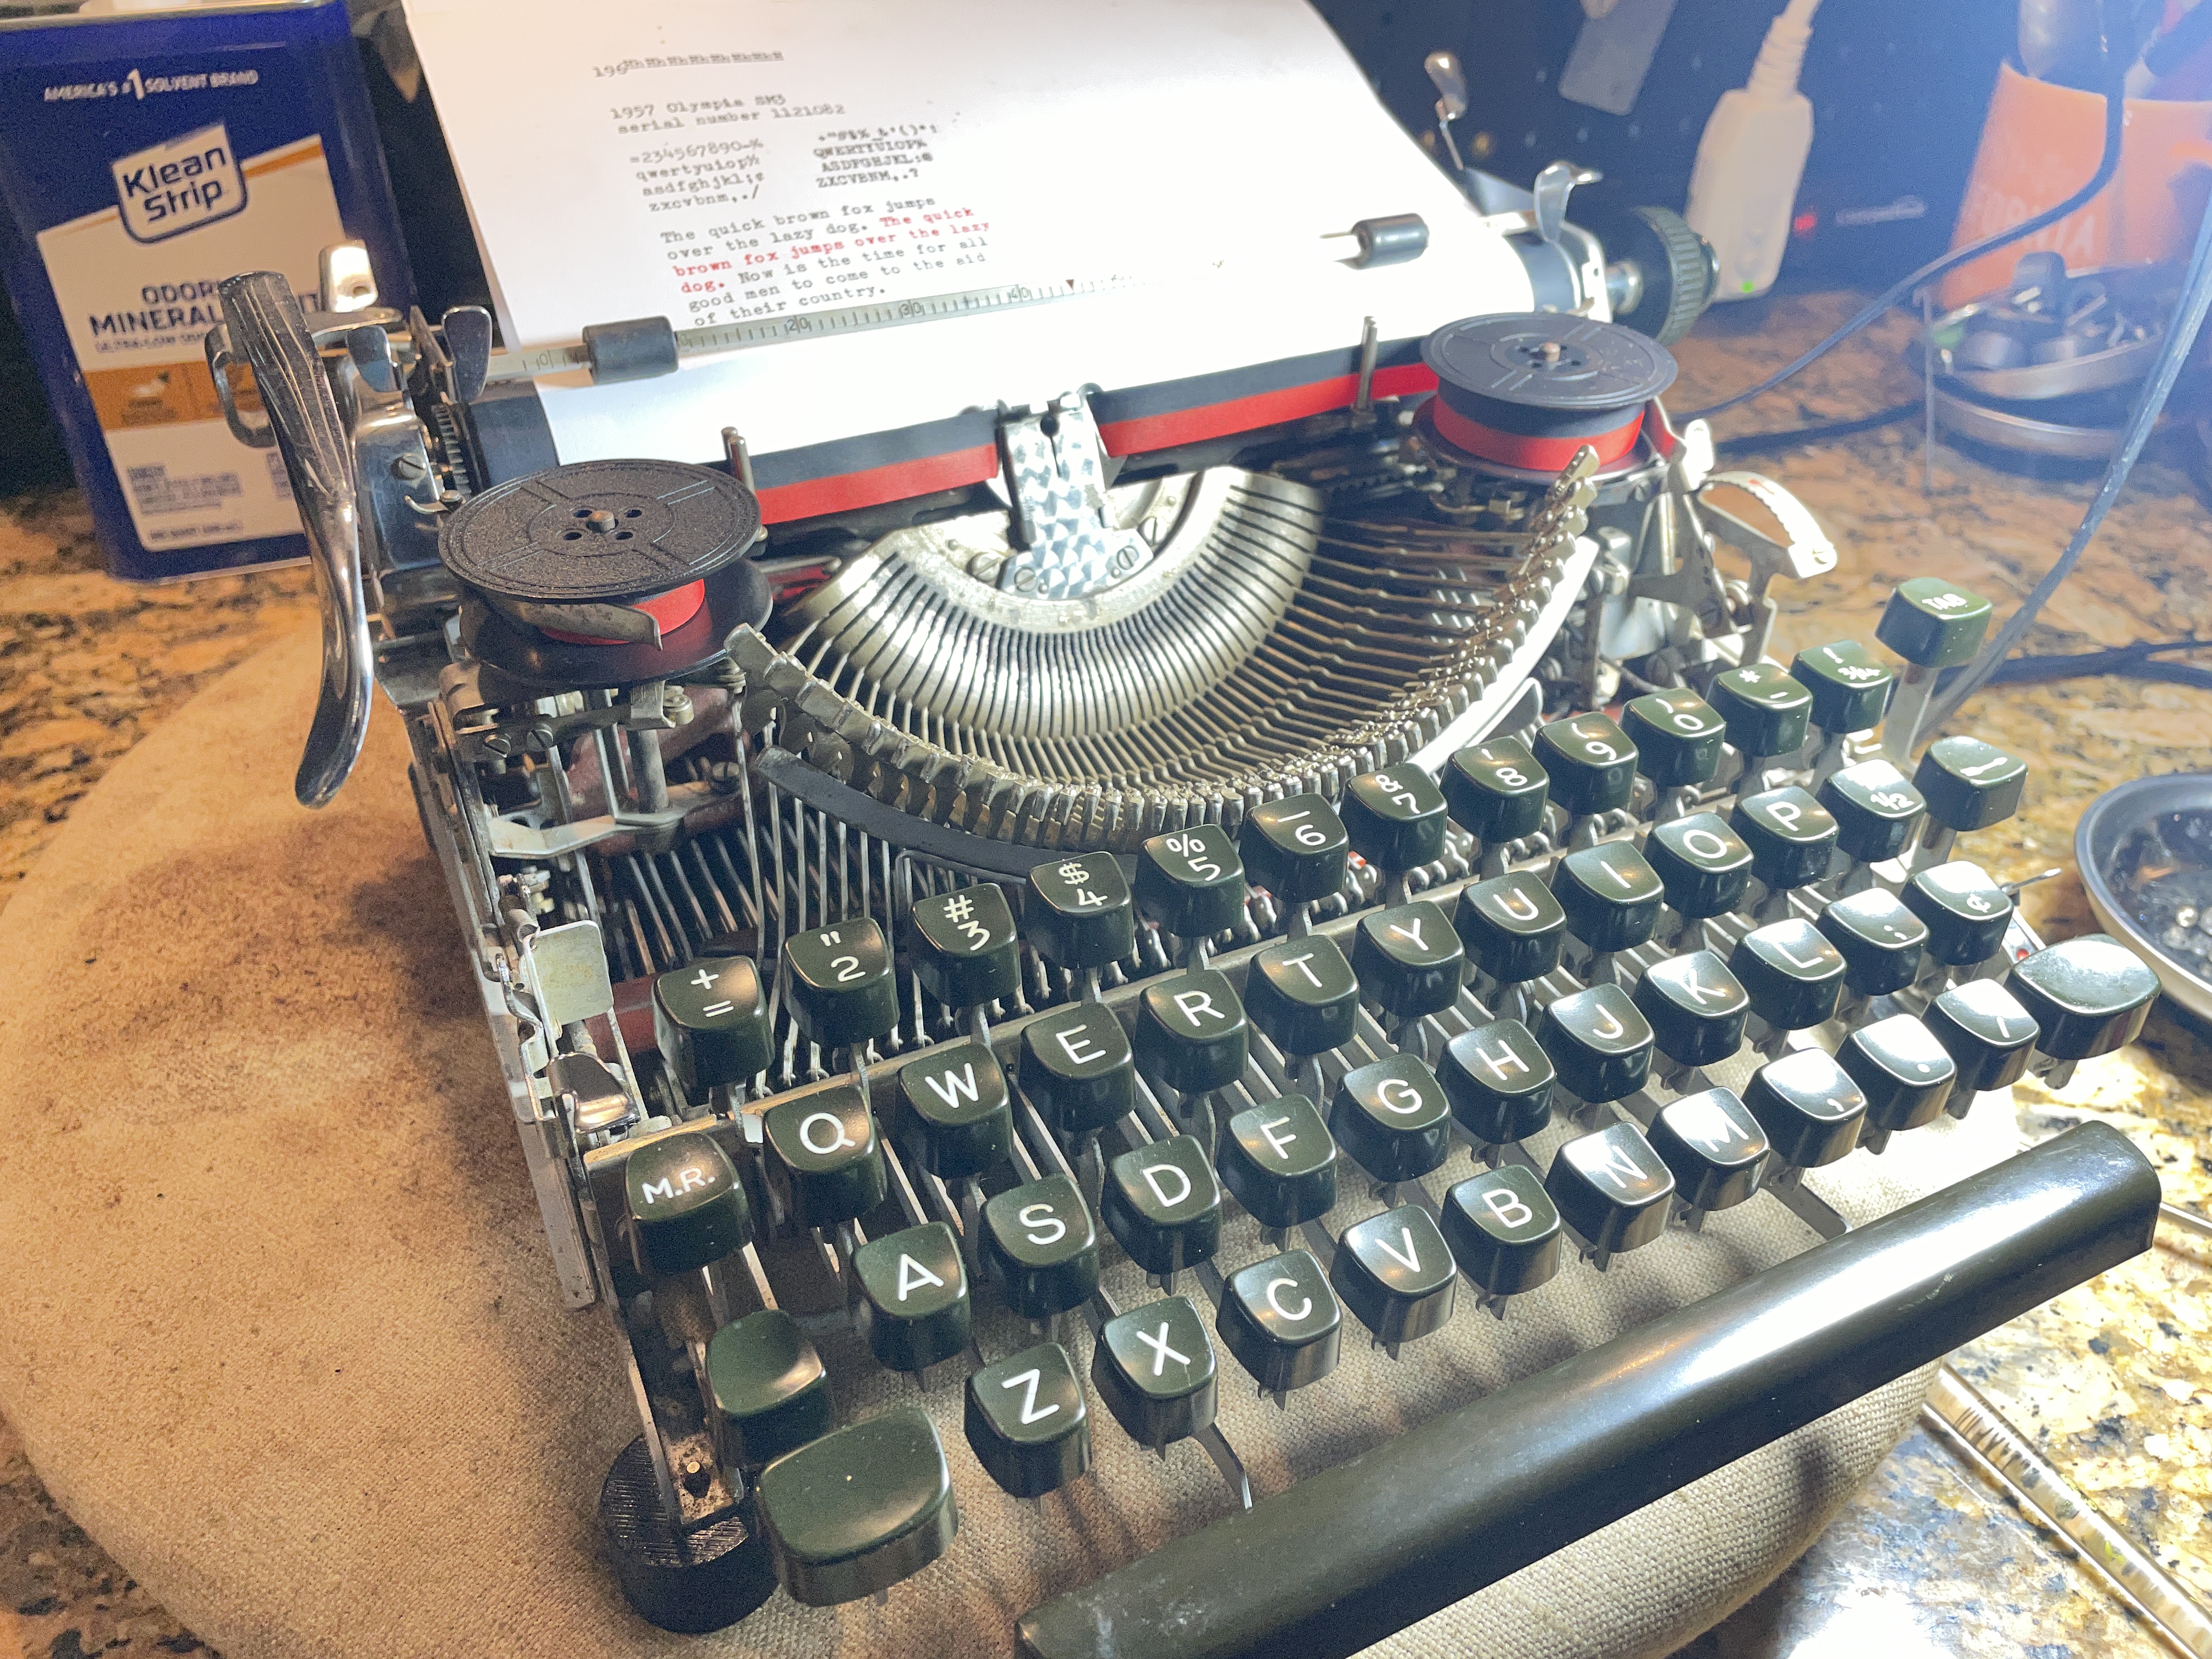
What a fun and interesting project and definitely worth the $100+ splurge. This SM3 is close to being a typewriter that someone will love and use. Just need to get that Z/z moving reliably.


thanks for the write-up, it was both interesting and enjoyable. My Olympia SM4 is waiting in live as the next restoration project.
LikeLike
thank you for the write-up. I really enjoyed it having an Olympia SM4 waiting on the shelf as the next restoration project.
LikeLike
Okay, my comments-skills are not what I thought..
My apologies for the double-post.
LikeLike
No problem! It gets confusing when comments are held for moderation. Your comments were slightly different. I can delete one if you’d like.
LikeLike
Fascinating and remarkable, AS Always!!
LikeLike
🙂
LikeLike
My goodness, what a job ! Quite frankly I would have used that machine for spares – and I wouldn’t have paid the equivalent of $100 in the first place ! I like your idea of a modified fork keytop tool. If I get 5 minutes, I might try that myself. And as for the mainspring – fit the ‘new’ one. Go on, you know that you want to ! 🙂
LikeLike
This Olympia gave me many, many hours of fun and education and was completely worth the $100+ to me. This kind of crusty typewriter is not for everyone. I will have to swap out the mainspring for the “new” one since this will be going out to someone else and they’ll need a reliable mainspring. The spring repair was more of a proof of concept: could I solder together two ends and have it hold up? Seems like it’s holding (for now).
LikeLike
Am inspired and intrigued with all the detail in this posting of yours! 3 waiting on the shelf & many questions I had you answered in this posting. Thank you, thank you again.
LikeLike
This was wonderful to see! I had been watching this very typewriter on EBAY as well, and cringed every time I saw the picture of the segment. It’s wonderful to see it in all its restored glory.
I am VERY impressed with the job you did here! I like your fork key tool (I made one from splitting the end of an old wide screwdriver; fork looks like a better choice).
Beware EvapoRust: it works miracles, but I once had it eat through every single spring in a Maritsa 11 I tried doing a full dunk in.
I’m inspired to tackle crustier projects!
LikeLike
😀 I am glad to hear that I wasn’t the only one tempted by that crusty critter. I highly recommend the experience.
LikeLike
This reads like an archaeological dig with solvents, ball bearings, and potato bugs. The fork-turned-keytop tool is the perfect ending: necessity really is the mother of typewriter repair.
LikeLike
Ha ha! Well put!
LikeLike
Heh, you’re the girl who pays extra for challenging cases. Gotta admire that willingness to grind for the joy of it. 😀
LikeLike
♫ Oh girls just wanna have fun ♫
LikeLike
Your patience and dedication are truly impressive. That you document the entire process is such a gift. I don’t know if you’re “typewriter famous,” but you should be.
LikeLike