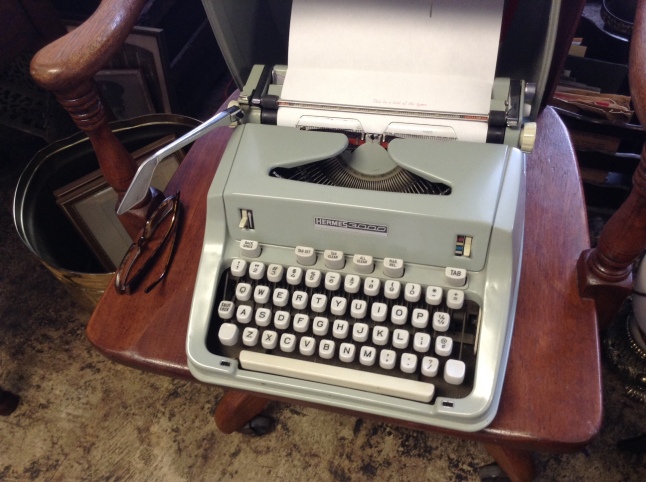
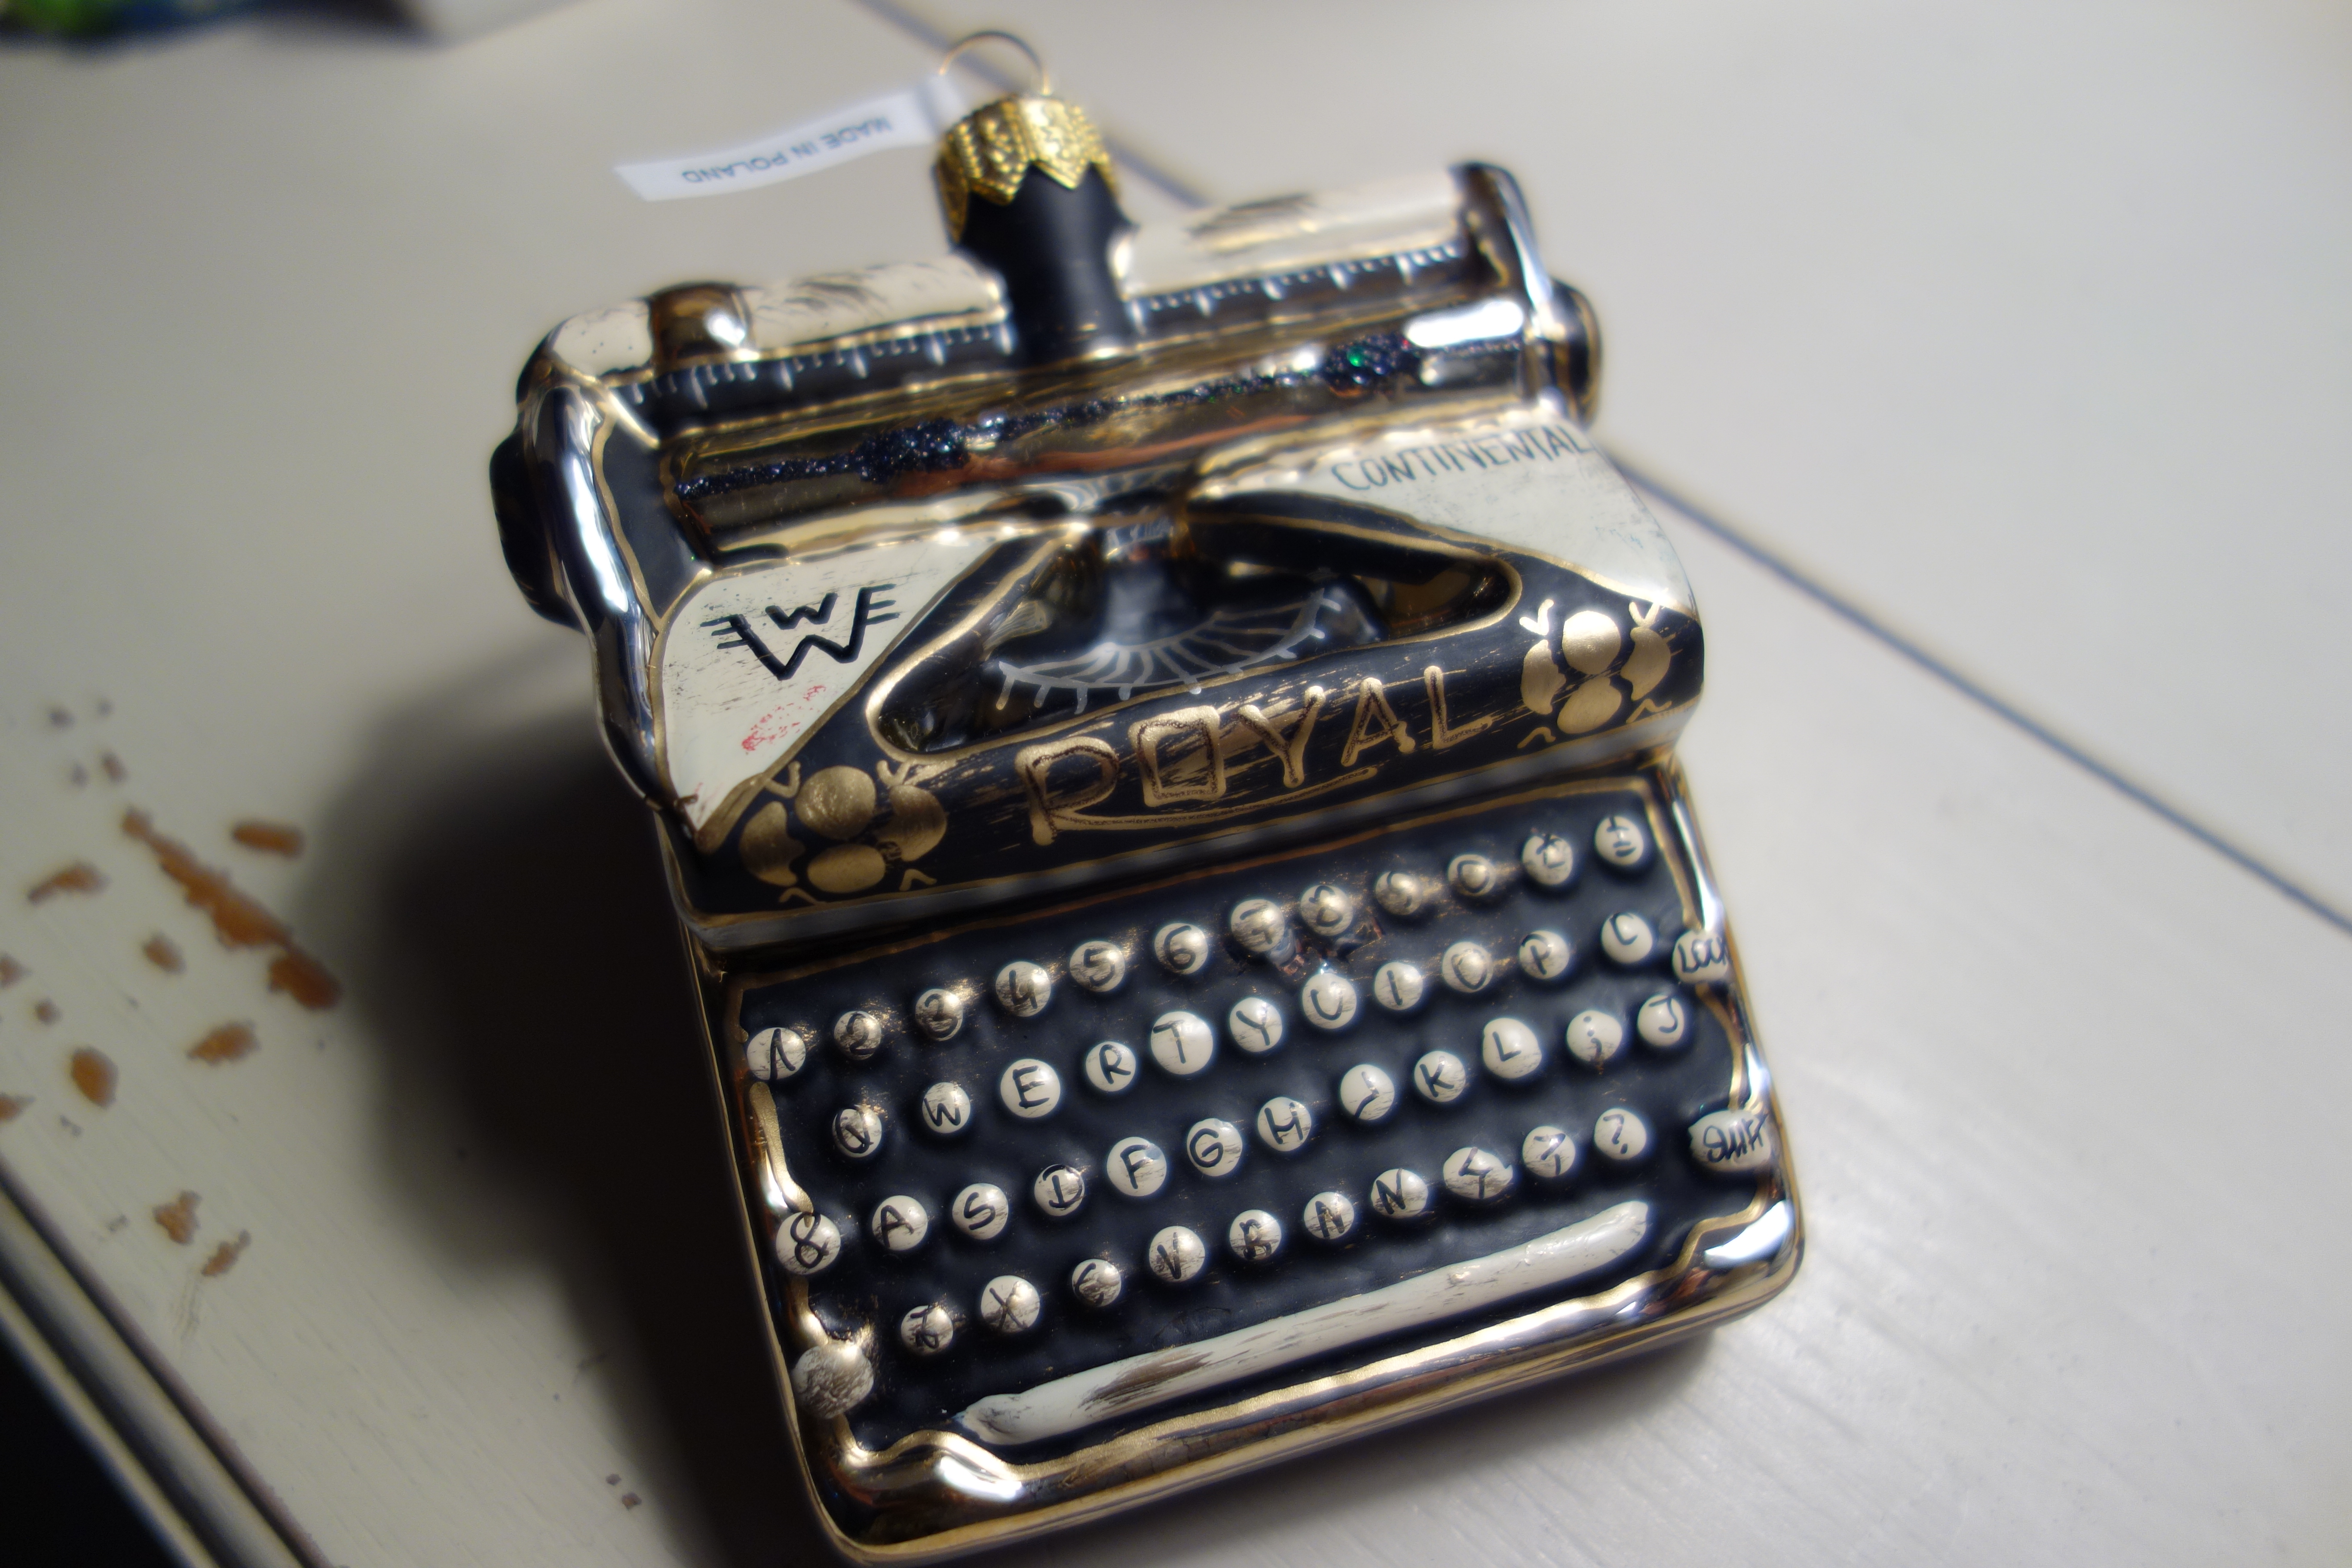
I went into Mozo’s about a week and half ago to check out Moe’s latest find: a 1970 Hermes 3000 with script typeface – mint condition:

Sweet!
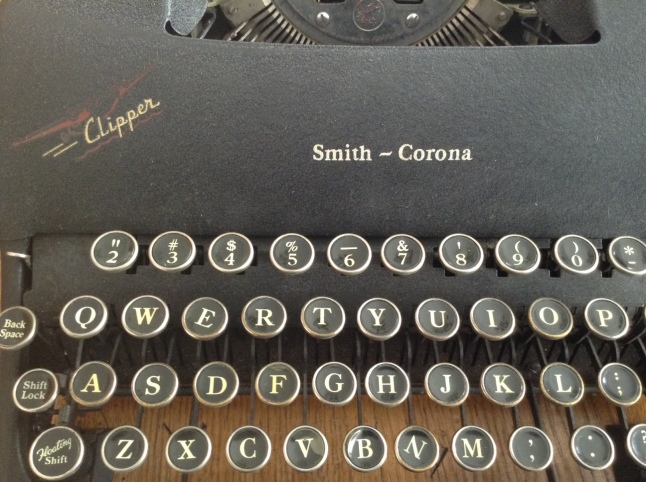
1970 Hermes 3000
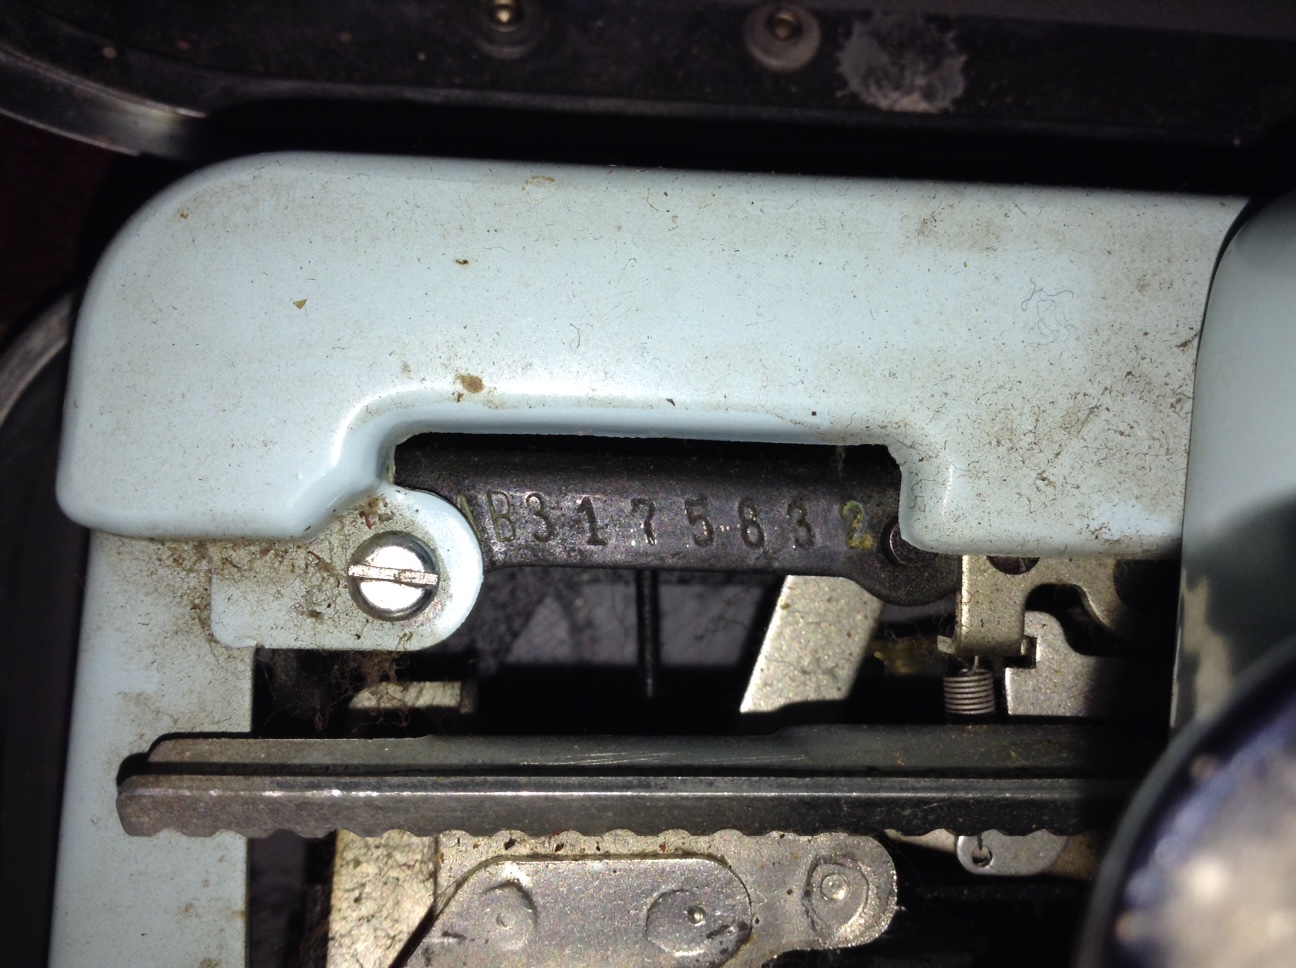
Serial number: 7059922

It had the original manual as well as an original brush:

Not only that, it had the original warranty card:

I felt like I should have completed the warranty and mailed it in.
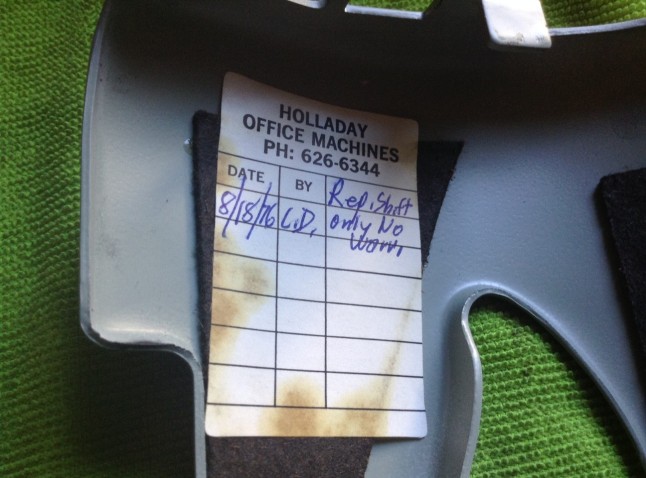
There was also a receipt for a draw band repair. It cost $8.50 to get a draw band repaired in 1973:

My question: how does a draw band snap in just three years of use? Hermes was obviously not using 80lb fishing line for its draw bands.
I congratulated Moe on her find and told her that while I wasn’t in the market for a mint condition script Hermes 3000, she would certainly find a happy buyer.
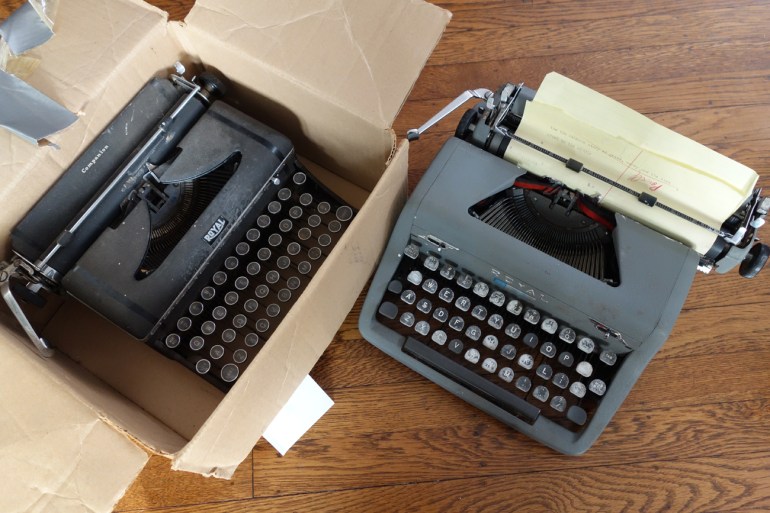
Typewriters in need
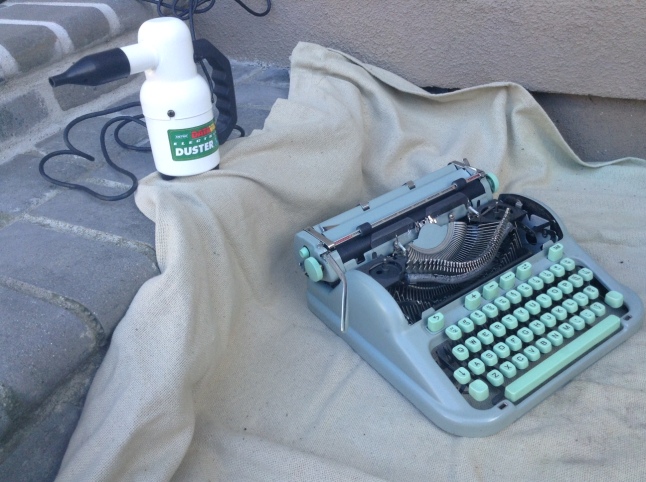
Moe asked me if I was interested in cleaning up a couple typewriters for her friend Tim. Tim is a retired newspaper reporter with a fondness for typewriters. He had two portable Royals that needed care. Both were very dirty, one with a broken draw band, one with a lot of rust and a cemented segment. I told Moe that I was up for the job.

I love before and after typewriter photography. I may have a fetish for decay—if I know that it’s a temporary state. Here I indulge in what I call “Beforn”, a form of ruin porn:

That’s a dead spider by the spool

Aahh – it speaks to me…”help meeee…”

White residue on the keys. Baby Blue had the same stuff. It’s probably some chemical precipitate from the 1950s plastic of the keys.
Bad News and the Philosopher Queen
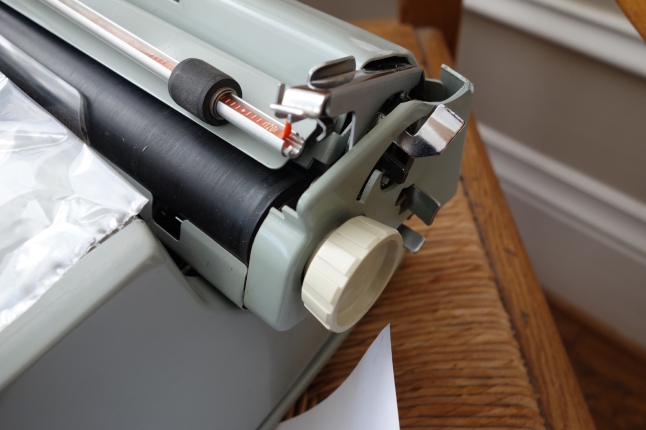
Moe called me the next day while I was working on Tim’s Royals. Bad news. The Hermes 3000 got dropped. Could I come in and take a look? Of course.
It didn’t look too bad:

Uh-oh.

Moe was philosophical about the Hermes. She said: “I don’t get upset about that sort of thing. Why should I?”
Indeed, she’s right. Why should you?

Philosopher Queen Moe, her bevy of beauties, and a stable of stallions
When Life Gives You a Broken Hermes, Make Lemonade
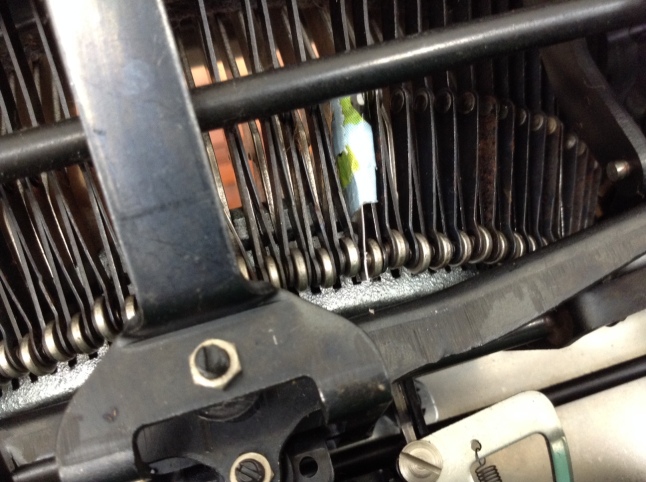
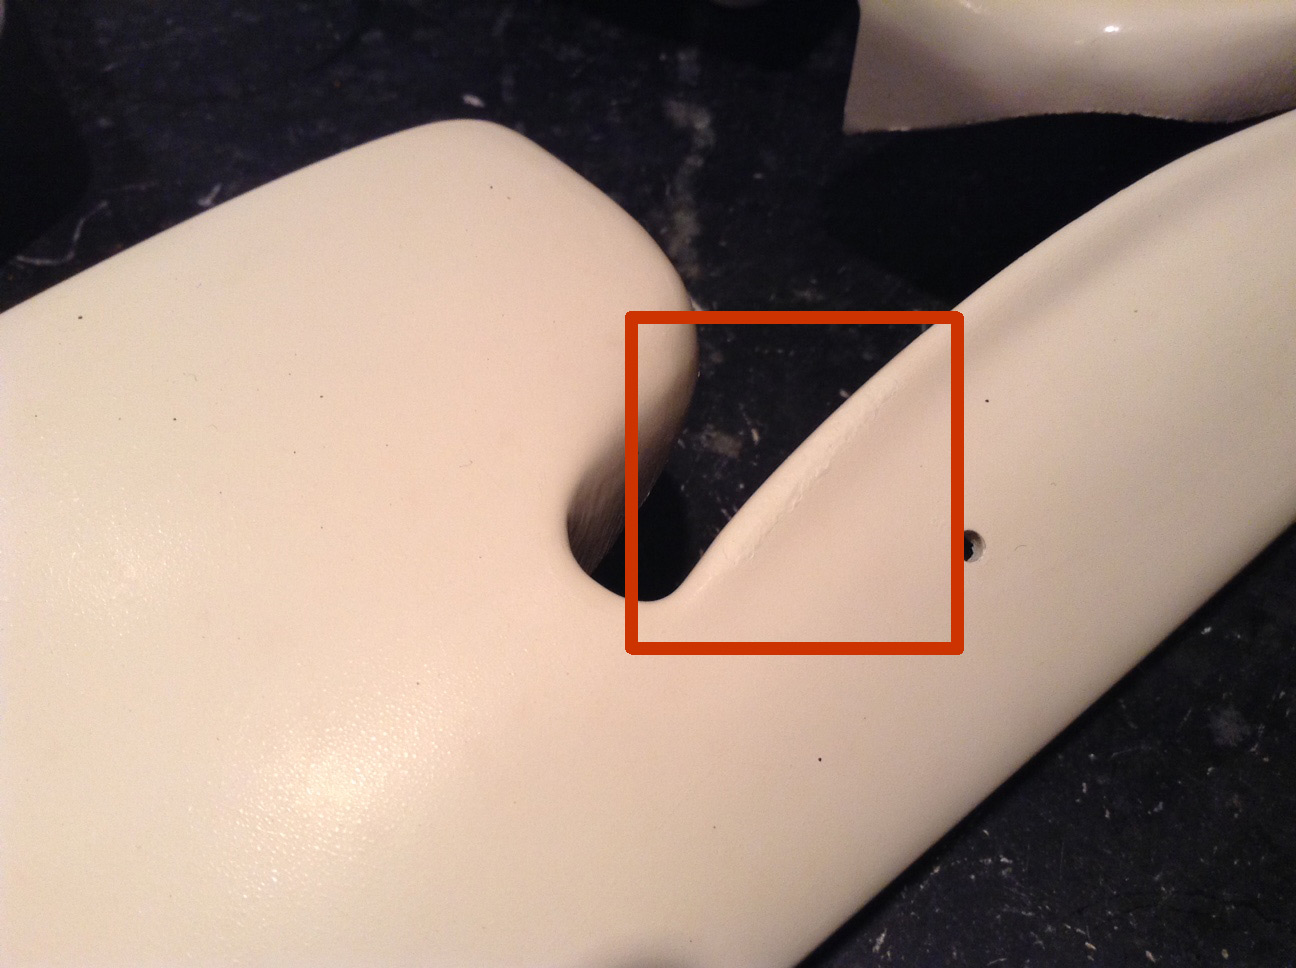
Moe asked me if I could do anything to get it typing again. The carriage was mashed into the body and not moving. The plastic carriage housing was shattered and the cool margin indicator was pulled out. Blurg.
Then I had an idea. My birthday was this past weekend.

I had my husband buy the mashed Hermes for my birthday (because nothing says “Happy-Birthday-Darling” like a broken typewriter). Now I will be able to dismantle and investigate the complex mechanisms slowly and methodically at my own pace and not worry that I may never get it back together and working. At this point, it’s an interesting parts machine, but who knows? Perhaps it will type again.
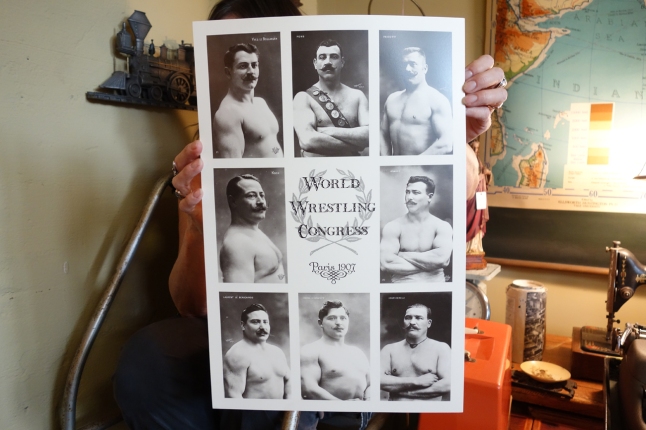
Here are the ladies of Mozo’s. Roia (mother of the Arduino Kid) is posing with the LC Smith and Moe is posing with the Parisian wrestlers:

I think this poster of turn-of-the-century Parisian wrestlers could look great framed and hung in the bathroom:


![By GTHO (Own work) [CC BY-SA 4.0], via Wikimedia Commons](https://myoldtypewriter.com/wp-content/uploads/2015/12/1957_chevrolet_bel_air_sport_sedan.jpg)


