The hobby of typewriter repair is generally low stress, low stakes, low danger, but every once in a while, I go a little cowboy, a little Evel Knievel and push things past comfort. It’s funny how fast things can go from “Whee—this is fun” to “Uh-oh”.
Several days a week, I keep an eye (more like two and sometimes three eyes) on my toddler grandson while his parents are at work. He’s at an age when curiosity and impulsivity are strong, and I frequently have to pull him back from fun but dangerous activities.
I can be a little reckless and impulsive if I’m excited by something, so I am deeply familiar with my grandson’s game. But I’m older and wiser and should know better. Here’s the story of a successful repair that made me feel like I was filming an episode of Jackass 😬.
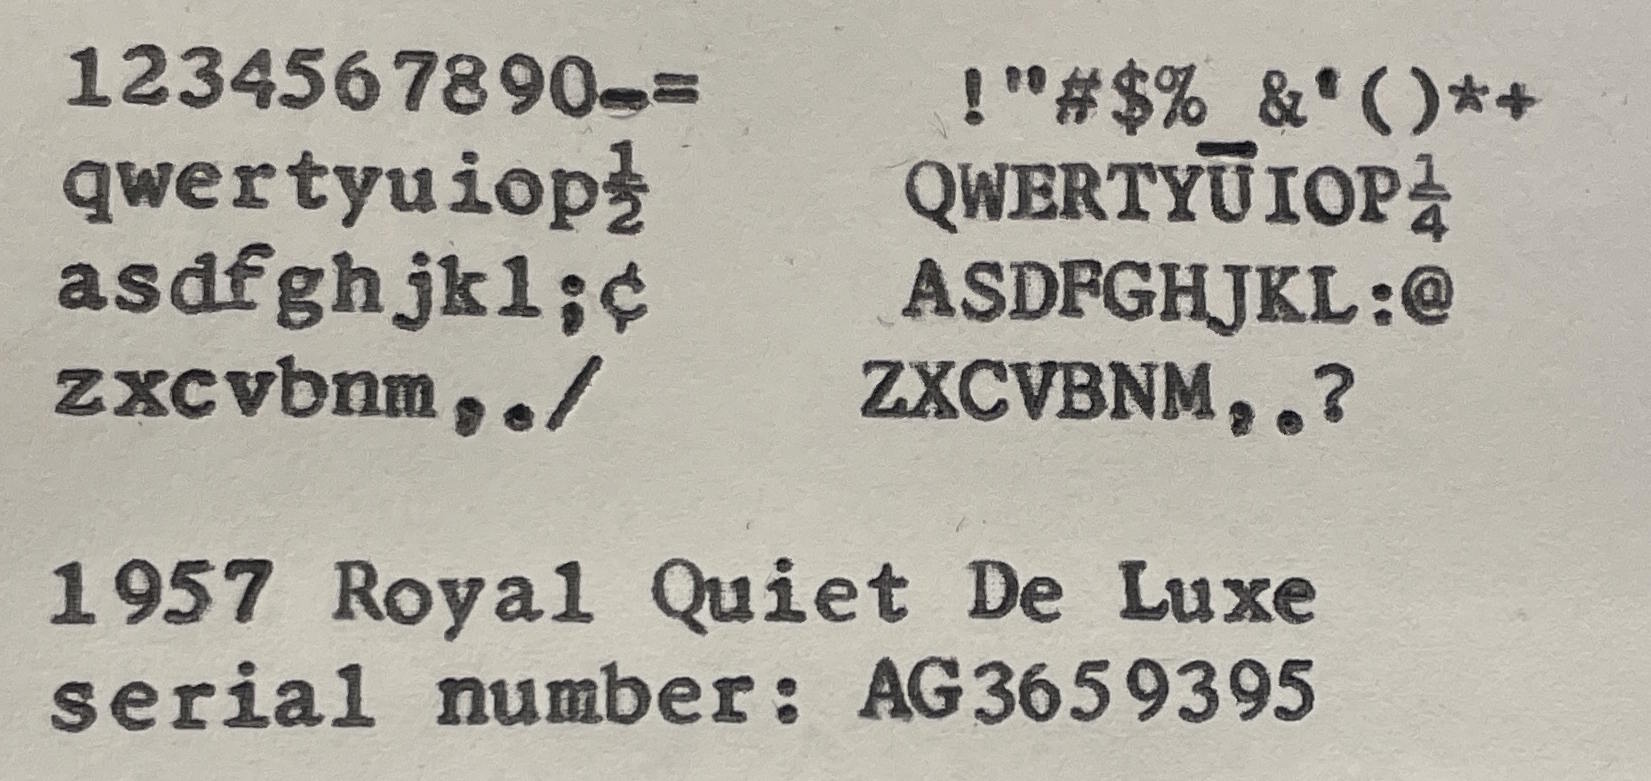
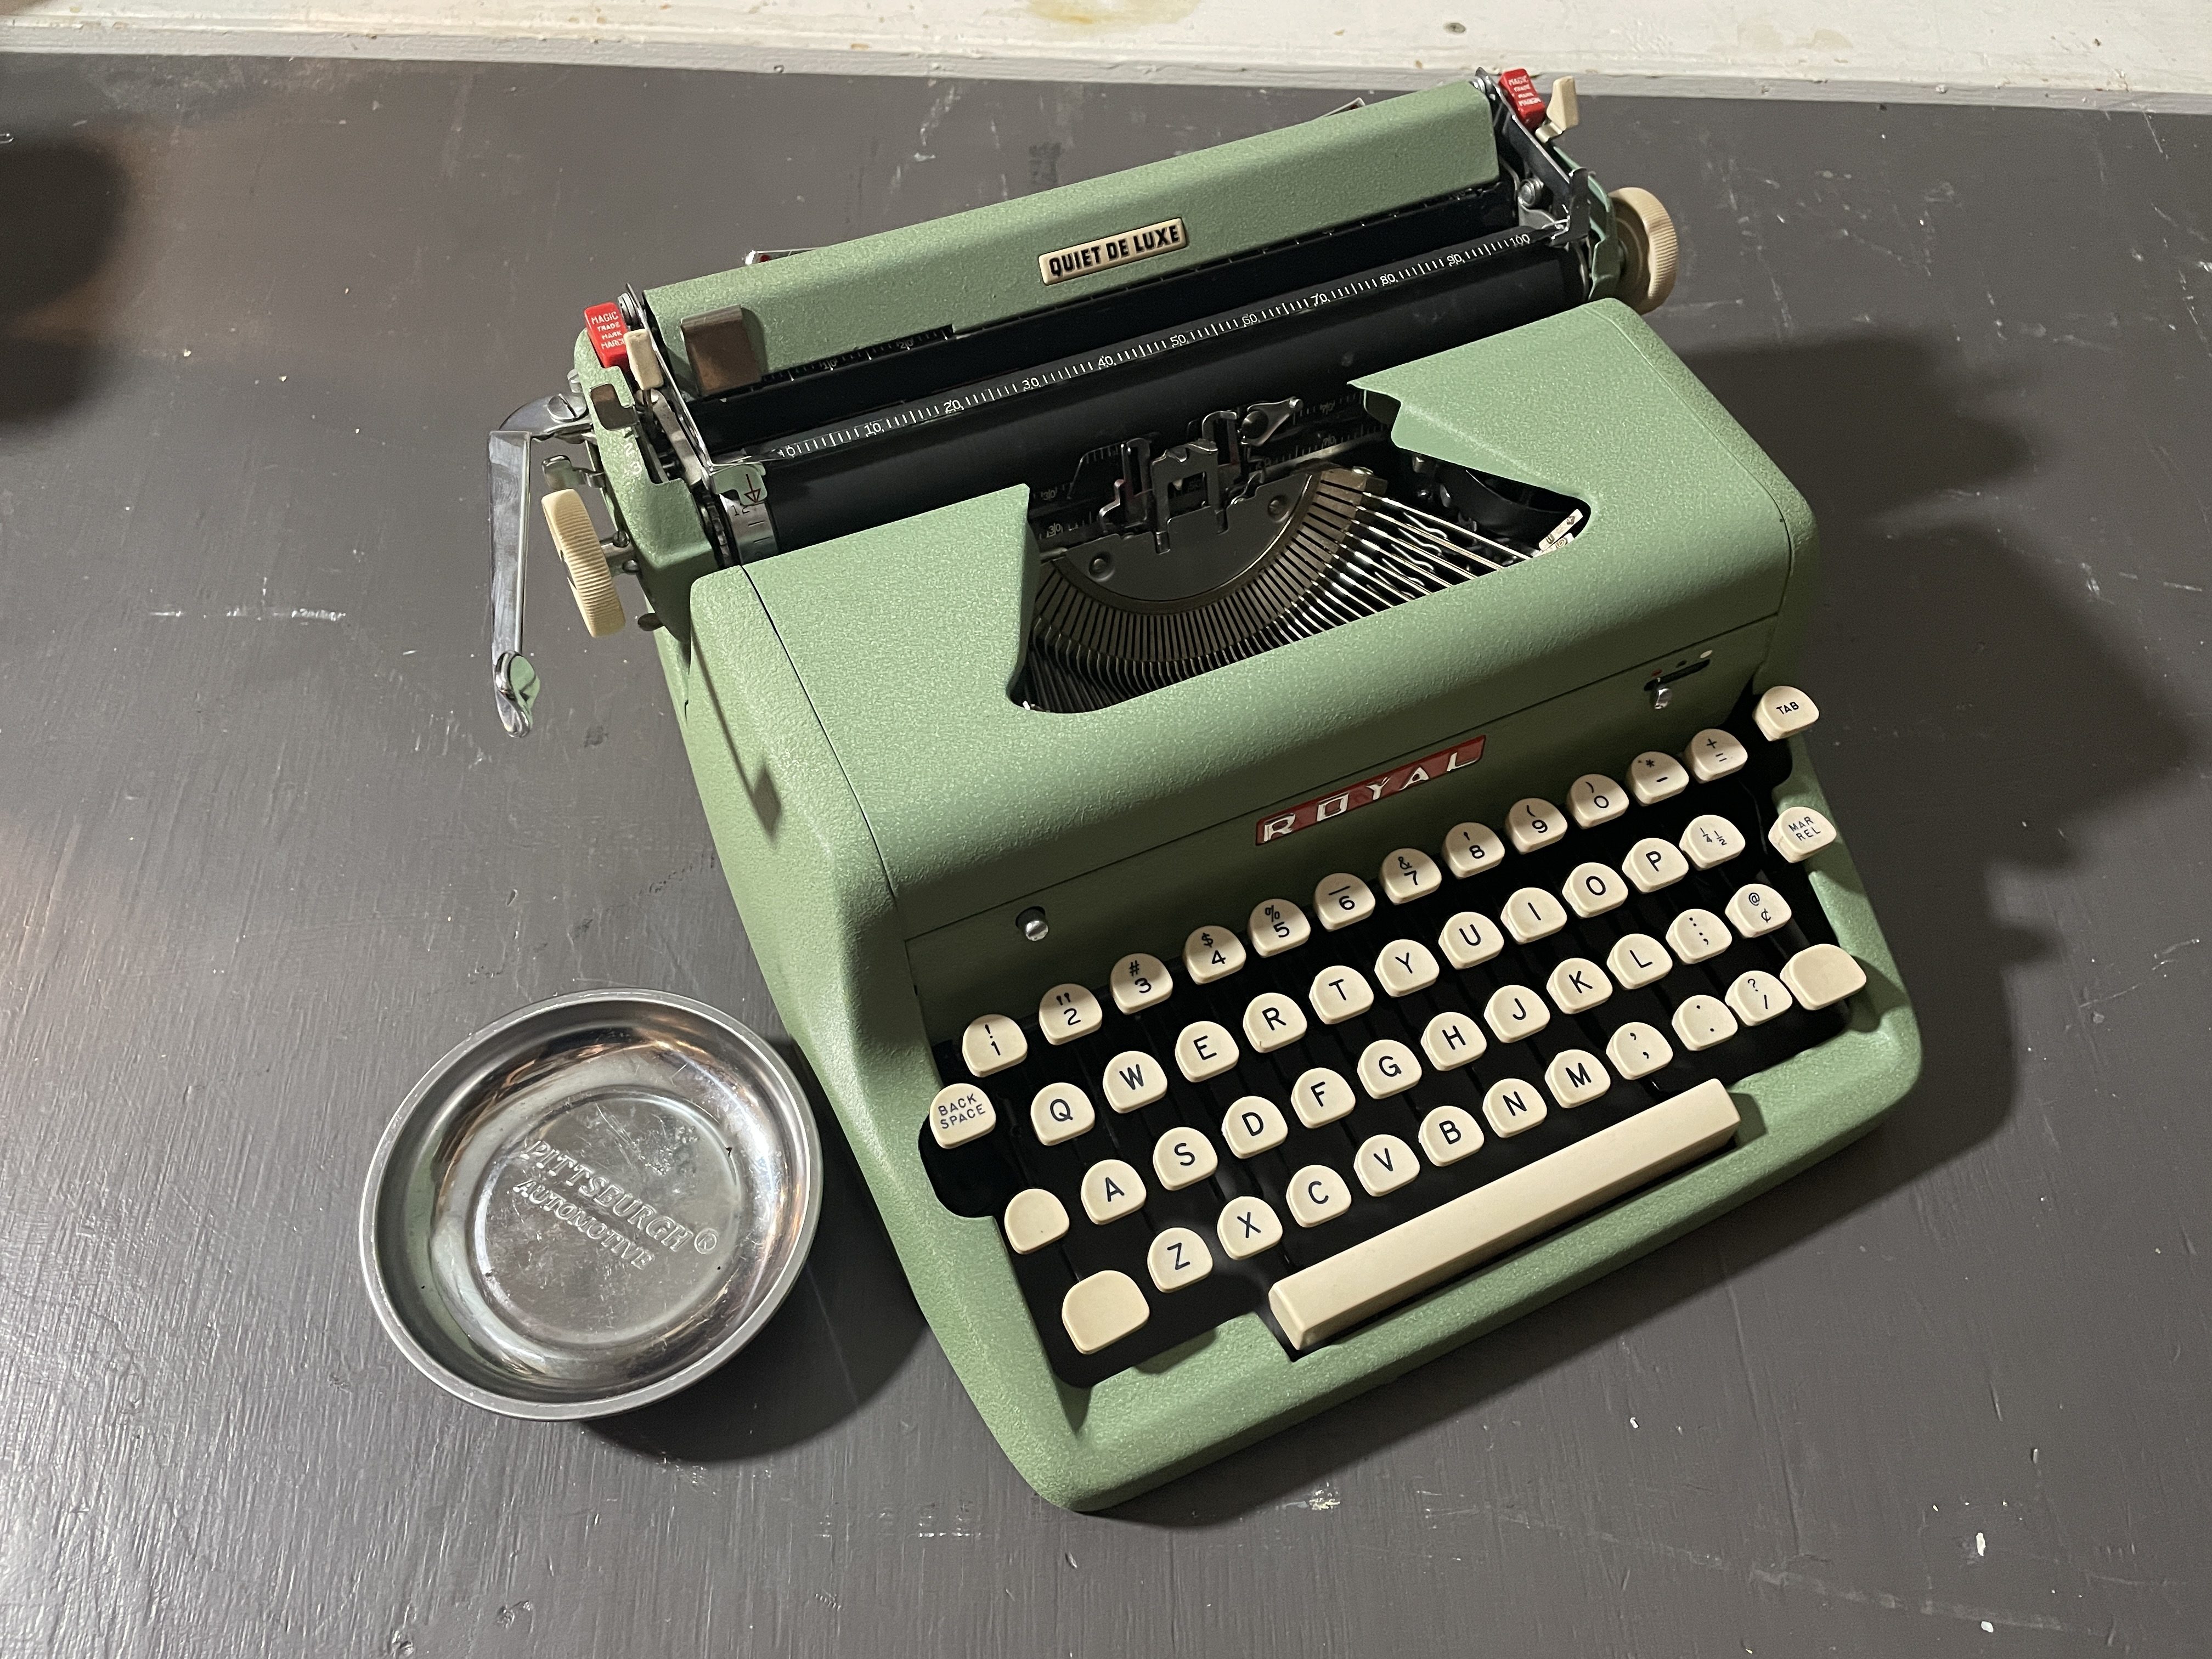
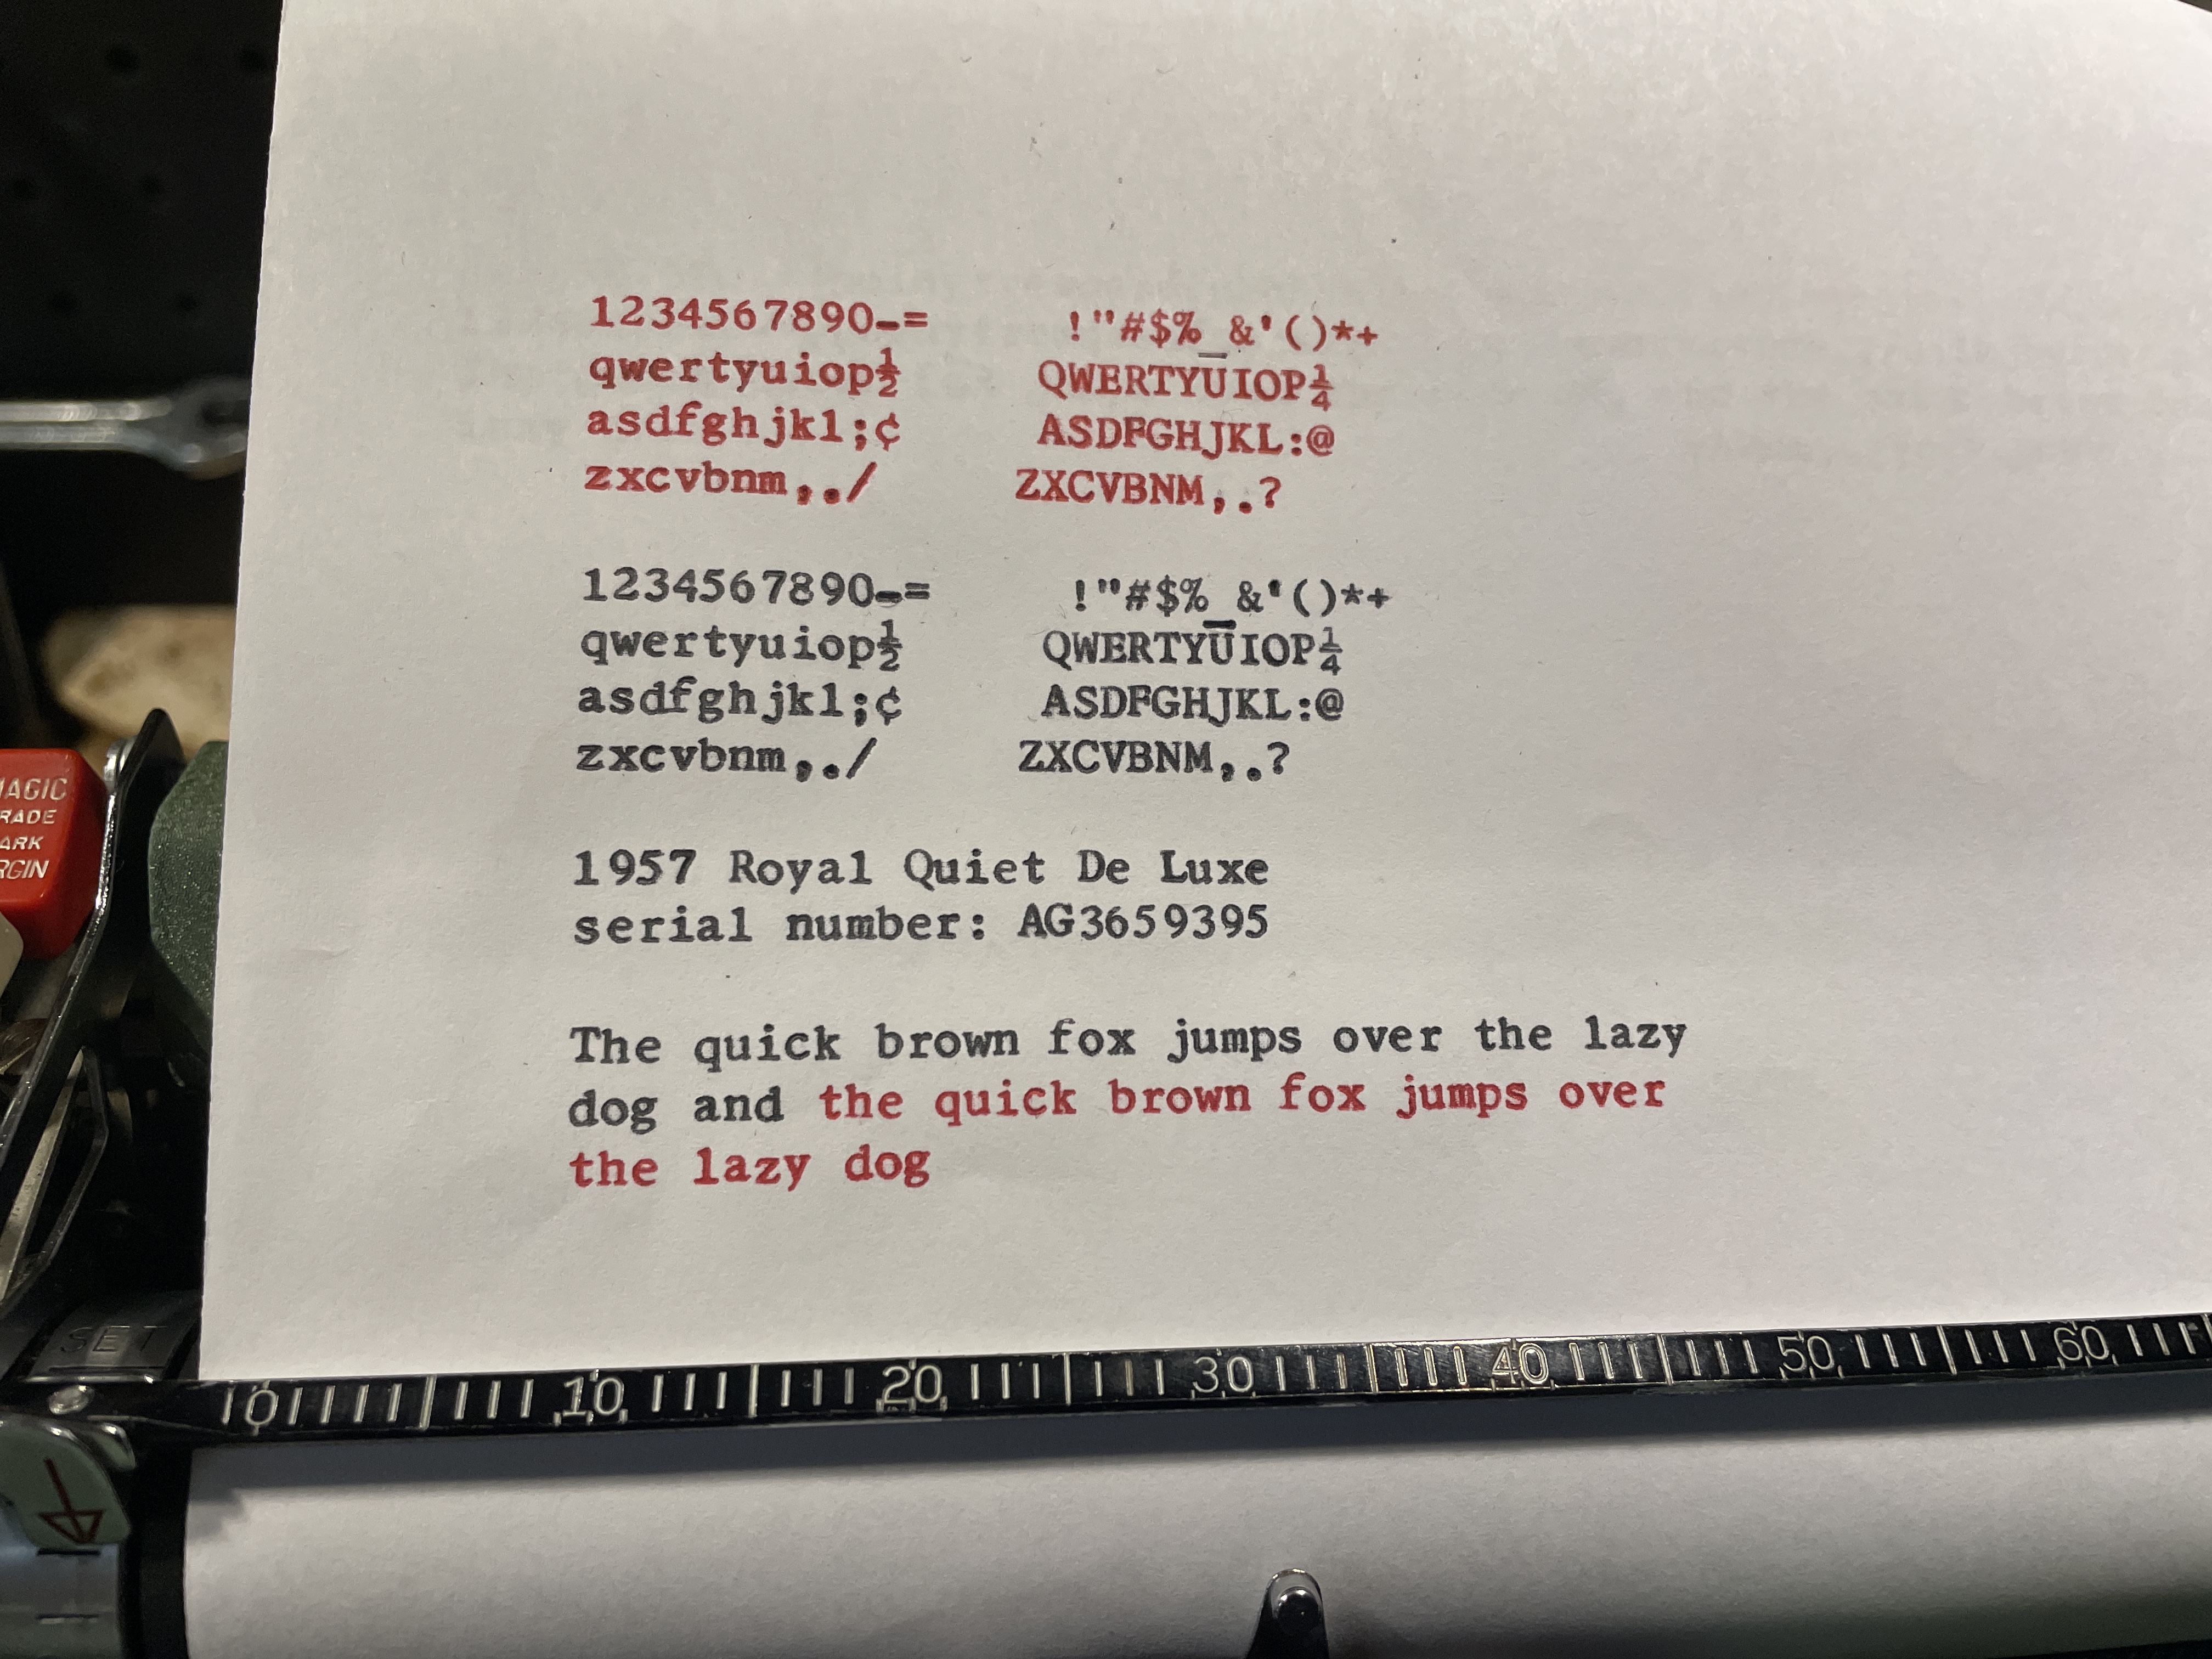
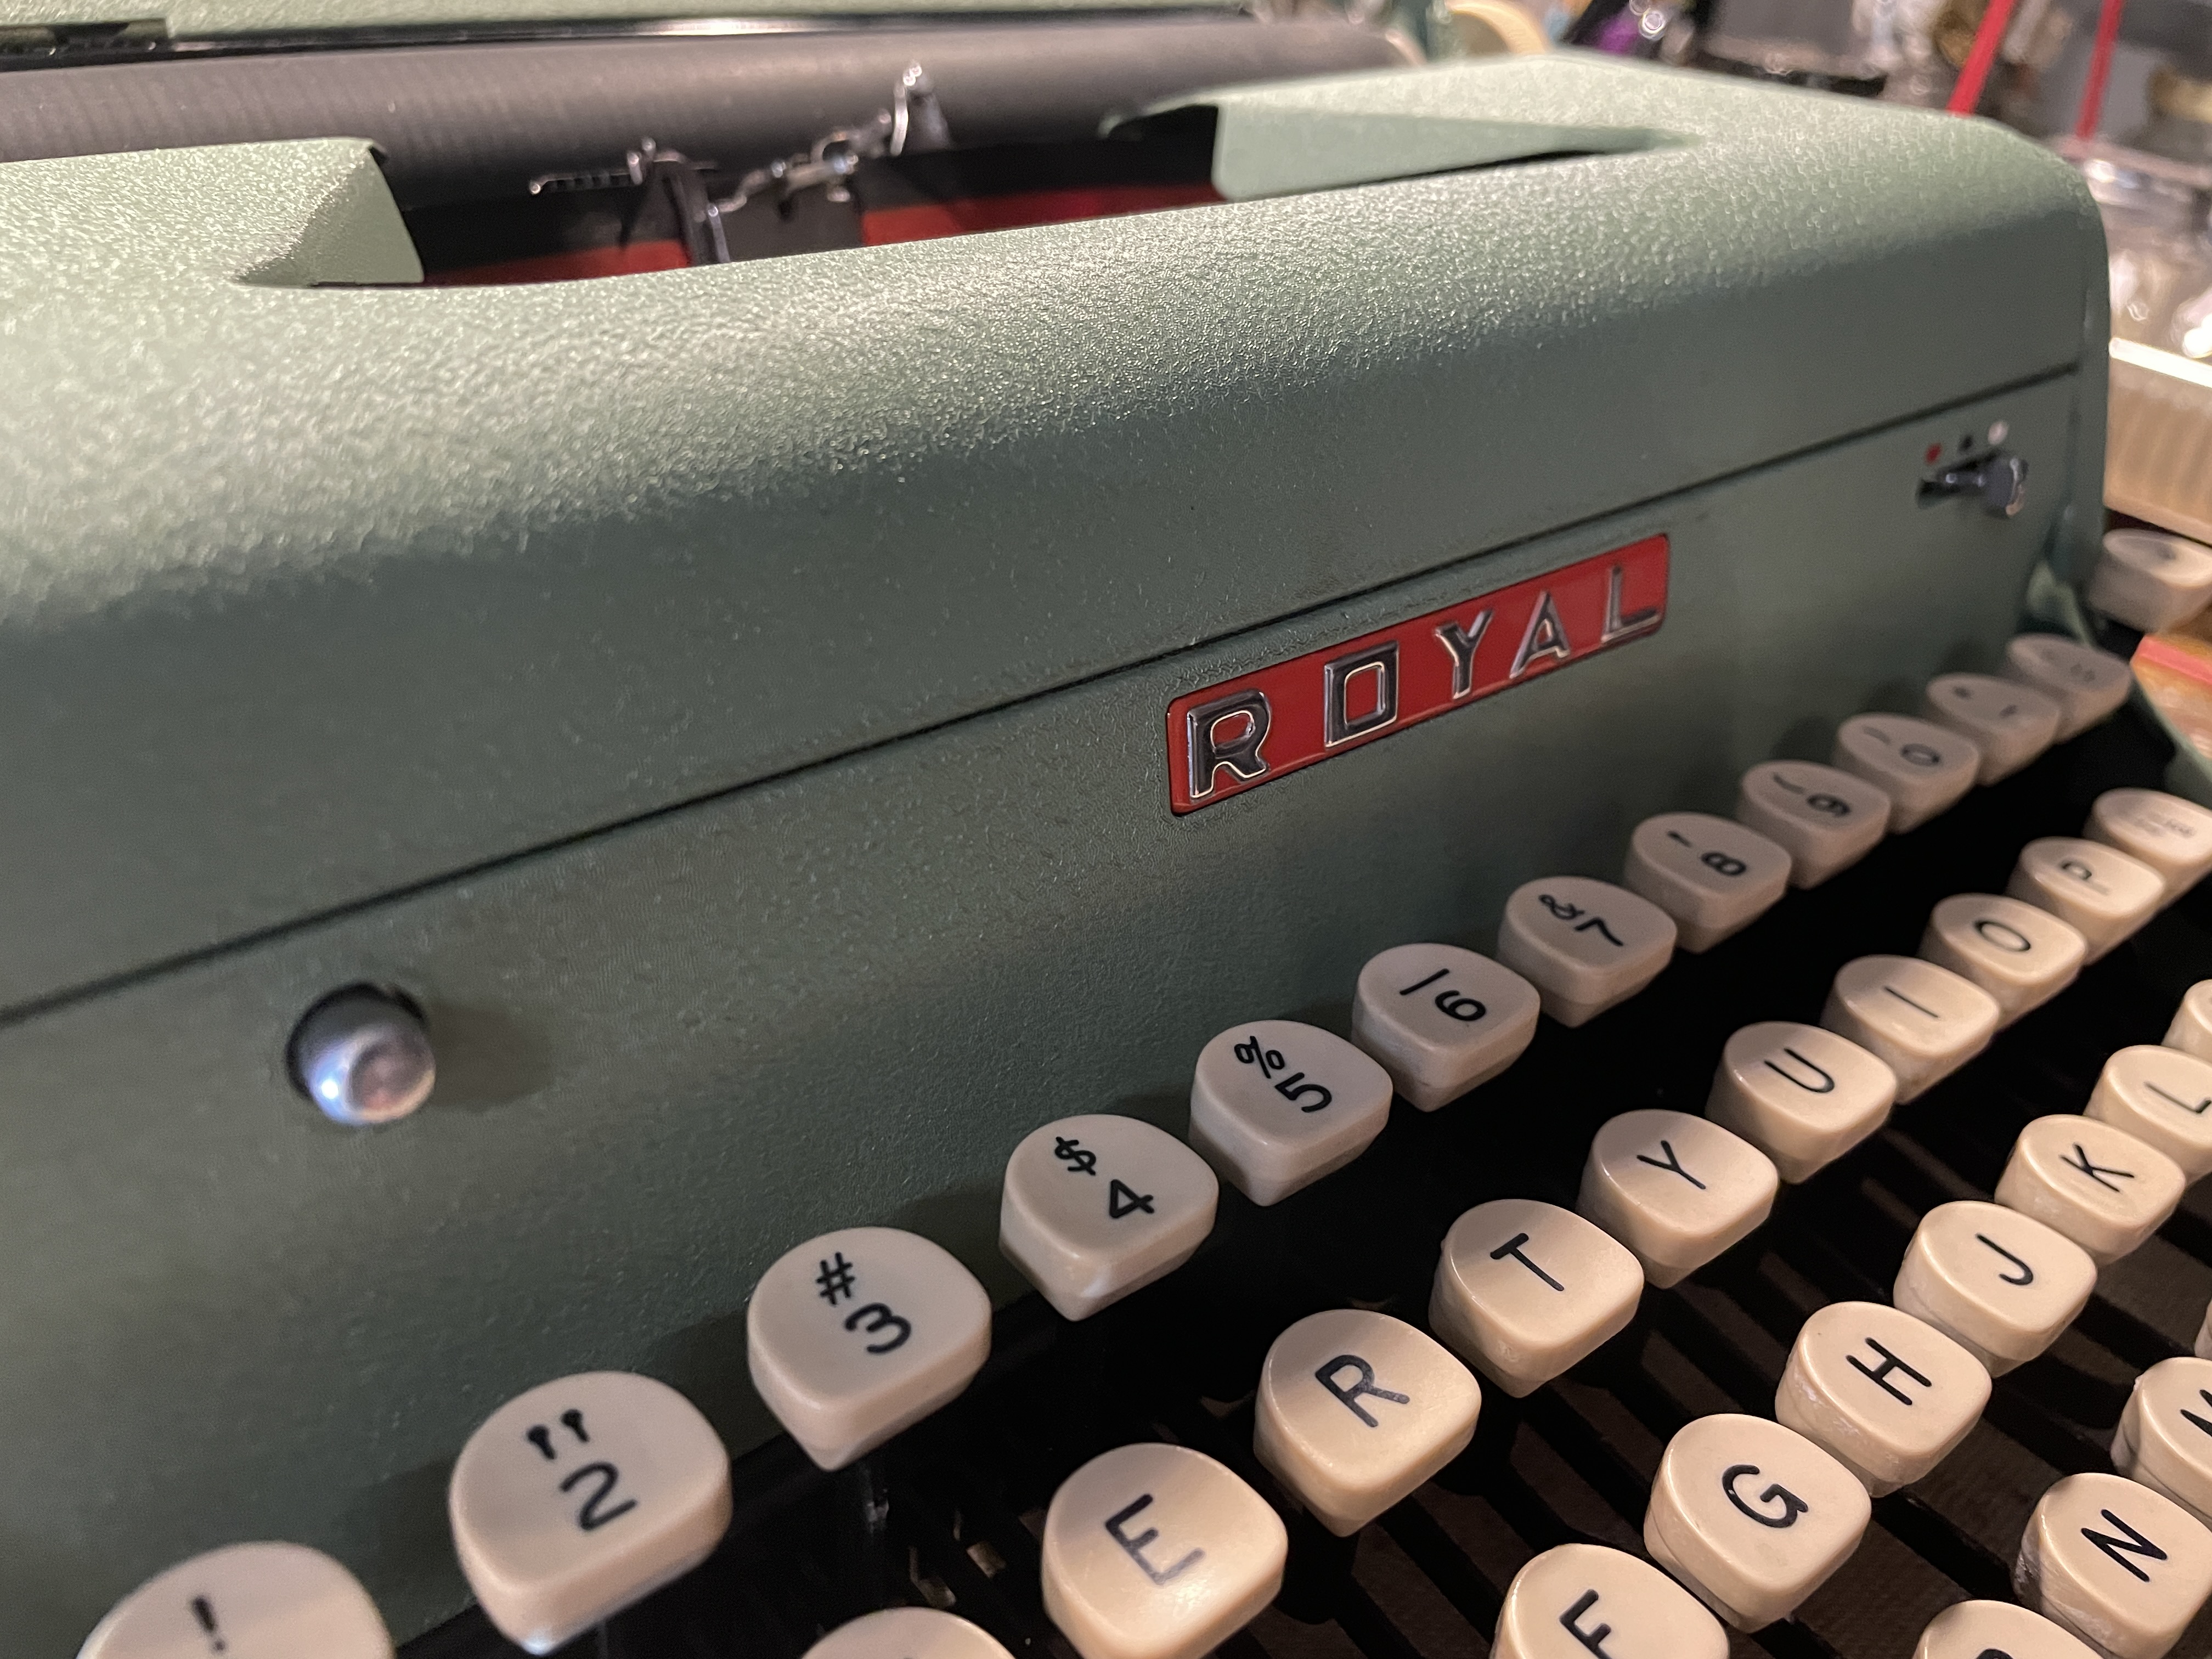
A local couple, Monica and Stephen, recently acquired a 1957 Royal Quiet De Luxe from Richard Polt when he was holding his Great Downsizing sale earlier in the spring. The QDL is a beautiful little thing, a soft spring-green with a marvelous elite Canterbury typeface.
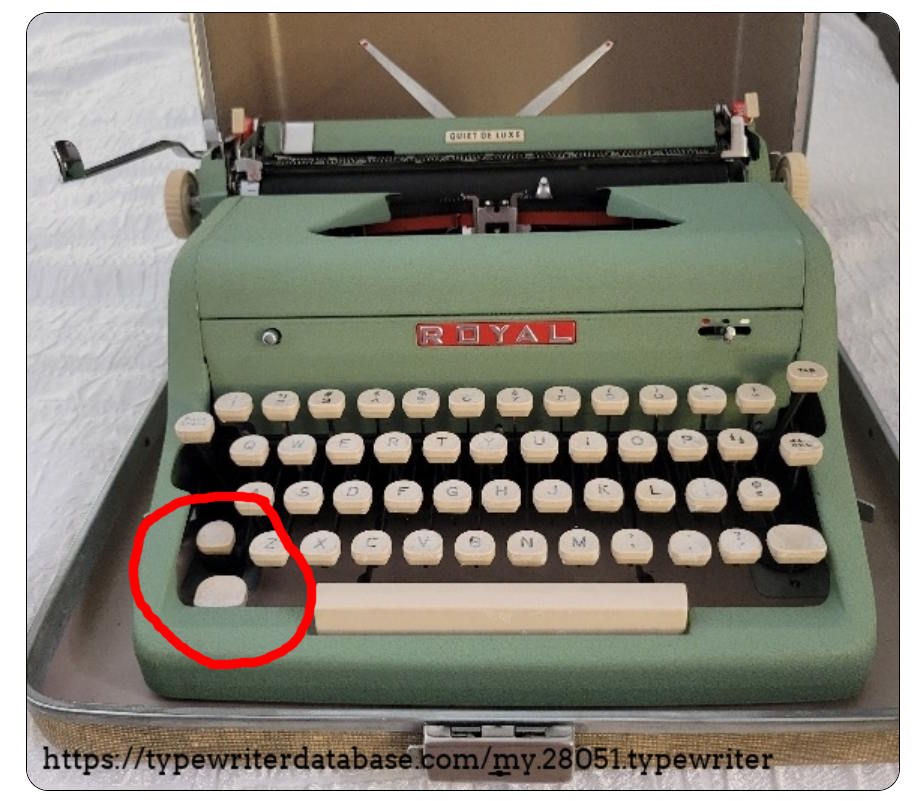
Unfortunately, the shift and shift lock keys on the left were dead. You could still use the typewriter, but it was a pain—especially for a hunt-n-pecker like me who shifts on the left. The dead keys sagged, useless.
In June, local typewriter enthusiasts and tinkerers got together for typing and tinkering at a public library. The QDL got a lot of attention because it’s so darn cute and so darn broken.
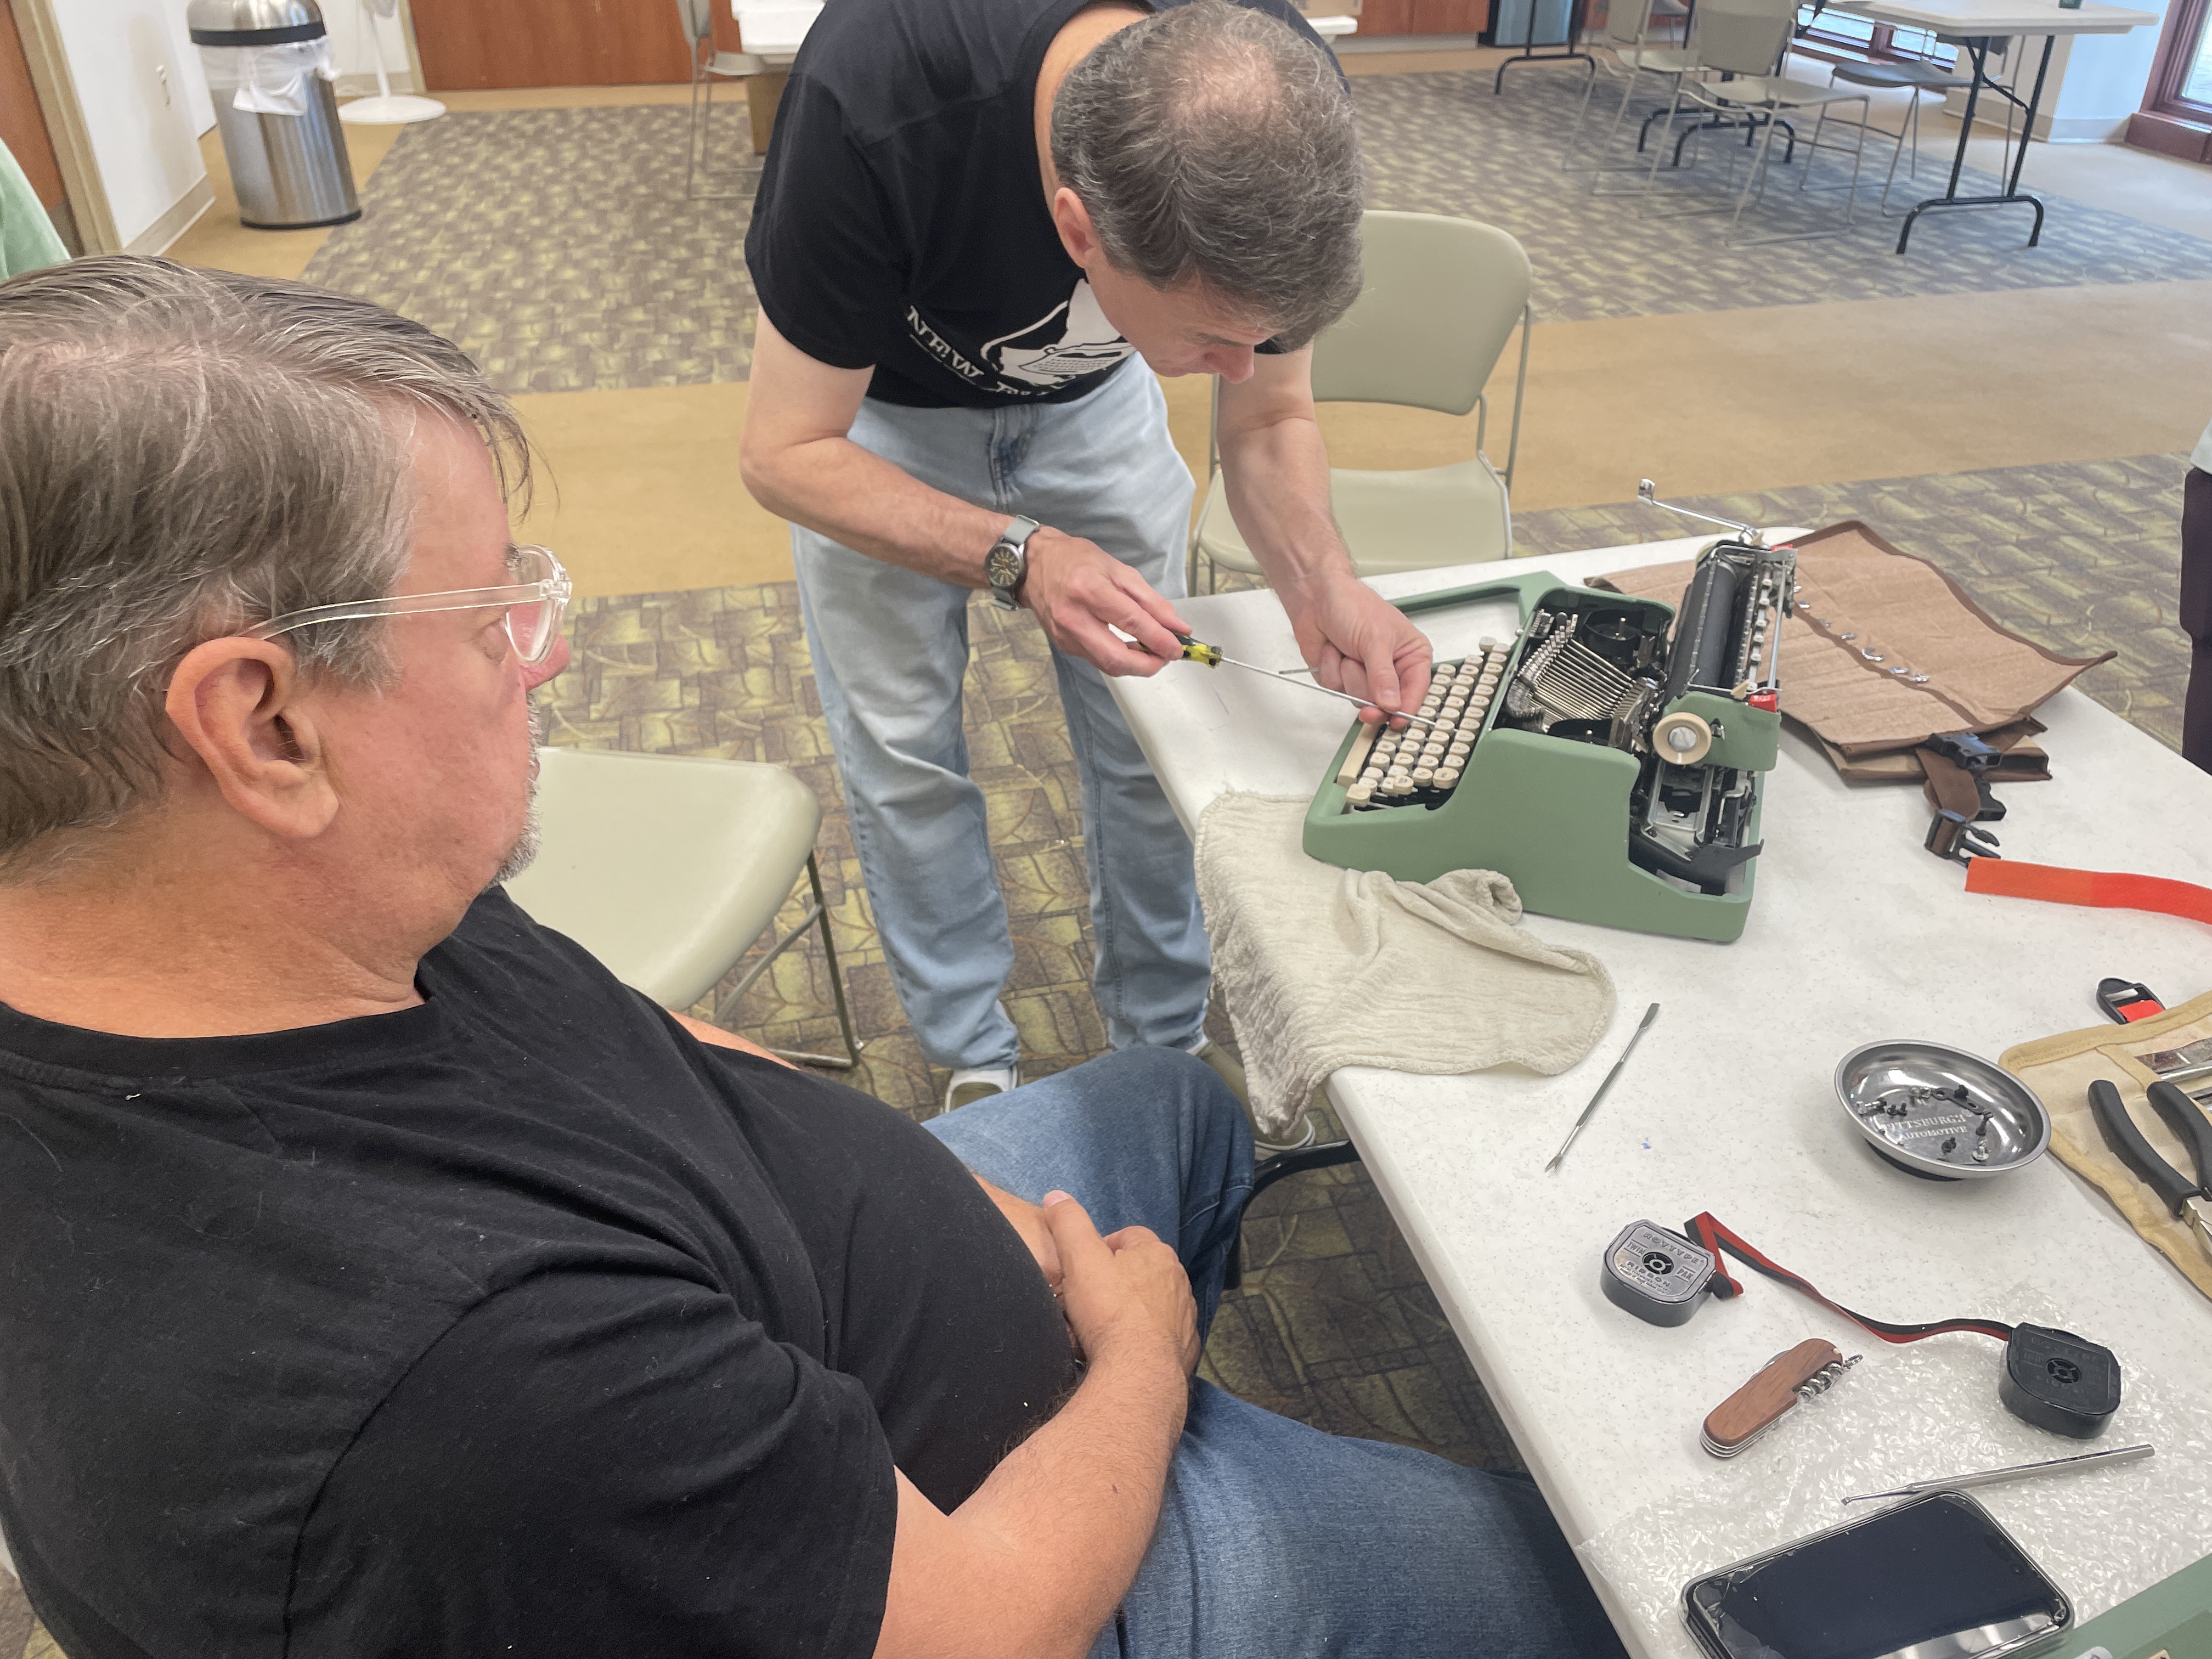
I took a look at it. My first thought was that the problem was a missing or detached spring or link, but the more I examined it, the more clear it became that it was a fracture in the shifting rod.
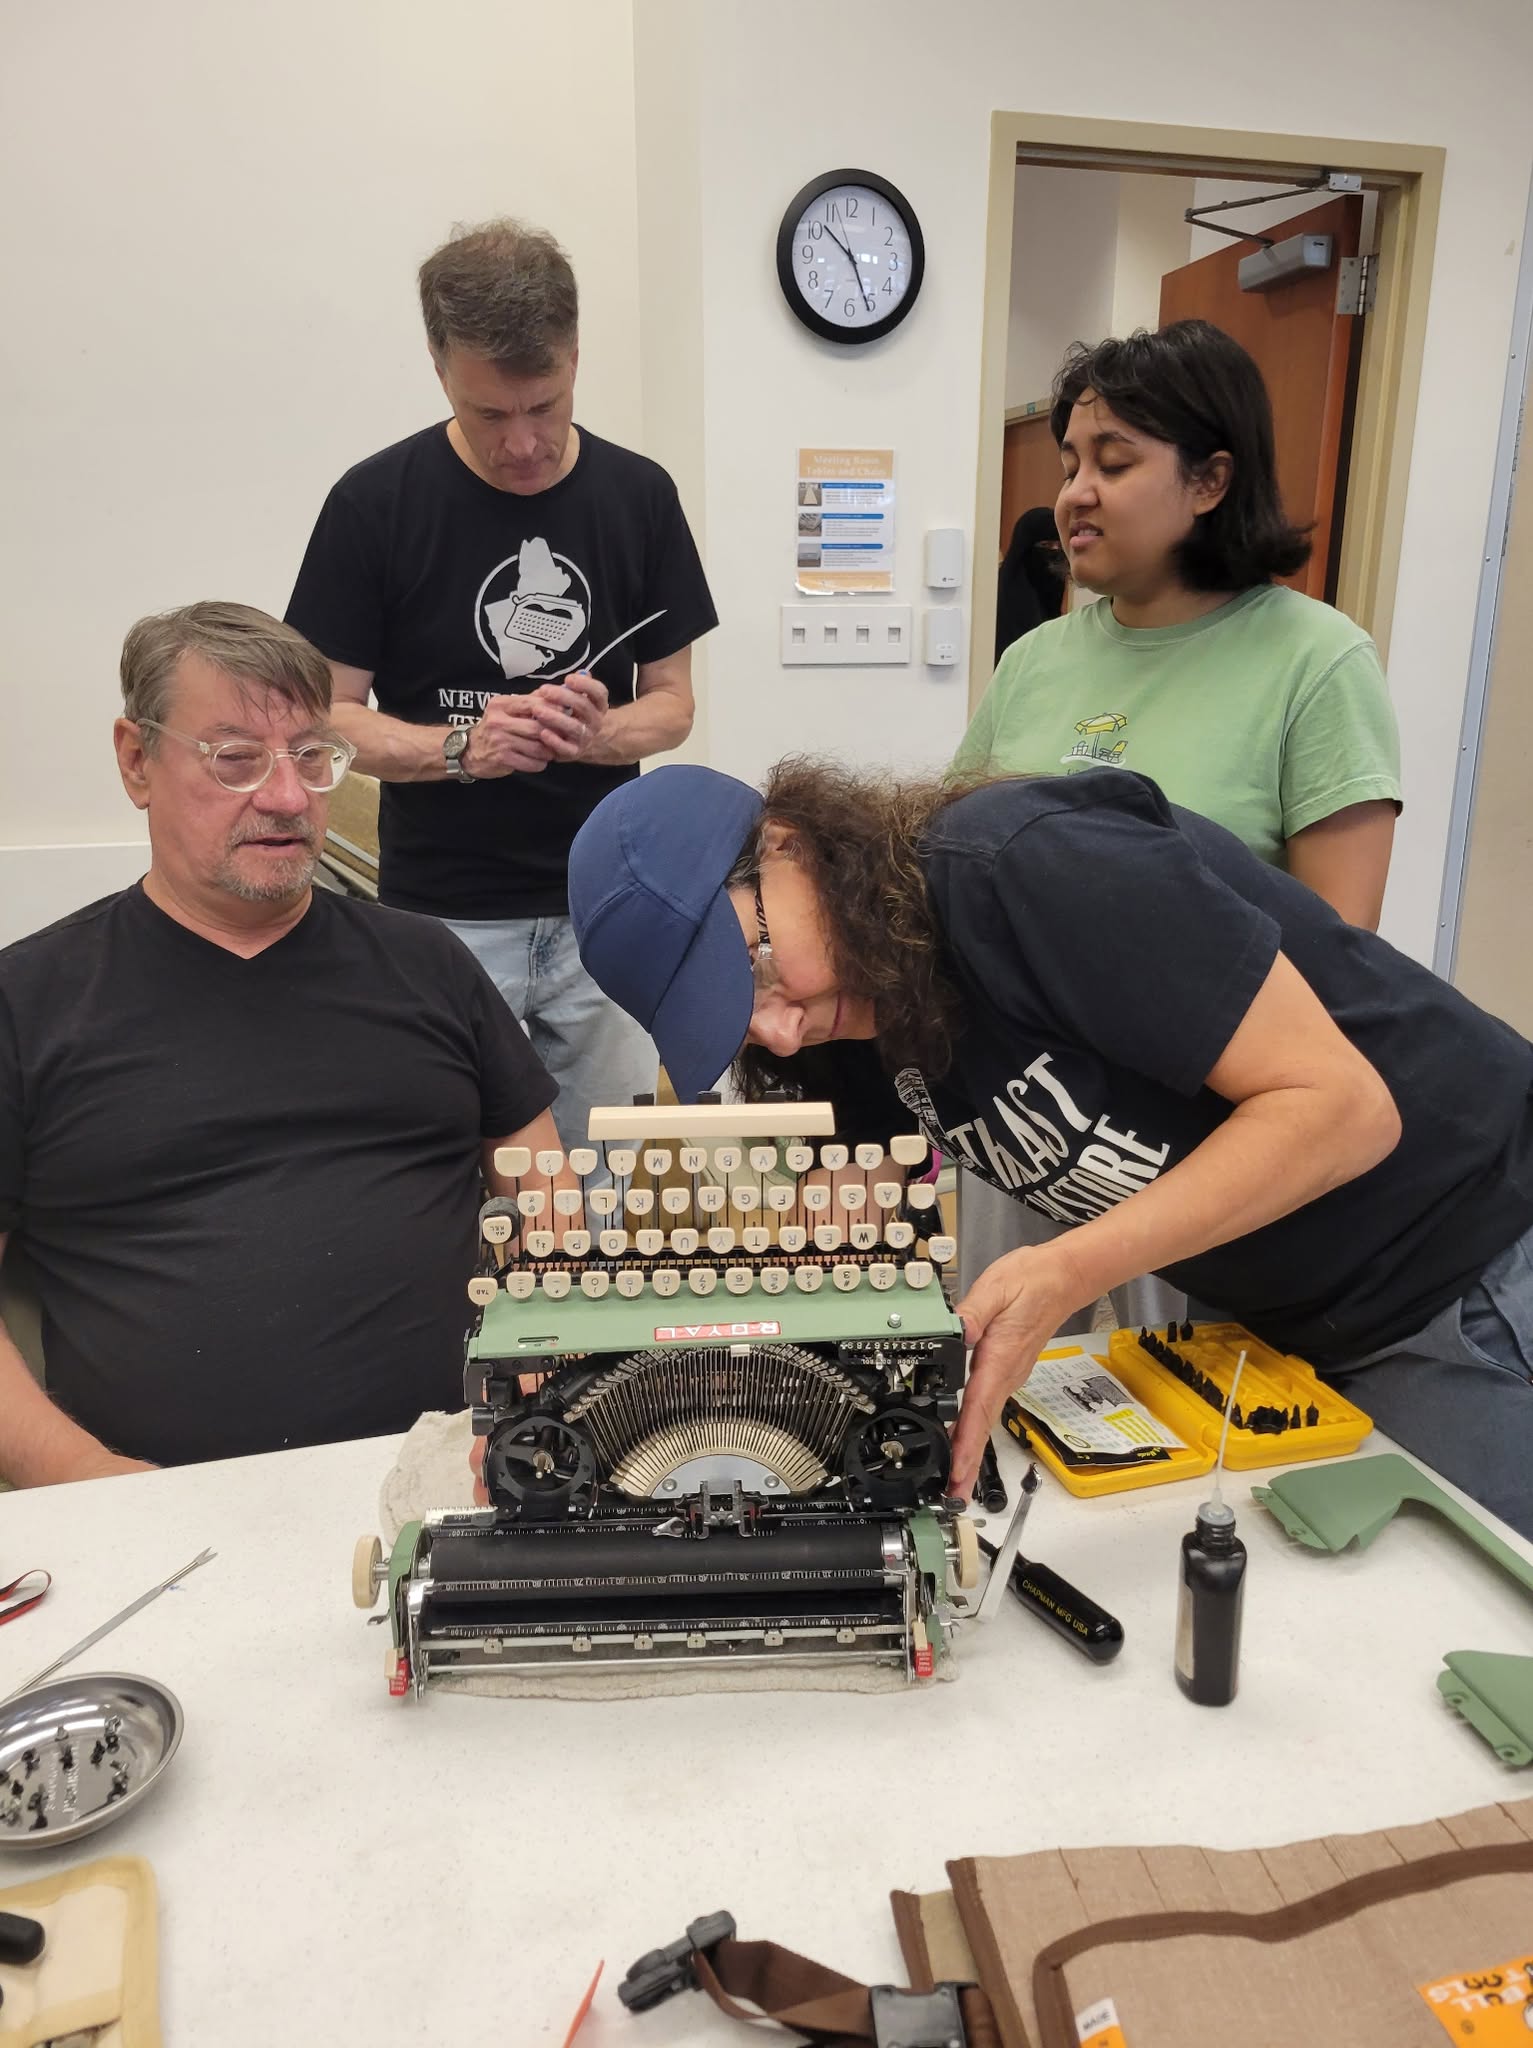
We did not make any progress on repairing that QDL, so I brought it home in pieces.
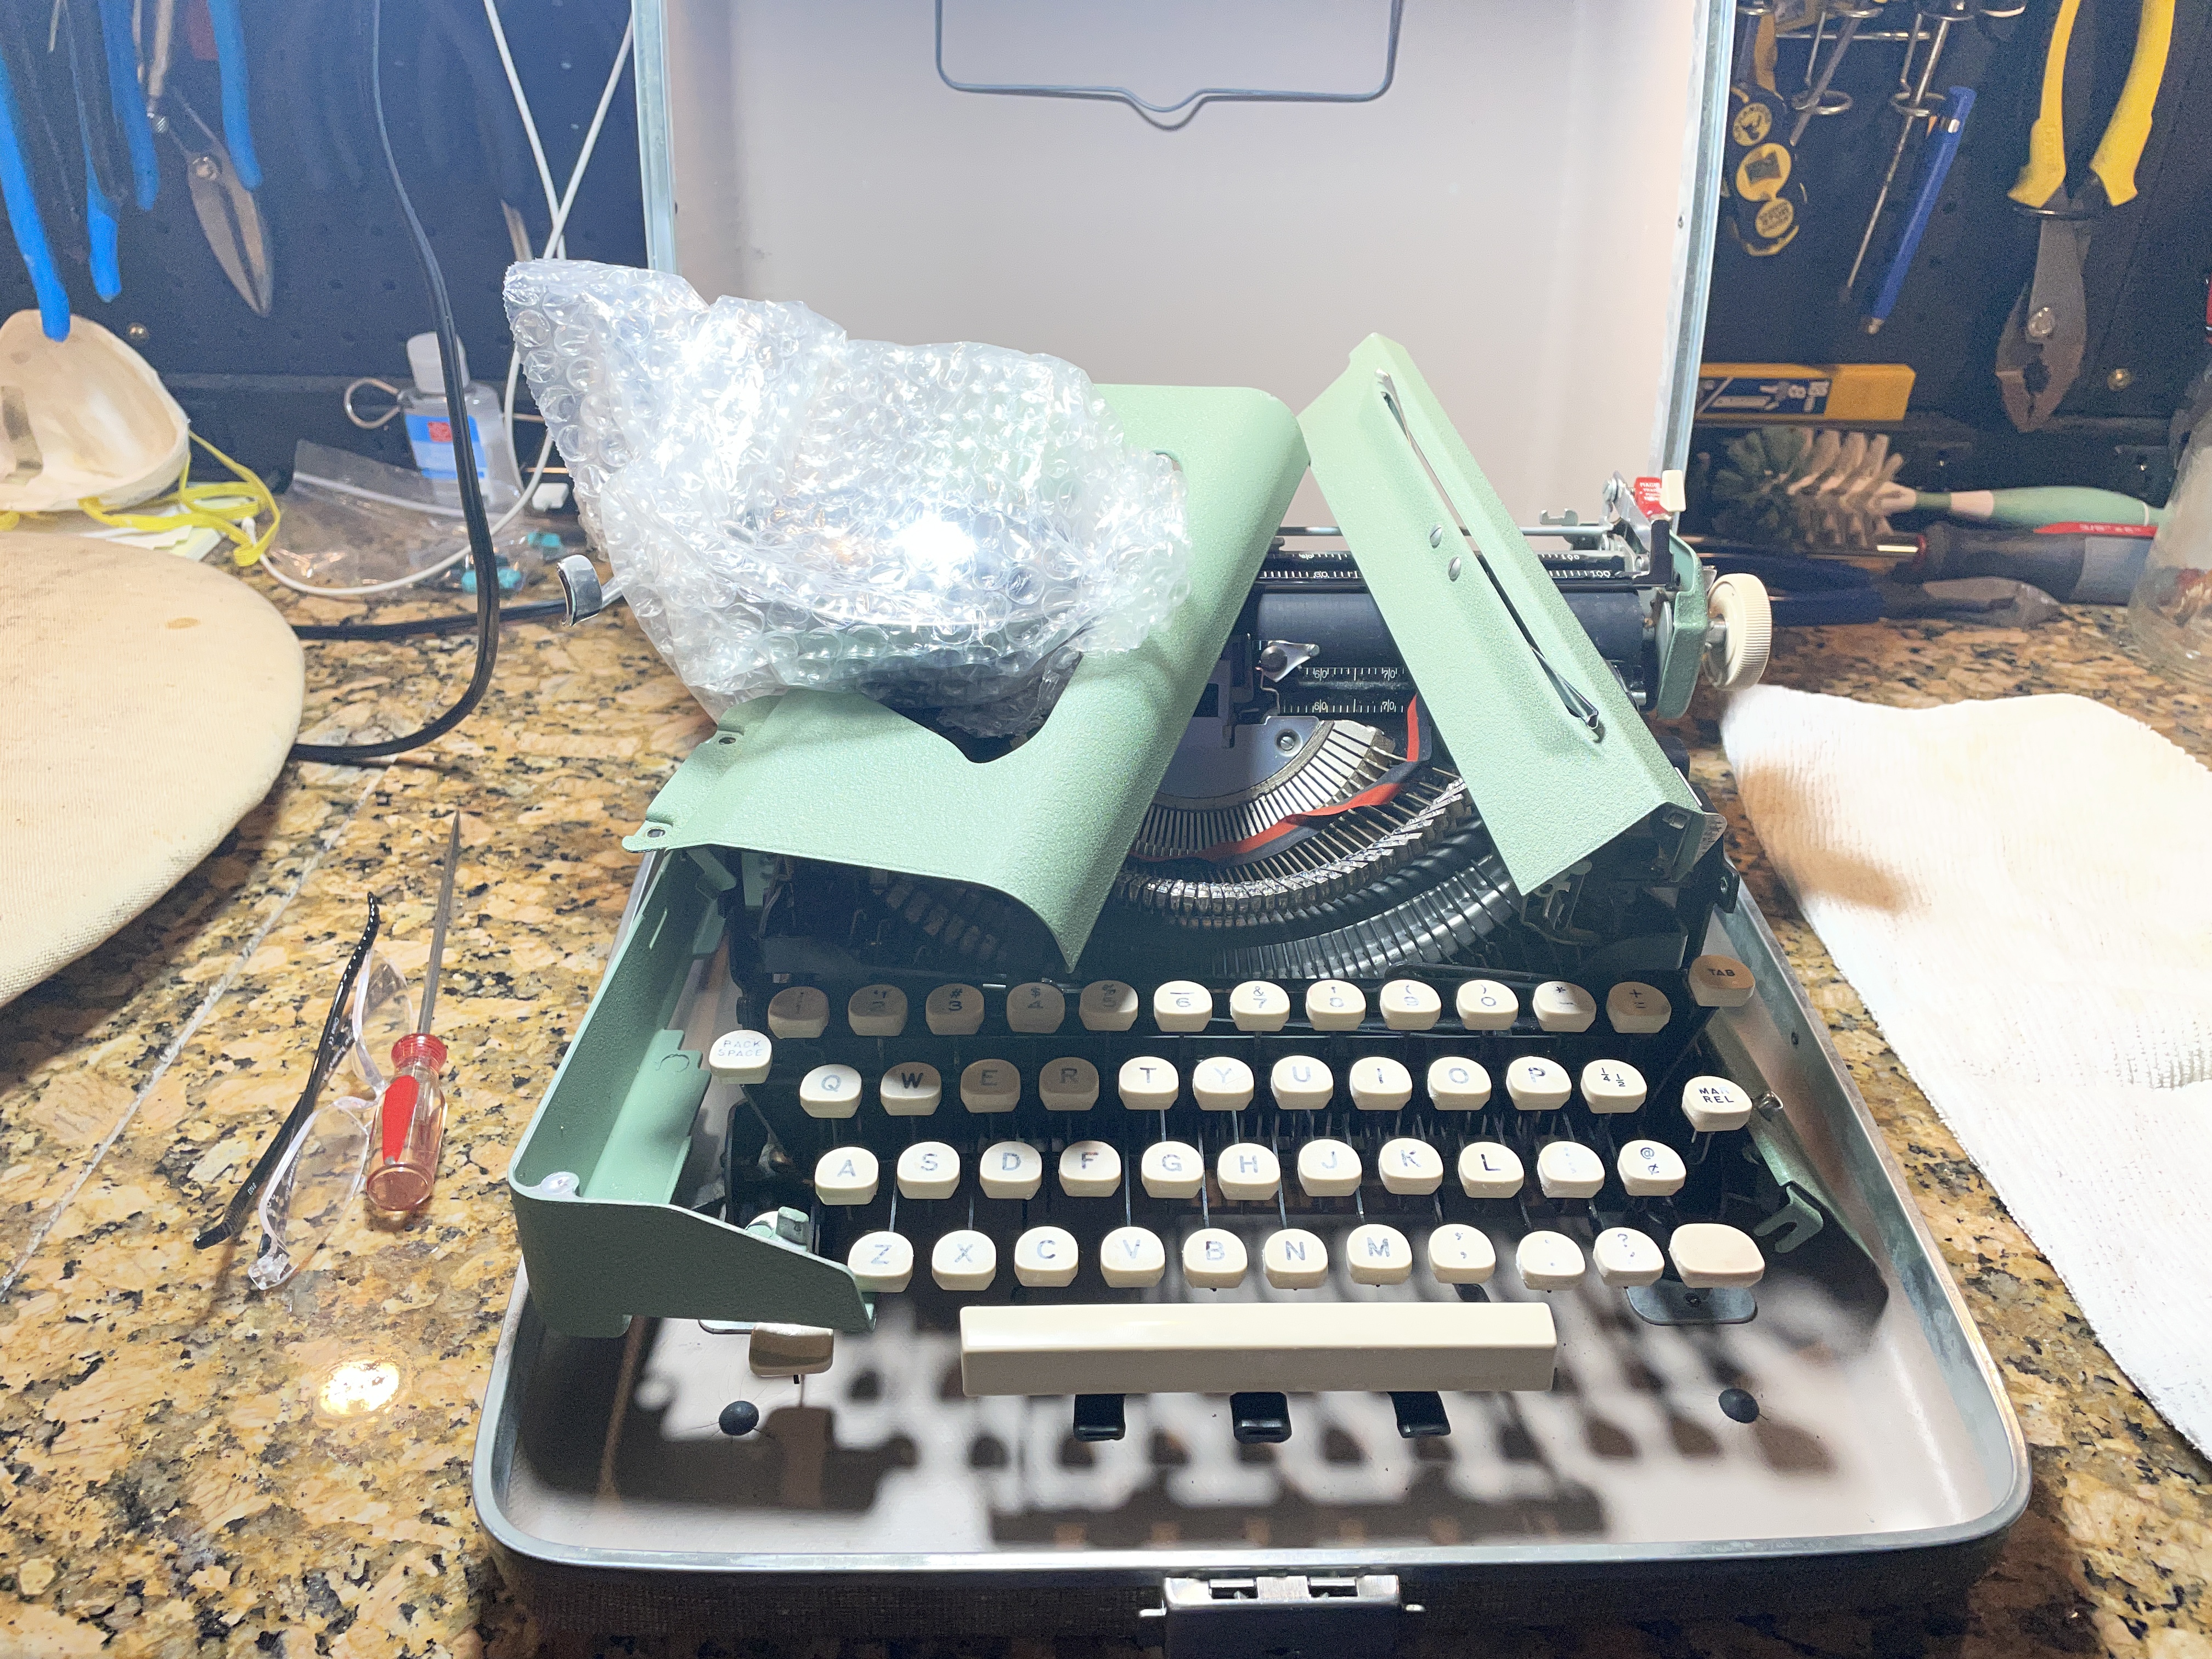
Checking at Typewriter Database, I see it’s a 1957 Royal Quiet De Luxe by serial number AG3659395:
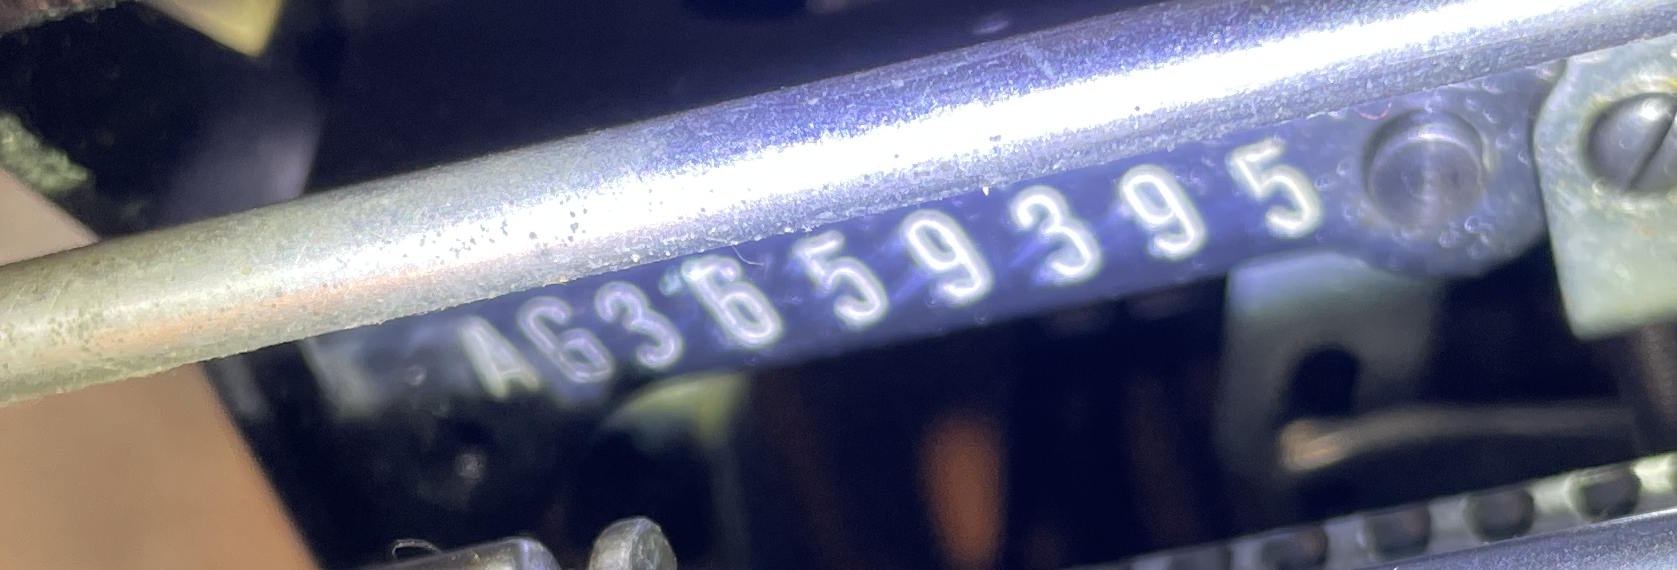
According to Typewriter Database, the serial number prefixes are: AB [1955-57 blue], AC [1955-57 charcoal], AR [1955-57 red], AG [1955-57 green], AP [1955-57 pink], AY [1955-57 yellow].
So this was the situation: the right shift key is The Boss. It directly connects to the shifting arms that bring the segment down with shifting. The left shift key and shift lock key communicate their desires to the right shift mechanism via a rod. And that rod had a big crack where the rod connected to the right shift mechanism.
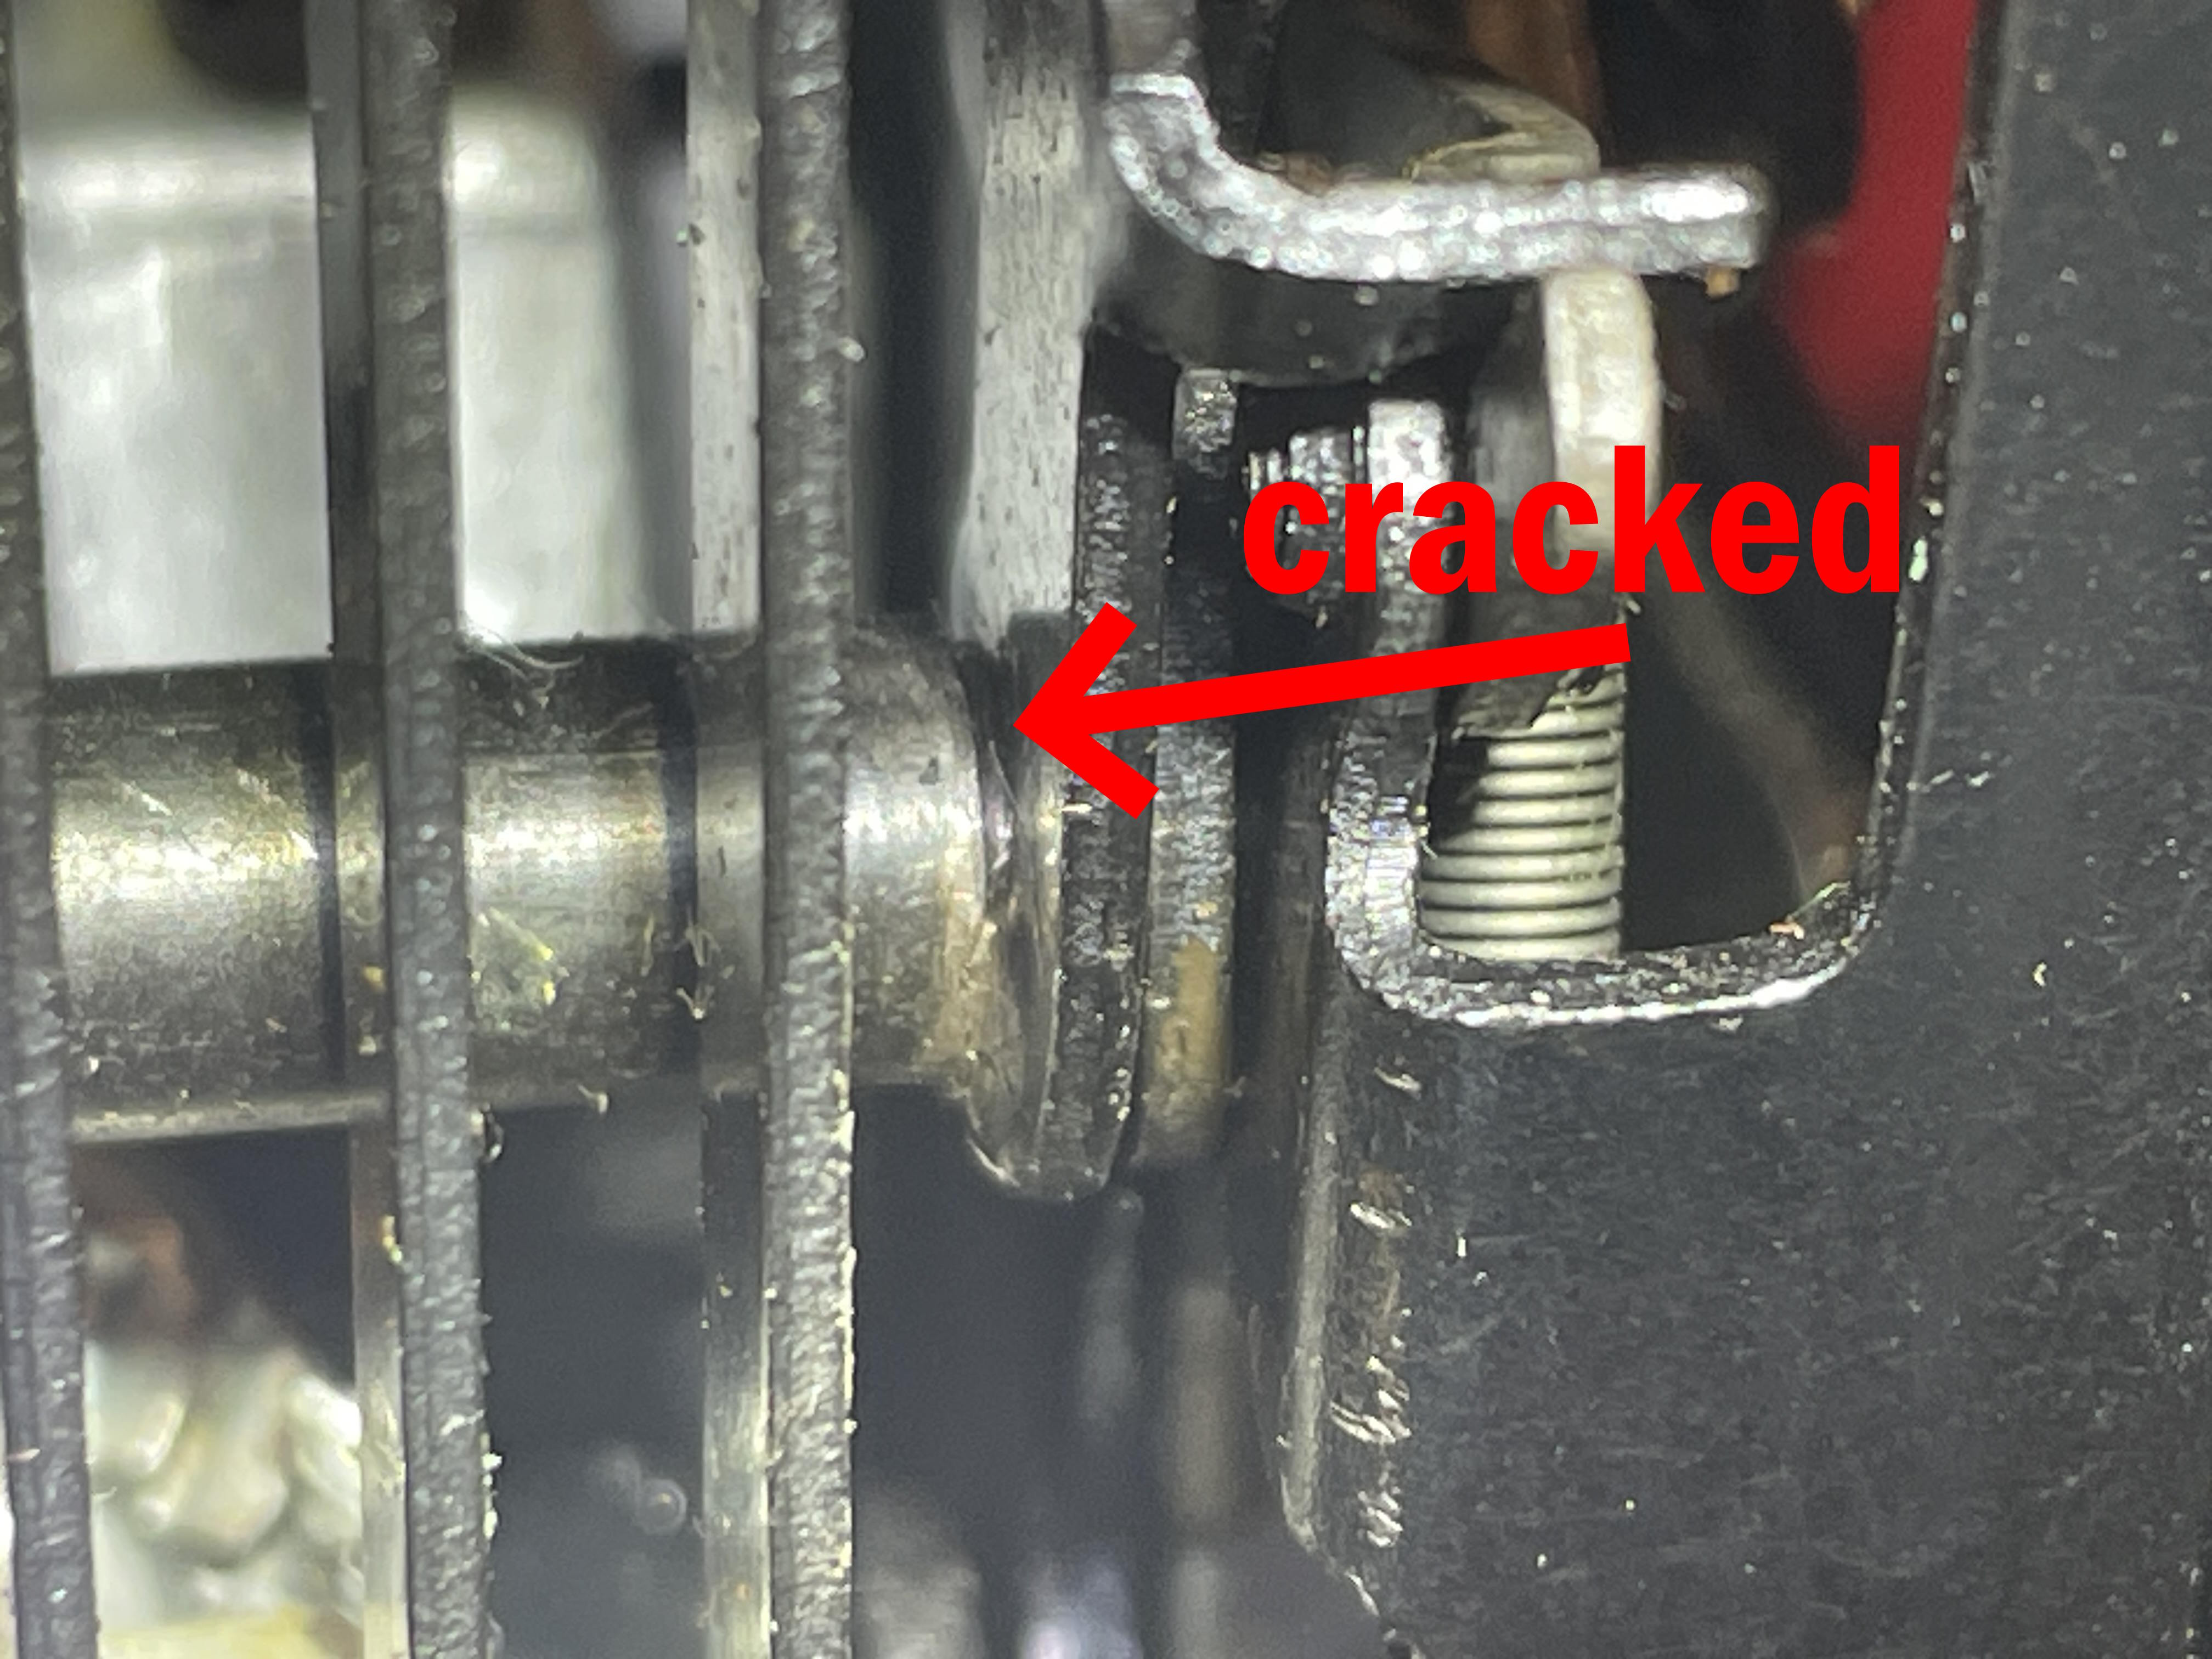
I have a 1966 Royal Safari that I had planned to use as a parts donor as it has the exact same shifting rod set-up:
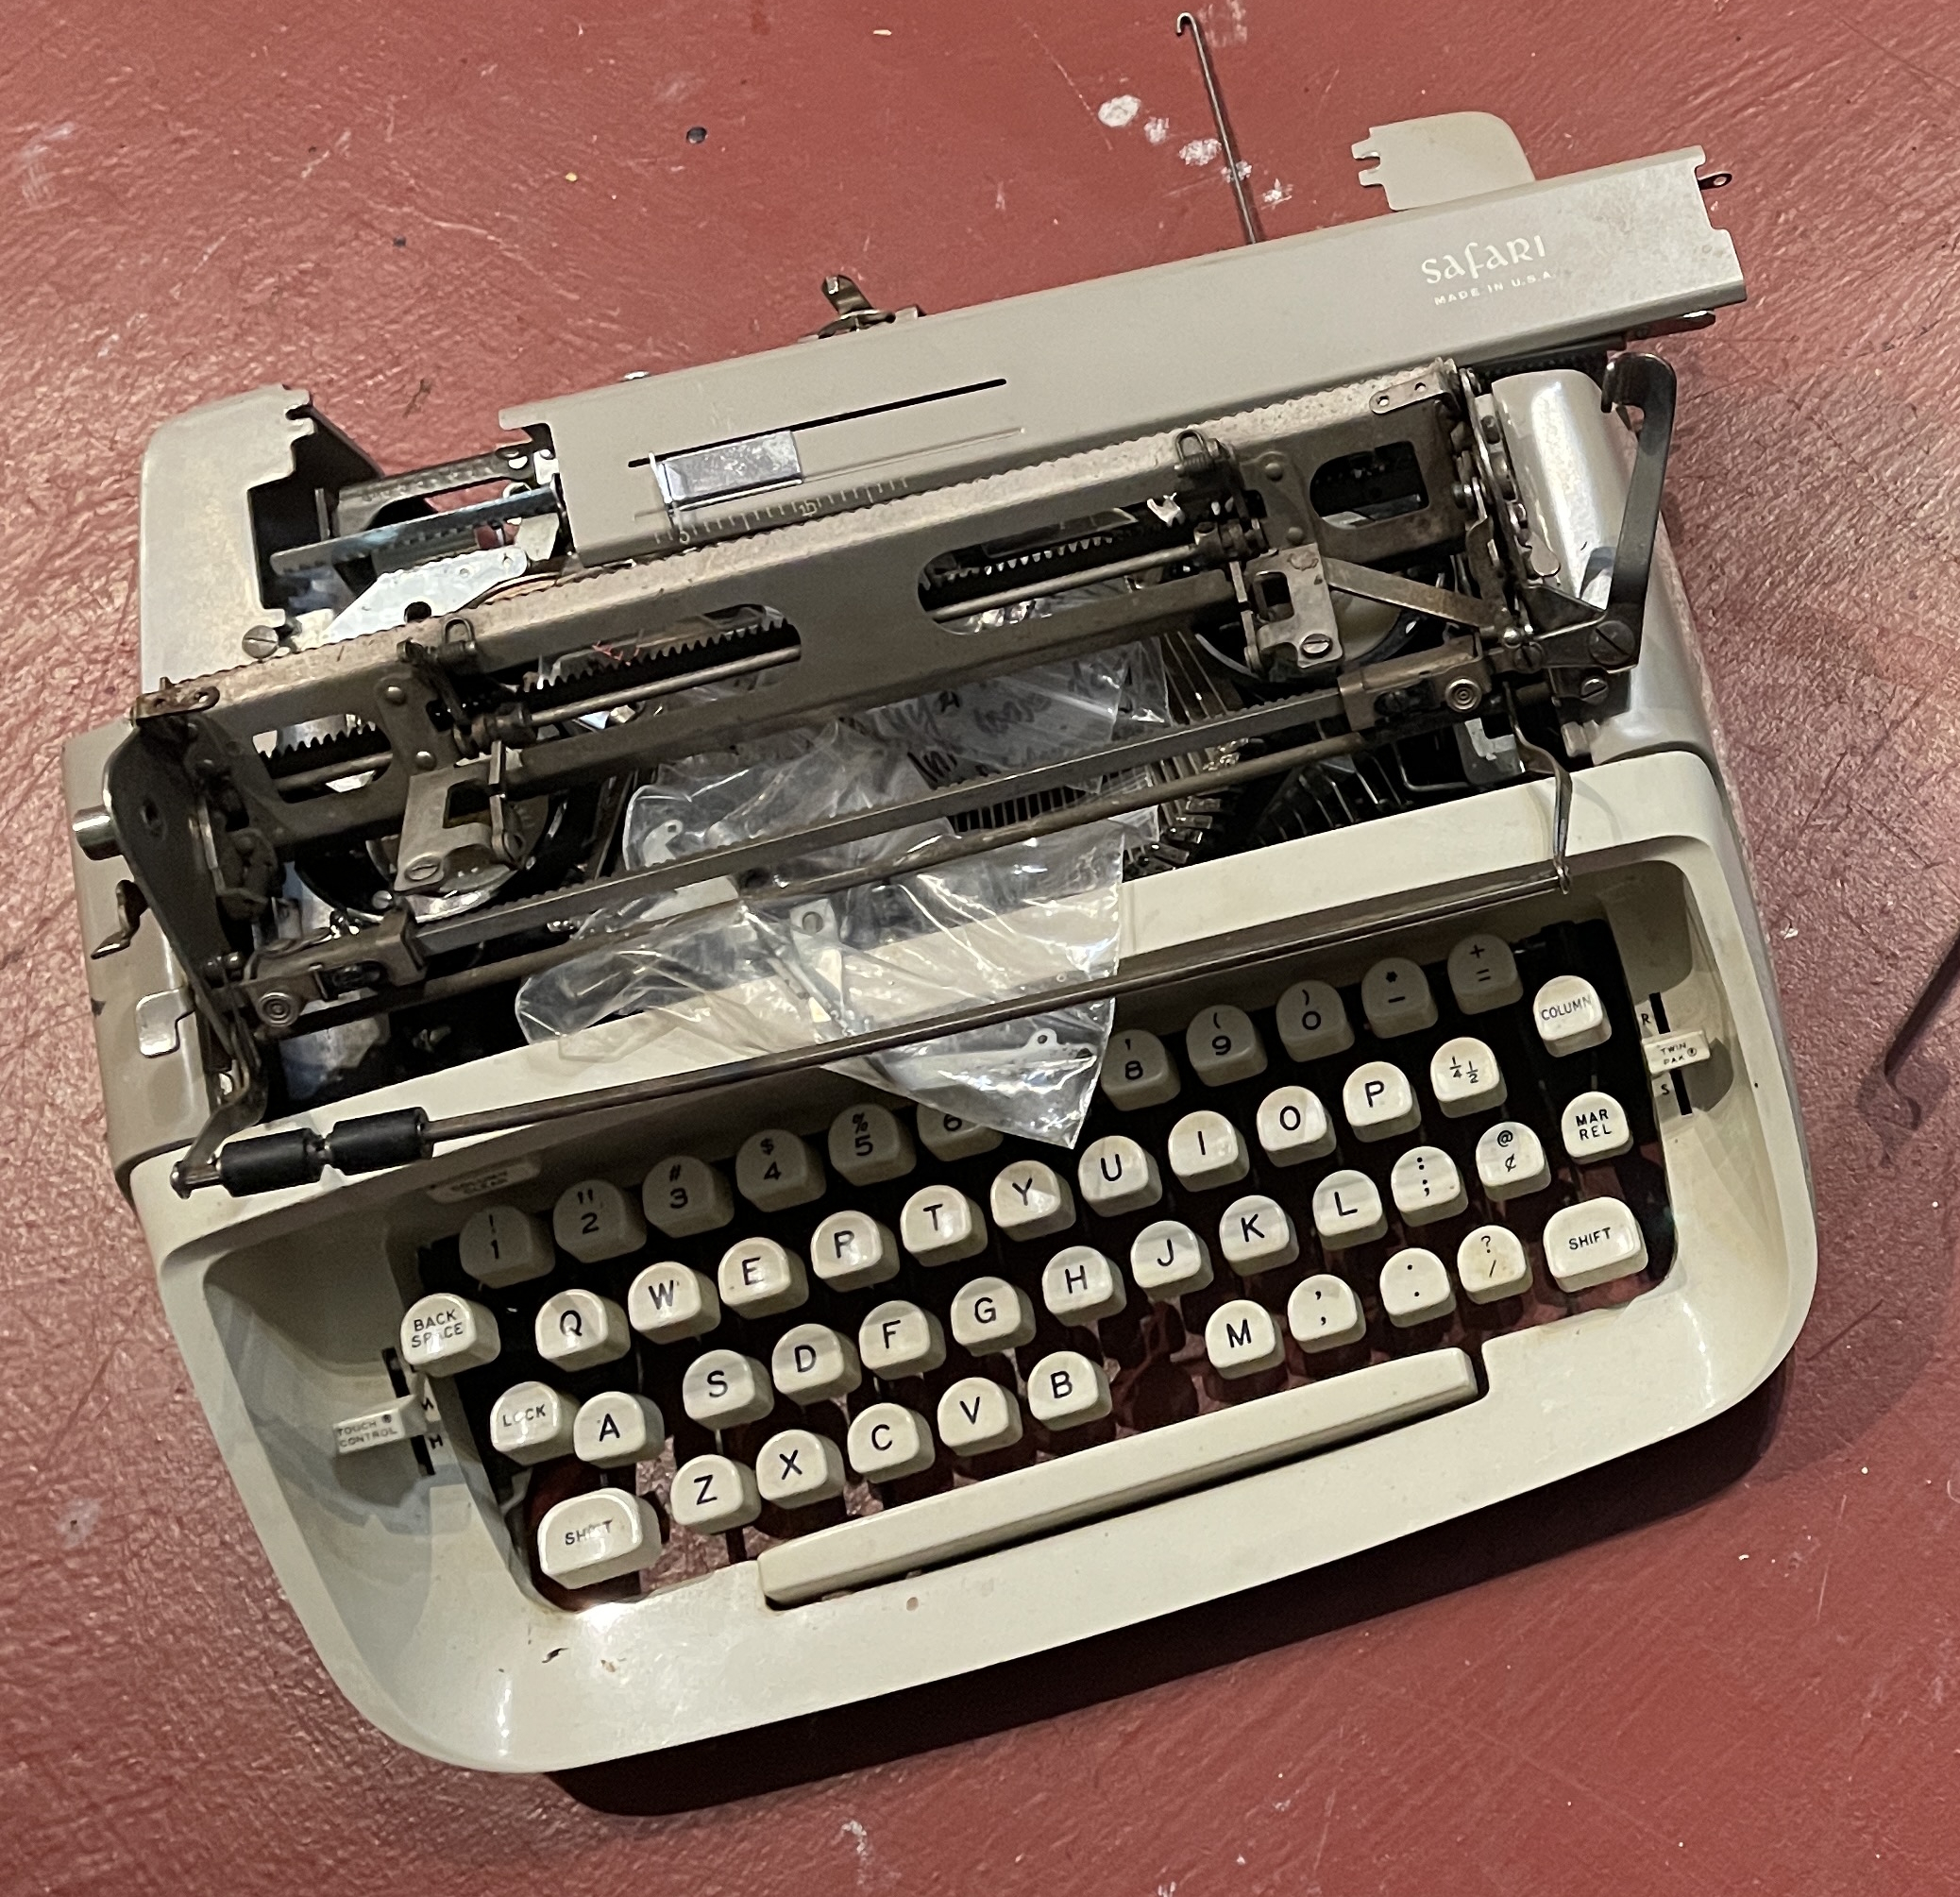
However, after struggling with the Safari for a bit, I came to the conclusion that I would never be able to extract the shifting rod and shift mechanism from the Safari without excessive dismantling.
I needed to braze or weld that shifting junction back together while it was still in the machine. Brazing seemed out of the question since getting a torch into the awkward target area seemed undoable. JB-Weld would be too weak for the stresses put on the shifter. Perhaps I could do a weld-weld.
But how do I get into that small spot and fill the crack at the junction between the rod and the right shift key? And then I saw this video about a little pulse welder for jewelry and hobbies:
If the machine was as fun as the video says, my whole family planned to use it for other projects. My husband and my daughter have their own wacky repair and build projects that keep them busy:
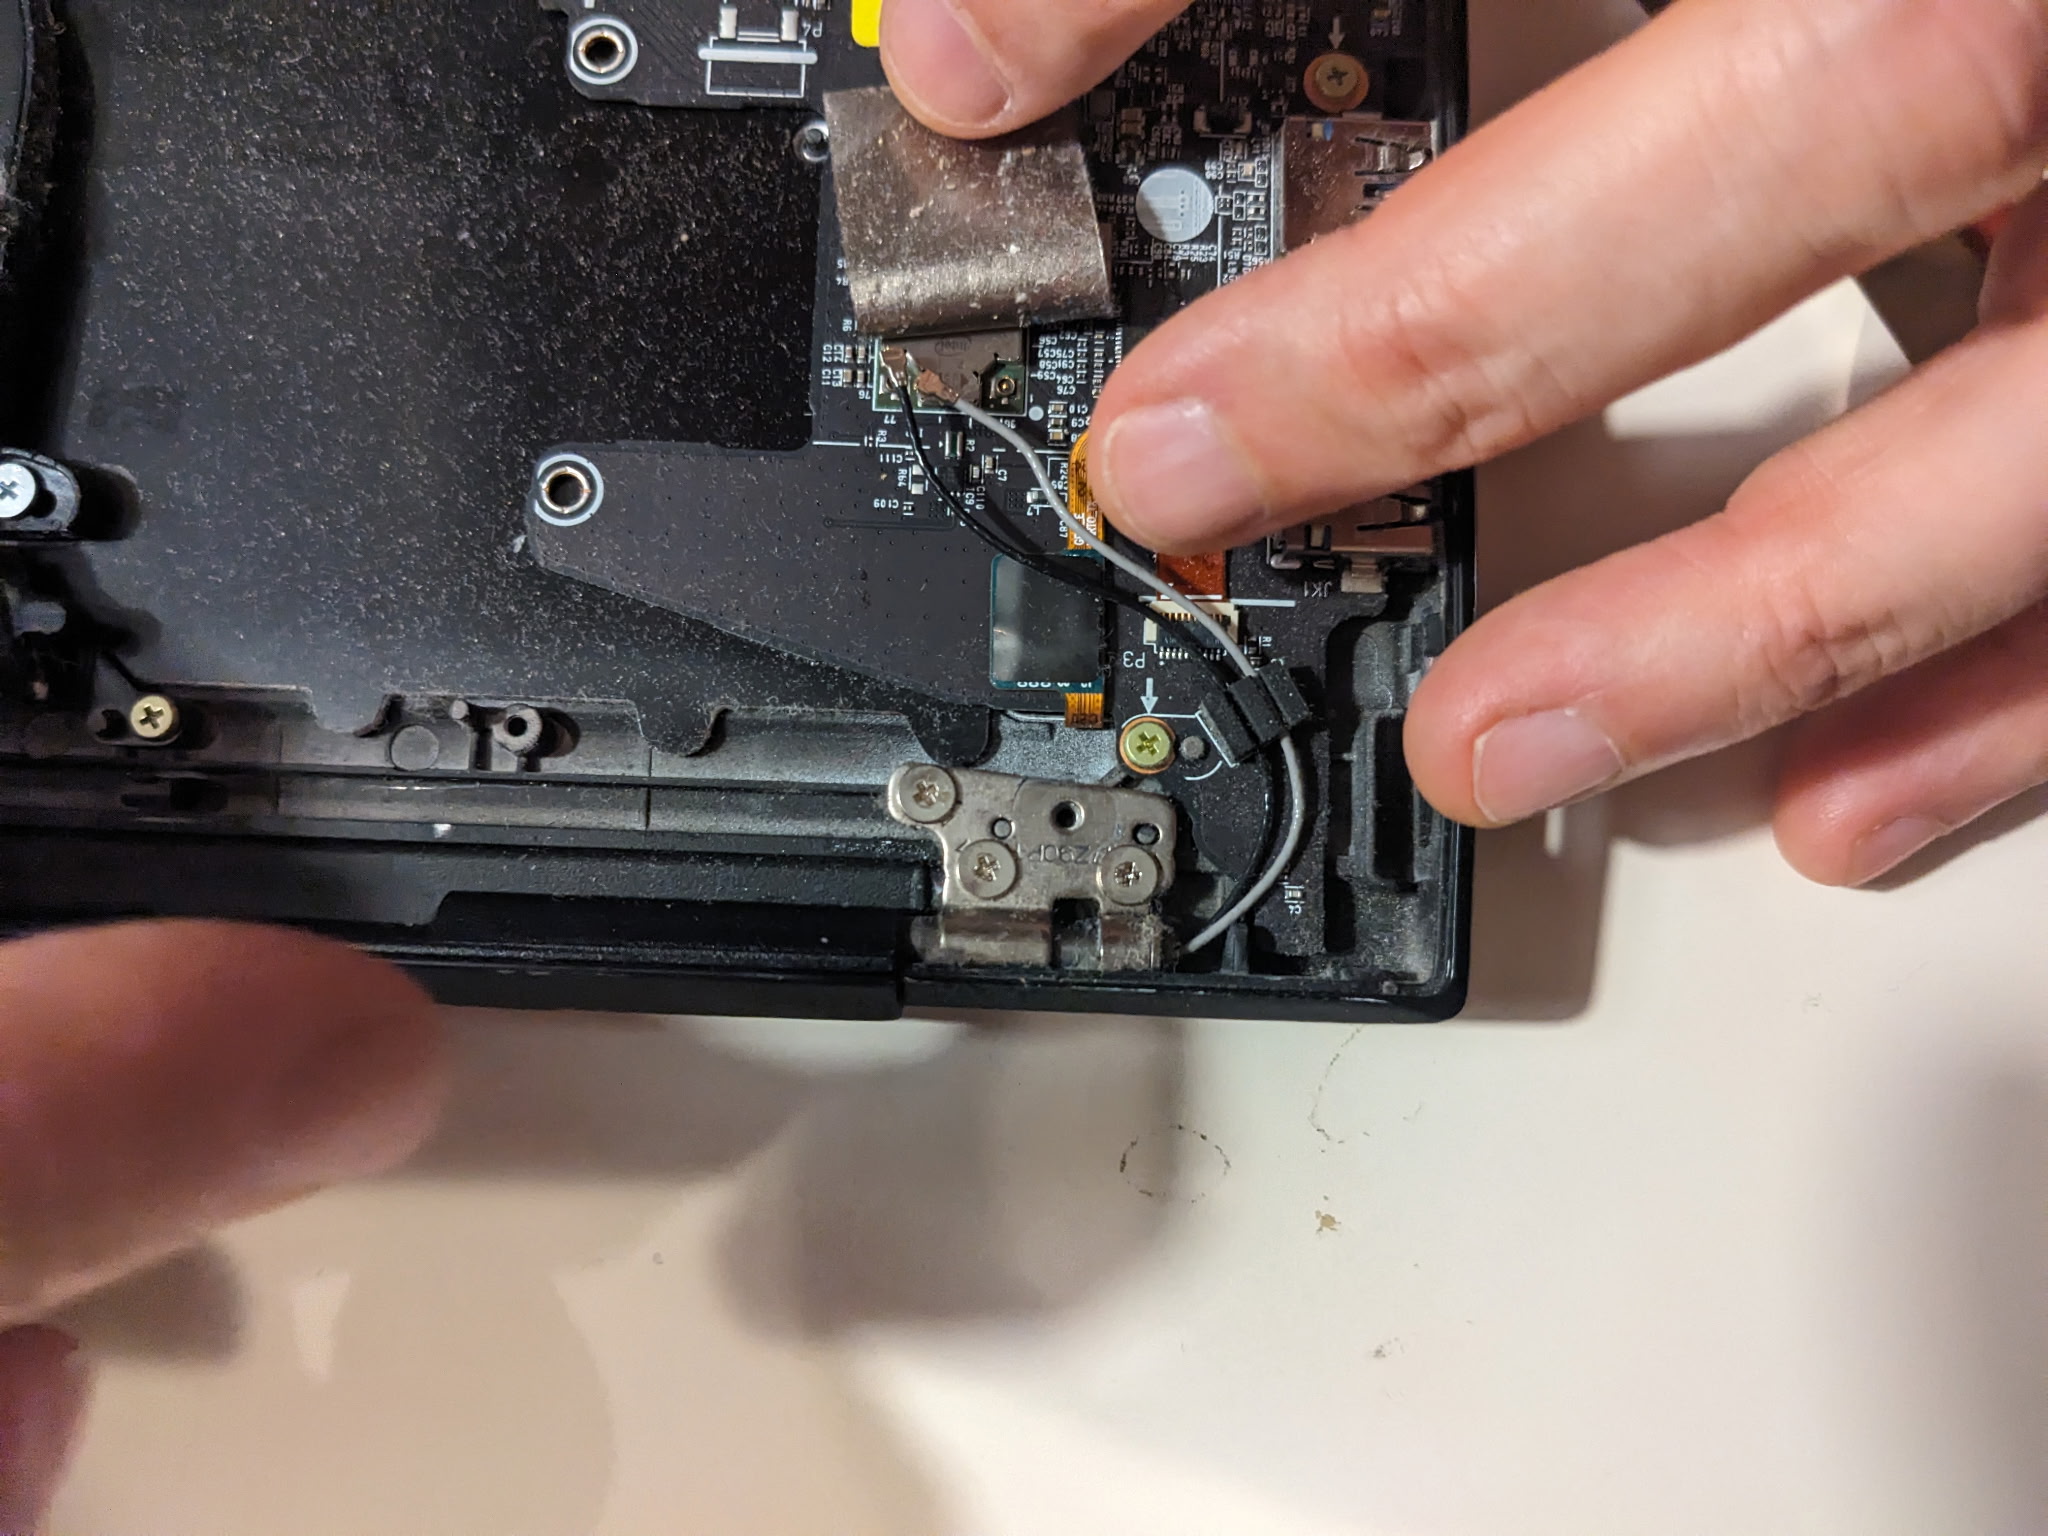
Father-daughter electronics repair
I bought it and once it arrived, I started testing and was pleasantly surprised by how well it worked right out of the box. It’s fairly “safe”. Jewelers use these things to attach permanent jewelry and there’s an “Ortho” setting which I assume is for braces.
I did tests on sheet metal and junk metal I had lying around, varying the power and timing of the pulses with different materials and different size tungsten tips. I wasn’t using Argon (you can weld without Argon), but the black soot cleans up with a brass brush.
PRO TIP: don’t weld on random scraps of zinc-plated stuff. It’s a BAD IDEA. I probably shaved a few years off my life because of the toxic fumes. Grind the zinc plating off or use plain steel.
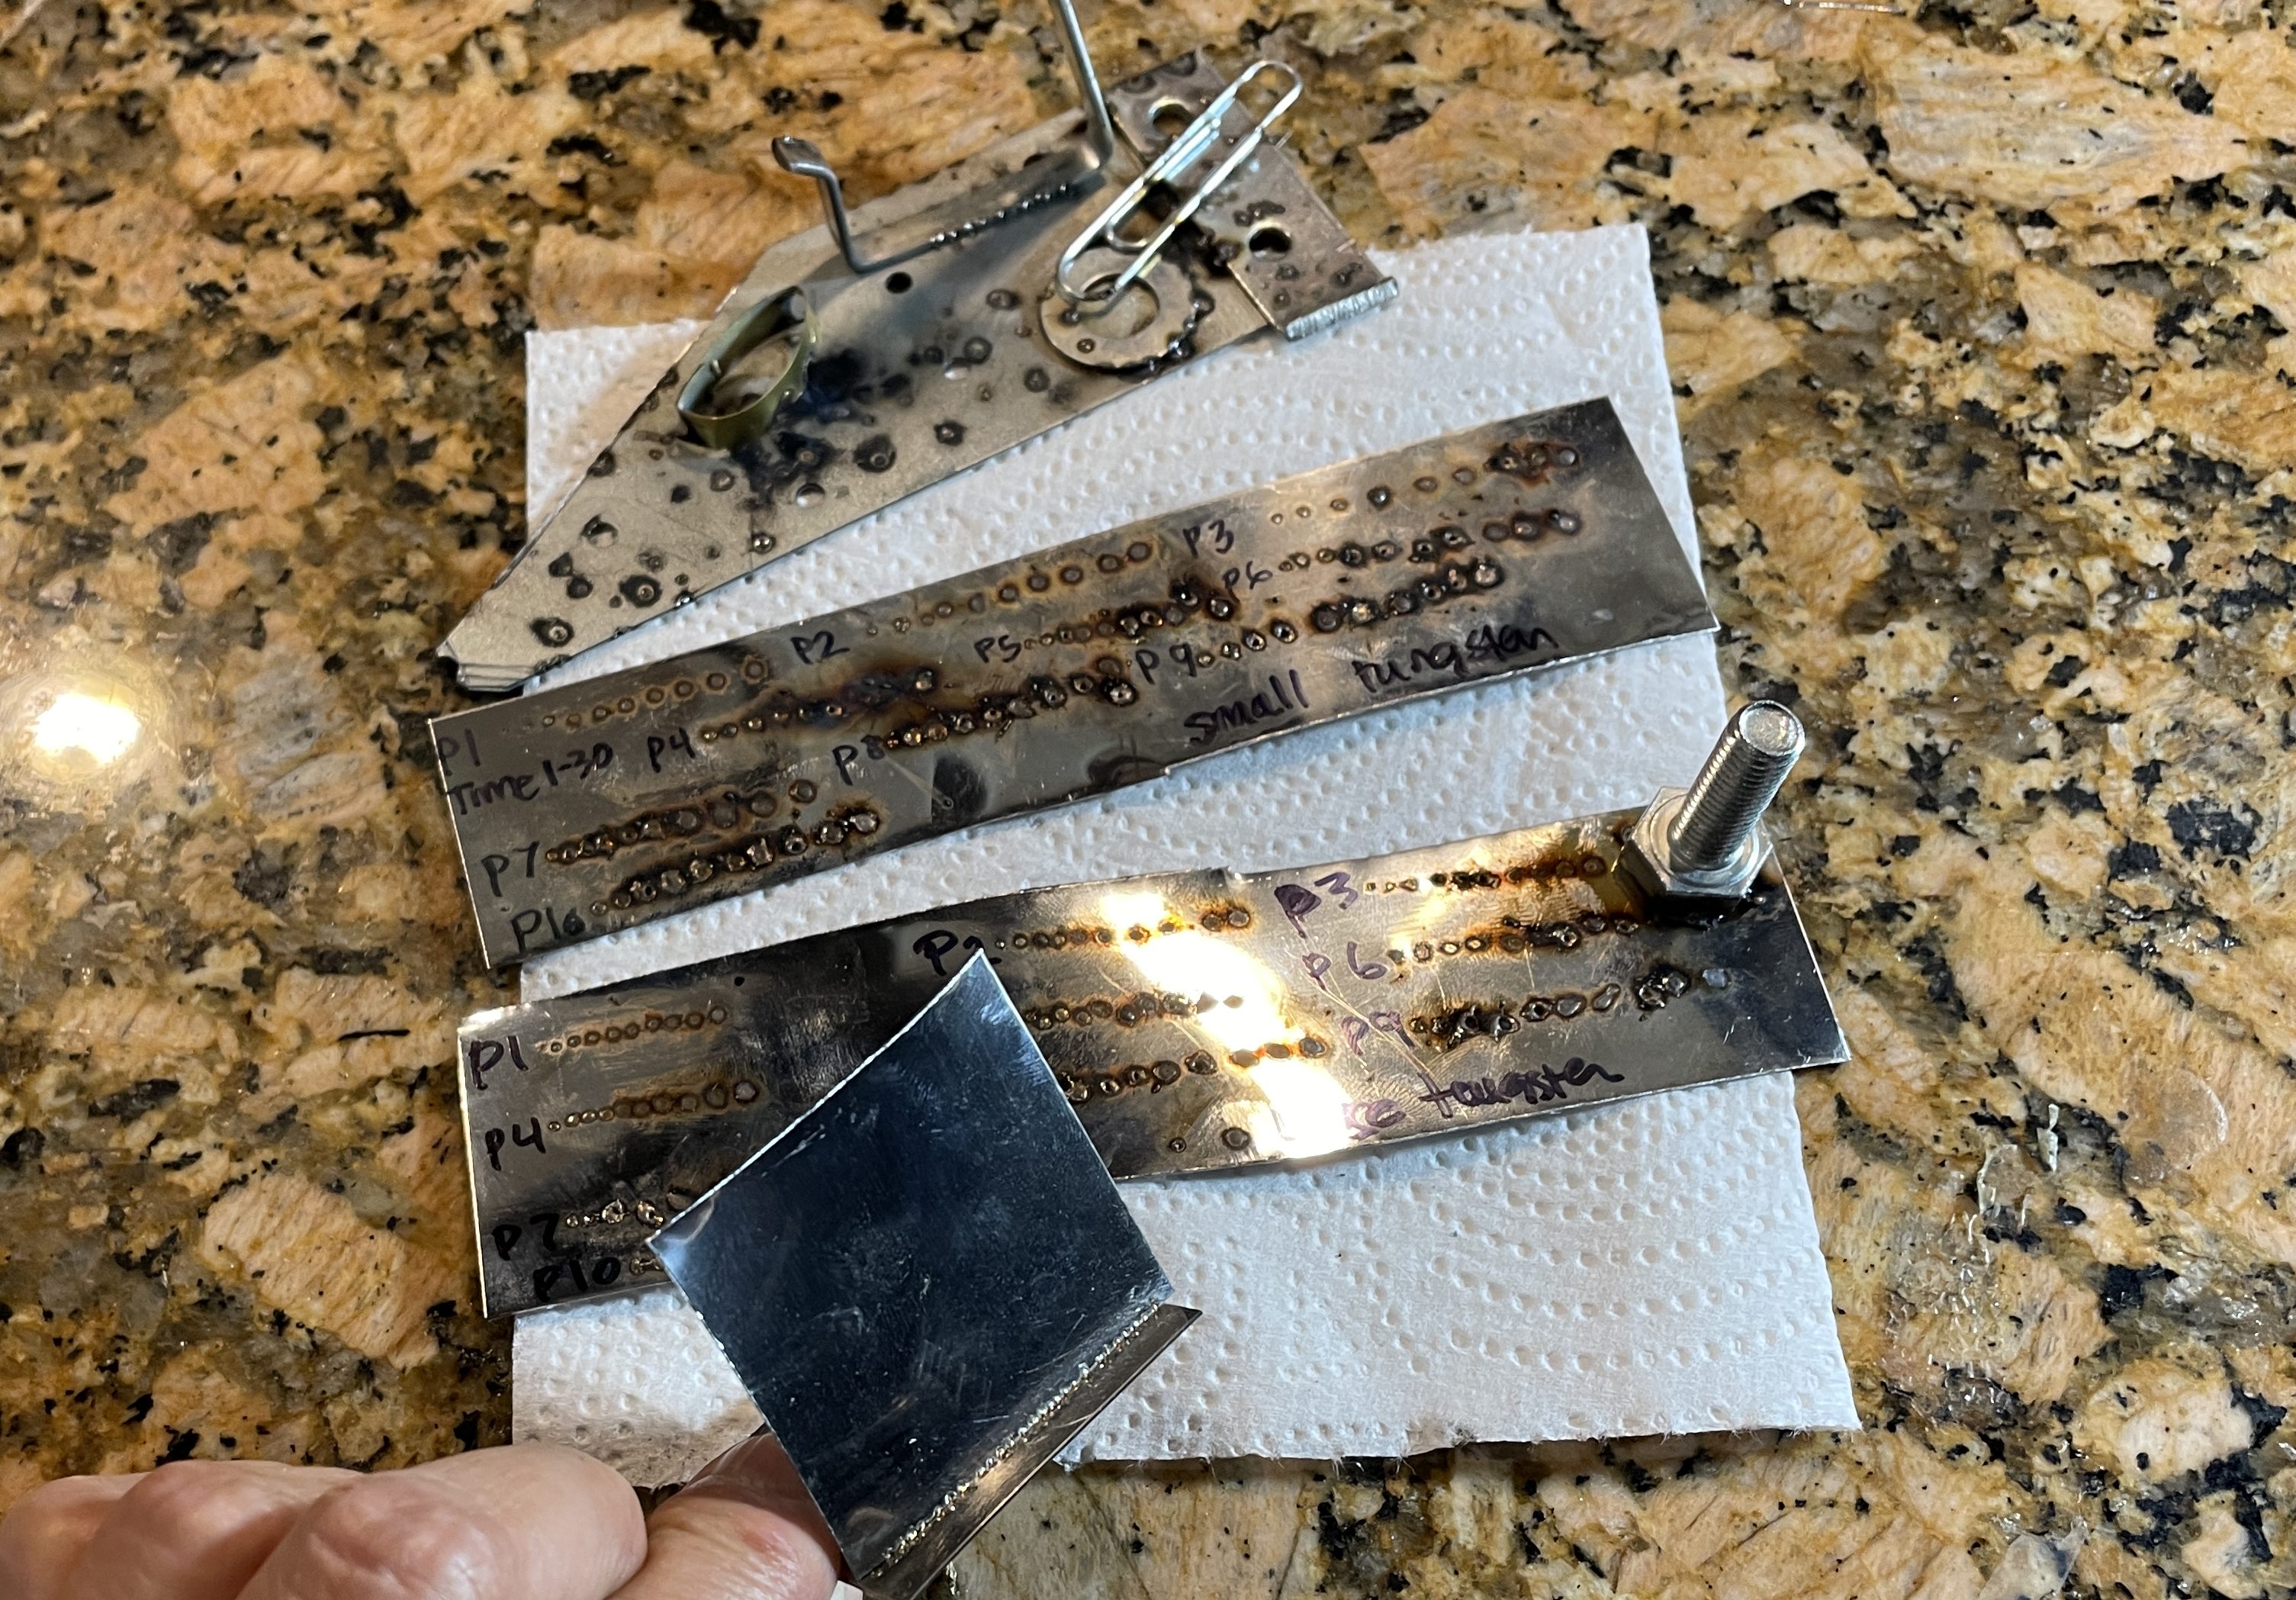
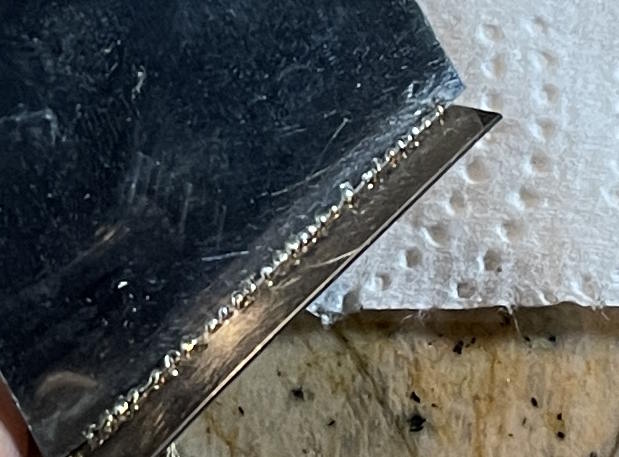
Here’s some sheet metal I tacked together with tiny, low-power tacks. Not beautiful welding, but the bond is very strong.
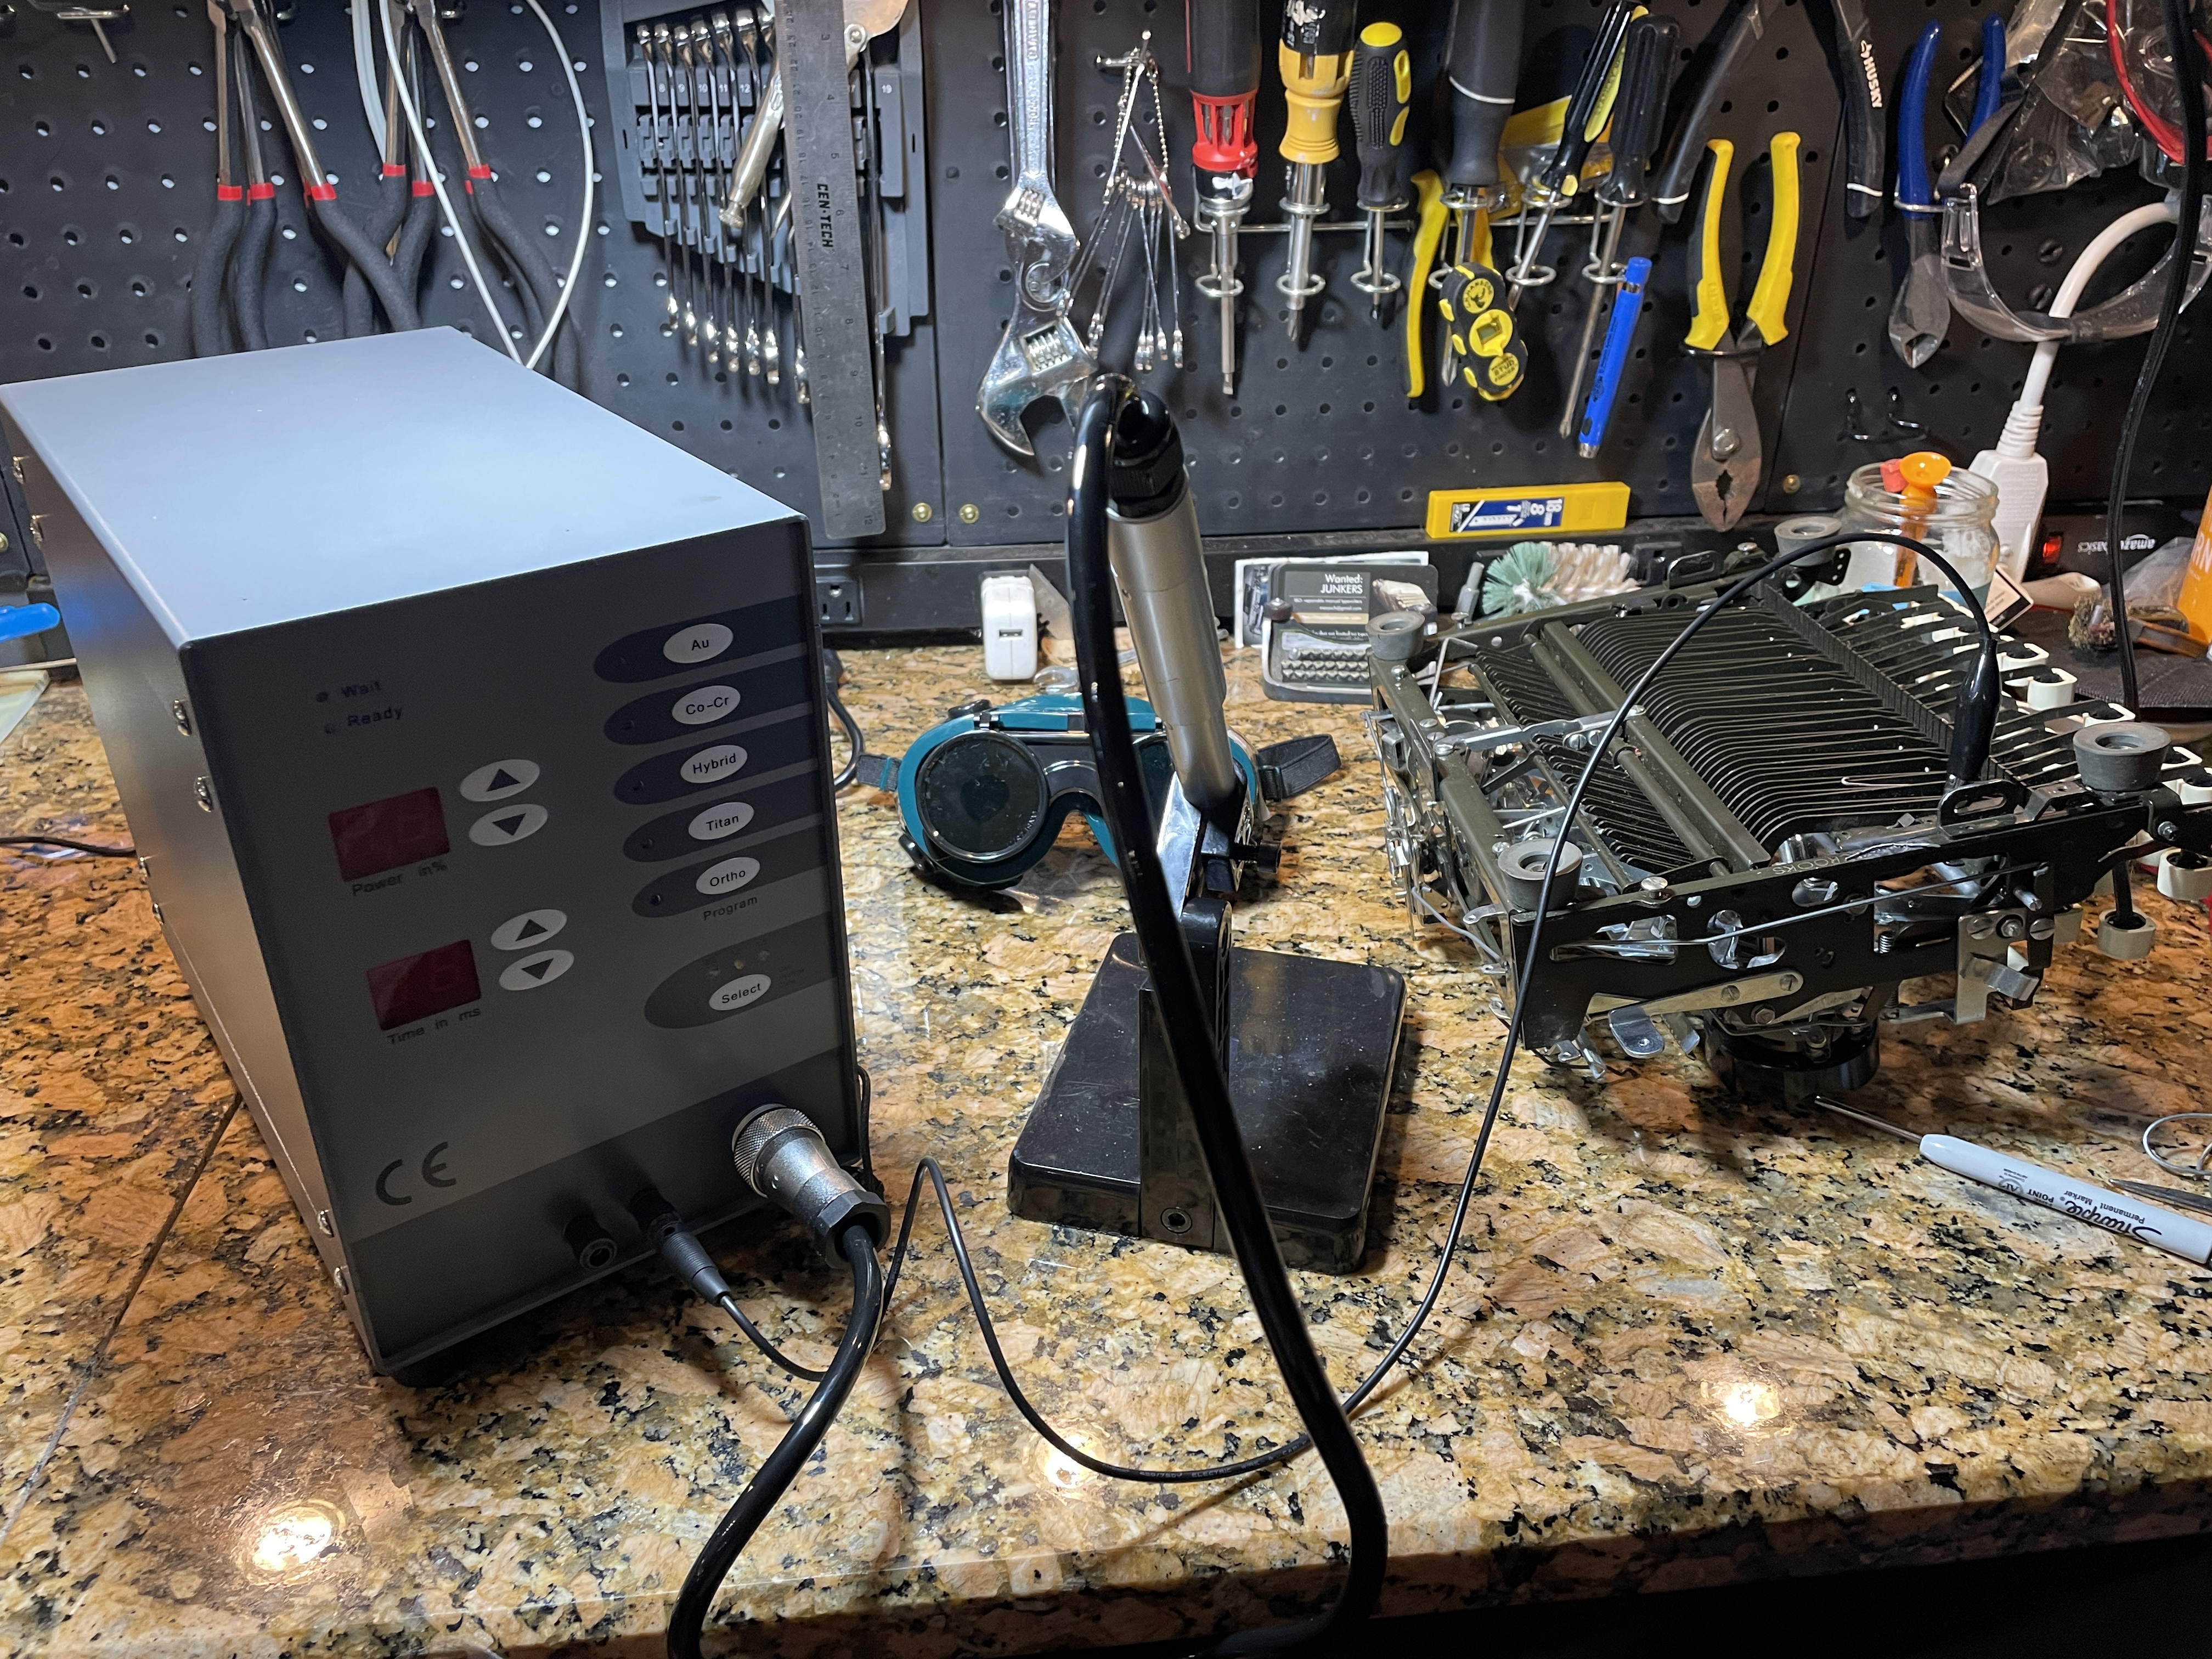
I pulled out my parts machine Safari and practiced making welds deep in the machine. You can hold the welder like a stylus and get into very small spaces if you extend the tungsten electrode enough. Here’s the parts Safari patiently enduring my welding tests.
After some practicing, I was ready to work on the green QDL. I used a paper clip and sheet metal (spoiler: BAD IDEA) to fill the gap between the shifting rod and the shift mechanism.
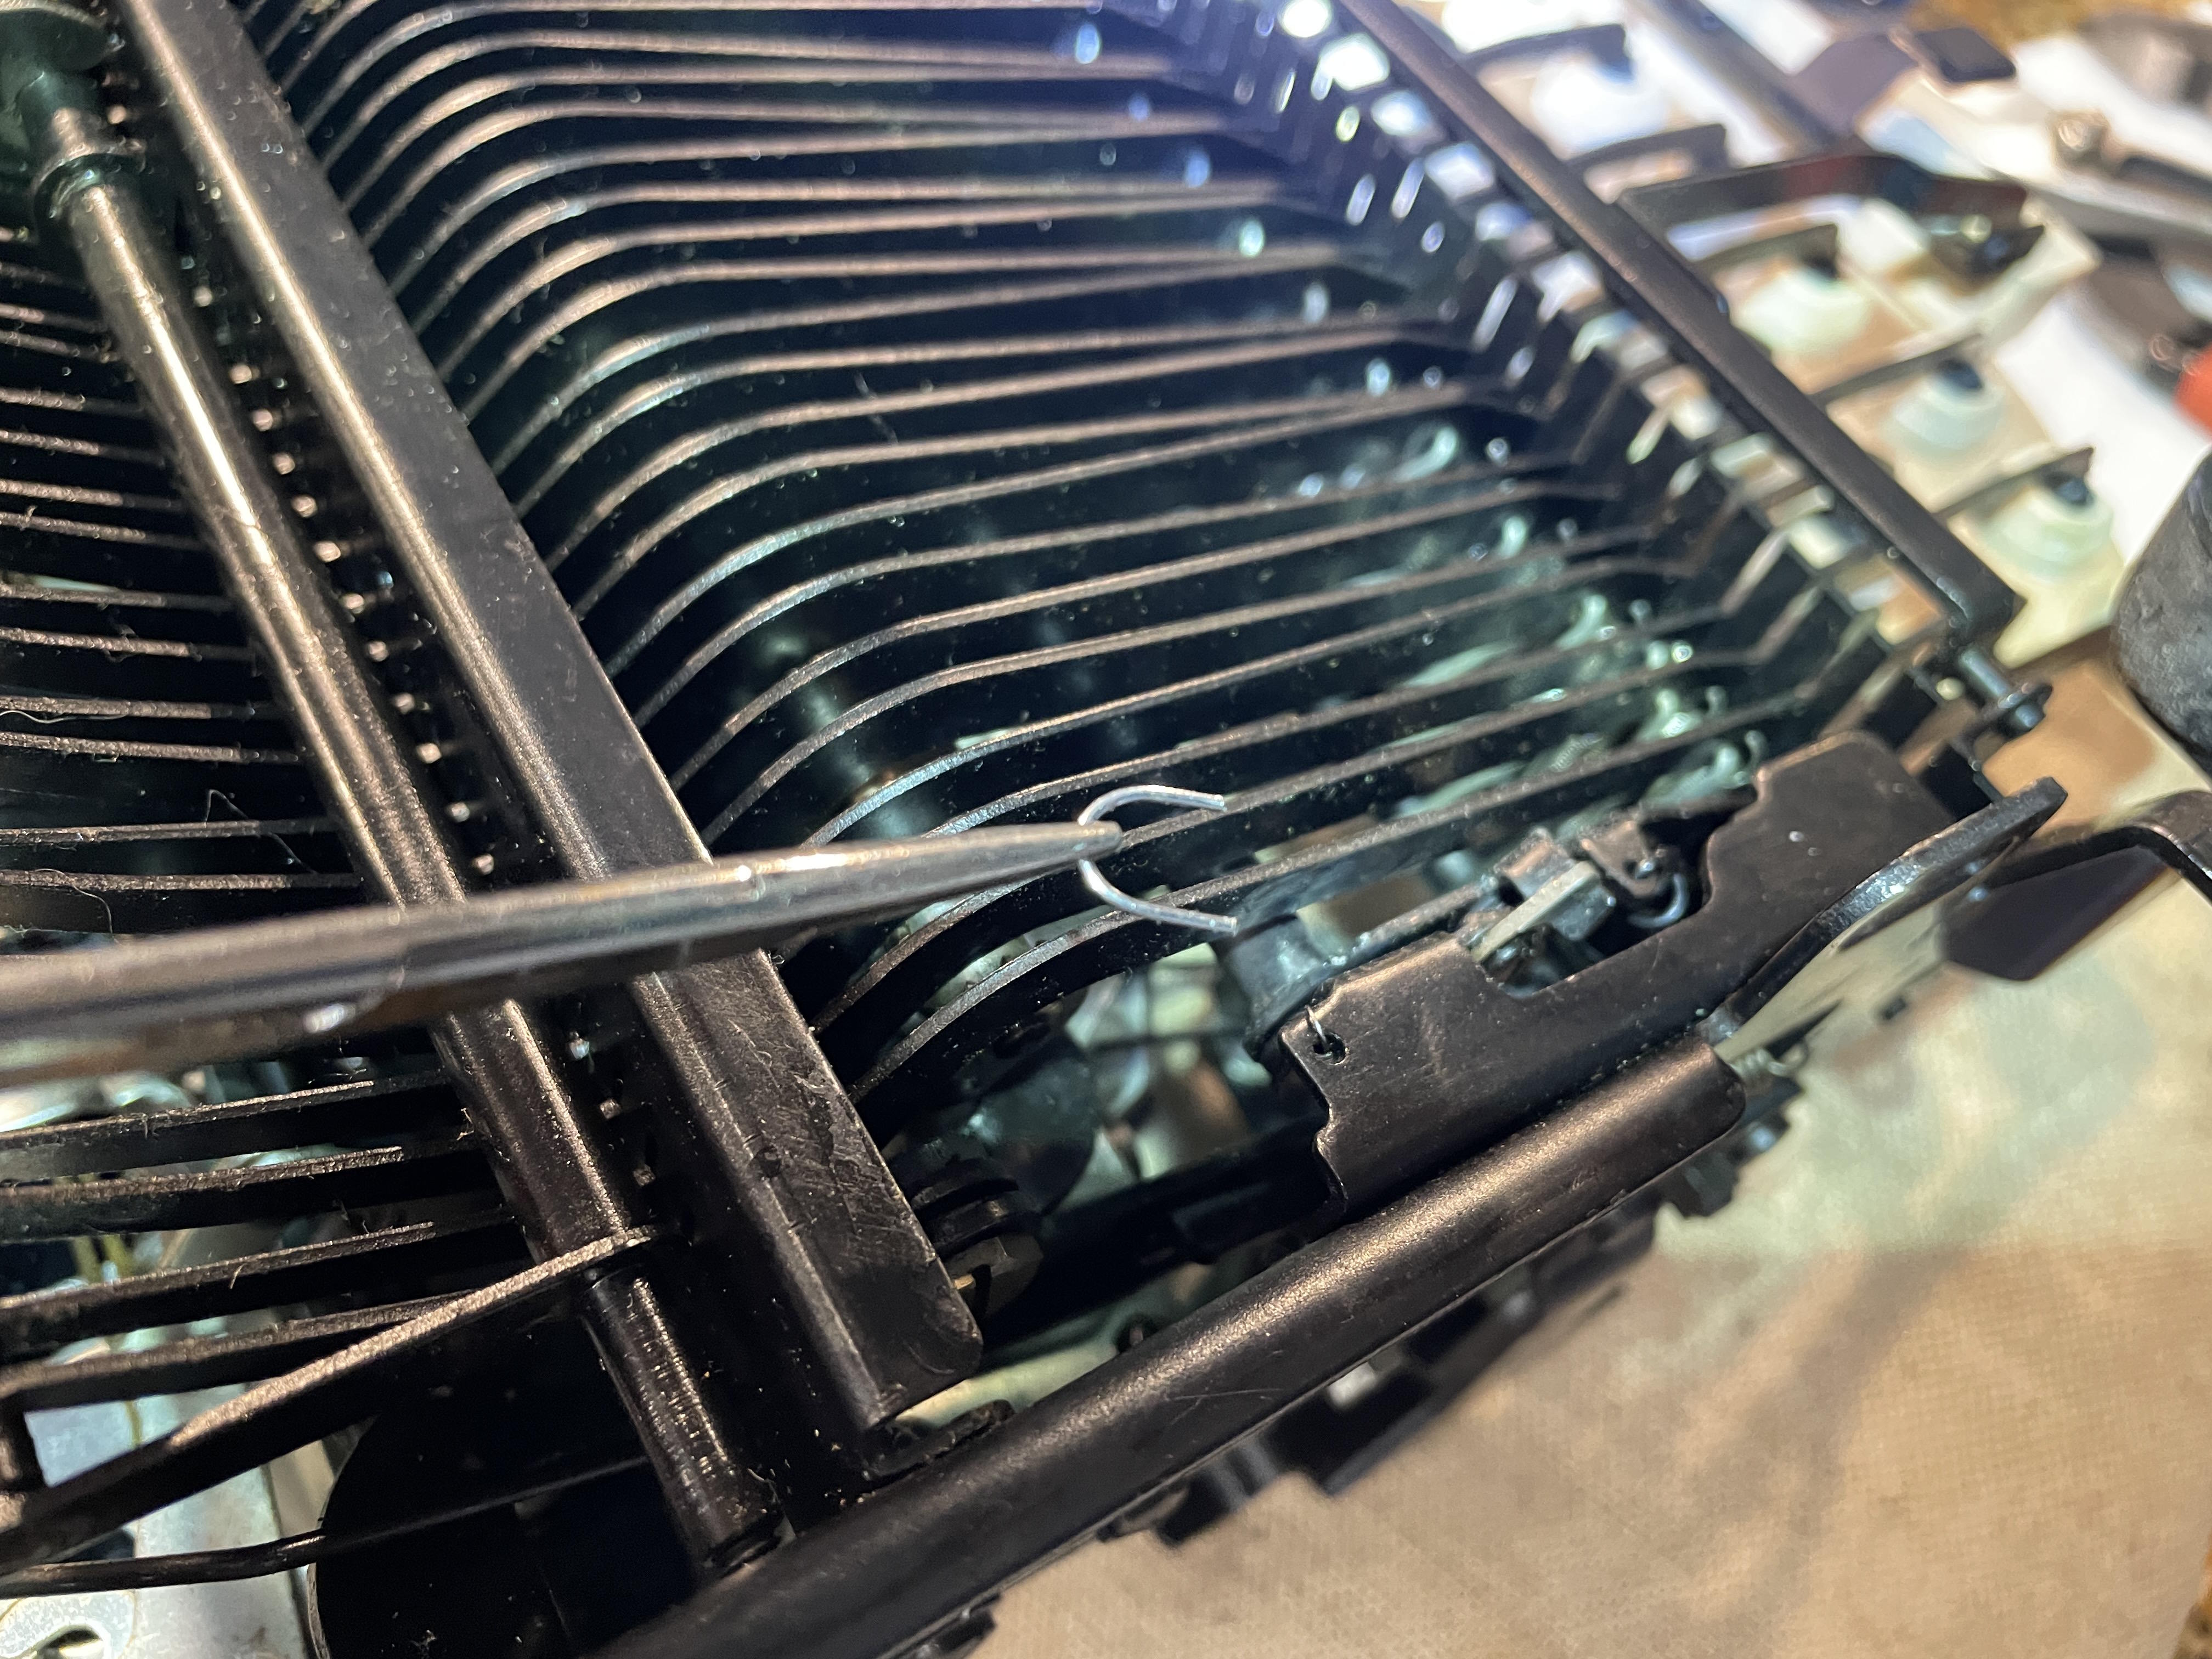
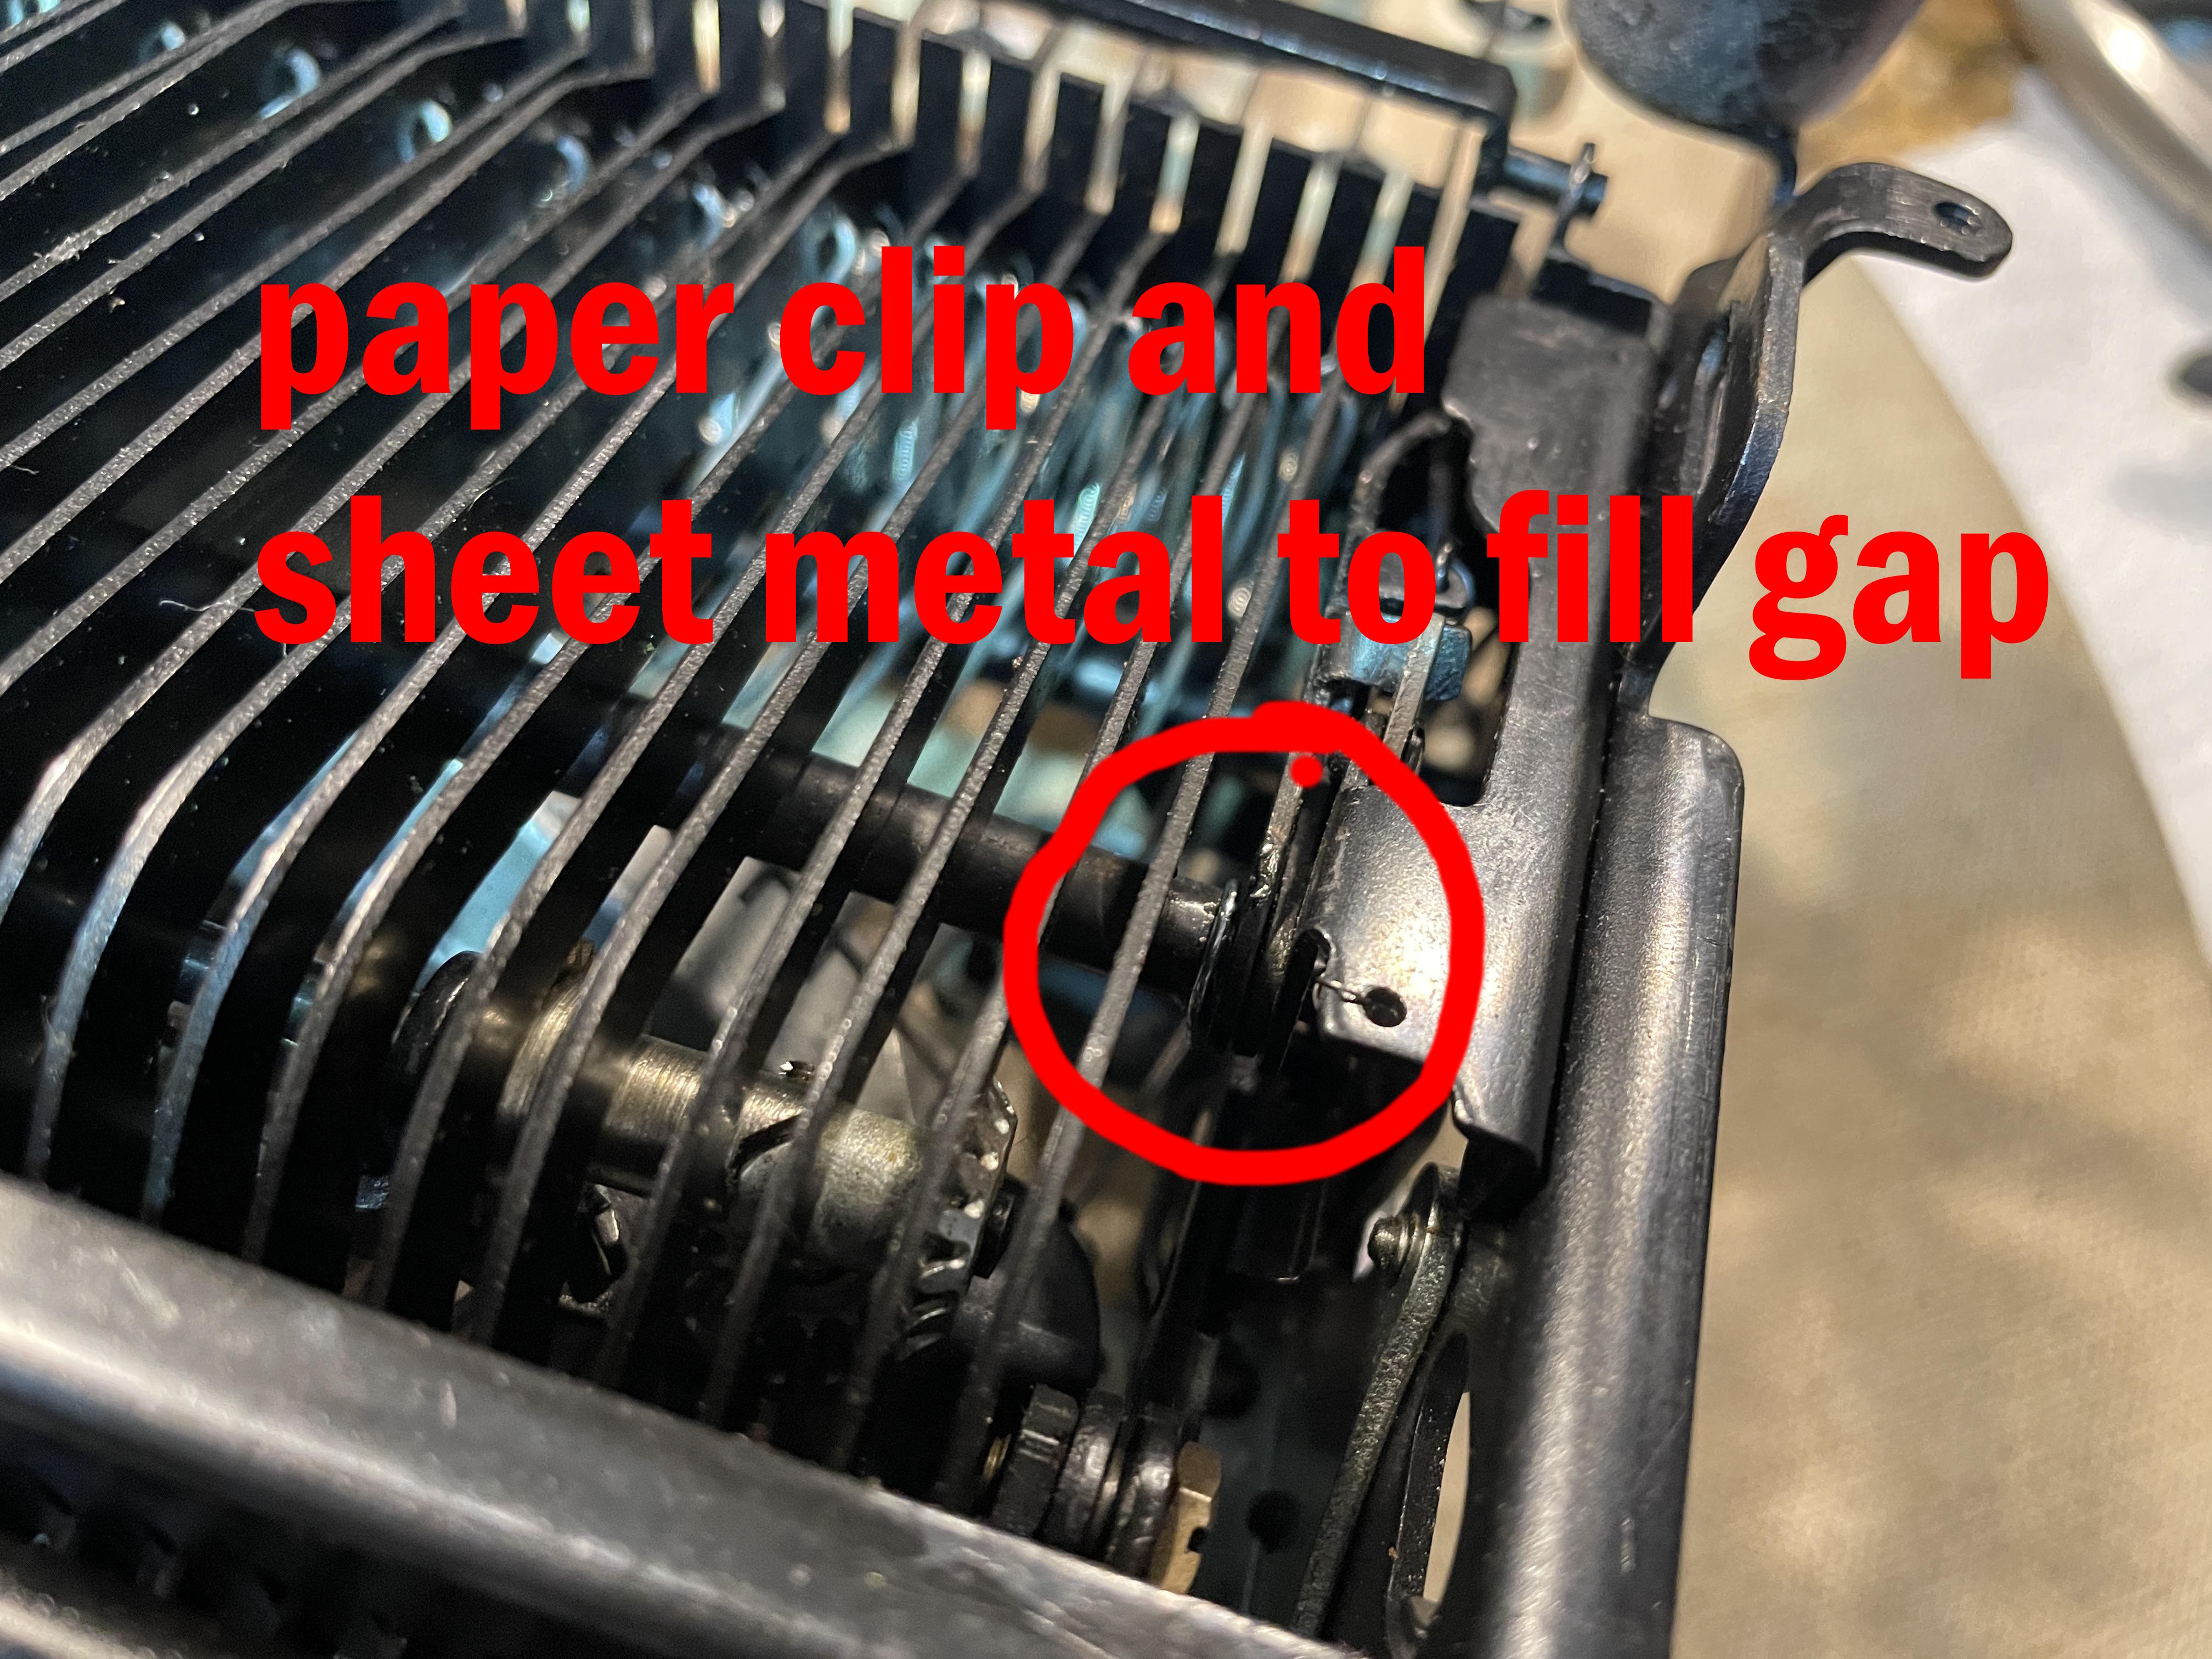
After a couple attempts, I got a very ugly, but seemingly solid weld. The left shift keys were back in business.
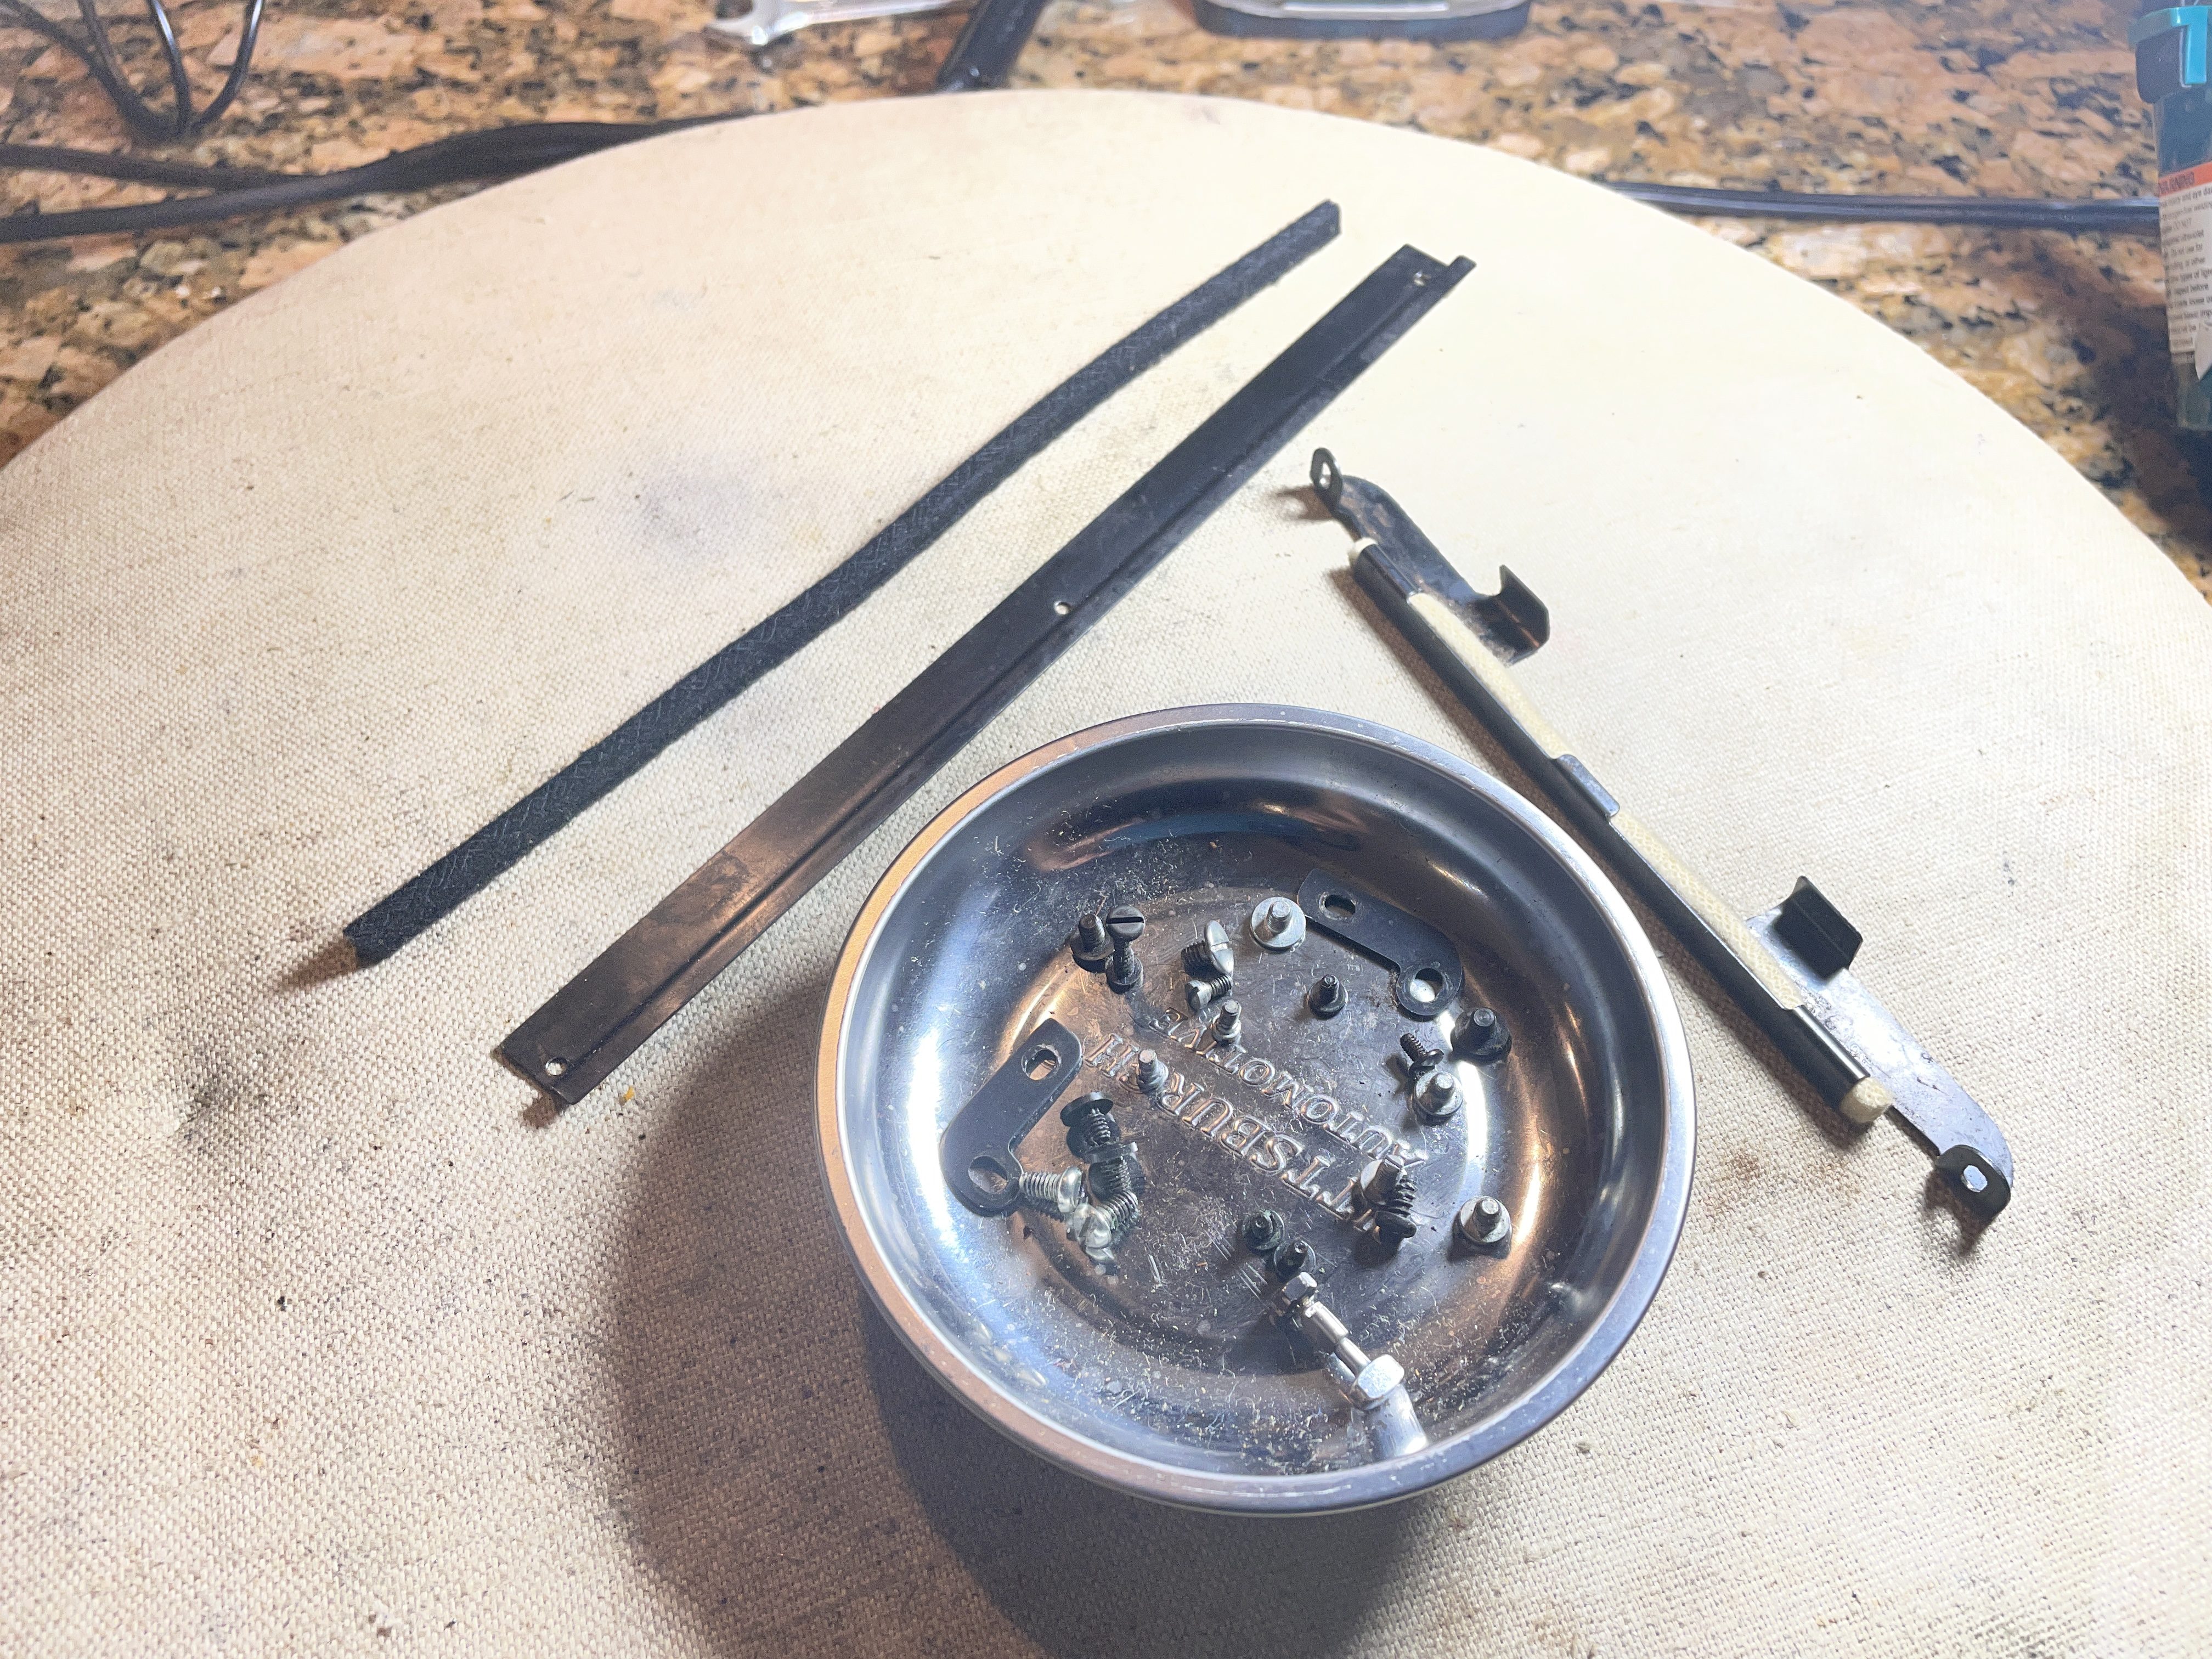
Now was the time to put the cover plates back on. I hadn’t dismantled this green QDL, so I had no disassembly photos for reference. I had a bunch of parts and a dish of screws.
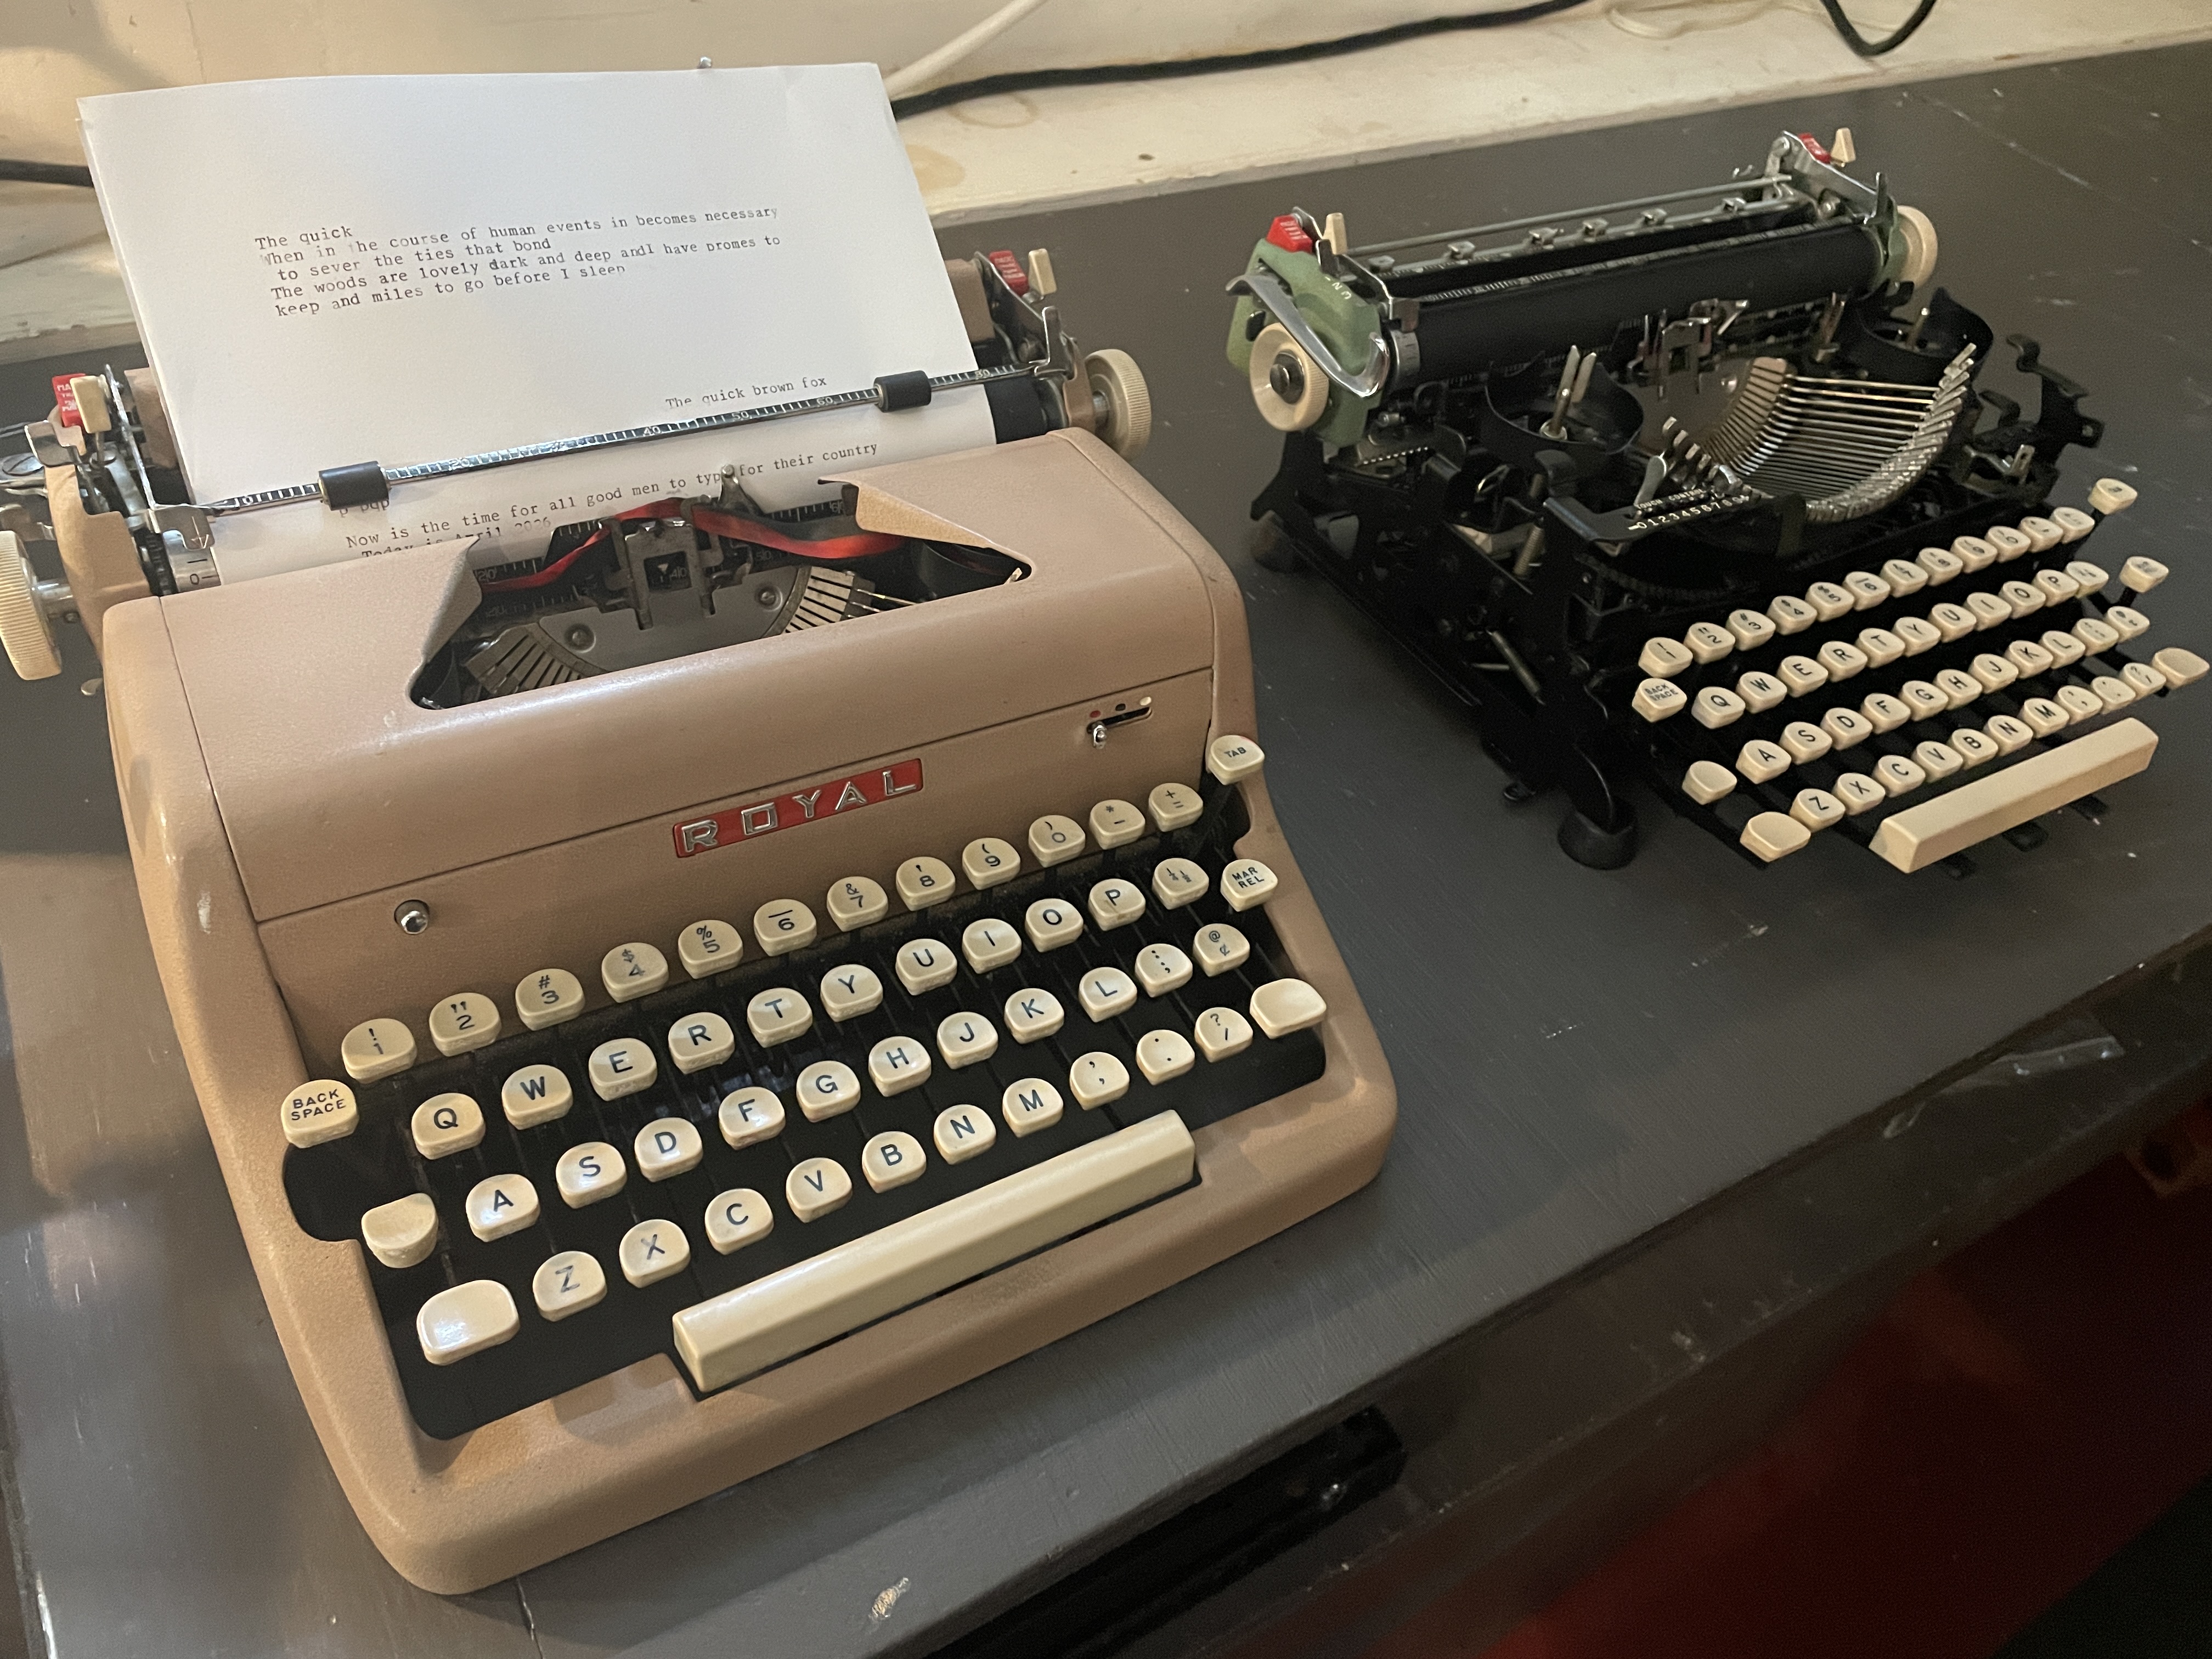
However, I did have a comparison machine, a 1957 Royal QDL named Adobe Rose East (a nod to Joe Van Cleave’s Adobe Rose)
If you are dismantling a Royal QDL of this vintage, I recommend against taking the front face plate off. It gets very hairy there in front because of the key tension mechanism. There is a long, thin piece of felt held by a long piece of metal that you’ll need to hold in place while you get the front screws in. I used pointy channel locks to hold the tensioning mechanism together while I got the teeny screws in.
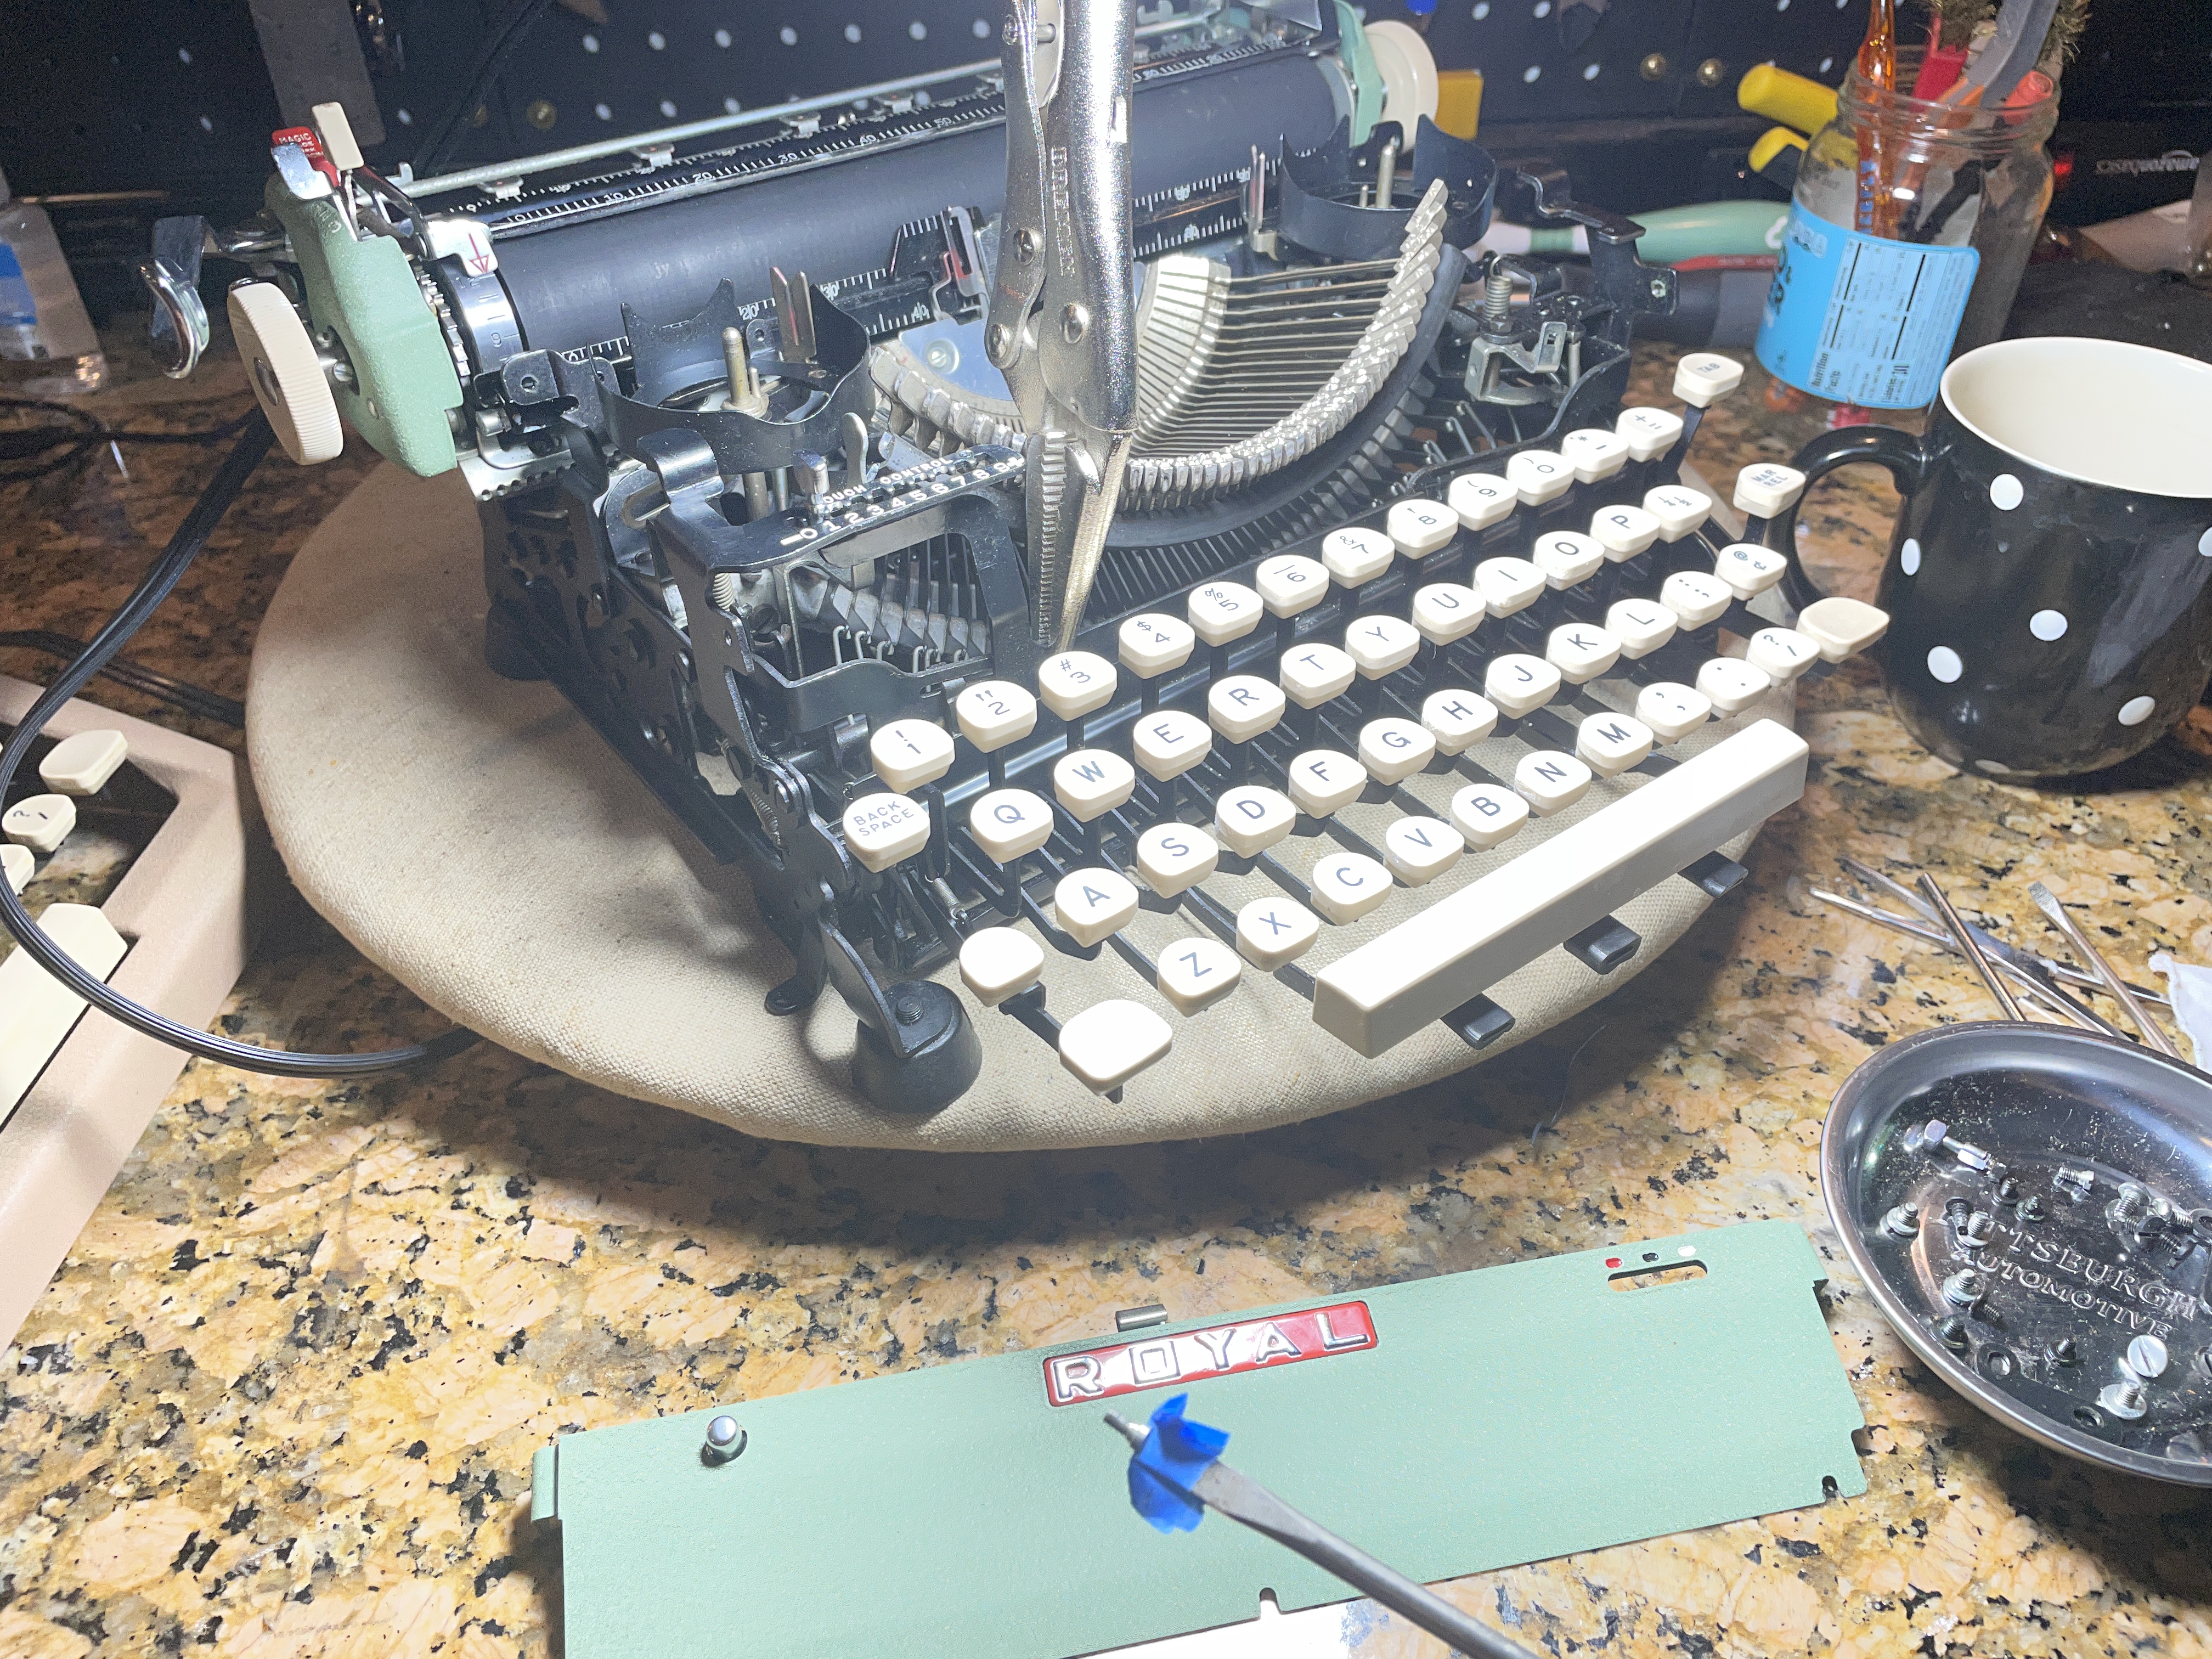
I was putting the back cover plate on when I noticed a piece of tape and a little part attached to it. Busted!
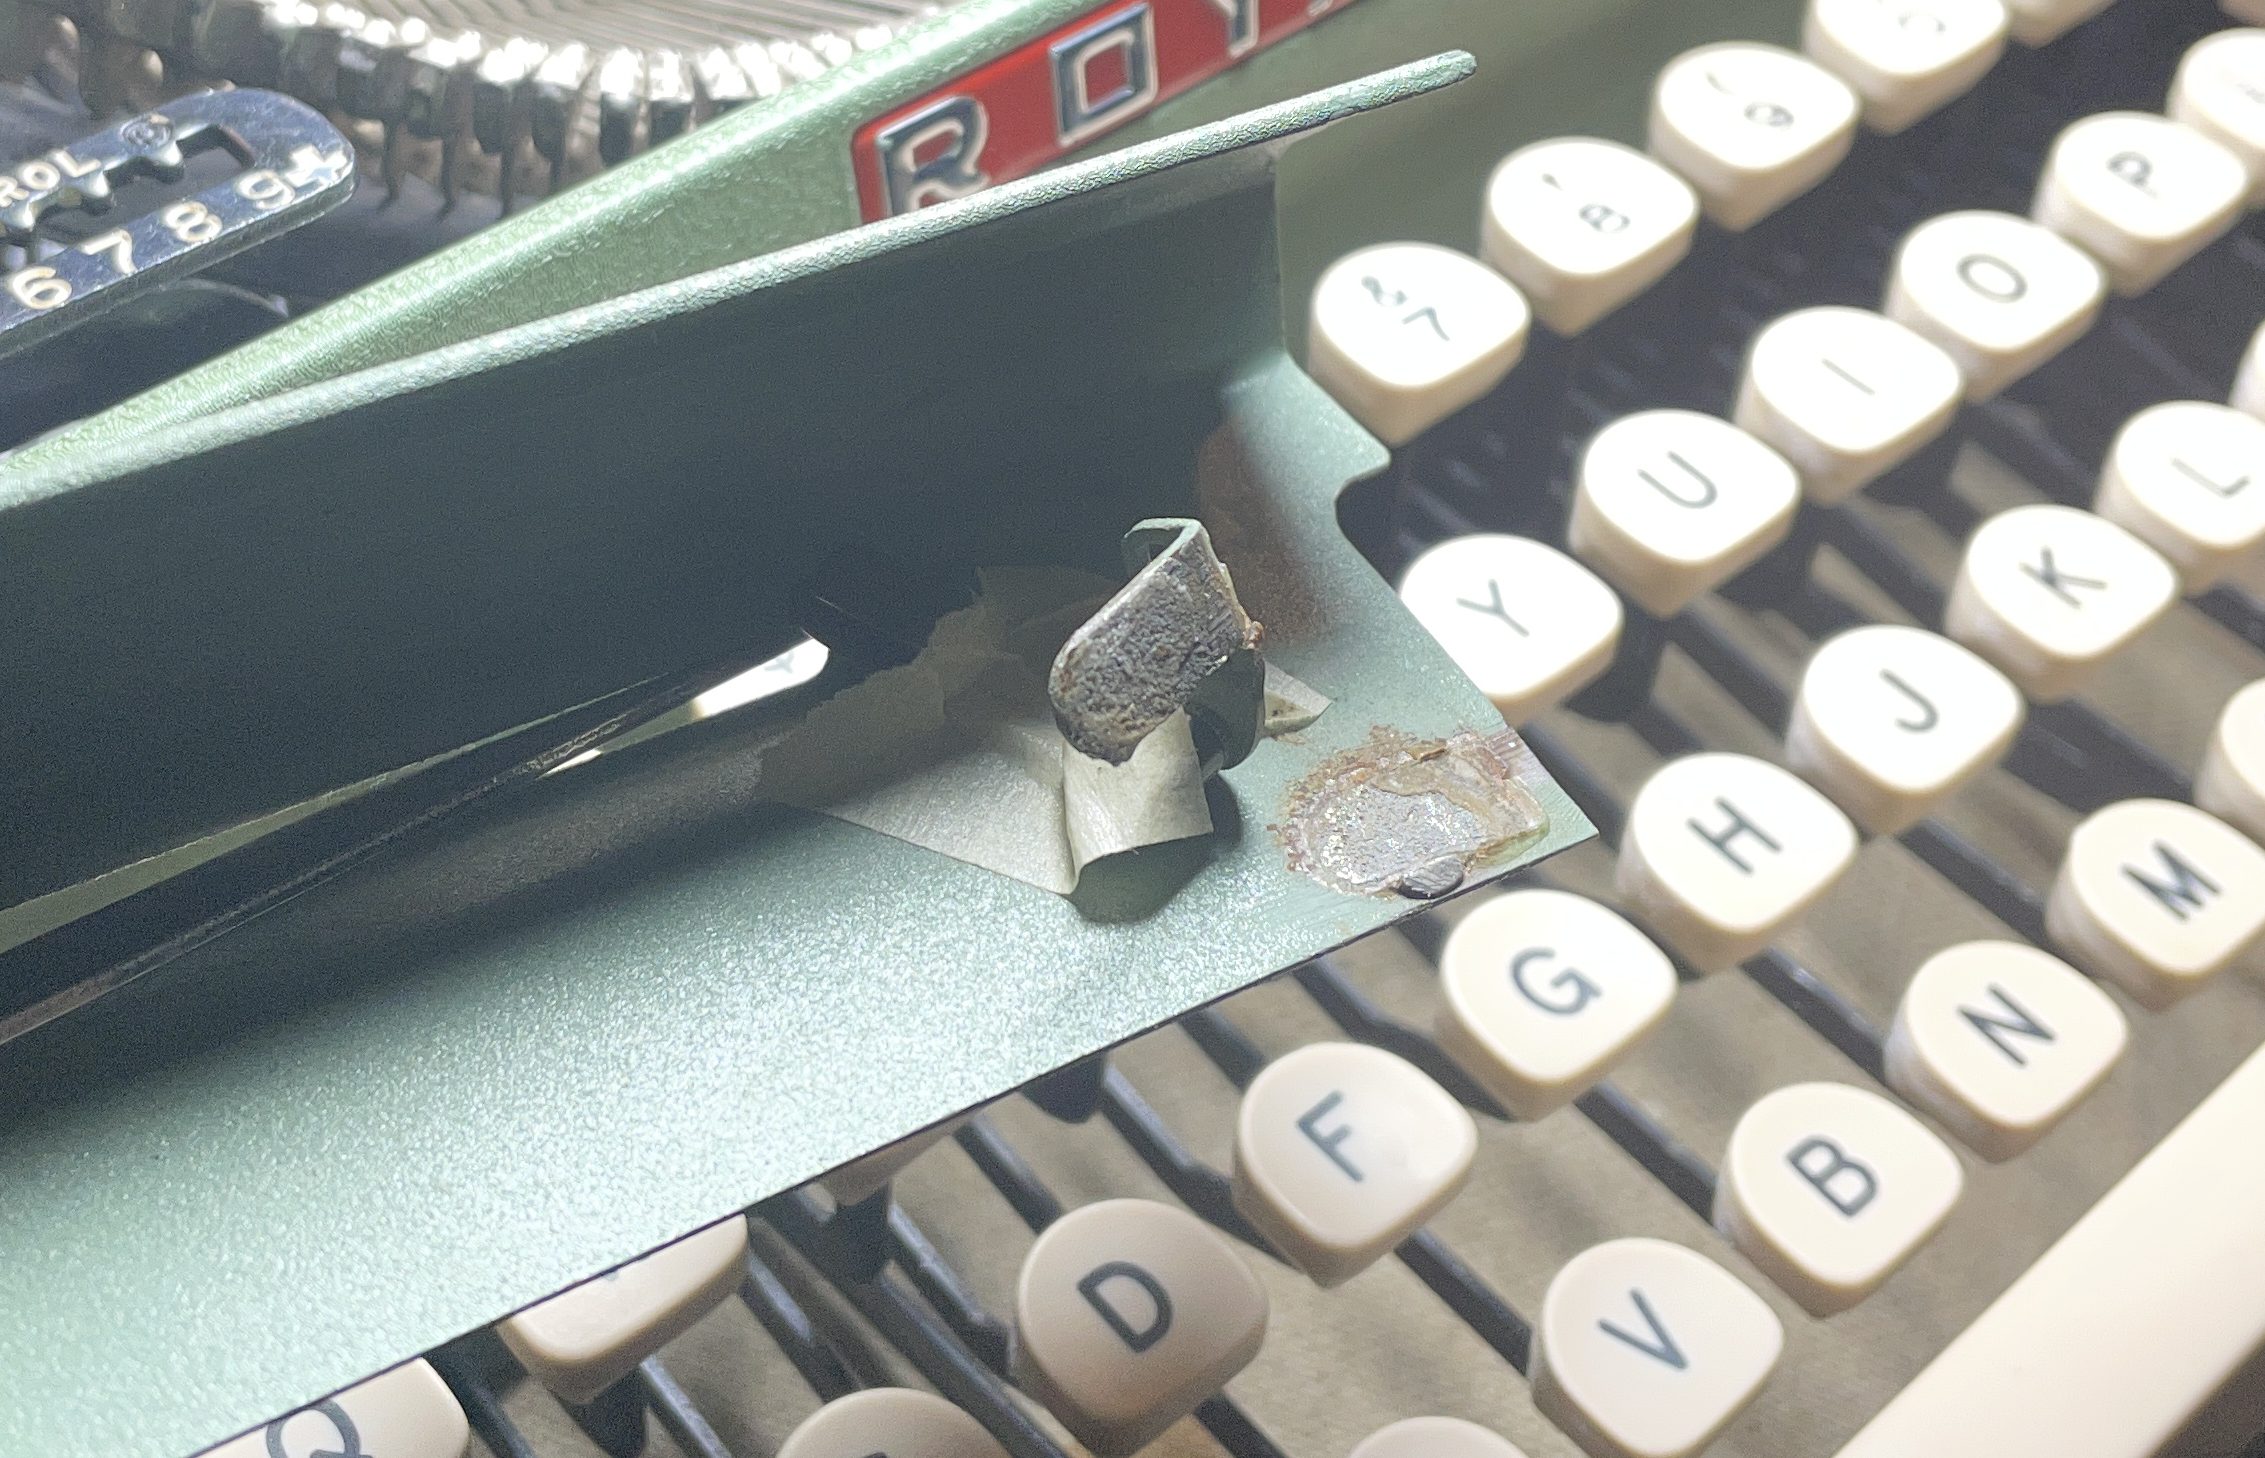
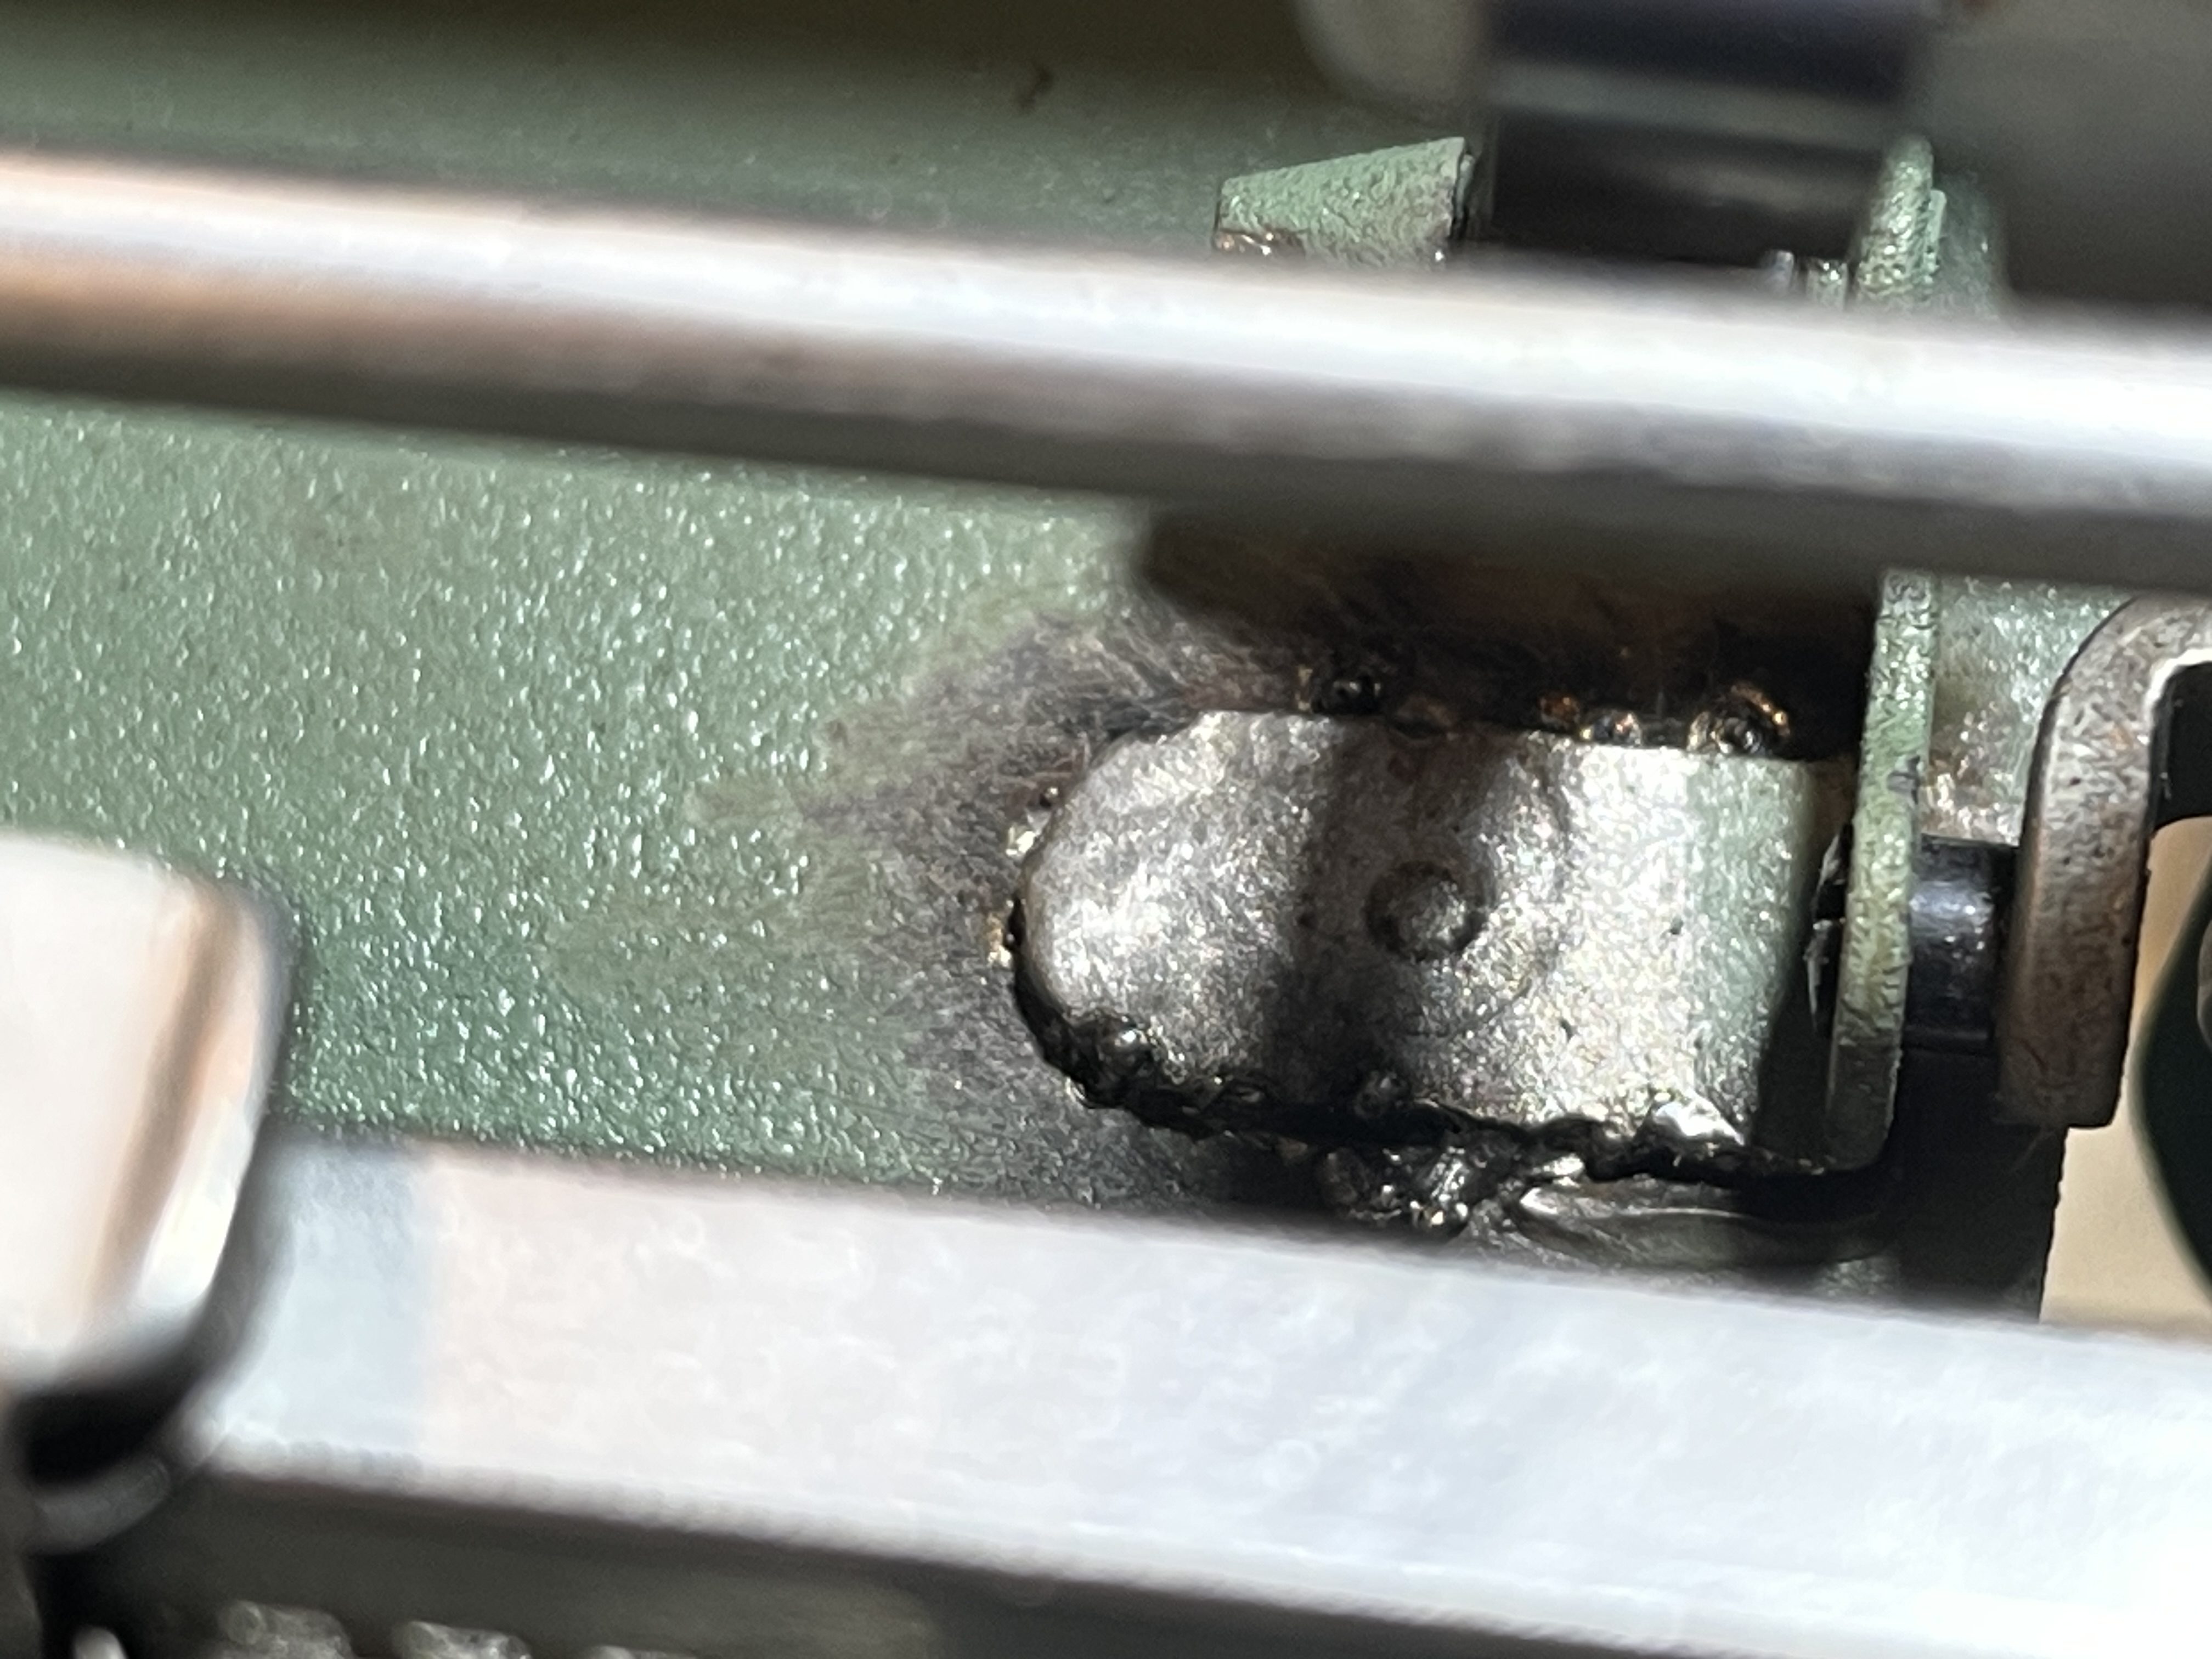
Well, another chance to try out my mini welder. Looks sketchy but it’s solid.
Back to assembly. You get the main body cover plate on by setting your margins way out and snaking the shell around the extended carriage.
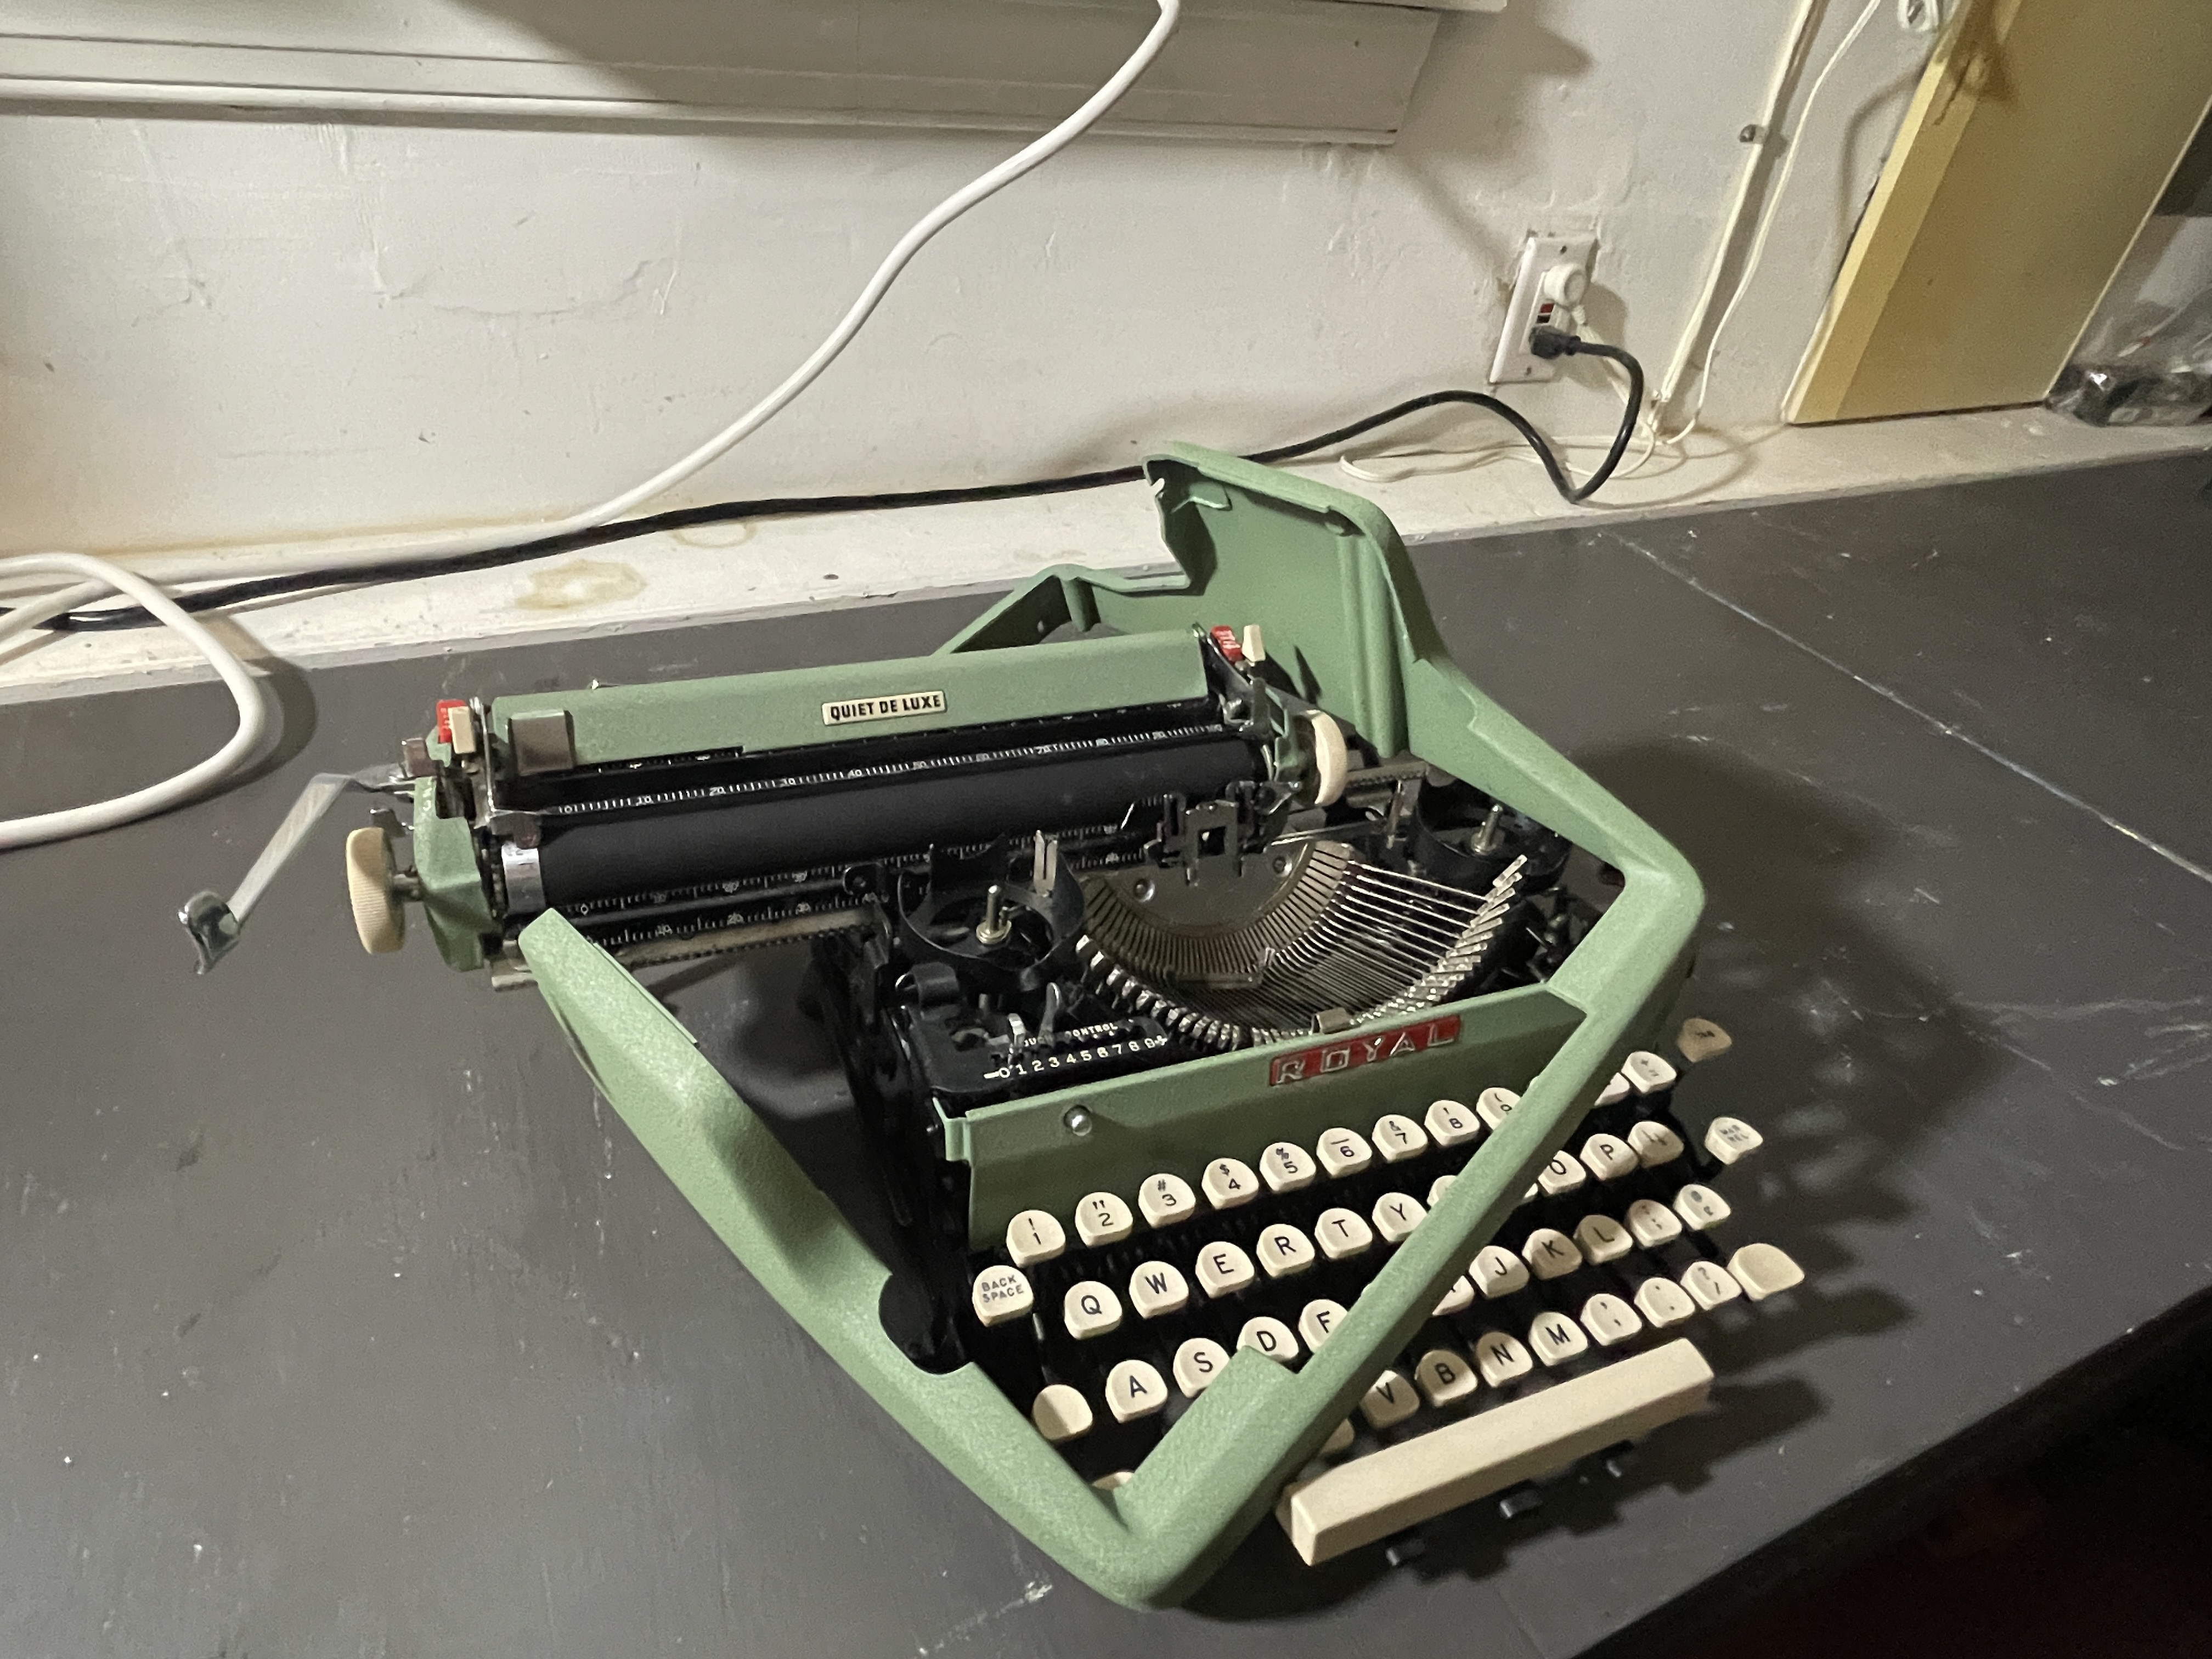
I eventually got all the cover plates back on and successfully emptied my bowl of screws.
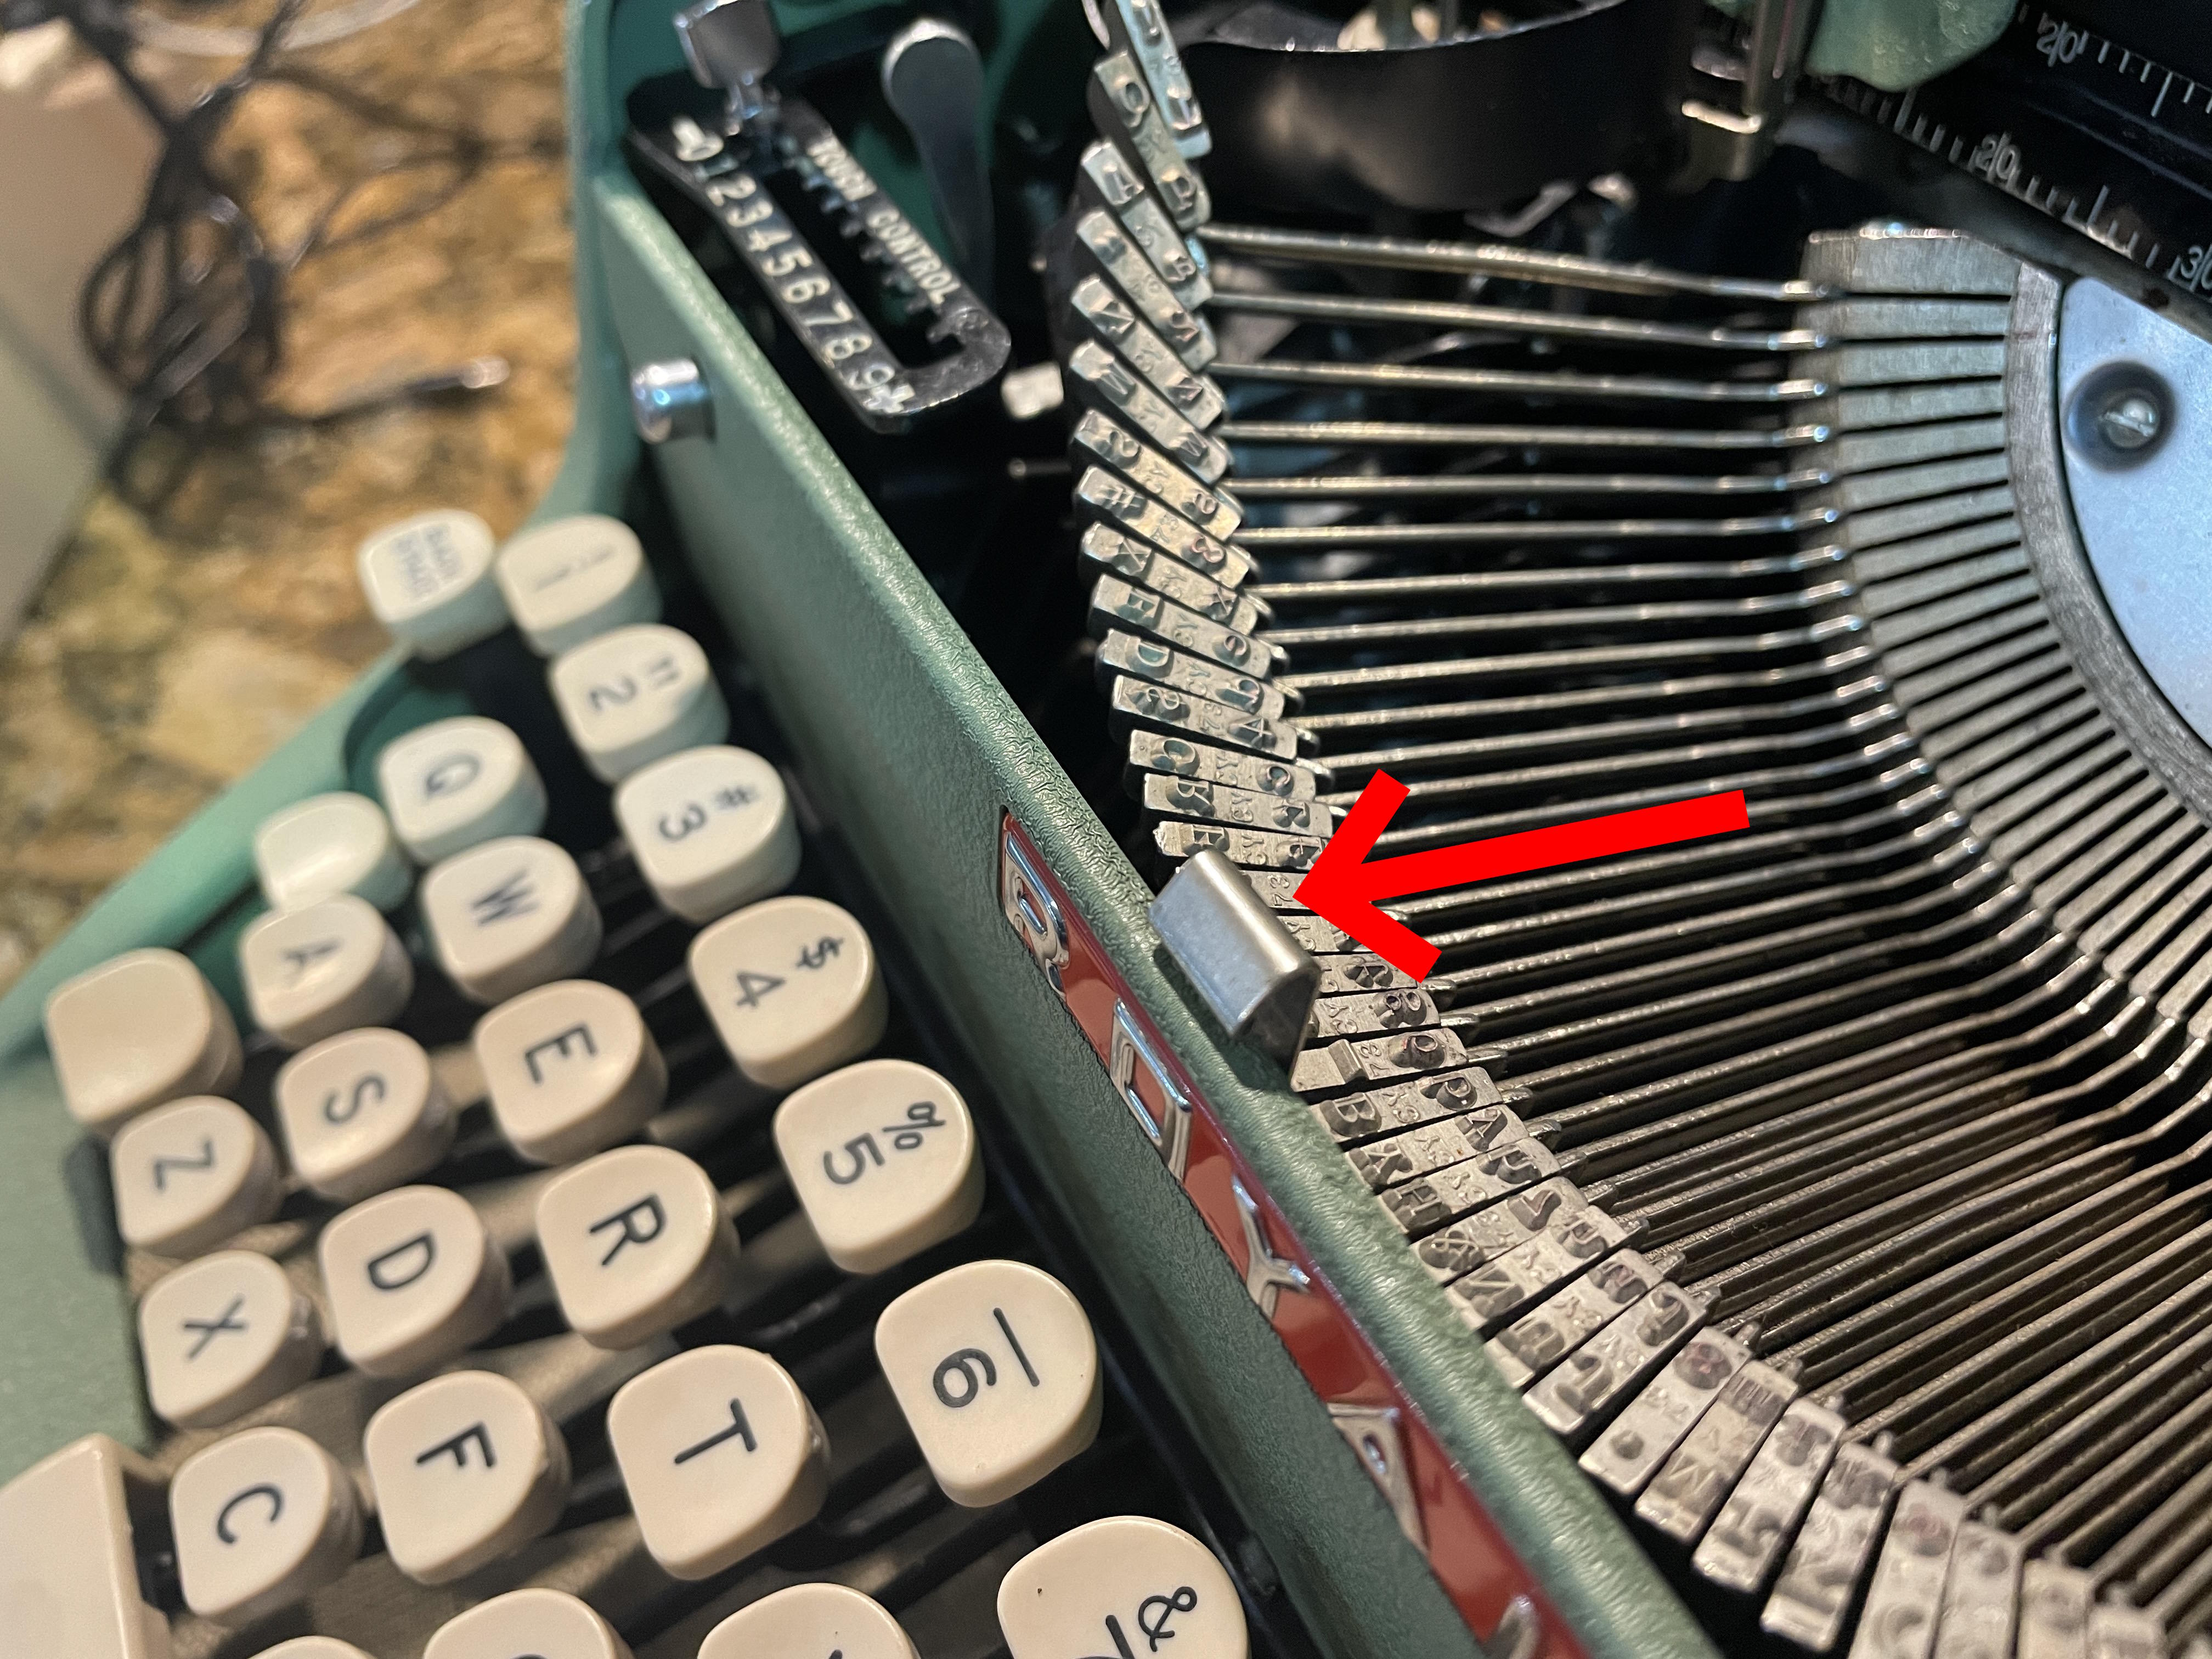
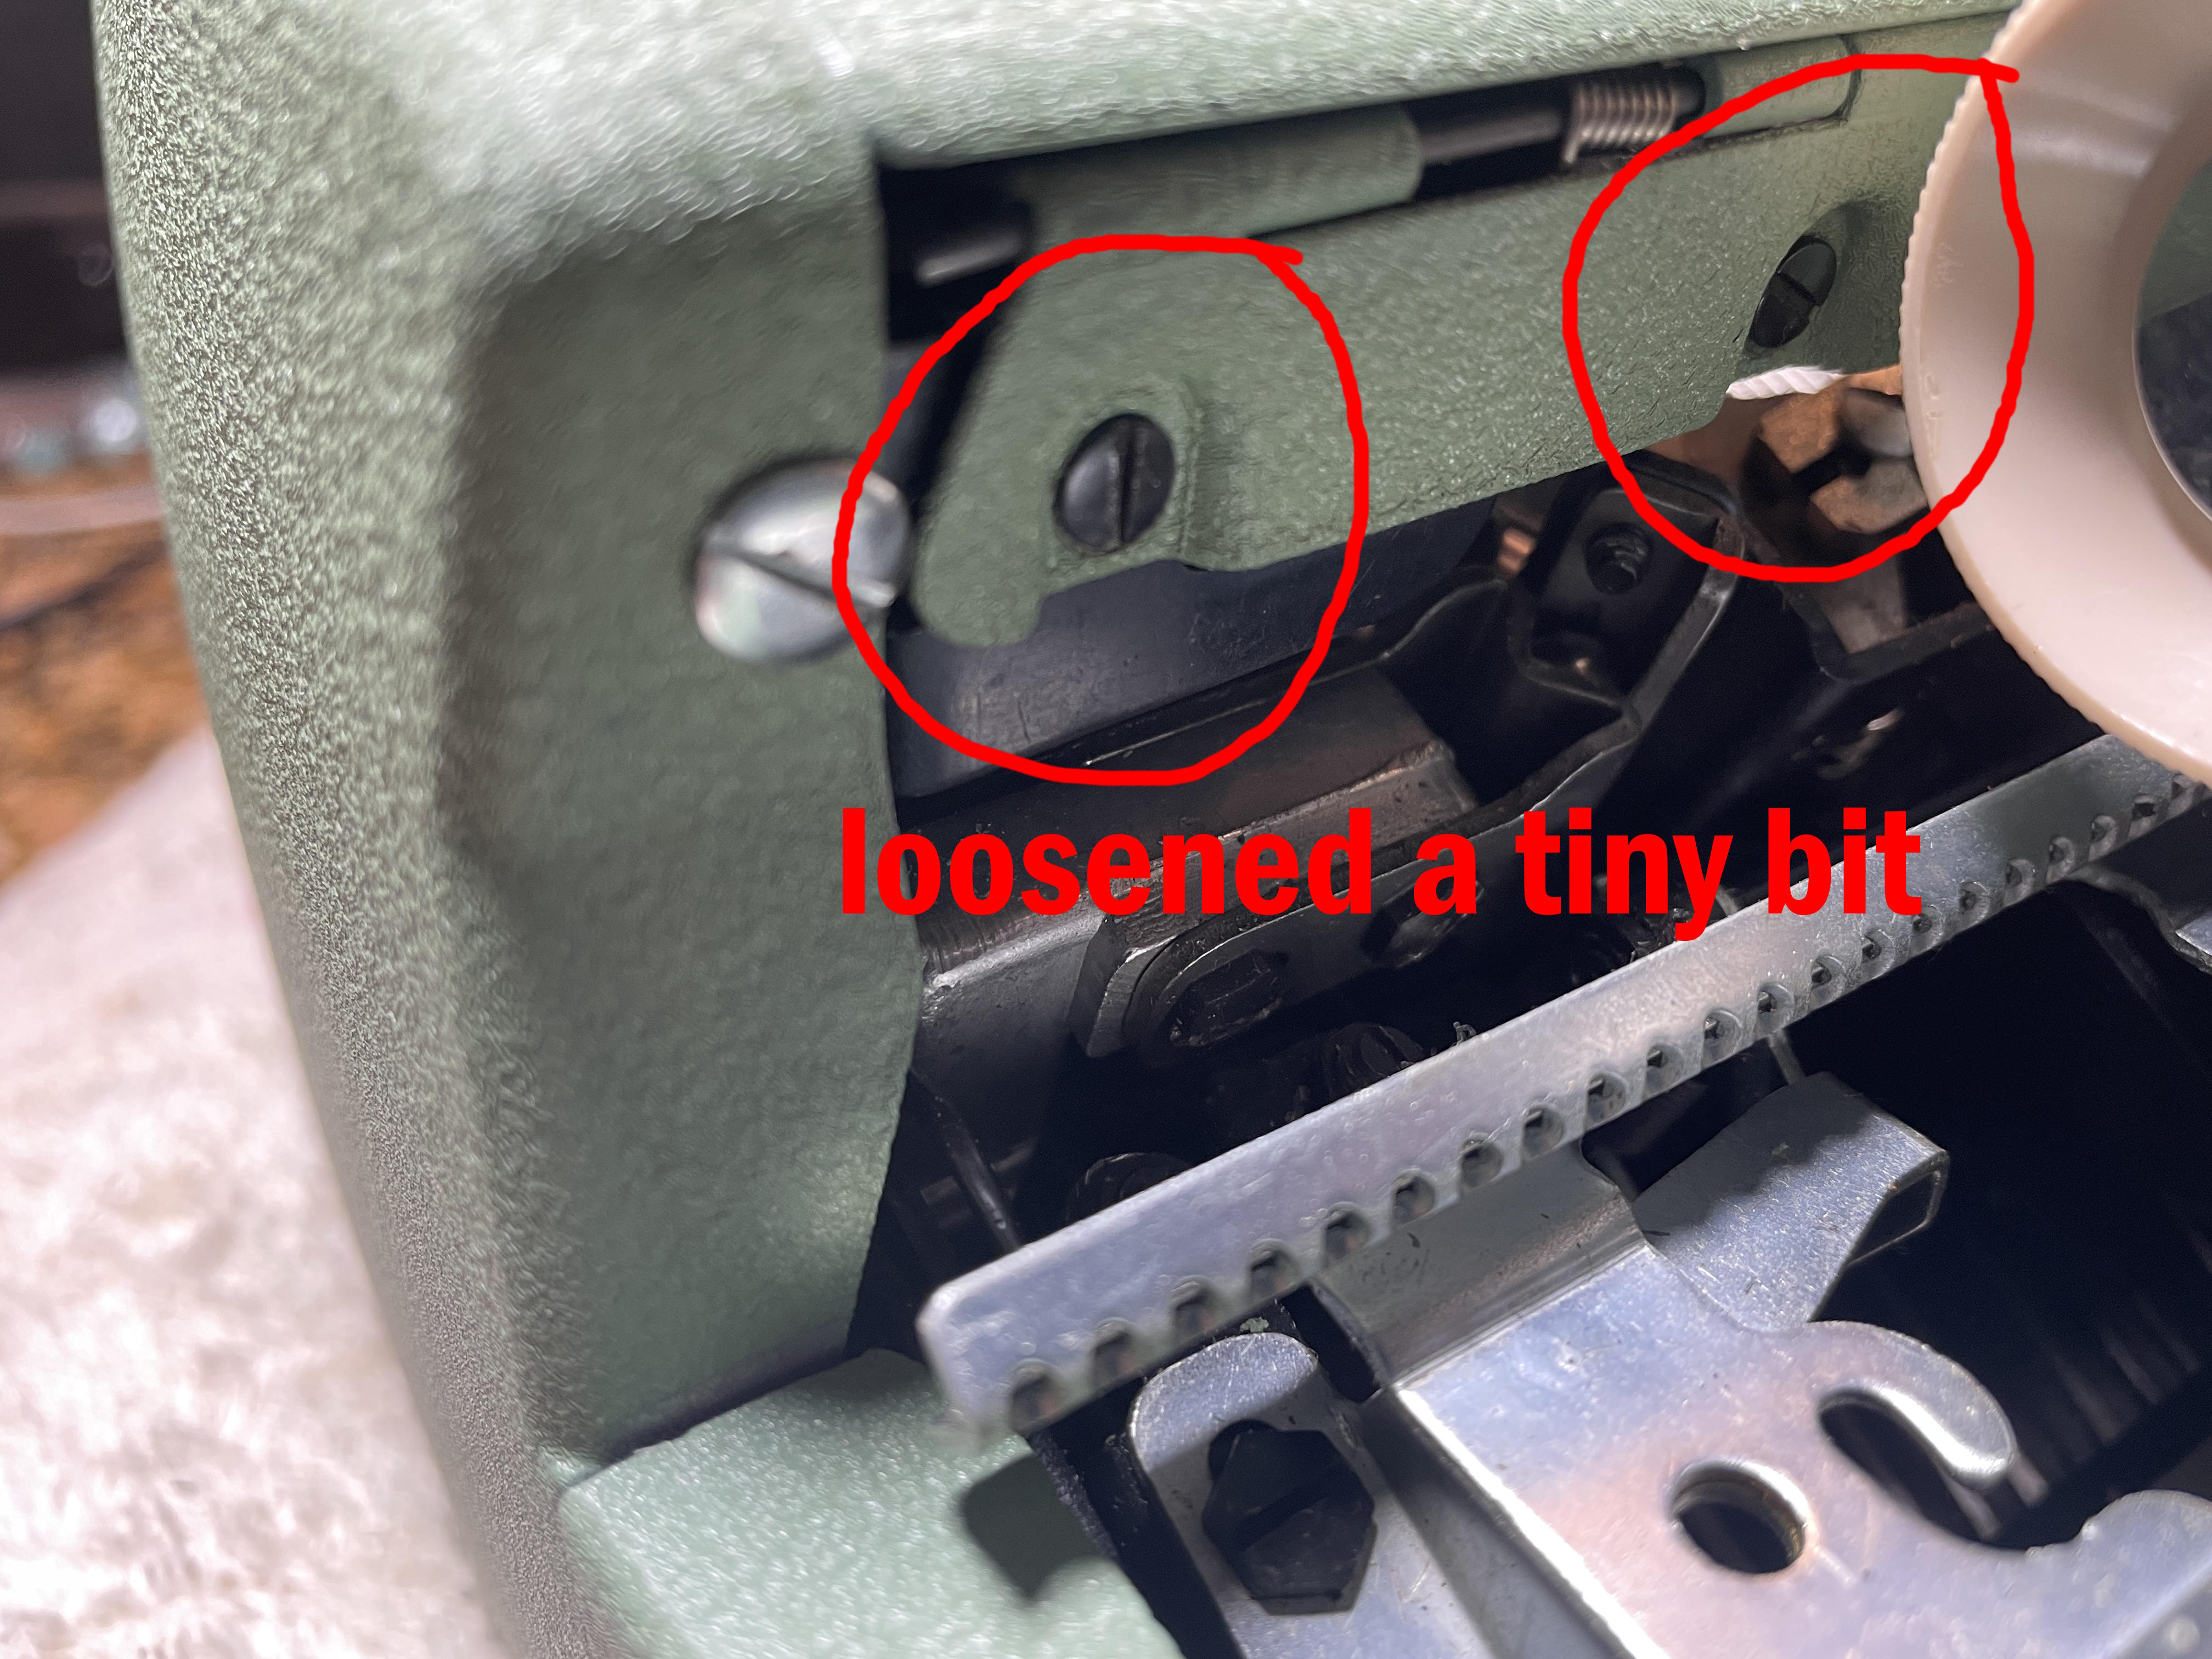
Royal QDL Lid Pop Open Problem
The lid latch was weak and was popping open with typing. I formed the latch forward to get it to catch more securely. I also loosened the hinge screws a tad, and that seemed to fix the pop-open-lid problem:
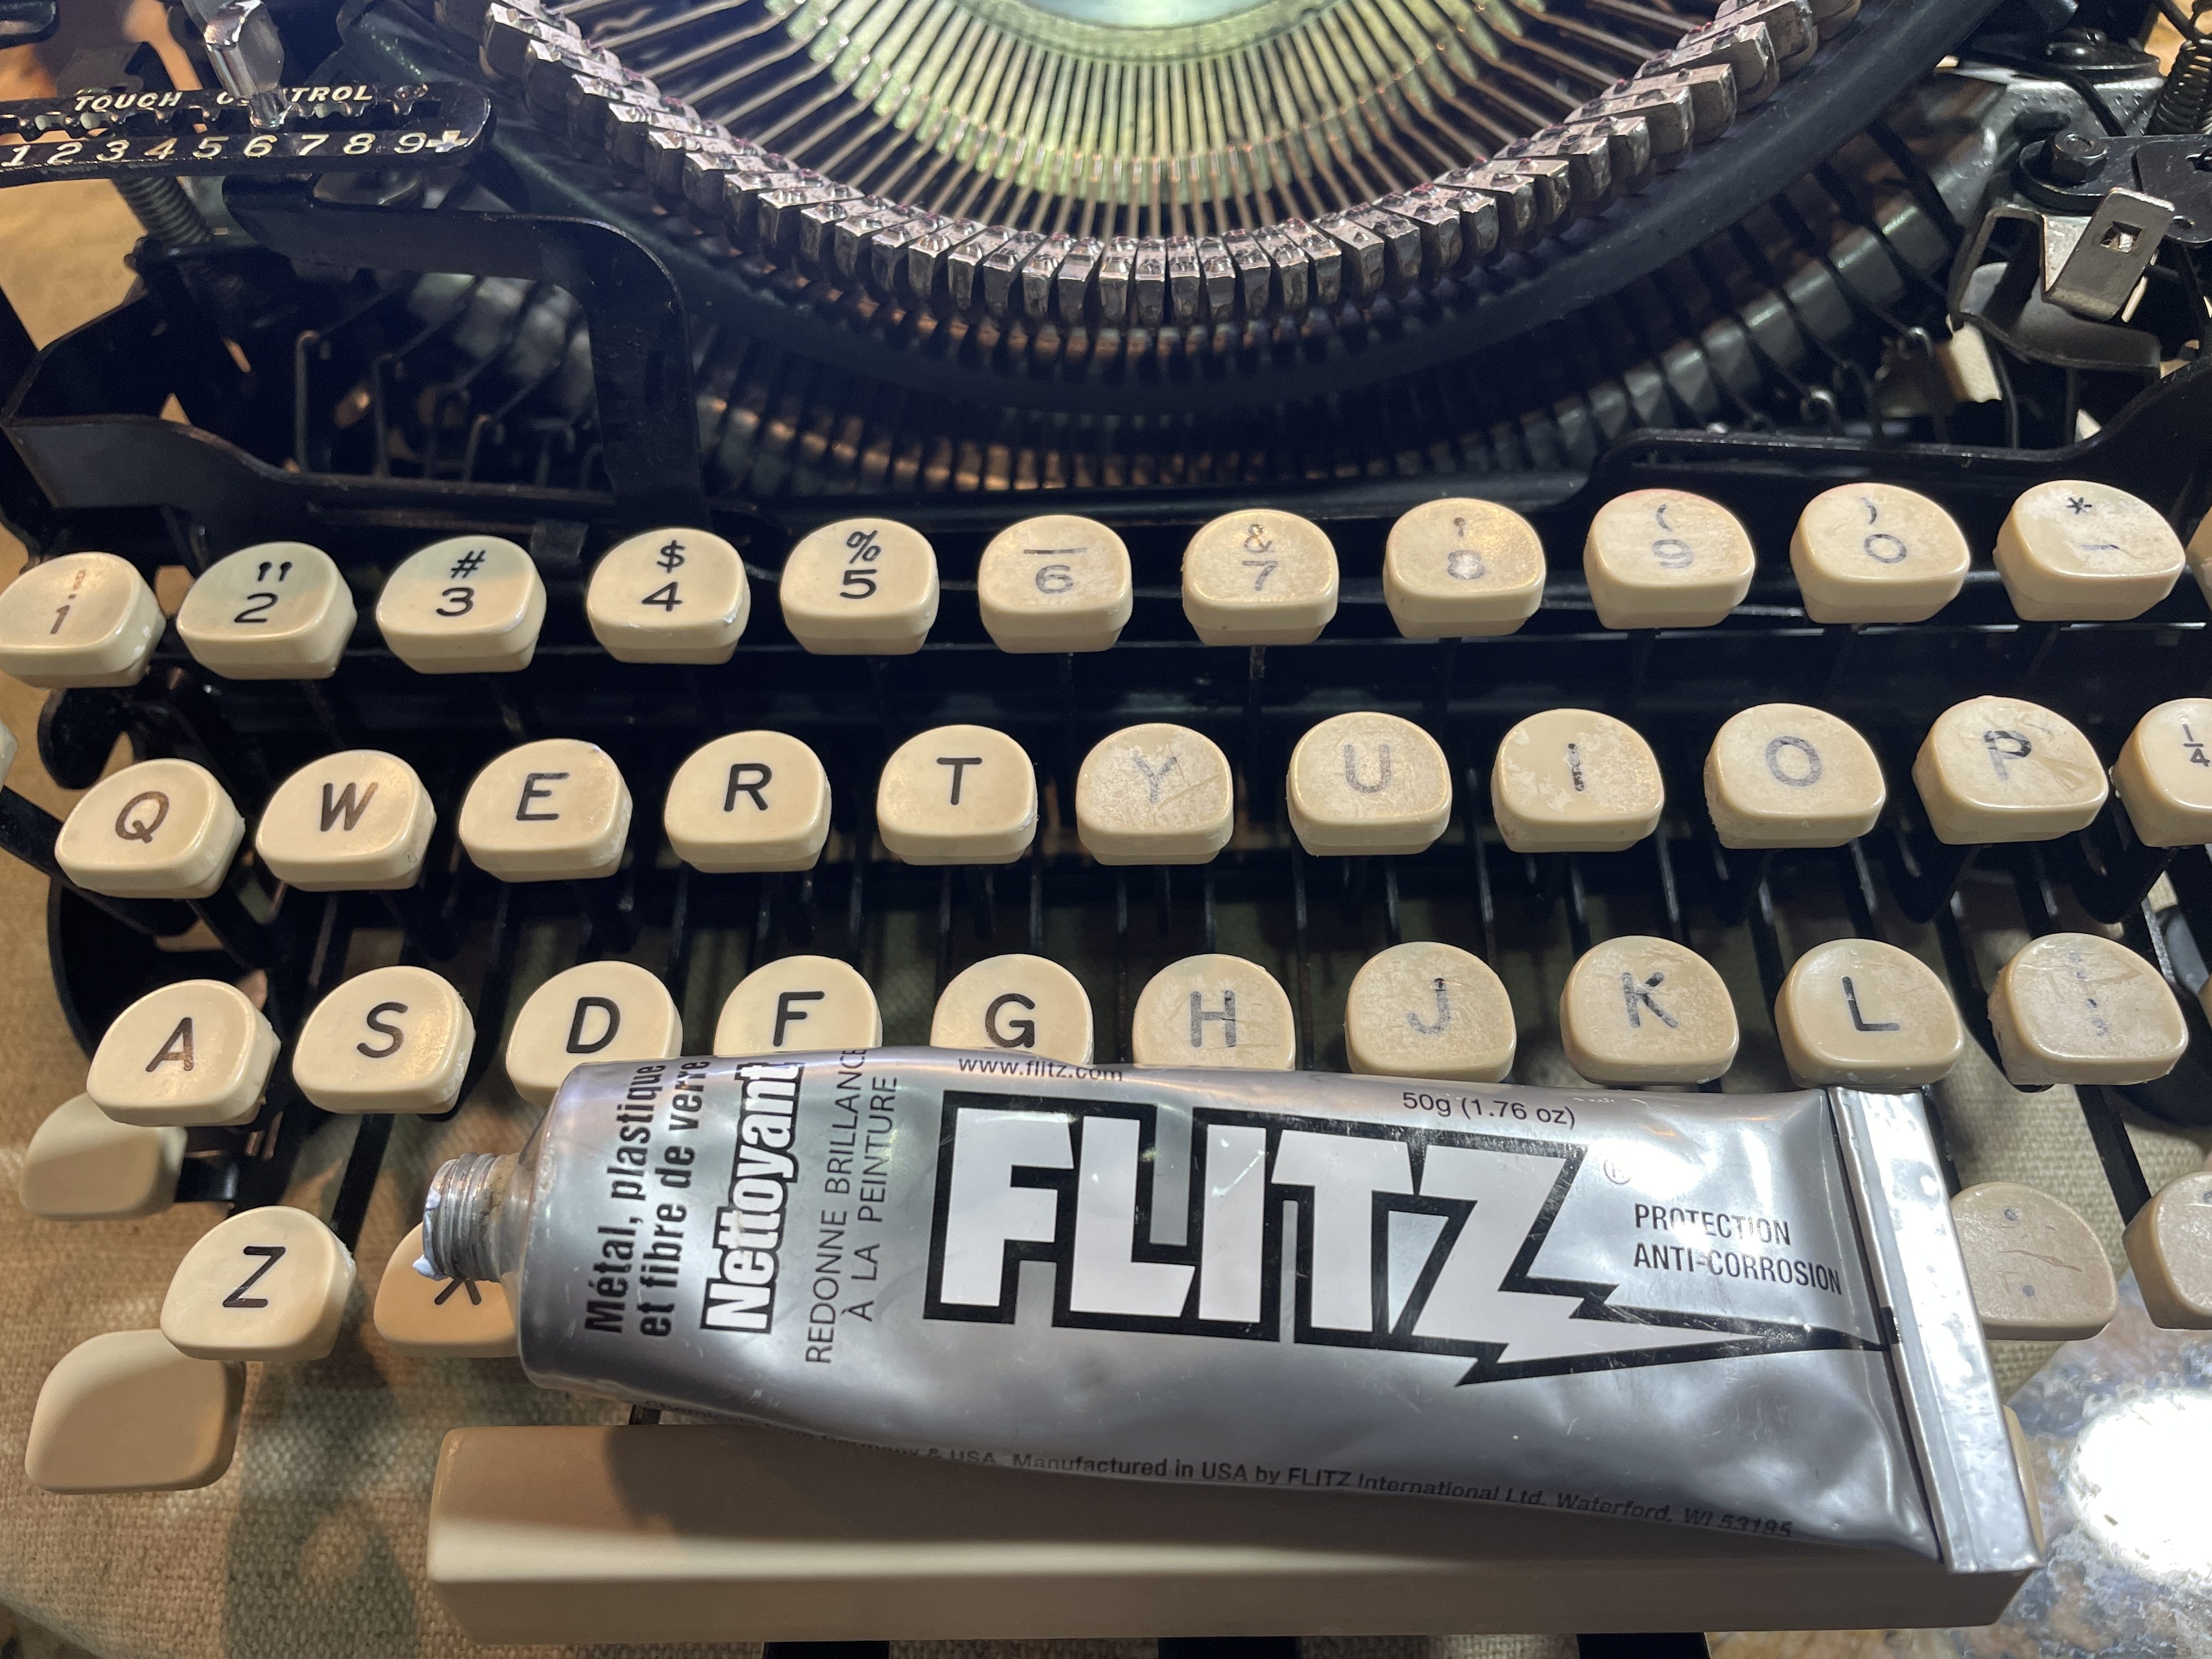
The plastic keys had a whitish haze you see on typewriters of this era. It’s not mold, it’s from plastic degradation. In the past, I have successfully cleaned that stuff off with Goo Gone adhesive remover or Simple Green. This time, I polished them with some Flitz metal and plastic polish that was near at hand, and they polished up nicely. I’ve heard of people using a hair dryer to good effect as well.
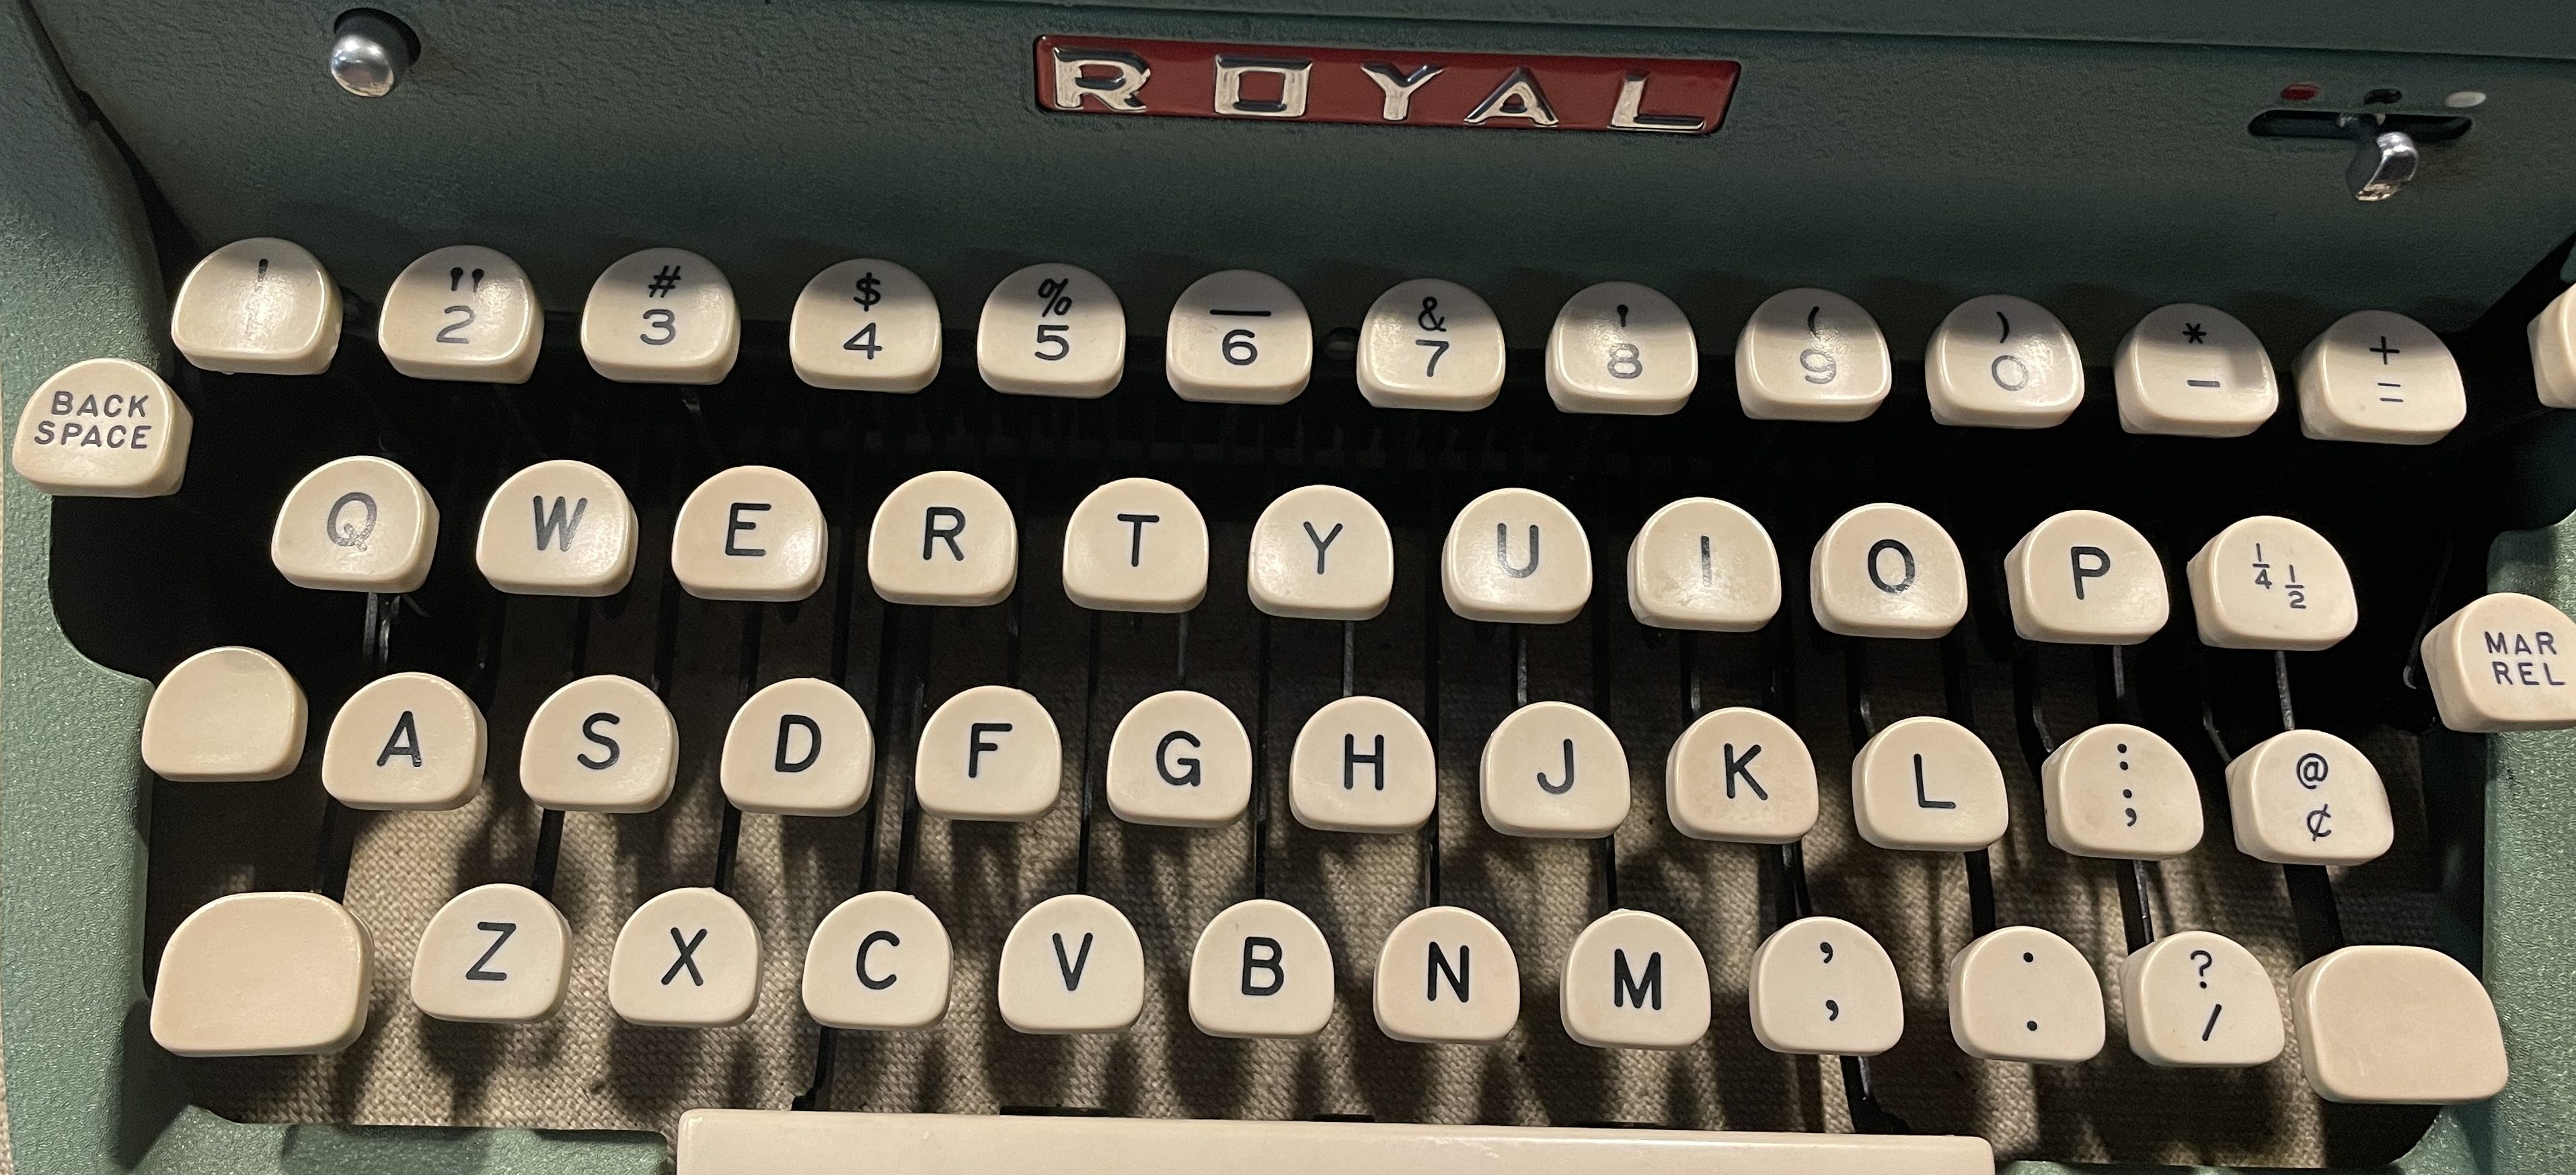
This QDL’s keyboard is Gorton-esque.
Side note: this keyboard brings to mind an article I read recently about Gorton, a typeface that is everywhere that people don’t see. The article is a loooong read, but full of fun tidbits. Makes me want to get a Max Cadliner.
I took out the recently repaired QDL and wrote a long letter to a correspondent. Just as I was signing off, the shift broke. AAAAAAAAGH. My anguished cry echoed through the canyons of Arlington.
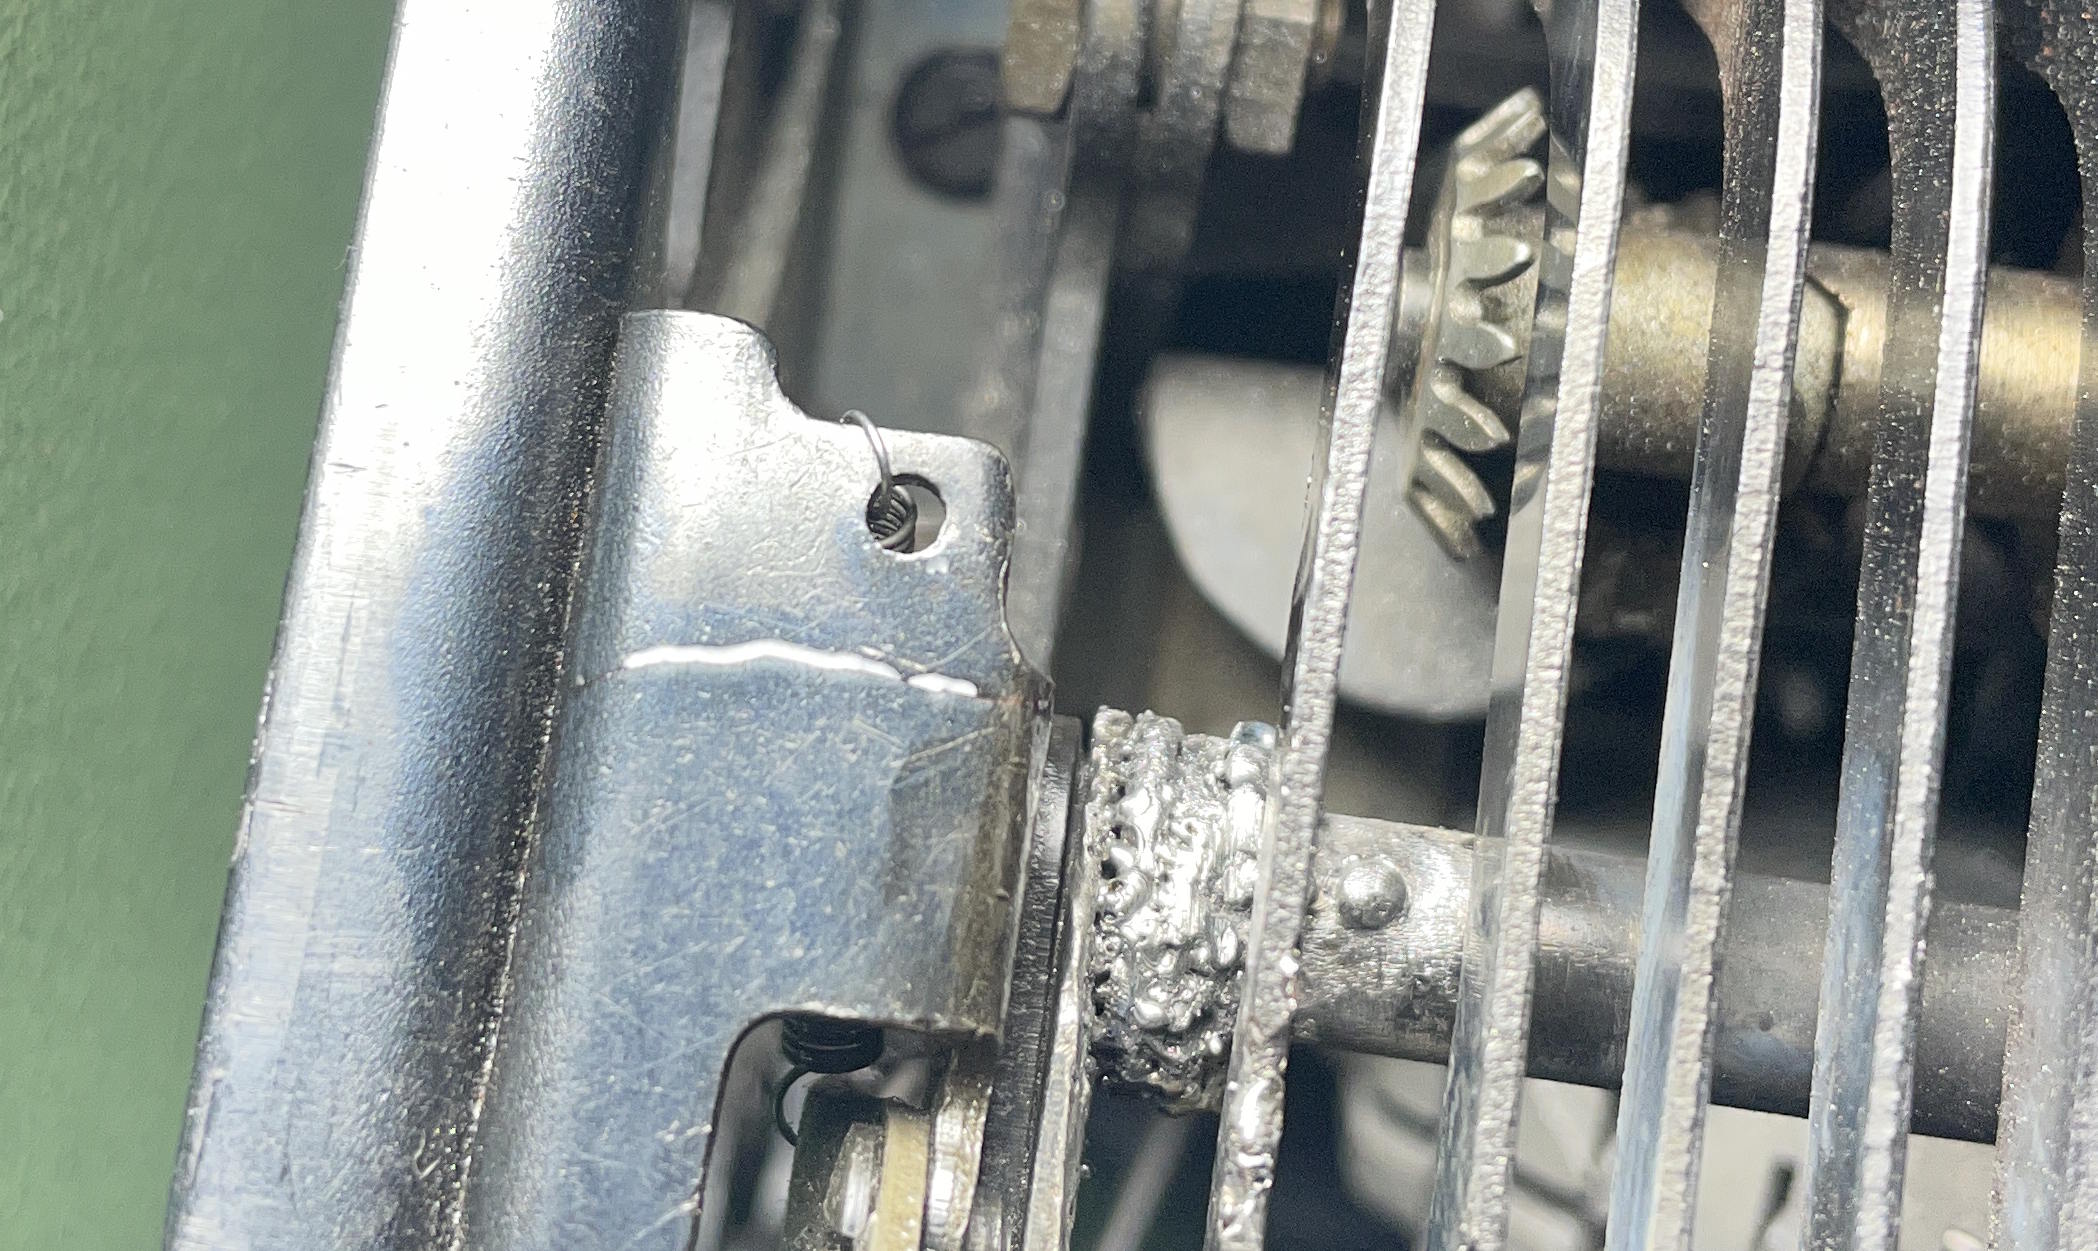
I stripped down the QDL again, this time leaving that front face plate on (it’s a bear to put back together). I beefed up my filler material with washers I had welded together, but I still wasn’t getting durable welds. If the shifting arm had been outside of the machine, I would have been able to get a good weld, but the crack was in an annoyingly awkward location deep in the machine, behind key levers. All I needed was a couple big tacks.
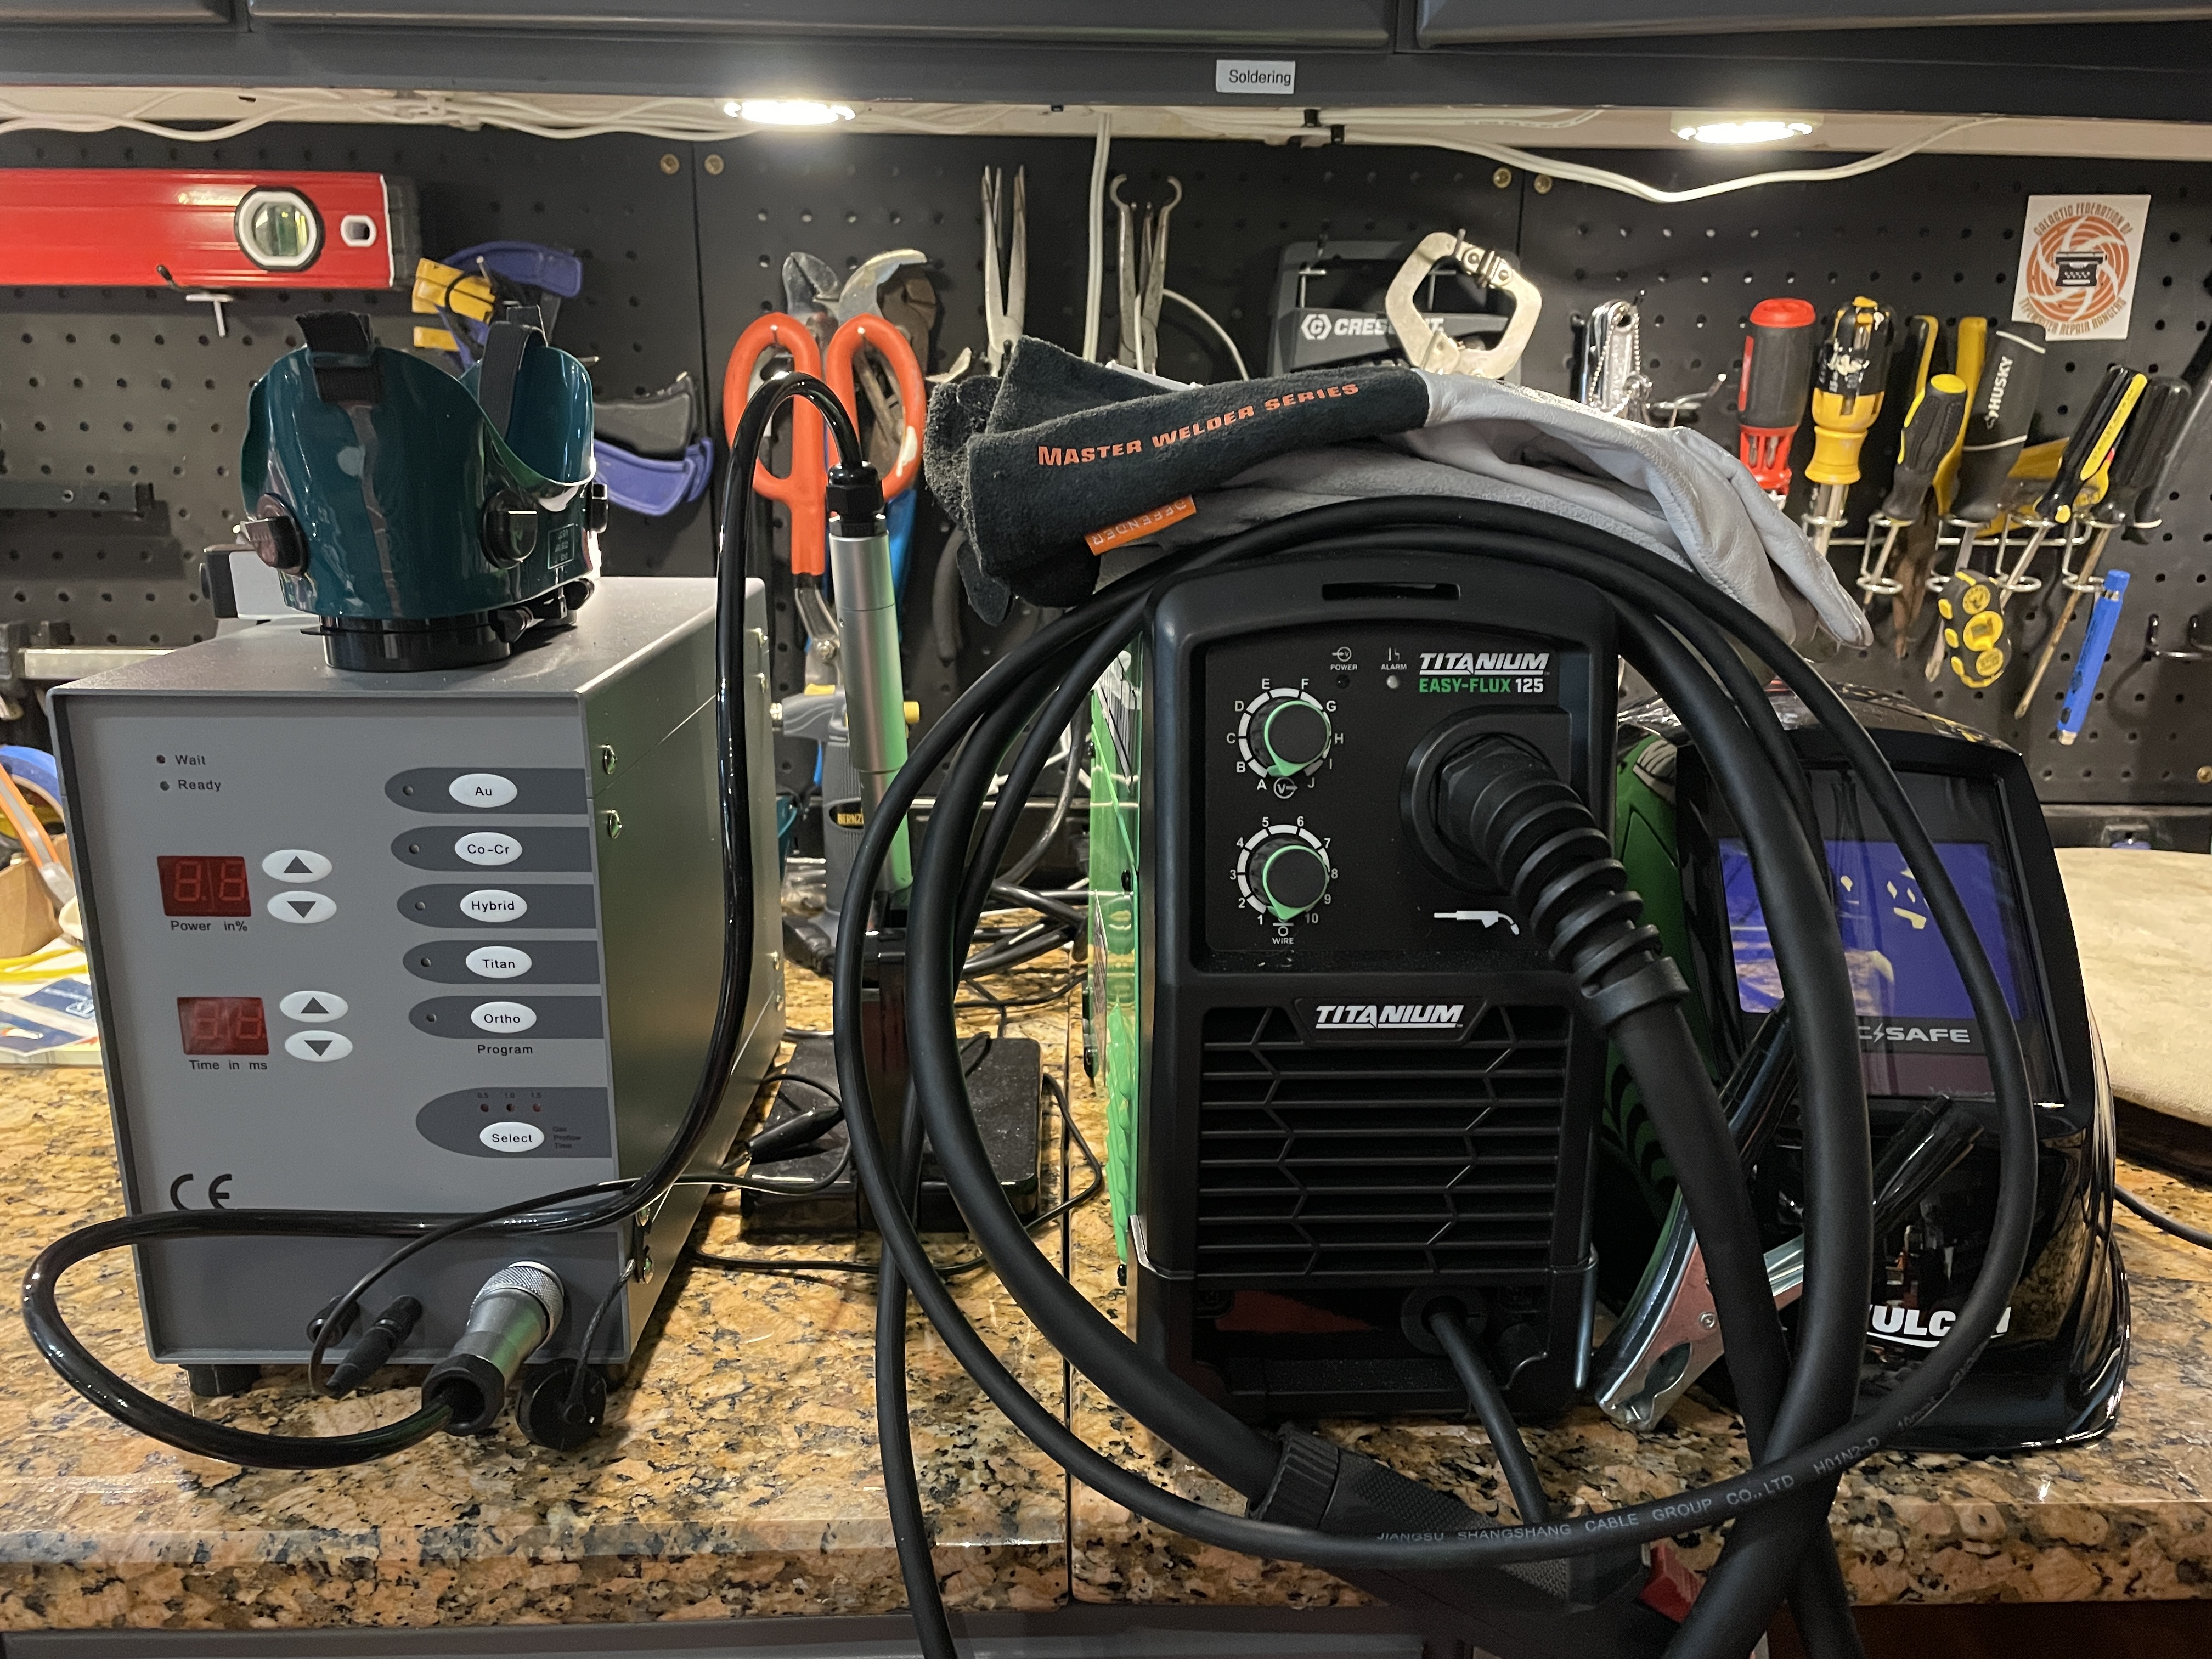
I pulled out my Harbor Freight flux-core welder. It was a Mother’s Day 2025 present that I had yet to unbox. I watched a bunch of YouTube videos, set it up, and did a lot of testing on the parts machine Safari to see how much spatter I’d get and how targeted I could make the welds. After a lot of indecision and hesitancy, I set the welder to the very lowest voltage and speed and put a couple big gnarly tack welds at the cracked shift junction and it worked.
The typewriter is now back with Monica and Stephen. They did a bunch of typing on it, and the shift seems to be holding.
Reflections: people who weld are probably shaking their heads, reading every step of this journey and looking at the pictures with horror. Please know that if the shifting breaks again, I plan to take it to a professional welder. I had fun with the little pulse welder and using it inside the typewriter felt correct. Unfortunately, I couldn’t create strong welds when gaps were involved. Using a flux-core welder the size of mine on a repair inside a typewriter is not a great idea. I didn’t damage the typewriter, I didn’t electrocute myself, and I didn’t burn the garage down, but there are so many ways this could have gone sideways. I went cowboy and Evel Knievel and leaped across the huge gap between what I know and what I don’t know and that didn’t feel great 😬. Typewriter repair shouldn’t feel like jumping Snake River Canyon.
Anyhoo. All’s well that ends well. It is such a beautiful little thing and the elite Canterbury typeface is chef’s kiss.
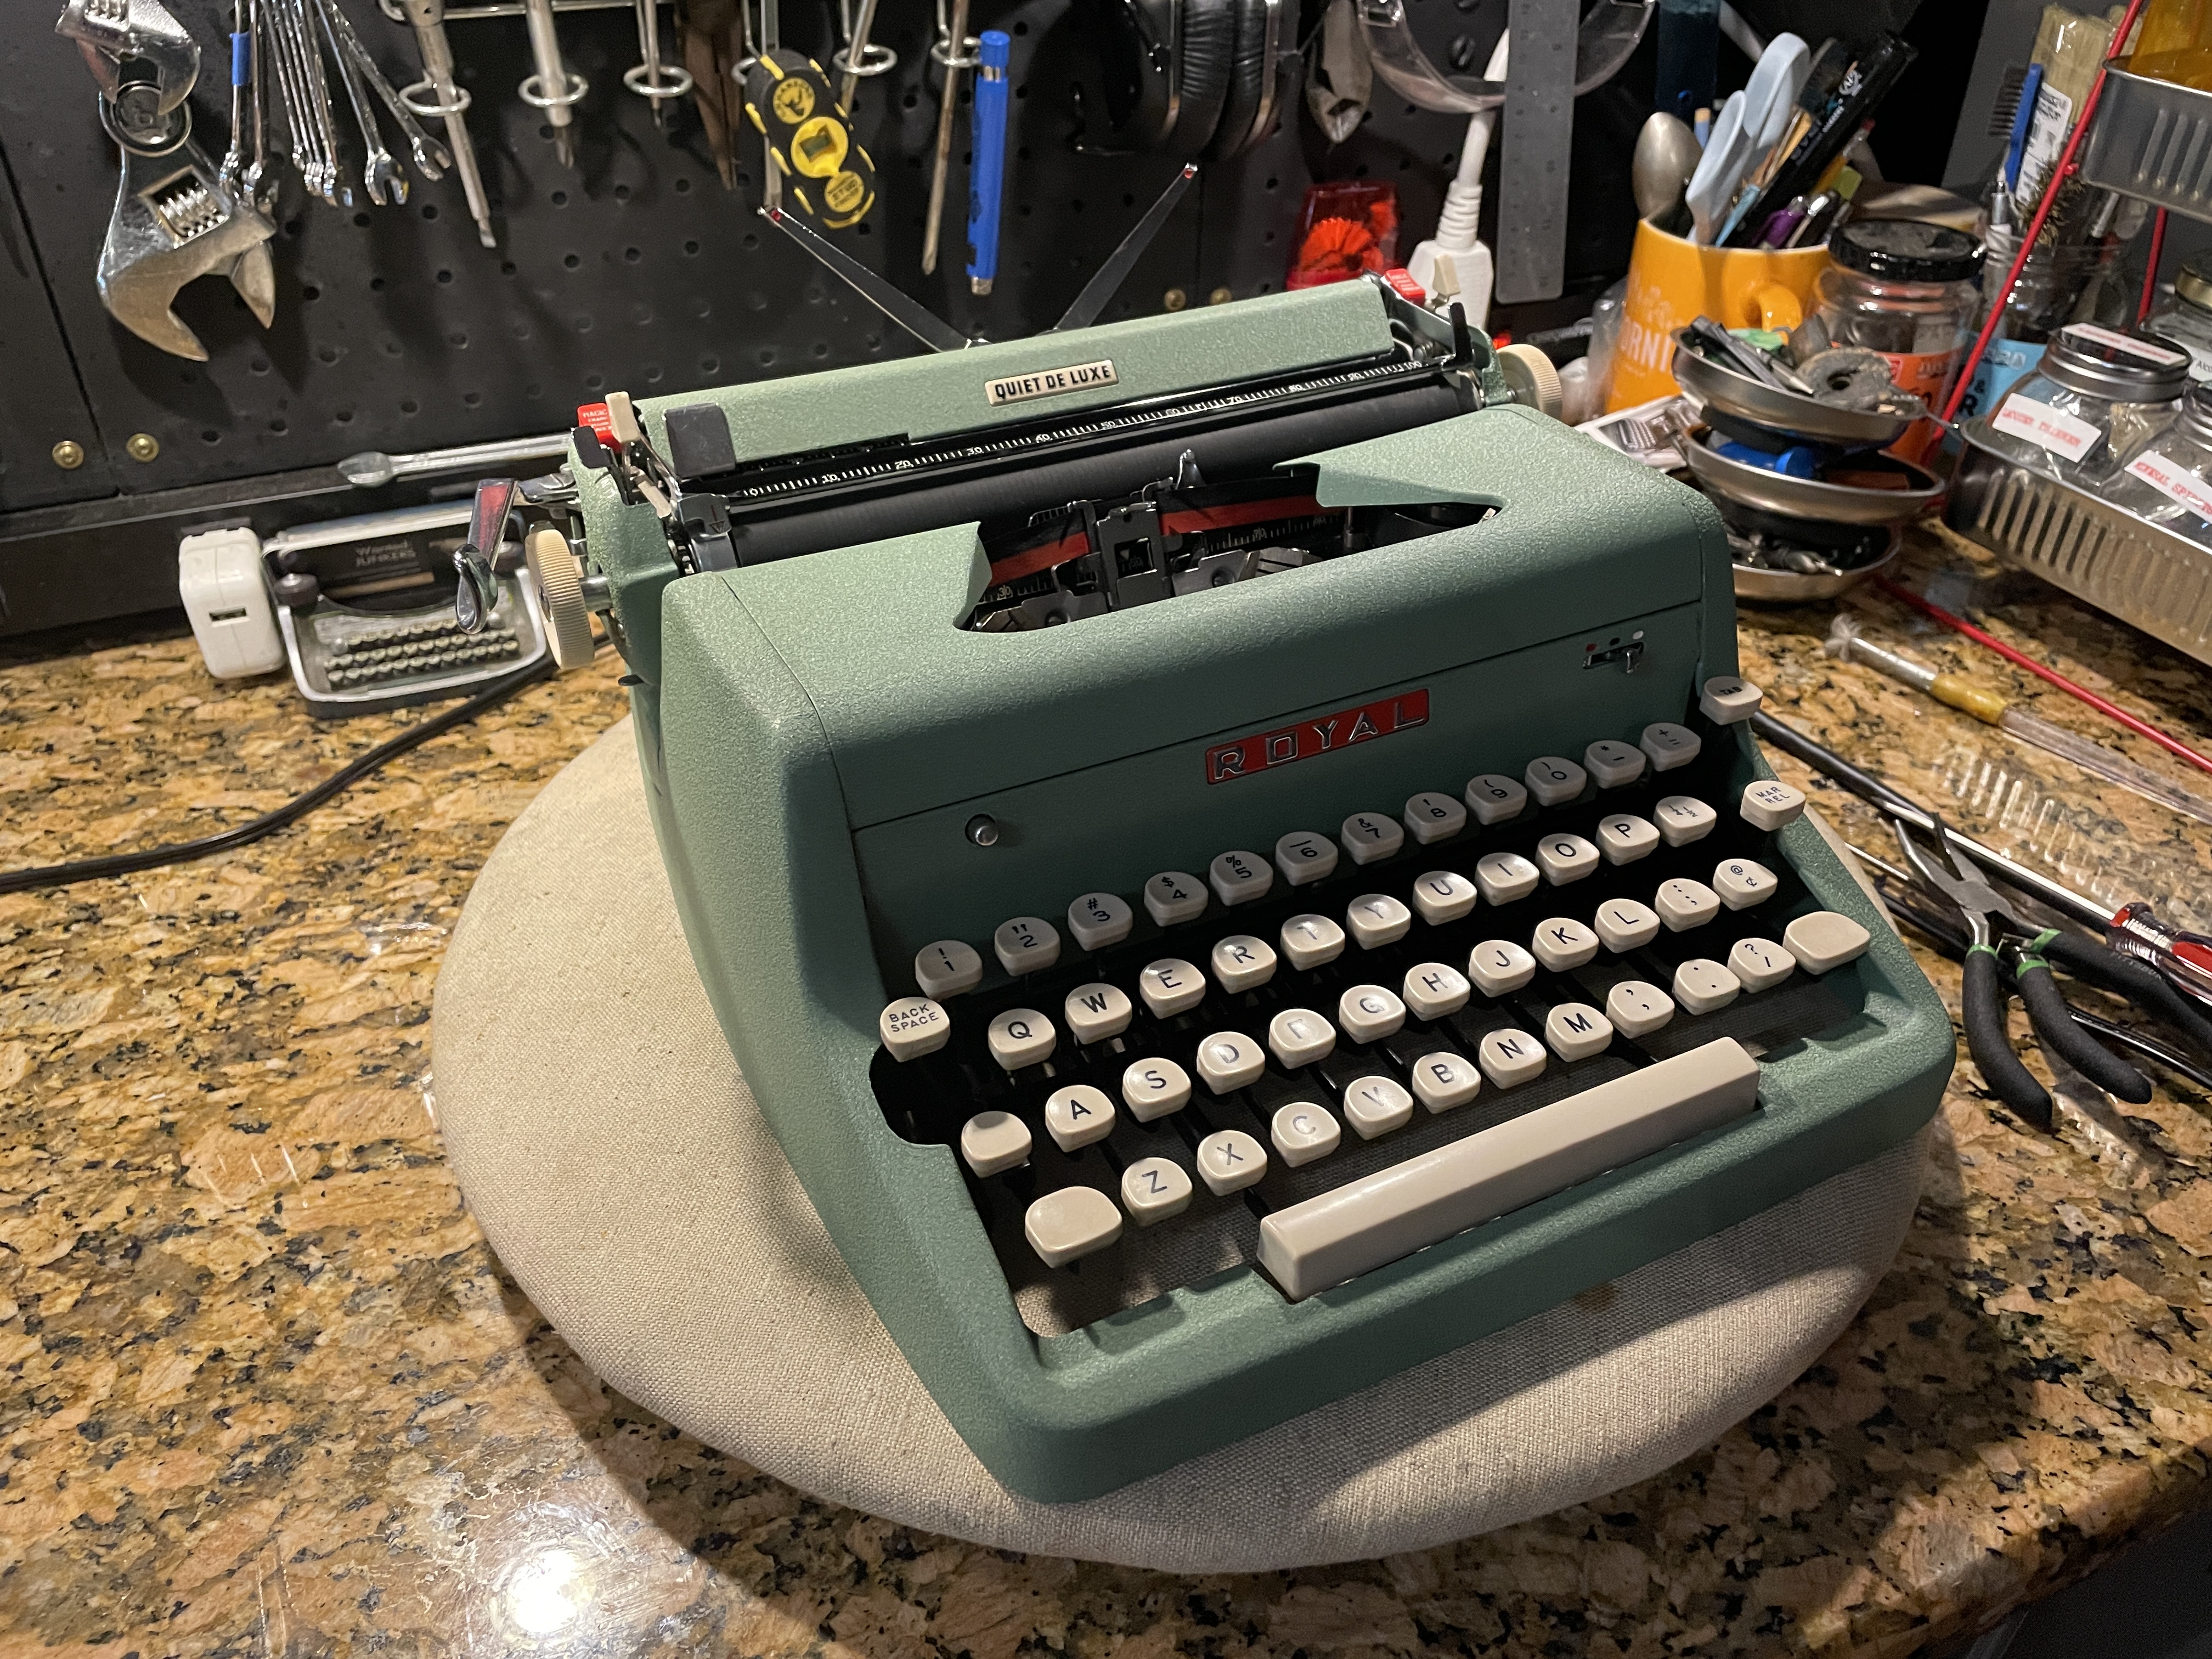


Adventures in welding! Thank you for risking life, limb, and garage for this machine.
LikeLike
It all turned out fine in the end, but using that flux-core welder inside a typewriter was kind of a jackass move.
LikeLike
I enjoy reading adventures of typewriter repair, thank you. However, the font choice is very difficult to read—low contrast and fine line. If I could ban gray type on white background, I would!
LikeLike
I agree completely! I hate the gray text. Over the years, I have tried to change my text to black on white, but since it’s an older, more rigid WordPress.com “theme”, I can’t seem to change the color. I’m going to contact tech support and see if I can get the text color changed.
LikeLike
Mary, I have to tell you something. You have more ability in your little finger than most so-called ‘professionals’ that I have worked with in the past have had in their entire bodies. You have a rare talent and I salute you ! 🙂
LikeLike
Coming from you, Tom, that means a lot. I’m at a point in my life when I have time to research, ponder, and tinker with problem typewriters. It’s such a satisfying hobby for me. Time is the key since it’s a nice, slow, meditative activity.
LikeLike
Heh, what’s life without danger? You be LIVIN’! 😀
LikeLike
Golf? Gardening? Knitting? Pfffft. A real hobby involves the threat of fire and electrocution.
LikeLike
Wow, this was an adventurous repair indeed. But well worth it for the little green QDL. Thanks for posting!
LikeLike