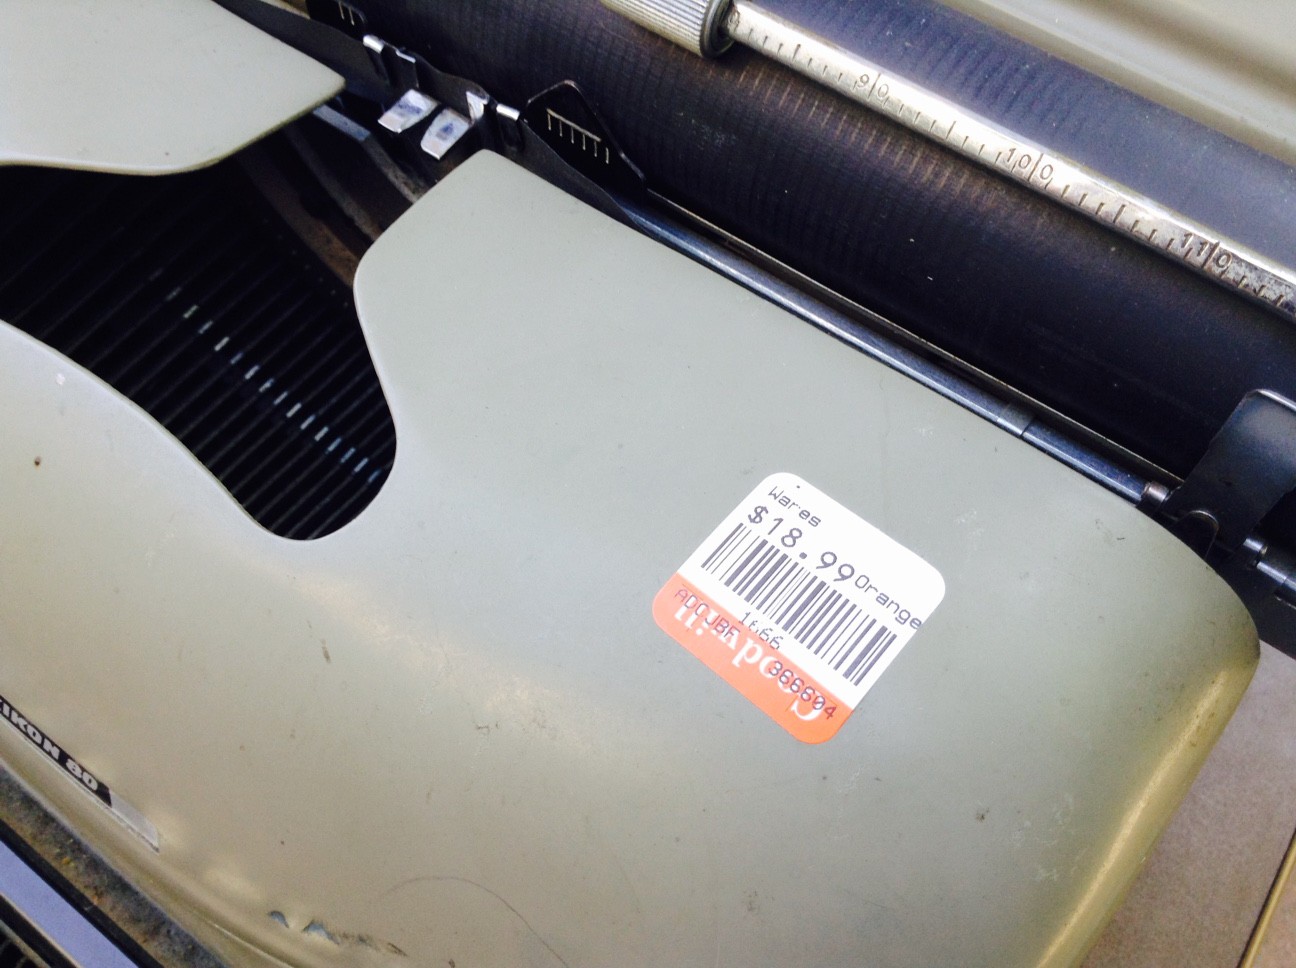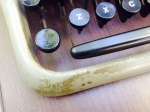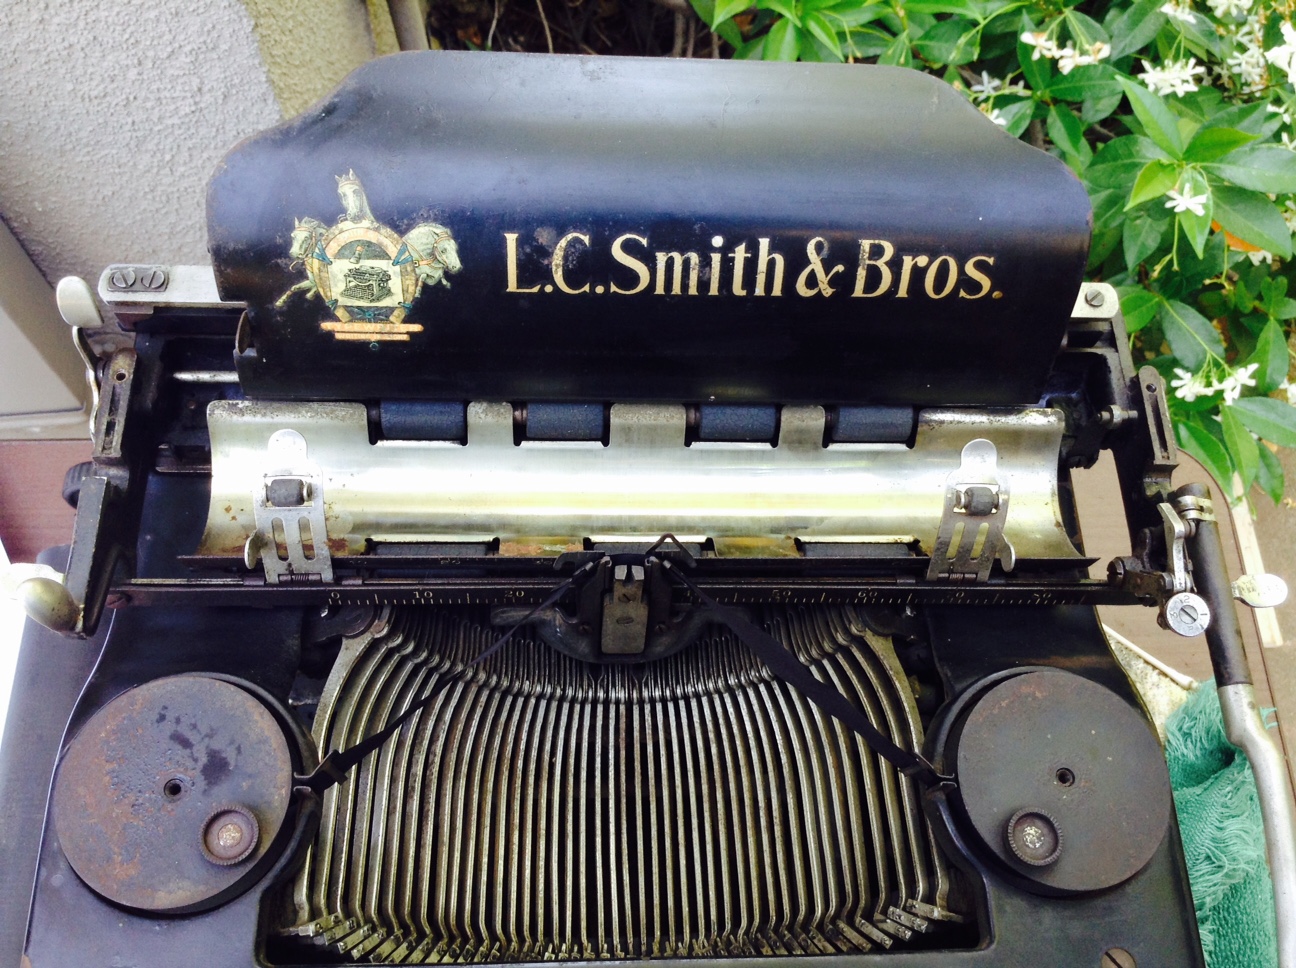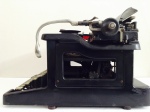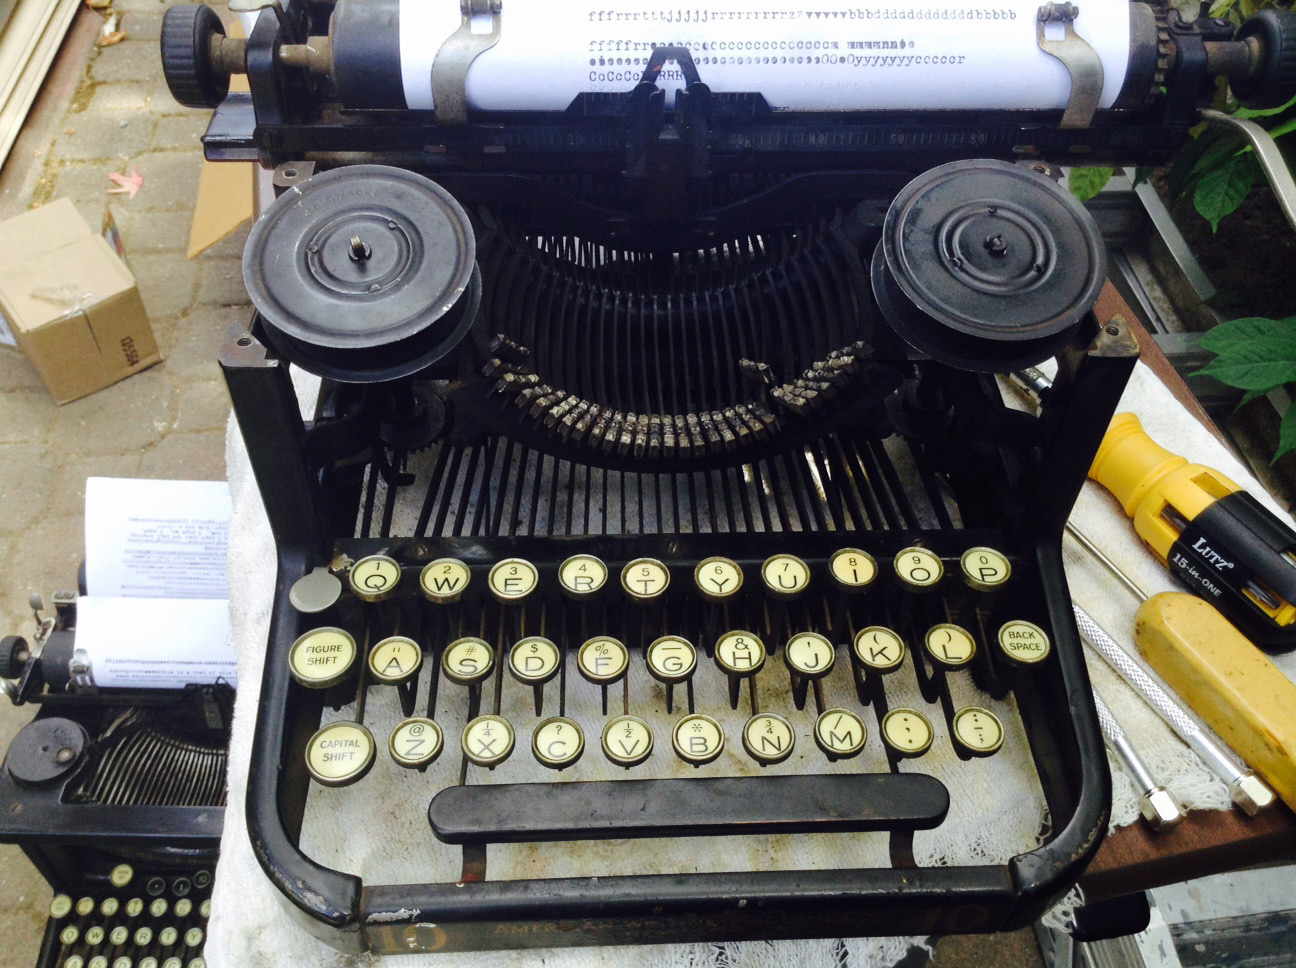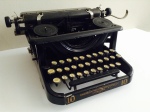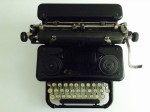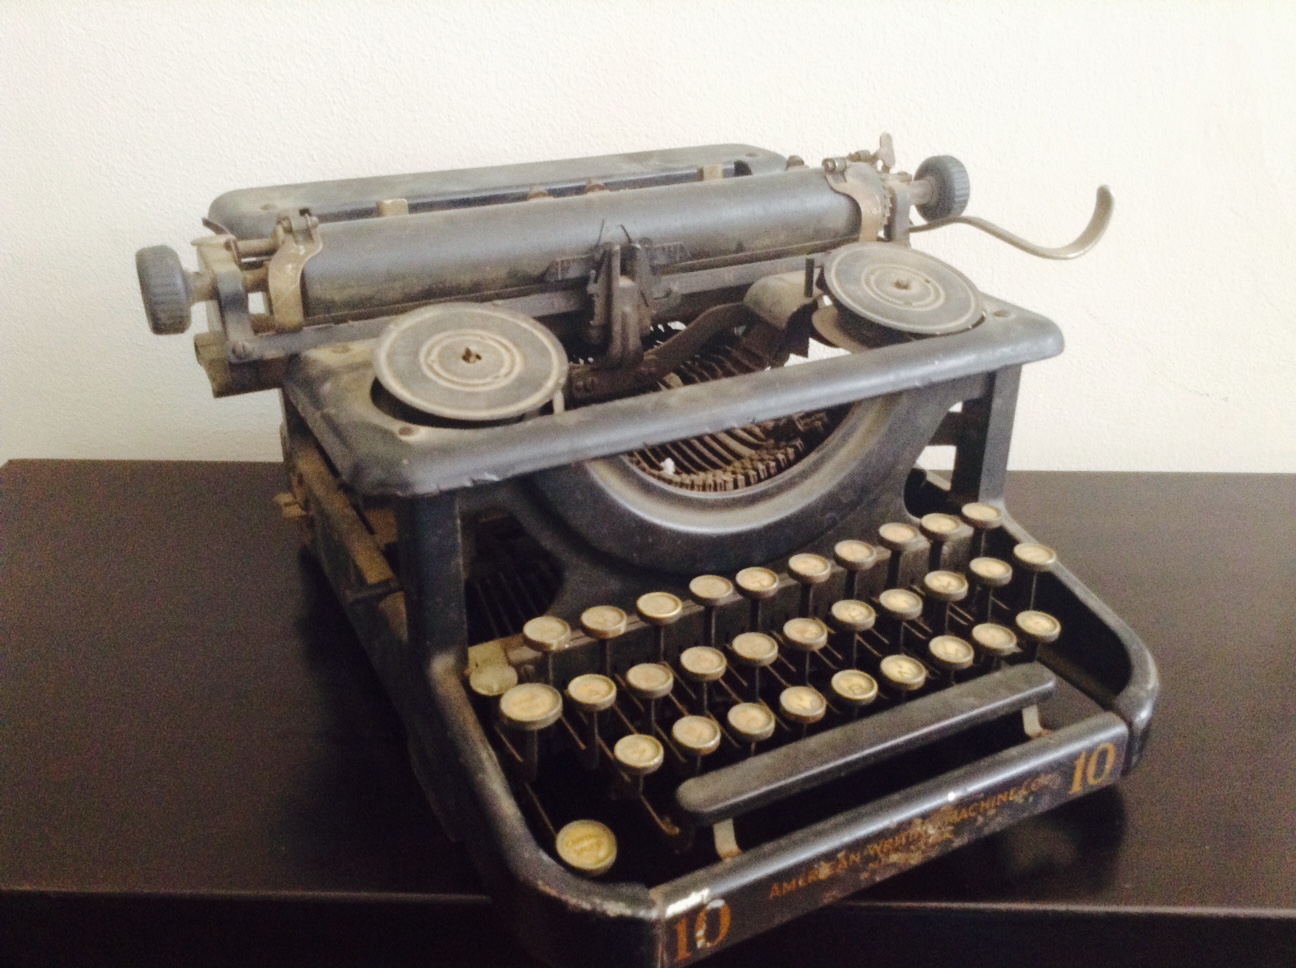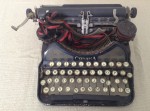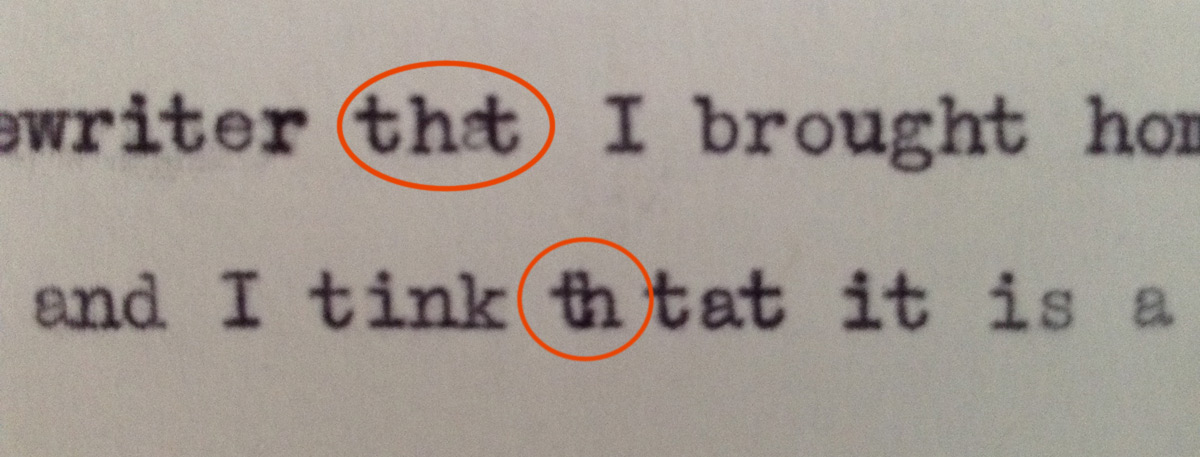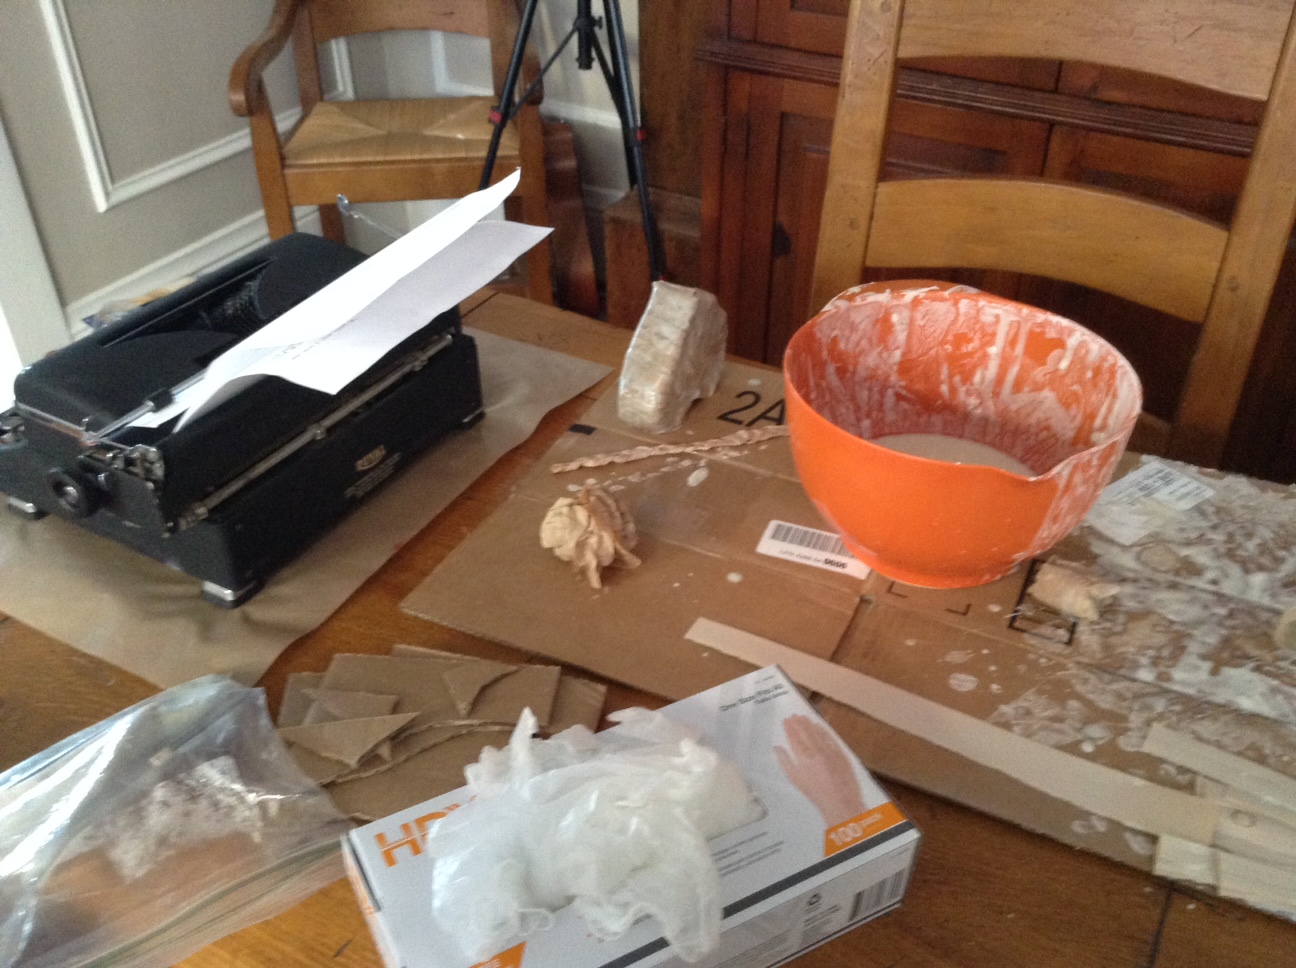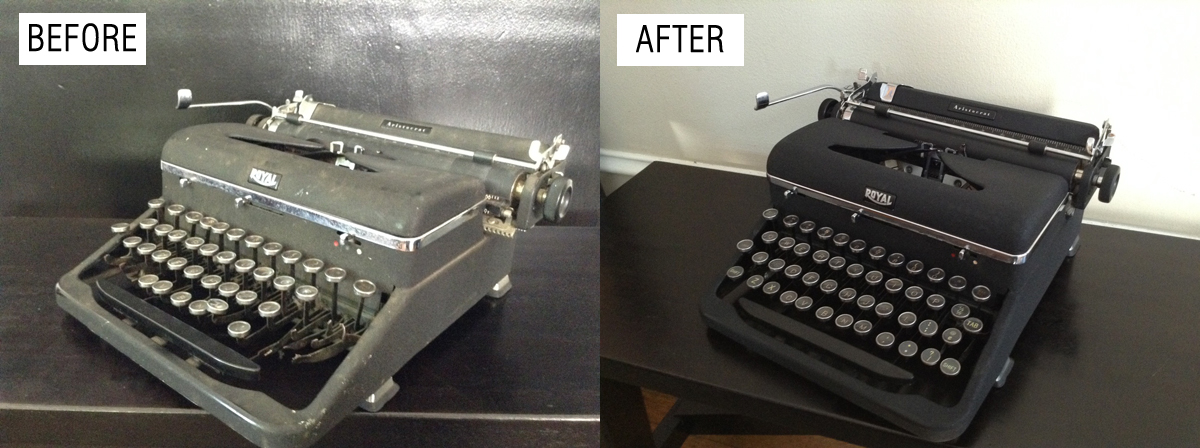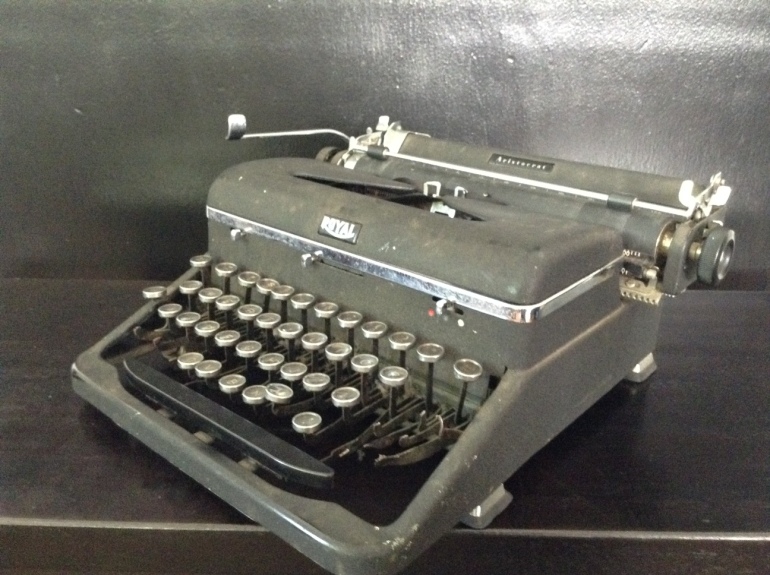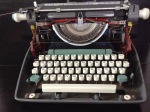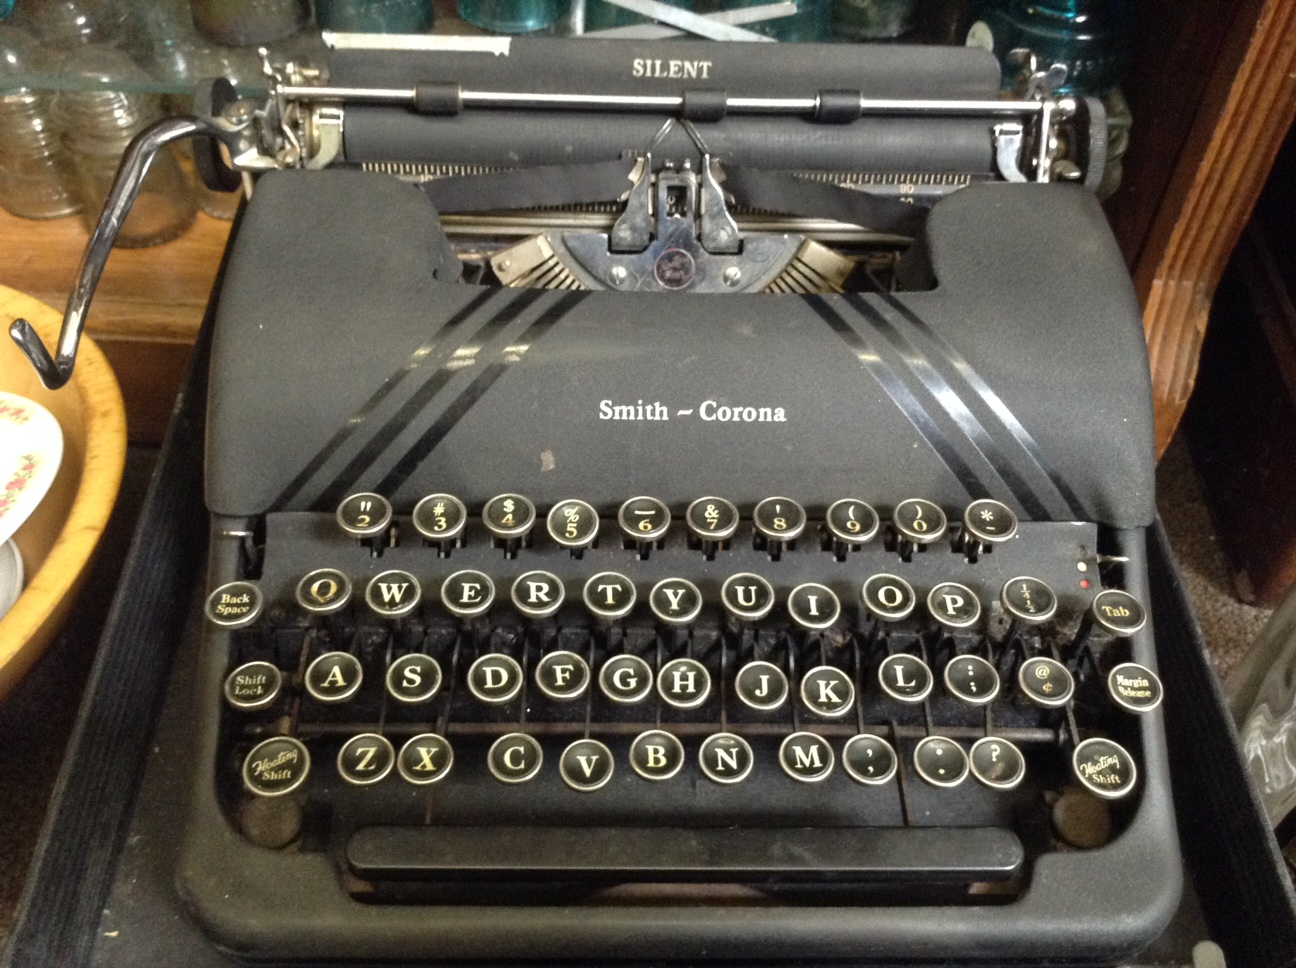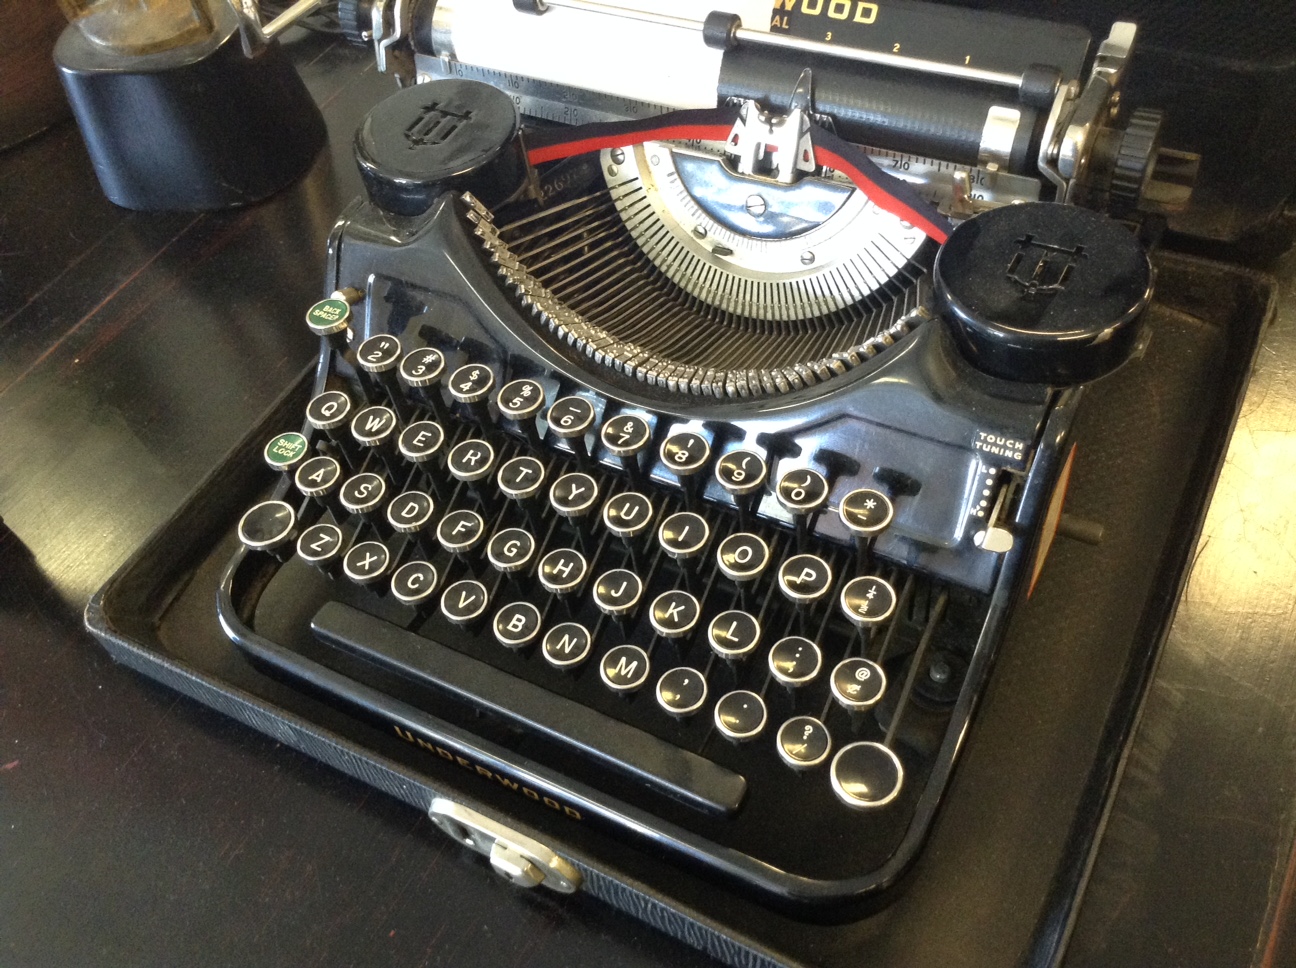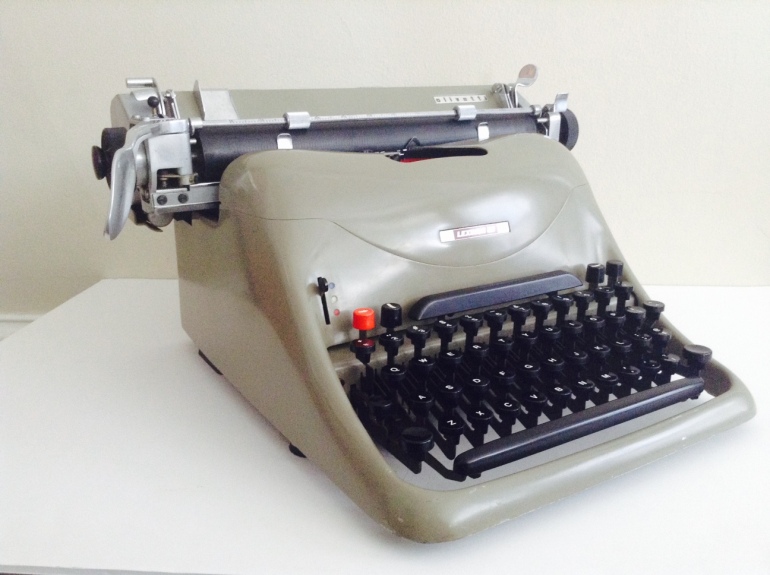
The 1952 Olivetti Lexikon 80 that I brought home from Goodwill looked pretty bad on arrival. It was covered in grime and dings and scrapes and sticky tape residue. To me this is evidence of a very hard worker who really used his/her typewriter – and who took lunch breaks at the desk (bologna sandwich, a cup of black coffee, and a cigarette) .

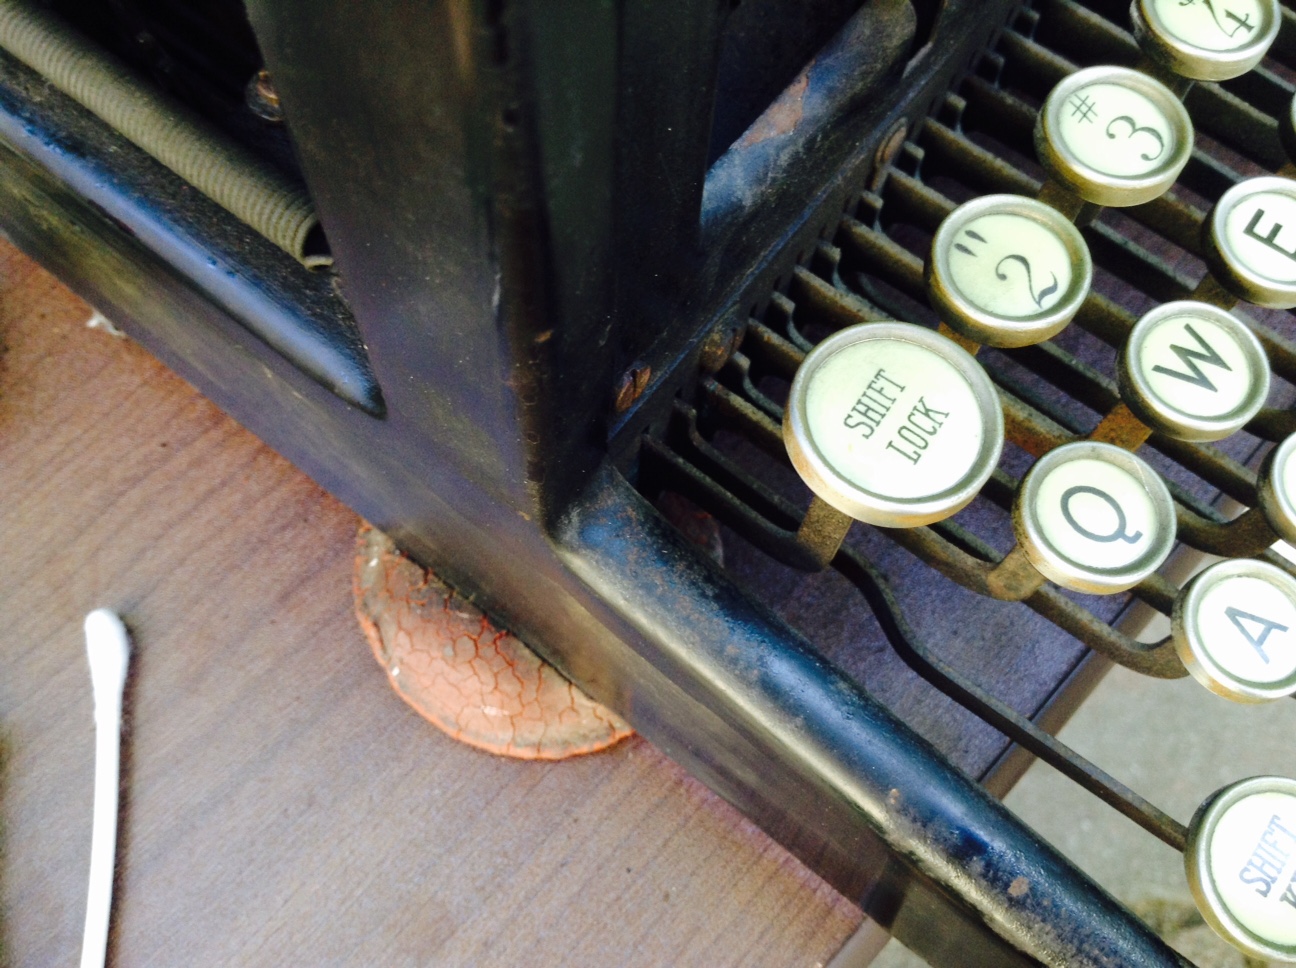
Scaly grime
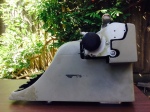
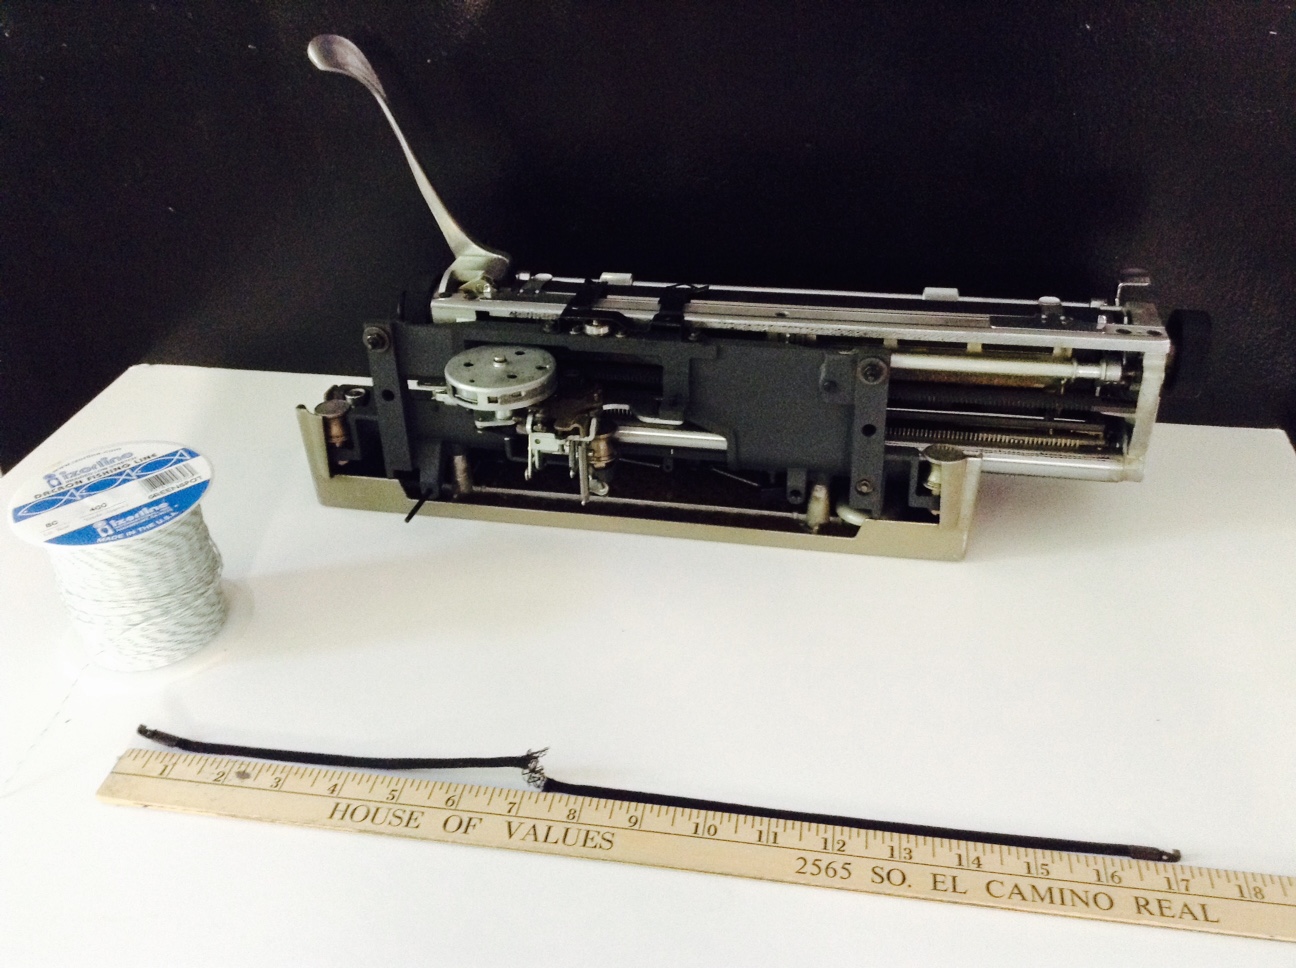
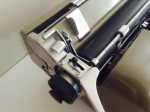
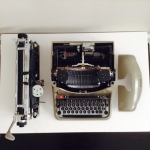
Fortunately I had come across Typewriter Heaven’s post on Lexikology which details how to remove the cover and carriage from the typewriter so that I could pursue a good cleaning.
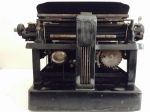
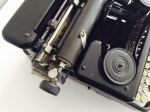
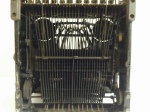
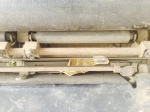
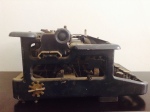
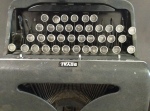
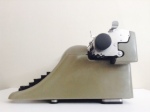
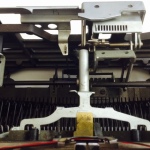
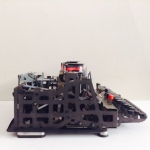
I followed the steps and pretty soon I had a neked typewriter.

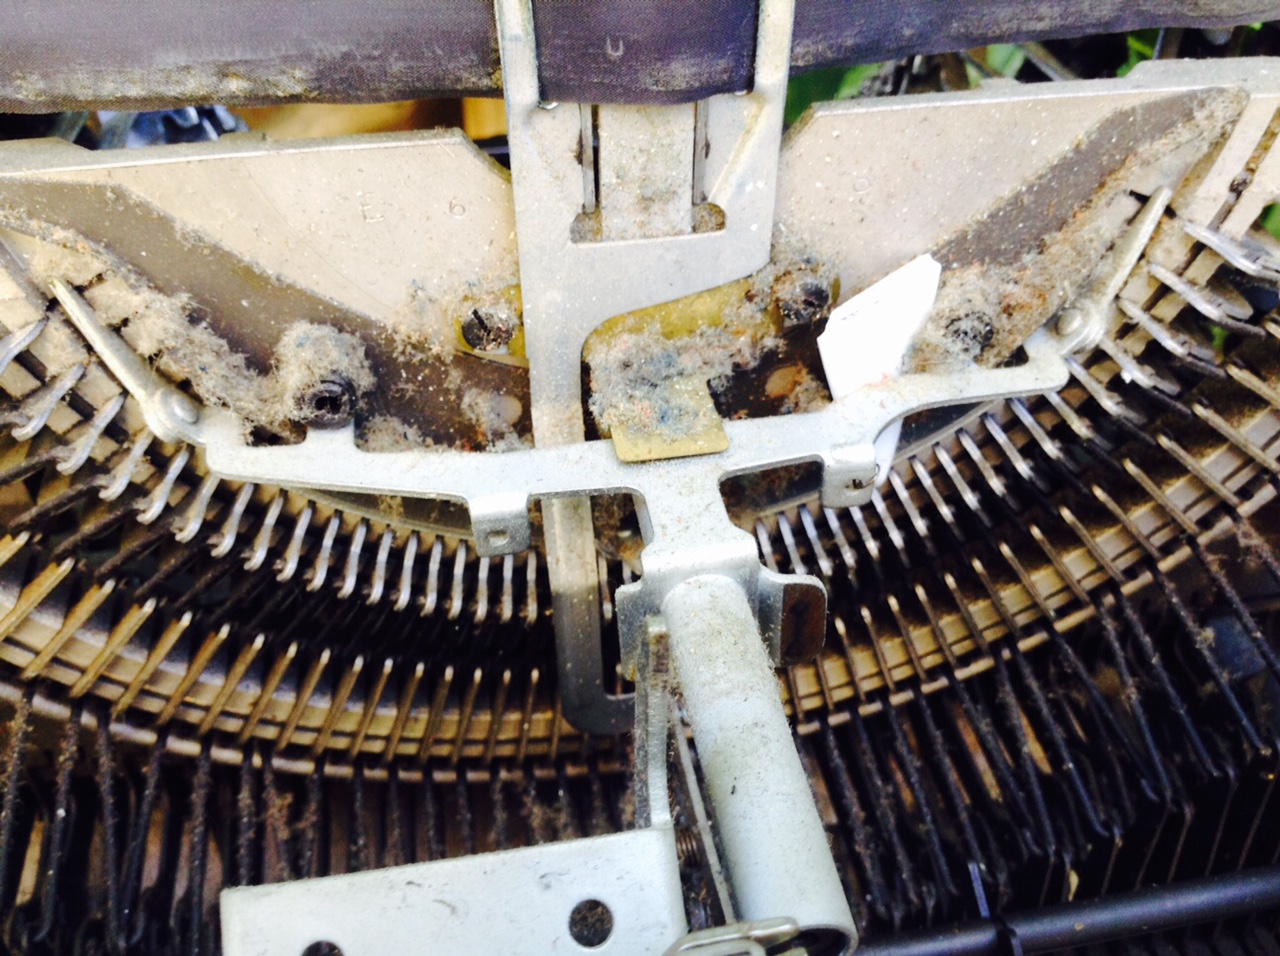
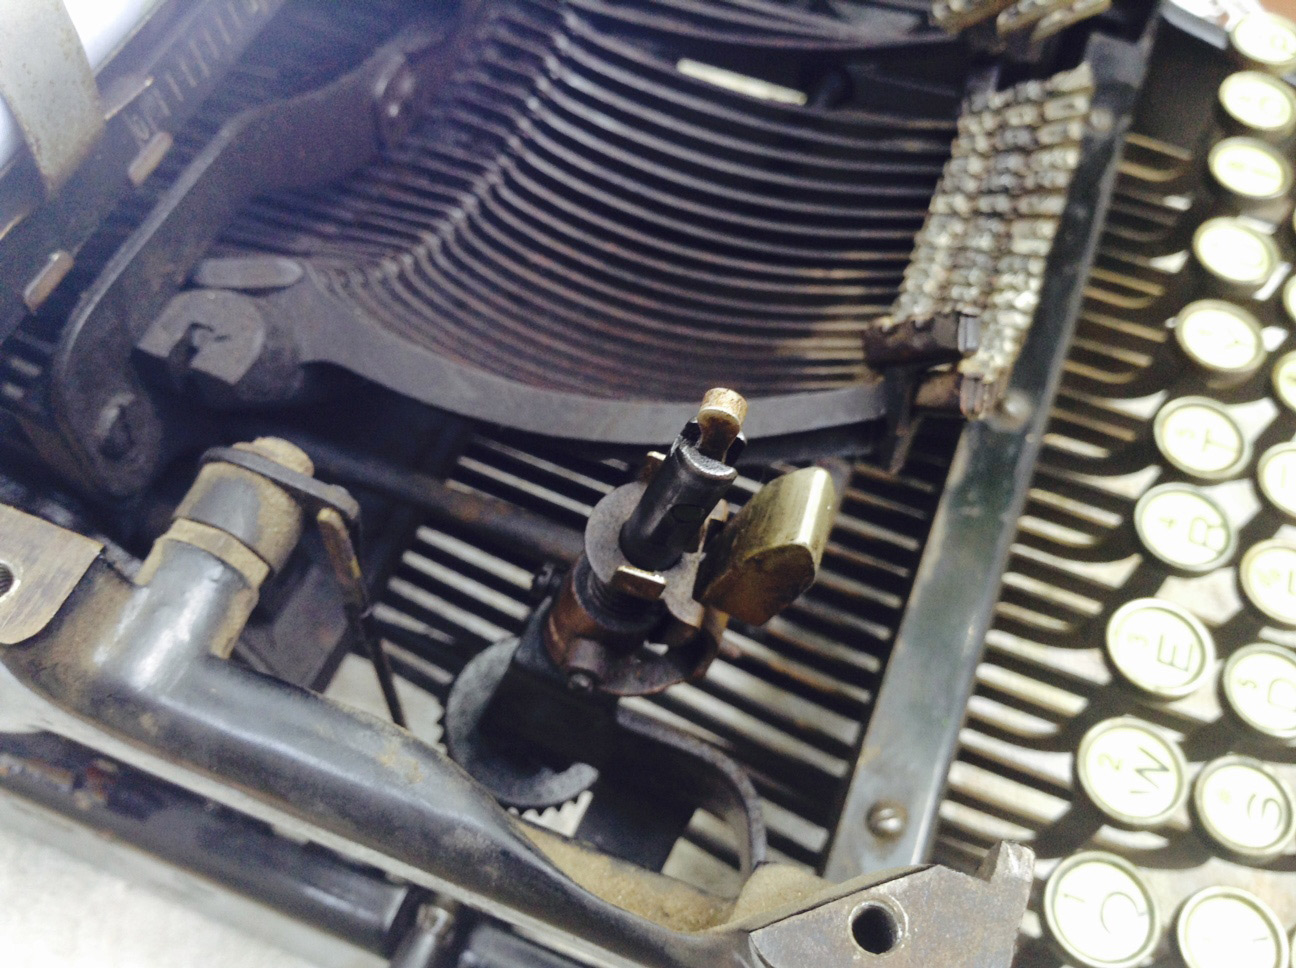
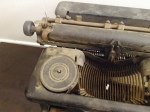
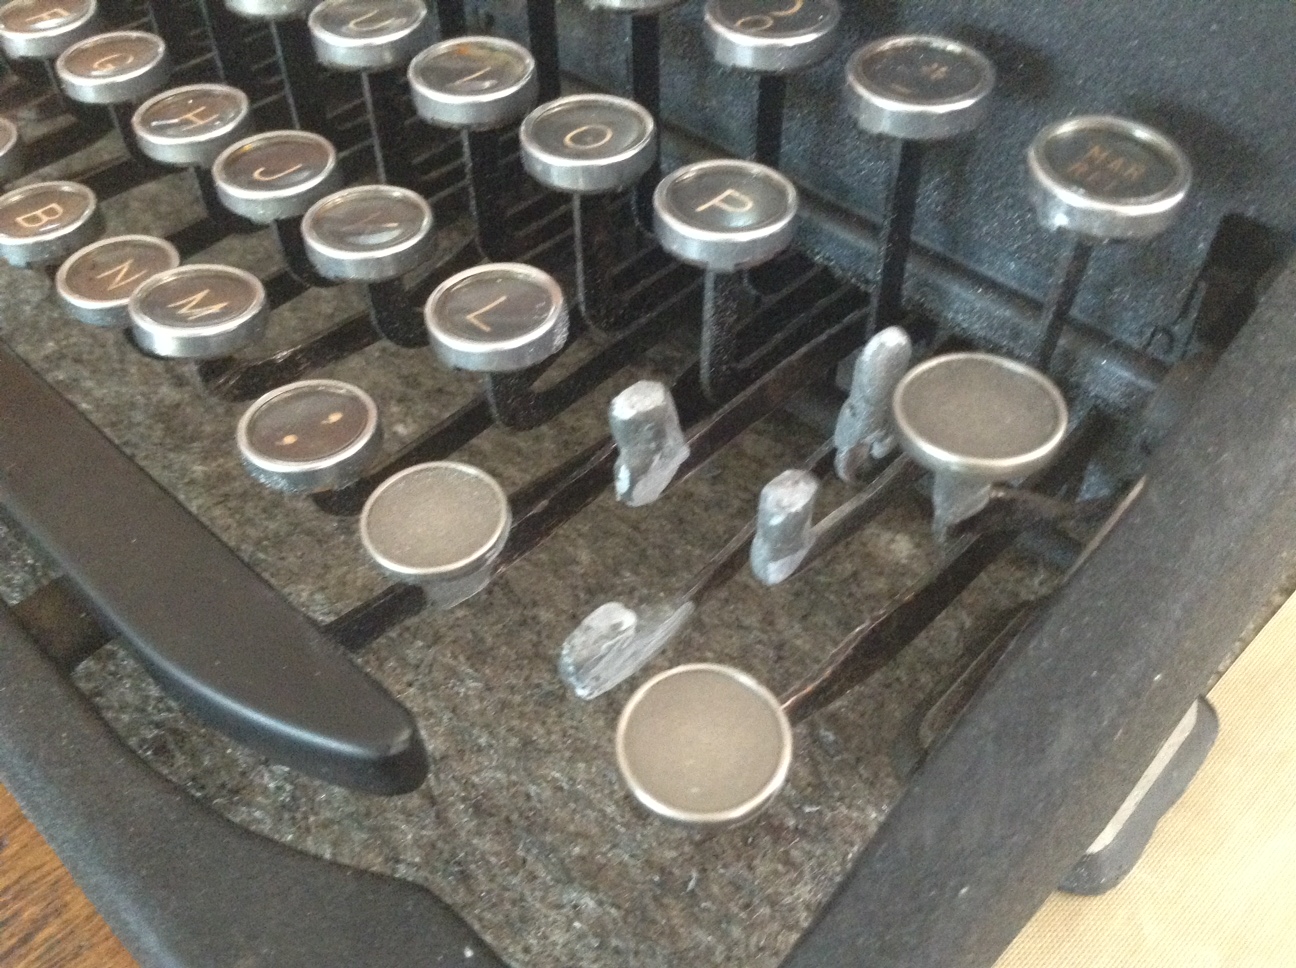
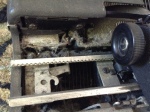
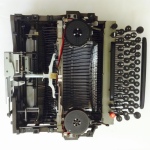
There was a lot of debris behind the segment – including a shard of white pottery.

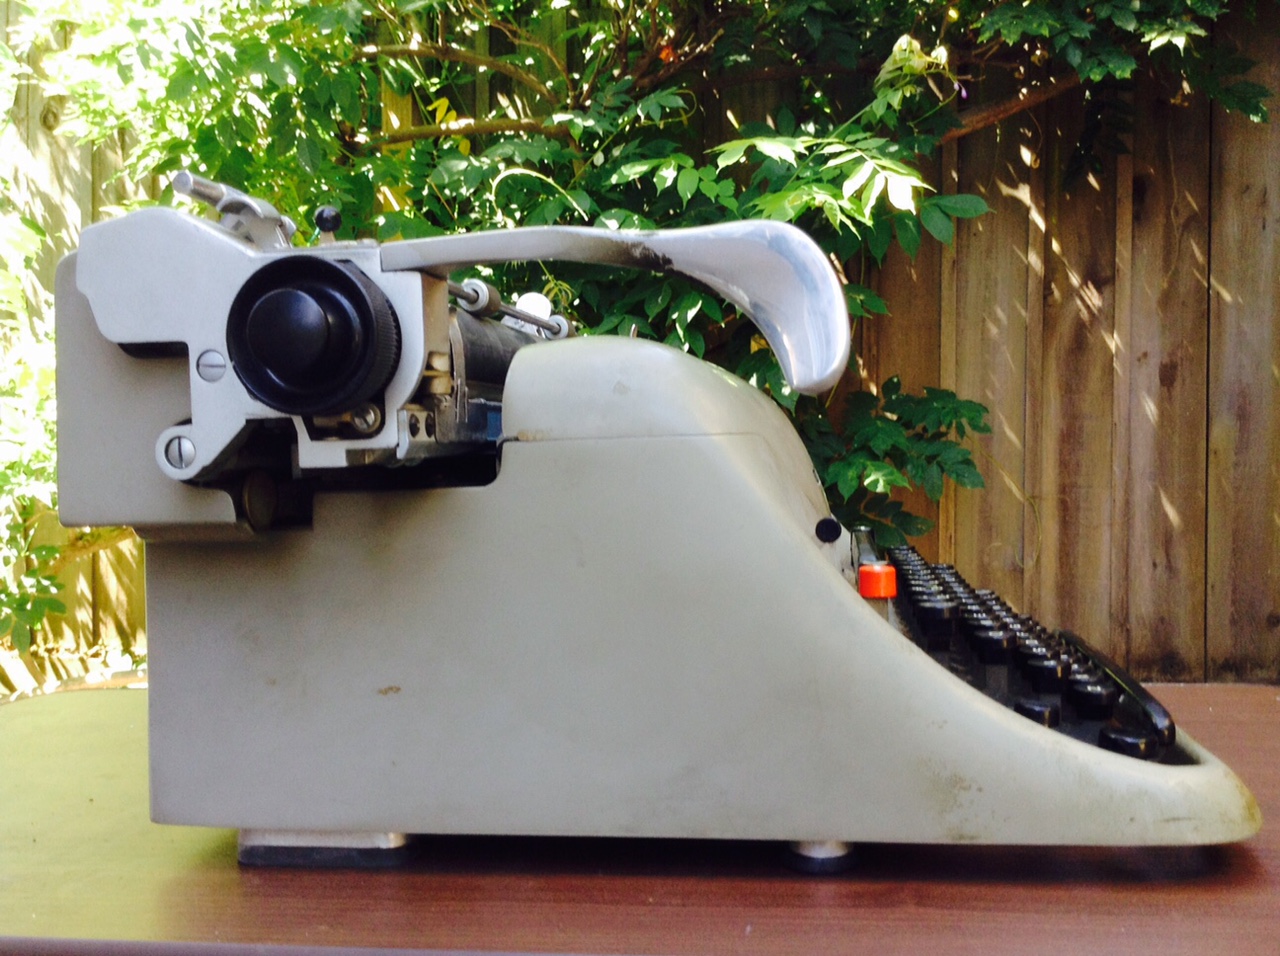
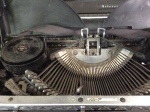
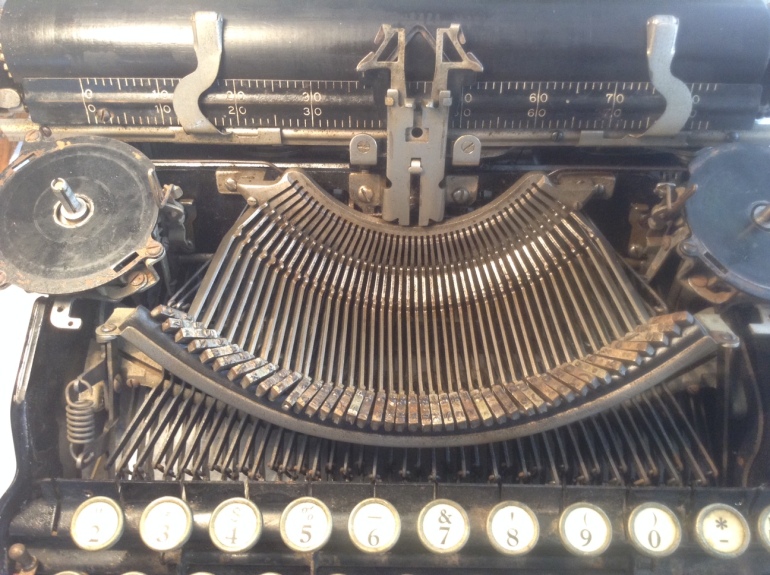
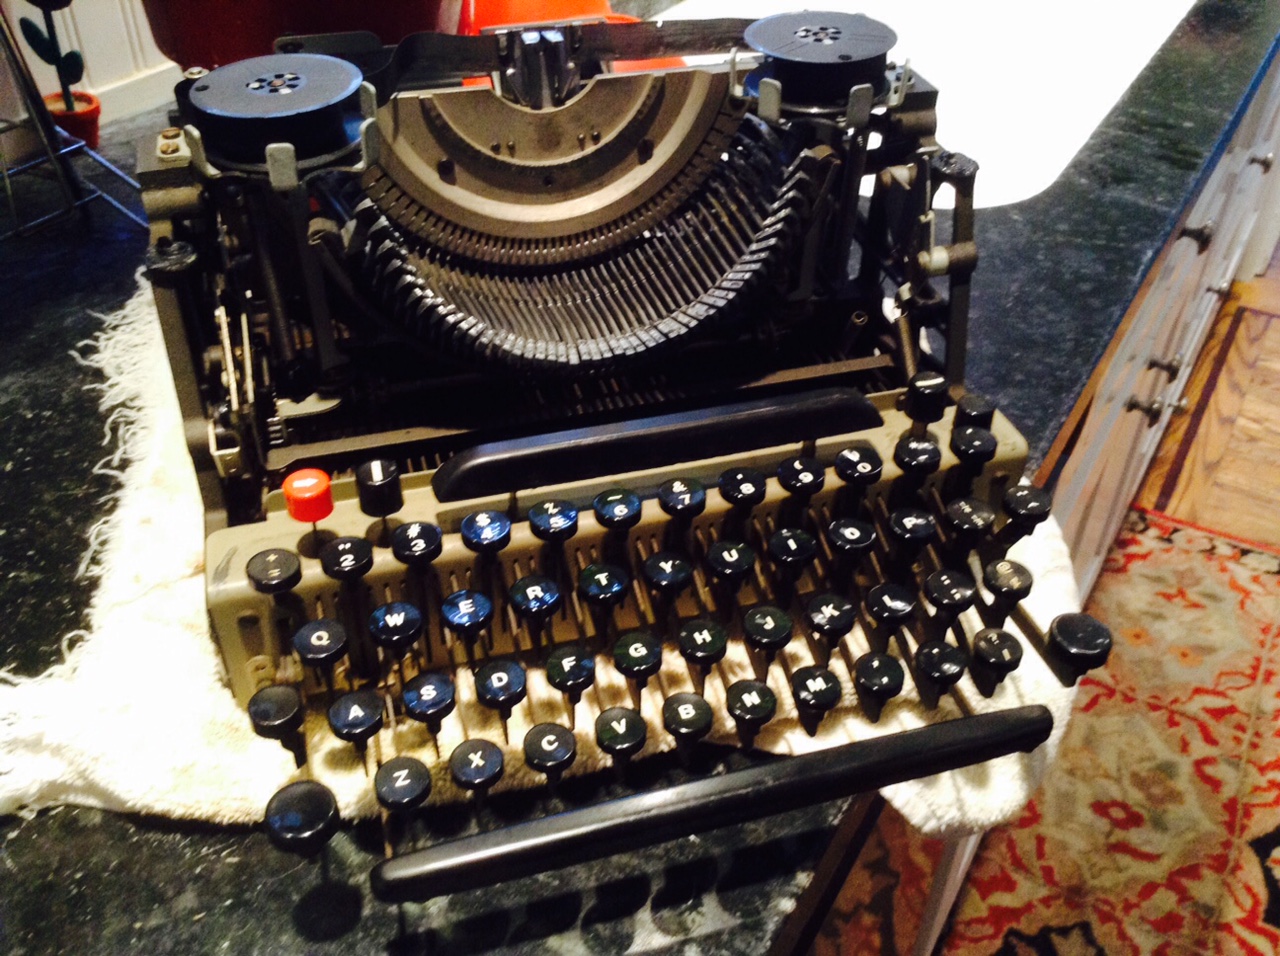
The stripped-down machine innards are pleasantly alien. I have been submerged in pre-war cast iron for the past few weeks and the Lexikon 80 is a blast of fresh modern air. I would assume that for 1952, it was very cutting edge.
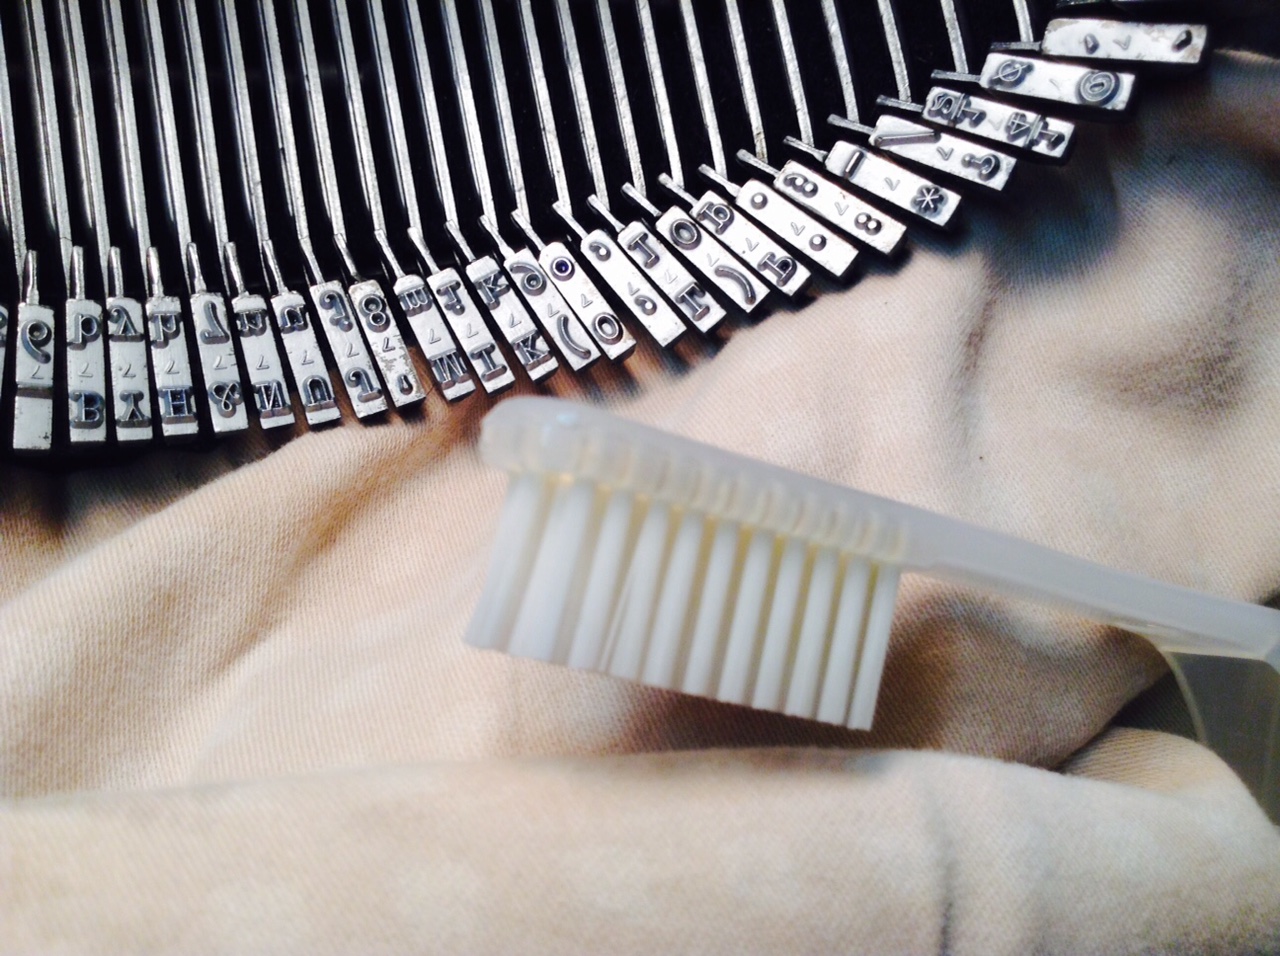
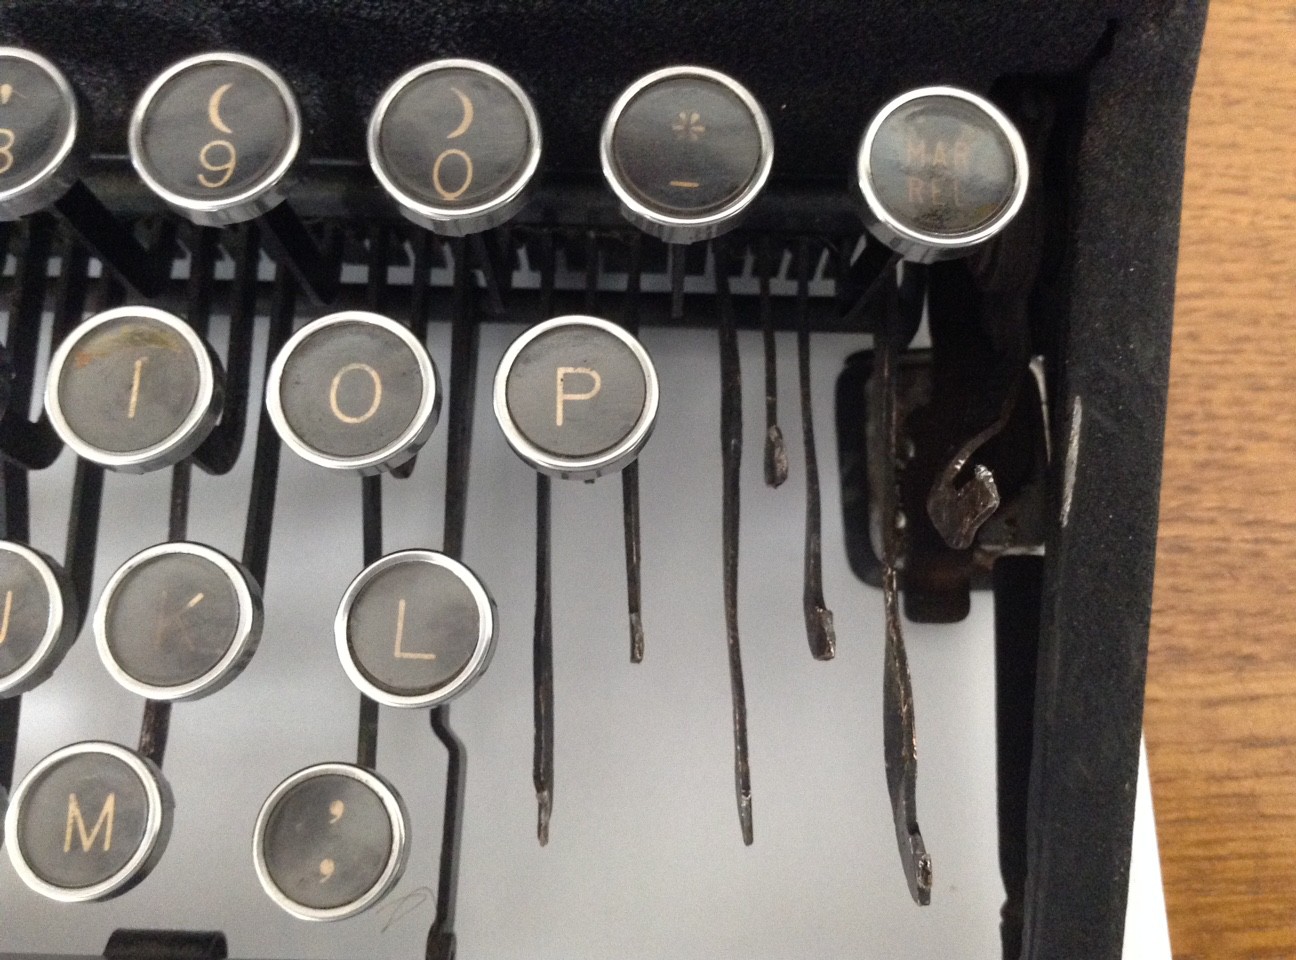
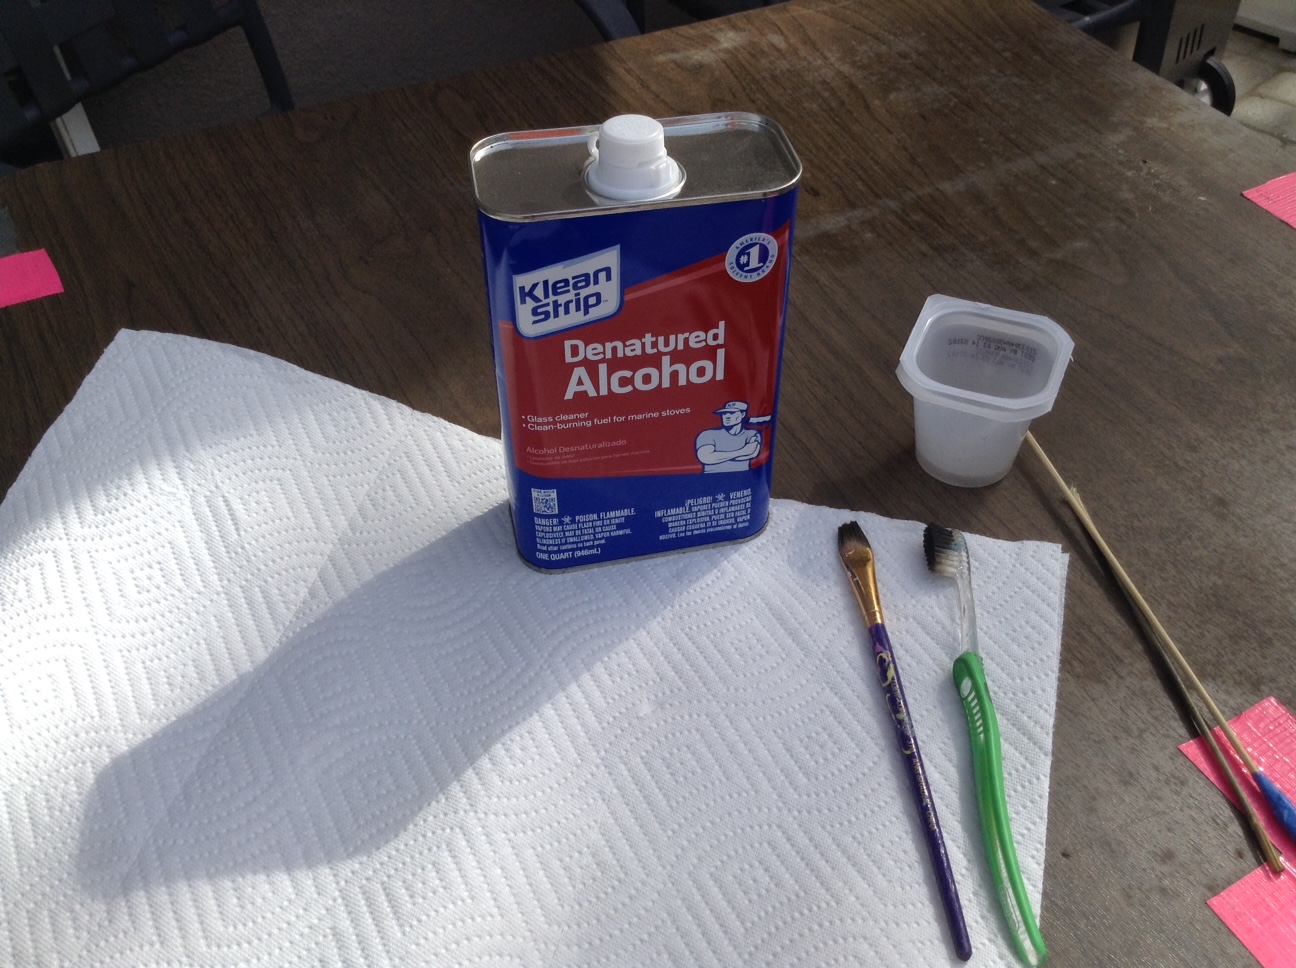
I scrubbed the type slugs and type bars with denatured alcohol and the grease dissolved beautifully. I was careful to drape plastic and painted areas.
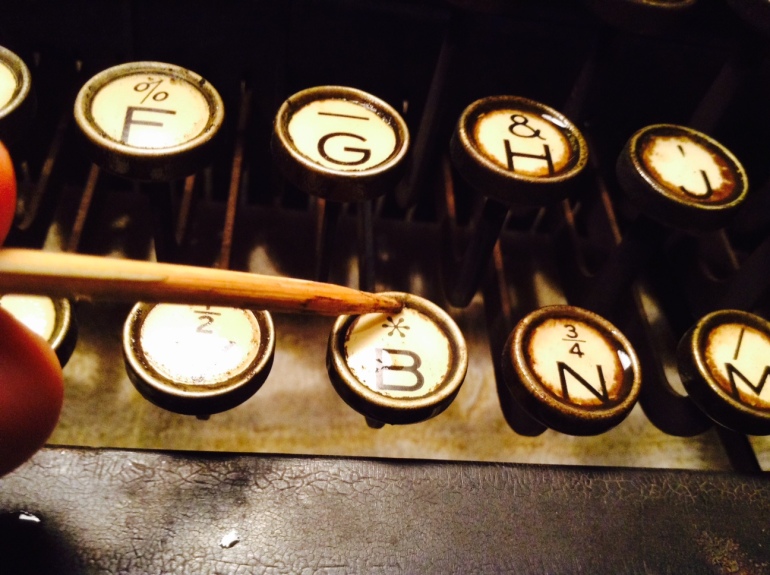
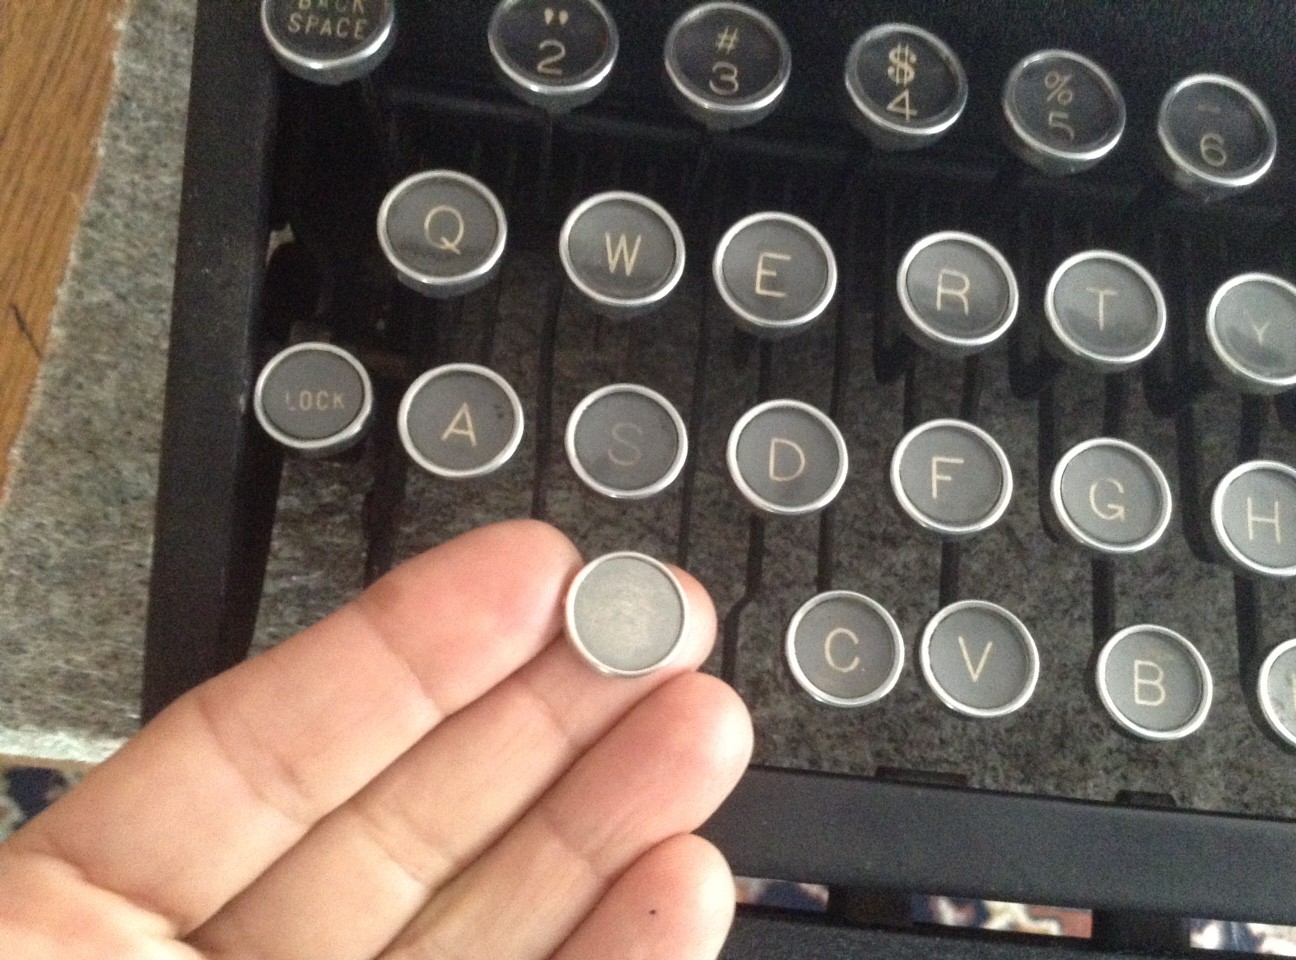
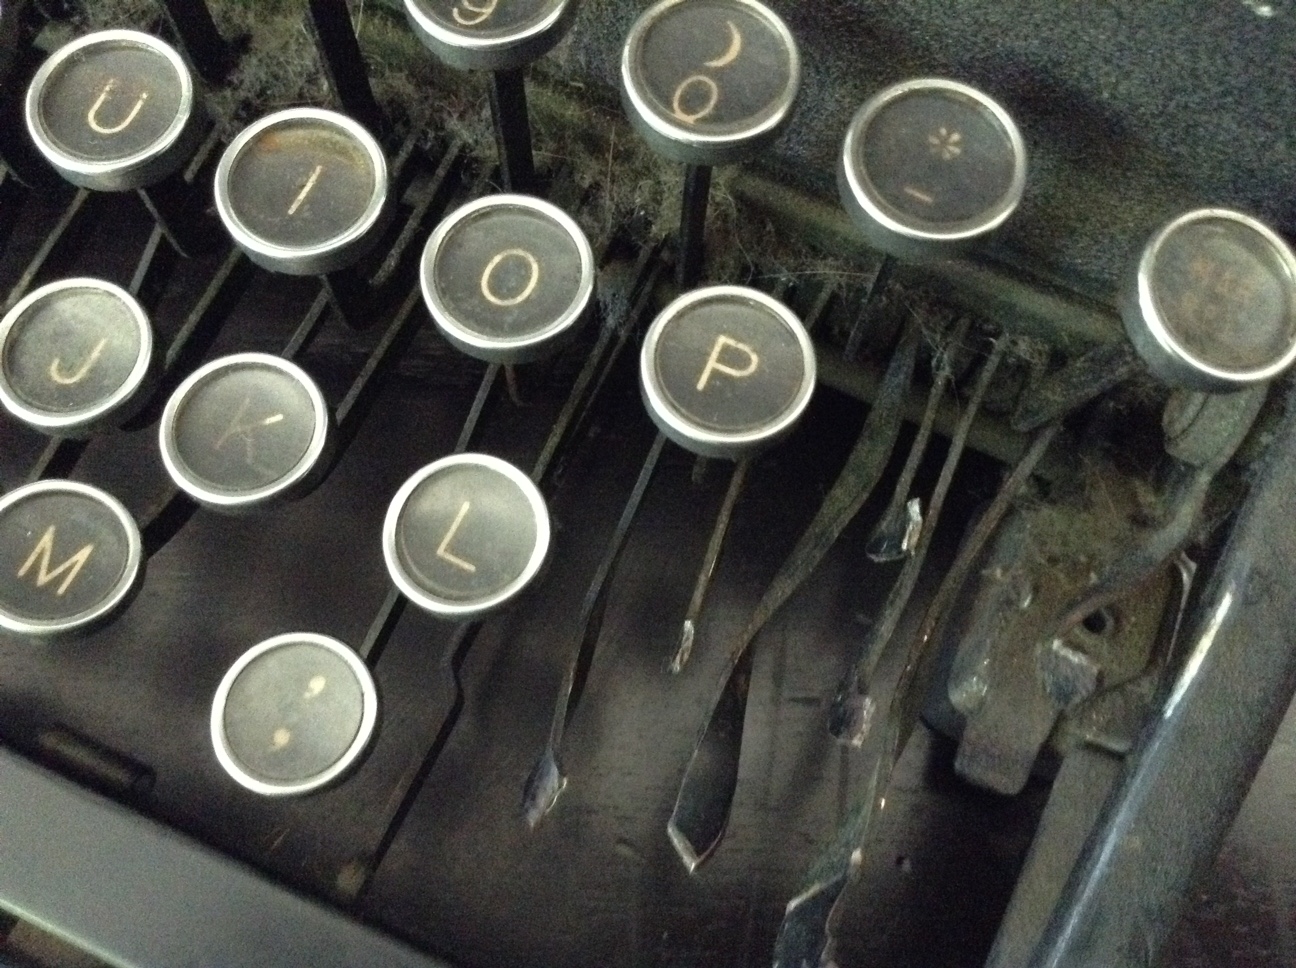
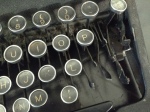
I cleaned the segment with denatured alcohol first and because the keys still felt sticky, mineral spirits afterwards. The keys on the right were particularly sticky. Did someone spill a Slurpee® into the segment?

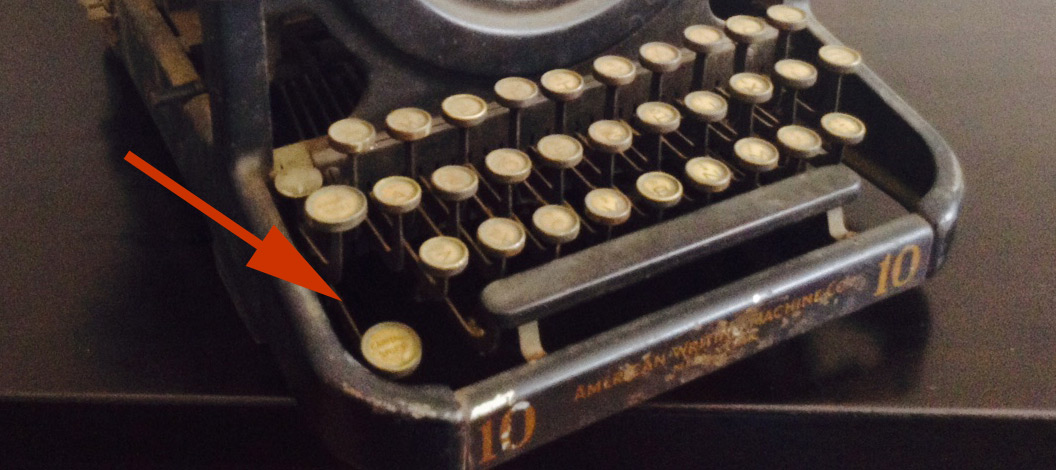
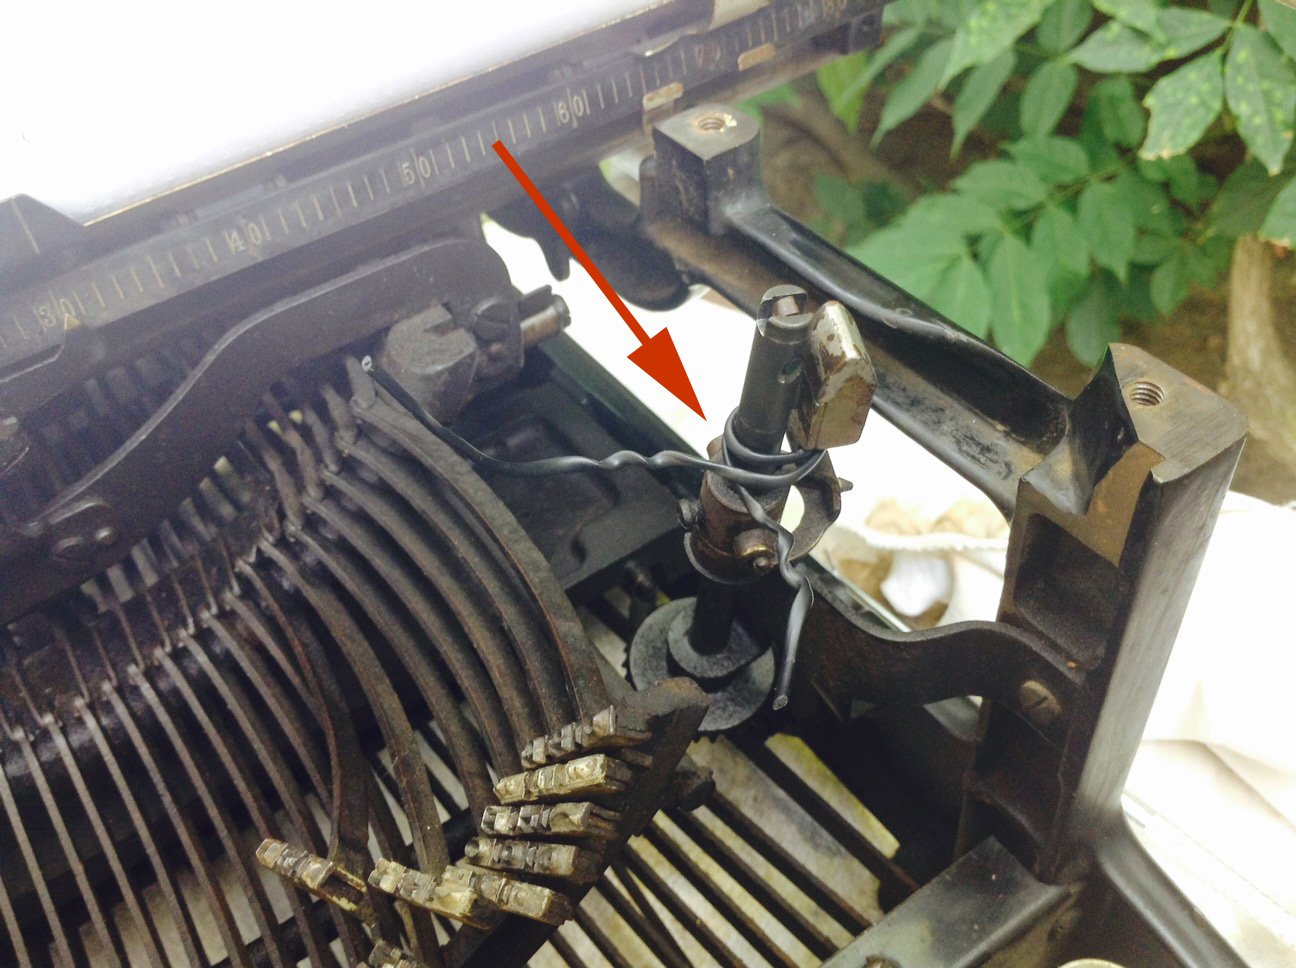
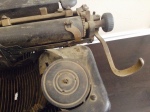
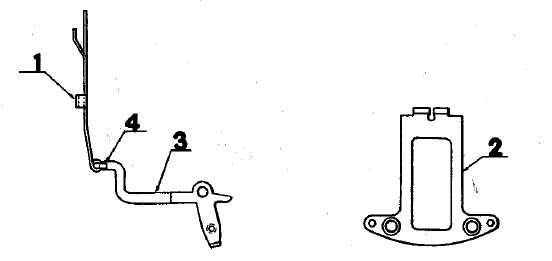
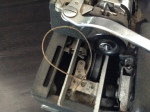
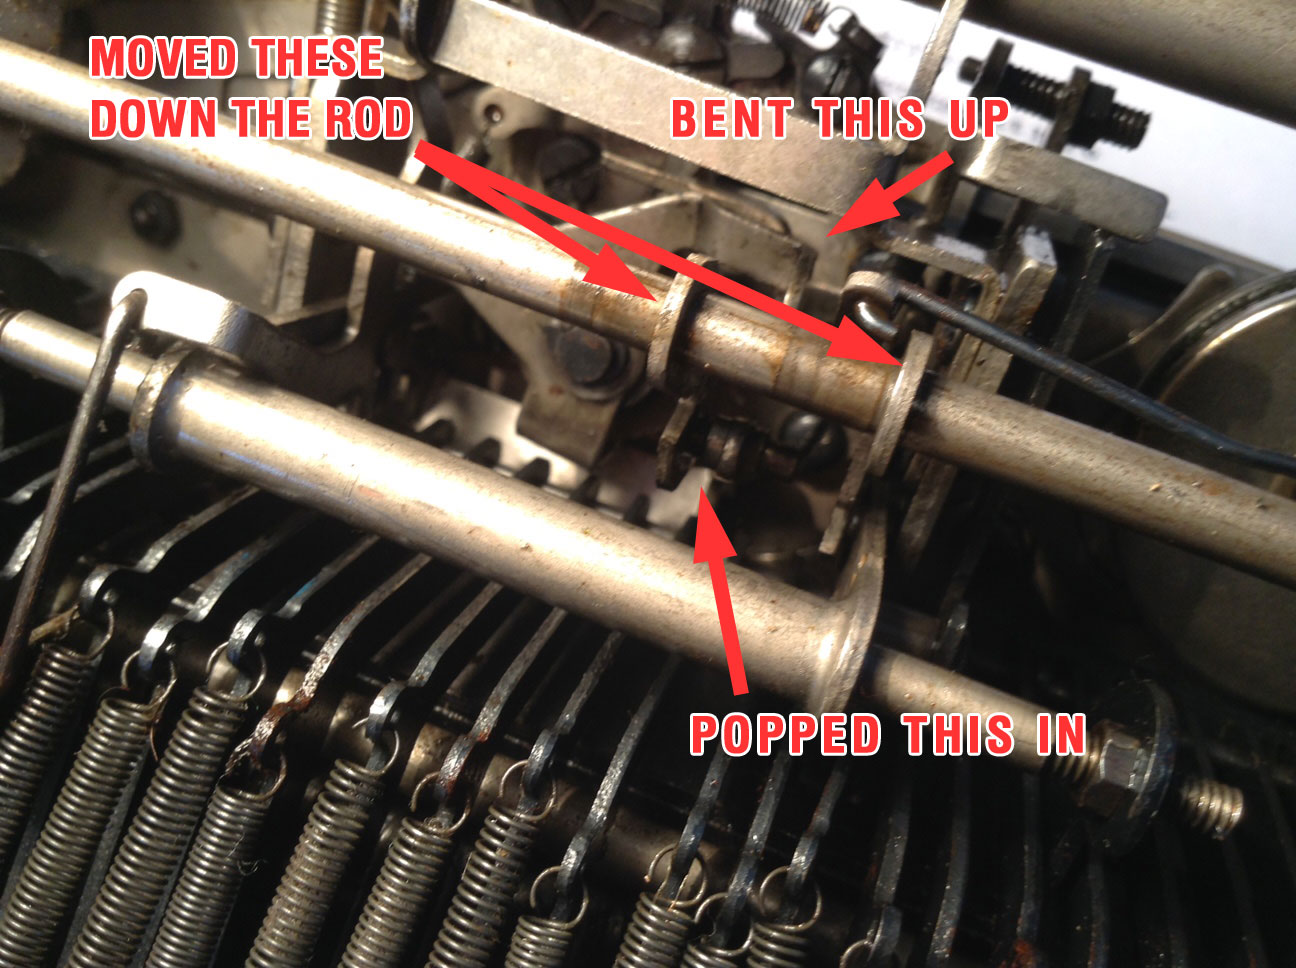
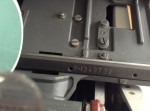
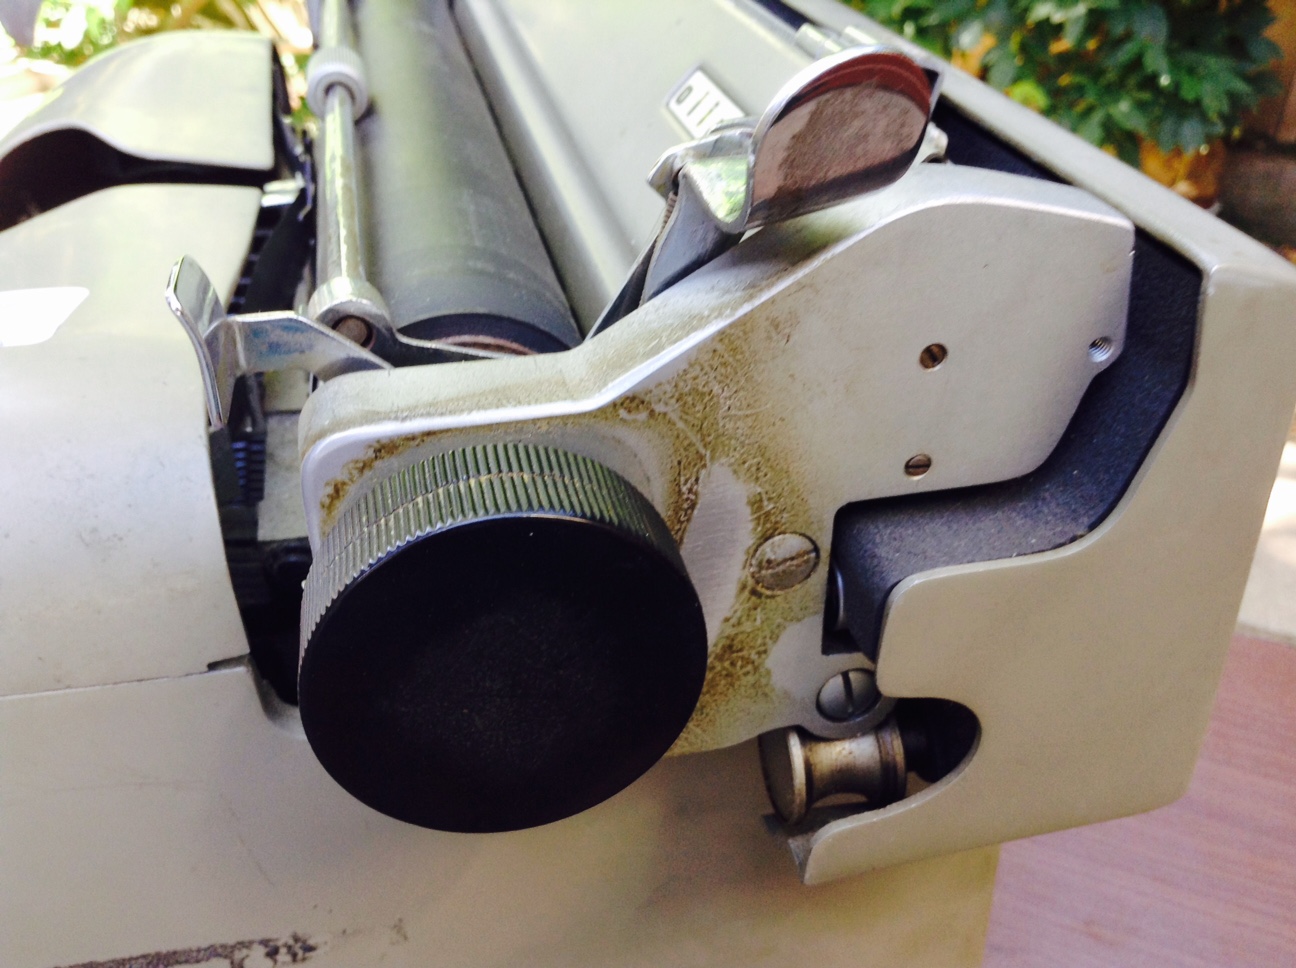
The margin release key was sunken – I followed the connector down and found that the lever had migrated out of its slot – popped it back in and all was well.
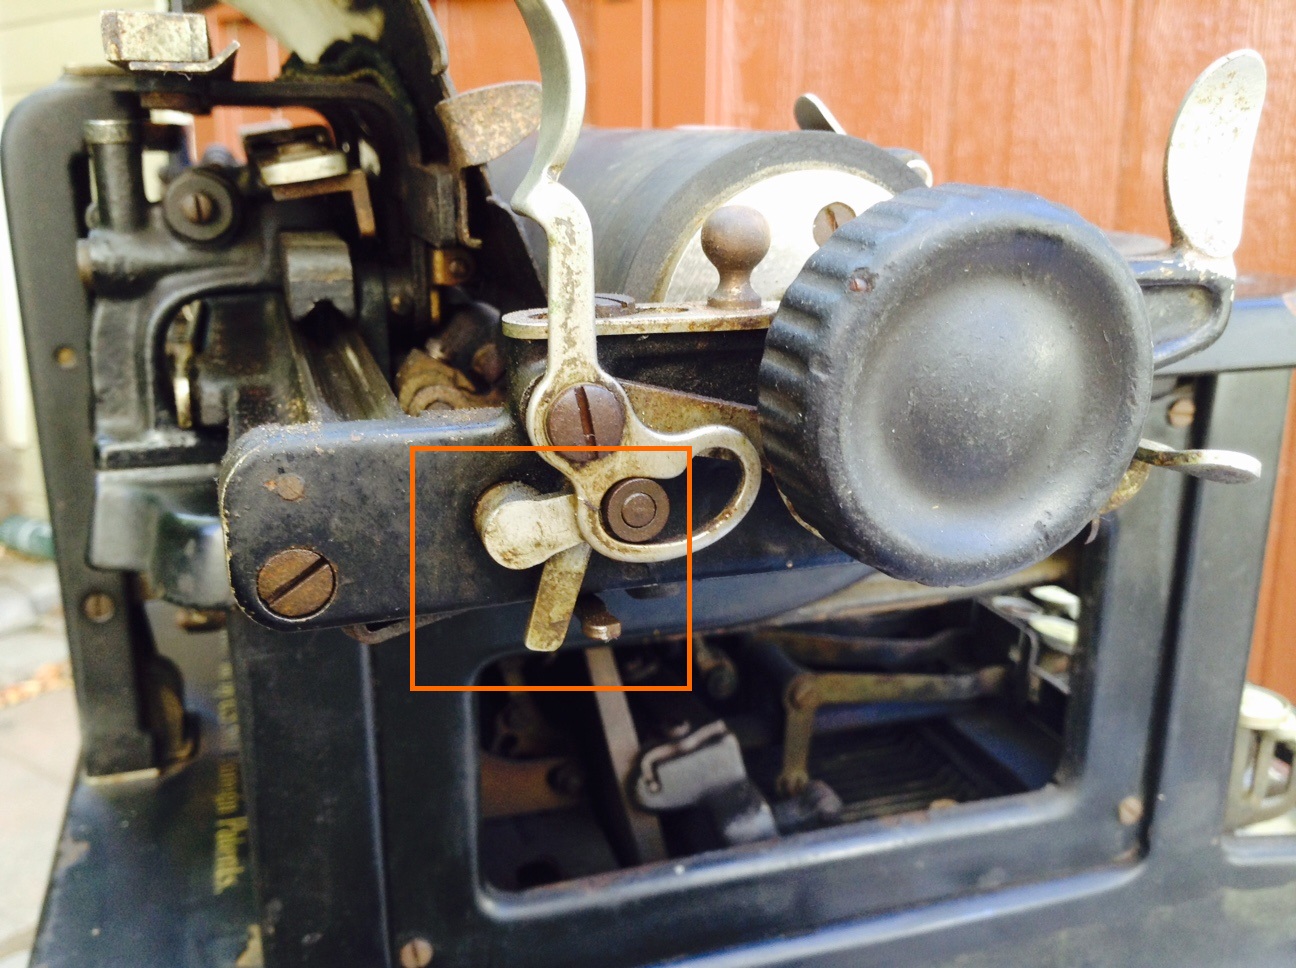
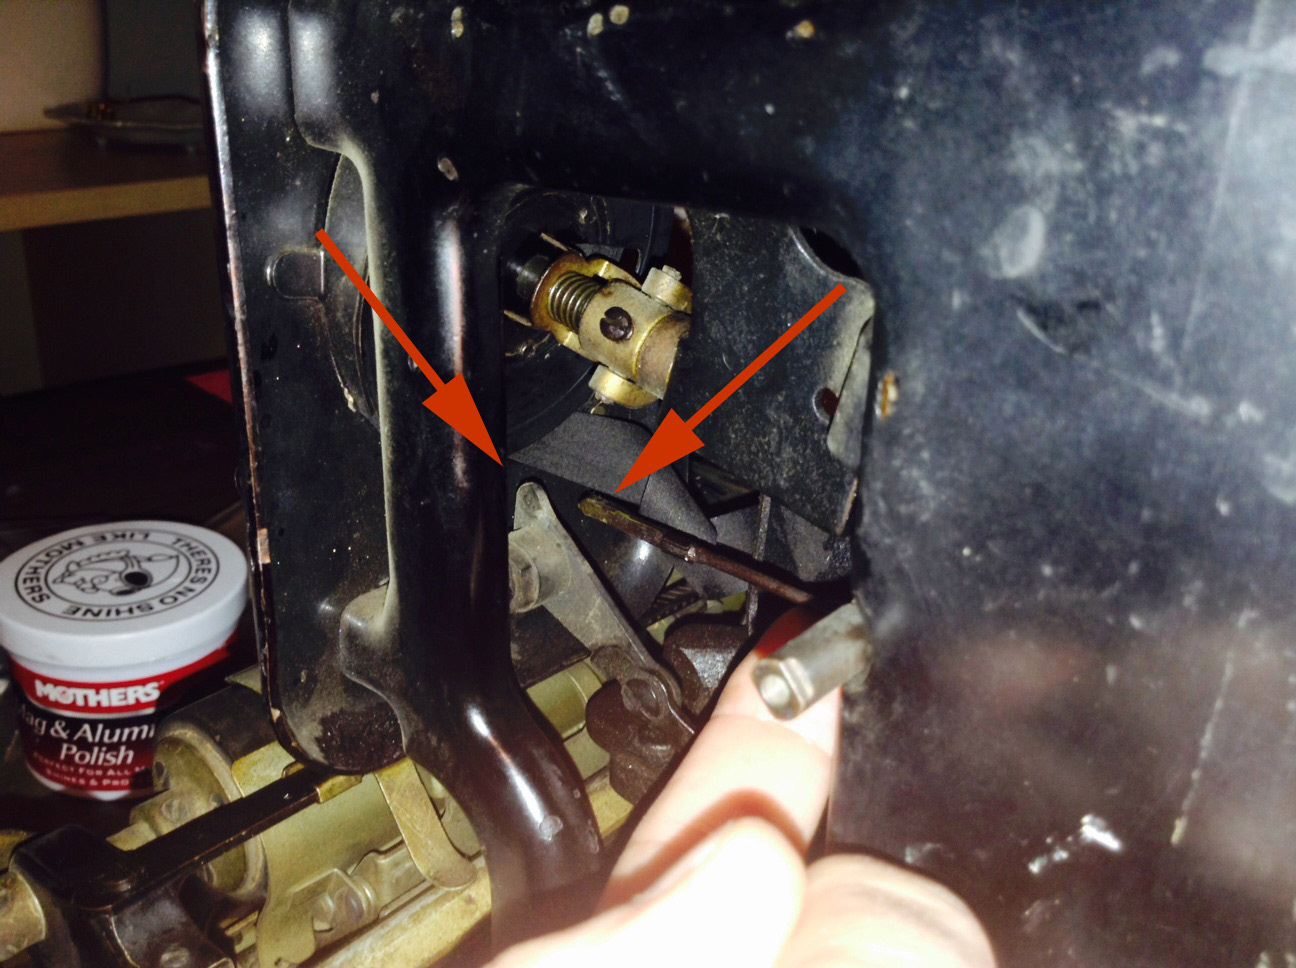
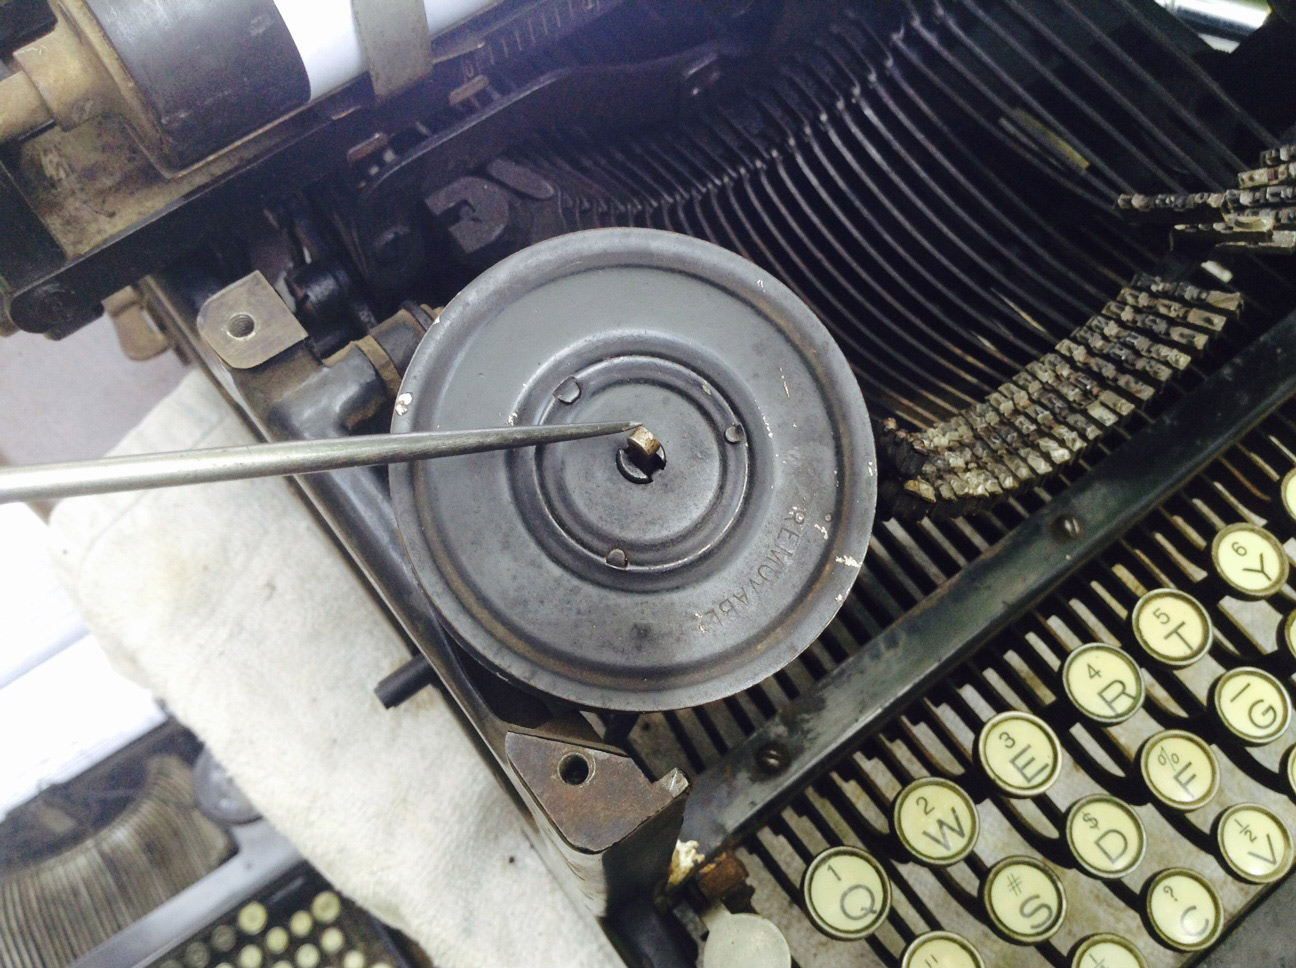
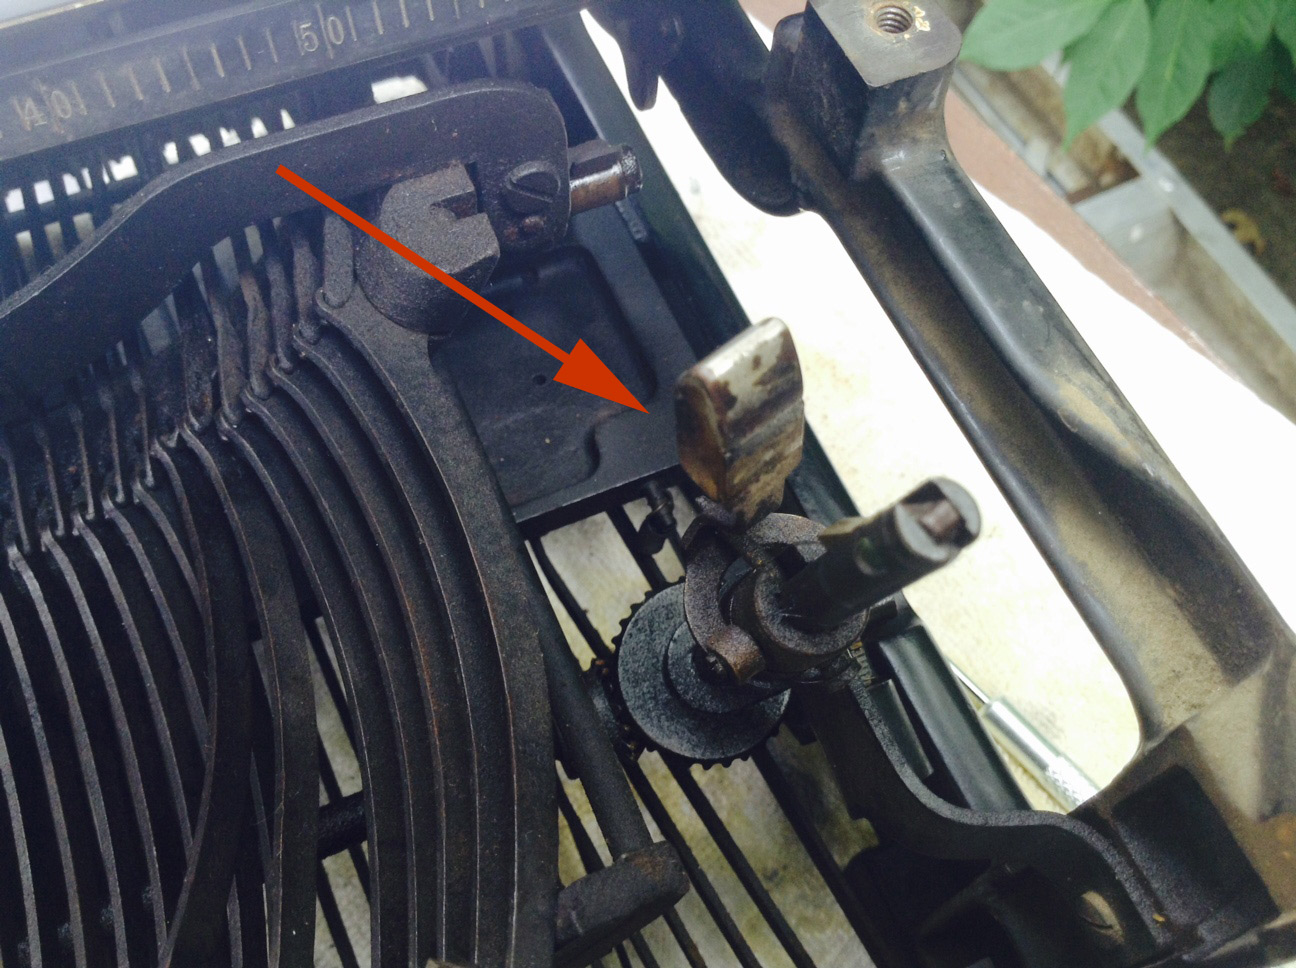
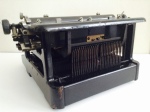
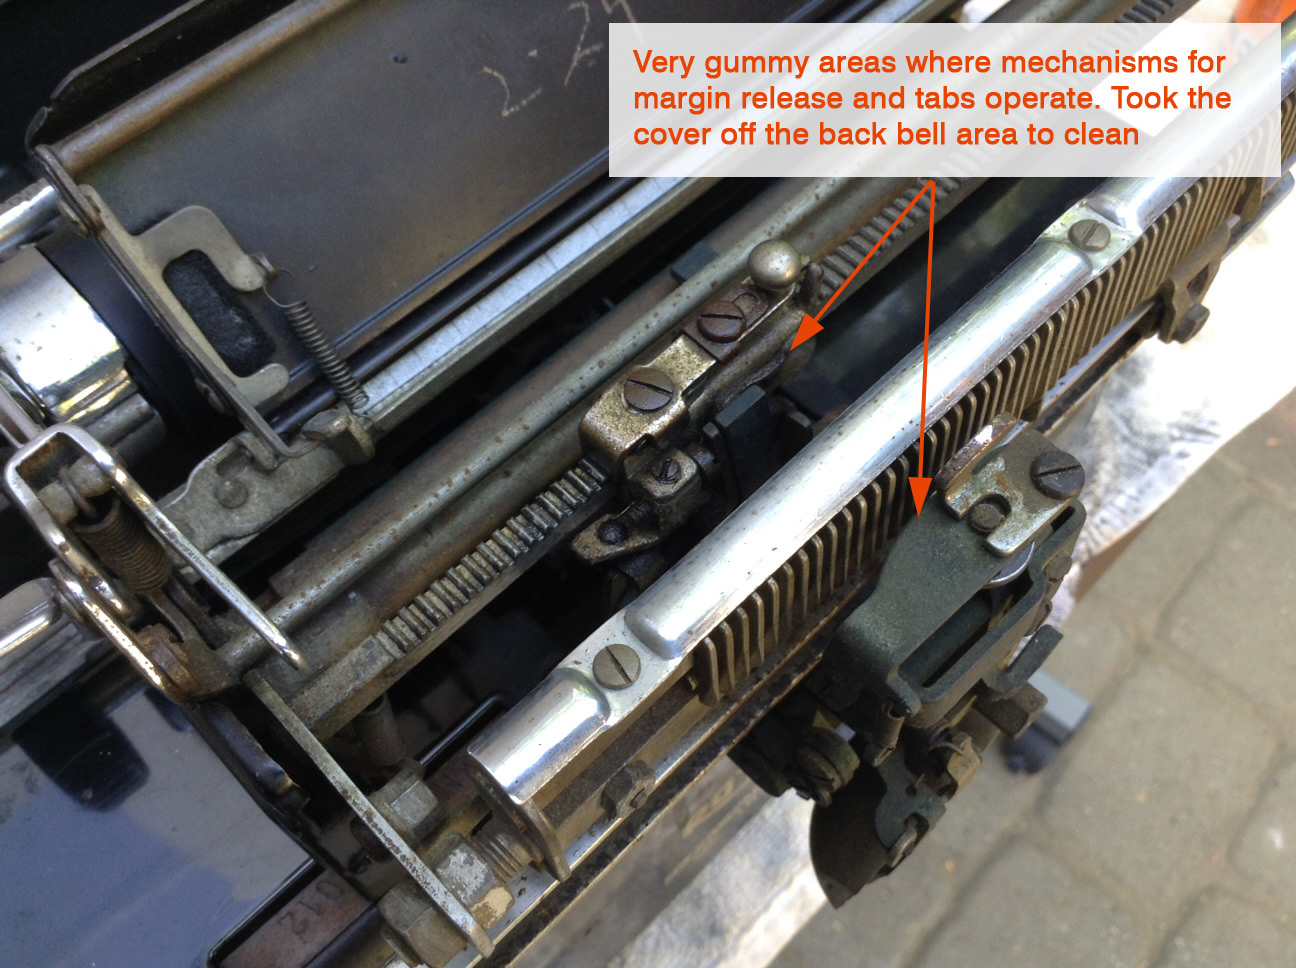
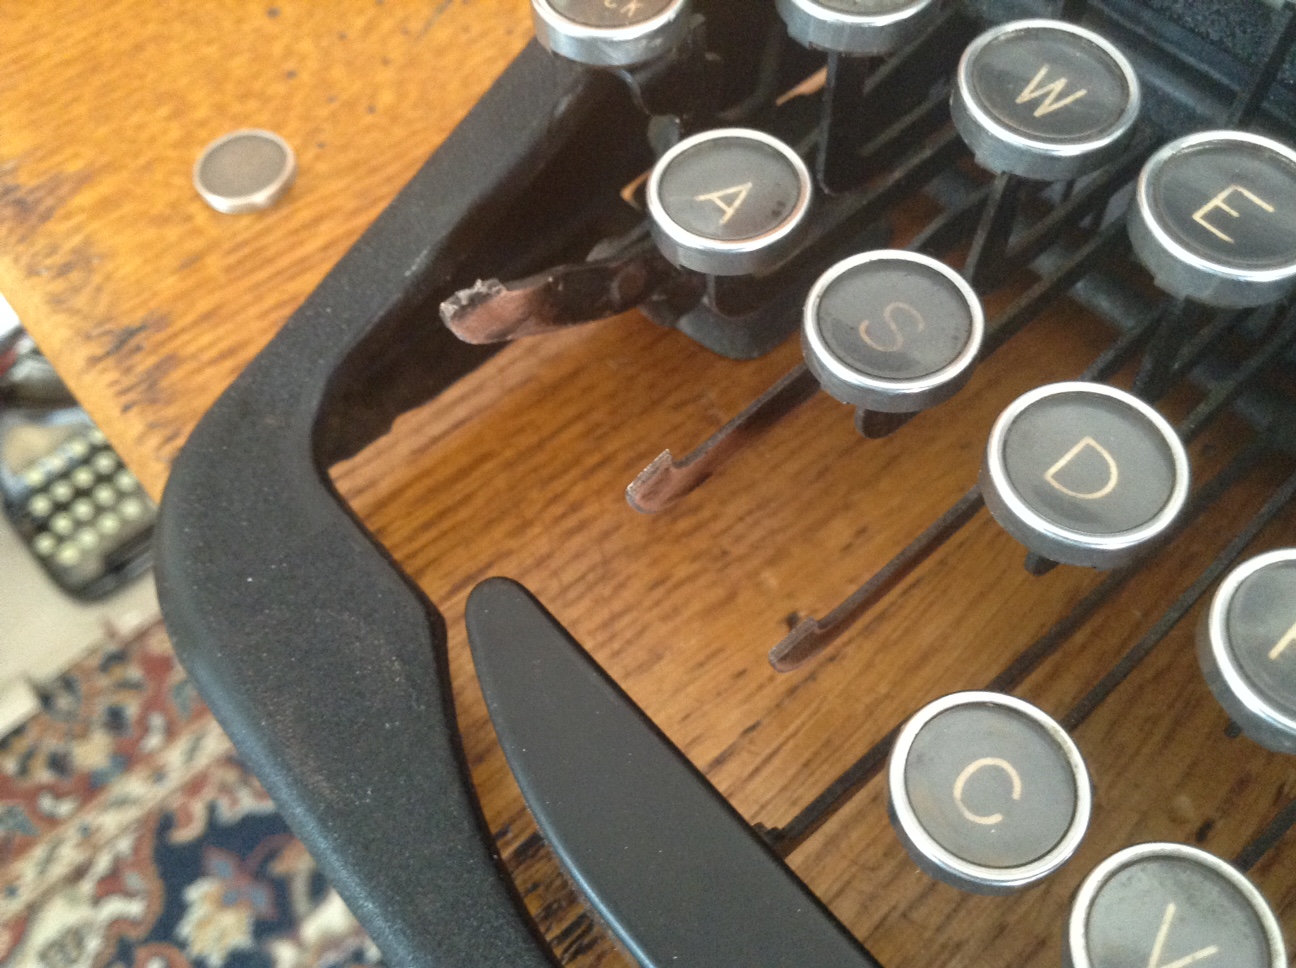
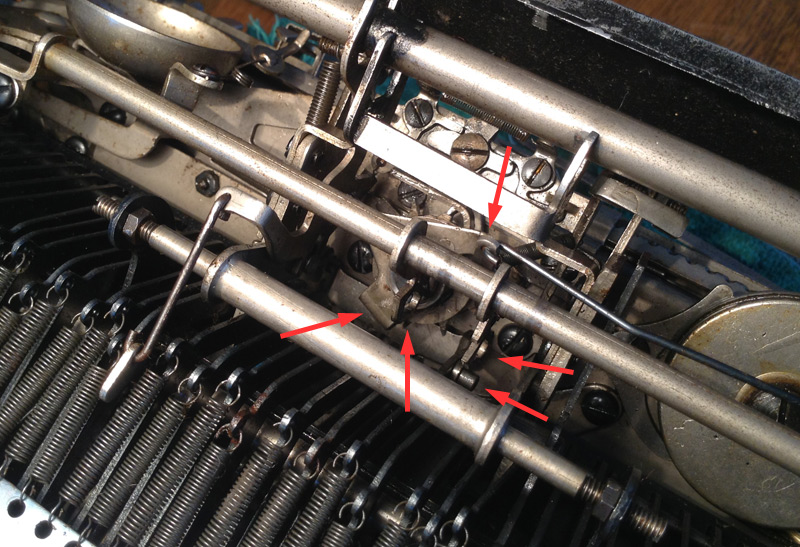
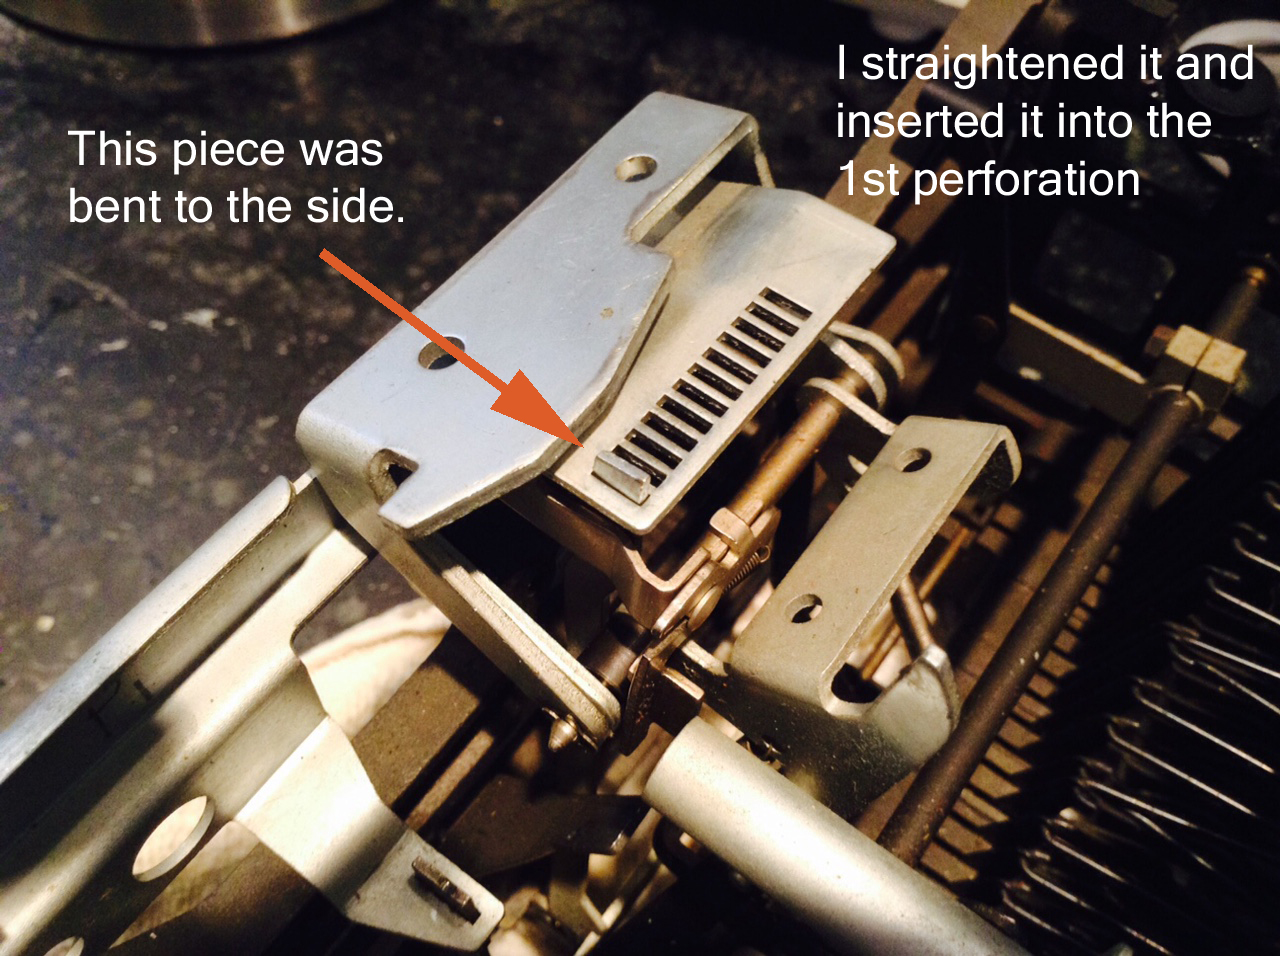
I don’t understand the tab mechanism very well. While cleaning the keyboard, I pressed on the tab key and it got stuck in a depressed state. I found that a small metal piece attached to the tabbing mechanism in back was bent to the side. It didn’t look right, so I straightened it out and it seemed to be work better. However, the tab key still felt gummy and the tabs weren’t working reliably.
“Not working reliably” is an understatement. After I put the machine back together, I tested setting and using tabs. It seemed to be working gummily but OK. Then I made the mistake of clearing all the tabs and hitting the tab key. Bad idea. the carriage whirled to the end of the line and upon return, did it again and again. I ended up manually lifting up on the gummy tab key and that seemed to correct the problem. I immediately set a tab so it wouldn’t happen again.
After the fact, I stumbled across Rob Bowker’s post on Graphika and Lexikon tabulator eccentricities. Good to hear that I’m not the only person to experience the strange tab behavior. My tab key felt stiff and gummy, so maybe gunk was causing a problem.
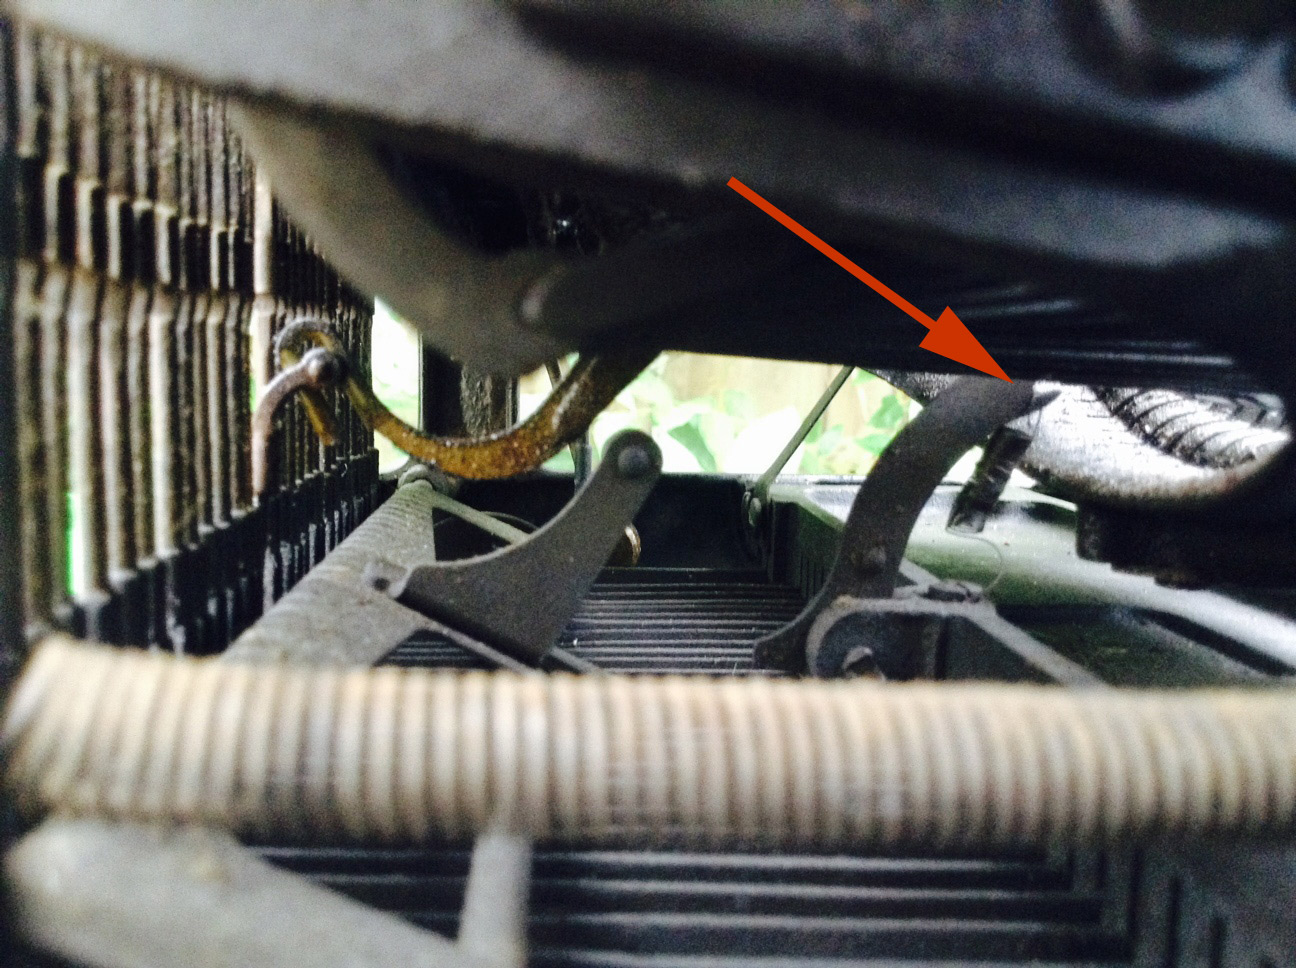
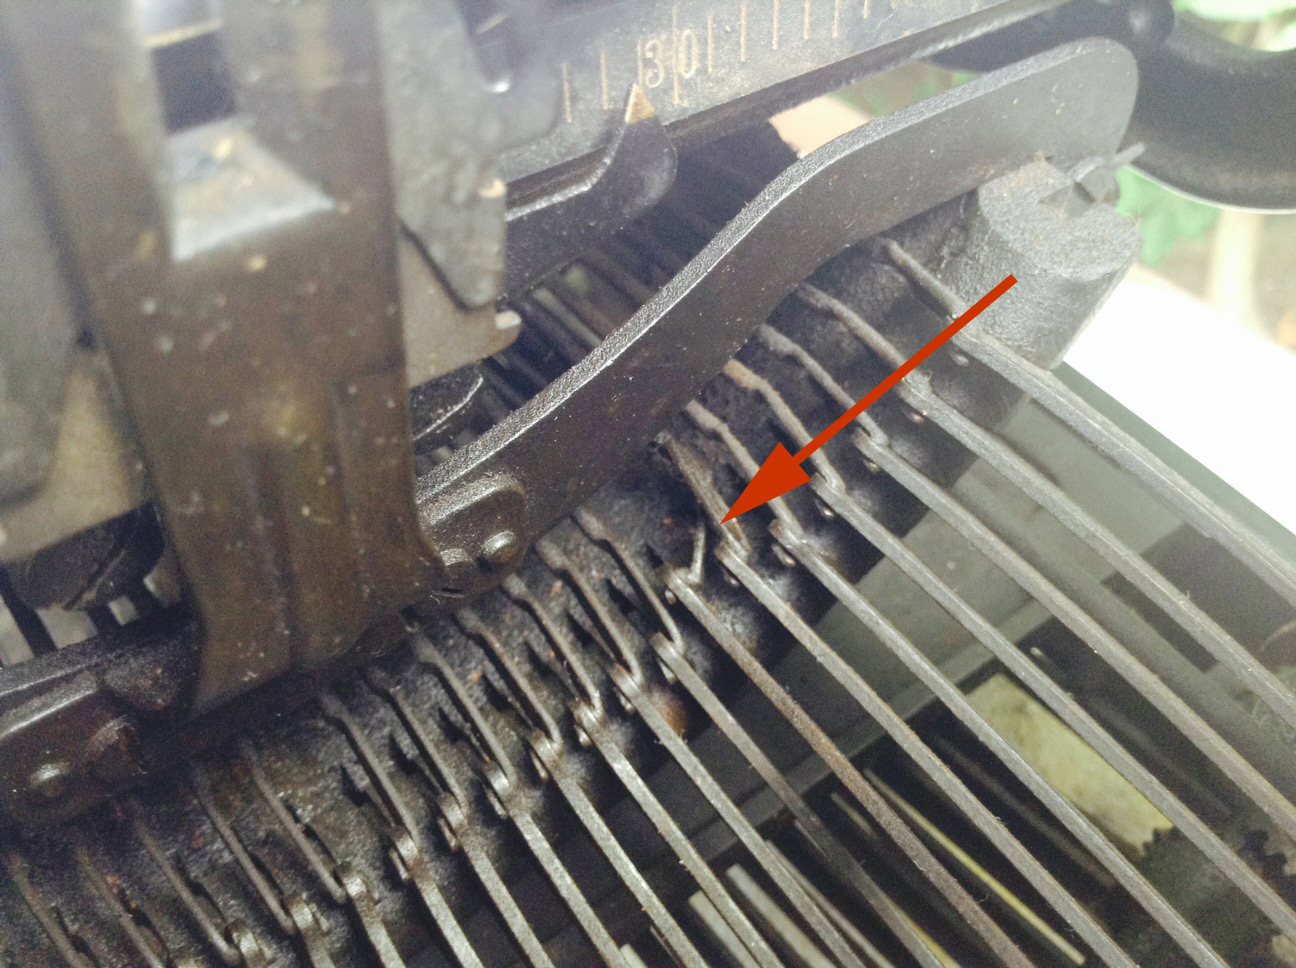
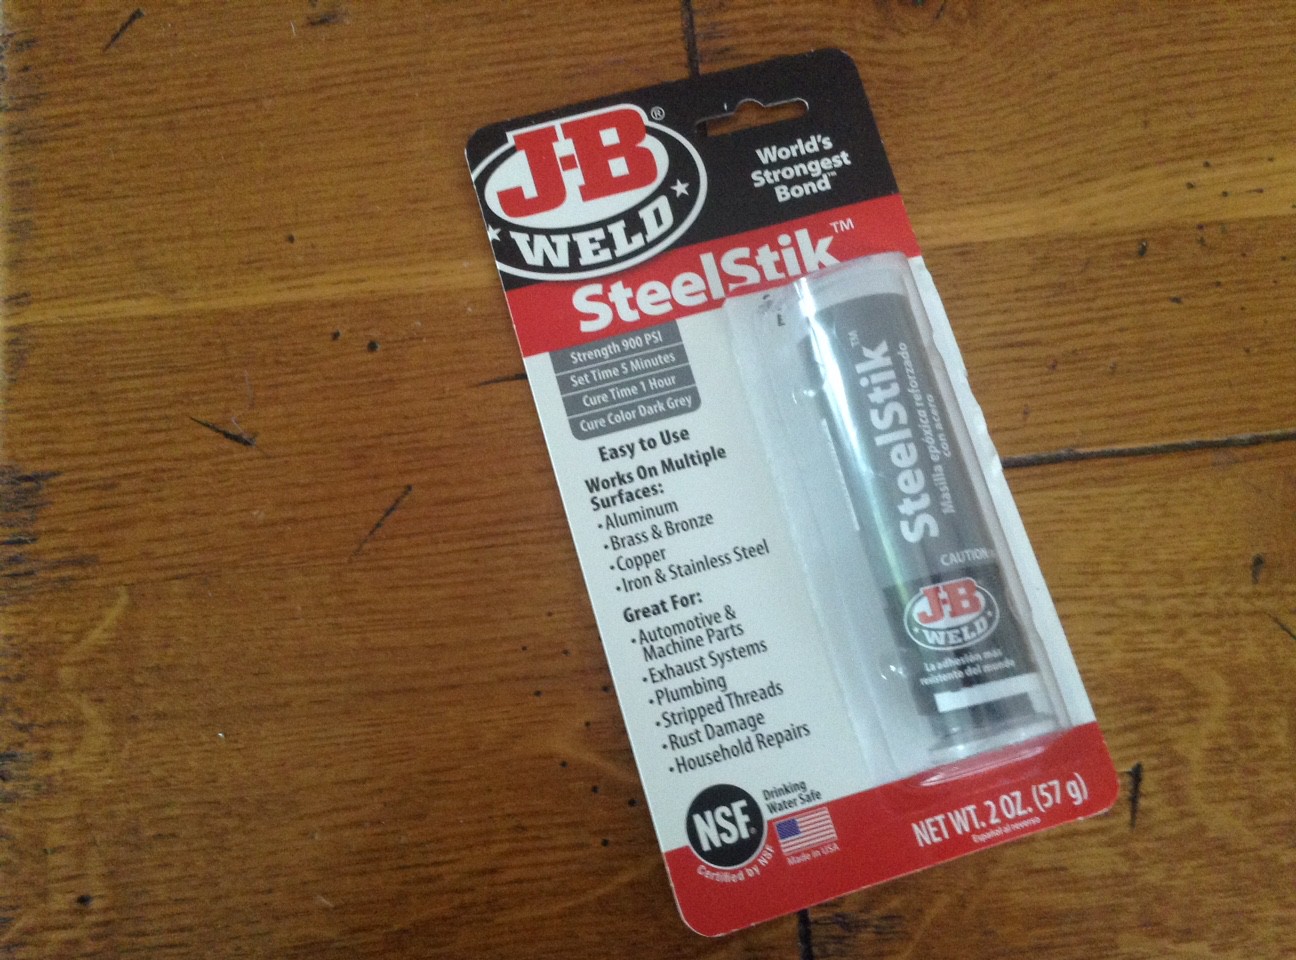
So I took the cover and carriage off again and examined all the moving parts of the tab mechanism. I applied PB B’laster Penetrating Catalyst to all the areas below and worked the tab mechanism with my hands. The gumminess receded and the tab key began to move freely.
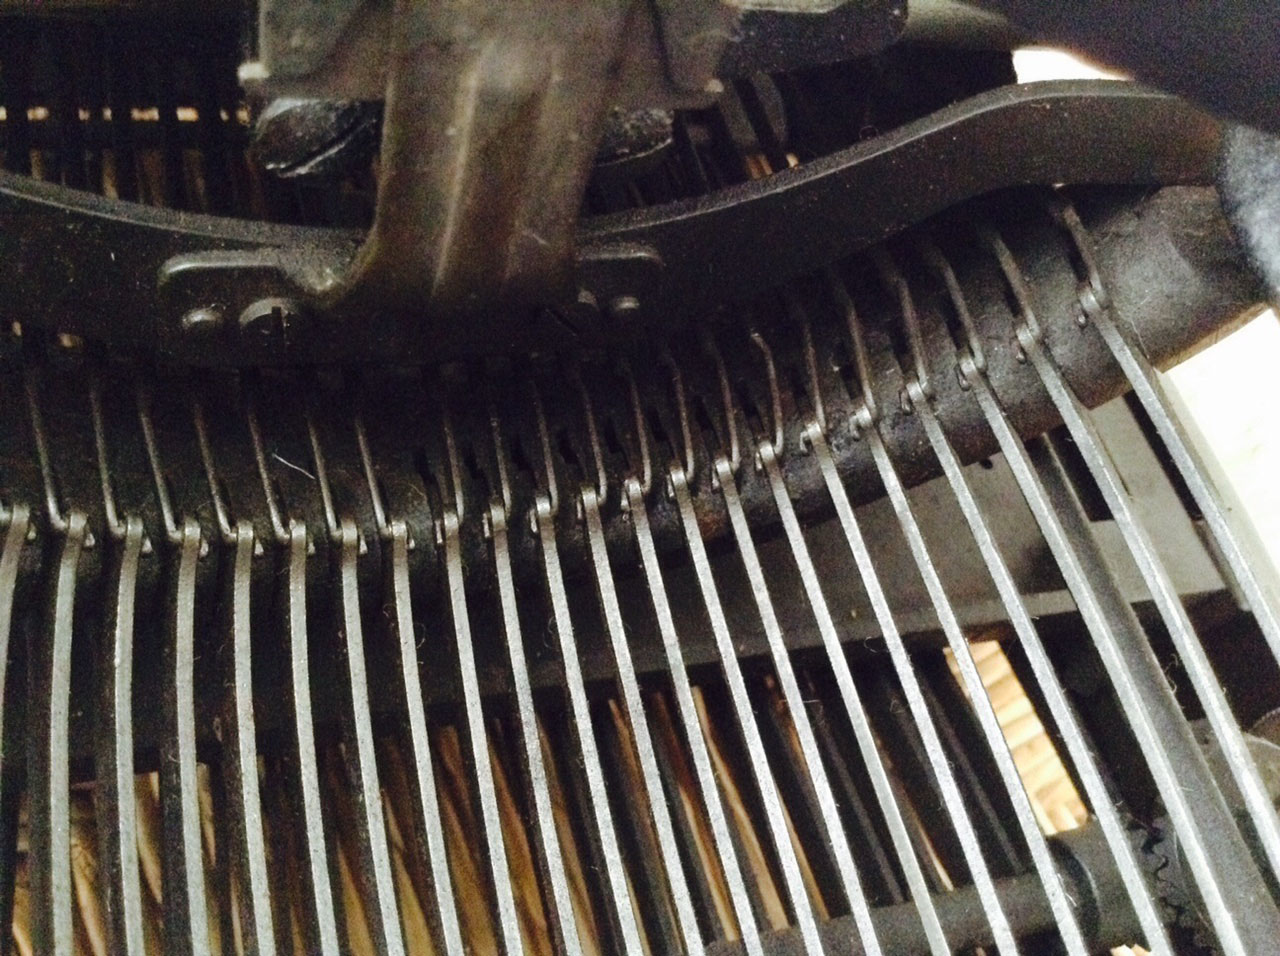
No set tabs – no problema! Works great now that it’s a bit cleaner and lubricated.

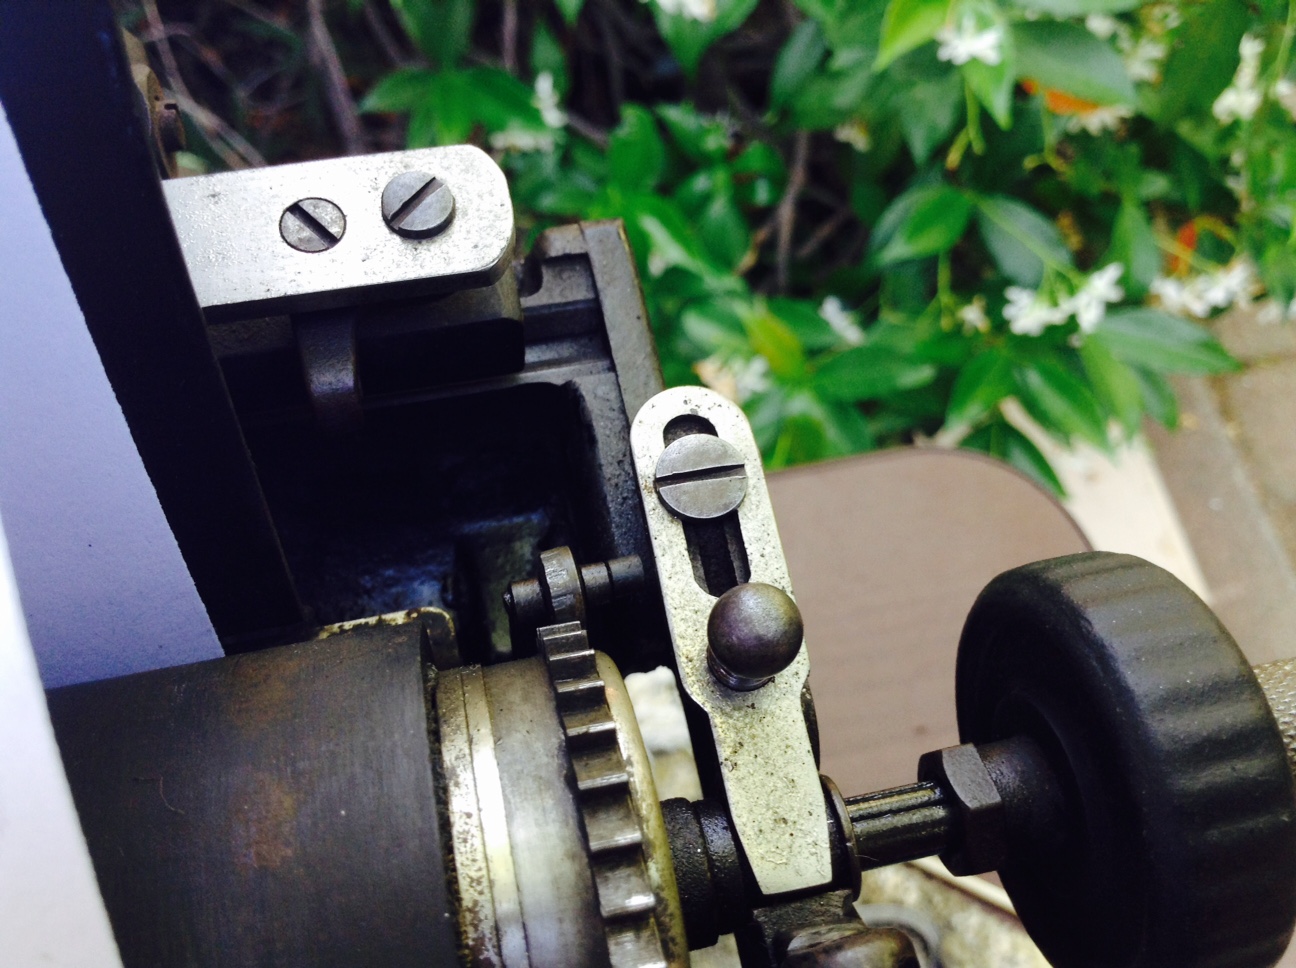
I applied PB B’laster to these areas. I had to hold a flat plate down with my finger so that I could freely work the tab key.
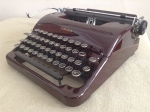
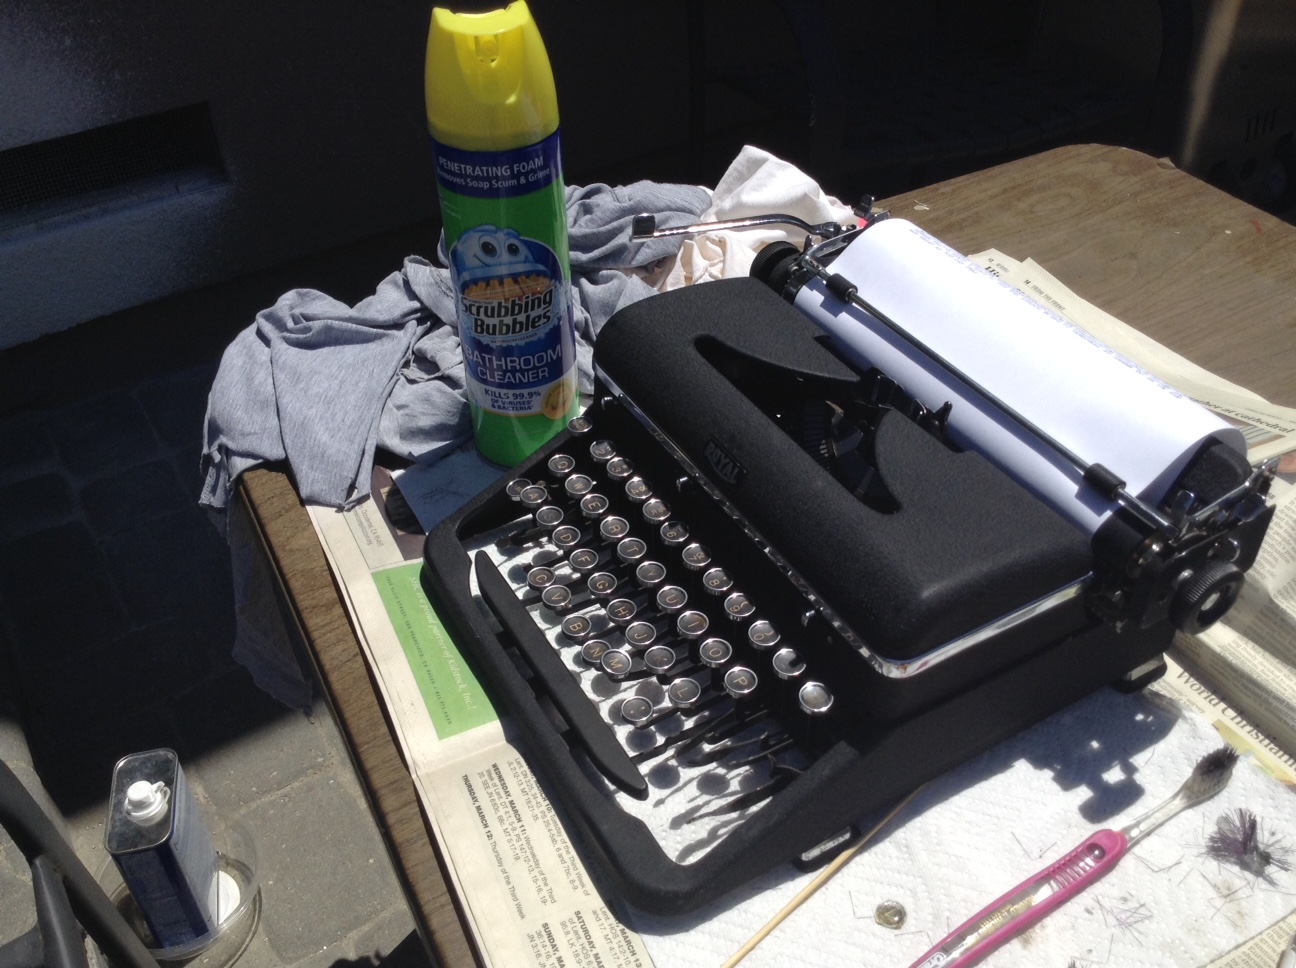
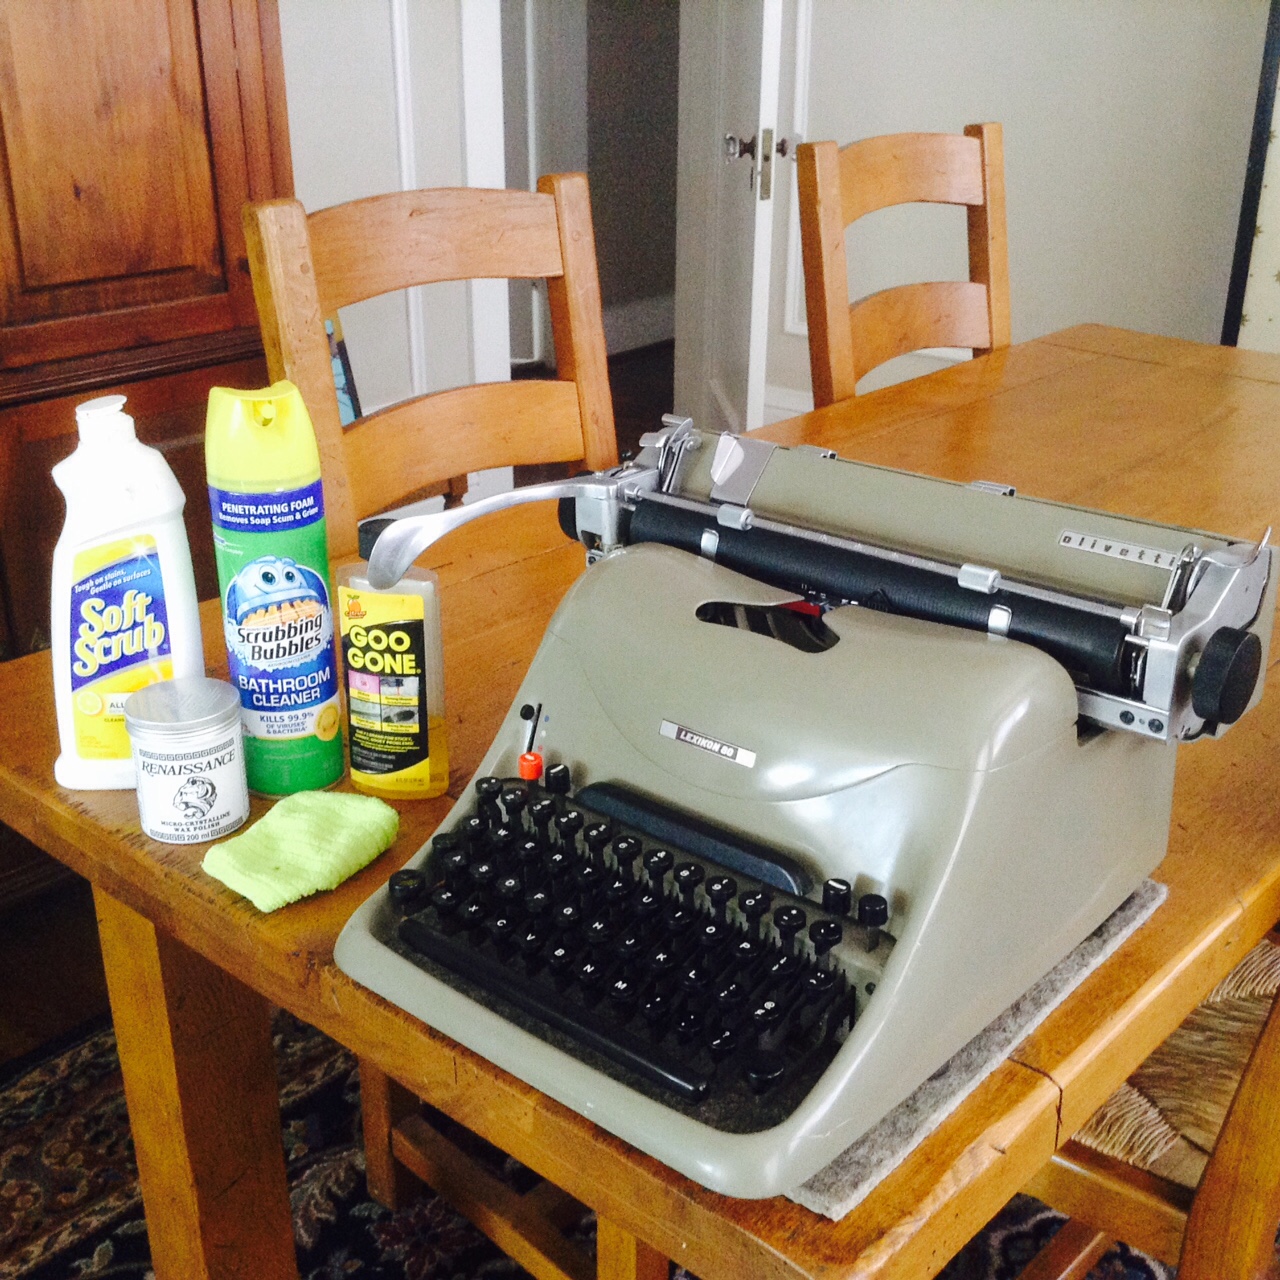
And more cleaning: I cleaned the cover with a little Soft Scrub – it’s a mild abrasive. It did a great job on the scaly grime, but I found that it was the Scrubbing Bubbles that really tore through the discolored dinge-colored grime. The hard enameled paint withstood the Soft Scrub and Scrubbing Bubbles treatment. I was cautious because some typewriters have very delicate paint. I used Goo Gone for thick areas of rubber and tape residue. Areas of the cover that I thought were scraped and damaged were actually just scaly with grime. After cleaning, the Lexikon looked a little vulnerable and naked without her covering of scaly grunge, so I gave the cover a good protective coating with Renaissance Wax. I love the pretty greenish-taupe that was hiding under the dirt.


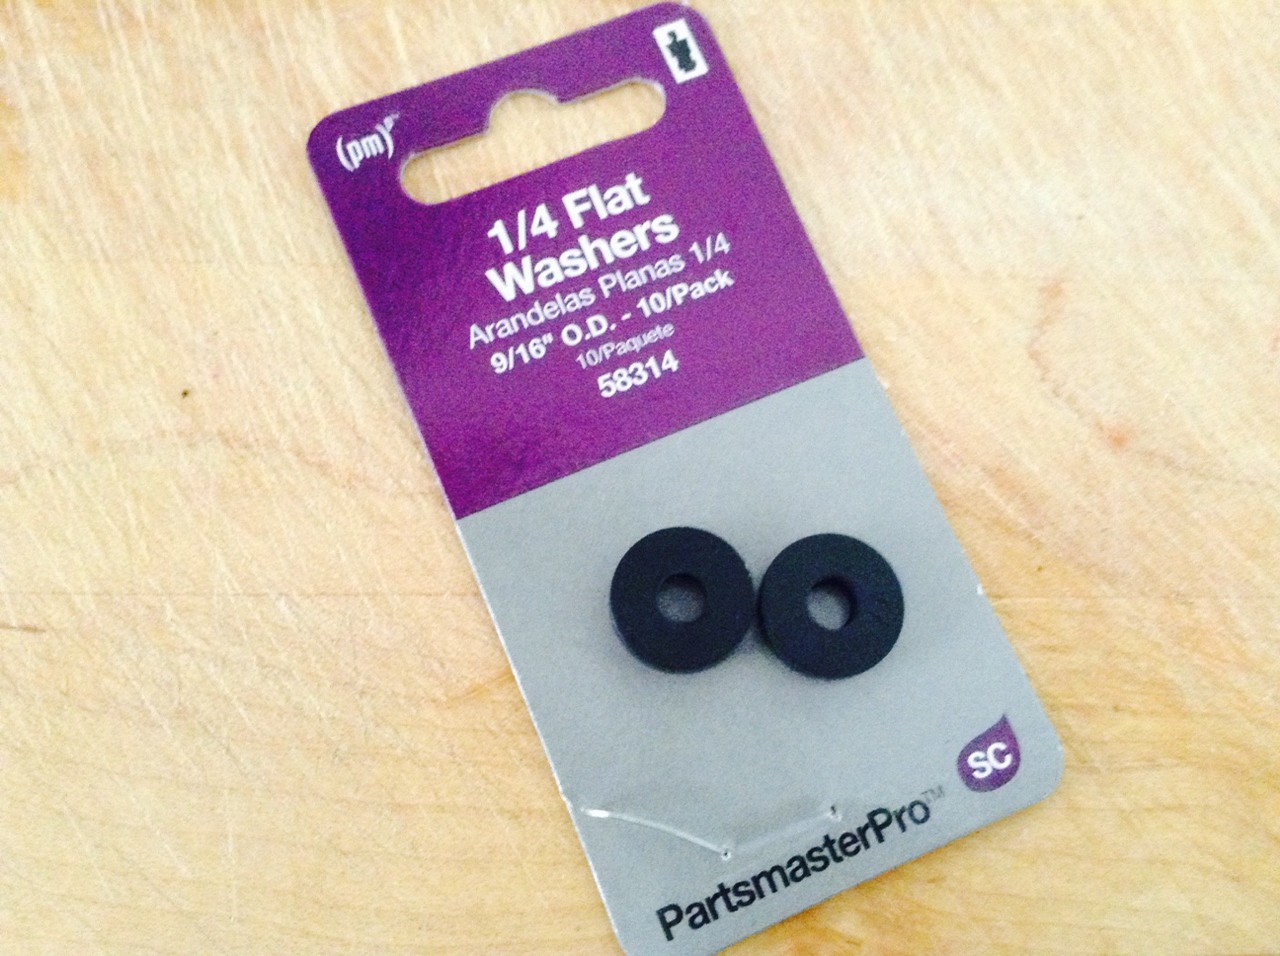
The originally washers were sticky globs of melted goo – a horrible mess. I scraped them off and cleaned the areas with Goo Gone and denatured alcohol.
I found replacement rubber washers at Home Depot that were sort of hard to the touch, but they did the job.

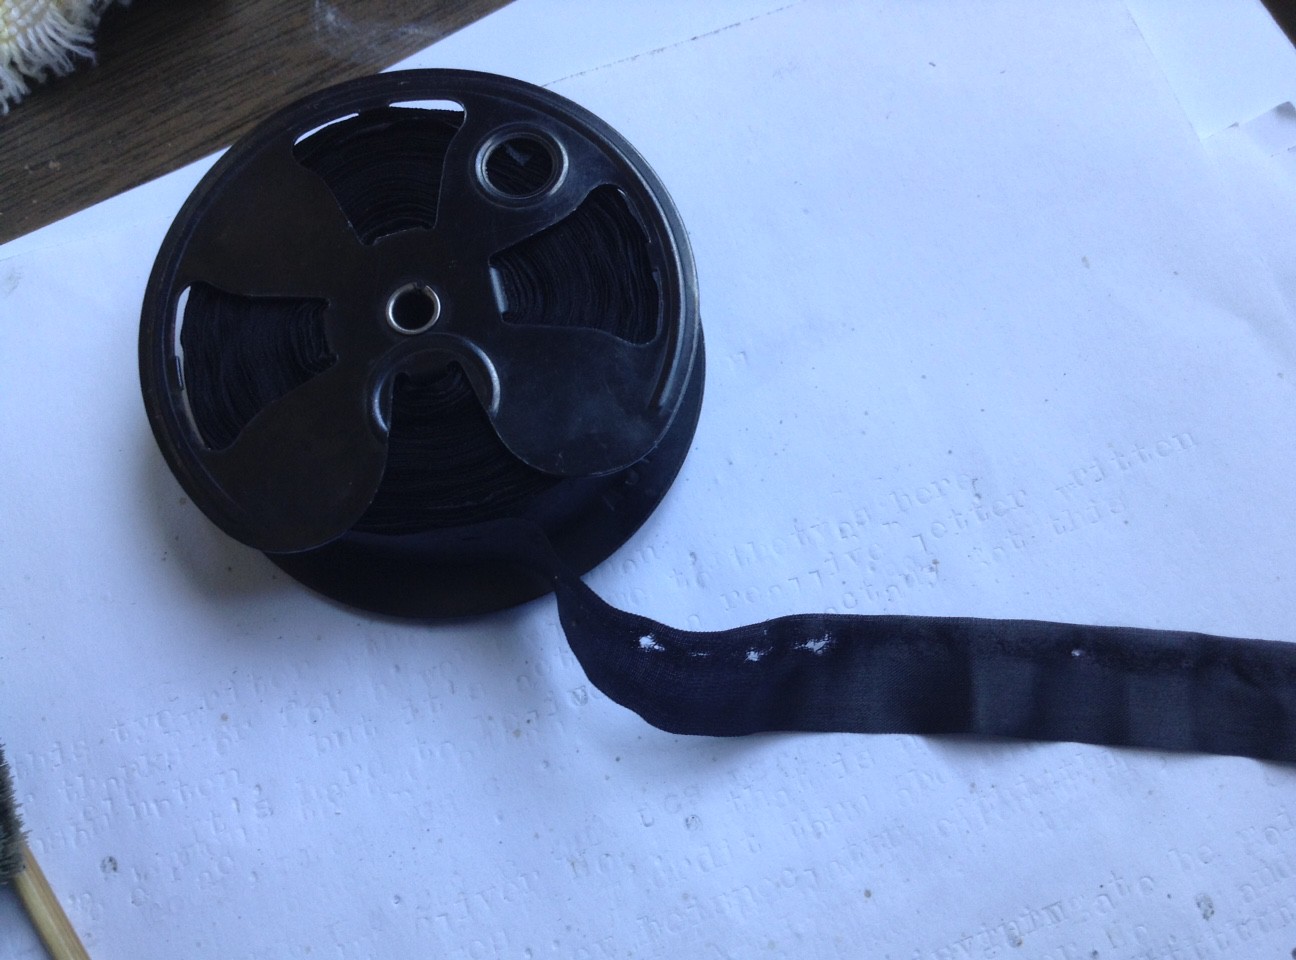
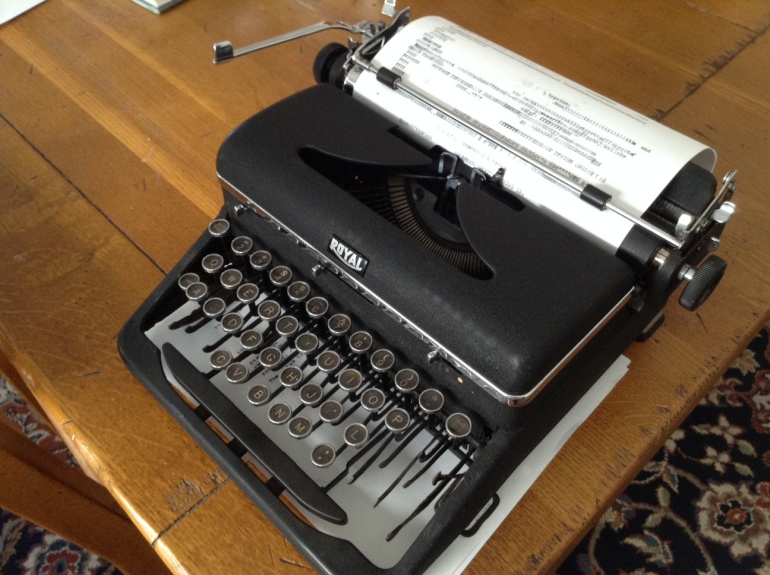
I was able to reattach the carriage without much drama. A good wiggle and it was back on. I inserted a new ribbon and fired up the machine.
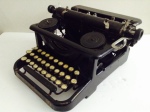
Clean
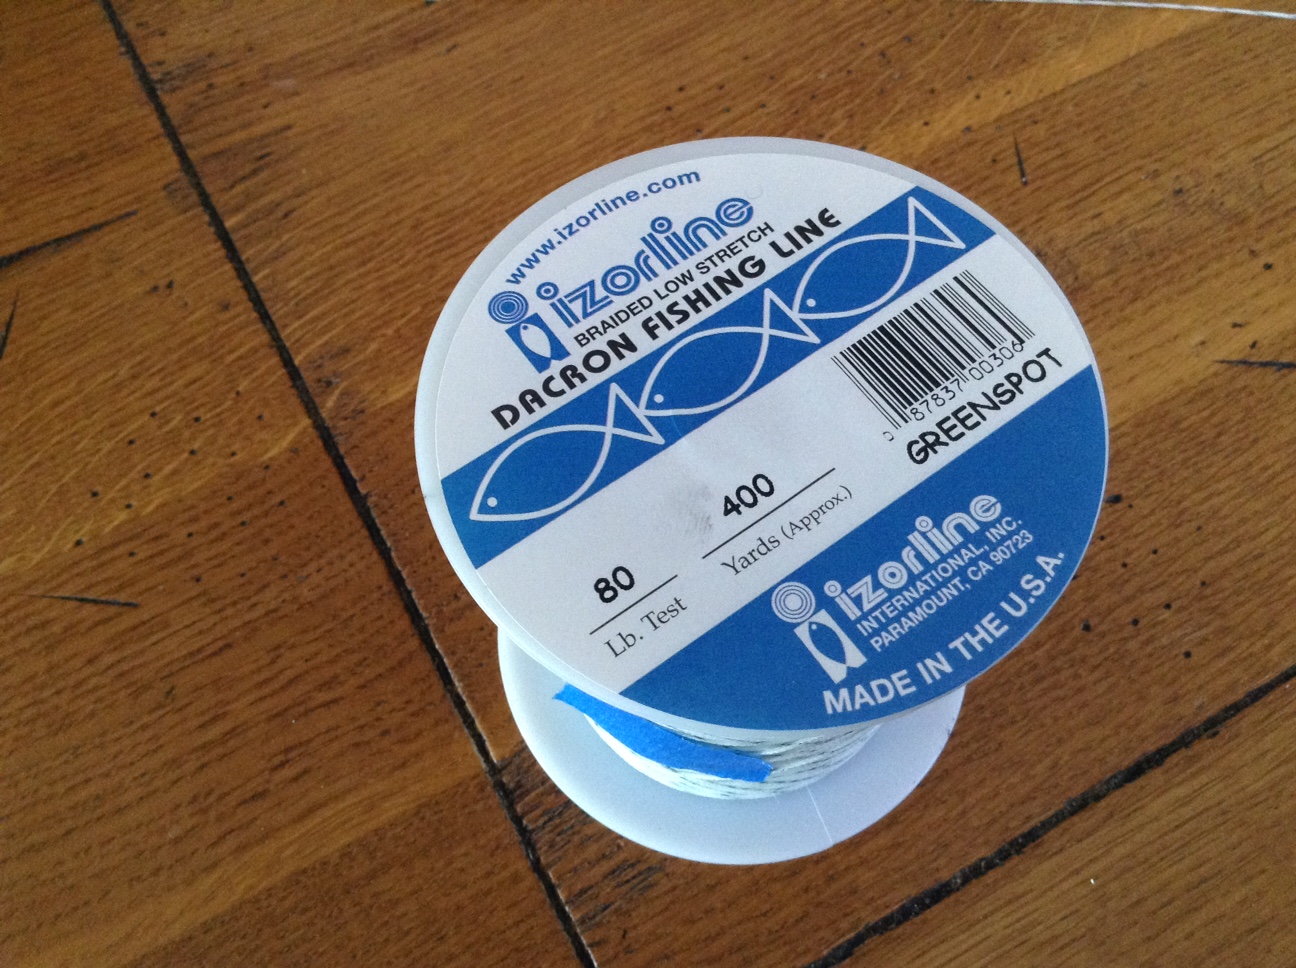
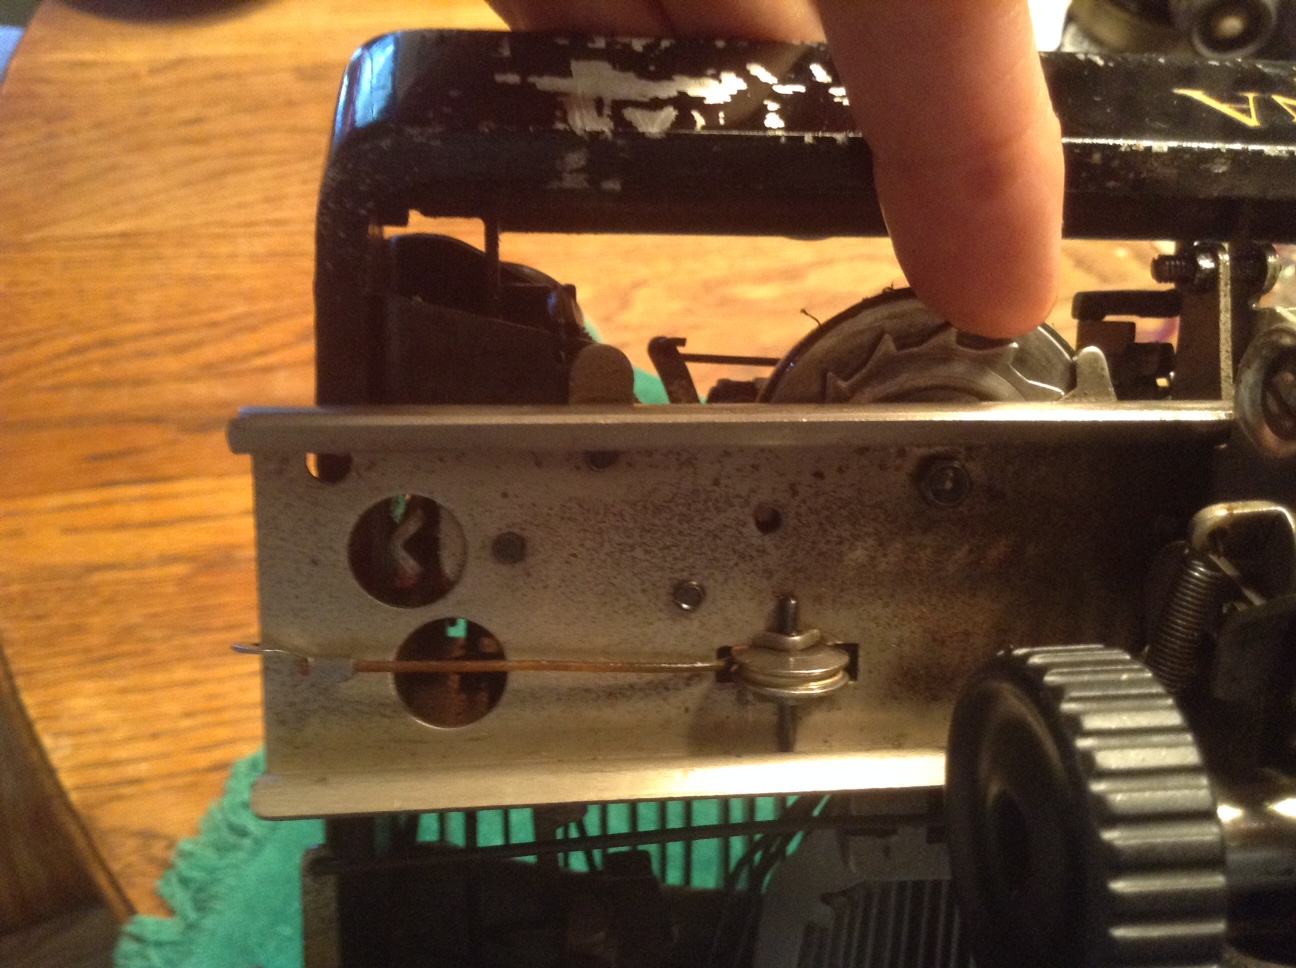
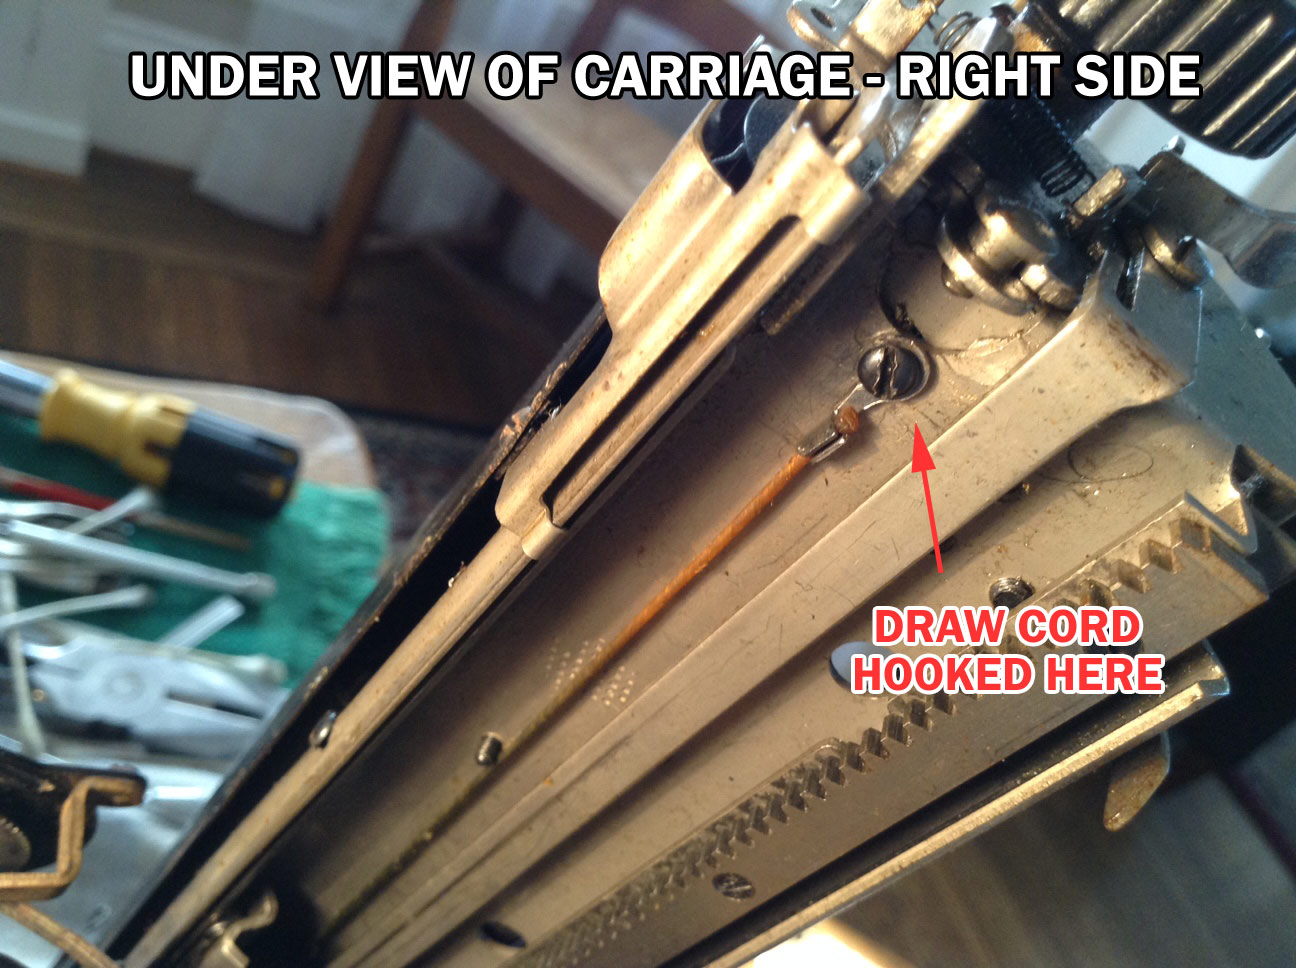
I wanted to give the keys some exercise and began a letter to a fellow typospherian. I got halfway through the first page when I heard a snap and a zing and found the draw band snapped. Good Grief, Charlie Brown!

I sighed, pulled out my 80lb fishing line (suitable for deep sea ocean fishing and typewriter repair) and got to work. I decided to salvage the end hook that attaches to the carriage frame.
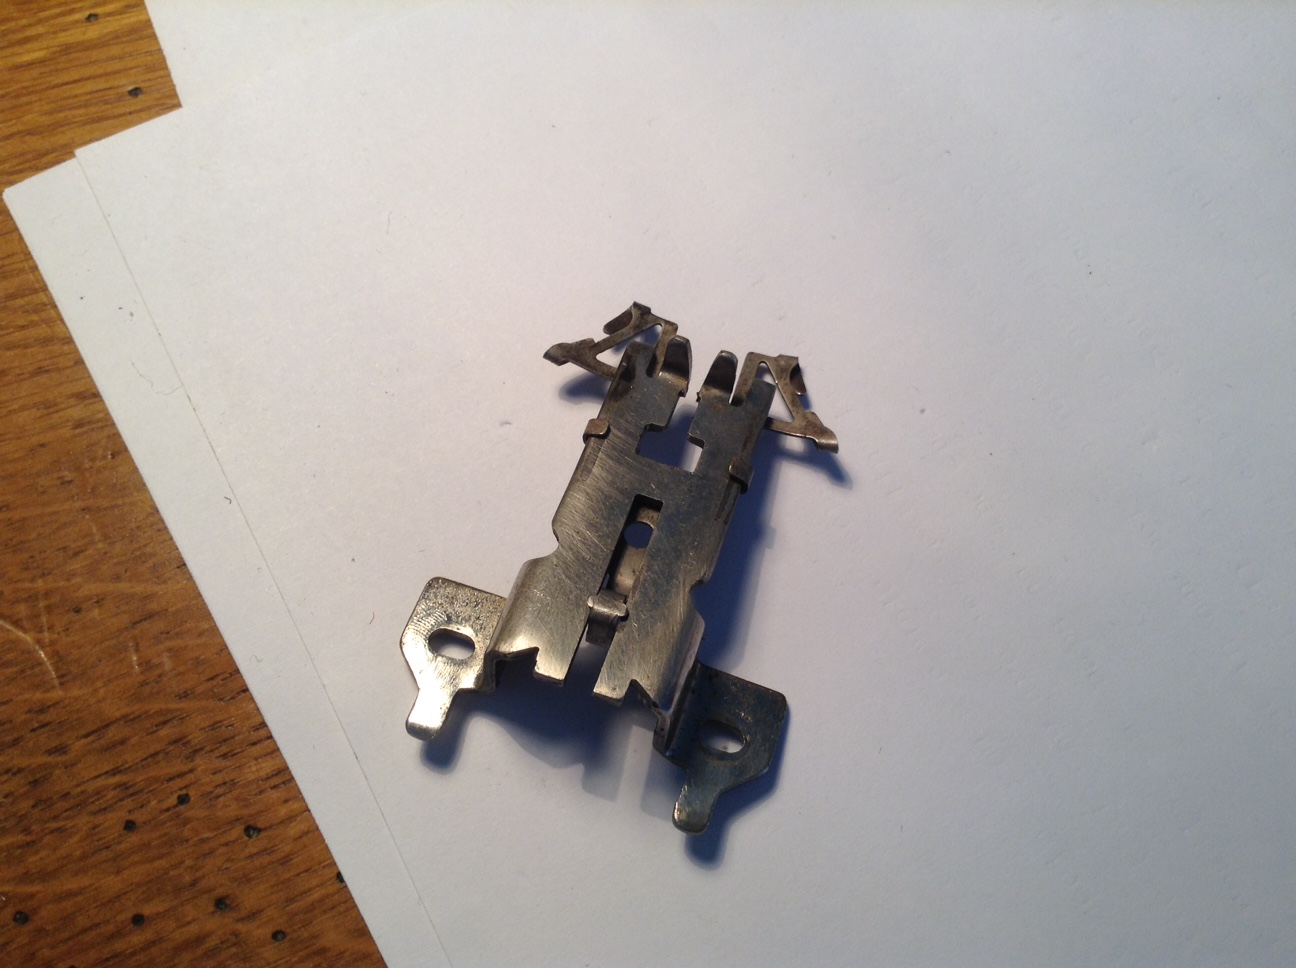
 Salvaged hook
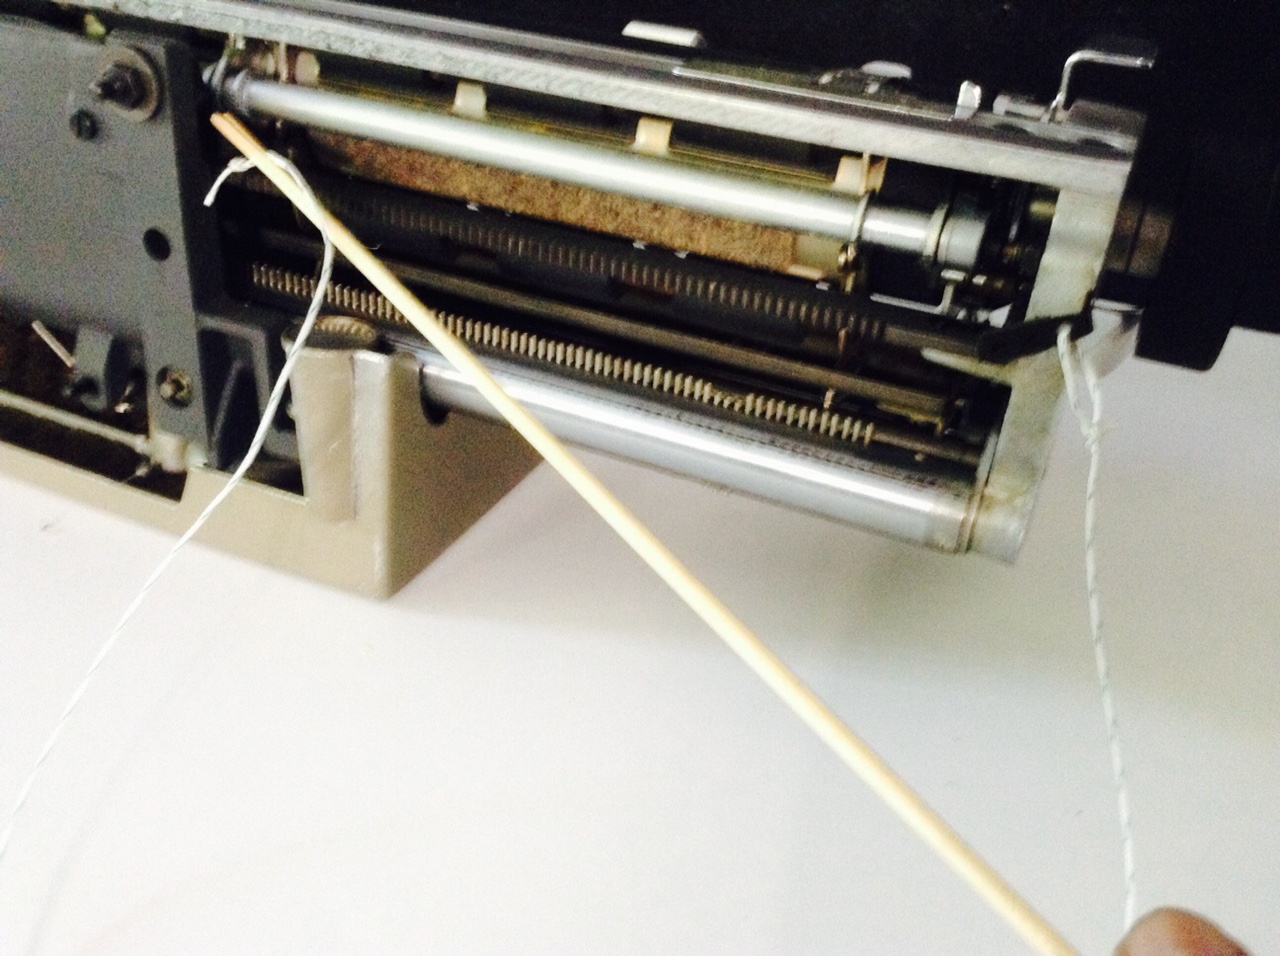
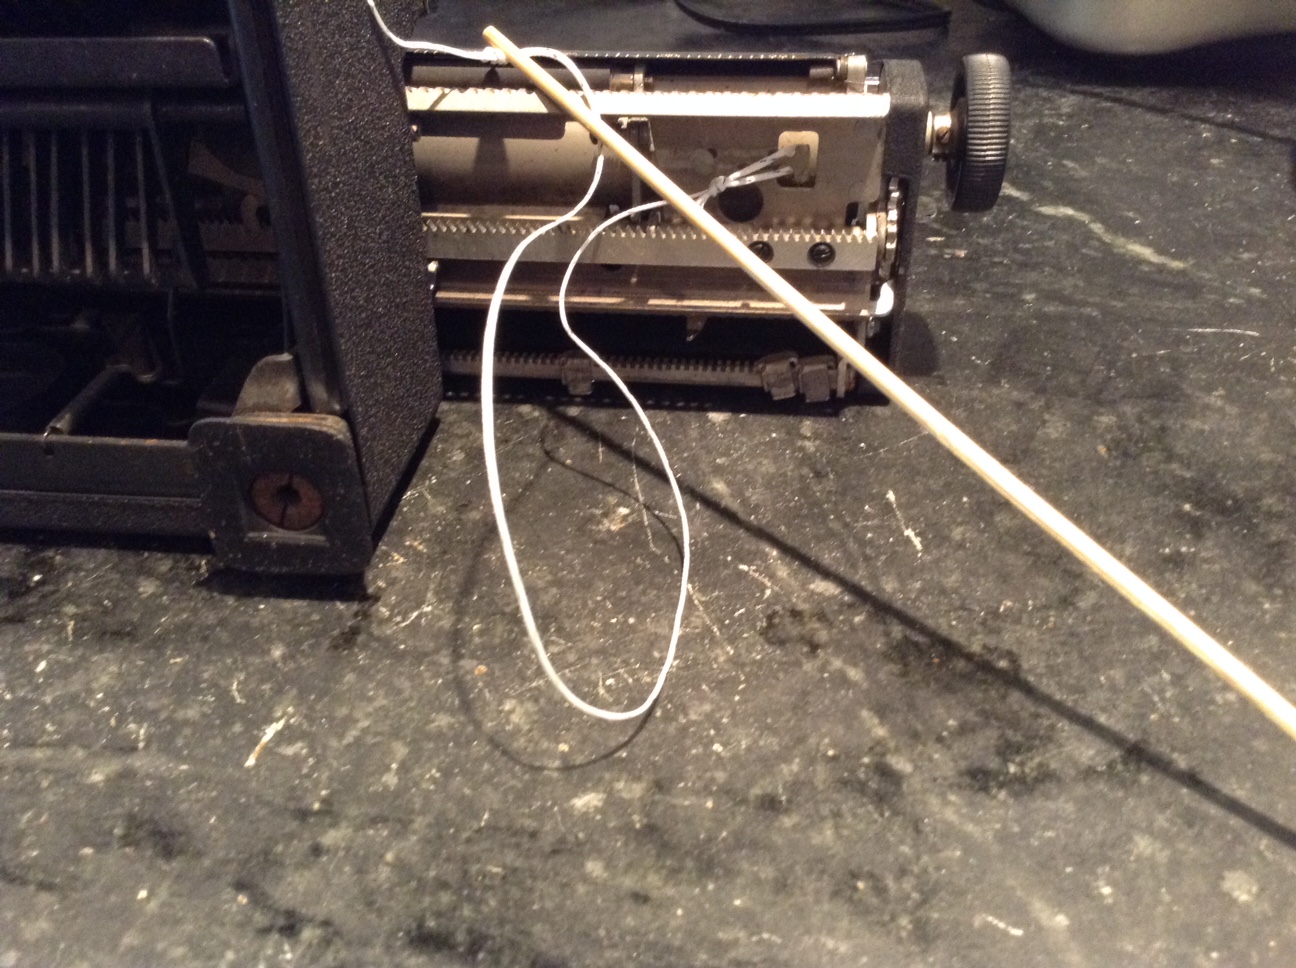
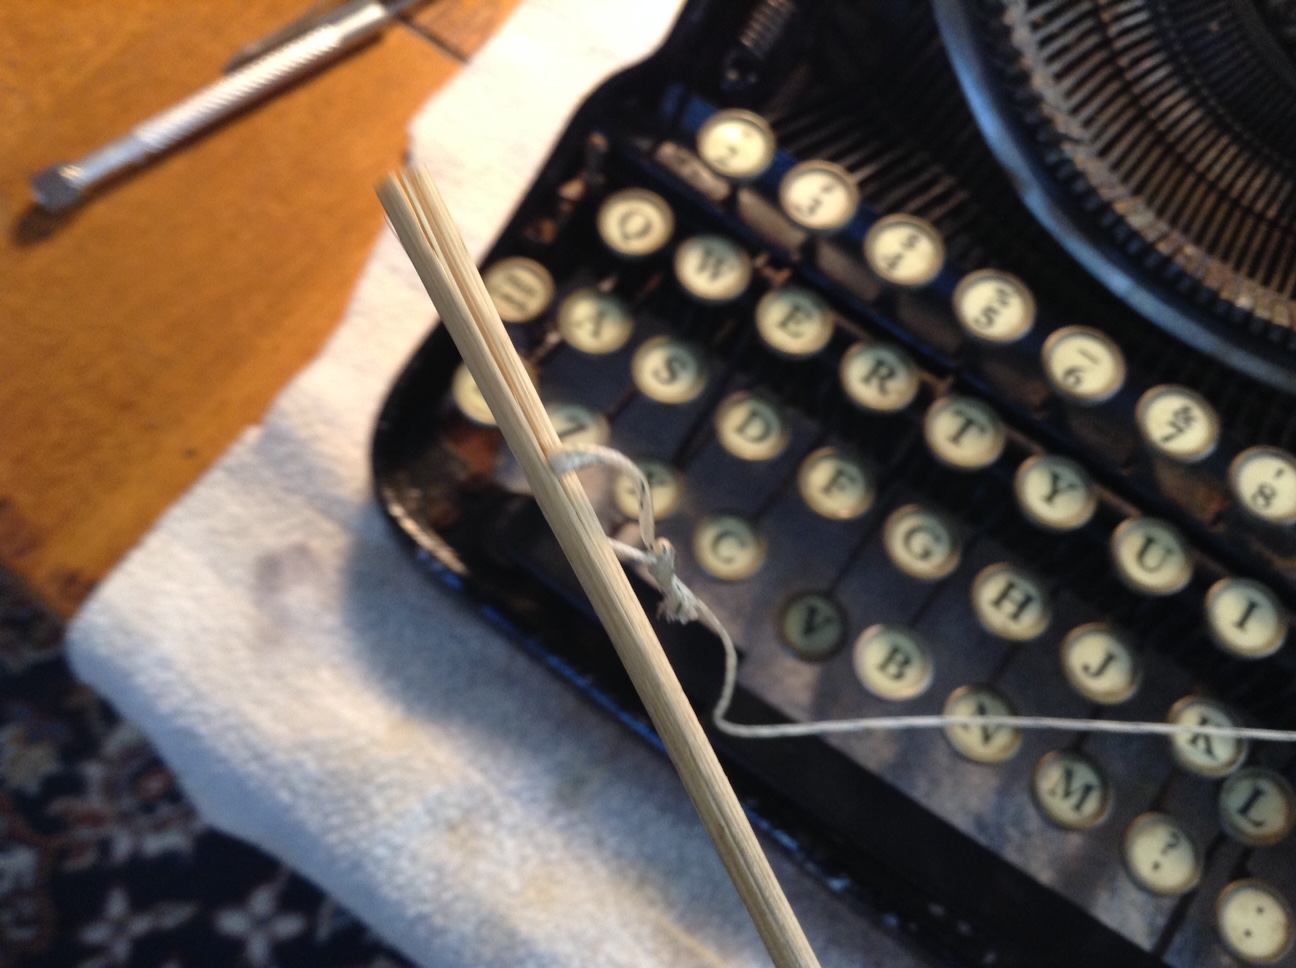
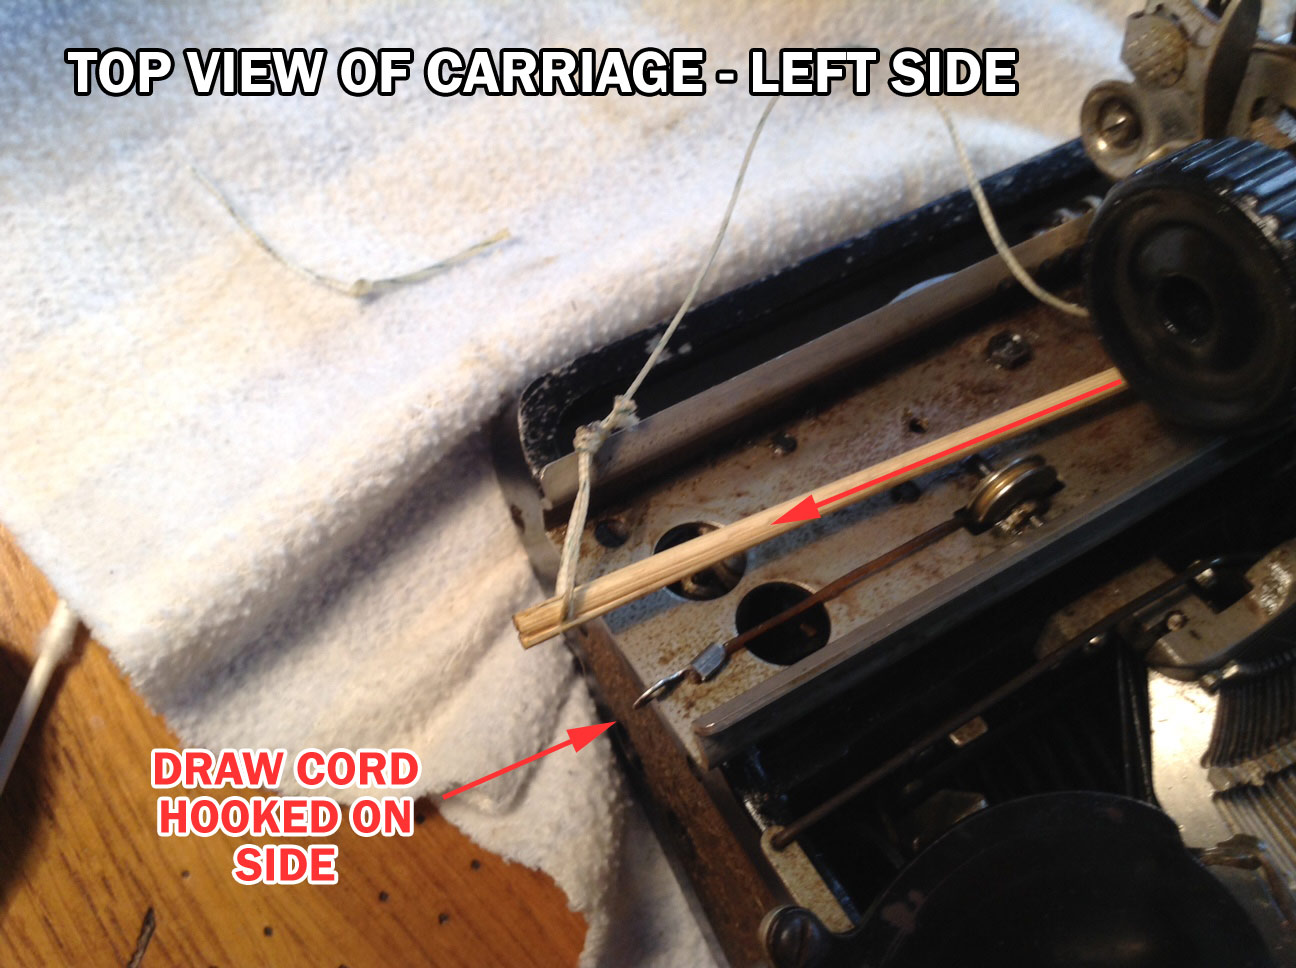
Bamboo skewer to feed the line through to the mainspring
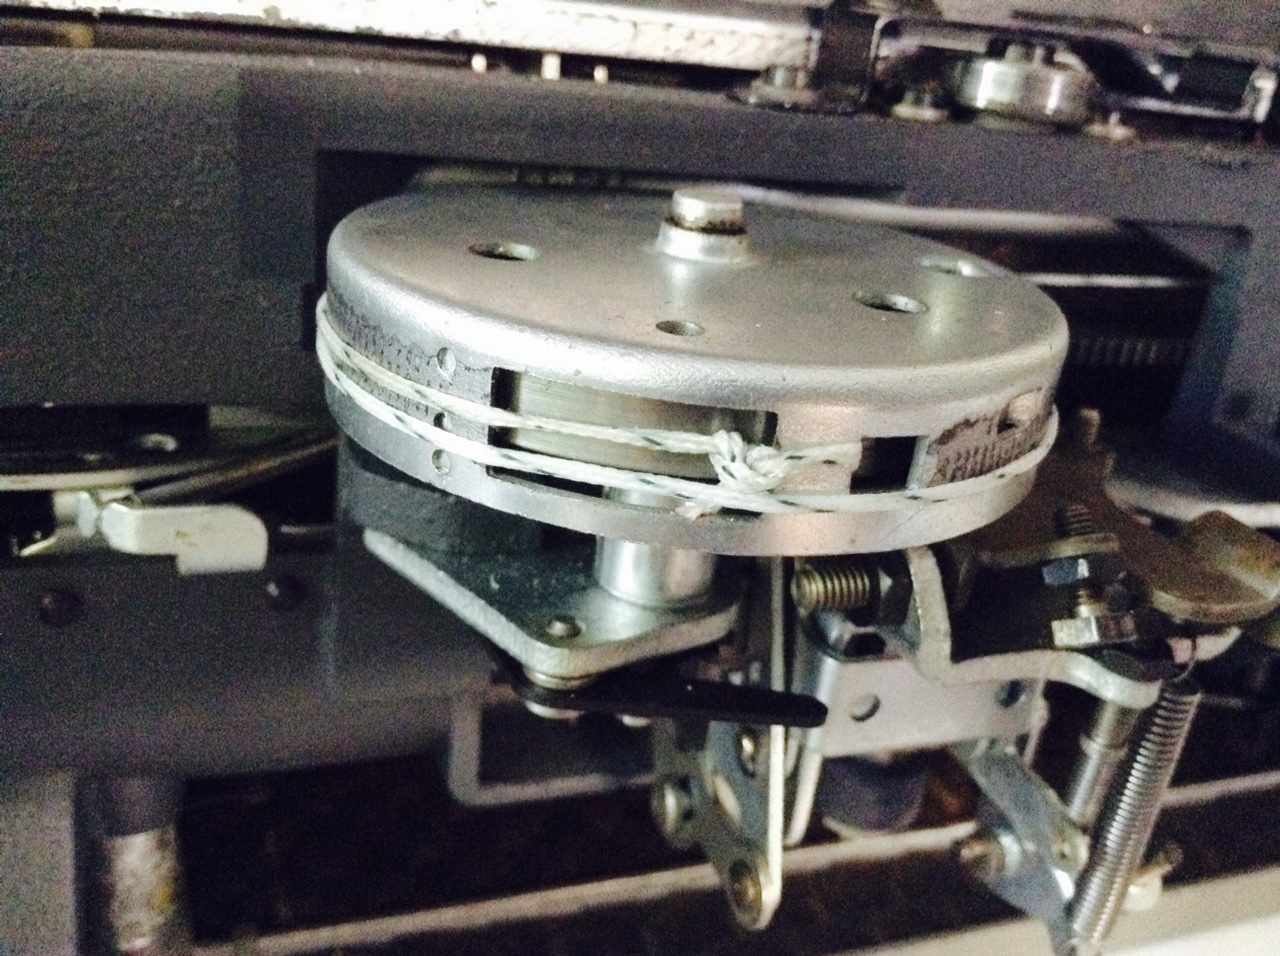
I wound the mainspring 3.5 rotations and tied the fishing line to the mainspring. I did it by myself, but it would have been easier with a second pair of hands. The typewriter is happily typing again.
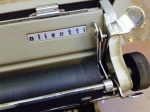
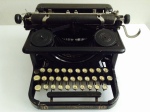
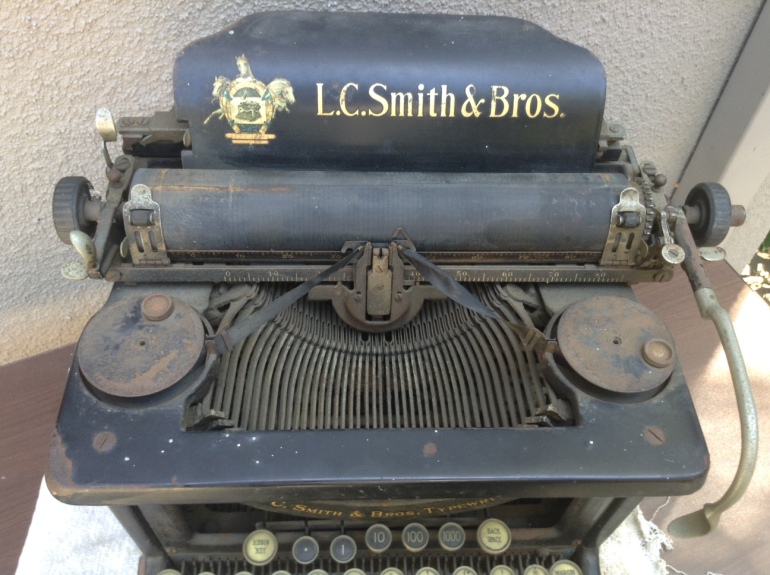
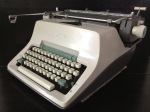
This Olivetti Lexikon 80 cleaned up so nicely. I swear I didn’t put Vaseline on the lens.


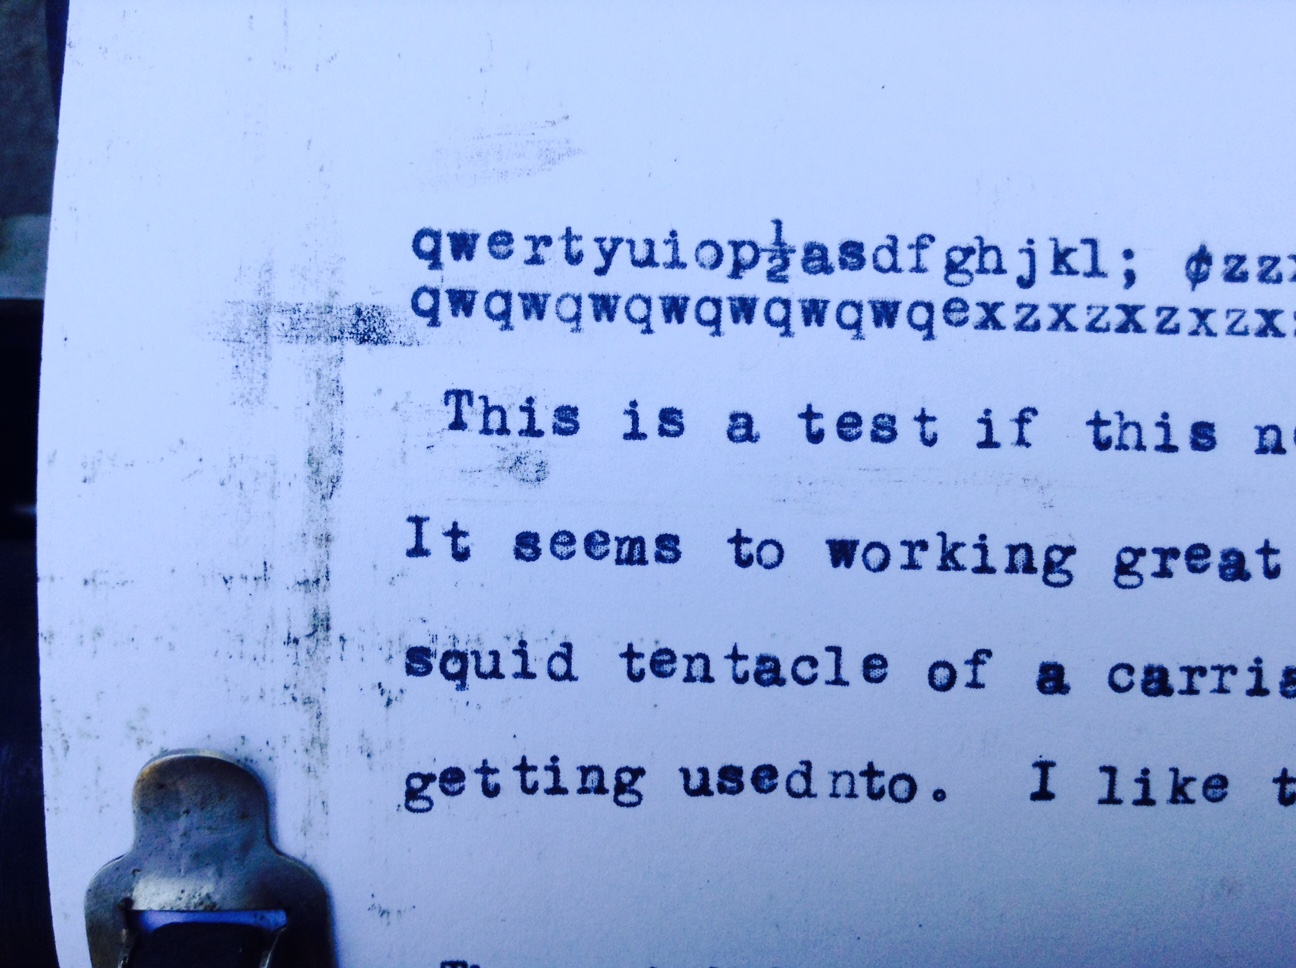
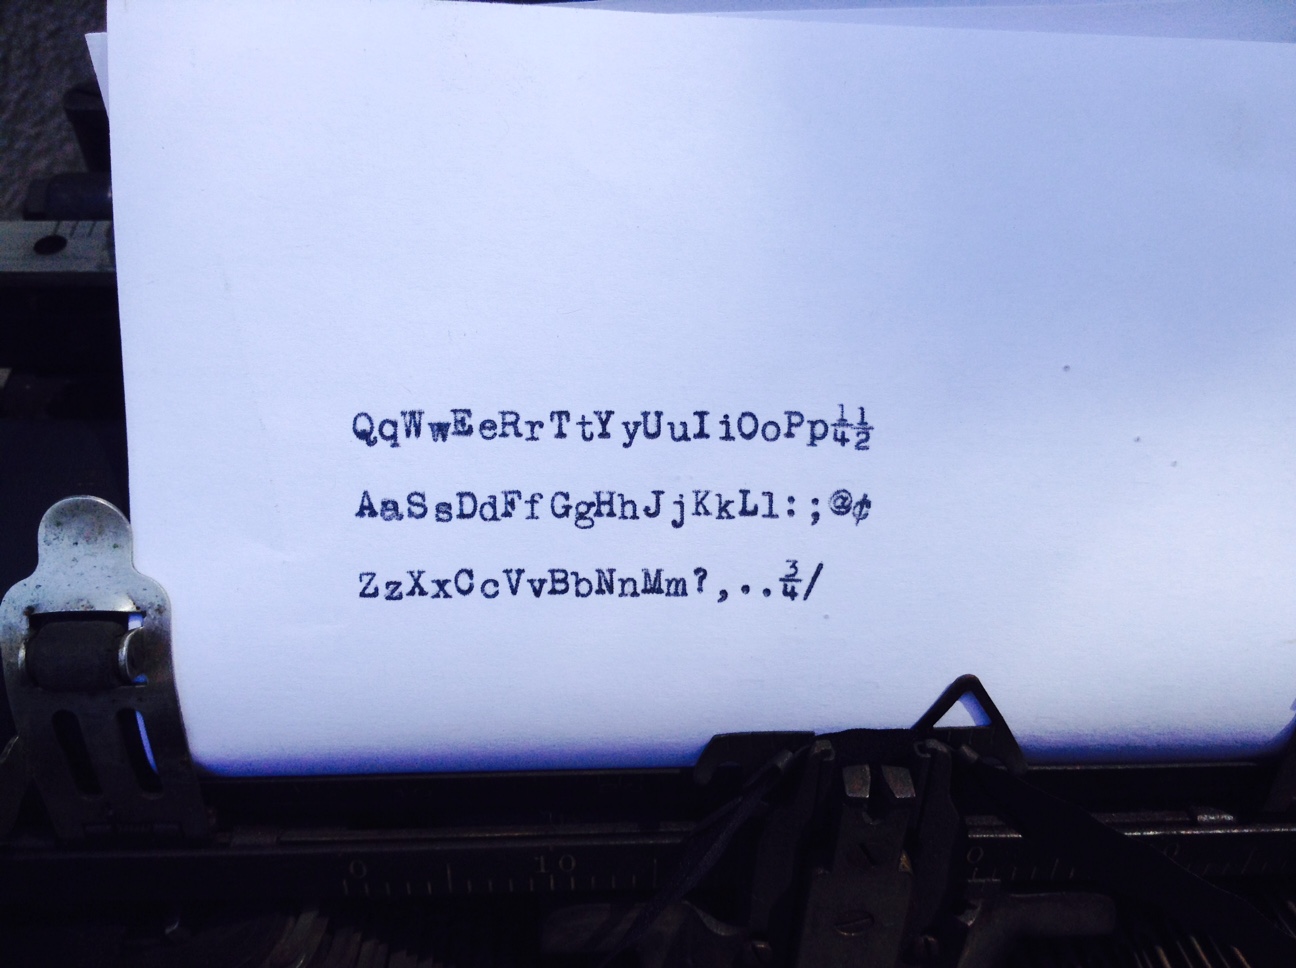
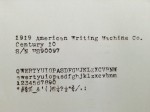
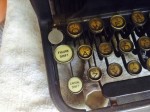
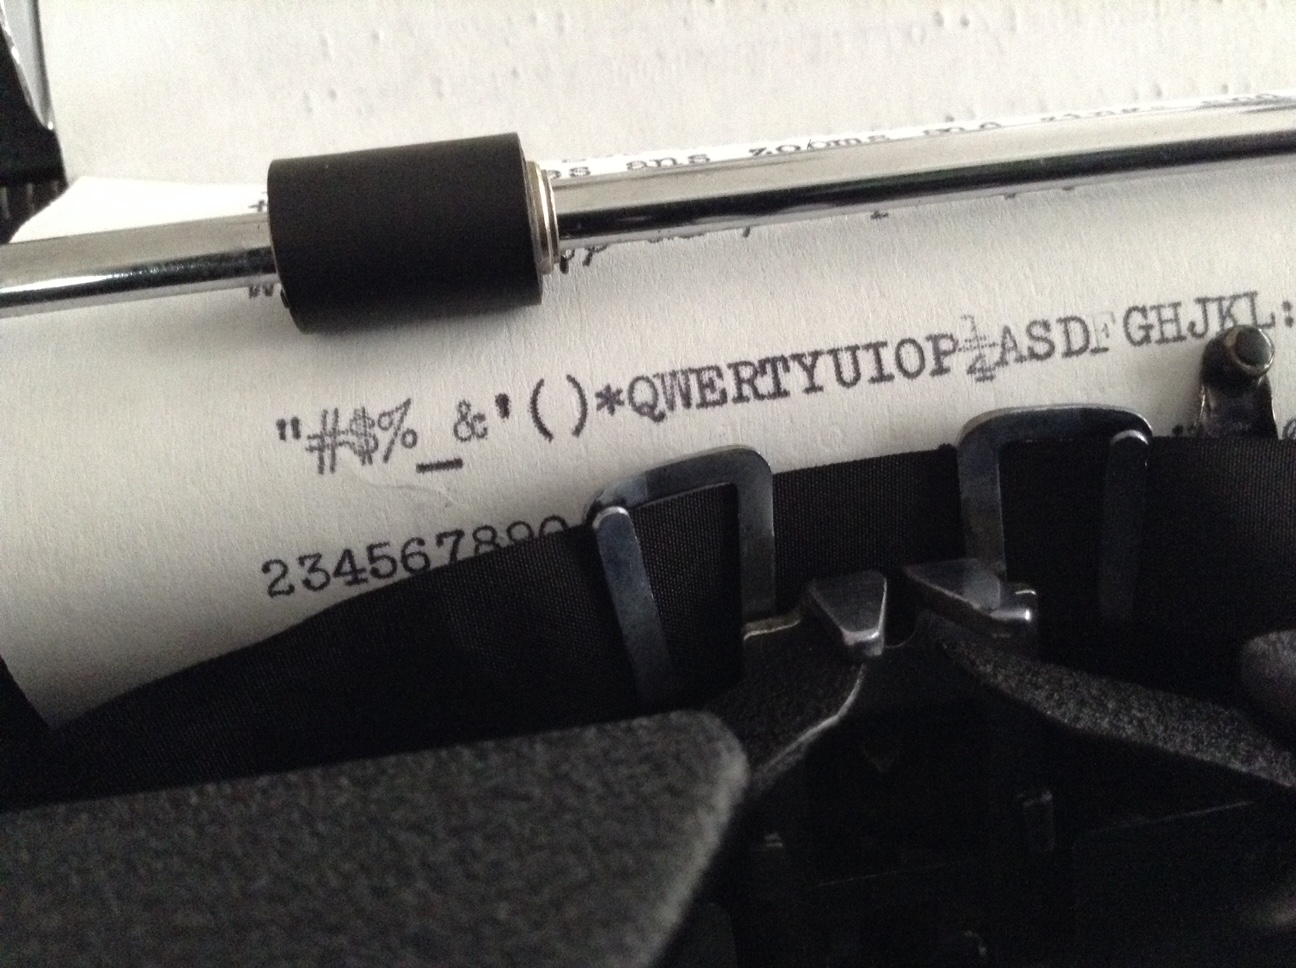
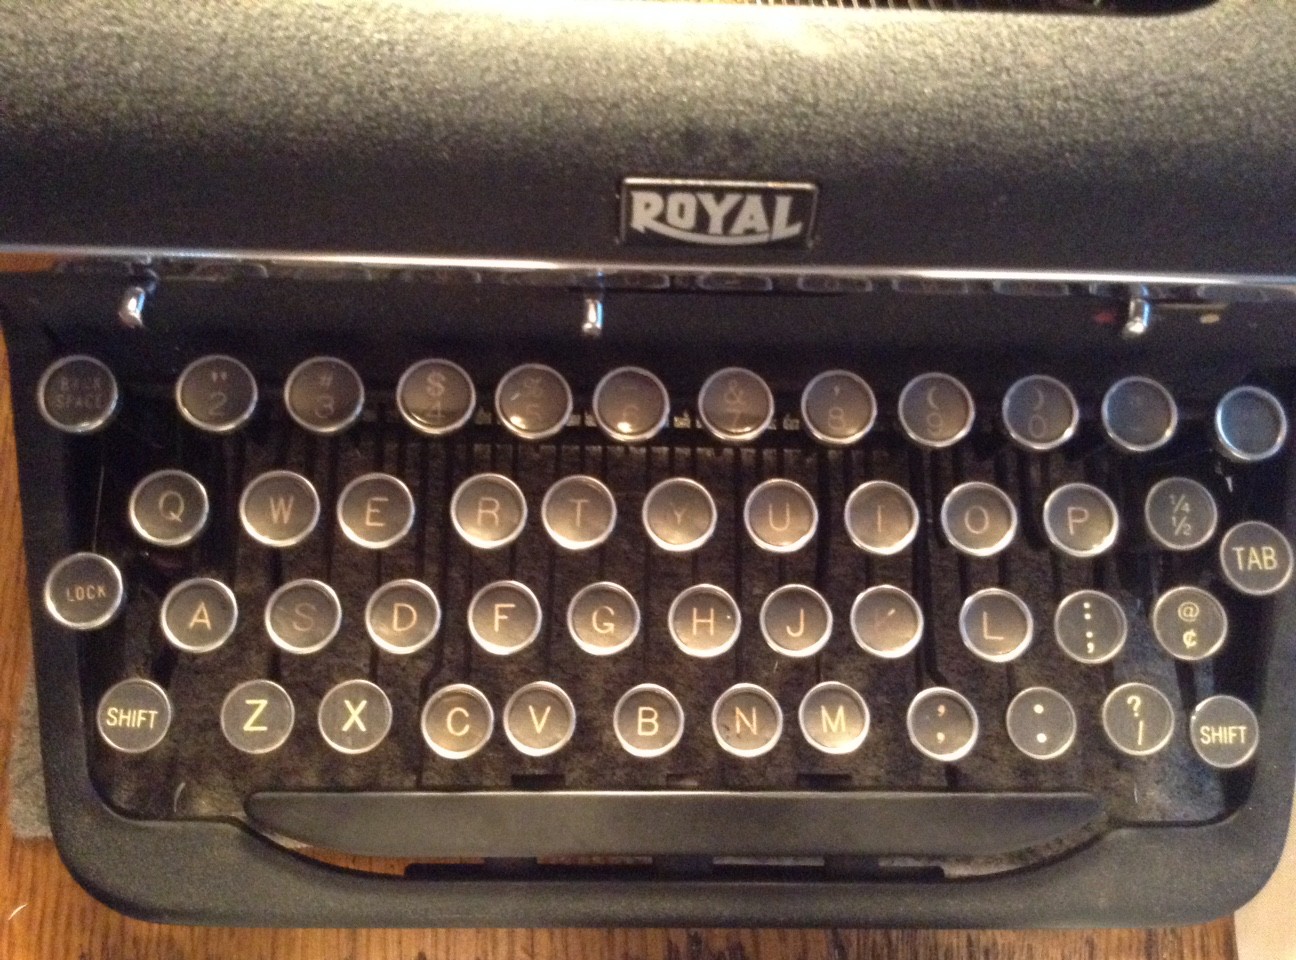
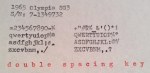
This typewriter has some special keys I haven’t had the pleasure to possess before: accents – acute and grave – umlaut, and circumflex.
Here are some things that I couldn’t type until now:

Addendum: a family member requested that I include this sample of the creative use of the umlaut:
One final note: be sure to check out Vintage Technology Obsessions’ post on Olivetti Lexikon 80 production lines. There are some fascinating images there – I love the Lexikon 80s rolling along on a conveyor belt. I went to the Italian site referenced in the post and found this great image of Enrico Fermi inspecting the innards of a Lexikon 80. I may hang it above my Lexikon 80.
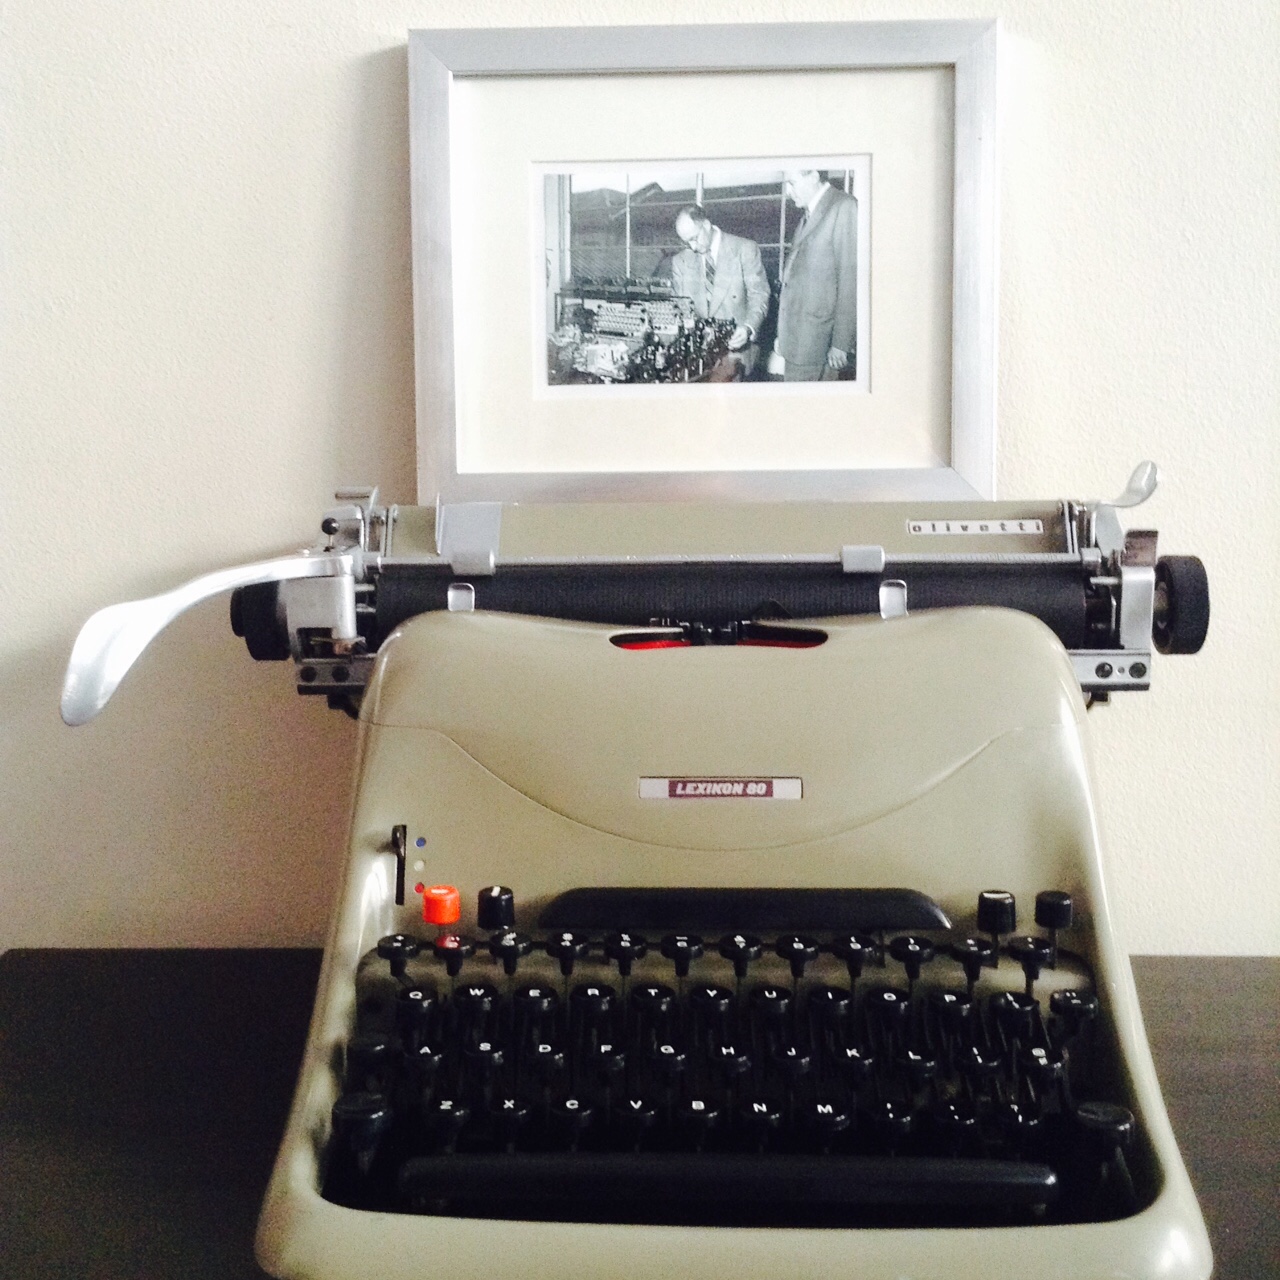
Ivrea, Italy, 1949: Enrico Fermi’s Nobel-caliber mind is blown as he examines a Lexikon 80 carcass.