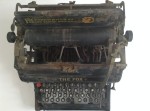
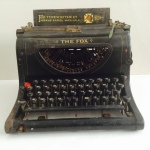
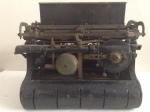
Roia from Moe’s antique shop asked me to take a look at her friend Geoff’s Olivetti Studio 42. I took the typewriter home with me for a couple days. All it needed was a good cleaning and a new ribbon. What a looker! It came with an instruction manual (in Danish).
1946 Olivetti Studio 42
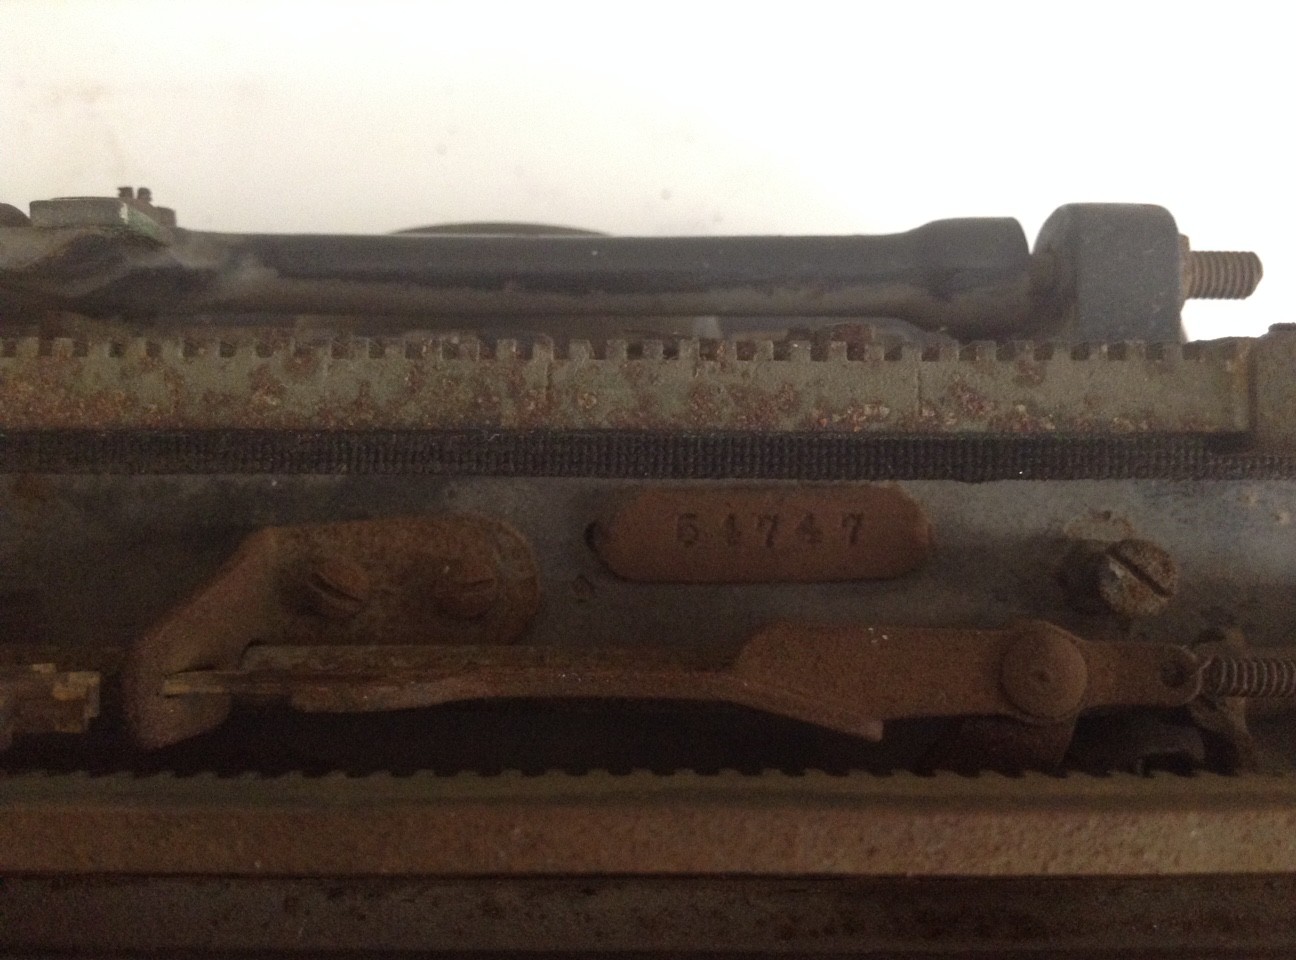
Serial Number 595459
Olivetti De Luxe (Studio 42) Instruction Manual
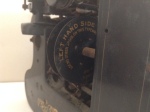
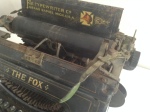
The instruction manual calls this machine a “De Luxe” but the machine looks like the Studio 42s that I see at Typewriter Database. The front of the machine says “Karl Randrup – eneforhandler for Danmark (Karl Randrup – exclusive distributor for Denmark)”

Throughout the instruction manual, the utterly serene hands of a woodland nymph display the typewriter functions. Those calm, lovely hands would never splash Wite-Out on the Skrivevalsen.

Download Olivetti Studio 42 Instruction Manual in Danish (8 MB .pdf)
I know, 8MB! I tried to optimize the .pdf file, but it became noticeably less readable.
English Translation of Manual
I translated the manual from Danish to English using Google Translate. It’s very rough and I will update as needed. I do appreciate the straightforward descriptiveness of the Danish words – Papirindførselspladen – paper input plate.
If a native speaker of Danish notices an error in translation, please let me know and I will make a correction.


Instructions for Olivetti De Luxe
Machine Diagram

click image to view larger
CARRYING CASE FOR MACHINE – When one has opened and removed trunk lid, free the machine from the trunk base by turning the securing hooks (1) (see the image in the brochure center) in the direction towards the keyboard. The machine is freed fully by raising the front part and then pulling the machine forward. The carriage is released by turning the carriage lock (2) on the machine’s right side down. FIG. 1.

FIG. 1
FEED THE PAPER – pass the paper between paper input plate and platen with the left hand and turn the platen knob with the free right hand, after which the paper bail with paper pressure rollers (3) is raised. To correct paper placement, press on paper release (4), and align the paper so that the edges are flush. The paper bail with pressure rollers (3) is lowered, and paper release (4) turned back into normal position, after which the paper is automatically clamped in the desired position. FIG 2. Press the carriage release lever (5) to release the carriage so that it can be brought back to the desired position.

FIG. 2
MARGIN SETTING – You set the left and right margins by shifting the margin sets (6) on the rack behind paper input plate. The distance between two strokes on the graduated scale corresponds to the space between two words. FIG 3.

FIG. 3
LINE CHANGING – If starting on a new line, use a left hand finger on the carriage return / line space arm lever (7), and the carriage is passed from left to right, whereby the platen is simultaneously rotated corresponding to the set line spacing and paper moved accordingly up a new line.
LINE SPACING – spacing between lines is determined by the line spacing selector (8) position in relation to the red marks. The De Luxe machine has three line spacings, which is called the line spacing selector (8) with 1, 2 or 3 position. 1 is used by close writing paper sheet (line spacing 5 mm), position 2 corresponds to normal writing distance (7.5 mm), and position 3 is used by writing documents (10 mm). FIG. 4. Position 0 sets roller in coasting. After resetting the line setting button, typed text falls back to the original line.

FIG. 4
LINE INDENT – The first line of a letter is usually indented as well as the beginnings of new paragraphs. To do this, press the button (9) at the top left of keyboard with right finger, while at the same time pull the carriage to the right with the left forefinger on the carriage return / line spacing arm lever (7). The carriage will automatically stop 5 letter spaces from the normal left margin and indent the line.
SPACE BAR – To distinguish one word from another, use space bar (10).
CAPITALS – Depressing one of the two shift keys (11) raises the carriage, and this types shifted characters on paper. As soon as you release the keys, the carriage lowers again to the normal position. If you want the carriage to remain in the raised position, press on the small shift lock button (12) just above the left shift key. If you want the carriage then brought back to the normal position, press the left shift key (11). FIG. 5

FIG. 5
MARGIN RELEASE – Seven letter distances from the right edge, the signal bell calls the writer’s attention to the line’s rapidly approaching end. When the carriage reaches the right edge, typing is blocked. If you still want to write a few letters over the edge, press the key (9) (which before was used for line indent) for margin release. This of course is only possible up to the maximum paper recording width is used.
BACK SPACE KEY – Pressing the key “Back” (13) pulls the carriage one letter space back.
RIBBON COLOR SELECTION – When the lever (14) is set on “blue”, the typewriter prints from the upper portion of the typewriter ribbon. The “red” setting uses the lower part of the ribbon.
Position “white” means that the ribbon is put out of service (not raised), and the typing occurs without being colored by the ribbon. This is used for stencil writing. FIG. 6

FIG 6
AUTOMATIC RIBBON SWITCHING
During writing the ink ribbon is wound from one spool to the other.
When the ribbon is wound completely on one spool, direction switching occurs automatically. If you want to change ribbon direction manually, push the switch (15) which switches the direction of spool movement with your fingers.
Pulling switch outward causes movement of the spools in the opposite direction.
ATTACHING NEW RIBBONS – Raise up the cover of the ribbon. Then wind the ribbon up on the one spool by means of screw (15). Shift carriage to “Capital Letters” and put the ribbon color selector on “red”. Release the ribbon from the lower hooks (FIG. 7-1)

FIG 7-1
Allow the ribbon to slide down a bit after (Fig. 7-2), and then release the top hooks (Fig. 7-3). Now remove the screws that secure the spools. Both spools can now be removed. With pointing fingers, press ribbon guides (16) back. Replace the spool with the old ribbon with the new spool and fasten the free ribbon end to the empty spool then spool again; ensure that the ribbon’s red section is down. Secure the spools with spool screws, conduct the ribbon around both the small guide rollers and behind the ribbon fork, the method now is the opposite of that used upon removal. FIG. 8.

FIG 7-2

FIG 7-3

FIG 8
PLATEN KNOB – This is used when you want to correct a write error or want to write a line spacing that does not match any of the machine’s three line spaces (e.g. of lined paper). Pull out the left knob on platen roller completely. As soon as the paper is in the desired position, release the knob and the roller will lock away again and set to the given line spacing. FIG. 9

FIG. 9
TAB – This is used to create tables or for arranging information in columns.
Setting: stop the carriage at the desired point and press the small lever (17)
in the direction of the “+” character to set a tab. Do the same procedure to set additional tabs. FIG 5-10.

FIG. 10
USE OF TAB – When one has led carriage to the far right, press the red button (18) down. The carriage moves and stops at the desired tab point where you can write the desired number. Re-pressing of the red button causes the carriage to stop at other set tab options. One should note that the carriage always stops one letter after the point fixed by the lever (17). [ I am unsure of the English translation here – it doesn’t make a lot of sense. The original Danish is “Man bedes bemærke, at Vognen altid standser eet Bogstav efter det ved Grebet (17) fastsatte Punkt.” Many thanks to Knud Olav Jensen for clarifying the translation ] In order to make figures of different size in columns use backspace key or space bar.
Example: If you set on a number with three digits and need a number to four digits, press once to backspace key after the carriage is stopped at the desired point. If you want to remove a set tab point, use the red button to reach the tab, then press the small lever (17) in the direction towards the character “–” to remove the tab. Remove all tab settings by pressing tab releaser (19) forwards. FIG 11

FIG 11
LINE RING – You put pencil tip into the hole on the alignment triangle just above the ribbon fork on roller. Moving the carriage to the right, you can create horizontal lines; turn the platen to draw vertical lines.
SECURING THE CARRIAGE – Ensure that the machine is on “small letters“, then set the carriage lock (2) up and allow the carriage slipping until it stops at the designated opening in the carriage rail.
INSTALLATION OF MACHINE IN CARRY CASE – After having loaded the carry case and checked that the securing hooks (1) are rotated forward, lift the machine with both hands so that the two on the machine’s rear feet slide into the corresponding holes in the carry case base, then it shall ensure that the machine is secured by its four rubber feet stands in the corresponding holes in the trunk bottom. Use thumbs to press the securing hooks (1) backwards until you feel that the securing hooks are locked. The placement of the case lid is carried out very easily. One just needs to make sure that the lock really locks the machine.
CLEANING THE MACHINE – An easy cleaning can very well be done by the customers themselves, since the type face is cleaned with the included brush and machine swept with the supplied brush. For a thorough cleaning and lubrication of the machine, however, we would counsel you to let us do this for you, as this is done for an affordable price. If the machine is used heavily, it will certainly be worthwhile for you to draw a cleaning subscription, which means that the machine with regular usage is thoroughly cleaned and inspected in our workshop for a specified affordable price.