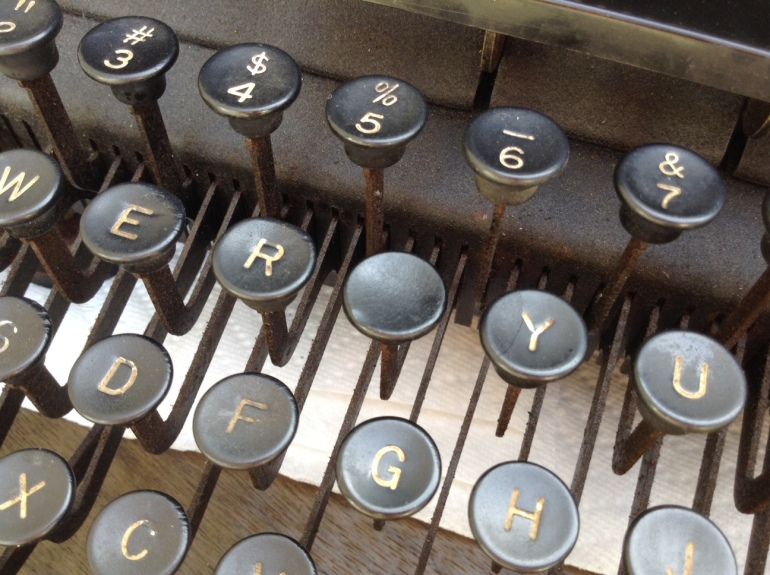
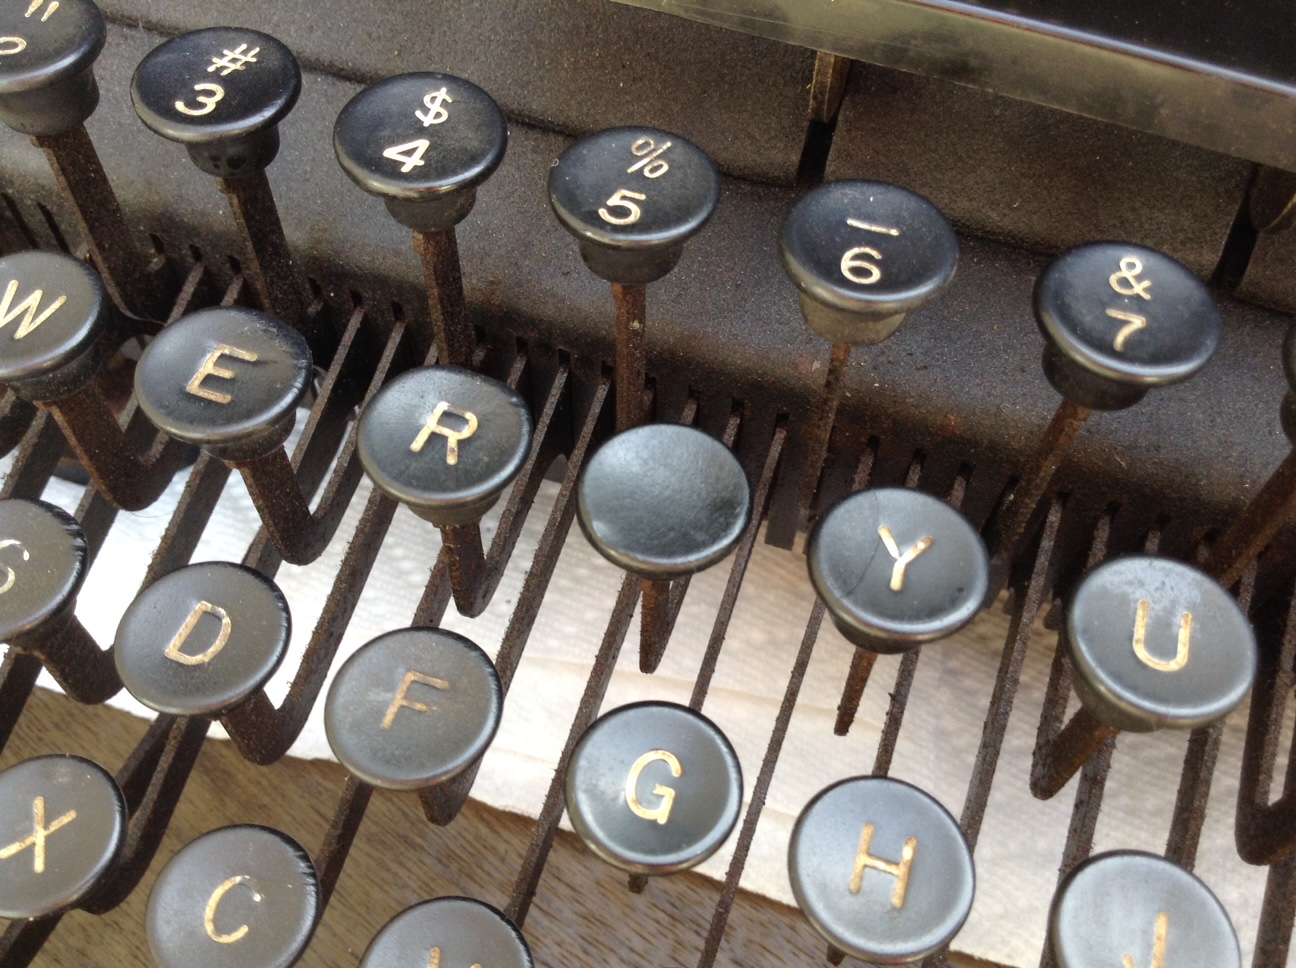
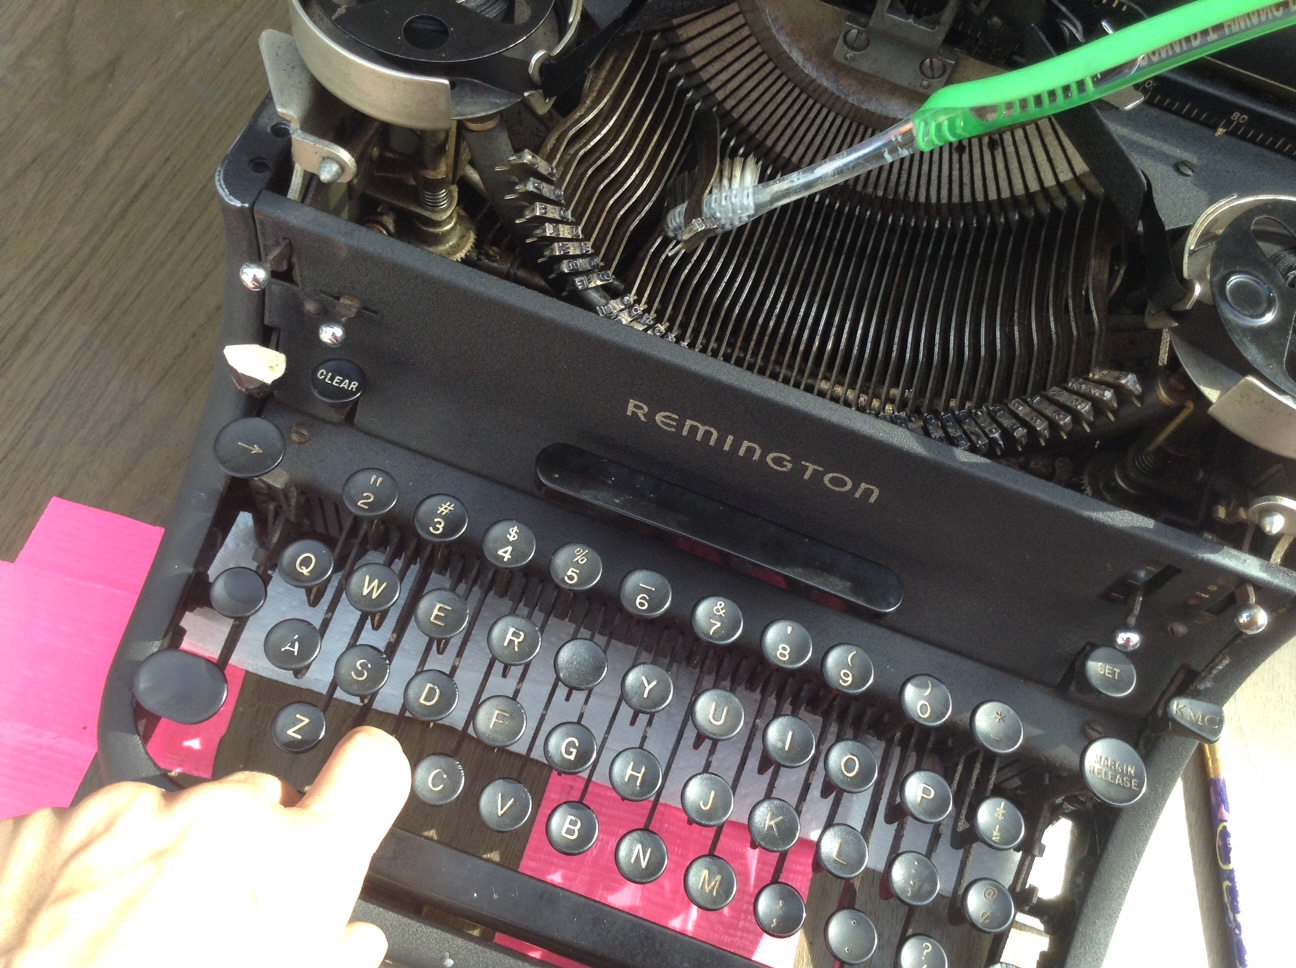
It seemed like a minor problem until we started typing with our newly functional typewriter. Who knew “t” was so popular? Our fingers were soon sore from striking the naked stem of the key. The stem was rusty and sharp and though we are up-to-date with our tetanus shots, we decided to do a switcheroo.
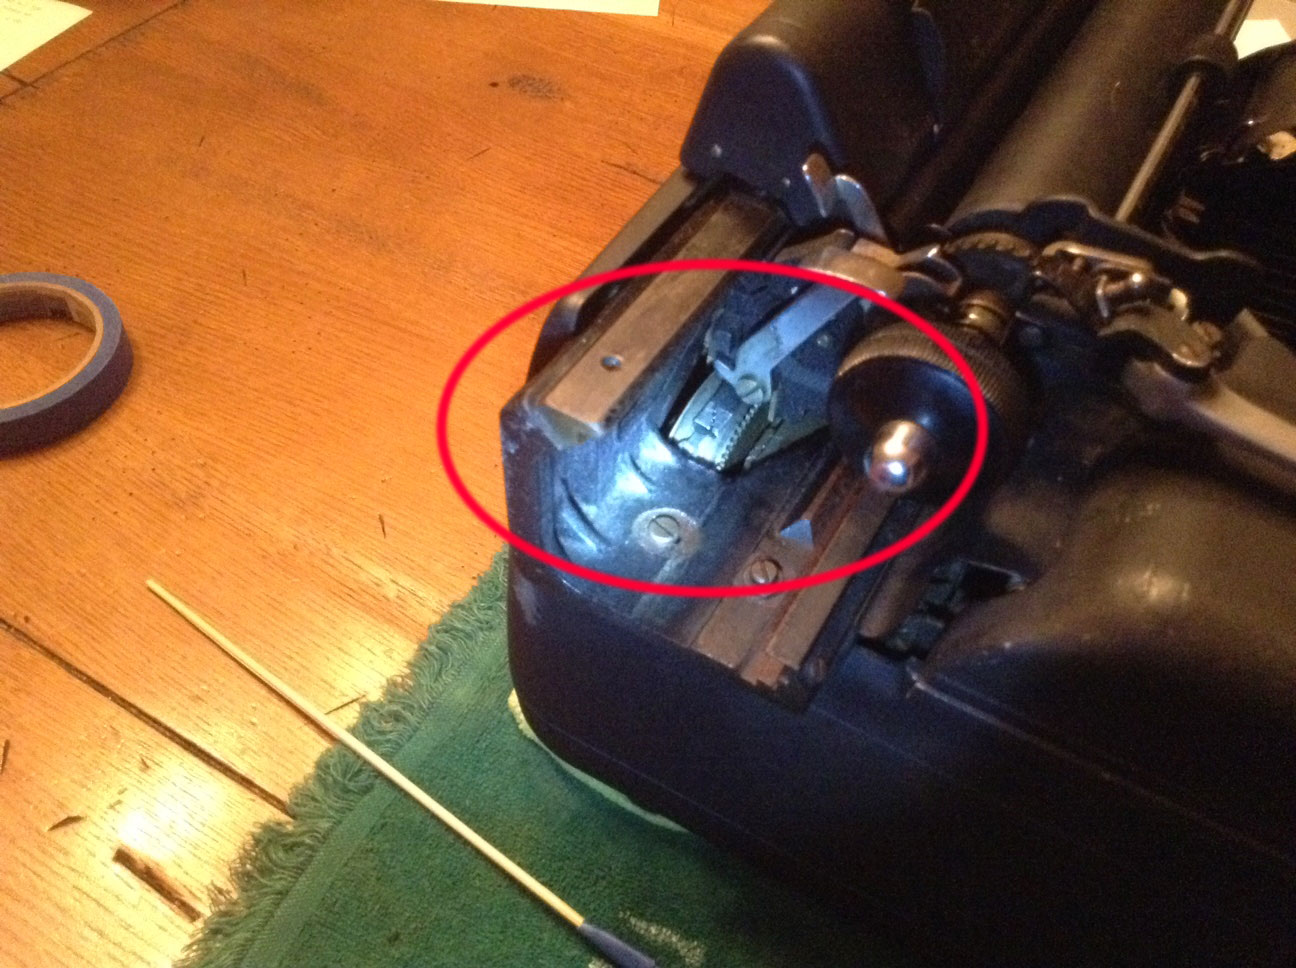
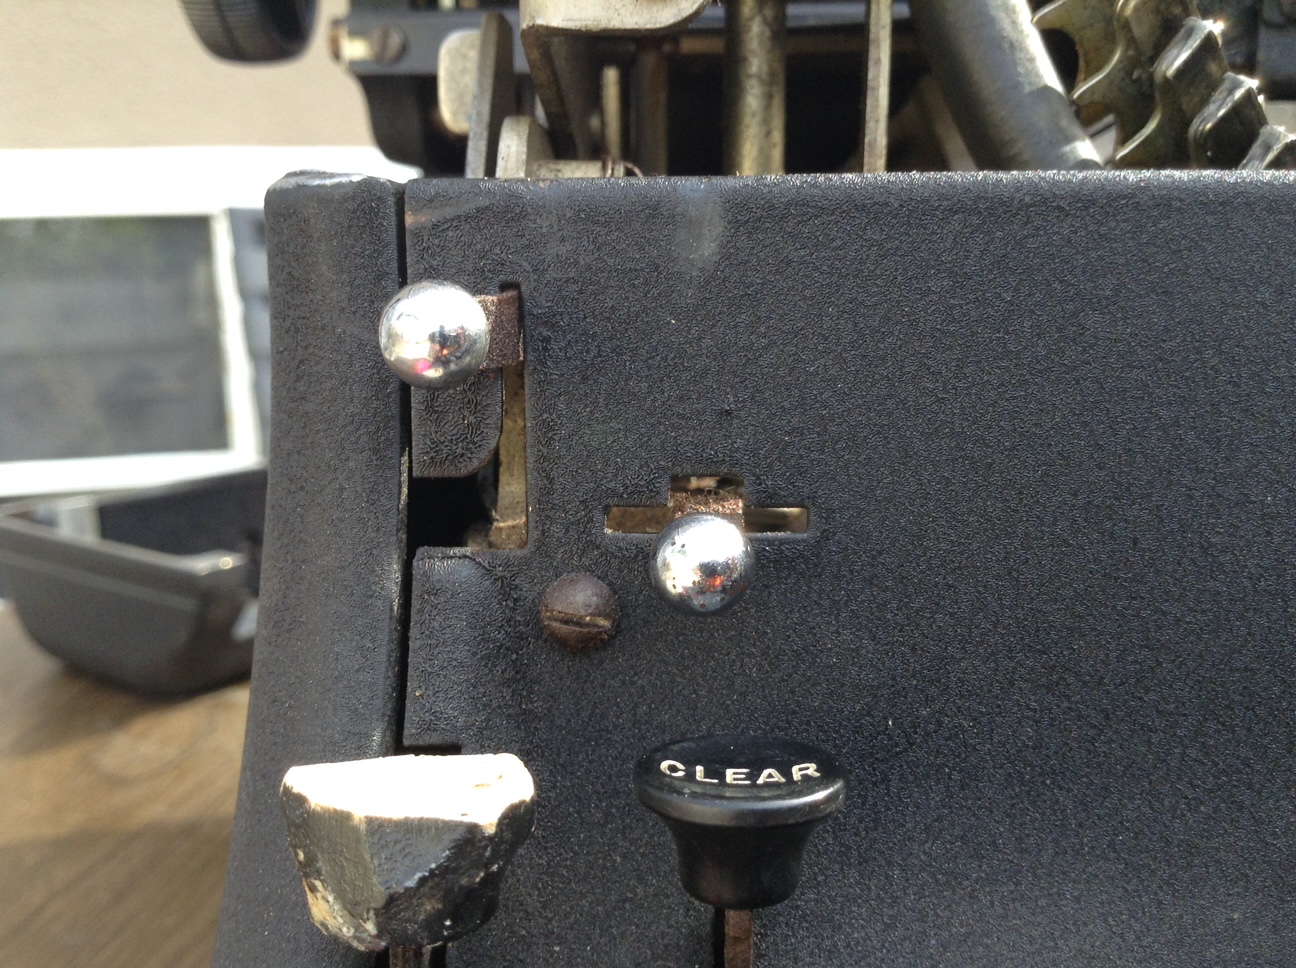
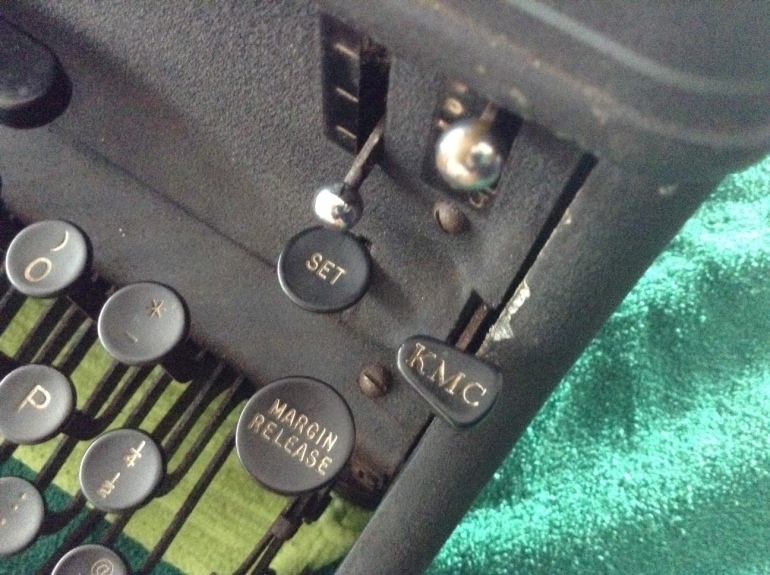
The shift lock button on the right had a broken spring and wasn’t functional. Since we had a functional shift lock on our left, my husband gently pried the blank key off the stem with his fingers and put it on the bare “T” stem.
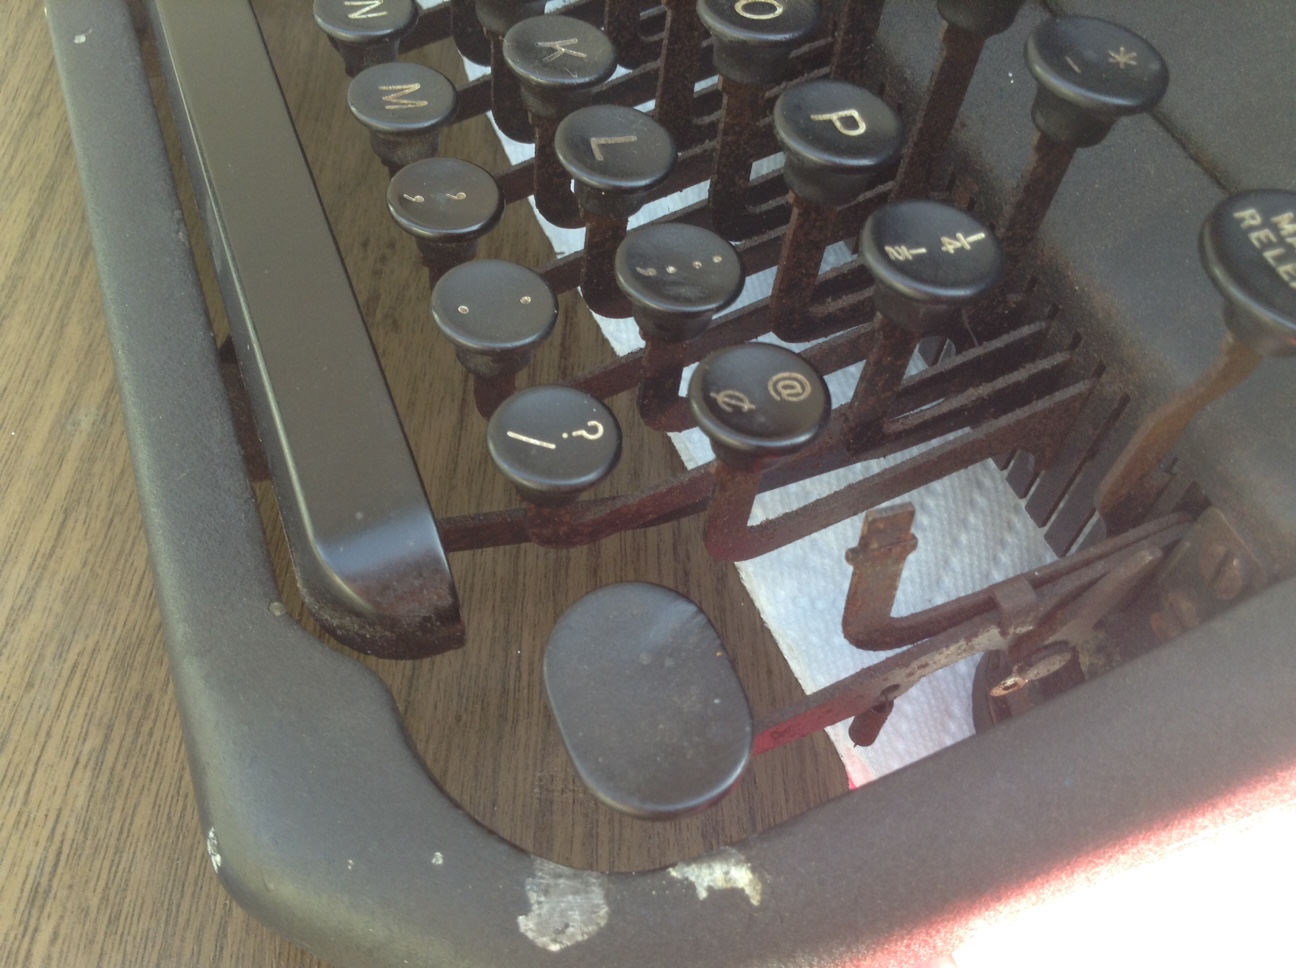
You can see the broken spring hanging down from the shift lock button
Typing was much more pleasant with a key rather than a bare stem.
I am going to search on eBay and see if I can get a replacement composition key for my right shift lock – I know that I will eventually replace that broken spring and make it functional again.
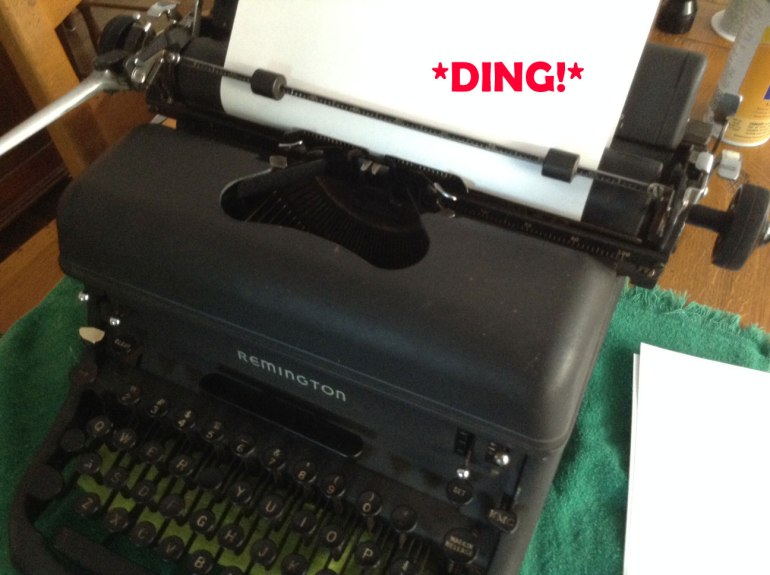
When we first dragged the typewriter in from the curb, we could hear the bell ring now and then when we played with the typewriter. On our typewriter, there is a soft bell that *dings* when you are about five spaces from the end of the line to alert you that you are about to hit the right margin.
After I blew out the dust and debris and cleaned it up with denatured alcohol, the margin bell stopped ringing all together. I was worried that I had broken something (spring?) in my cleaning.
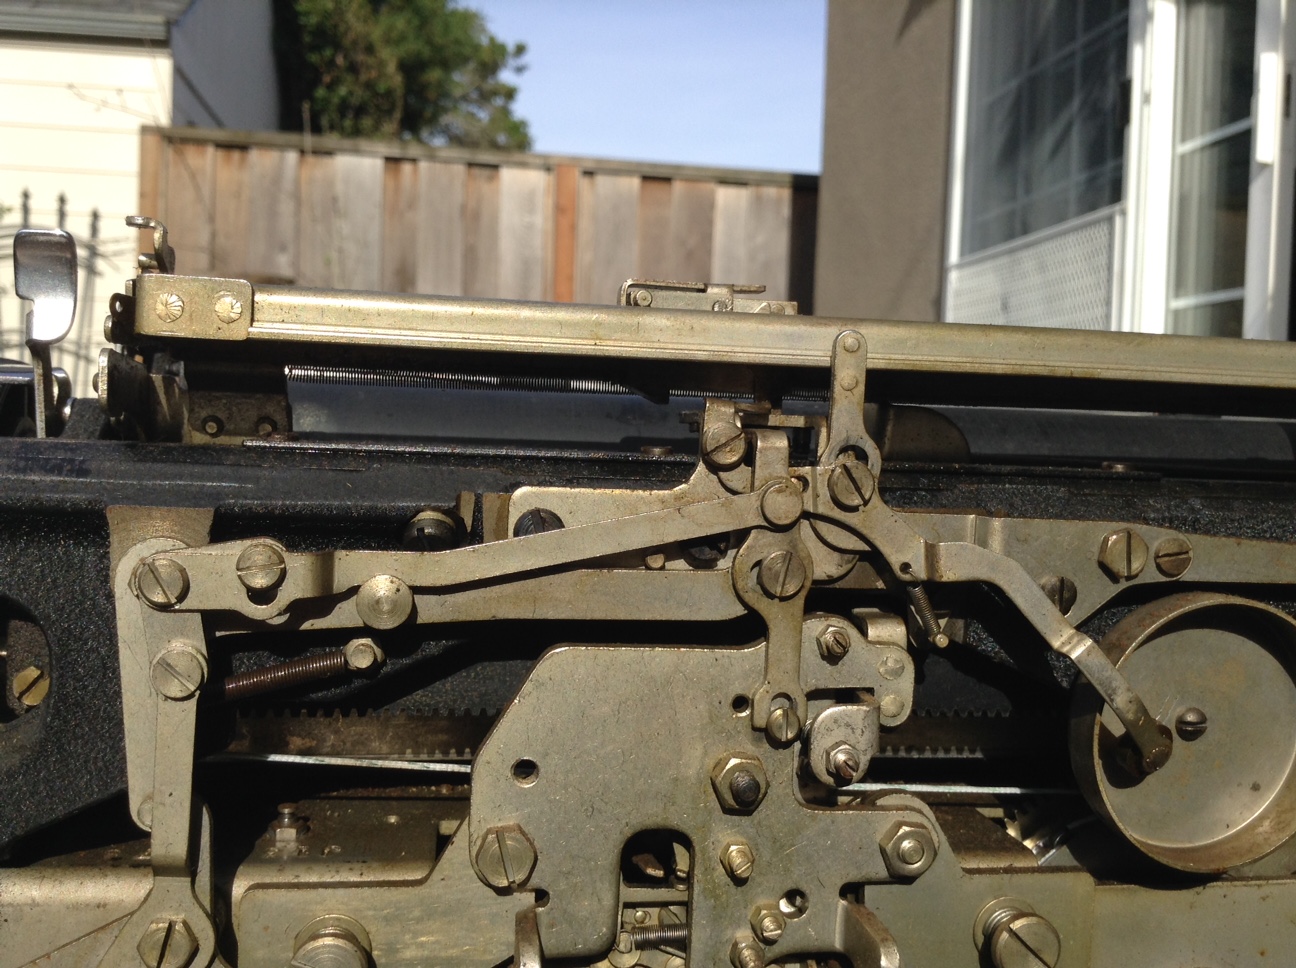
I removed the top “hood” that protects the margin area:
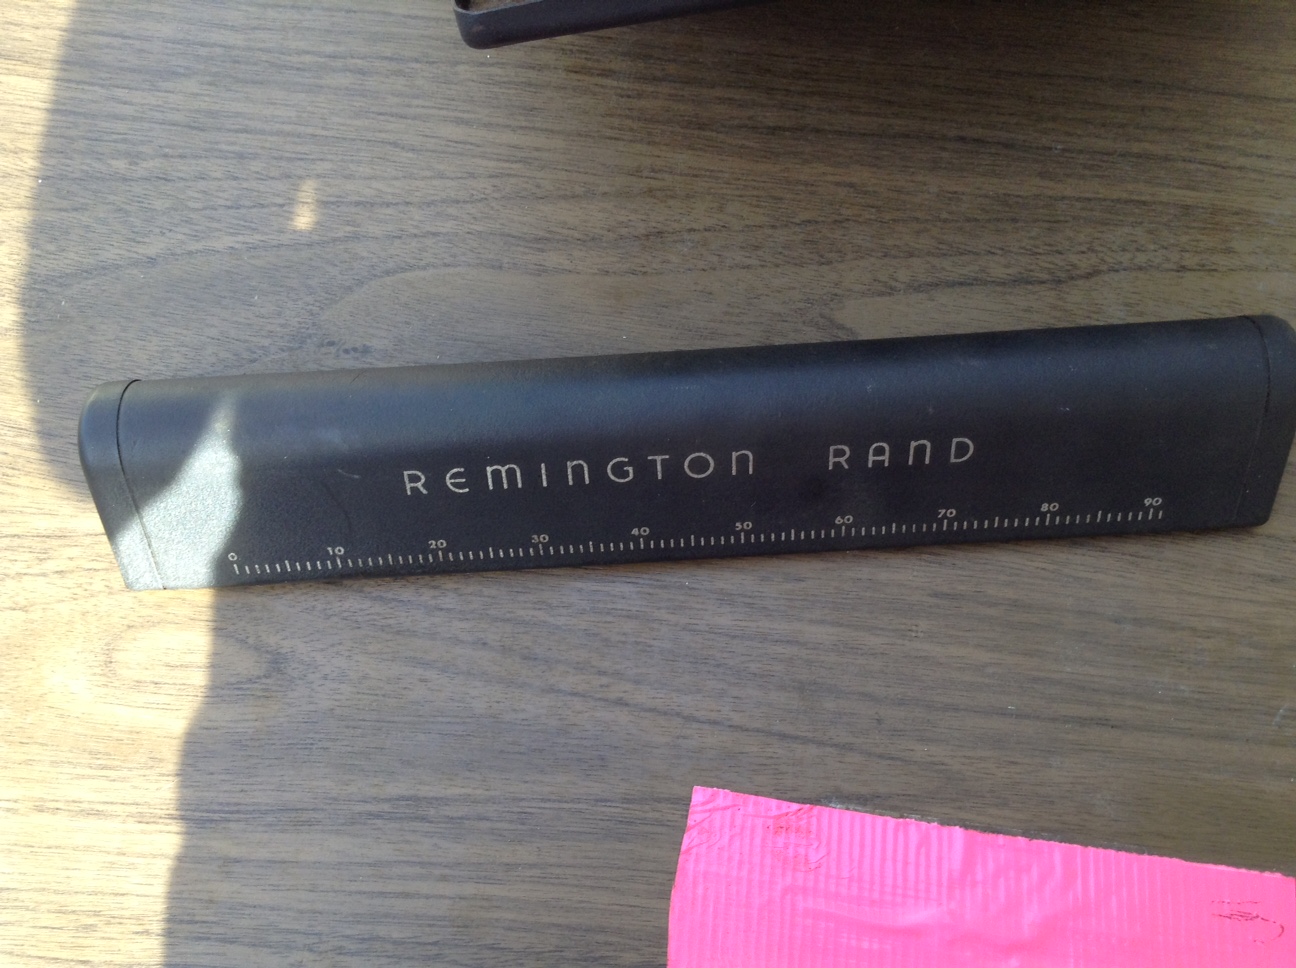
It pops right off
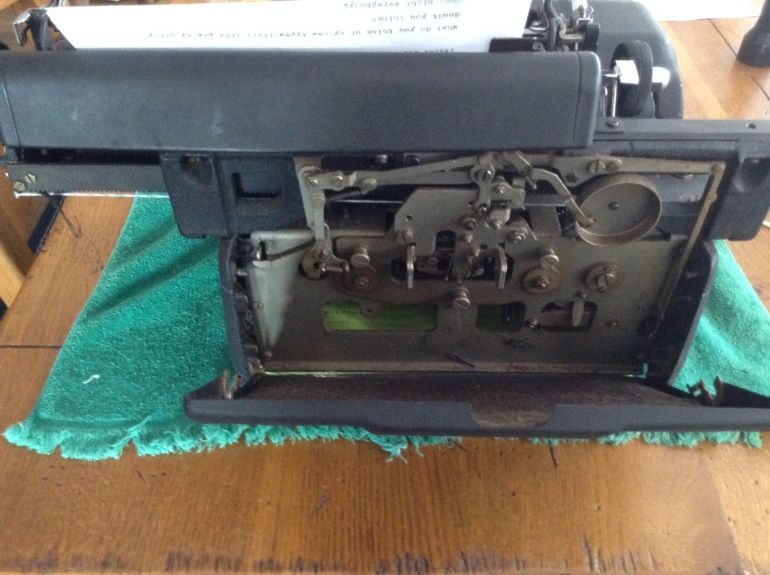
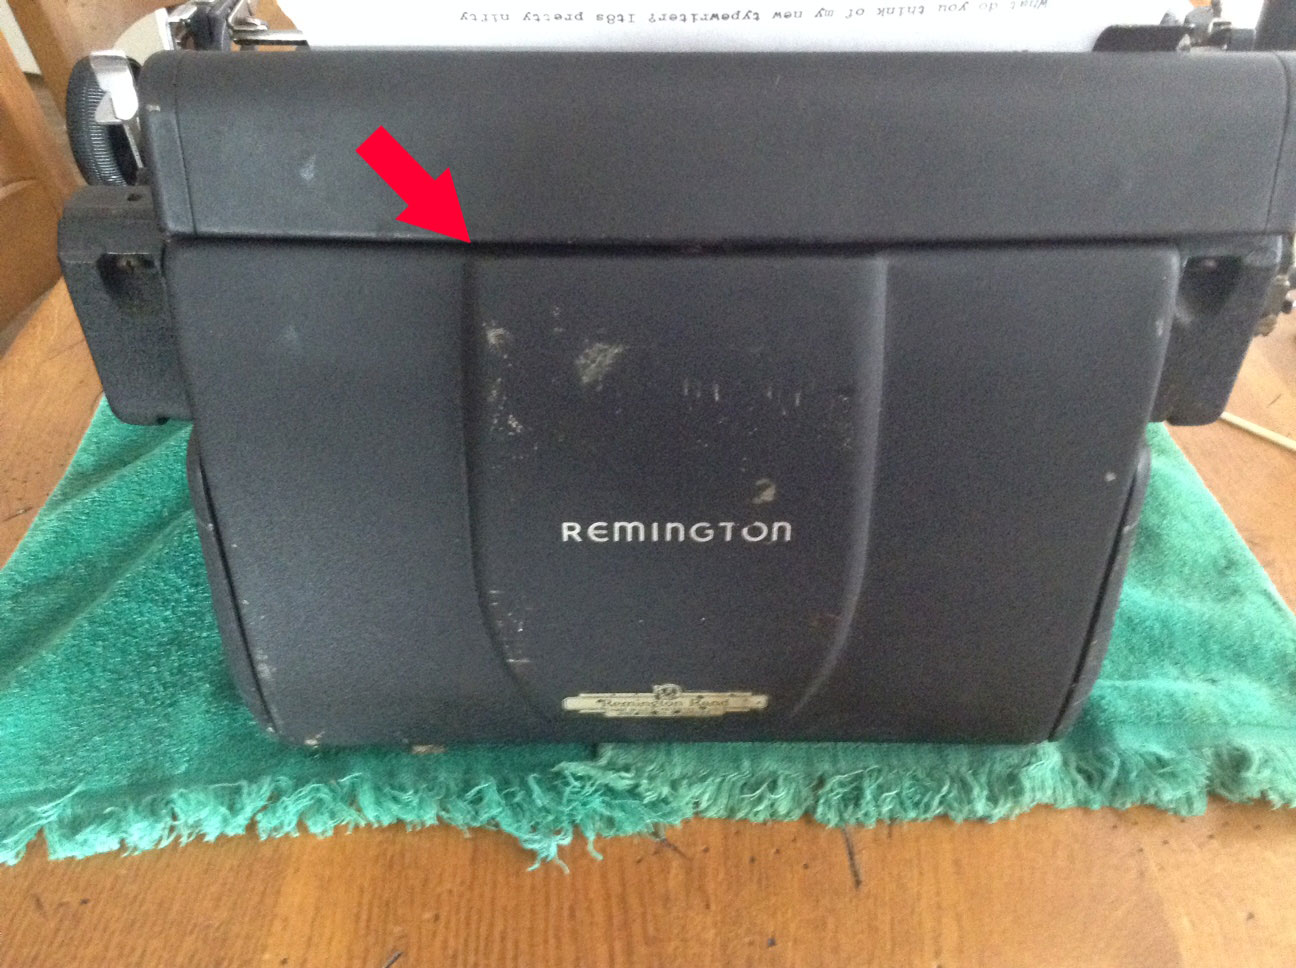
I popped off the back and checked the bell:
The bell is on the right of this picture – it has such a soft, pleasant *ding*
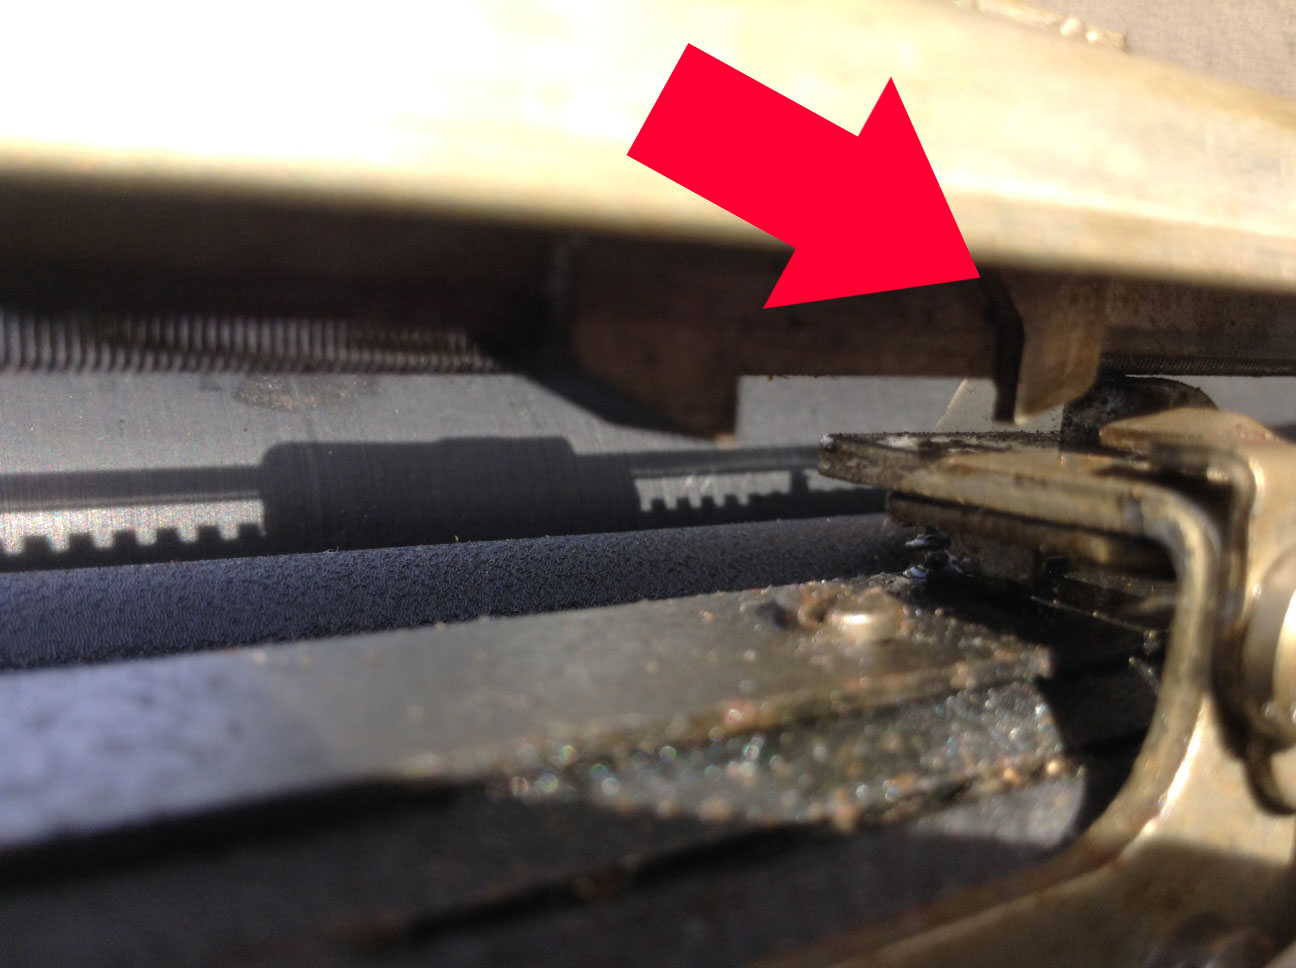
I cleaned all the inner workings with denatured alcohol (being careful not to get it on the painted surfaces), paying special attention to a little wiggly pawl that hangs down and trips the bell when the carriage is within five spaces of the right margin.
The pawl was a little stiff with goo, but I got it to wiggle freely by painting it carefully with denatured alcohol. And guess what? The margin bell began to *ding*.
Once the little pawl was moving freely, the bell began to *ding* as it should.
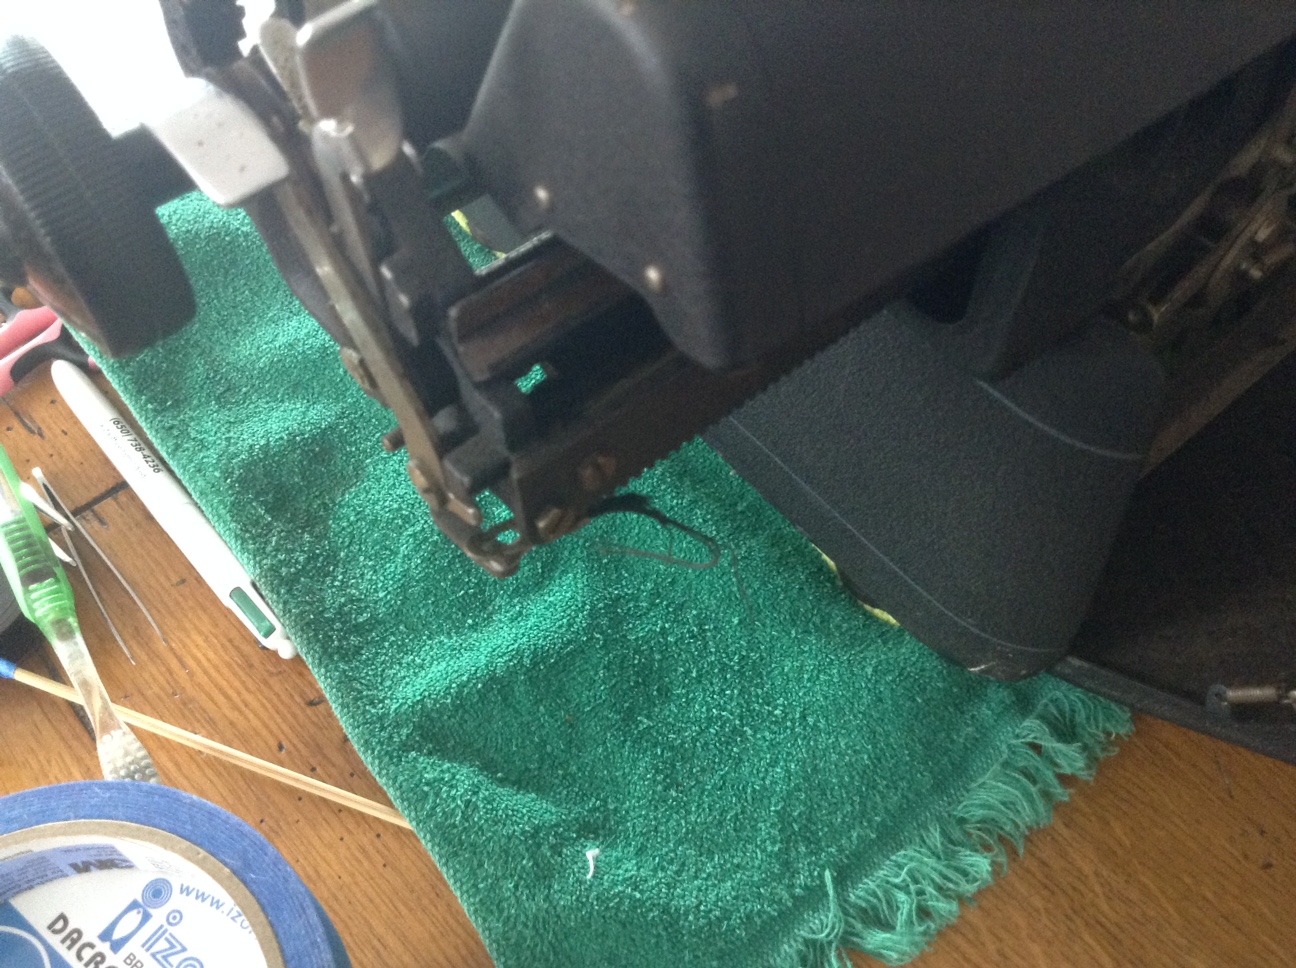
One of the first things we noticed about our old typewriter after we had hauled it in from the curb was that the carriage did not advance with typing or hitting the space bar. My husband noted a suspicious strip of fabric strapping hanging from under the right carriage:
The suspicious stray threads hanging from under the carriage – that doesn’t look good.
On further investigation we found the other piece of the fabric strap still attached to the mainspring drum on the left side of the carriage.
From the left of the typewriter, you can see the old drawband on the mainspring drum
A quick internet search confirmed our fears: the drawband that pulls the carriage along while typing was broken. I did find some great information on replacing the drawband:
Though the above links describe drawband repair on non-Remington typewriters, the general concept is the same: replace the drawband with something strong and attach it to a wound-up mainspring so that the carriage will be pulled along as you type.
Here’s a video of a gentleman replacing the drawband in an Oliver – I found it very helpful though my Remington Rand set-up was very different:
Replacing My Typewriter Drawband
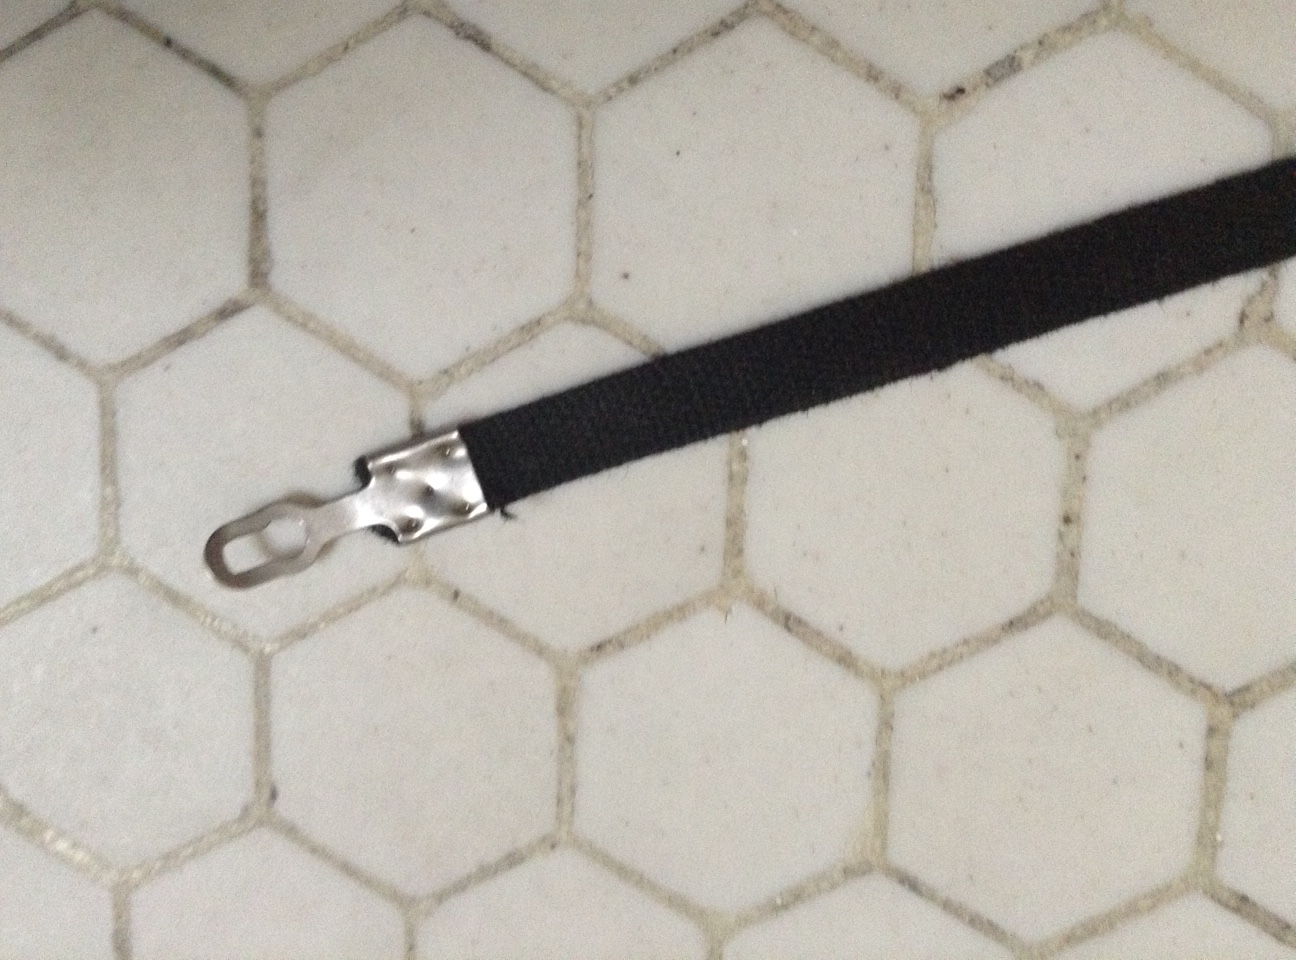
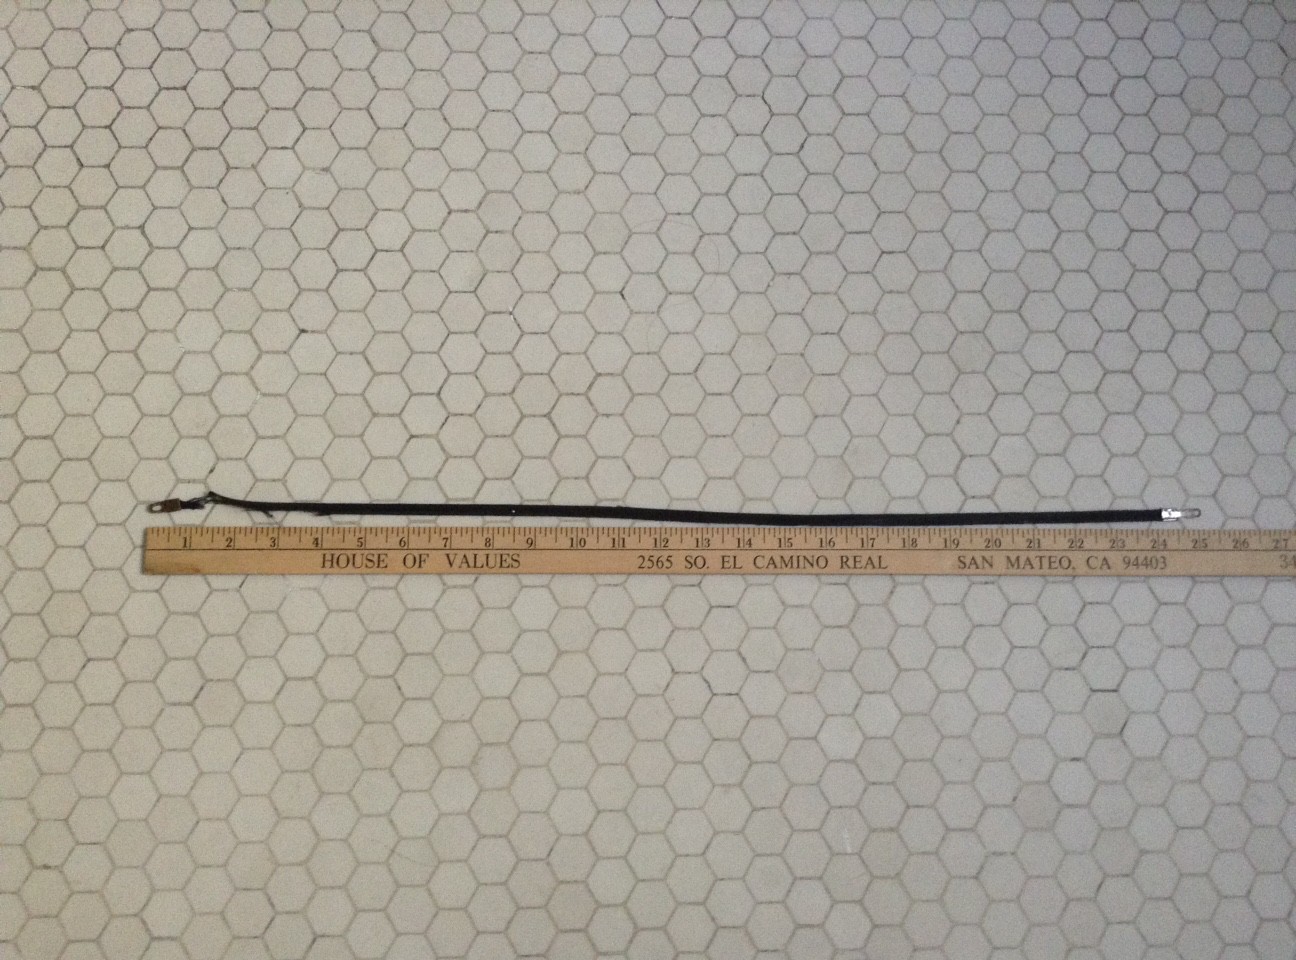
I removed the old broken drawband from the mainspring drum and laid it out. It was pretty cool looking, like a super tightly woven shoelace. Looks like it should have lasted a million years.
The drawband end that connected to the mainspring
With the two ends laid out, the original drawband was about 25.5 inches long.
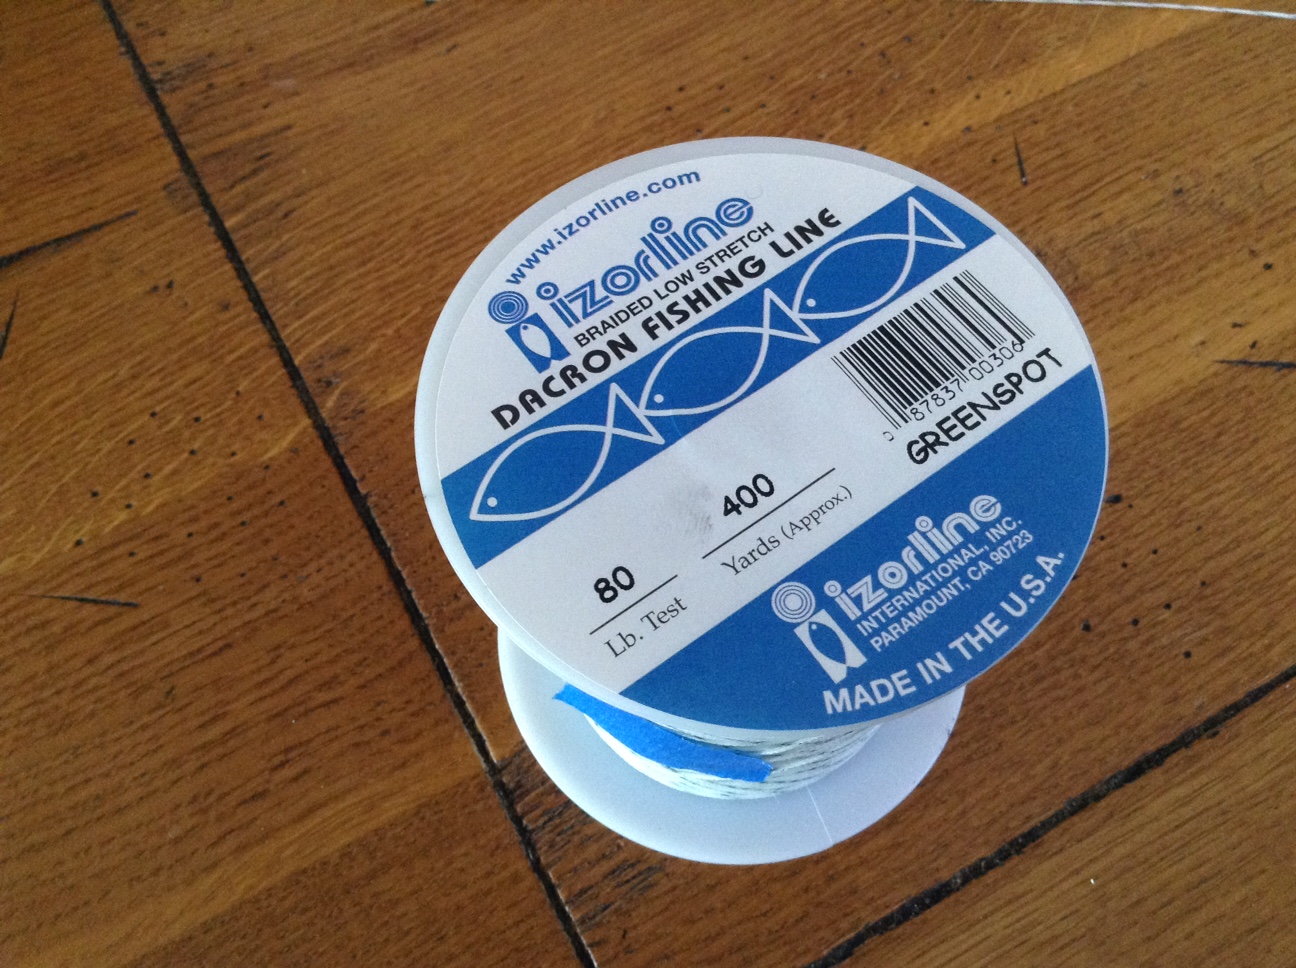
Since they probably haven’t manufactured these in about 50 years, I went to my local sporting goods supply shop and bought 80 lb fishing line (I didn’t need 400 yards):
I liked this fishing line because it was braided and looked like it would be easier to knot that regular monofilament.
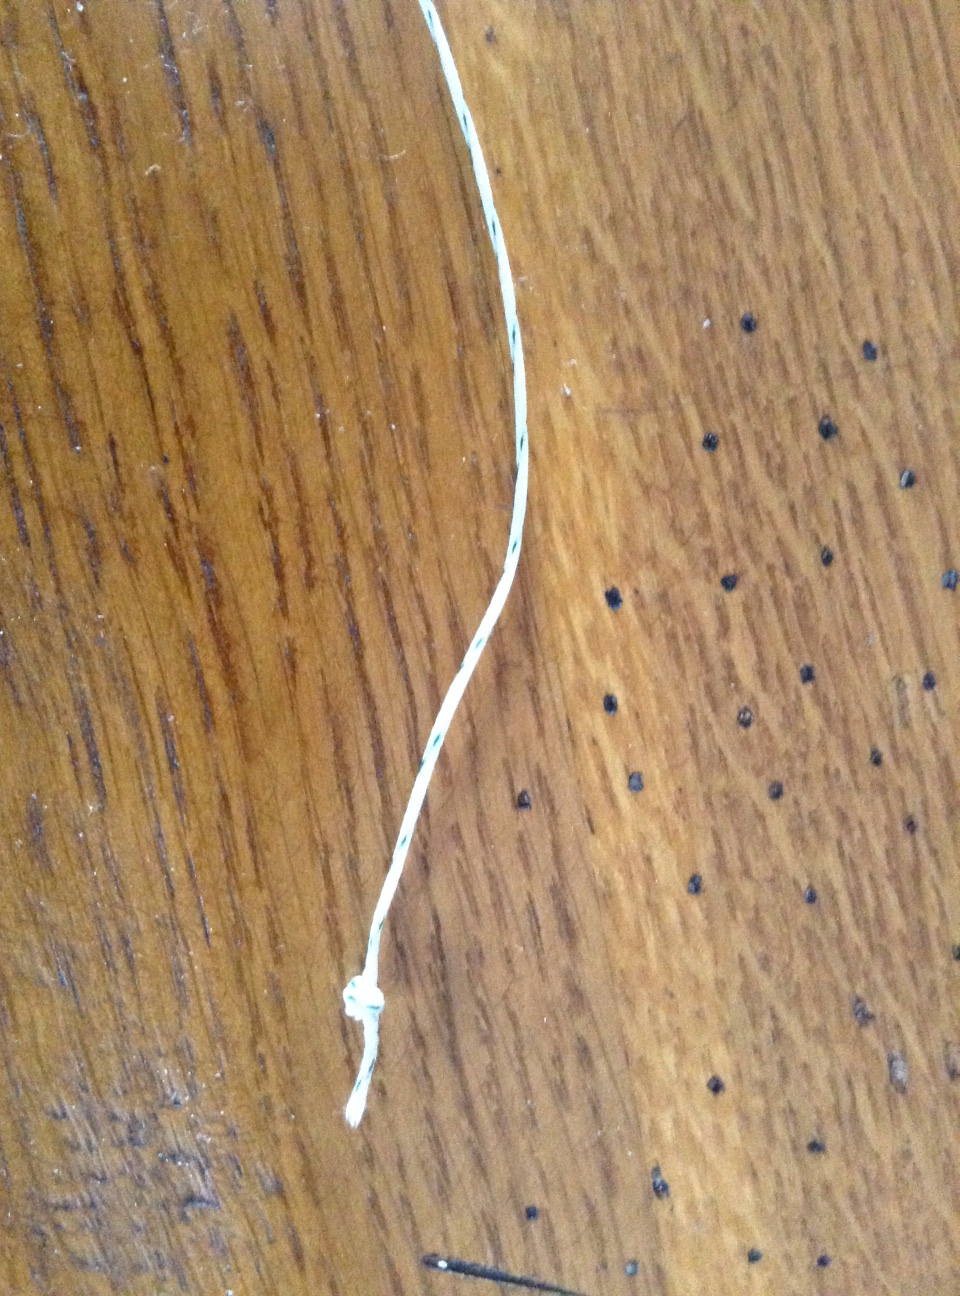
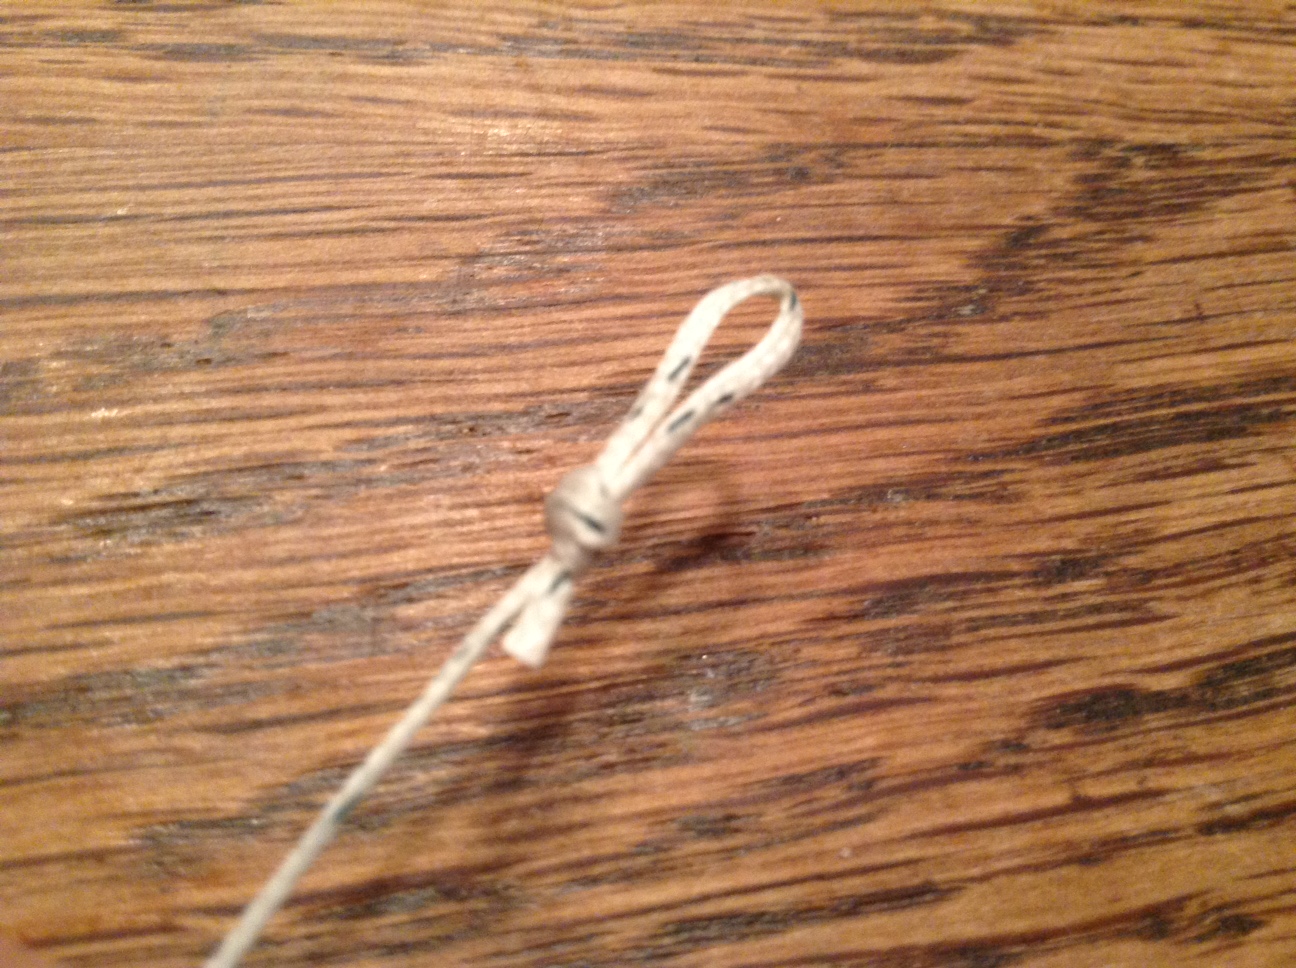
I cut the fishing line and added knotted loops at both ends, making it 25.5 inches in length.
Made a loop at each end. This braided fishing line was very easy to work with.
Starting on the right side of the typewriter, I attached the first loop to where the old drawband was attached – a little notched projection.
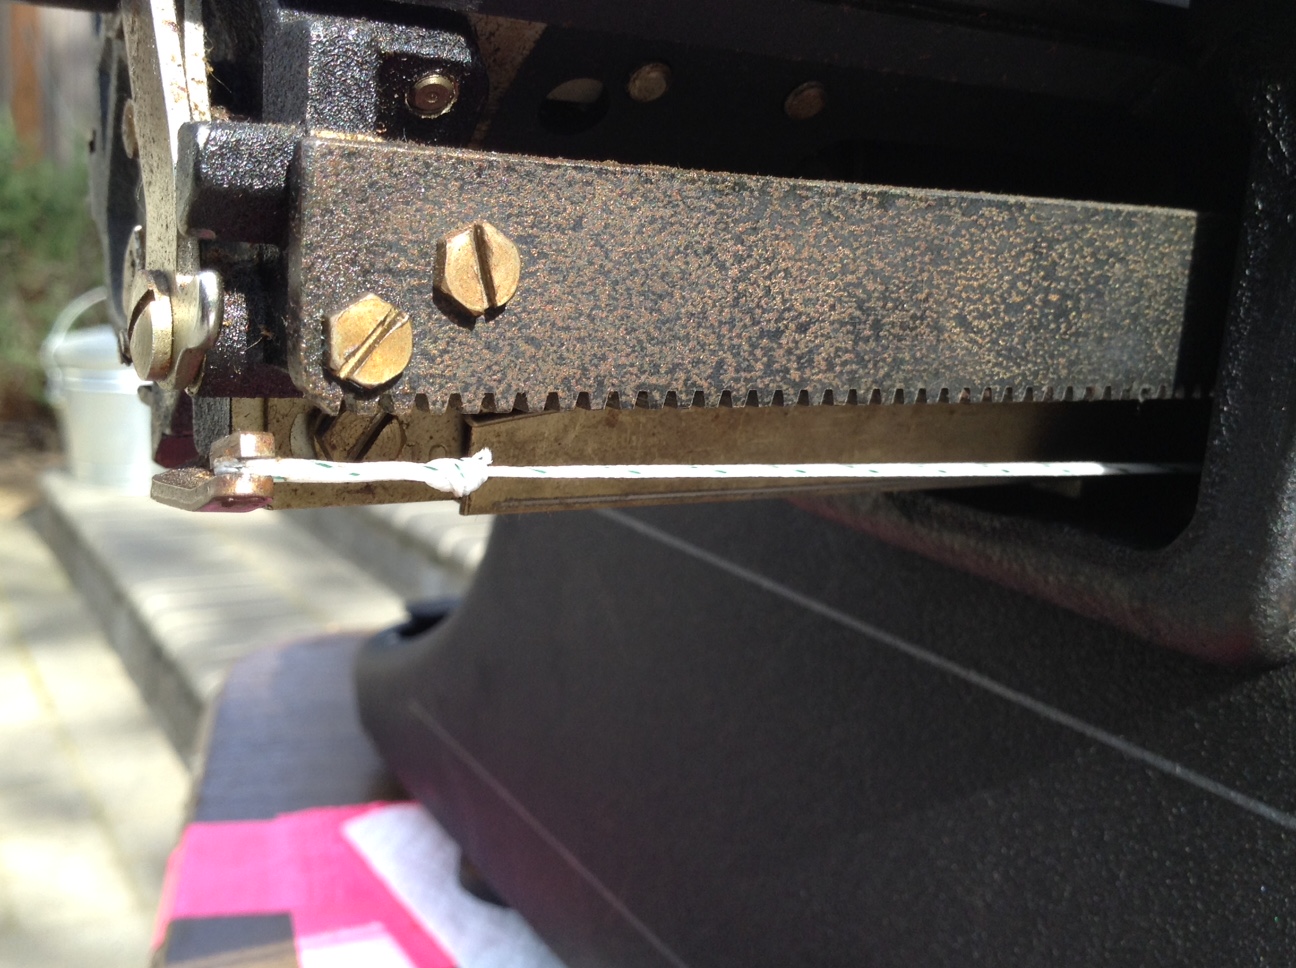
One loop goes on the notched projection under the end of the carriage; this picture was taken after I fed the fishing line through to the mainspring and attached it. I think I made the knot a bit close to the loop. Hope it holds. If not, I’ll film replacing the drawband.
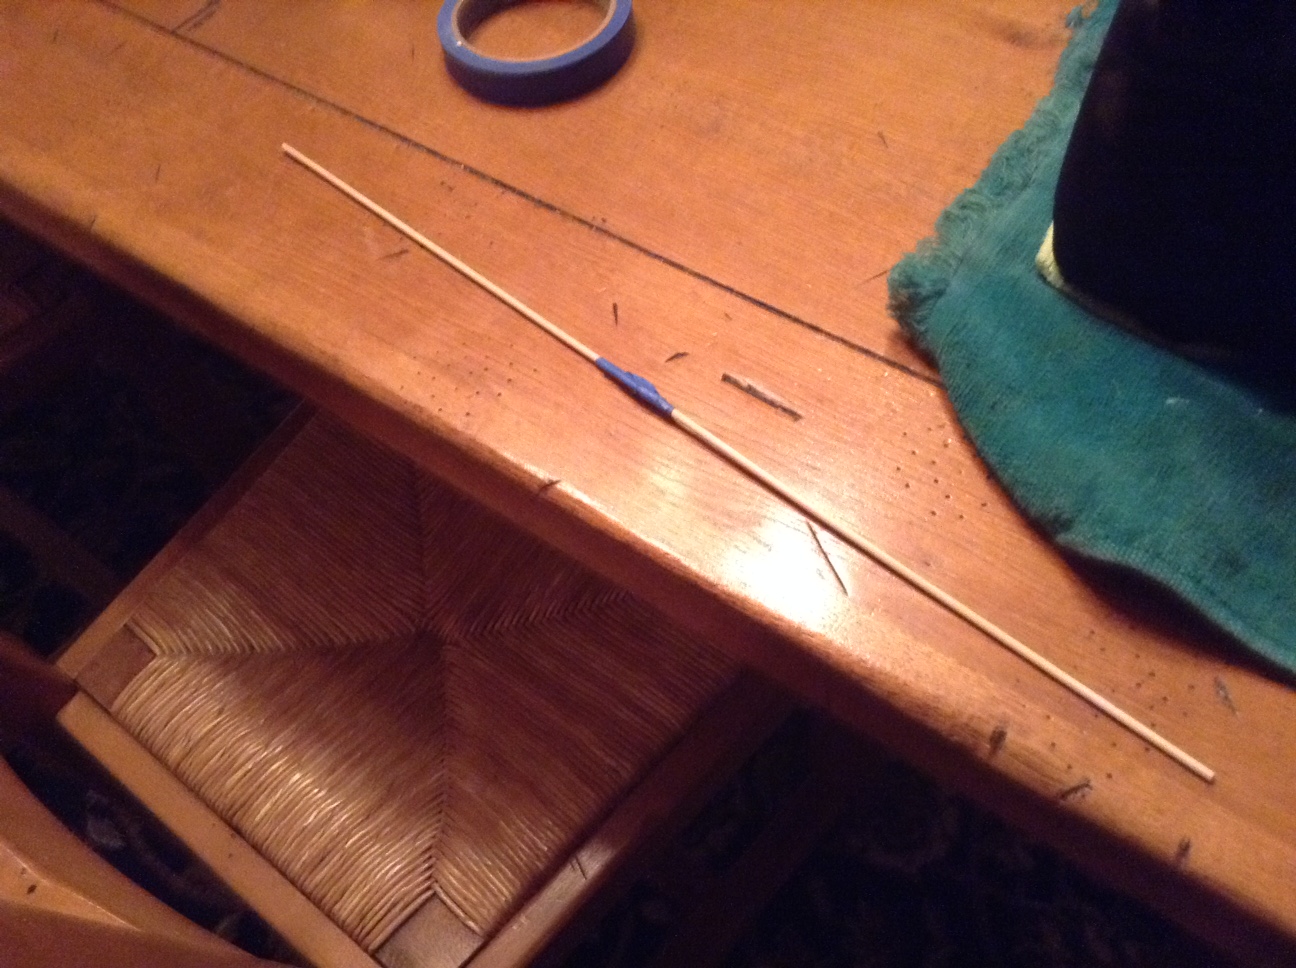
Next, I taped two wooden skewers together to make a tool that I could use to feed the fishing line under the carriage to the mainspring. A huge thank you to Robert Messenger of oztypewriter.blogspot.com who suggested using a wooden meat skewer.
Taped together, my skewer tool is about 20 inches long
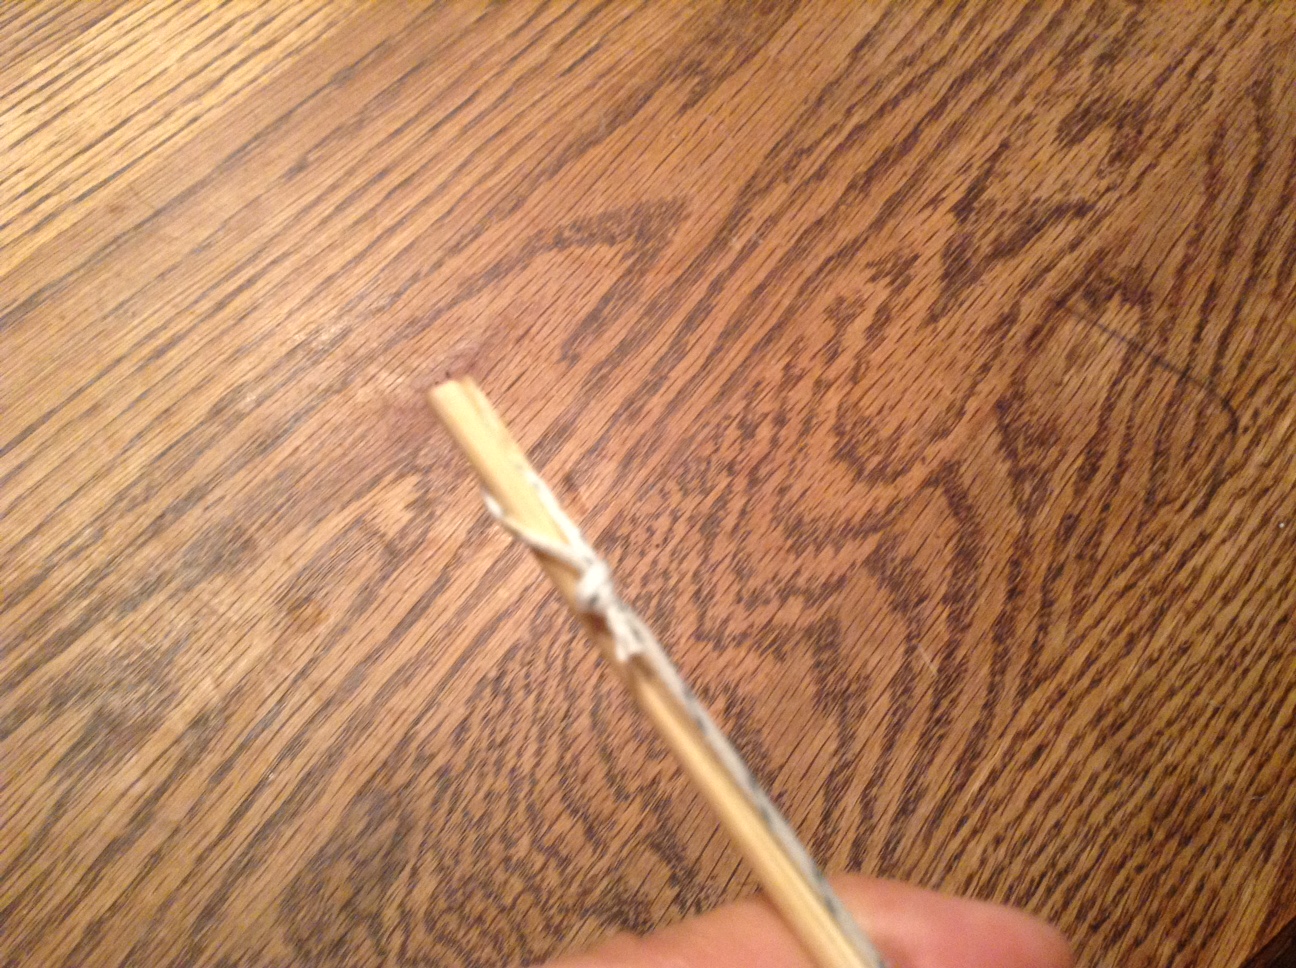
Like Robert Messenger, I modified the end of one wooden skewer with a utility knife and slipped the knotted loop over the slit.
I then fed the skewered fishing line straight under the carriage to the mainspring, being careful to feed straight across the back to the mainspring drum.
Loop inserted into a slit cut into skewer. This held the fishing line as I fed it through to the mainspring.
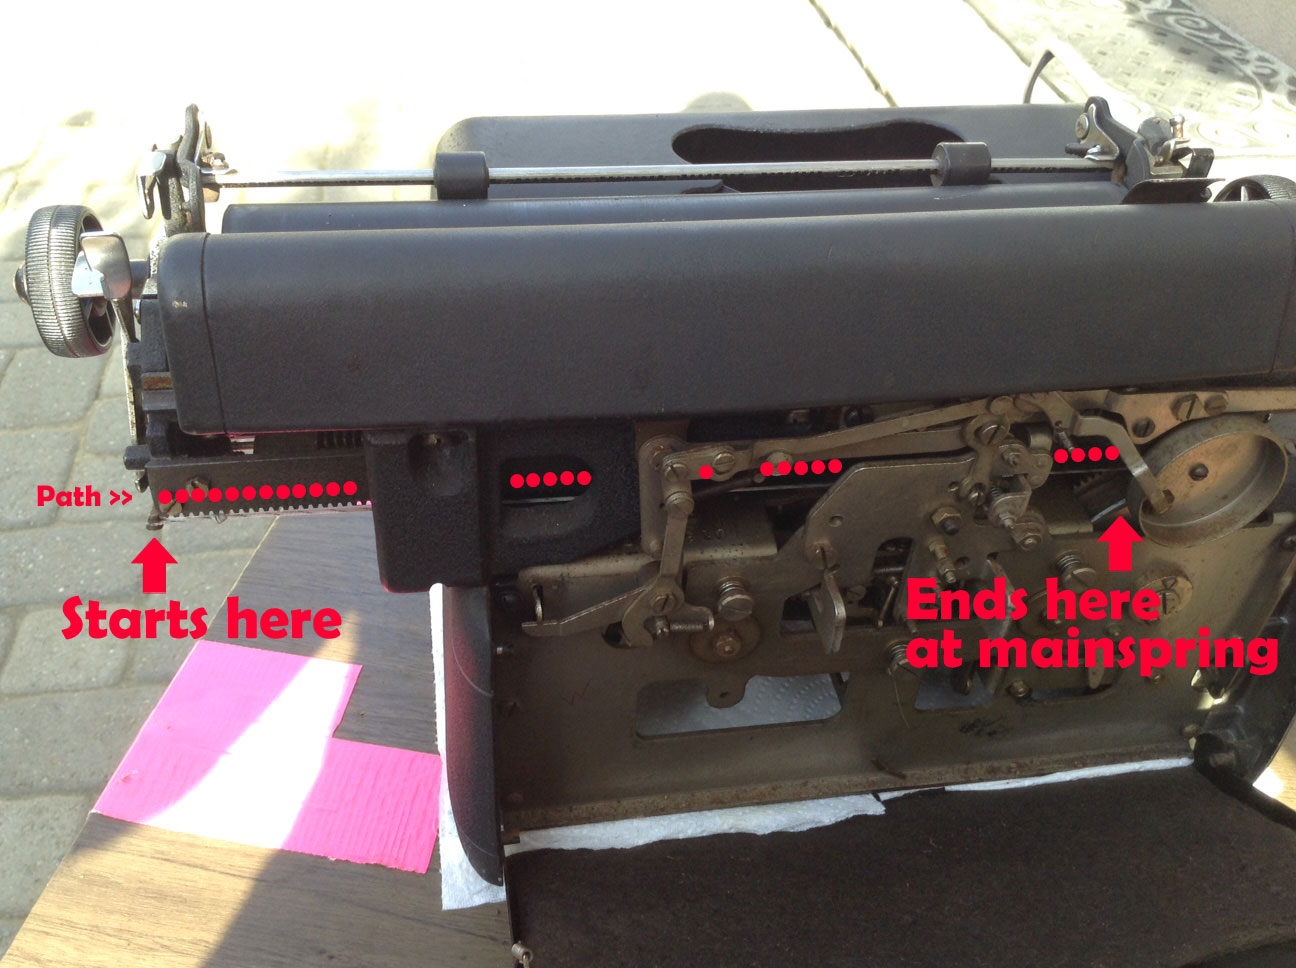
The path the fishing line took. You can see the attached fishing line in white just below my dotted lines.
Once the fishing line was fed through the typewriter to the mainspring, I came to the tricky part: winding up the mainspring and attaching the looped end of the fishing line to it without it unwinding.
I put on disposable gloves for this because it was dirty work and the little teeth of the mainspring drum bit into my fingers. My hands are pretty small, but this was a very tight situation.
I pulled the looped end of the fishing line out of the way for the time being.
I then wound the mainspring clockwise 3.5 turns. It got to a point where it was difficult to turn and hold a grip on it. I kept losing hold of it and it would rapidly unwind and the little teeth of the mainspring bit into my fingers like mad piranhas. On my last attempt, I wound it up clockwise 3.5 turns and with a pair of tweezers, set the fishing line loop onto a hook on the mainspring drum. I let go and the mainspring wound up the extra fishing line, pulling the line taught. There was a enough tension for the carriage to advance with typing. I had a semi-functional typewriter.
I will try to post a video of how I replaced it. Since I am not an expert knot maker, I may have put the knot too close to the right loop. It may come undone; and if I have to replace the drawband again, I’ll film it for posterity.
To make the repairs I needed to figure out what I was dealing with. The case said “Remington Rand” but I had problems finding the serial number. I finally found the serial number on the right side of the frame under the carriage rail:
J1391378
The back pops up easily if you pry it gently from the top
It took me forever to find the serial number
Fortunately, there is an online database of serial numbers for typewriters here:
With this information, I was able to identify the year and model. I had a 1948 Remington Rand KMC. This typewriter features the KMC key – Keyboard Margin Control. I found a very informative blog post in which the author Richard Polt had a type-off between the KMC and a similar Royal:
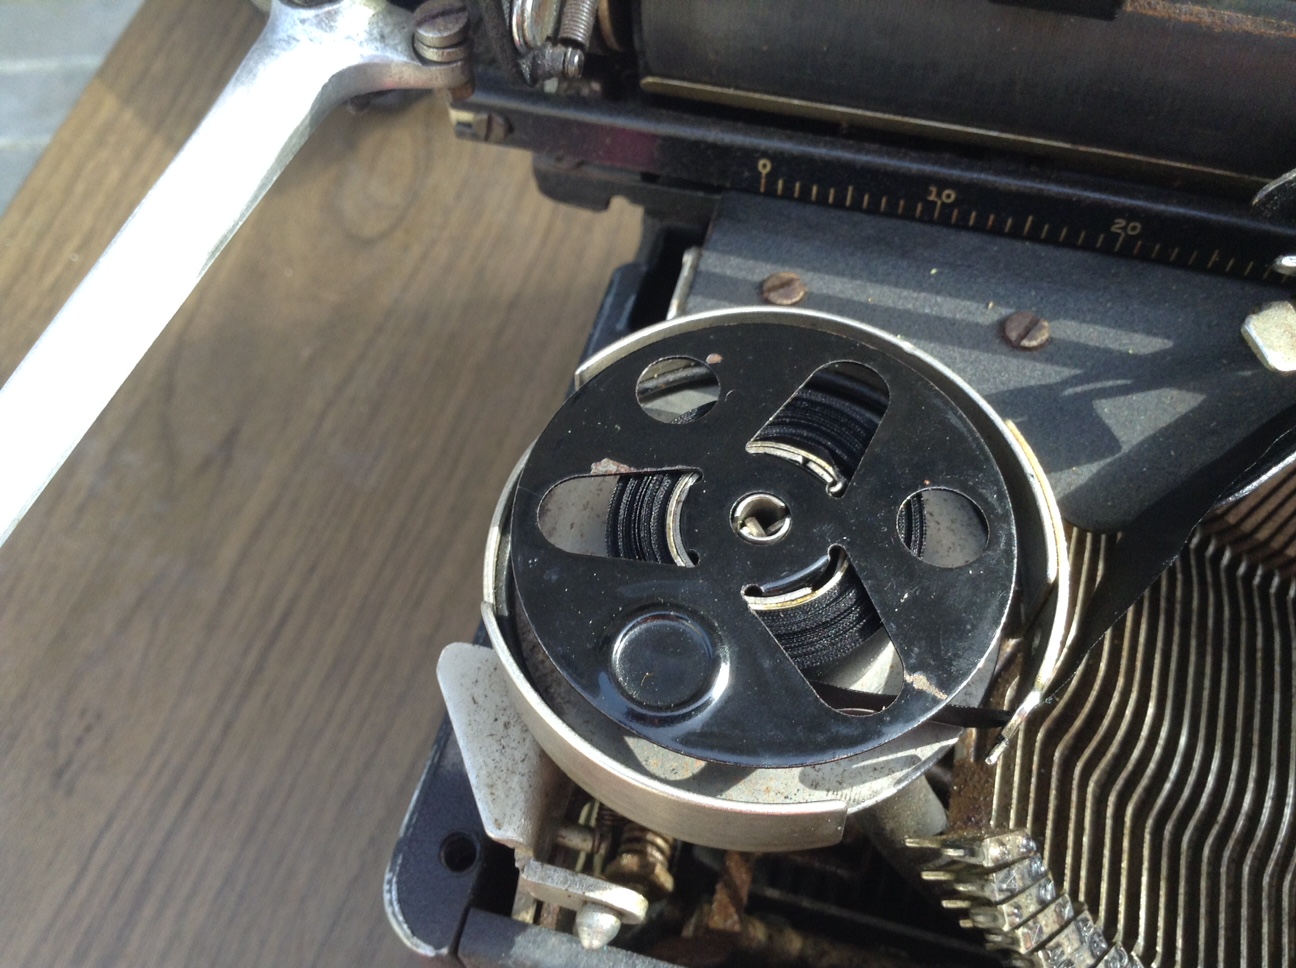
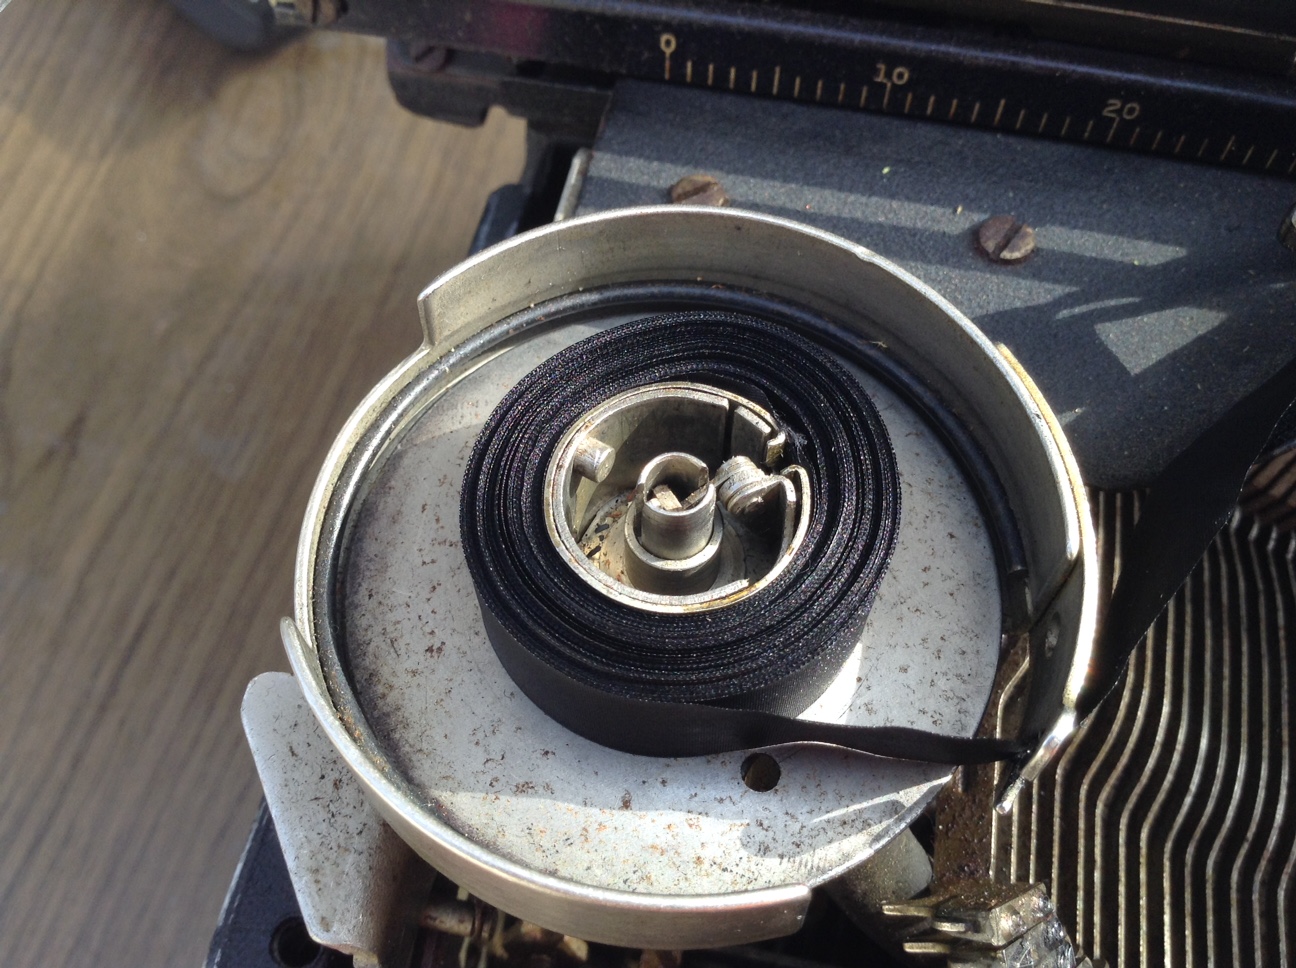
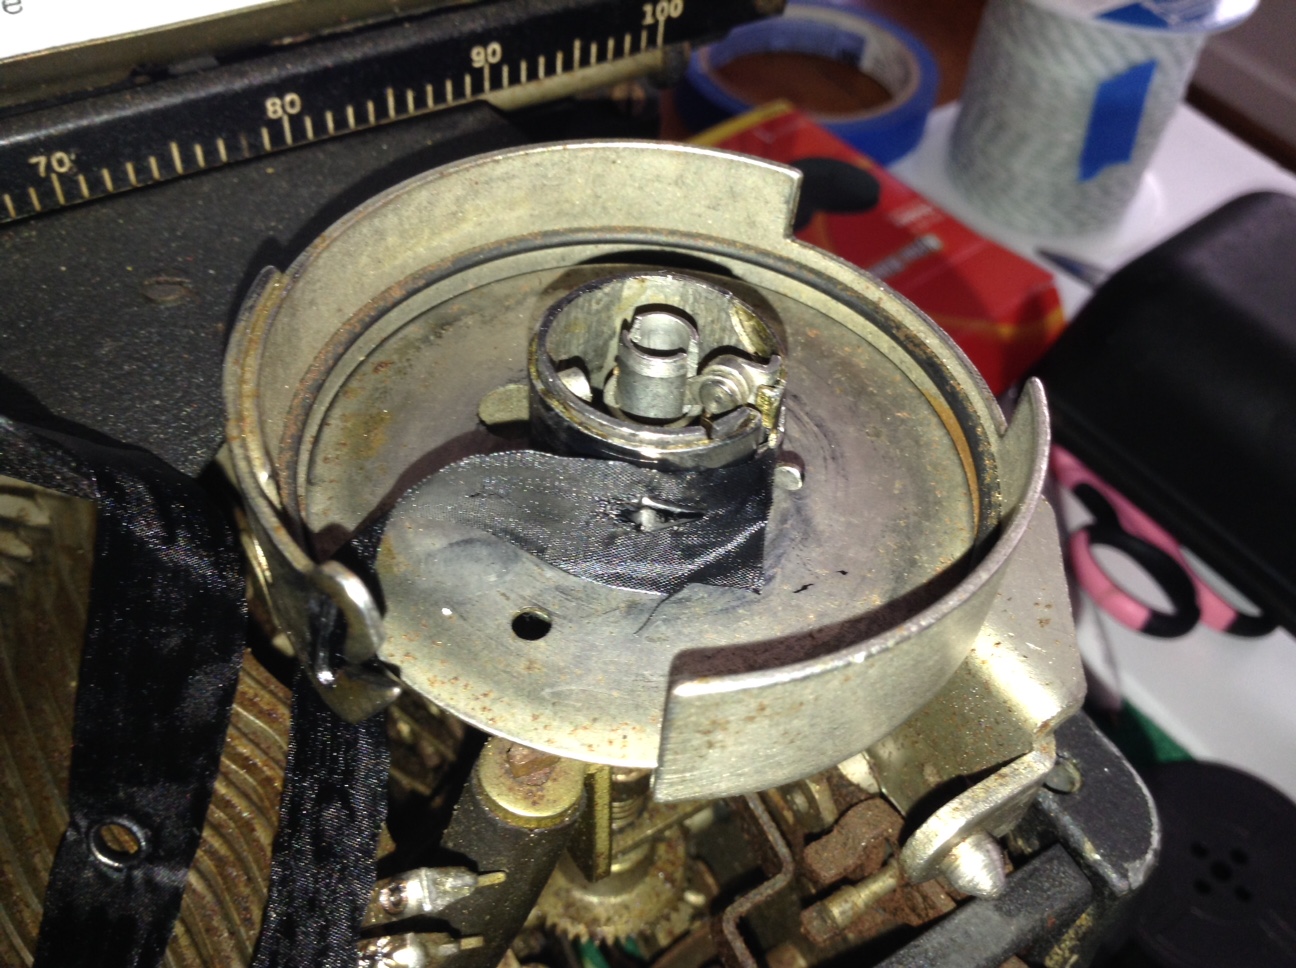
“Almost every metal spool on a typewriter holds onto the ink ribbon with a sharp little metal spearhead that simply pierces the silk and holds onto it that way. When you buy a new ribbon like this one, simply roll it all onto one spool, disconnect the ribbon (detach or cut with scissors), and replace the old ribbon with this one by skewering it on the spear instead, going the same way.
“Then wind to the original spool, and attach it to the spear on the other original spool. In other words, just replace the actual fabric ribbon, but NOT the spool that holds it (original spools holds more value for your typewriter anyway), and this will work on literally hundreds of different brands, no matter what.”
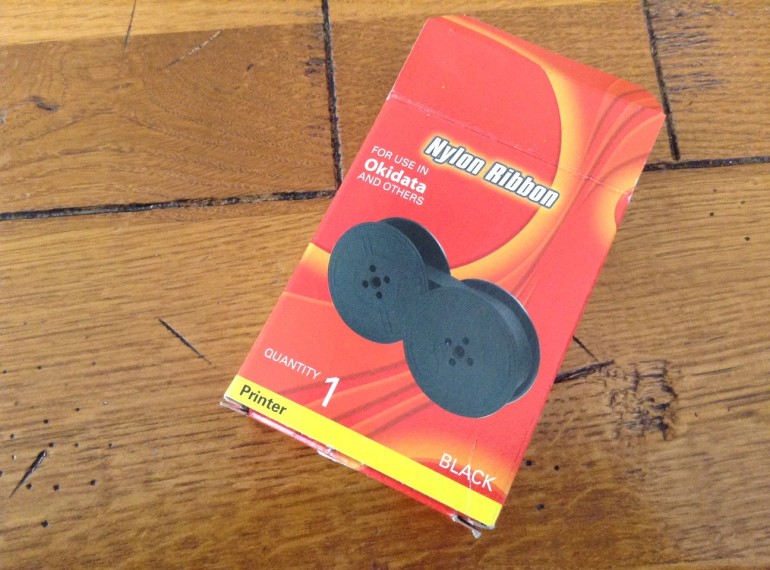
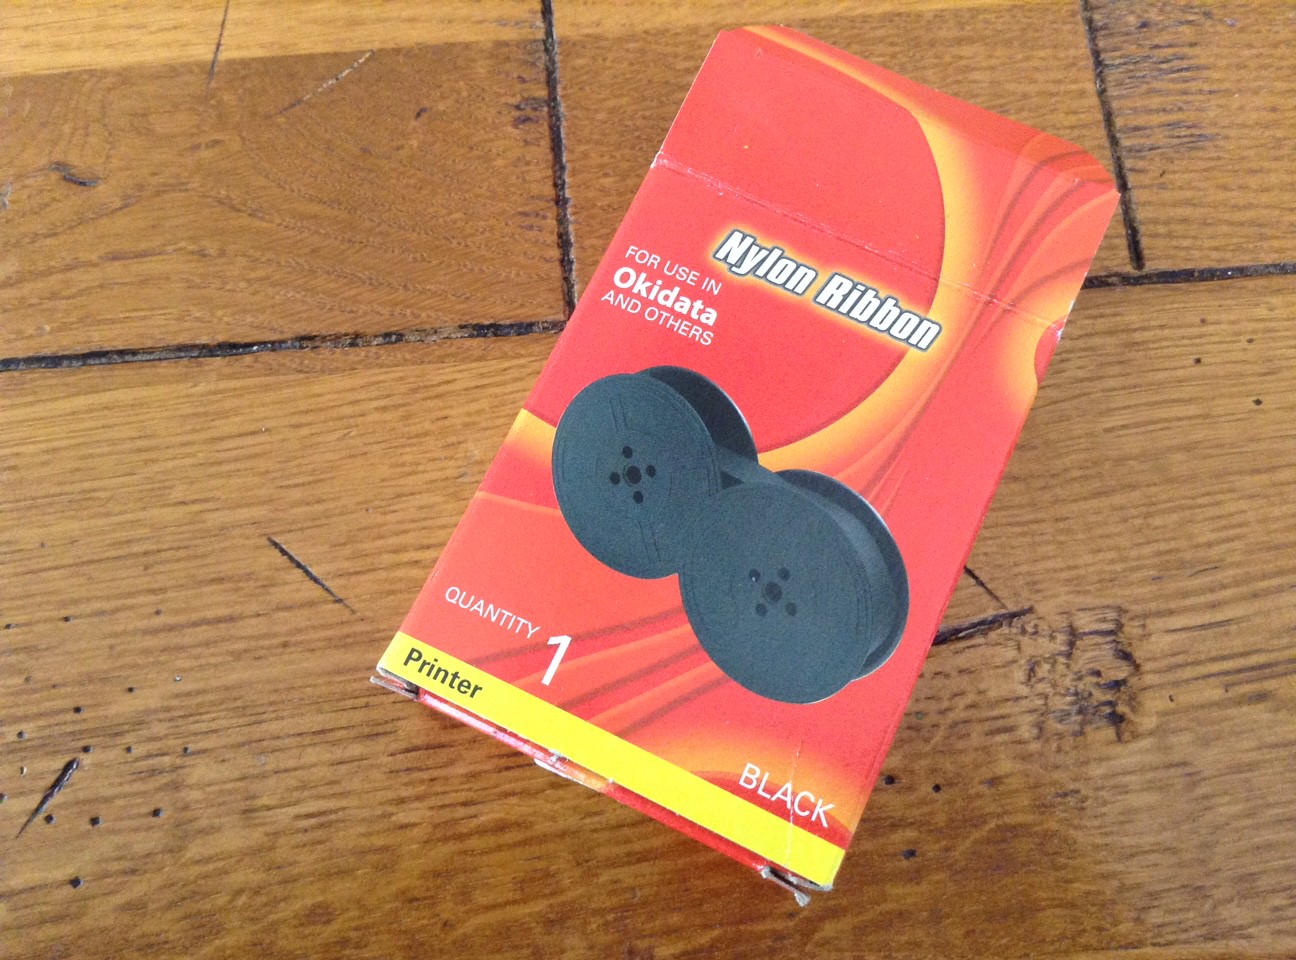
Brilliant! I thought I would have buy ribbon from a specialty vintage typewriter store. As it was, I went to an office supply store and for about $7.99 bought 1/2 inch printer ribbon:
This 1/2″ black nylon ribbon is for use in Okidata…and others
Here are the steps I took (I think I am remembering correctly):
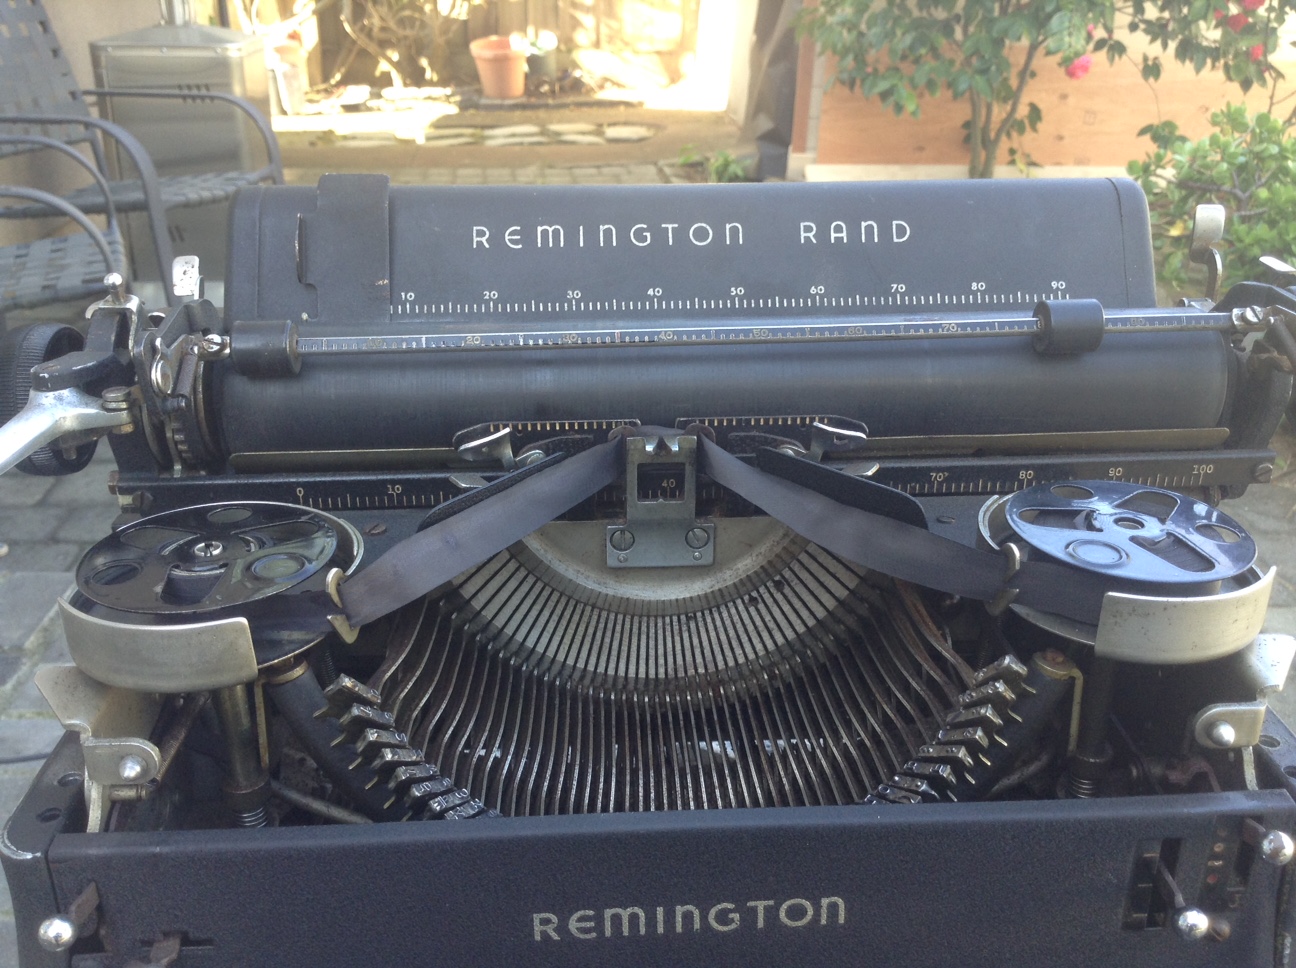
I carefully photographed my existing ribbon and spool set-up; this came in handy when I wanted to double-check how things went together.
I put on some disposable gloves – this was pretty messy with all the ink.
I put the ribbon control into the middle so that I could freely wind the ribbon spools
The ribbon control is the little knob above the clear key
I removed the spool covers.
With the spool cover
The spool cover just popped off
I wound all the old ribbon onto the spool on the right.
I cut the end of the old ribbon on the empty left spool.
I took the the new ribbon out of its package
I cut the new ribbon at the end of one spool and punched a tiny hole in the end of the new ribbon
I popped the new ribbon hole over the metal spearhead on the left spool, making sure that I was winding the same way the old ribbon was wound
I wound all the new ribbon onto the left spool – I found using the wooden skewers as a crank useful
I removed the old ribbon from the right spool and threw it away.
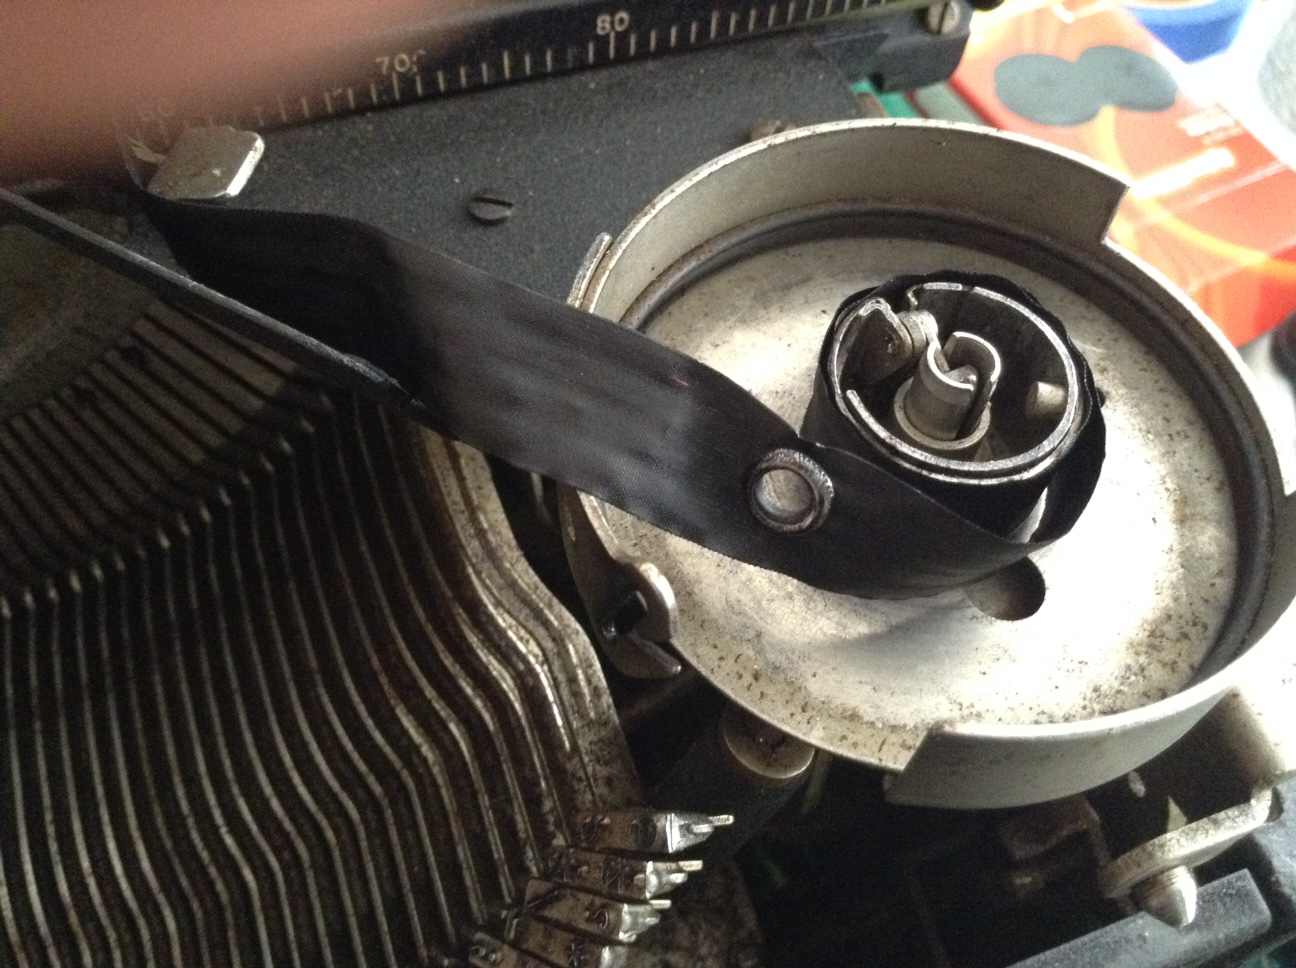
I fed the new ribbon through the ribbon guides and got it over the right spool where I slipped it over the metal spear on the right spool – I had to make a little hole at that end too.
there’s the little spear on the spool
Not sure what this little metal grommet at the end of the ribbon is for except that it stops the ribbon from advancing when it gets to the end of the ribbon and you have to switch ribbon feed direction
I wound a little ribbon over to the right side
I set my ribbon control to the right. The ribbon was now feeding from the left to right. Success!
I hauled the machine outside to the back patio for cleaning – a good idea since it was filthy and greasy and dusty.
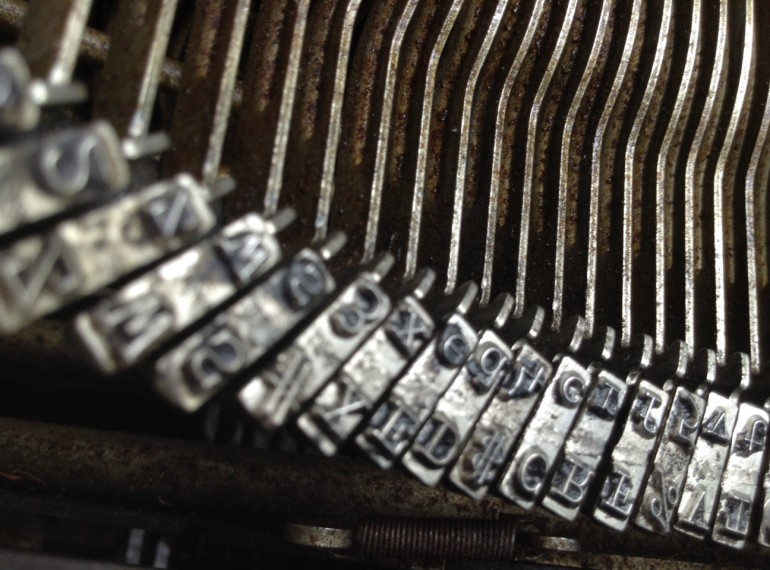
I removed the snap-off top plate and took a good look at the type hammers / type bars. I saw dust and goo and animal hair, but nothing bent or broken.
First off, I used a small air compressor to blow out the dust.
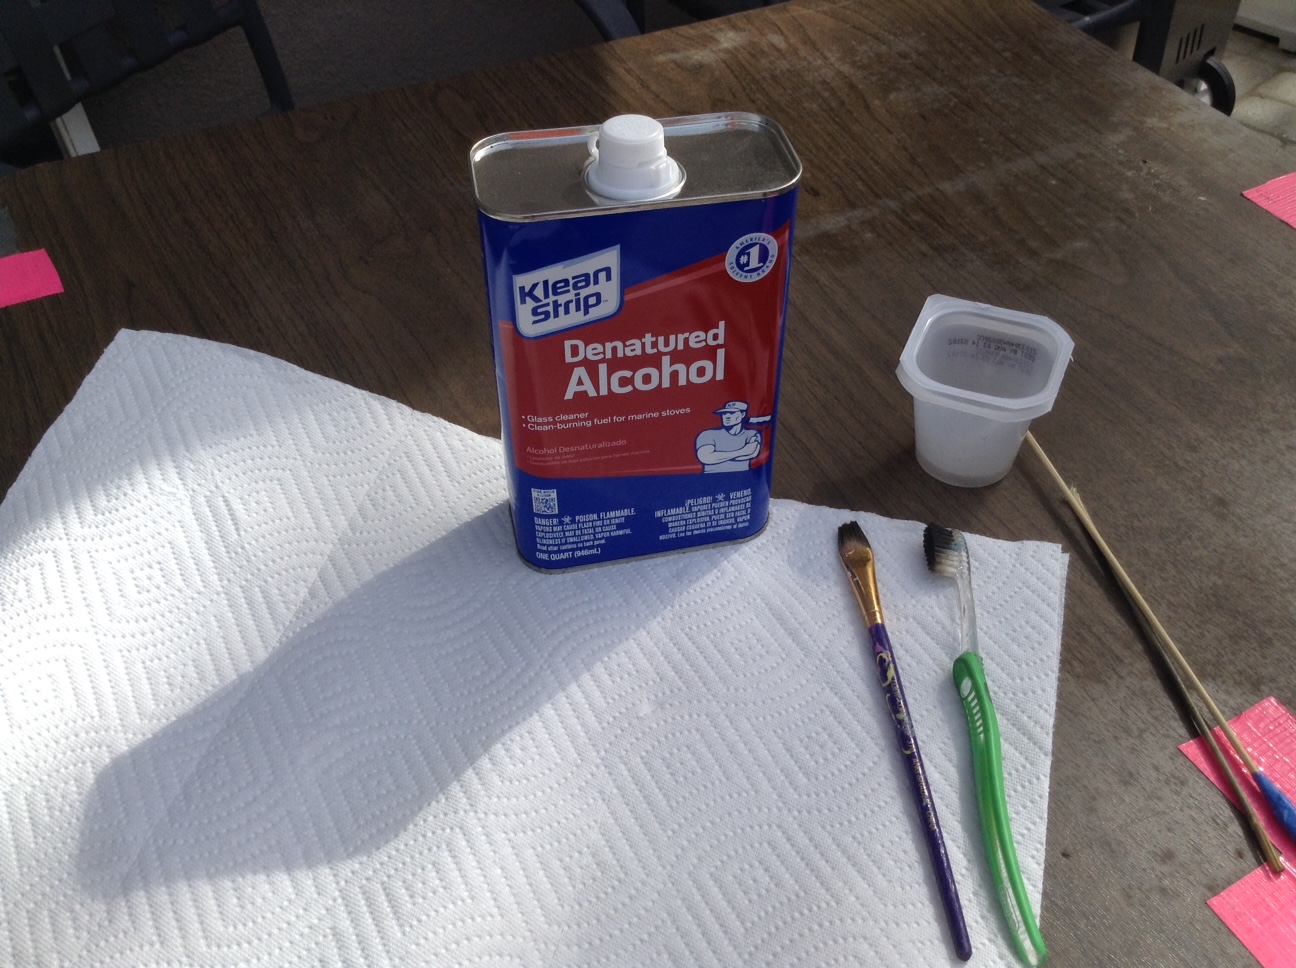
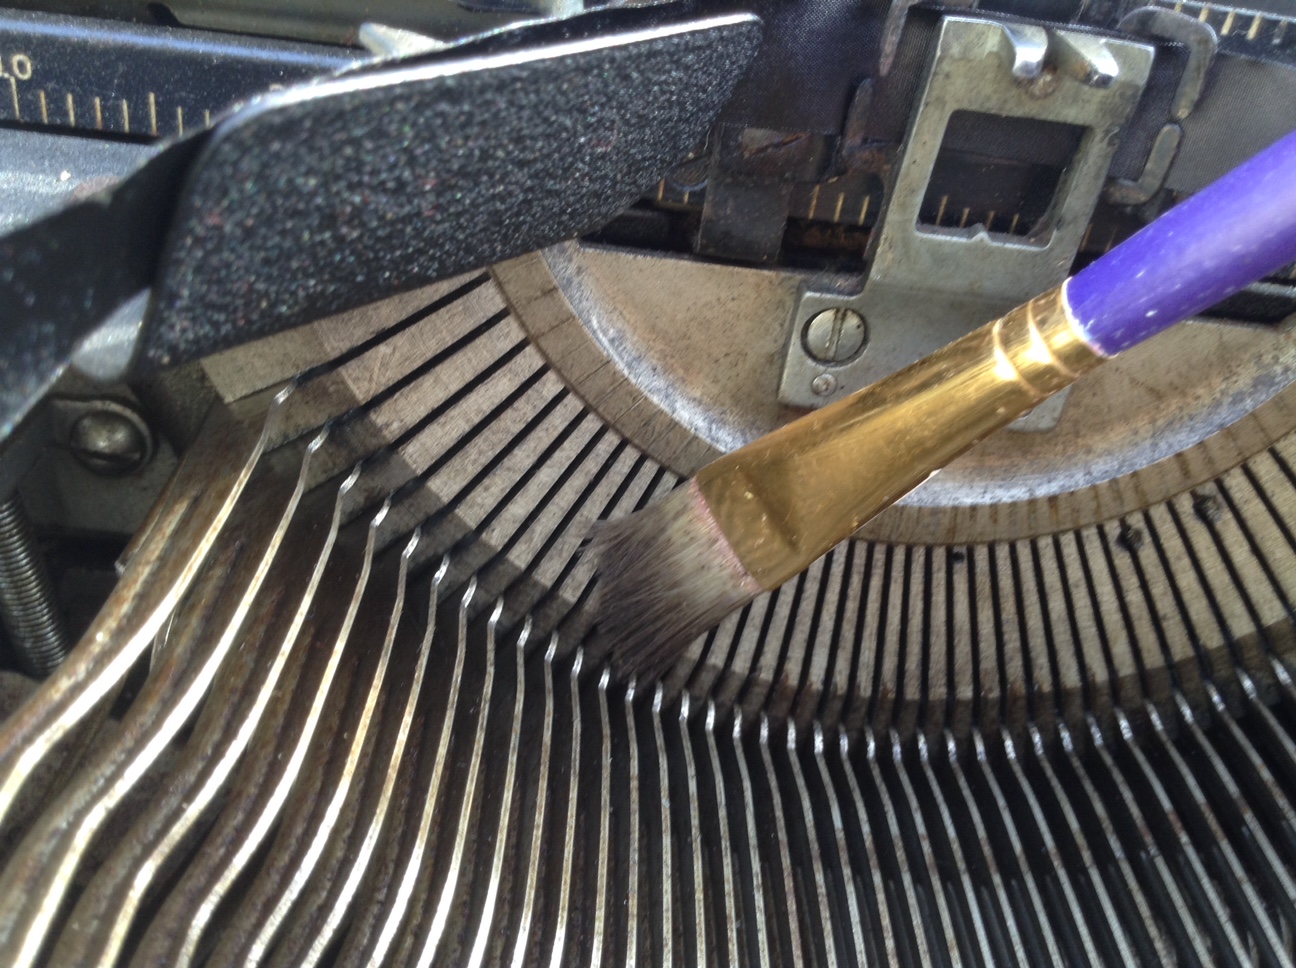
While the air compressor cleared out the larger debris, most of the dust remained because it was embedded in grime and goo and oil. I put a bunch of clean paper towels under my work surface and then poured a little denatured alcohol into a cup. With a little brush, I painted inside all around the levers and type hammers / type bars.
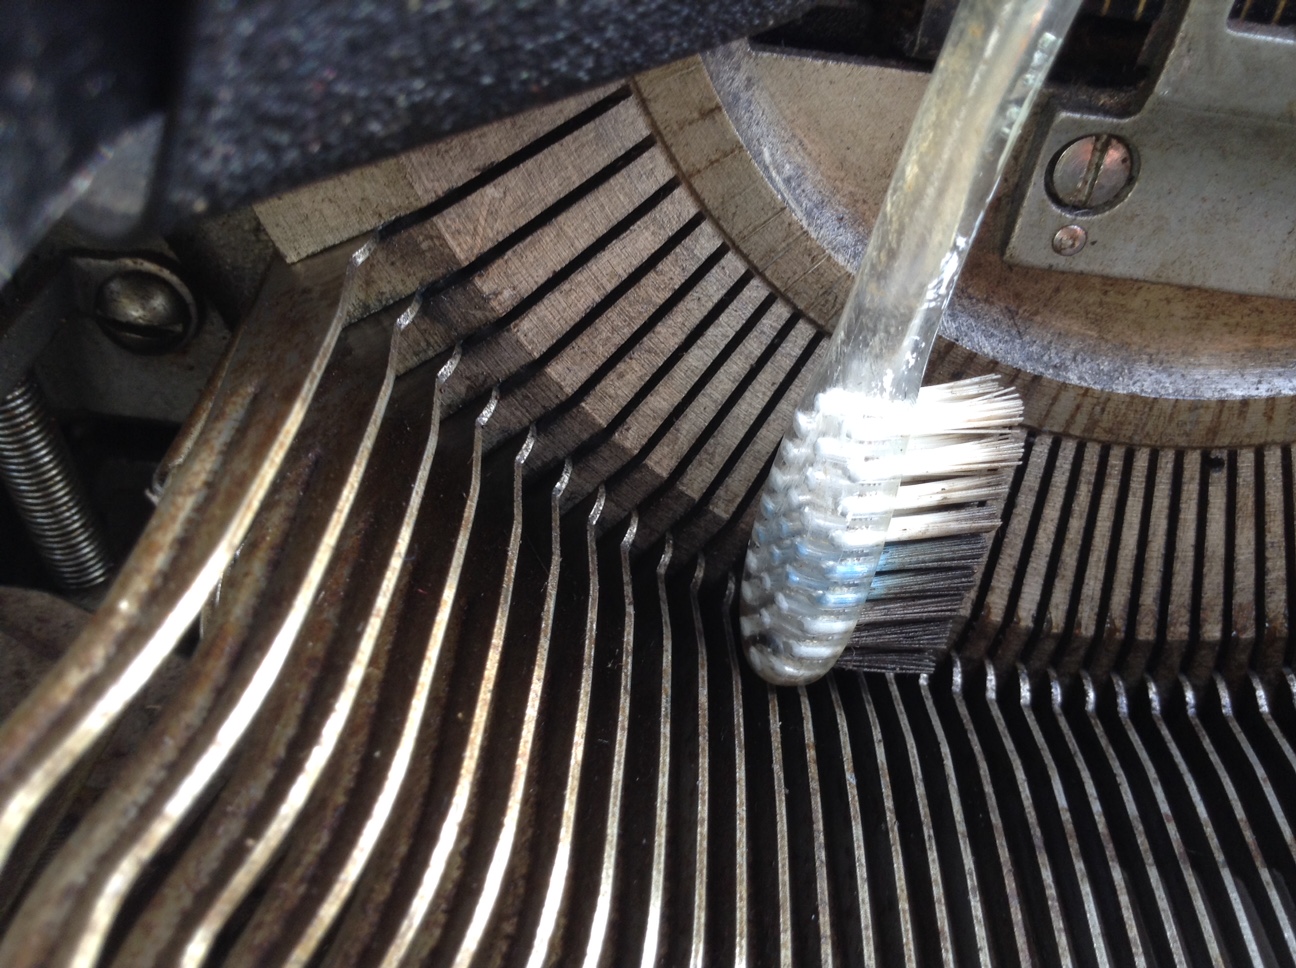
The dirtiest spots were the slots in the “smile” – they were filled with sticky goo.
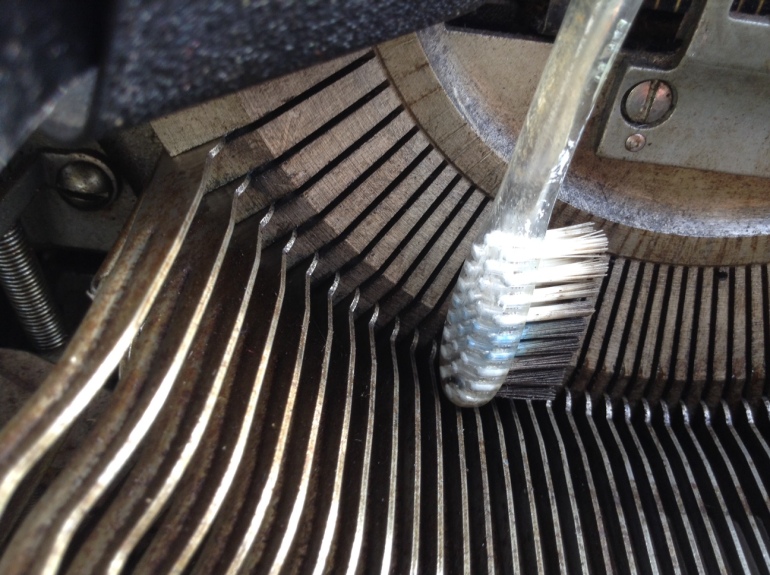
I then used an old toothbrush to scrub around.
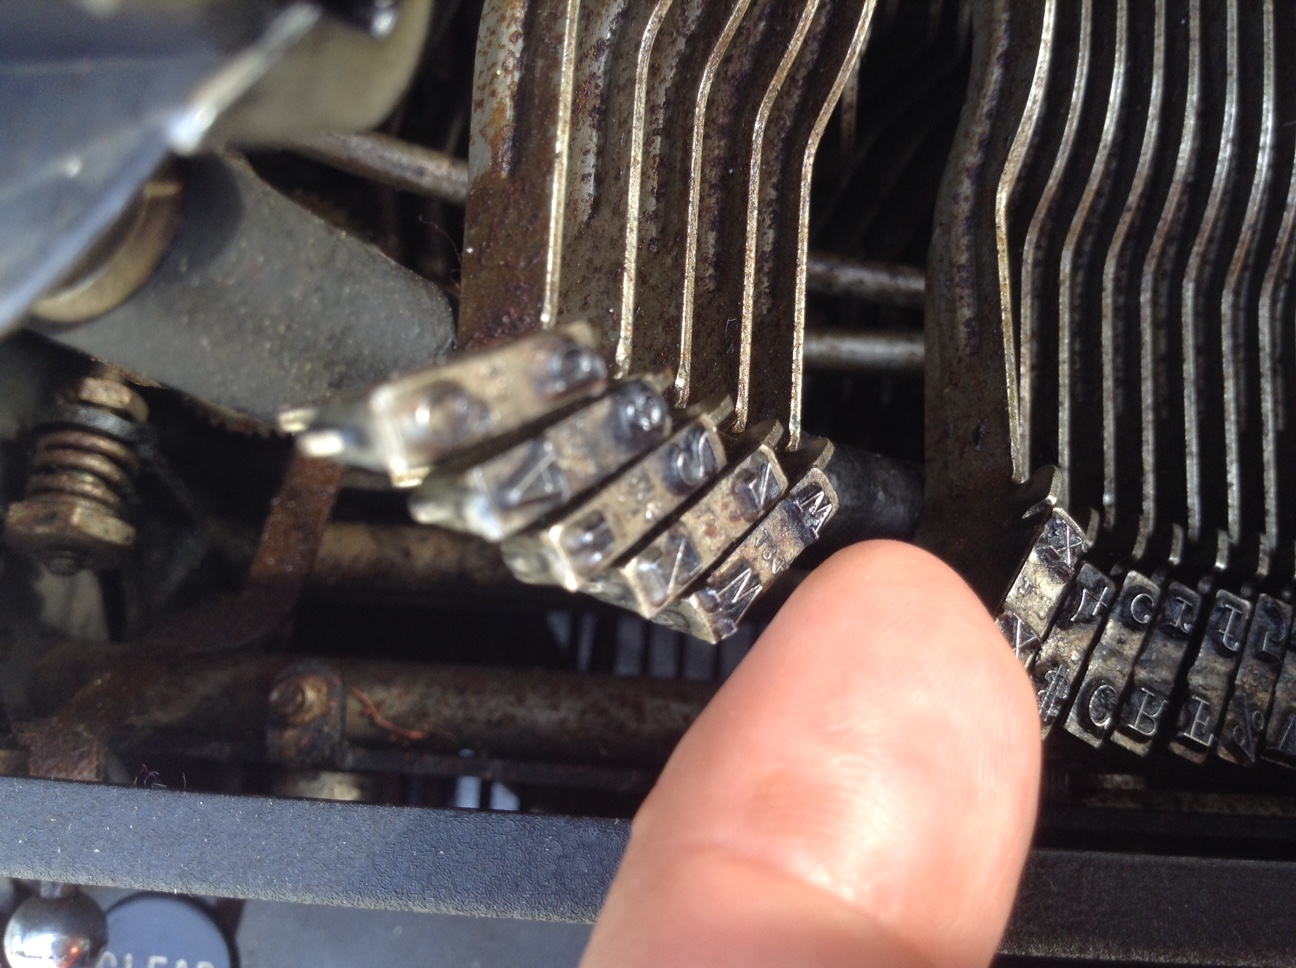
While I scrubbed, I gently struck the movable keys to loosen them up. They began to move more easily and black gunk dripped out from underneath. For the frozen keys, I was able to very gently lift them up out of the goo with my finger tips. Fortunately I didn’t have any bent hammers, just very dirty ones.
With its neighbor hammers lifted, I gently pry up a frozen key and loosen it from the goo. Check out the rust. This typewriter has lived a hard life.
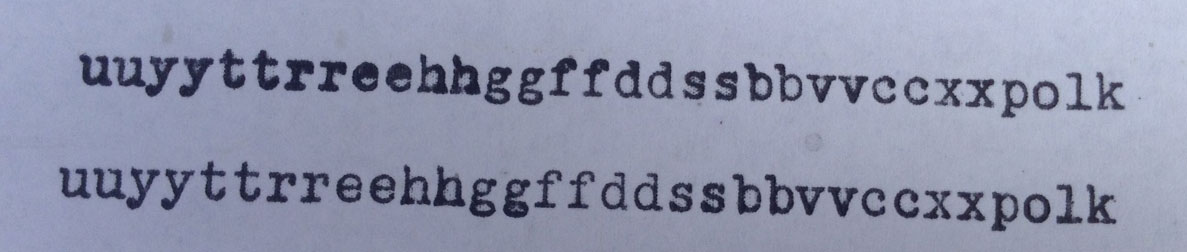
After a lot of painting and scrubbing and working the hammers / type bars up and down, the keys began to move freely, hitting the platen easily and returning to their home reliably.
Make sure your work table is protected with a cloth or paper towels. Be careful to not get denatured alcohol on the outside of your typewriter – it could ruin the finish!
Here are videos that I found invaluable to my cleaning efforts:
We tried to fixed the stuck margins (we had about two inches of space between the left and right margins) by hitting the Margin Release key and then the Set and Clear keys.
WRONG WRONG WRONG.
All we were actually doing was setting tabs.
The margins were still stuck, the left margin way over in the center of the page.
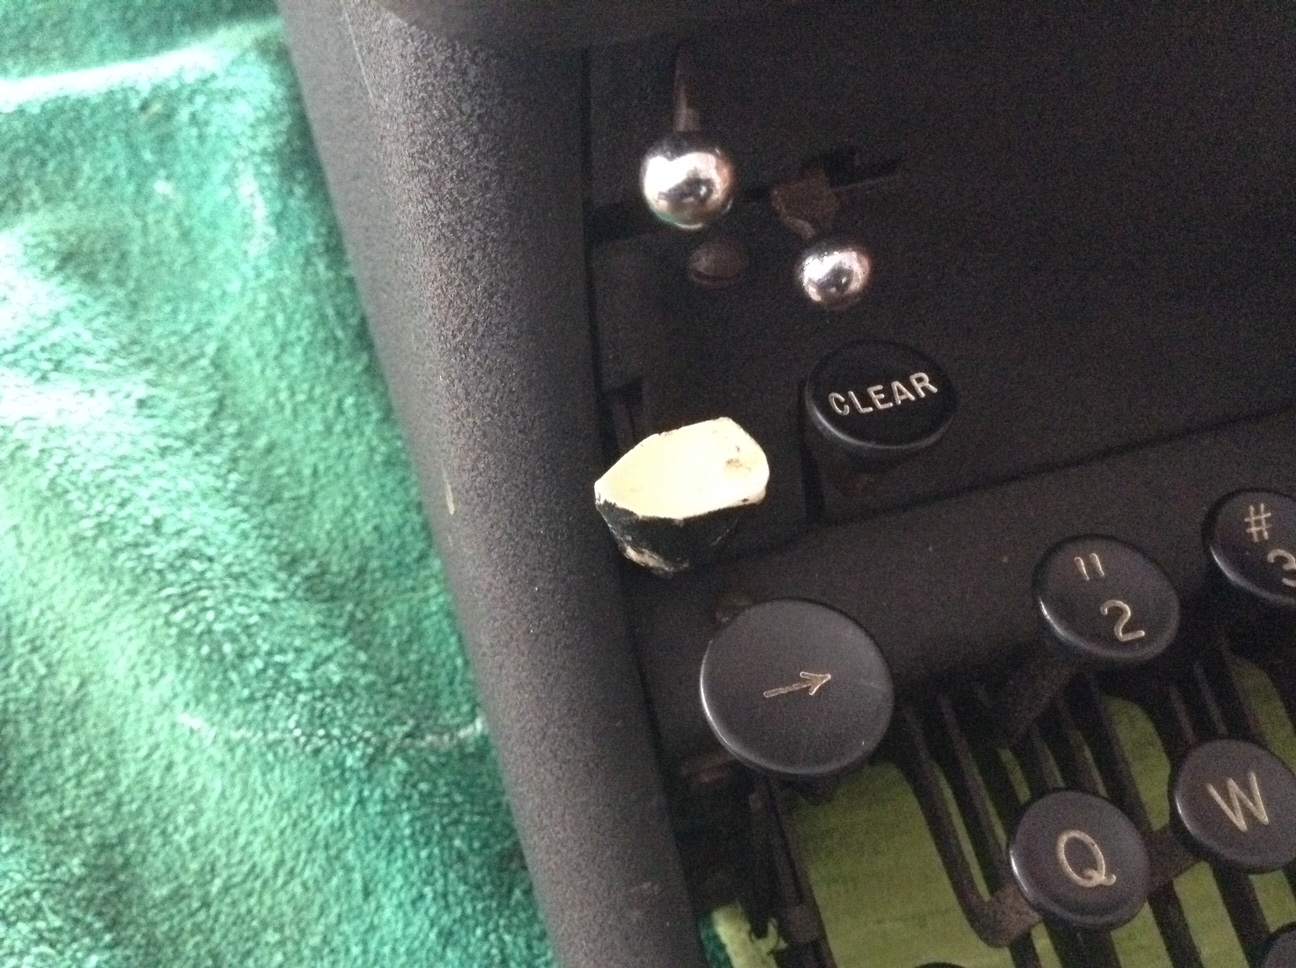
However, once I knew that I was dealing with a Remington Rand KMC, I was able to find information on adjusting the margins. Sometime in the past, our typewriter had a traumatic event involving its left KMC key. Someone had replaced the missing key with a blank piece of painted wood.
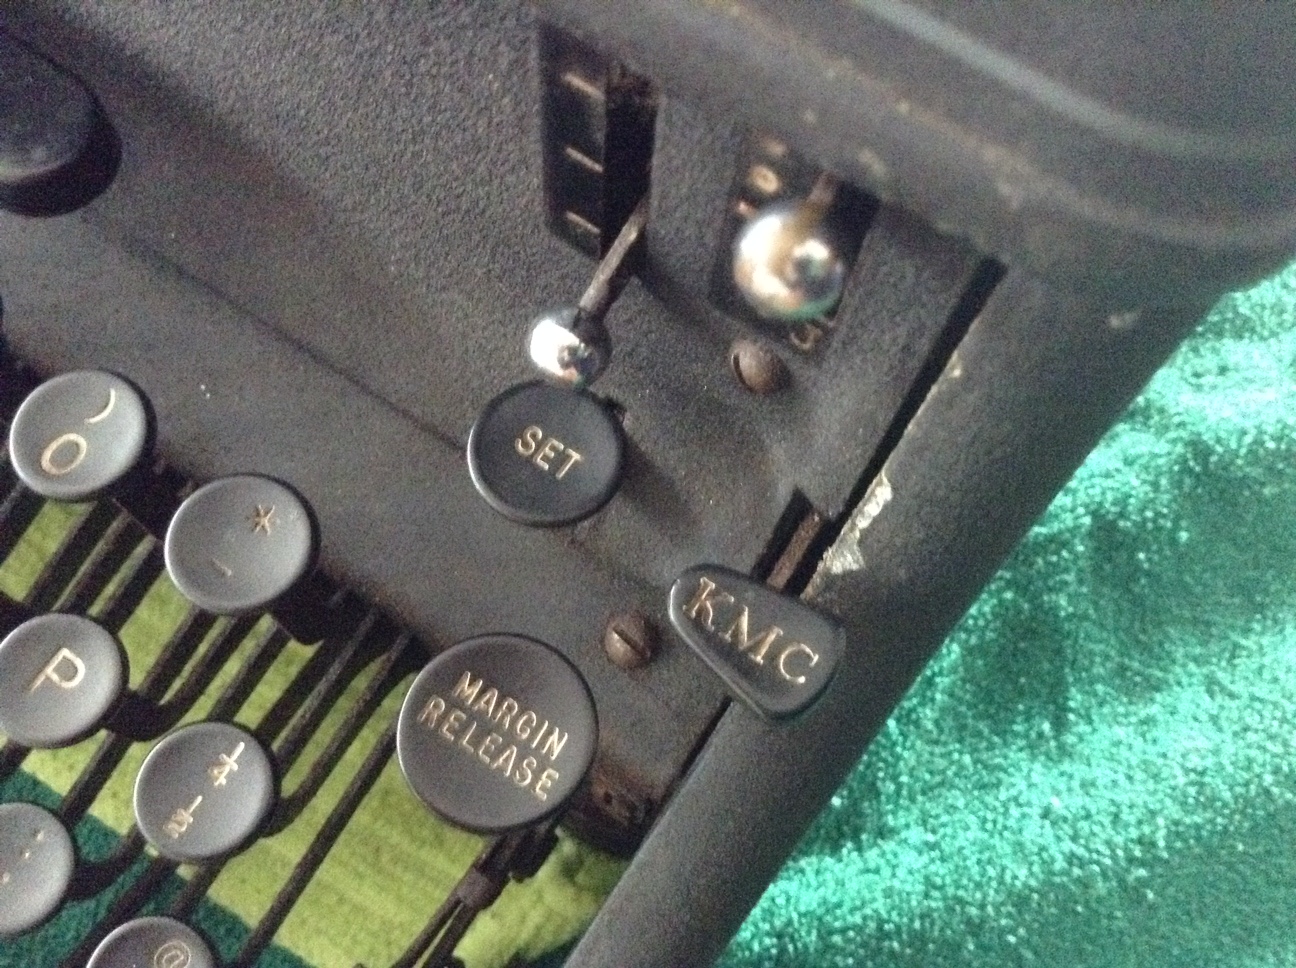
The mystery key on the left side of the keyboard is identified as the left KMC key (Keyboard Margin Control key)
It was a mystery key until I identified that blank wooden key as the left KMC key – the key that controls the left margin.
By holding down the left KMC key and the carriage release lever, I was able to move beyond the left margin and set the left margin where I wanted it. Same thing on the right using the right KMC key – and ta-da: useful margins!
This is the right side twin of the mystery key – “KMC” clearly printed on it. Keyboard Margin Control.
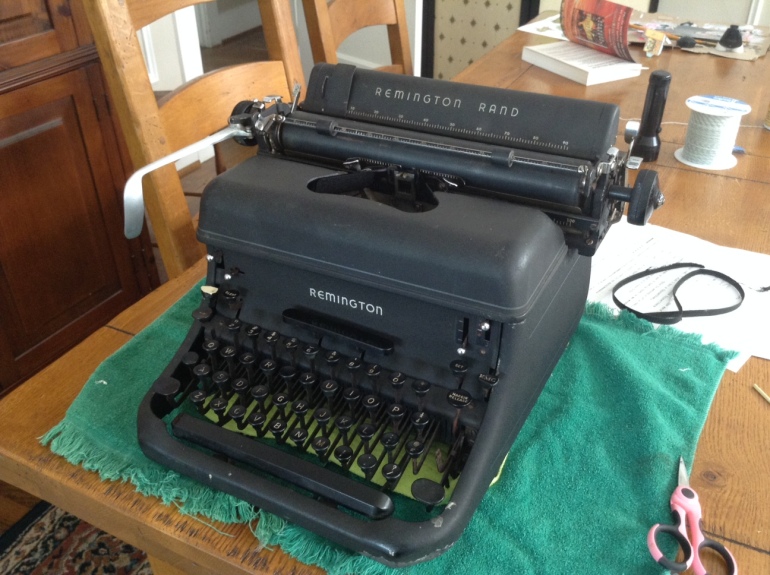
My neighbor was getting rid of an old, broken typewriter that he had picked up at a garage sale. My daughter spyed it lying derelict on the curb as we were walking home from school. She begged me to let her bring it home and I reluctantly agreed. Despite the fact that we don’t need any more broken machines in our home, the simple mechanical beauty of the typewriter spoke to me and we hauled it inside. It weighed a ton – probably 25 lbs or more. Initially skeptical, my husband joined our fascinated investigation of the old thing.
On inspection, it was worse than it looked. It seemed irrevocably broken.
Major problems with our curbside rescue:
Broken carriage drawband – my husband noticed some threads hanging from a broken strap under the right side of the carriage. The remainder of the torn drawband was still wound on the mainspring on the left side of the carriage. This resulted in the carriage not advancing when the keys or space bar were struck. Update: read about the fix.
The suspicious stray threads hanging from under the carriage
Frozen and stuck keys – the internal workings of the typewriter were a gloppy mess of oily dust. Almost all the keys were very sticky, failing to hit the platen roller or failing to return after being struck. A few of the keys were completely frozen, stiff and unmoving. Update: I cleaned them and got them moving again.
It has been many years since I have used a manual typewriter. Growing up, we had an old Royal, probably circa 1940 on which I typed out many high school papers. I did not experience electric typewriters until I hit college.
My husband, daughter and I poked at the old typewriter, re-familiarizing ourselves with basic operations. Thanks to the internet, we found lots of general information on manual typewriter operation and soon we were able to identify many of the part names and functions.
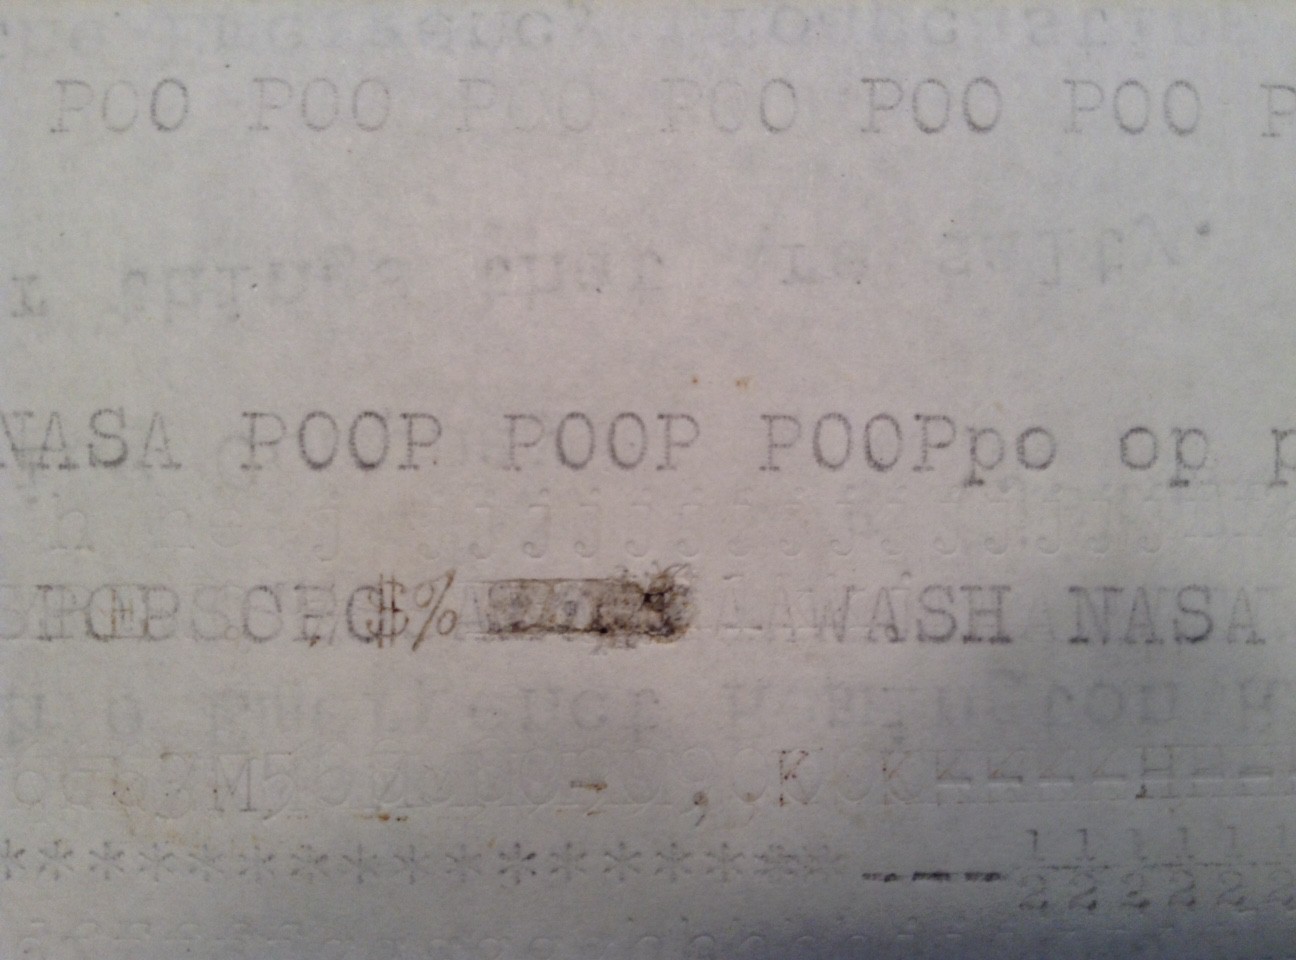
Even in its broken state, we had a lot of fun with the typewriter. We manually pulled left on the carriage to make it advance and typed out faint messages with the keys that worked:
The P and the O worked very well so we typed out “POOP” a lot.