Posh Spice: Corona Sterling

I was sort of looking for a functional portable typewriter that I could refer to while I restored the Corona 4. When I work on my Oliver, I wish I had a second functional Oliver to which I could compare mechanisms in action.

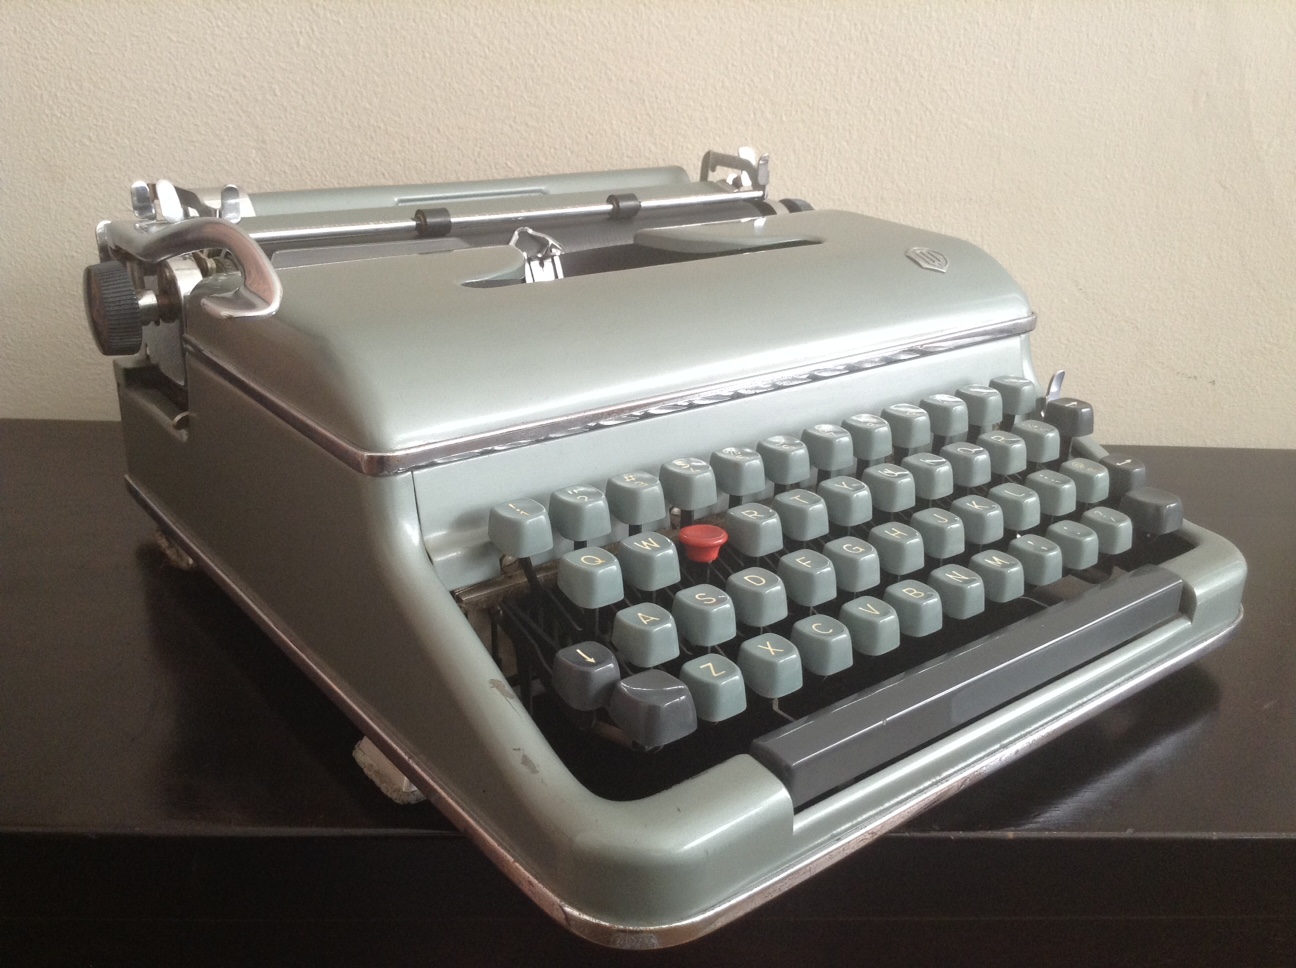
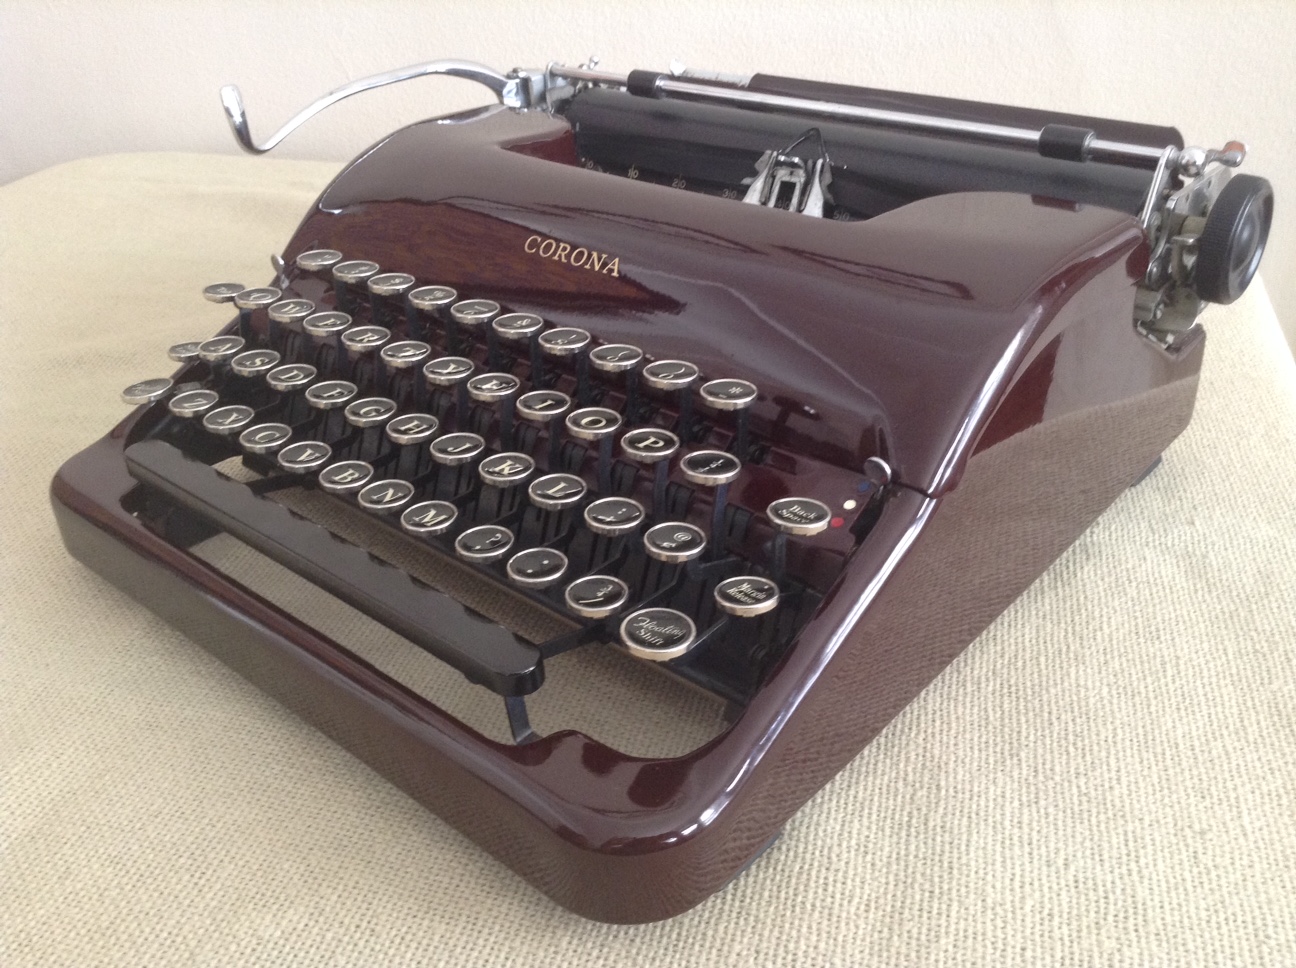
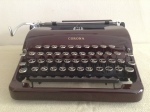
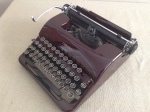
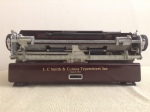
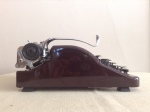
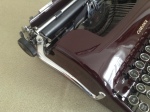
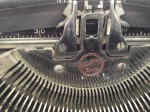
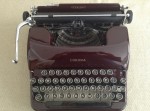
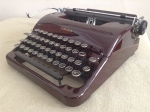
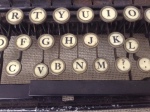
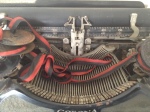
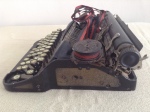
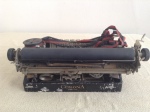
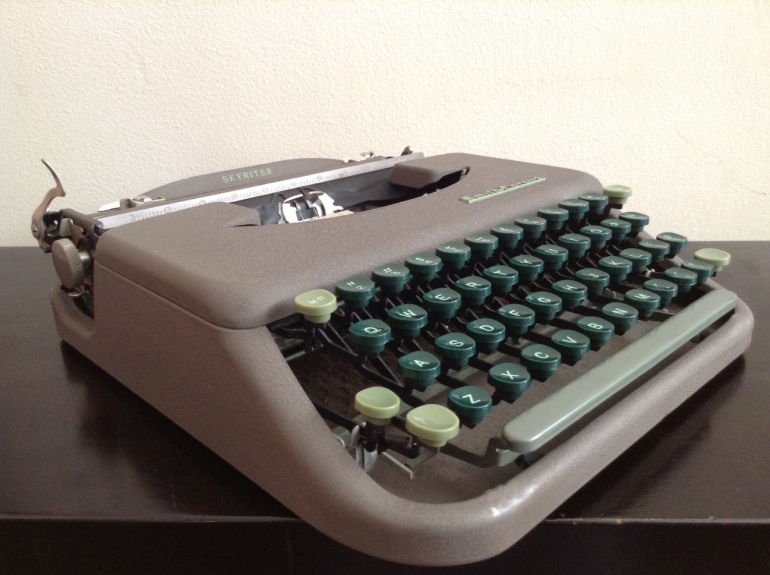
I found this typewriter and she is not only functional – she is exquisitely pristine.

IMG_3411

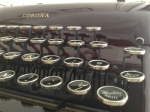
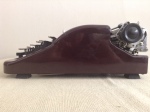
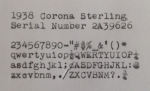
1938 Corona Sterling
Serial Number: 2A 39626

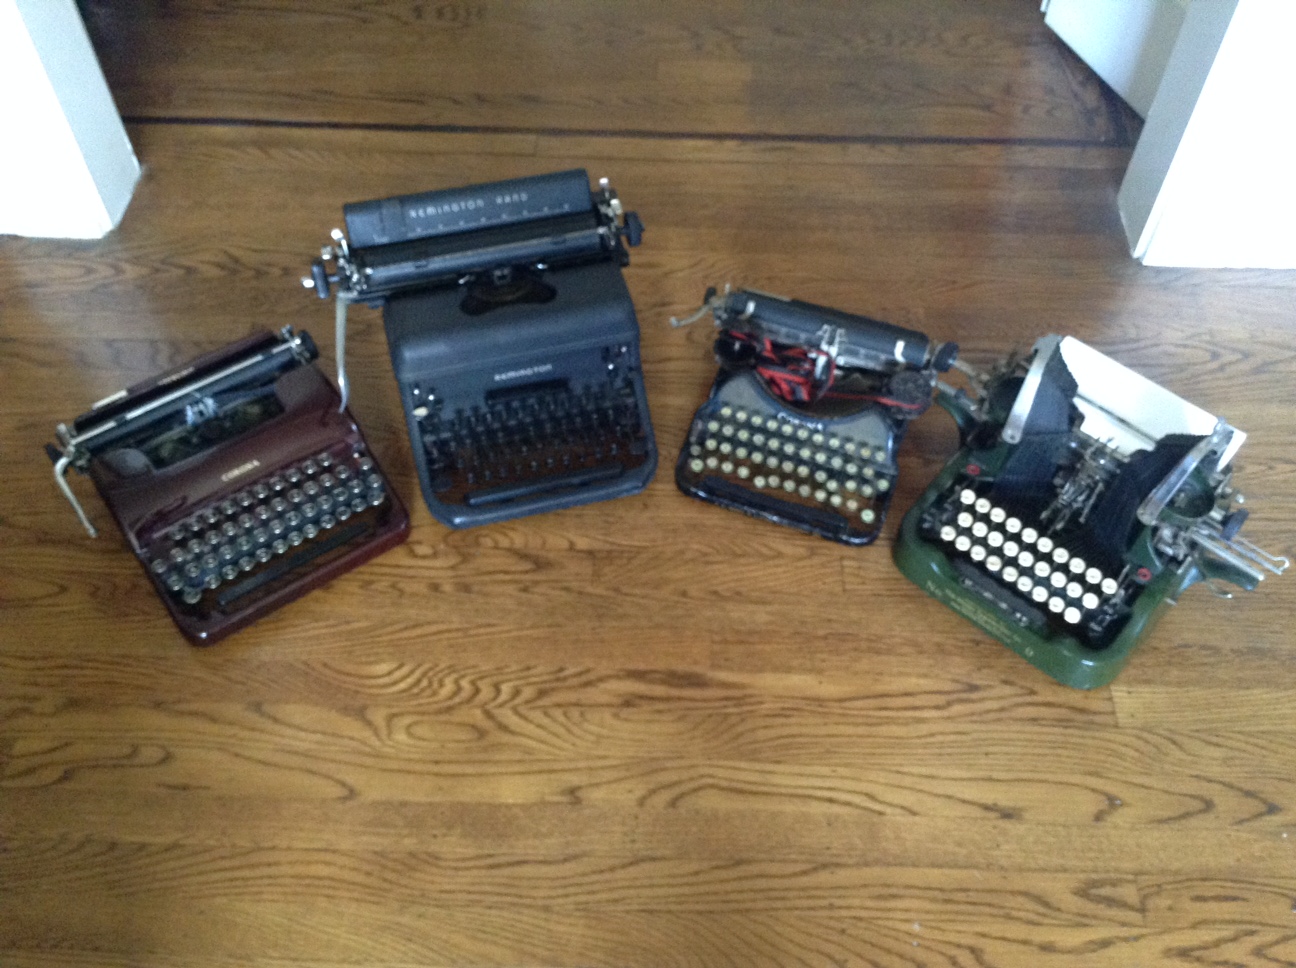
As Ron Burgundy would say, “Boy, that escalated quickly.” We now have a family of four typewriters – two nonfunctional.

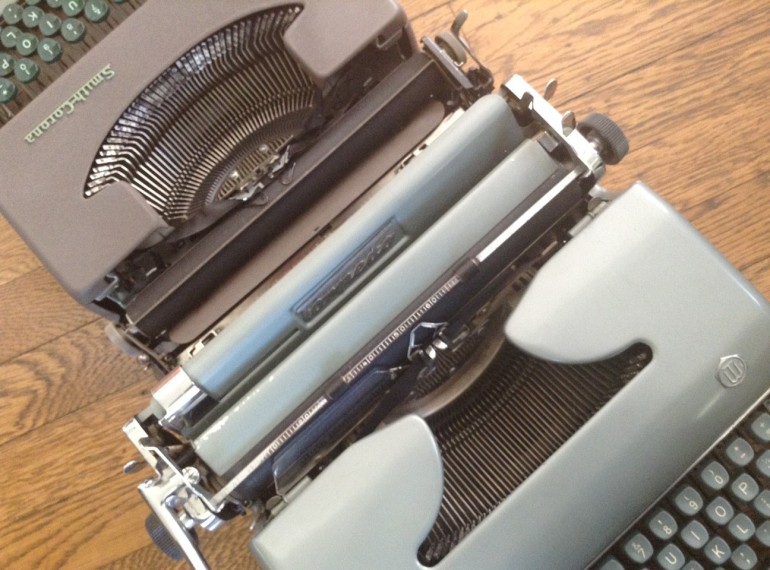
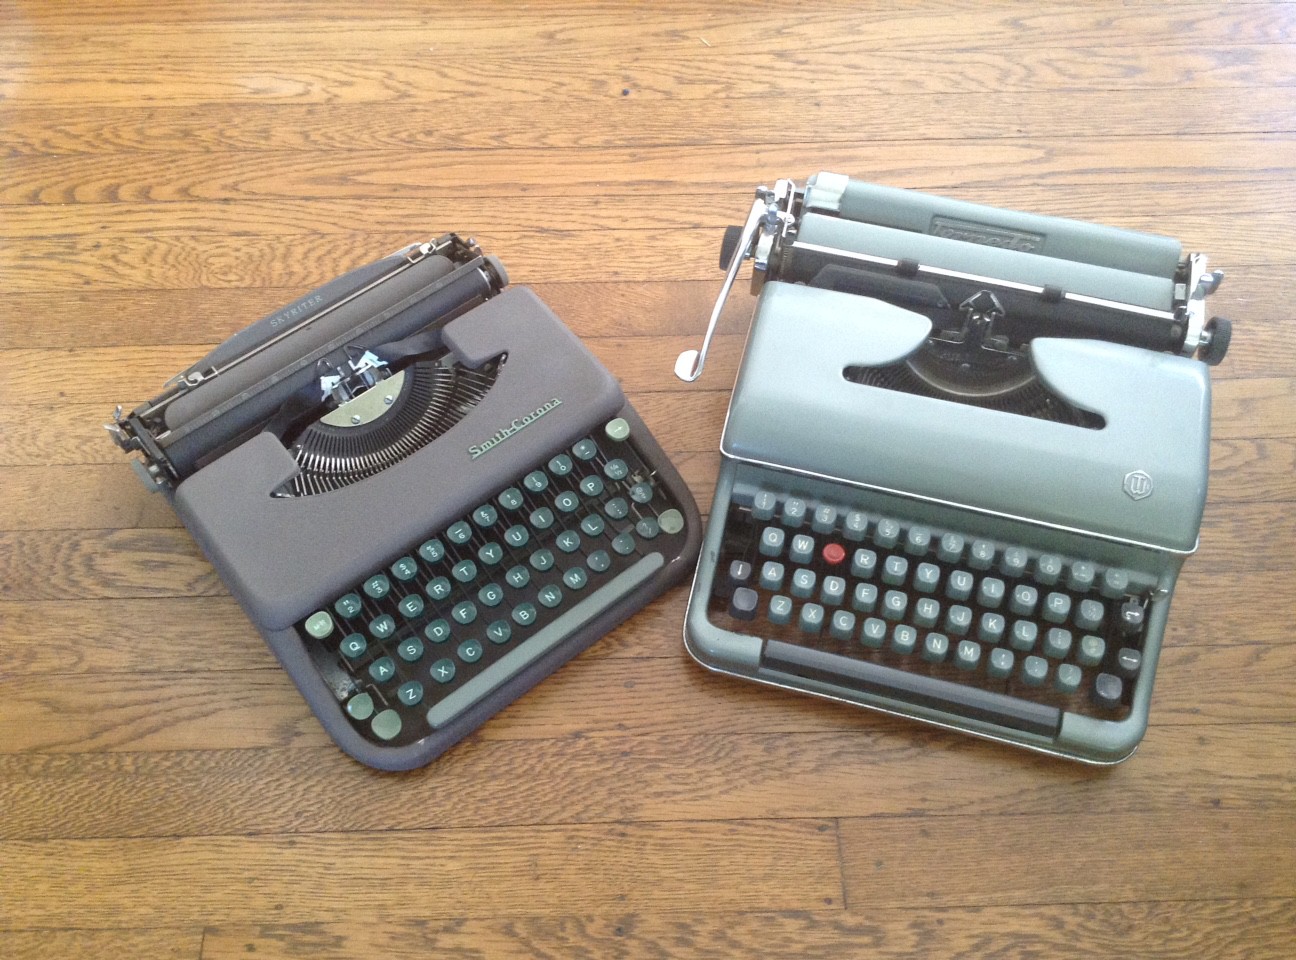
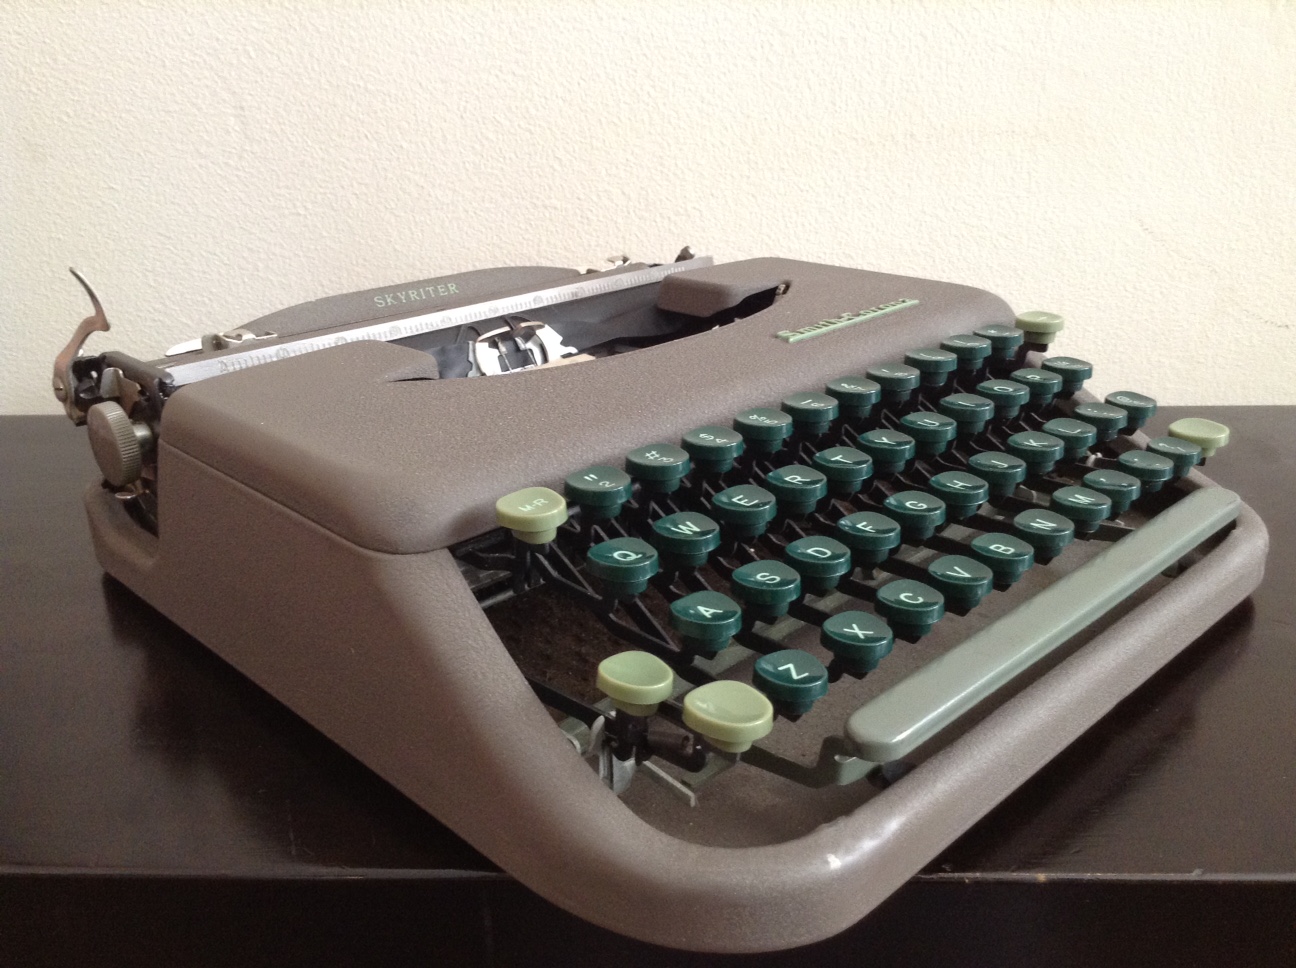
Spice Girls (L to R): Posh Spice, Biggie Spice, Trampy Spice, Old Spice

IMG_3426

Drink of Choice (L to R): dry martini, black coffee, whiskey neat and a cigarette, kerosene

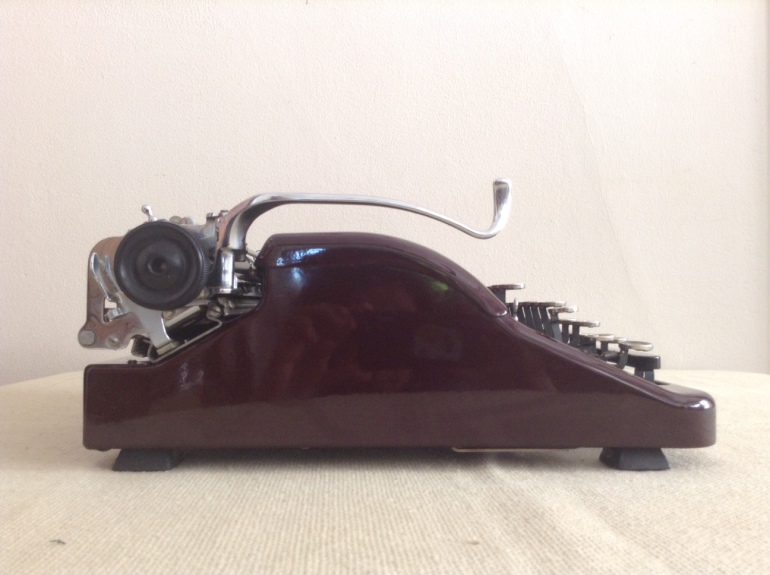
My Corona Sterling is the Garbo of typewriters. She appears to have retired soon after she rolled off the factory assembly line. She must have spent most of her life in the seclusion of her case because she is remarkably well-preserved despite being 77 years old. There are some small nicks where the carriage return lever hit the cover plate, some decal fading, a few scratches, and some tape residue, but she really is in superb shape.

However. I don’t know if this Corona Sterling will stay long with us.  Frankly, she makes me a bit uncomfortable. I can’t touch her without feeling that I am somehow sullying her. My typewriter tastes lean toward the junky and broken – she is just too fine and clean for our house.

So she sits mute and beautiful in my living room – until you touch the keys and she whirs into life – like a ROBOT.

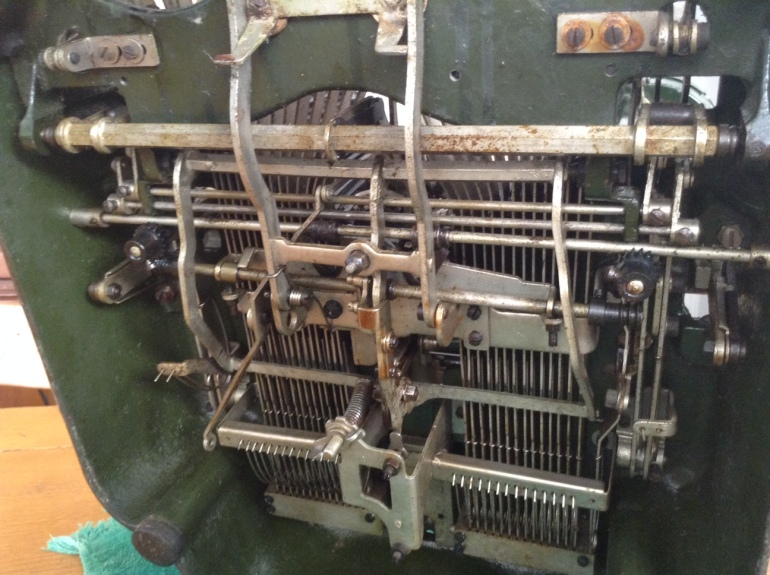
In any case, I need her for the time being so that I can examine her inside workings while I try to fix that Corona 4.

The Hot Mess: Corona Four

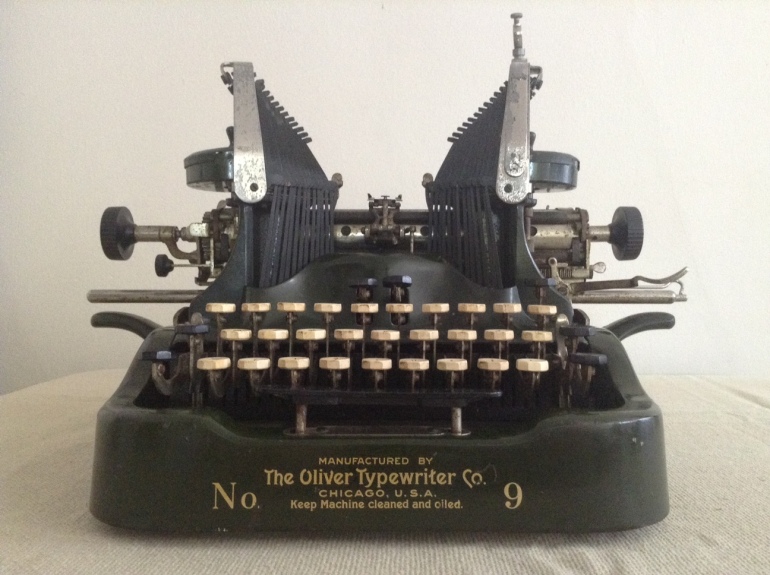
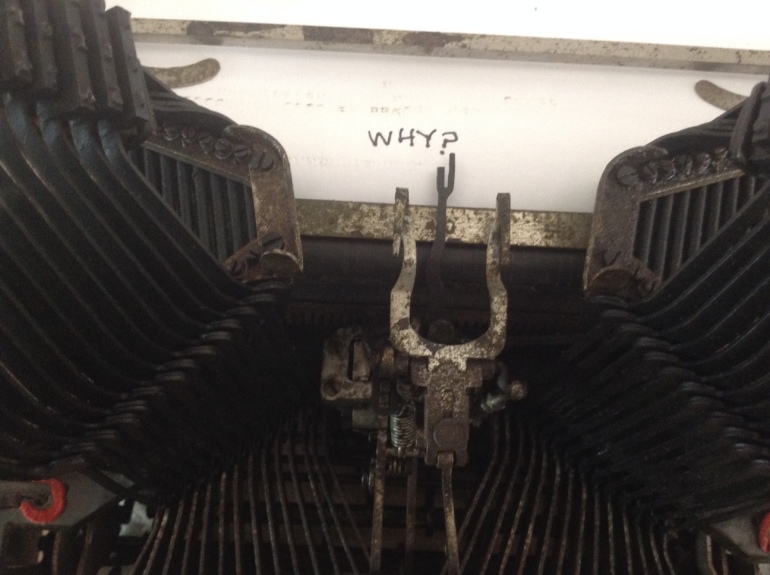
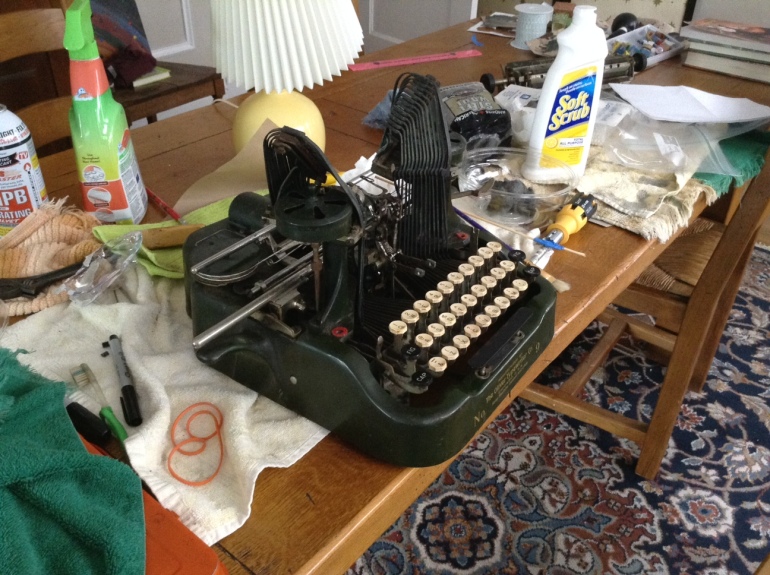
While doing research on my Oliver No. 9’s problems, I came across an entertaining post about a Remington Travel-Riter DeLuxe by Robert Messenger. He described its ribbon vibrator and the spool capstans as “banjaxed”.  I thought to myself: I will add that word and all its imaginary variations to my vocabulary.

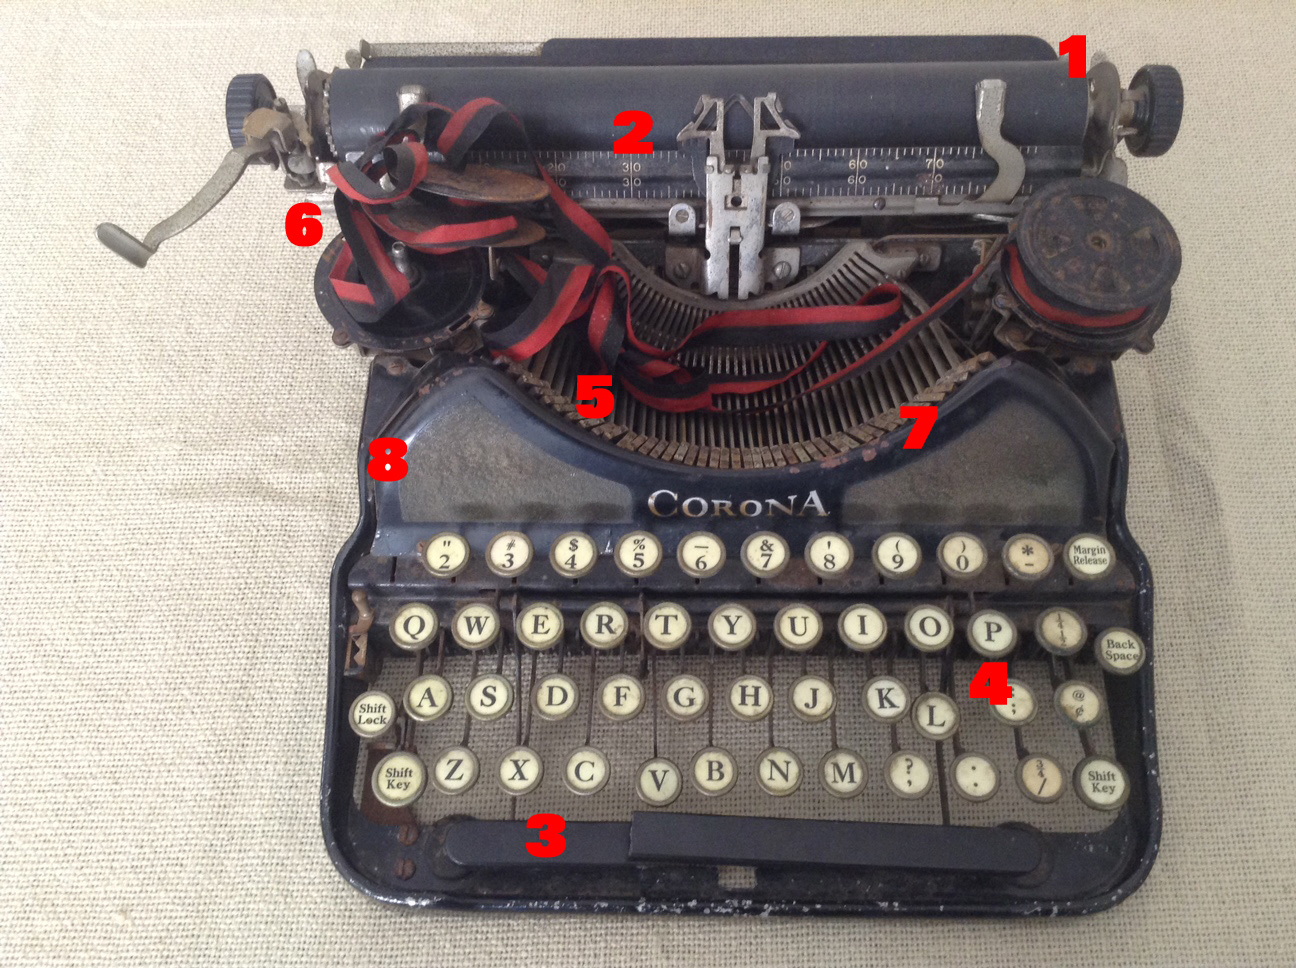
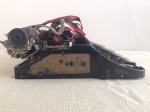
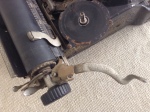
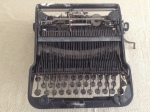
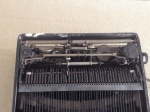
My Oliver No. 9 isn’t the only train wreck in the house. While undeniably sexy, our Corona Four is thoroughly banjaxed. She has lived hard, but has obviously had a grand old time. I have photographed her in all her magnificent banjaxment.  Here we go:

The Toll of Hard Living

  1. Frozen carriage.  I had hoped that it was just a case of the carriage lock being on, but I really don’t think so.
  2. Ribbon vibrator in permanent “up” position – gives her a bit of a surprised look
  3. Broken space bar
  4. Sunken keys with missing linkage
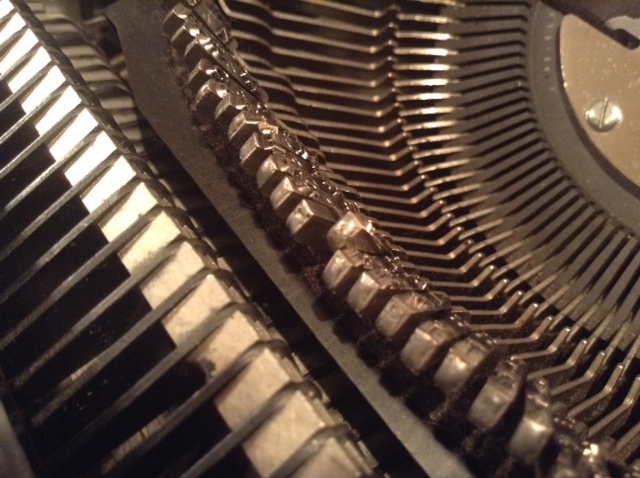
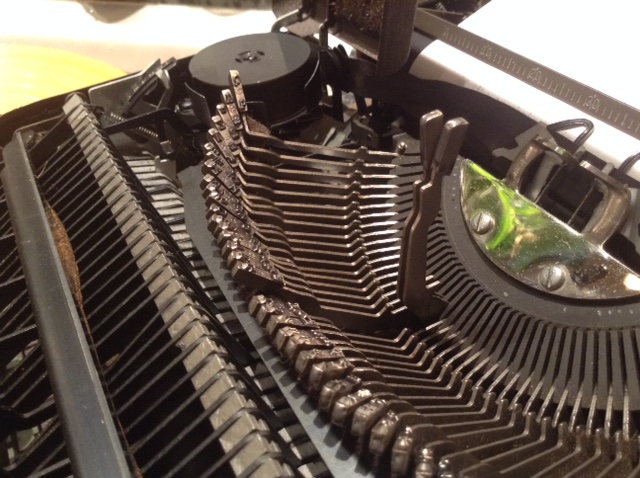
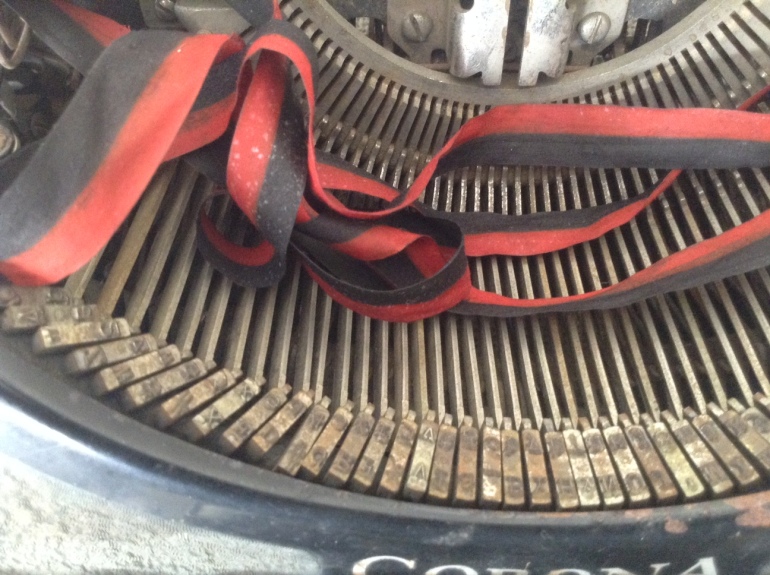
  5. Bent typebars
  6. Deceased ribbon
  7. Rust
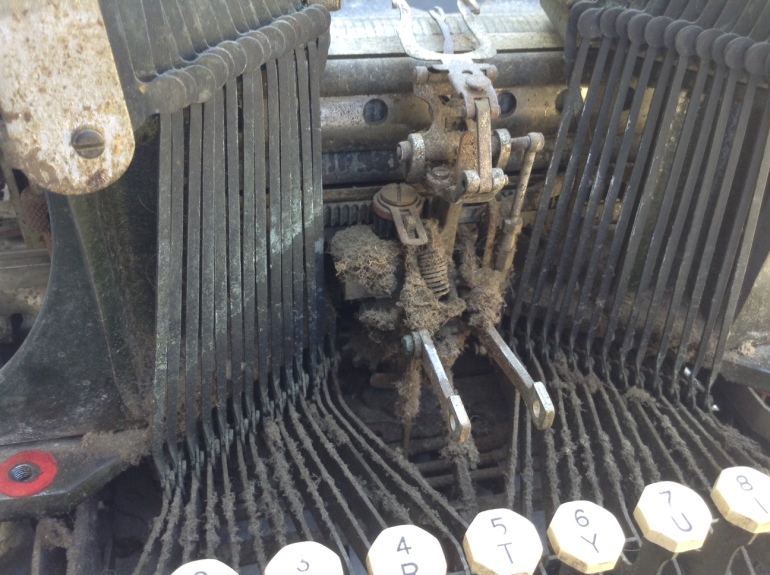
  8. Generalized grime
Go home, Corona Four, you've had too much to drink.

Go home, Corona Four. You’ve had too much to drink.

Here’s some more pictures of her in alluring disarray:

I can clean her up – she has the potential for stunning looks.  However, I don’t want just a display specimen. I want the Corona Four working and earning her keep in my stable of machines.

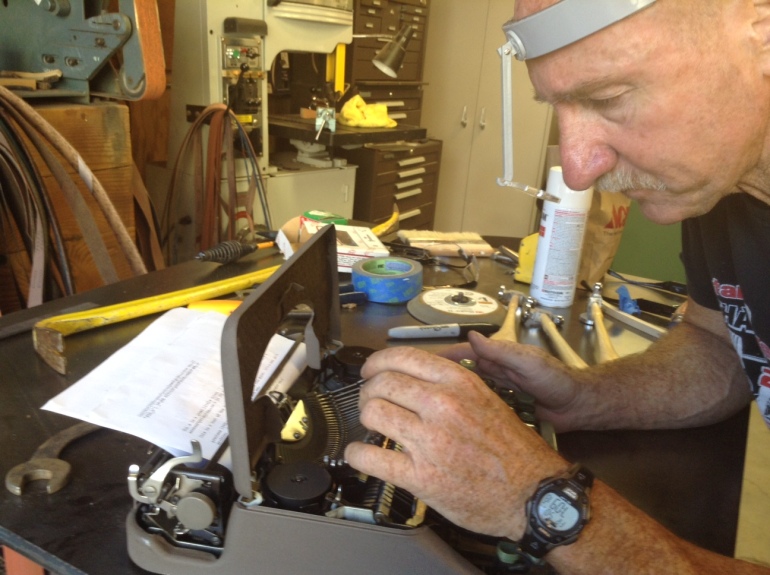
I am going to take the Corona completely apart. After I finish the Oliver.

Making a Carriage Draw Cord Hook & Reattaching the Cord to the Mainspring of an Oliver

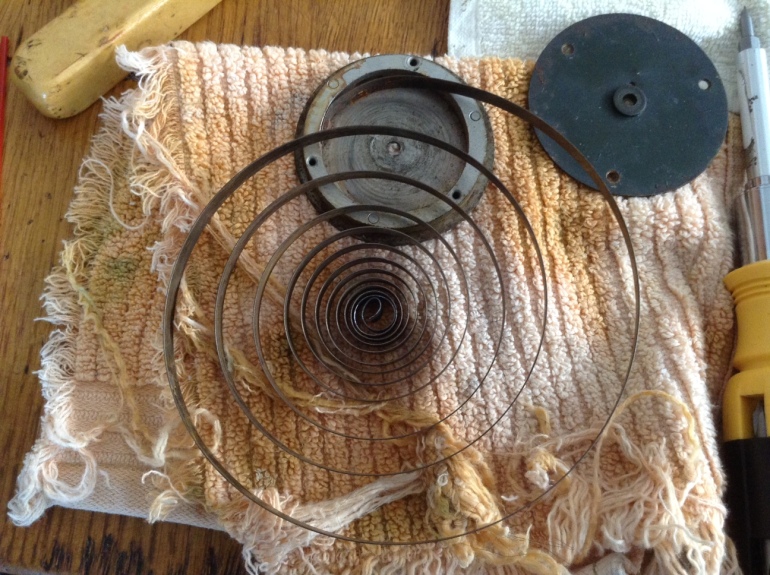
My Oliver is a little miracle of Chicago engineering.  It has a very clever draw band and carriage set up that works like this: a small hook attaches to the end of the draw band / draw cord.  During routine carriage removal, this hook catches mid-machine on a little two-prong fork so that the draw cord doesn’t fly loose from the mainspring and cause the mainspring to lose tension.

Continue reading

Small Is Beautiful: Corona 4

I think E. F. Schumacher would have agreed that typewriters are an “appropriate technology”.  He may even have approved of my latest acquisition – it’s actually a liberation.

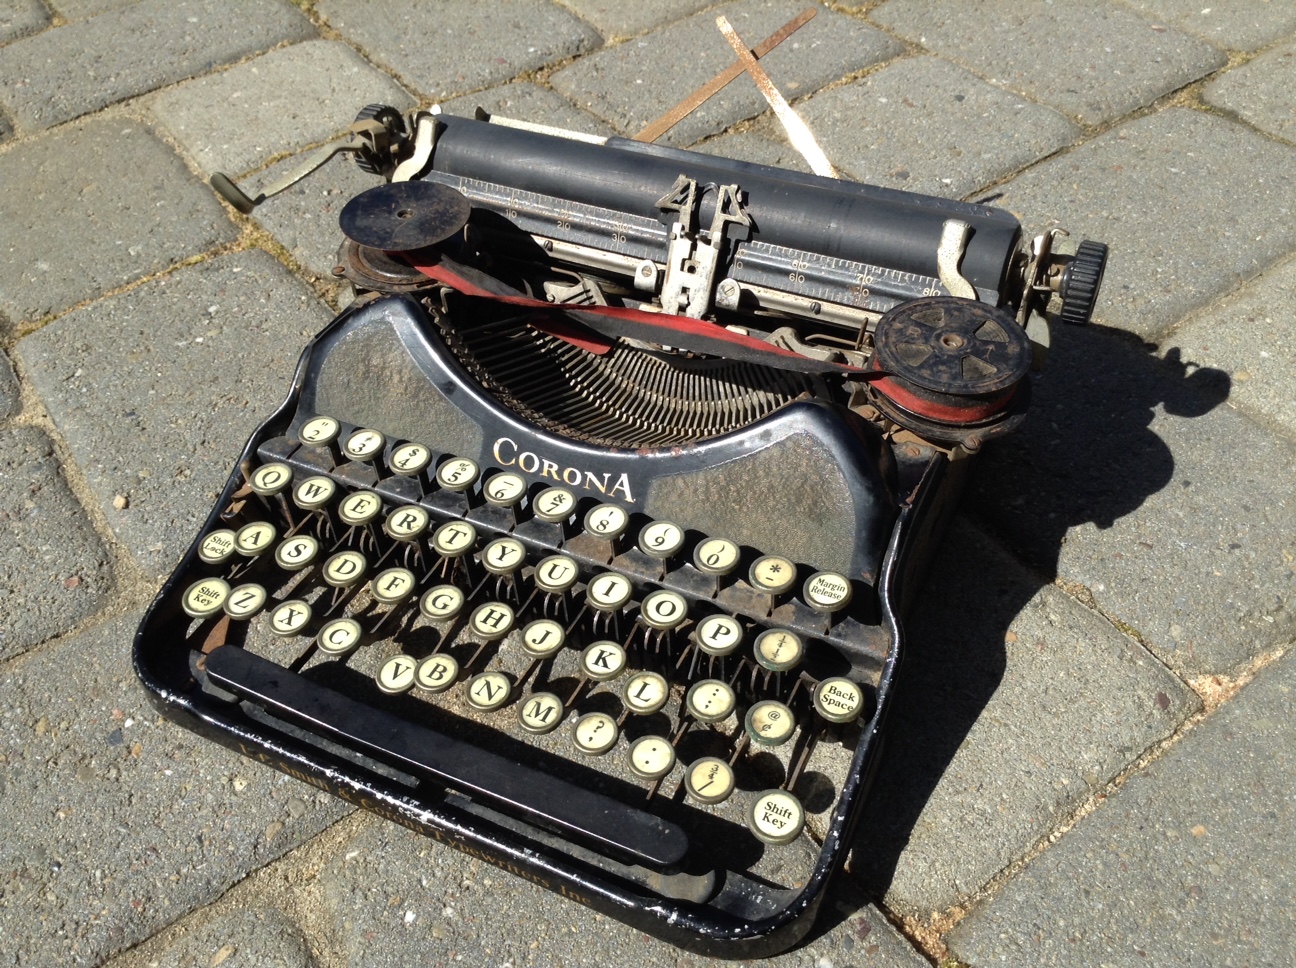
This afternoon I found this sad little Corona wasting away in a junk shop down the street in my neighborhood. I hit it off with the shop’s owner, and he gave it to me for $12.  He was glad to see it go to a happy home. What a great guy!

Here is is, working on her tan in the Californian sun

Here she is, working on her tan in the Californian sun.  She already feels better.

Her serial number is: J2A03722 which means she’s from 1930. Many thanks to the Typewriter Database for the serial number information and all the beautiful pictures.

This Corona 4 is in terrible shape: extremely dirty (I thought she was all black, but she’s actually black with gold (!) panels now that I see her in the sunlight) and rusty. And frozen stiff too. Her carriage is stuck in a weird way. The draw cord is deceased, there are lost linkages – you get the picture.

All-in-all she is a wonderful project. Funnily enough, I was recently admiring Robert Messenger’s glorious blue and gold Corona. I never imagined that I would own anything like that. Dreams can come true.

My Oliver No. 9 is thisclose to being functional – she’s almost typing. I can’t talk about the Corona in front of her because I don’t want my Oliver to get sulky. As soon as the Oliver is typing, I’ll take care of the Corona.

Shift Lock Key Not Holding

Many of the problems with our old typewriter seem to be the result of the overly enthusiastic application of oil and lubricants and the accumulation of dust and debris over the course of close to seventy years.  I am still scrubbing out the thick gooey gunk from the insides of the machine. Because of this, I am reluctant to put any oil in the newly cleaned parts.

Back to the problem at hand: the left shift lock key was working in a lackluster and intermittent manner.  My hunch was that it was gunk-related: nothing a little denatured alcohol and a careful cleaning couldn’t fix.

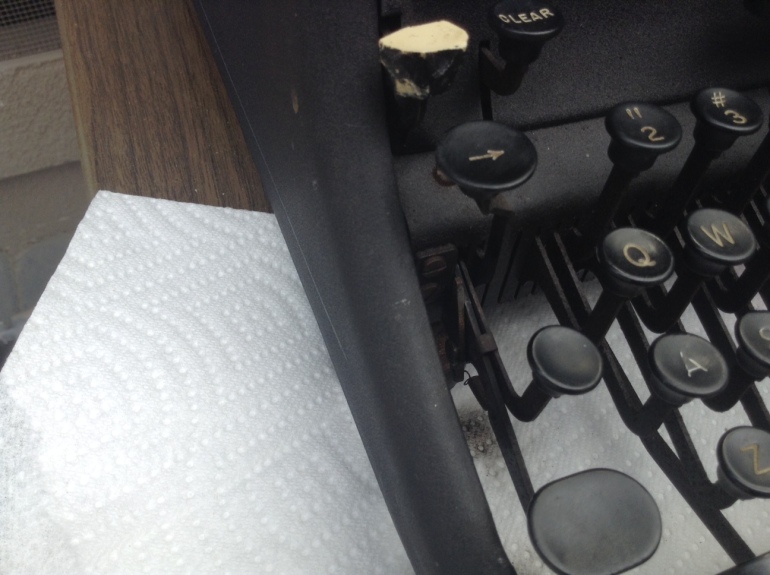
The little metal tooth (finger?) was very greasy and dirty

The little metal tooth (finger?) was very greasy and dirty

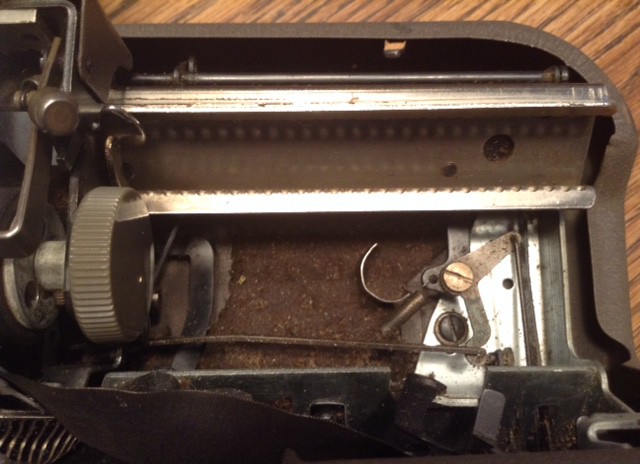
The shift lock has a little spring that releases a metal finger that “locks” into a notch under the shift lock key.

The metal finger felt a little sticky, so I cleaned it with denatured alcohol (being careful not to get the denatured alcohol on the exterior of the typewriter as it can take off the finish) and worked it back and forth.  It freed up and moved back and forth easily after a little cleaning and the shift lock key began to work consistently.

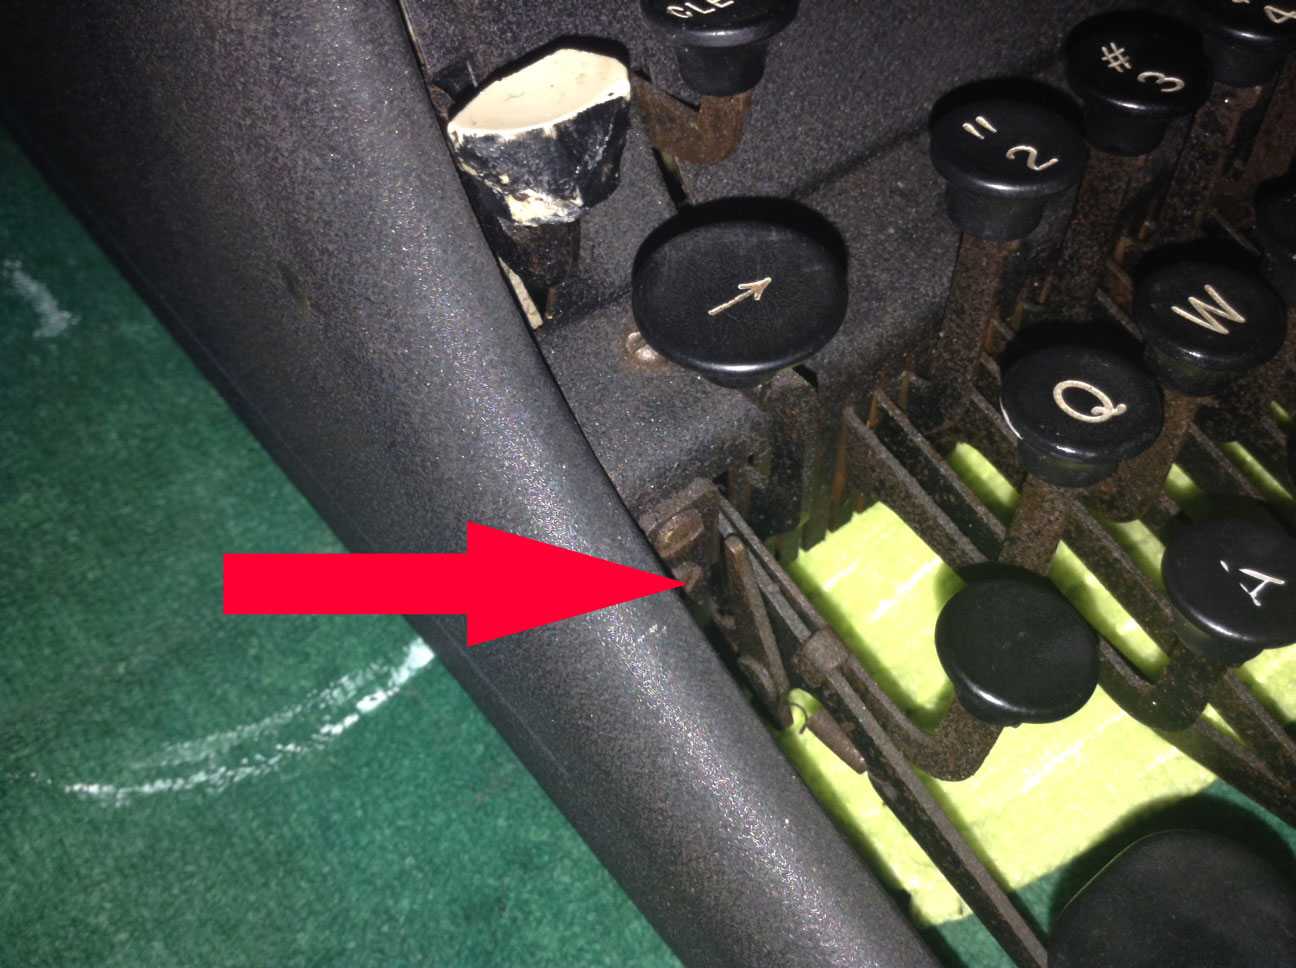
The right side shift lock has its issues. The little metal finger was completely immovable due to goo and rust. I freed it up as well with careful cleaning and soon it was swinging easily.  However, the right shift lock has another significant problem: a broken spring.

You can see the broken spring hanging down

You can see the broken spring hanging down

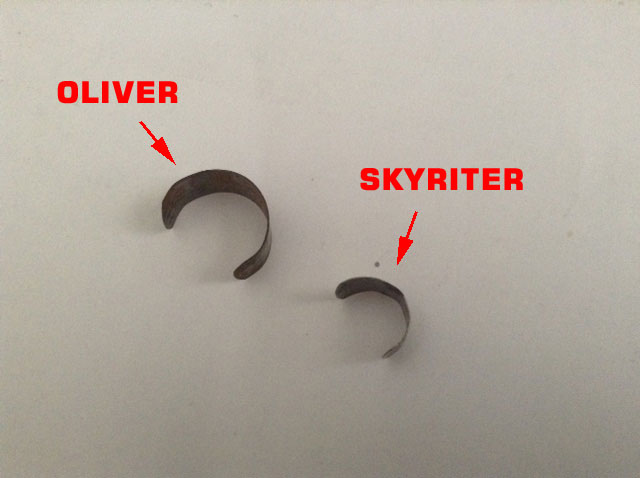
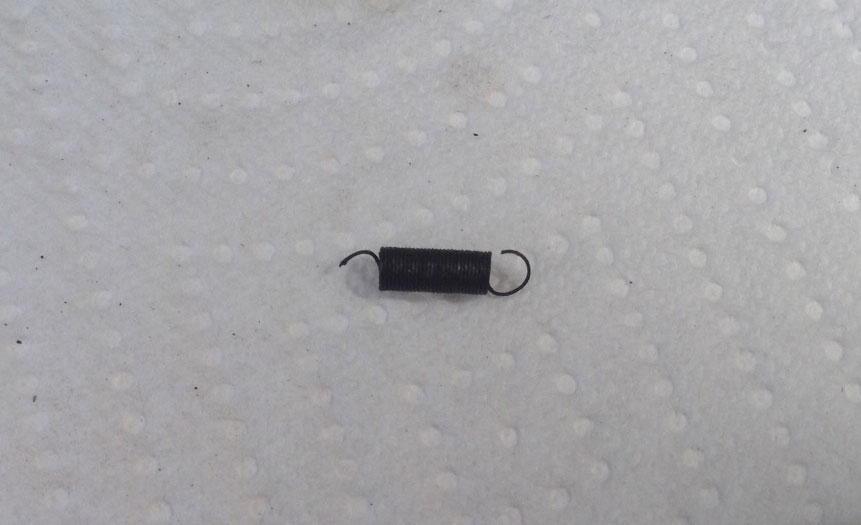
I removed the spring from the key.  It’s a fine, tiny thing.  I will try to find a replacement at our hardware store.

It's a tiny thing.  It seems to have rusted aprt.

It’s a tiny thing. It seems to have rusted apart.

Parts Diagram of a Remington Rand KMC Typewriter

This diagram shows a KMC that may be a bit older than mine - note the glass top keys

This diagram shows a Remington Rand KMC that may be a bit older than mine – note the glass top keys

Many, many thanks to Richard Polt of The Classic Typewriter Page and The Typewriter Revolution blog for allowing me to post this parts diagram. I found it in his great listing of  typewriter user’s manuals and service manuals on his Classic Typewriter Page site.

Knowing specific part names helped me research basic operation of our typewriter.

Cleaning the Type on My Remington Rand Typewriter

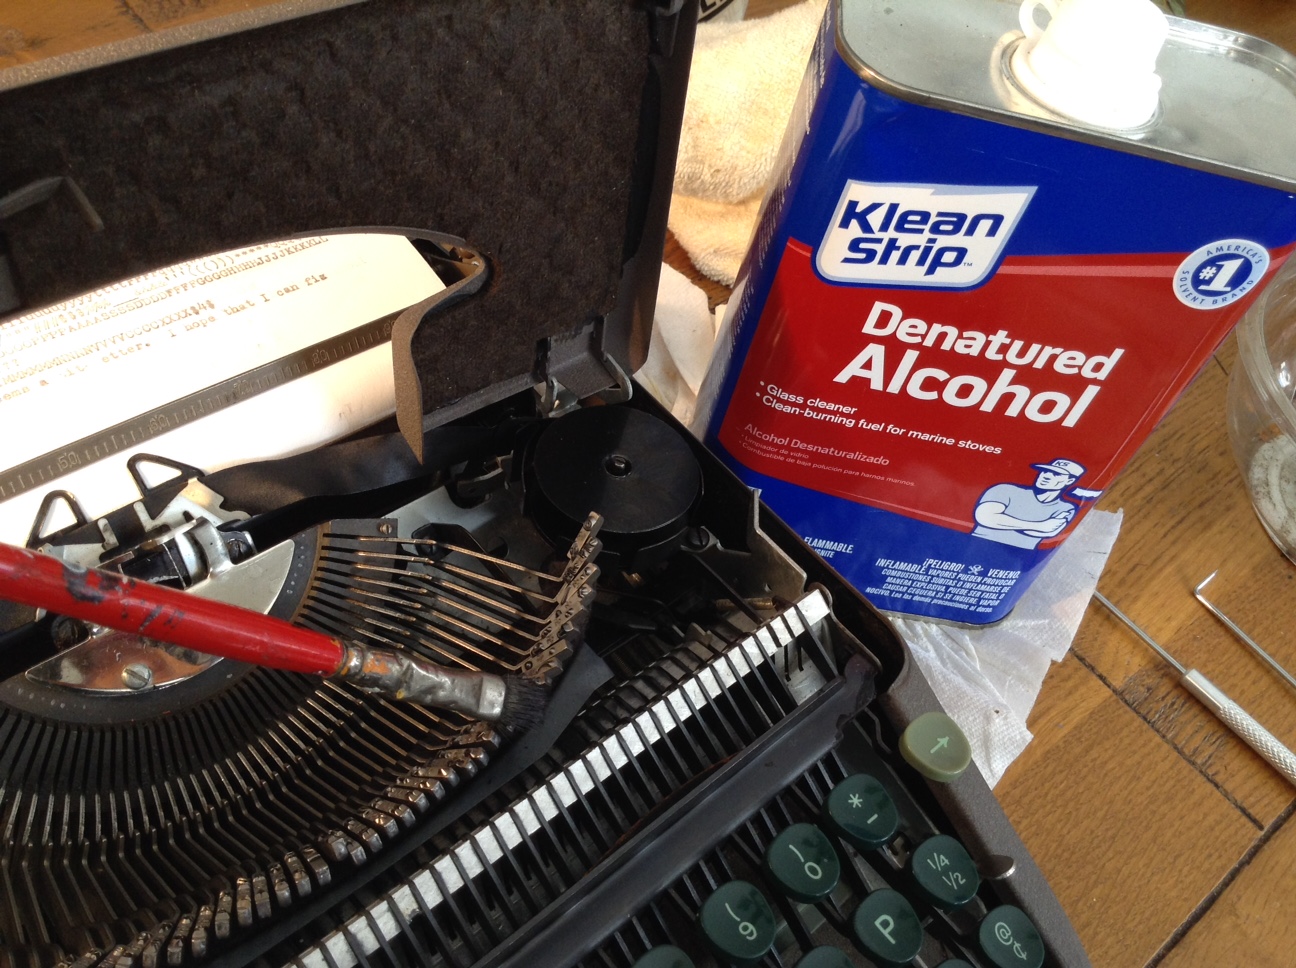
I was typing along in nonsense for the pure joy of it when I looked down and thought, “Wow, the type looks very gunked up.”

bad

So I opened the lid and noted that some letters (such as “e”) were filled with gunk.

IMG_3152

So I pulled out my trusty denatured alcohol, toothbrush (my husband’s, not mine) and paint brush and got to work scrubbing each type letter.

IMG_3106

This is what I started out with:

1

After a few minutes of gentle scrubbing and wiping:

2

Much better, but a few of the letters needed a little more attention:

3

Lovely!

Swapping Out a Missing Key

After we fixed the major functional issues of our old typewriter (replacing the drawband, setting the margins, cleaning the keys and getting them moving, replacing the ribbon), we addressed a comfort issue. The key “T” was missing its key cap.

It seemed like a minor problem until we started typing with our newly functional typewriter.  Who knew “t” was so popular?  Our fingers were soon sore from striking the naked stem of the key. The stem was rusty and sharp and though we are up-to-date with our tetanus shots, we decided to do a switcheroo.

The shift lock button on the right had a broken spring and wasn’t functional.  Since we had a functional shift lock on our left, my husband gently pried the blank key off the stem with his fingers and put it on the bare “T” stem.

IMG_3132

You can see the broken spring hanging down from the shift lock button

Typing was much more pleasant with a key rather than a bare stem.

I am going to search on eBay and see if I can get a replacement composition key for my right shift lock – I know that I will eventually replace that broken spring and make it functional again.

IMG_3131


Fixed the Bell on My Remington Rand KMC

When we first dragged the typewriter in from the curb, we could hear the bell ring now and then when we played with the typewriter. On our typewriter, there is a soft bell that *dings* when you are about five spaces from the end of the line to alert you that you are about to hit the right margin.

After I blew out the dust and debris and cleaned it up with denatured alcohol, the margin bell stopped ringing all together.  I was worried that I had broken something (spring?) in my cleaning.

I removed the top “hood” that protects the margin area:

It pops right off

It pops right off

I popped off the back and checked the bell:

The bell is on the right of this picture

The bell is on the right of this picture – it has such a soft, pleasant *ding*

I cleaned all the inner workings with denatured alcohol (being careful not to get it on the painted surfaces), paying special attention to a little wiggly pawl that hangs down and trips the bell when the carriage is within five spaces of the right margin.

The pawl was a little stiff with goo, but I got it to wiggle freely by painting it carefully with denatured alcohol. And guess what?  The margin bell began to *ding*.
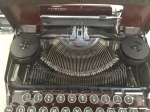
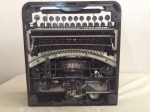
Once the little pawl was moving freely, the bell began to chime as it should.

Once the little pawl was moving freely, the bell began to *ding* as it should.